Today we get to get on with the good stuff.
First up…
Exposure
…or I guess I should say over-exposure. But I’ll get to that in a minute.
That ruler or set of numbers circled in the picture is the exposure meter. When you get ready to take a picture there will be a little blinking block under the numbers. If the block slides to the left (or toward the negative side) of the zero the image is underexposed, if it is to the right (or the positive side) of the zero it is over exposed, and if it is at zero it is perfectly exposed.
In general you want your image to be at or very close to zero. When you adjust your settings, the blinking block will tell you how well your image will be exposed. Smart camera right?
Now here’s where I break the rules. I tend to do that a lot in photography. 🙂
As for me. Many of my pictures are over exposed. A lot of photographers will tell you that blown highlights and over exposure is bad, bad, bad. And it can be. But if you do it right…
It can be a great thing.
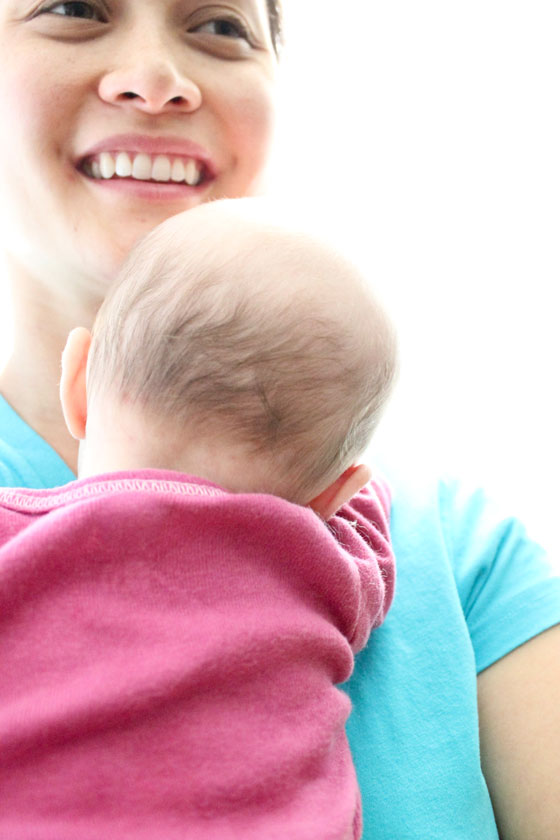
*Blown highlights are when lighted areas completely turn white and lose all detail. When an image is over-exposed it appears lighter/brighter than it does in real life and again, loses detail and shadowing.
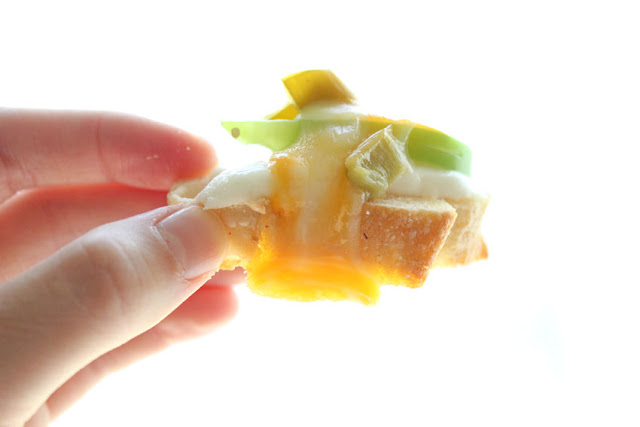
*Blown highlights and an overexposed background can give a ethereal look to your pictures.
Even though blown highlights and over exposure gives you a lighter image than what it is in reality, I think it can give a better representation of the memory you’re capturing. The infusion of light is dream-like, joyful, hopeful…just how I want to remember the moment.
*Over exposure is also flattering to complexions. I’ve noticed that some wrinkle cream ads on TV are over-exposed. Why? Because it minimizes flaws.
This picture from my pink lip balm post, is a good example. My skin does not look this good up close, but when it’s over-exposed you can’t see that…and it’s not really edited as much as you might think, hence why you can see still some obvious blemishes. I minimally edit most of my pictures…but I’ll cover that more in another post.
So how do you achieve a good over exposed image?
* You can set up a white background near a bright sunny window. Be sure that the light is soft and not harsh. If the morning sun is streaming directly at/through your window that can create a harsh light. Slightly close your blinds if needed.
Adjust your settings to be slightly over exposed. And snap.
Of course it’s not ideal to always over-expose your images, but don’t limit yourself from using it as creative technique in capturing your images.


Good good good! Thanks thanks thanks!!! 😉
It might be helpful for people to know their exposure meter may be flipped. Nikon & Canon have opposite exposure meters. Recently, Nikon (I think) has changed theirs so newer cameras are the same for both brands. But, I have a Nikon D60 and a Canon 5D Mark II, and they have opposite meters. So, your over exposure may be indicated by the left side instead of the right. Just look for the
Thanks for the great tips! I'm new to photography but learning as I go with my Canon Rebel. I love your posts…keep'em coming!
xo,
Allison
http://barretts1234.blogspot.com/
These posts have been so helpful! I am just venturing out of auto (with the inspiration of a new little baby girl) and this has been a great resource!
Thank you for this advice! This one is new for me, it will help me improving my blog photos.
Love this! I’m going to have to dig into my little Powershot and see how much I can play with exposures. I promptly lost the manual for it after I got it, but every time I use it now, I discover new tools and settings. Discovery ahoy!
Just gave it a try, we have the Rebel t1i, it takes me 10 seconds to finish adjusting, will you go over the general tips for shooting the kidlets?
I really love this series, Delia! And great tips on over exposure, so helpful :).