Ready to make the sturdiest crochet bag you’ve ever made? This four strand tote is thick, beginner friendly, and budget conscious too!
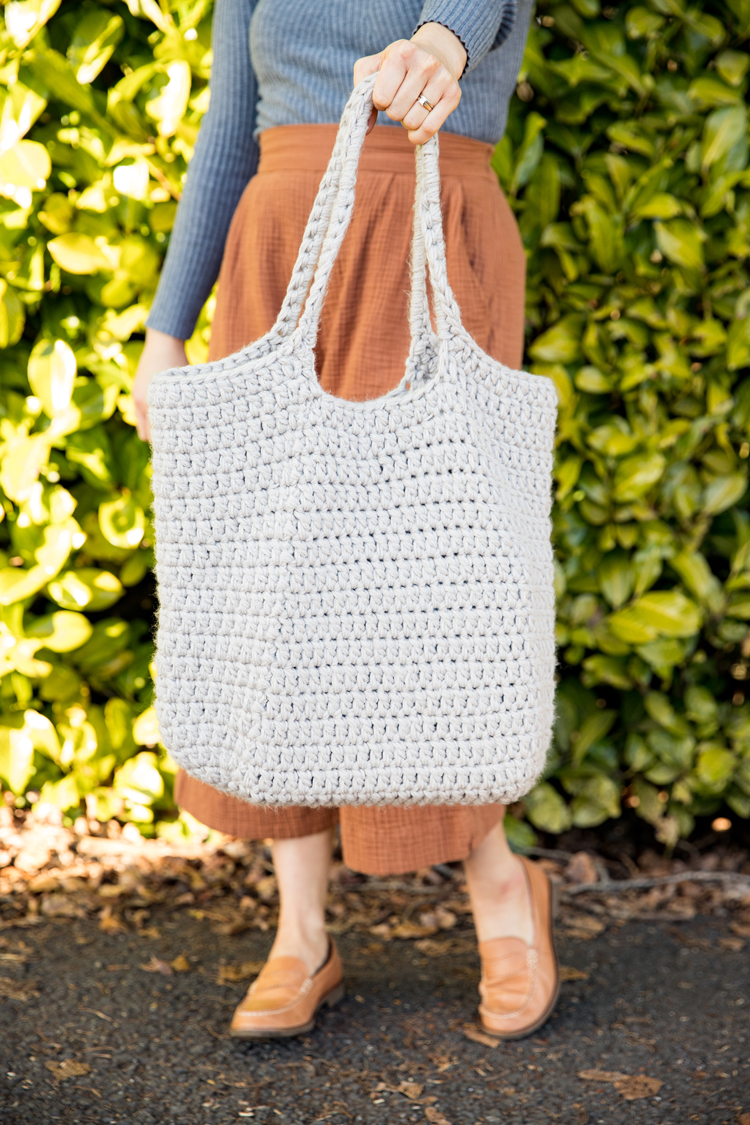
You want to use inexpensive worsted weight yarn that you can find pretty much anywhere…truly, the scratchy acrylic yarn is best… and then just quadruple the number of strands you are working with at once. This allows you to use a larger hook and get the chunky stitch definition that you normally get with thicker yarns, while also adding strength to the bag.
I have a similar bag made with two strands of super bulky yarn but it’s a softer bag and costs more to make. Check out the Market Tote pattern here.
Who is this project for?
Beginners for sure! But like…don’t make this your very first project. It only uses basic stitches like double crochet and single crochet, but using four strands at the same time is something you will have an easier time tackling, once you have mastered those stitches using one strand at a time. The base also uses some skills that are similar to working in the round, so you should be familiar with that as well. This three strand basket is a great precursor to this project.
If you are brand new to crochet, my Crochet Basics series goes over how to hold your hook and yarn, and how to master basic stitches that are foundational to crochet.
That said, if you want your bag to follow the gauge which I list below and which is relatively tight, this project can be hard on the hands. Of course, you can loosen the gauge or you can use a silkier yarn to mitigate this, but it will produce a less dense, sturdy bag. My advice is to go slowly, and take it one loop at a time.
Let’s make a bag!
Materials
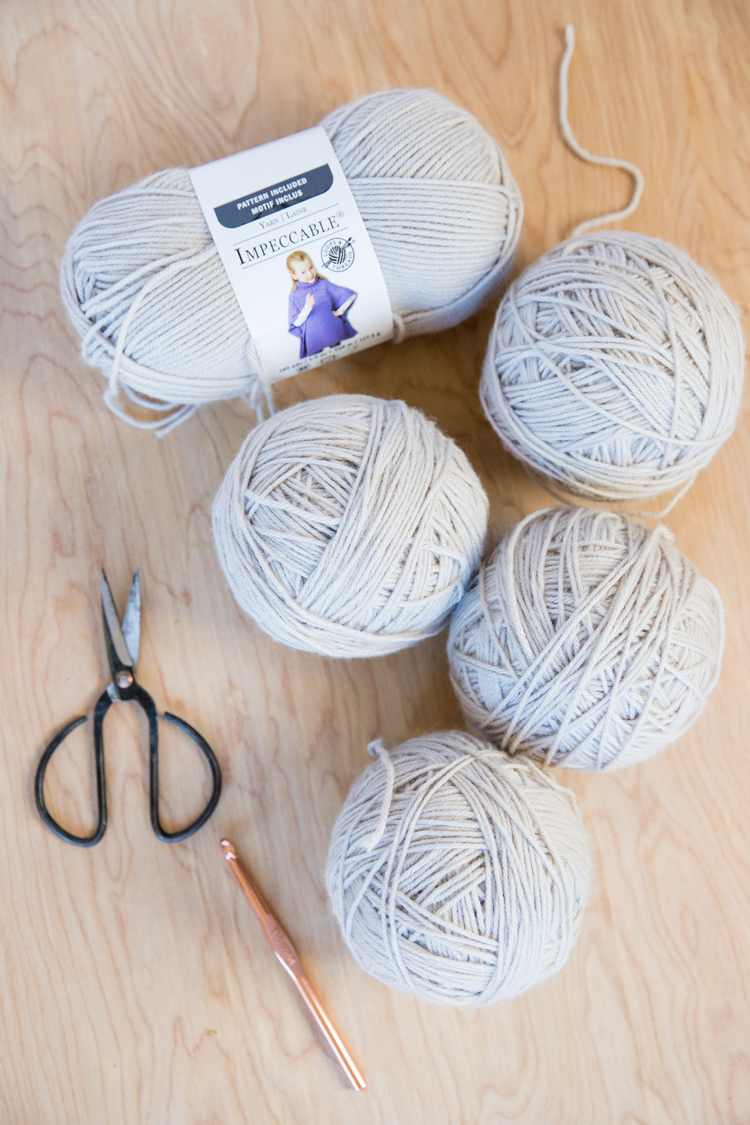
Worsted weight yarn, about 1100 yards*
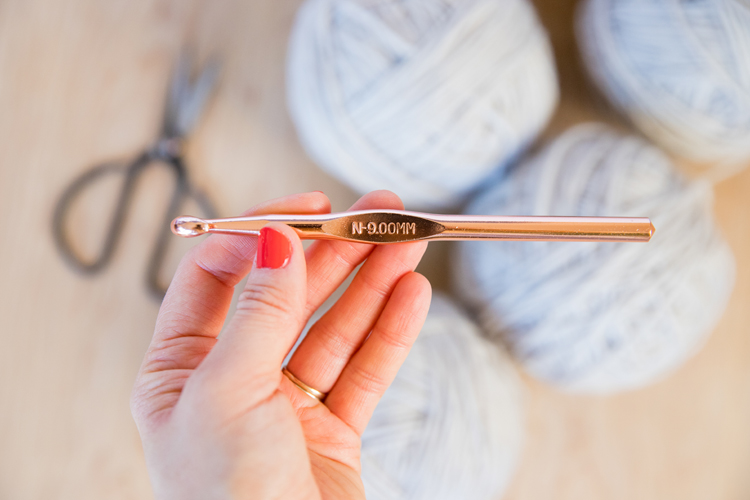
N or 9.00 mm hook
yarn needle or tapestry needle
scissors
*The 1100 yards of yarn needs to be divided among four skeins. I used four skeins of Loops and Threads budget line of Impeccable yarns in the color “Putty Mastic,” which are 285 yards each and which I had some left over when I was done.
Abbreviations
ch = chain
dc = double crochet
sl st = slip stitch
sc = single crochet
Gauge
4×4 inch square = 8 dc x 5 rows
Finished Bag Size
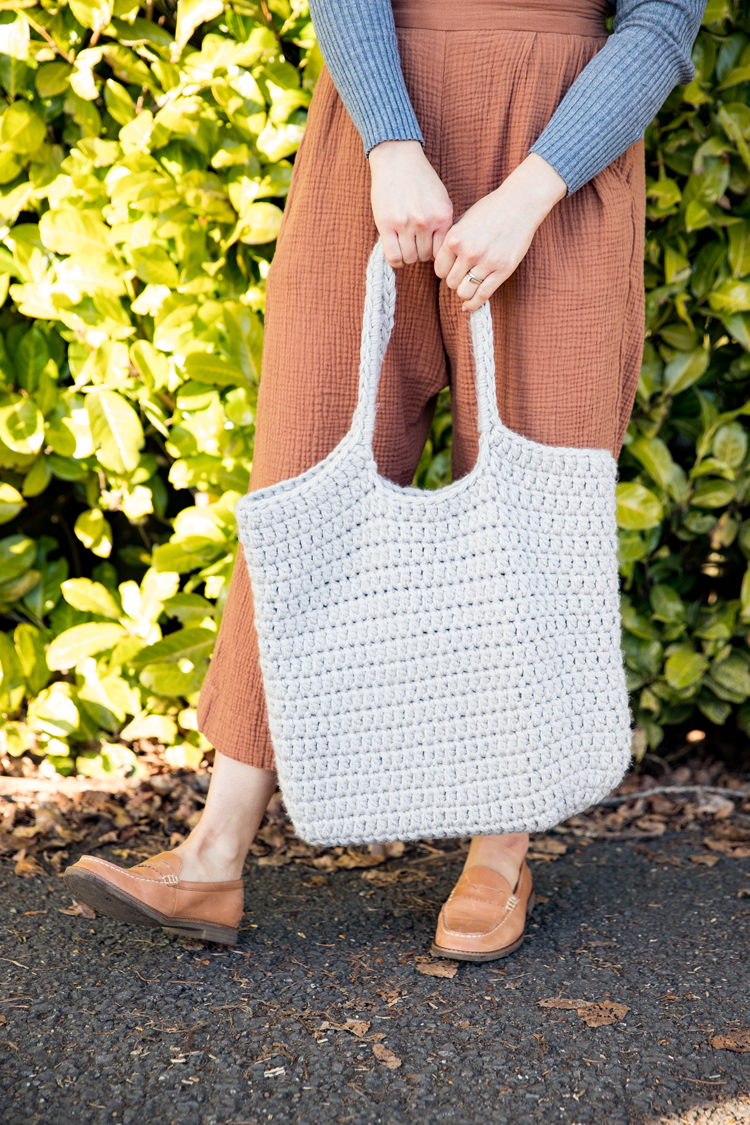
17 inches wide by 15 inches tall (not including the handles), about 23 inches tall with the handles.
Video Tutorial
The video tutorial should have popped to the side or top of your screen once you scrolled past the title, and will play after the initial ads.
*Music is from Pleasant Pictures Studios.
Written Pattern and Tutorial
Round 1:
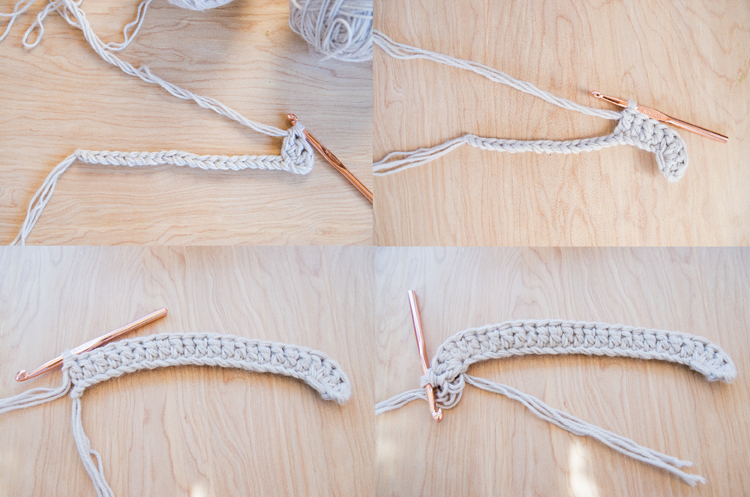
Ch 24. Dc in third chain from the hook. Dc three more times in the same space/chain.
Dc along chain 20 times. Dc five times in the last chain. Dc 20 more times (one dc in each) along other side of the chain. Sl st to the top of 2 chains skipped at the beginning of the round. (50, beginning ch 2 counts as 1 dc)
Round 2:
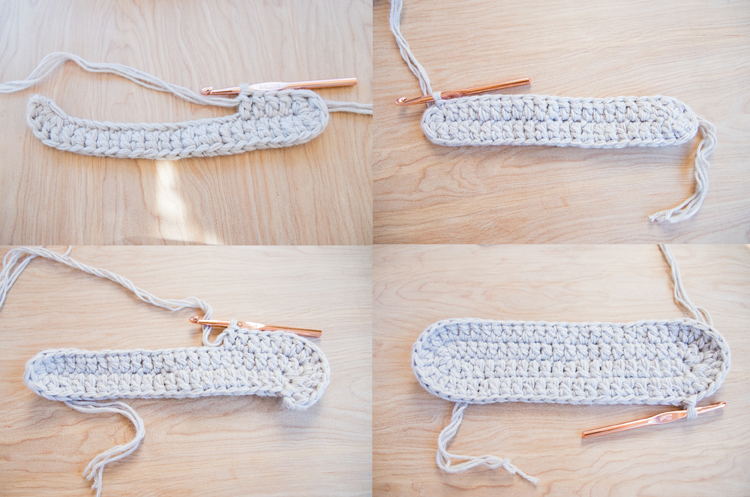
Ch 2. Dc at the base of ch 2. *2 dc in next stitch.* Repeat from * to * three times. 20 dc (1 in each). Repeat from * to * for the next five stitches. 20 dc across the other side. Sl st to the top of ch 2. (60)
Round 3:
Ch 2. Two dc in the next stitch. *1 dc, 2 dc in the next stitch.* Repeat from * to * three more times. 20 dc (1 in each) Repeat from * to * for the next five stitches. 20 dc across other side. Sl st to the top of ch 2. (70)
Round 4:
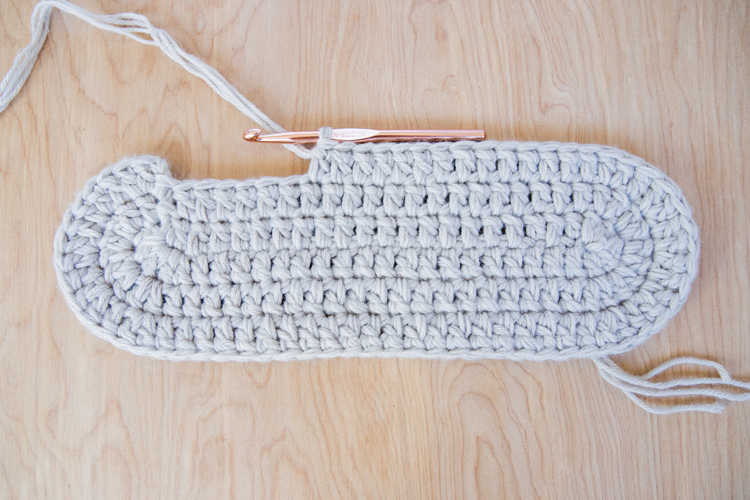
Ch 2. Work 1 dc in each stitch in the round. Sl st to the top of ch 2. (70)
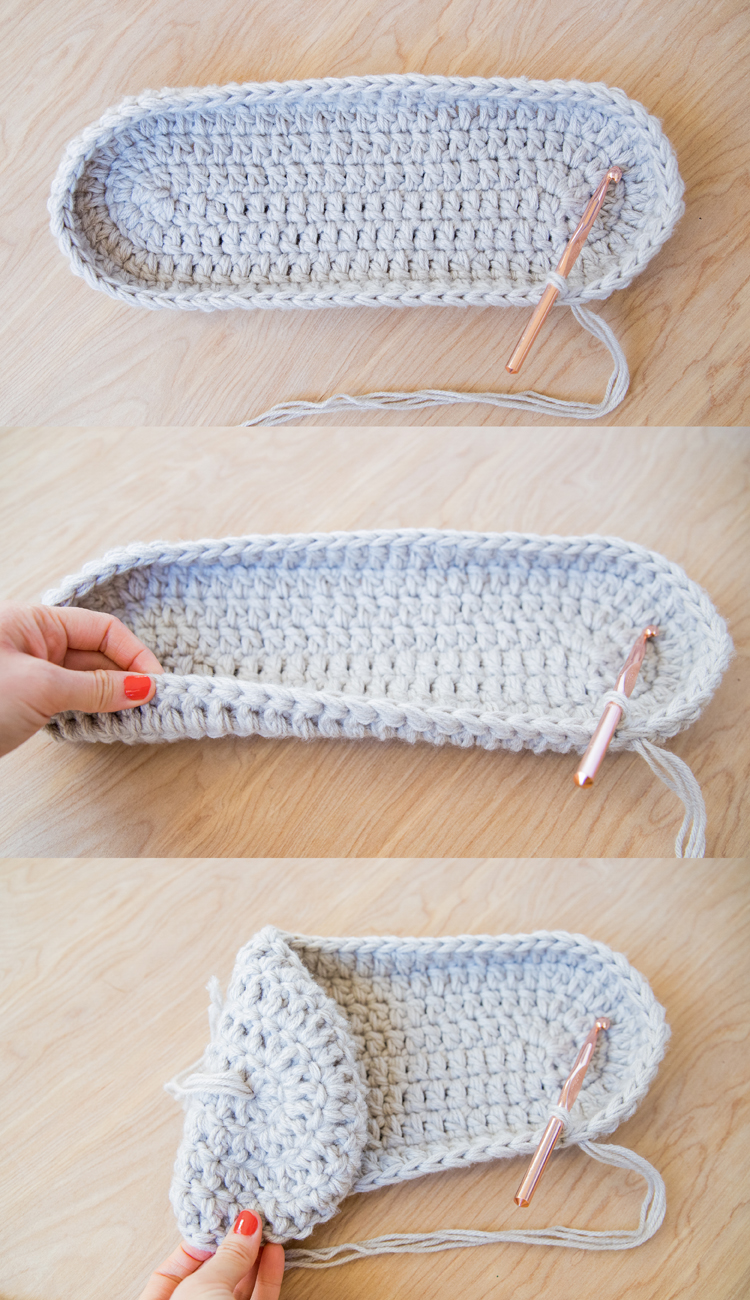
TIP: At this point, it helps to turn the forming bag right side out.
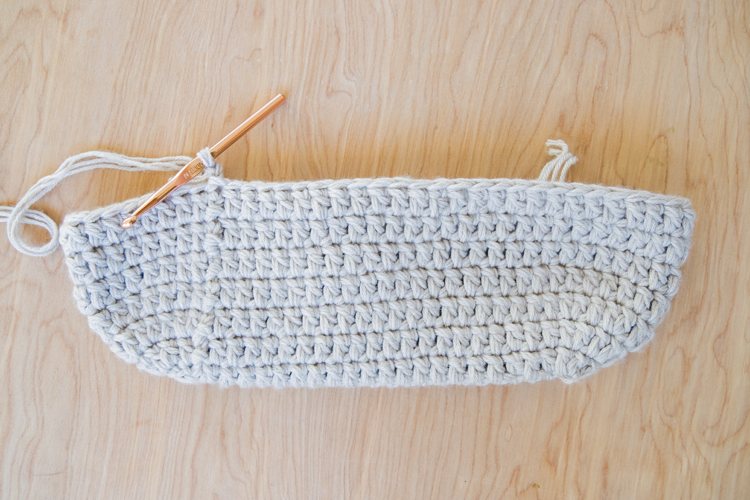
Rounds 5-17: Repeat Round 4.
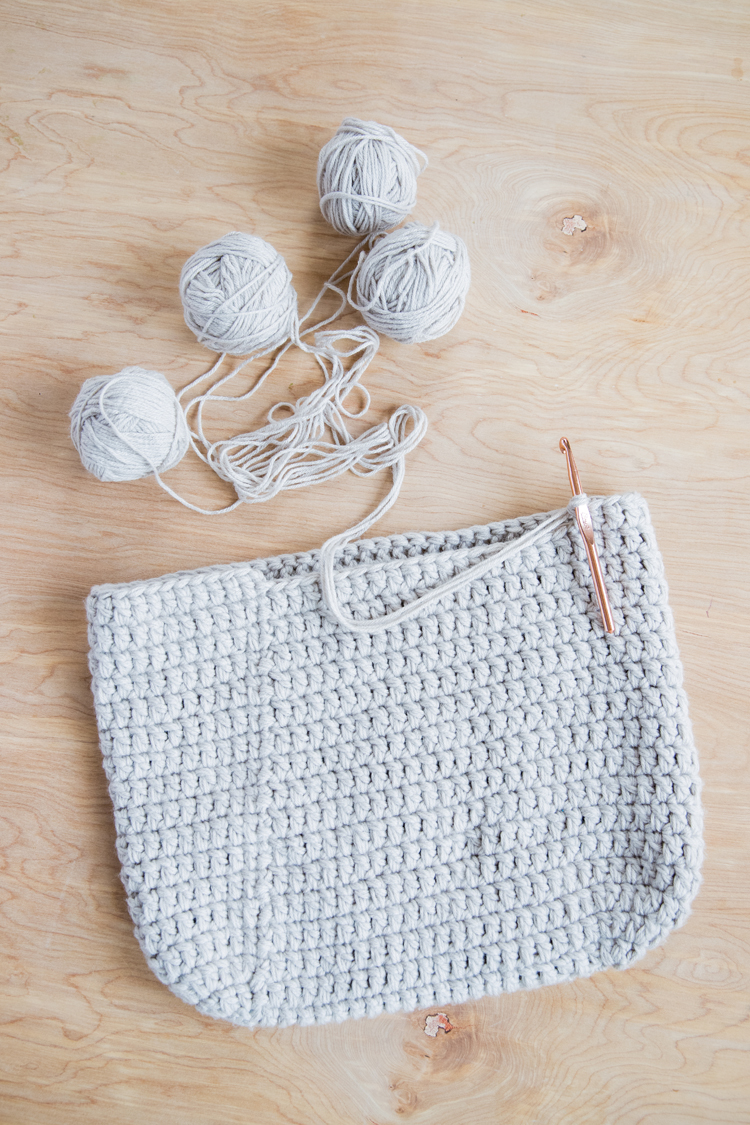
Round 18:
Ch 2. Work 24 dc, then stop. Chain 35 times up and away from the bag to form a handle. Skip 10 stitches and reconnect back into the bag with a dc. Work 24 more dc, stop, and chain 35 times away from the bag to form the second handle. Skip 10 stitches and reconnect to the bag with 1 dc. Sl st to the top of ch 2. (50 dc, 70 ch)
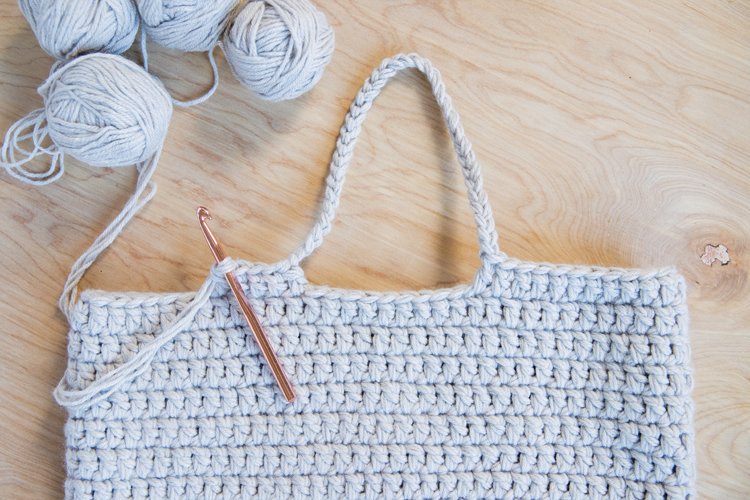
Round 19:
Ch 2. Work 24 dc. Sc 35 times around the chained handle (stretch stitches to fit length of handle as needed), reconnect to bag with 1 dc. Work 24 dc. Sc 35 times around the second chained handle. Reconnect with a dc and sl st to the top of ch 2. (50 dc, 70 sc)
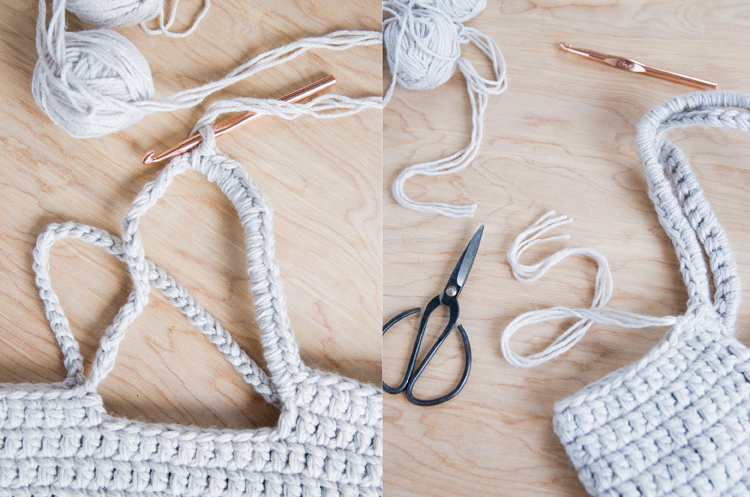
Cut an 8-10 inch tail and tie off end.
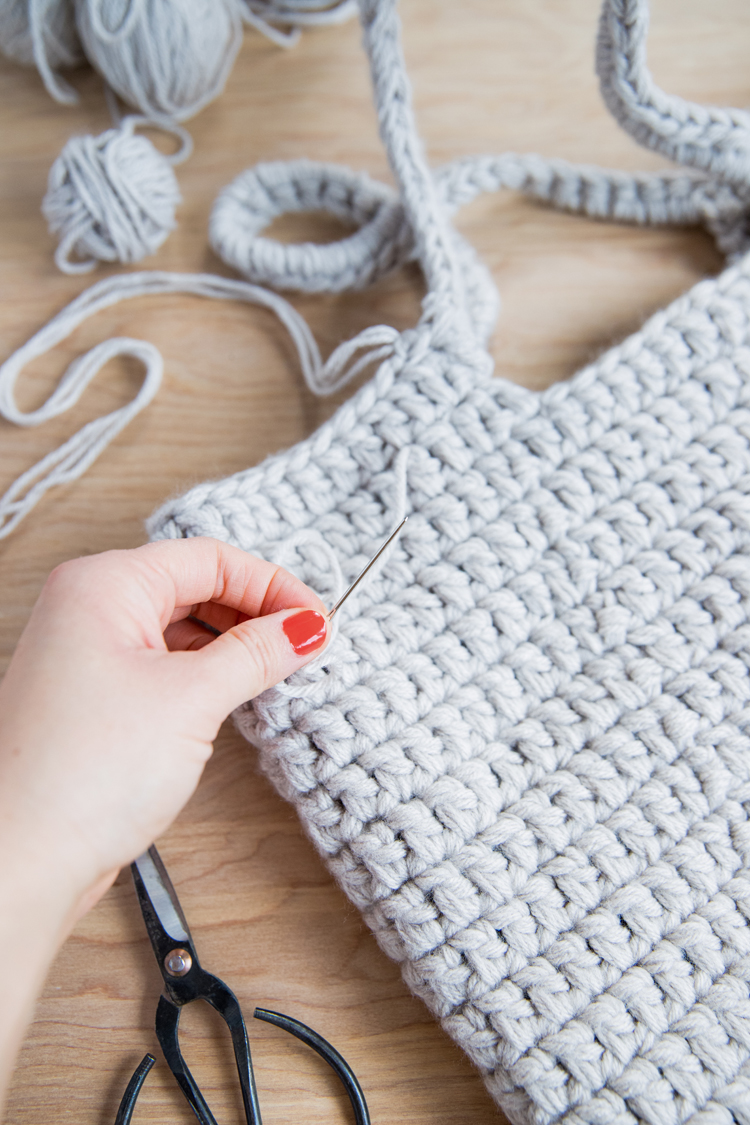
Using a yarn or tapestry needle, weave in each tail strand separately. Don’t forget the tails at the bottom of the bag.
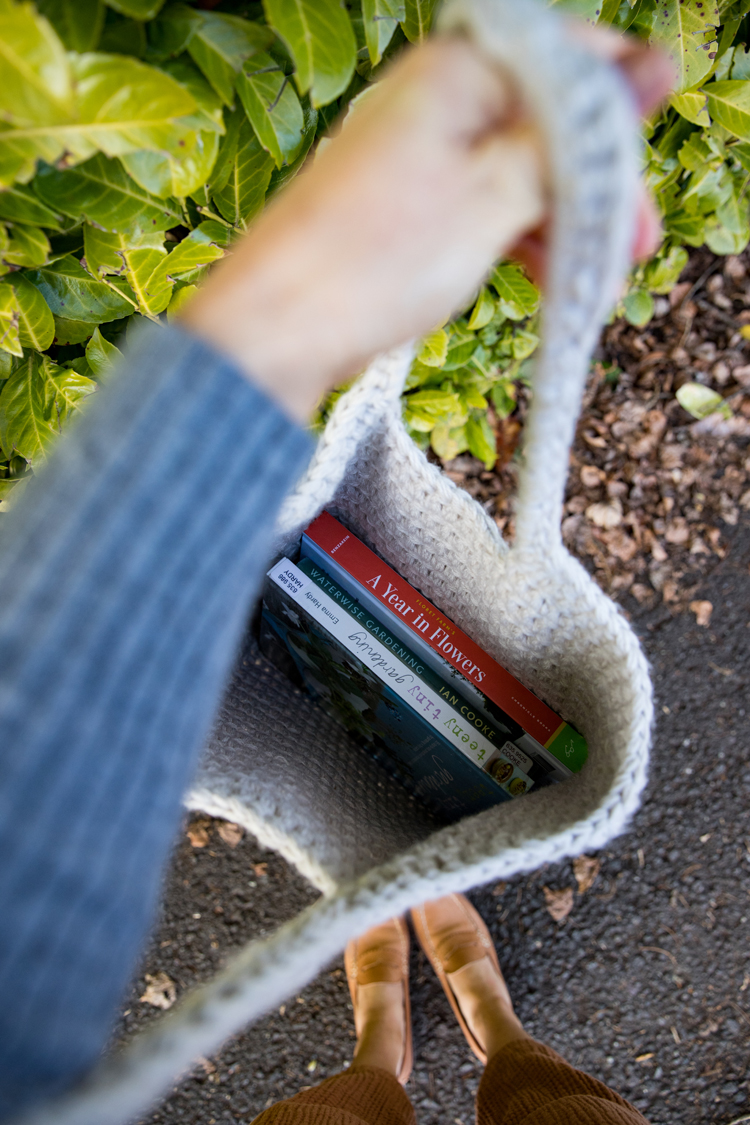
And you’re done!
For more crochet projects, check out my other patterns and tutorials here.
If you have any questions, feel free to drop a comment so all can benefit. But if you need a more immediate answer, like if you’re in the middle of the project and get stuck and need to get it done to give as a gift (I’ve been there!), please email me: [email protected].
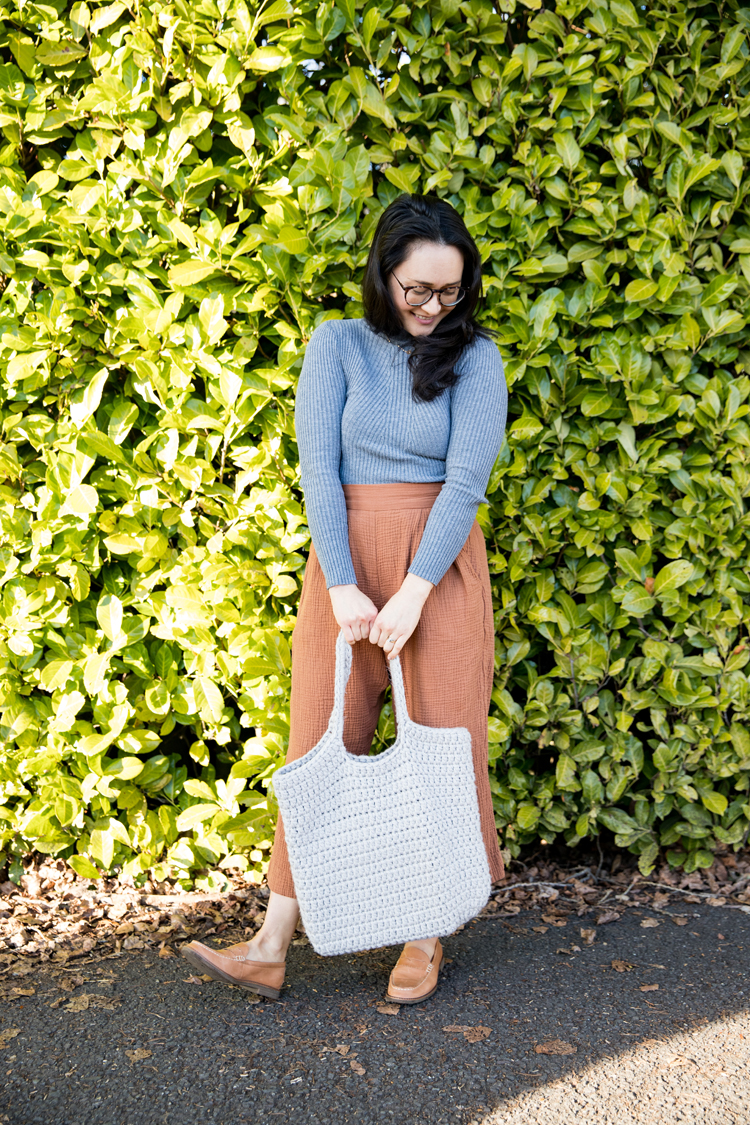
P.S. I sewed my pants! The pattern details are in this post.


Fun project! Thanks.
So nice to see a post from you!
YOUR VIDEO DOESN’T WORK
I’m sorry you’re having trouble with the video. There’s a couple of things that could be happening. 1. If you are using an ad blocker or a web browser with an ad blocker, the video will not show. 2. The video will pop to the side or top of your screen and play an ad first, before the tutorial begins. It can look like just another ad, but if you wait a few seconds, the video will start. If neither of these scenarios applies, please let me know and I’ll try to trouble shoot the issue to get it working for you.
If you want a faster response, please email me: [email protected]. Please be mindful that I am a one woman show behind these operations. When you email me, you are emailing me…Delia. 🙂 I may take a day or so to respond. Again…sorry you’re experiencing problems with the video. I hope we can resolve them.
I’m working on this right now and I am really enjoying it. I was so happy to see you back. Thank you!!
Aw thank you! I am so happy you’re enjoying this project. Thanks for sticking around during my absence. <3
Will the bag be too stretchy when finished due to the worsted weight yarn. Would a cotton yarn hold the shape better?
Because you are working with four strands at once, and crocheting it very tightly, it doesn’t stretch too much. Using an inexpensive acrylic yarn works great, but using 100% cotton yarn would make it even sturdier if you want to do that. It is just more expensive.
I followed the directions exactly but somehow the handles are not parallel to the shape of the bag – as in, they’re on the opposite side? Any idea how I managed that because I’m stumped lol!
Emily…I am so so sorry that I just saw this. Please message me on instagram (@deliacreates) or email me ([email protected]) for faster response in the future. So, the seam of this bag jogs at a diagonal, which I accounted for in the pattern. If your seam does not slant and is more upright, then you will end up with misplaced handles. The best part of crochet is that you can simply pull it out (frog it) and make adjustments so that it looks correct. Pull it out to the handle rounds and crochet around the side of the bag to just before the center (use your best judgement), follow the pattern for the handle portion only, and then crochet around to the other side to completing the second handle. If you need more personalized help, feel free to message or email me.
I too had issues with the handle alignment, but managed to figure it out. I made this for my cousin and will now have to make one for myself.
Hi, are these terms US or UK?
All my patterns are US terms. I really should start adding that to my patterns. I am sorry for the confusion.
Hi, this looks beautiful! I want to make this but am wanting my bag to have slightly different dimensions.
Your bag is 17 inches wide by 15 inches tall. I’m wanting to make it 15 inches wide by 16 inches tall. In this case, should I just skip round 4? So that it’s not as wide before I start lengthening the bag? I’m assuming I can just add another round to make it a little taller.
I’m also wanting wanting the handle to be longer so I’m assuming I can just chain a little more?
I’m a beginner so am not sure about adapting patterns just yet! Would appreciate any help 🙂
Great questions! (So sorry I didn’t see this sooner.) I would actually shorten the starting chain rather than skip round 4. This will make the bag narrower from the start. If you want it be two inches narrower I would take off maybe 4 chains. To make it shorter, omit one round just before you split for the handles. You are spot on with your instincts about lengthening the handles. Just add more chains. Take care to stretch it a bit though as you decided how much to add, as it will stretch some once you stitch over it and as you use it.
I hope that helps! 🙂
Thank you for sharing!♥️
I made a smaller bag using your pattern.
So fun! A mini version sounds so cute!
I’ve been excited to start this project and just did tonight. Is there a trick to help the 4 strands of yarn not wind together as you pull more yarn for the project? I’m glad you’re back too 😘
Thanks Erin. <3 That is a good question. The yarn can get tangled but rolling them in balls first helps a lot. Sometimes you have to separate them and roll them across the room away from each other, or keep them in their own vessels/yarn bowls so they don't cross each other. I hope that helps. If not, message me on instagram (@deliacreates) or email me ([email protected]) and I can try to help you troubleshoot the issue.
I put each ball in a gallon zip lock bag and that worked great to prevent tangling!
That is SO smart! Thank you for sharing that tip.
Hi Delia,
I’m currently working on the Sturdy Market Tote, but am looking ahead to try the 4 strand tote to be more economical. I noticed the Round 3 pattern is a little more complicated for the 4 strand tote. Could I just follow the entire Sturdy Market Tote pattern, but use 4 strands of worsted yarn? Thanks! I’m a total beginner and this is the 3rd project I’ve done using your tutorials. They are so easy to follow and so far so good with results! Thanks so much!
What is the most secure way to add new yarn to a bag project? I want to make sure it doesn’t unravel while also not being able to see it….
The most secure way is to use a fisherman’s knot or “magic knot.” It is not 100% invisible but it’s pretty close. It’s also very secure as long as you get the knot tied correctly. I have a tutorial you can follow here: https://www.deliacreates.com/magic-knot-tutorial/