One thing we have resolved to be better at as a family this year is planned family nights.
In our church, strengthening families is paramount, so we are asked to have one night a week dedicated to our families called Family Home Evening.
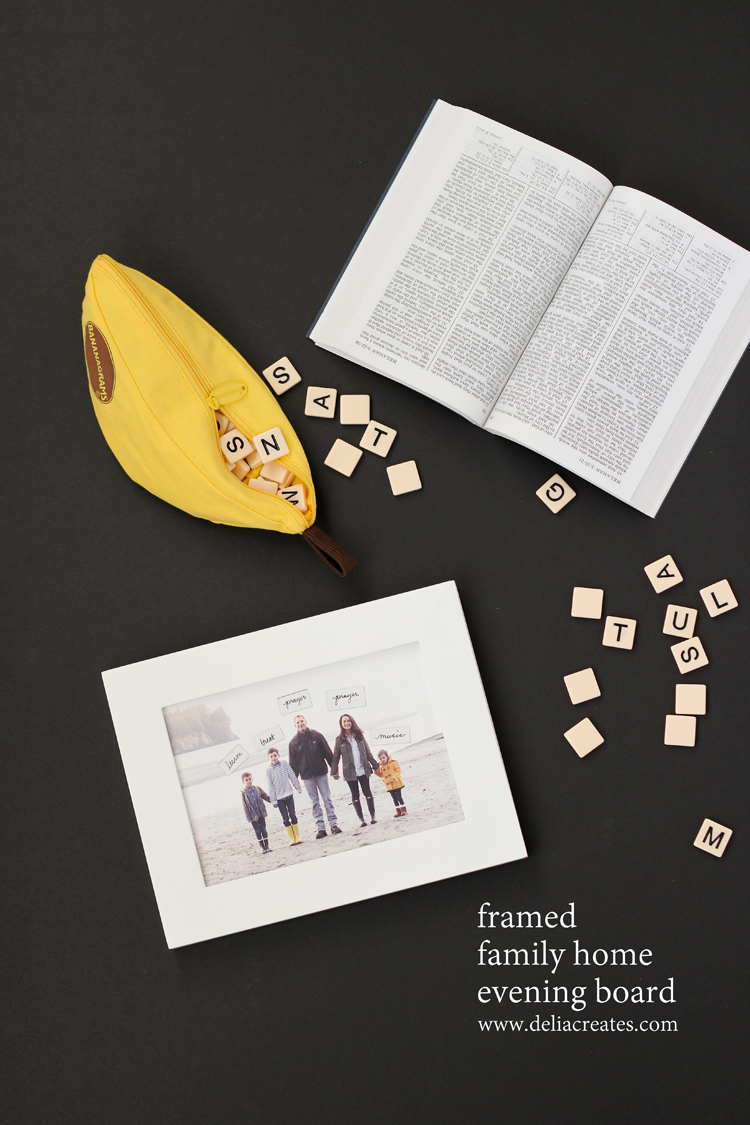
So far, we’ve mostly been reteaching a lesson we had in church on Sunday, and playing a board game while we munch on mini marshmallows because we forgot about dessert (which are also often stale…ha!). What started out as a quick fix in a pinch, has turned into our usual MO.
To create more memorable and impactful family nights, I know we have to start delegating to the kids again.
We had a family home evening board (FHE) which I shared a few years ago, but it got a bit warped in our last move so we just went without one for a while. As you can tell, I like non-traditional FHE boards.
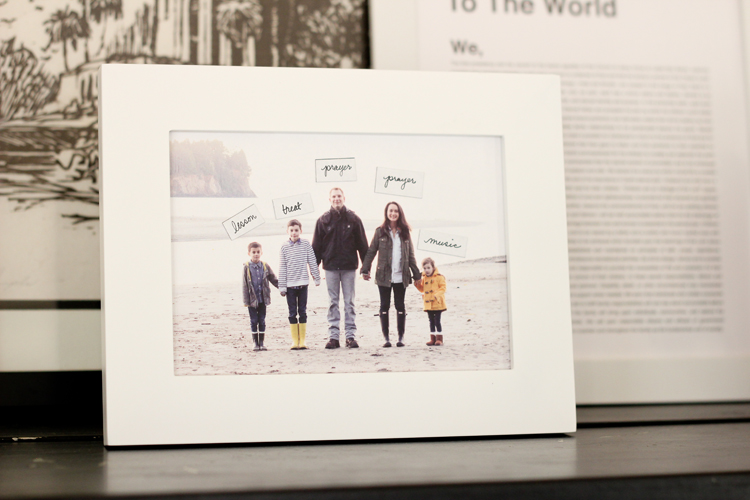
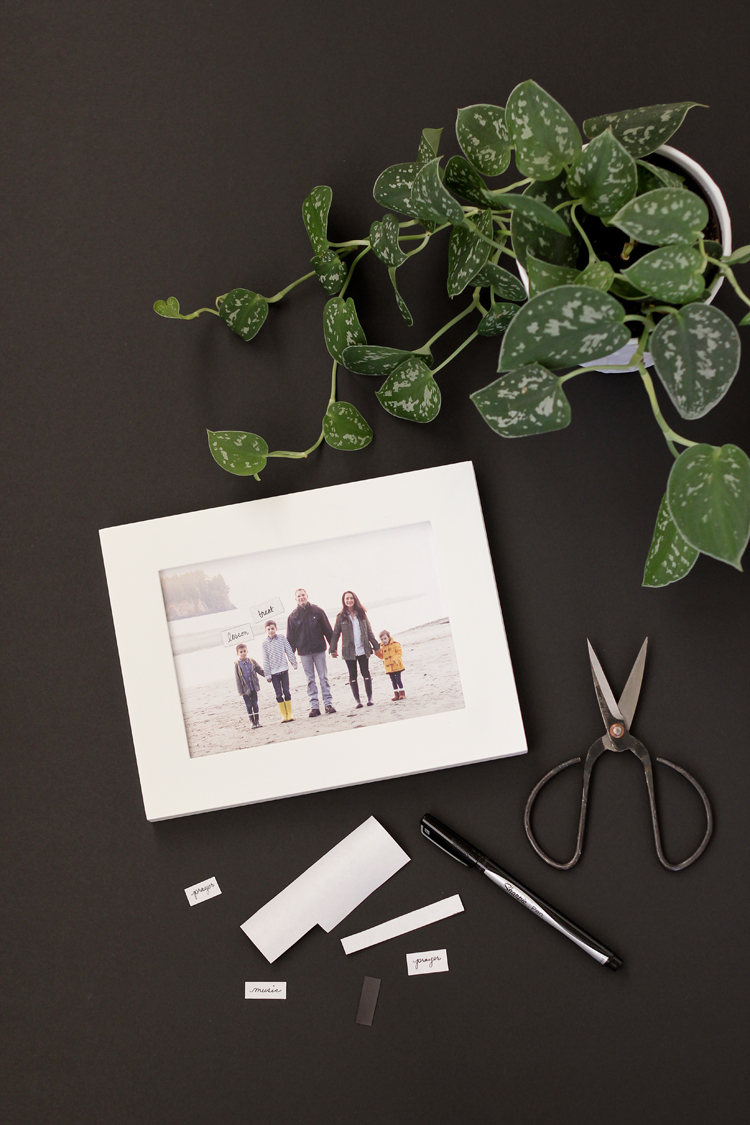
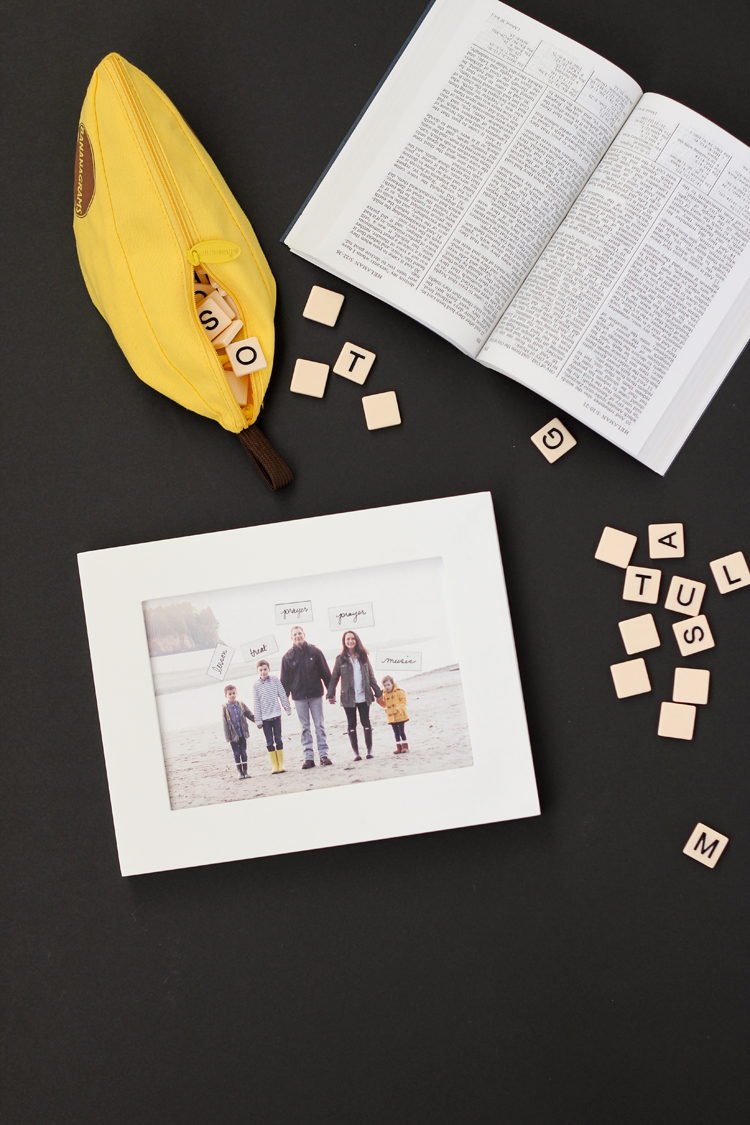
It’s important to me, that it looks harmonious with our current decor, so I like to use family pictures that I would display anyway. I decided to go smaller this time and make an FHE “board” out of this 5 x 7 inch frame.
MATERIALS
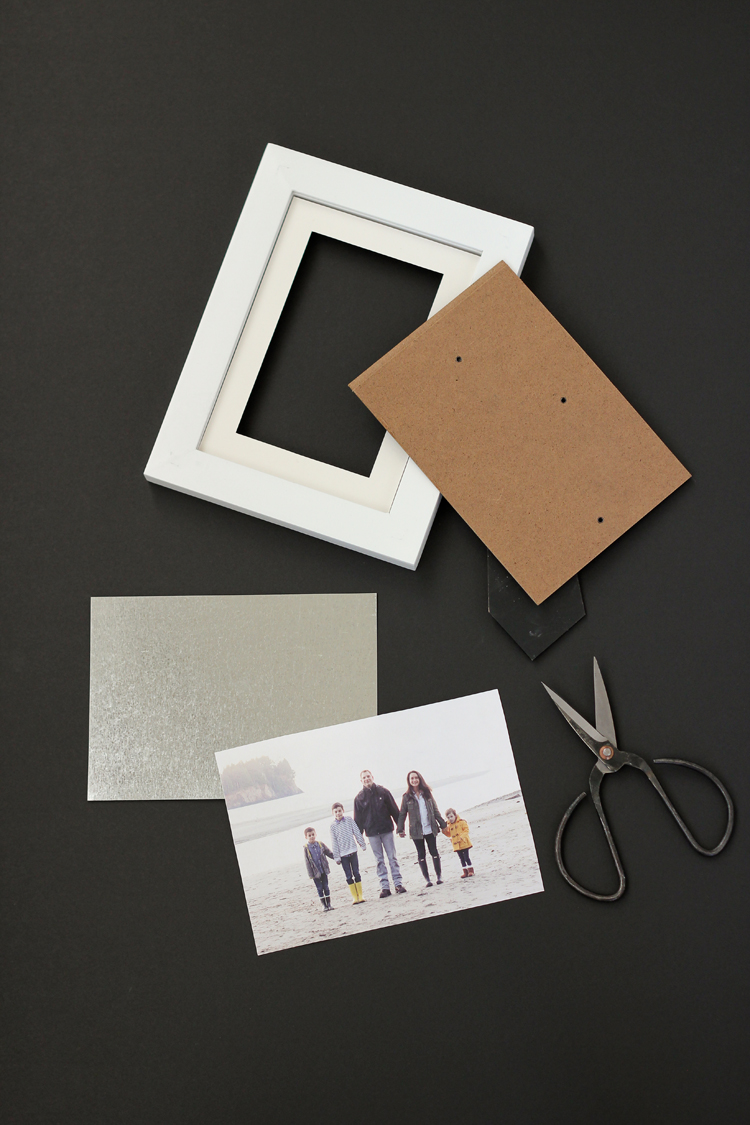
- frame (5 x 7 or larger)
- galvanized metal flashing to fit the frame (optional)*
- magnetic sheets (I got mine at Michaels)
- scissors and paper cutter (optional)
- printer or fine tip pen
*I bought a 20 pack of flashing years ago at Lowe’s. When I went to look for it again, I could only find flashing in 100 packs, which is um…way too much! So, unless you want to split a pack with 99 friends, you could also cut part of your magnetic sheet down to the size of your frame instead. If you do get the flashing, make sure it’s galvanized which means it’s magnetic.
TUTORIAL
STEP ONE: Print a family picture.
It works best to choose a picture in which you’re spread apart a little bit. This picture is actually from a year ago, but the spacing is perfect so I’m keeping it for now.
Be sure to print your picture on thin copy paper. The magnetic paper may not be strong enough to work through thicker photo paper (at least mine wasn’t). If you print it off at a print shop, rather than on your home inkjet printer, you’ll likely get a picture that is pretty close to, if not just like, photo quality.
STEP TWO: Prep the frame.
Remove and discard the glass. Now layer the mat (if there is one), the flashing or magnetic sheet, and paper picture into the frame. The paper picture should be in front and right over top of the magnetic surface.
STEP THREE: Make assignment magnets.
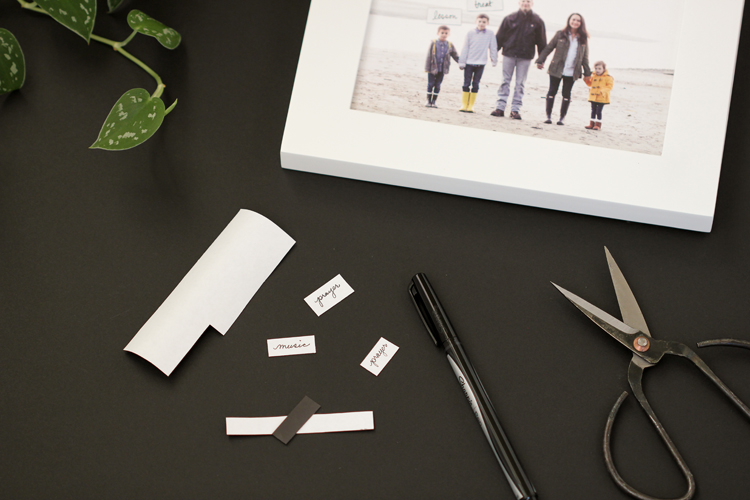
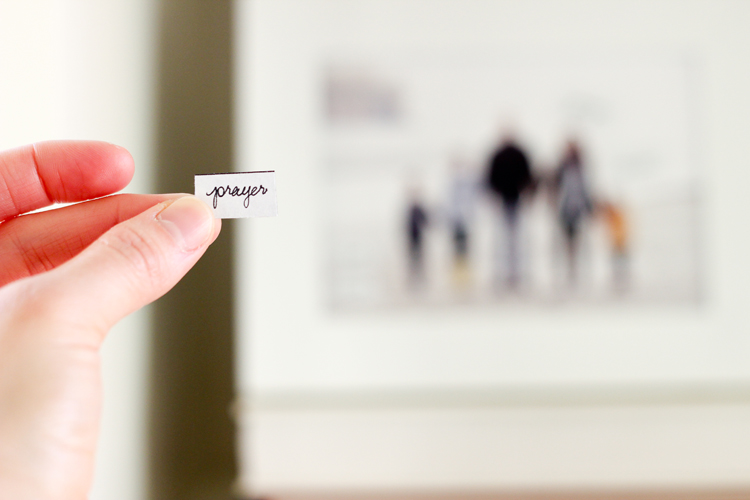
Either print or write your family night assignments on the magnetic paper and then cut them out into small rectangles.
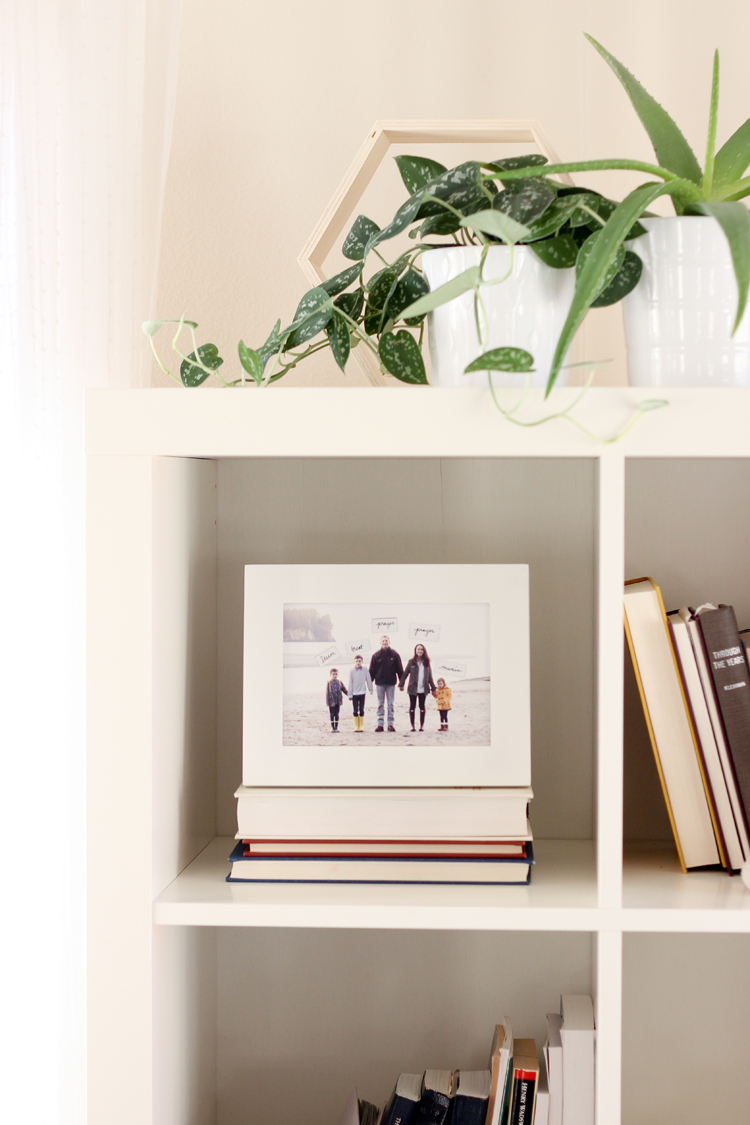
Assign away! You’re done!
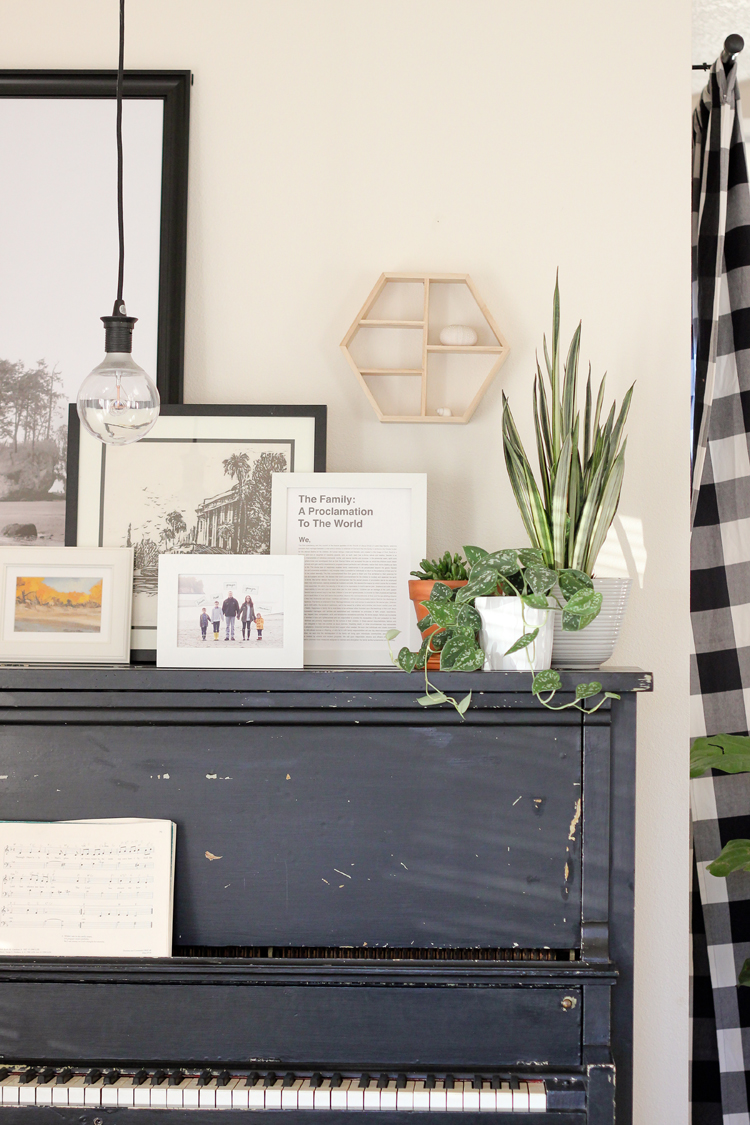
Now, to decide where to leave it. On the bookshelf or the piano… 🙂


Leave a Reply