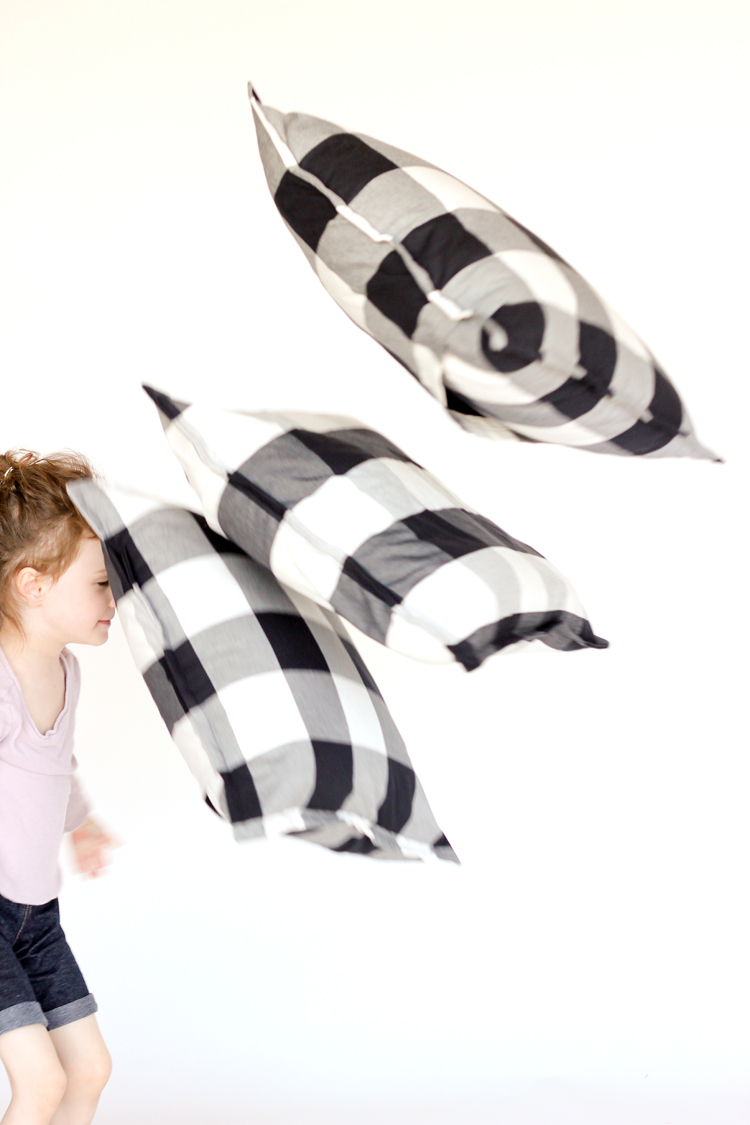
I’m a sucker for lots of throw pillows. 
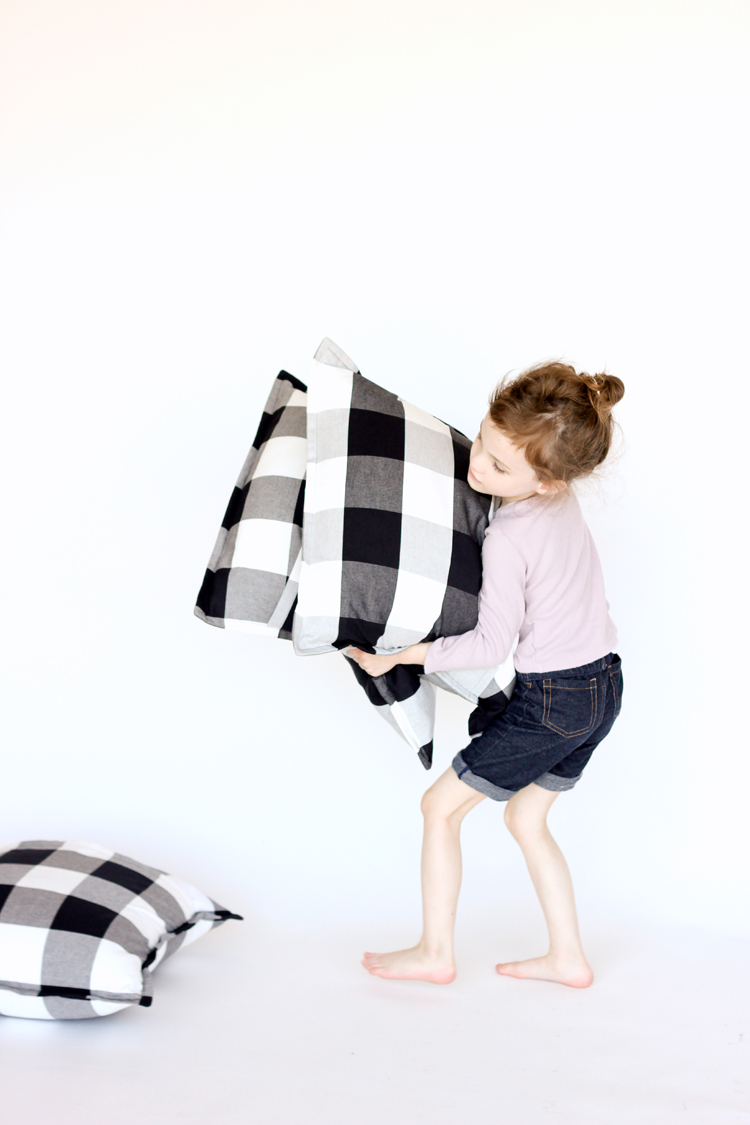
My husband hates them and thinks we have too many pillows. I don’t think we have enough, and the kids agree because they like to use them to build pillow forts. So… majority wins around here. 😉
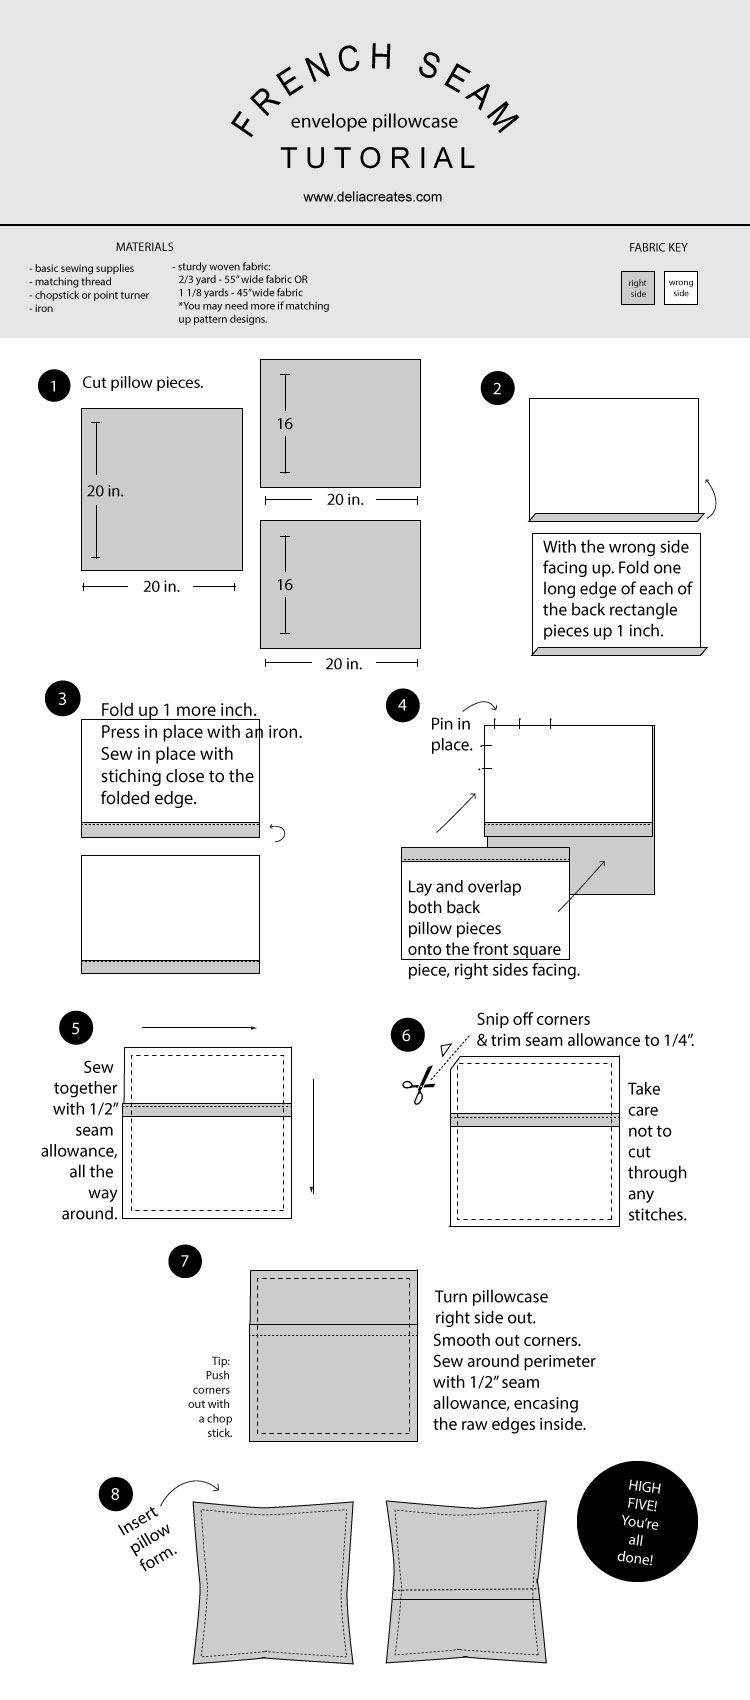
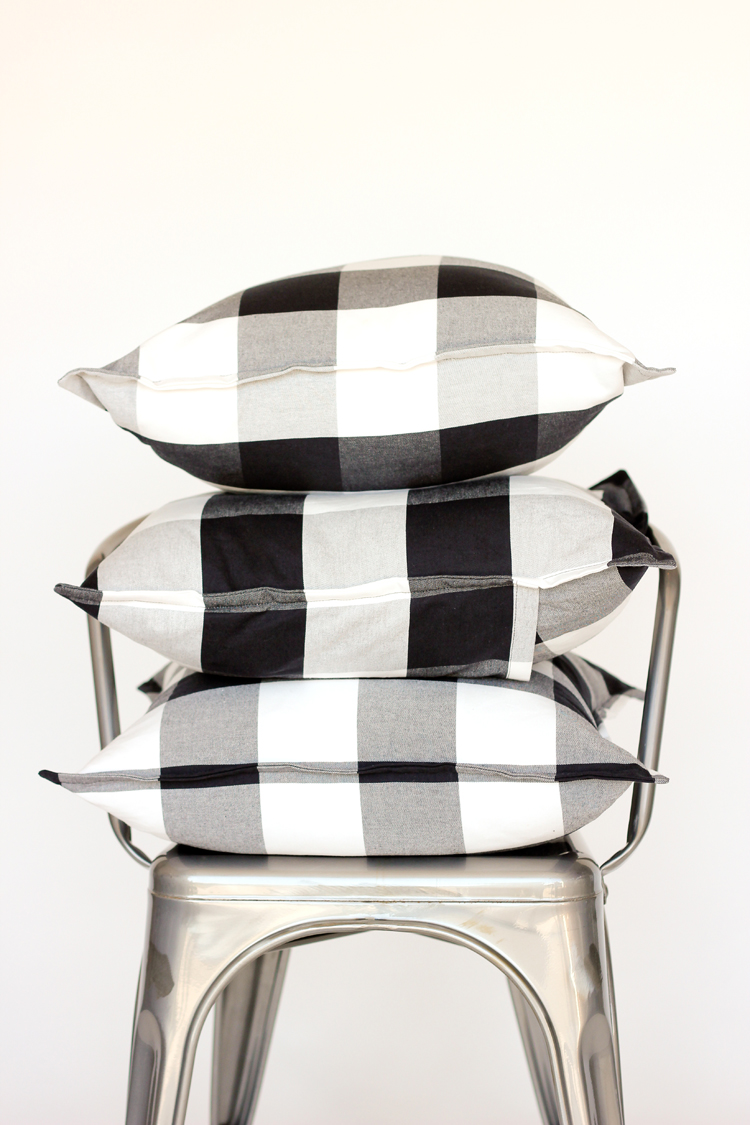
Typically, I use my basic envelope pillow case tutorial, but this time I thought I would shake things up a bit and add a French seam detail.
 French seams sound fancy, but essentially all they are, are sewing one seam to encase a another seam. It’s actually easier than the basic envelope pillowcase version, if you ask me, and there are zero raw edges to finish. Wins all around…maybe except for my husband. 😉
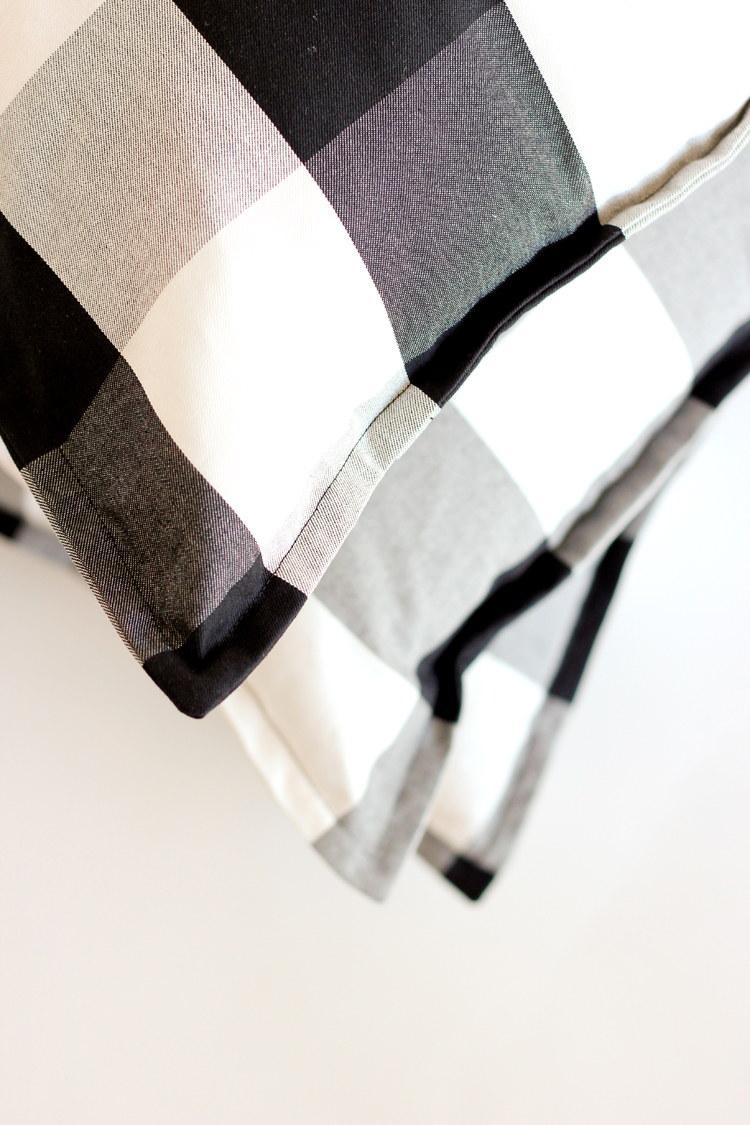
Usually with French seams, you want the seam to hide on the inside, but for this pillowcase, we’re using the seam as a design detail. It’s gives the pillow a little border, while also encasing the raw edge of your initial seam.
Let’s get started…
Note: This is for a 20″ inch pillow form. Measurements given are for a pillowcase slightly smaller than that for a snug fit.
Easy, right? Once you get an assembly line going, you can pound out a bunch of these in no time.
If you want to save even more time, and make the sewing steps easier, choose a solid color fabric for the back pieces. This eliminates the need to match fabric patterns, which can be the most time consuming part of this project. It can also add contrast and interest to your pillow design!
Obviously, I didn’t do that this time, but I’ve done it before and loved it. It makes cutting and sewing so much faster and stress free (and great for beginner sew-ers!).
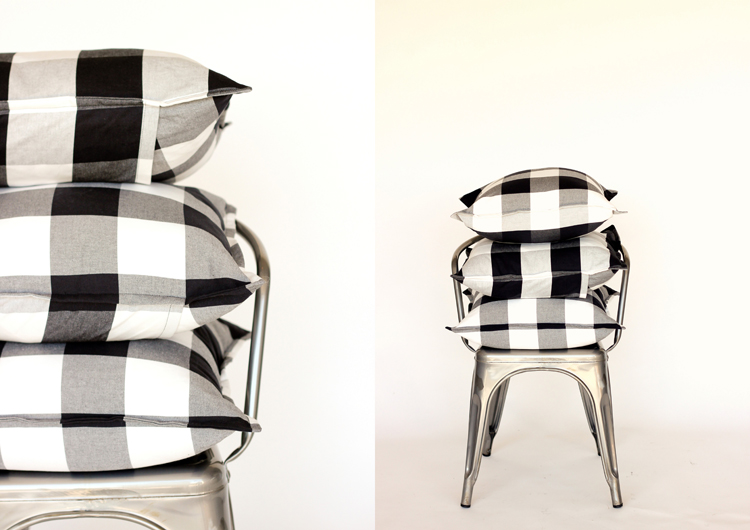
The fabric is from the Berta Ruta line from IKEA. I made our kitchen drapes from it too. Sadly they are phasing out the black and white gingham, but keeping the beige gingham. So, if you see it at your local IKEA, snatch it up while you can! 🙂
Happy pillowcase sewing friends…<3






Love it! But I especially love the fabric. Where’d you get it?
Thanks Erin! I can’t believe I forgot to put that listing. Thank you so much for reminding me! It’s Berta Ruta fabric from IKEA. Sadly, they are phasing out this black and white gingham, but I believe they still have it in beige.
Love these!! Where is your favorite place to get pillows? I usually get ours at Wal-Mart when I want to have a large pillow like a bed pillow but the actual throw pillow sizes and pillow forms are so expensive. Guess it would be cheaper just to get stuffing or use the bed pillows? Sorry I’m rambling lol.
Great question! I would say I like the down pillows from IKEA but we just found out that my oldest is allergic to down feathers. So, my next favorite place to go is Jo-Ann or Michaels because I can use a coupon. Ikea’s new non-down pillows are pretty good too, but in personal experience, they don’t keep their fluff for very long. Hoooowever…I really like where you’re going with using bed pillows. I wonder how easy it would be to sew it down into a square shape? You could always adjust your pillow size to fit however big the pillow is. Might even look more expensive because it’s a bigger, custom size? Hey, hey!
I’ve never been to Ikea but I’ve seen their stuff online. The closest one to me is about an hour and a half away. I do like their stuff tho. Yes the softer filled bed pillows work best for making them whatever size you want because its easier to sew. If you figure out where you want the seam to be, draw a line all the way around. Then you have to kind of push all of the stuffing to the sides. (Kind of like before you open a packet of ketchup you make sure all of the ketchup you make sure its all pushed to the side.) Then carefully cut along your marking on one side. (Only cutting the fabric and not the fluff.) Then push the fluff in more so it’s easier to cut the other side. Flip it over carefully and cut the other side. Then you just turn in a small seam and pin together. Now you can sew it up on the machine and there you have it. Ready to cover in whatever you choose. Hope this helps.
Thank you for sharing all of your ideas with us. I really enjoy your site. Cute model you have too. I’m jealous of her beautiful long lashes lol. Have a great day!
Oh…you must go! 🙂 Thanks for the tips on sewing a bed pillow into a throw pillow. That’s genius!
I love the gingham! Thanks for the tutorial…I just might have to give it a go!
Thanks Holly! Happy sewing! 😉
Thanks for the tutorial! I have sewn pillow covers for years, but I had no idea what a French seam was or how easy it is to sew one. This will add some great variety to our living room pillow collection! 🙂
You’ve got one of those too huh? 😉 Isn’t it crazy how easy French seams are? And the results are (thumbs up). So great. Glad you like the tutorial! Thanks Kelli!
So what size pillow forms? 18″? Very cute. Fabric.com has the black and white buffalo check fabric for about $9. @yard. Thanks for the tutorial. Very cute!
Good question! This is for a 20″ pillow form. I like to make the pillowcase a little snug because I think it looks cleaner and it helps it not look droopy as the pillow starts to lose it’s plumpness over time. Thanks for the tip on the fabric!
I like the flanged look and hidden seam allowances are always a plus! I love that you matched up the gingham along all the edges- beautifully done!
OMG I love these! They’re on the list! The finish is so professional I can’t believe how achievable this looks. xx
Thanks Elsie! It is really so easy! <3
Thank you for the detailed description to make the cushion. I love the idea of the French Seams on the outside, they finish it off lovely. Is it possible to print off the pattern?
Thanks Liz! It wasn’t designed to be printed, but you could copy and save it to a document for personal use if needed.
If I were to make these with a 14 or 16 inch pillow, what measurements would I use?
Good question! I like my pillows really full, so for my 20×20 inch pillows, I cut my fabric that size. Once I sew it and about an inch all the way around gets eaten up by seam allowance it makes the pillow more like 19×19, but it also looks fuller and prettier. That is what I would recommend for any size pillow. For the back pieces, I like them to overlap about 4-5 inches. So you divide your front measurements in half and add 6 inches. This allows for 2 inches to hem the raw edges and for seam allowance. For a 16×16 inch pillow form, I would cut 1 16×16 inch square and 2 14×16 inch rectangles. Does that help? Let me know if you have any further questions, and I’ll try to answer quicker! 😉
Thanks Delia! I have some Harry Potter fabric that I don’t know what to do with! This looks like a great idea.
Ooh, fun! Harry Potter fabric! That sounds perfect for a pillow!
Love the pillows. I have some fabric that is reversible and I’d like to do a version that can be turned inside out. I thought French seams would be perfect for the look you made on one side and a more traditional look on the other. Any suggestions on whether you think this will work? Thanks!
That’s a great idea! You may get some bulkiness at the corners when it’s flipped to the other side, but if you trim the corners before sewing the French seam, that should keep any bulk to a minimum. I would love to see your pillows when you’re done! If you share them on social media, please tag me: @deliacreates.
Worked like a charm!!! And rather than running out to by fillers I tried the bed pillow trick. Couldn’t get it quite square (18×20) but I was fine with that and it was a great use of extra pillows I had laying around (I tend to pick them up when I find them on sale). If anyone else wants to try it, just be sure to turn one side up on one of the short pieces and the other side on the other and make sure you match them up when sewing together. If I can figure out how I will send pics. Thanks for your help!!!
Ooh smart! I would love to see pics. You can email them to me [email protected] or tag me on social media: @deliacreates if you want.
This was such an easy tutorial, thank you! My pillow turned out beautifully, thanks to your help! I love the clarity of the pictures and instructions! On to the next one!
Thank you Michelle! I am so glad you found it helpful!
I know this post is old, but I was curious if you had any idea what kind of measurements you’d need if you added a zipper on the back instead of the envelope?
Good question! Because there is no overlap, I would take half of the pillowcase width measurement and then add seam allowance for attaching the zipper. I like to have a wider seam allowance with zippers, so I personally would add 5/8 or 3/4 an inch. I would also make the zipper portion shorter so that it doesn’t run over into the french seam. I hope that makes sense. Let me know if you have any further questions.
Is it possible to get a PDF of the instructions for this wonderful pillow? The images end up being very small when I try to make a copy. I would be willing to pay for it. This project is wonderfu.
I’m so sorry that I just saw your comment. I also apologize but I don’t have a PDF version available. It is an older tutorial and I don’t believe the original adobe illustrator file would be supported even if I found it. I wish I had a better answer for you. I was able to click on the image from the post and then zoom in to enlarge it on my laptop screen if that helps?
Created two of these today! What a simple but classy element to add to a pillowcase on the French seams. I have been working on garments lately and they always talk so much about pressing between each step, so I took that technique and applied to this pattern, which I feel created a nice finished touch. I would recommend adding that to instructions. Also if anyone is looking to liven up a flat pillow (I had a down pillow without enough floof) just reduce the size of the pattern pieces by an inch at each dimension.