Is it me or has baby stuff gotten cuter since I had my babies? I mean, my “baby” is only 5, and even in that five years, I swear all the baby things have gotten even cuter and better.
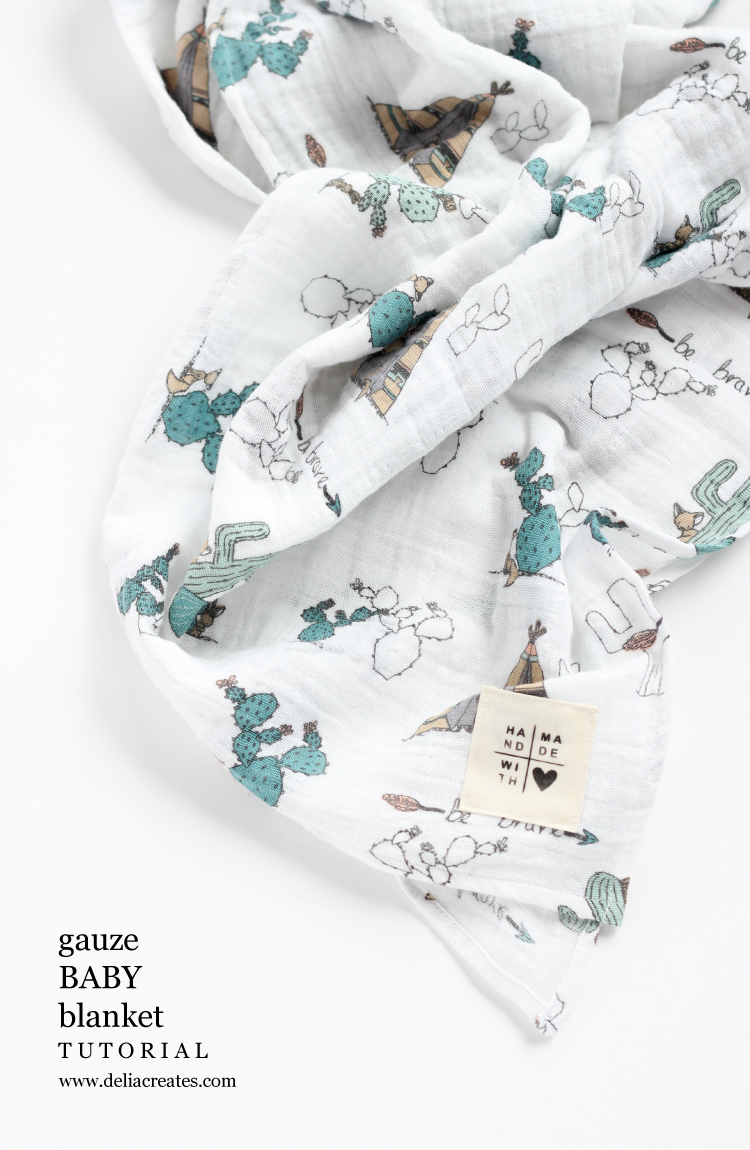
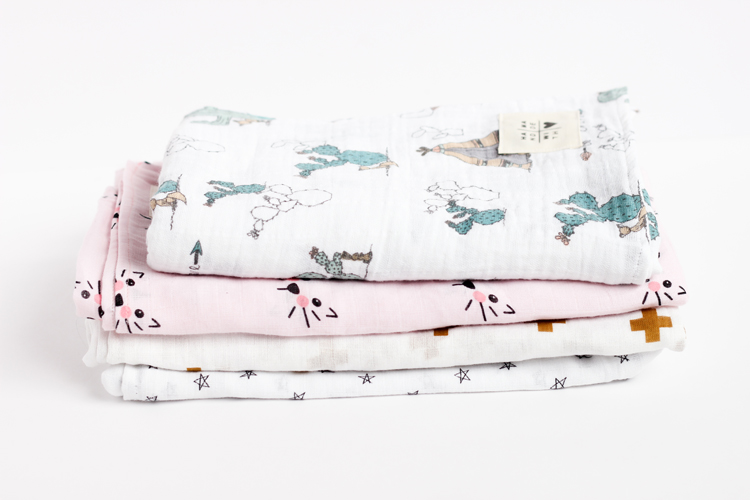
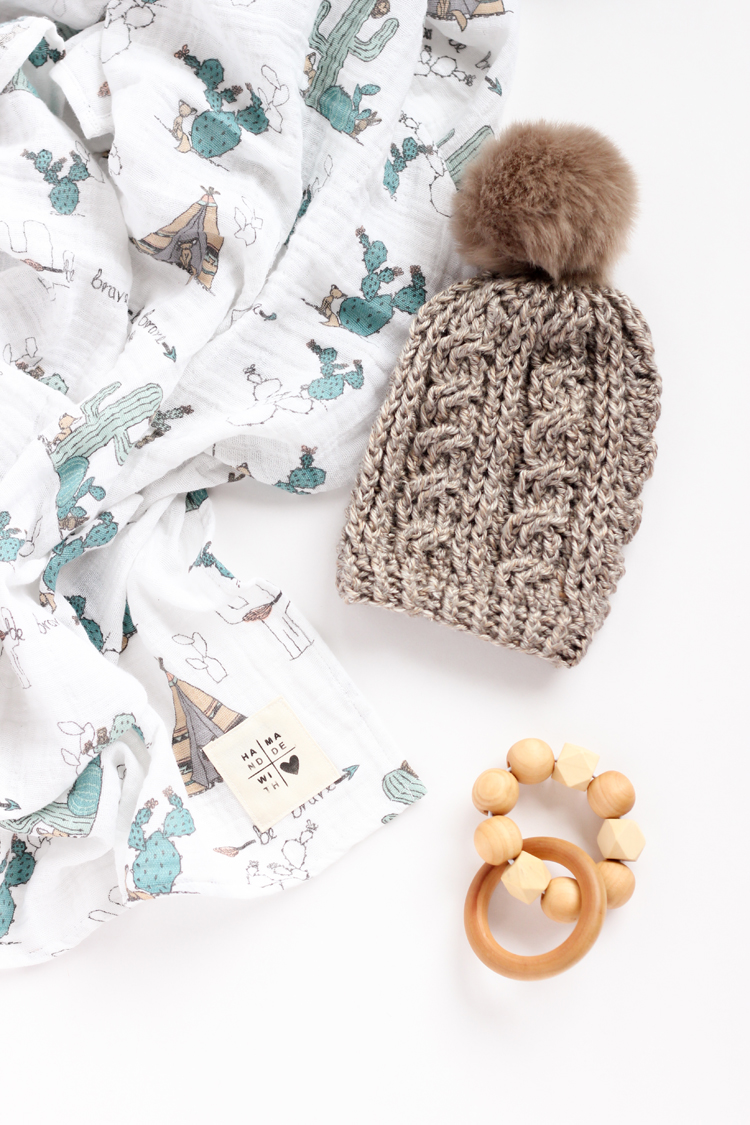
Like where was this adorable gauze swaddle fabric five years ago?
Isn’t it adorable?
I figure, if my kids can’t enjoy it, I better make sure my niece can. She is supposed to make an appearance any day now actually…exciting stuff!
Please note that this post contains affiliate links.
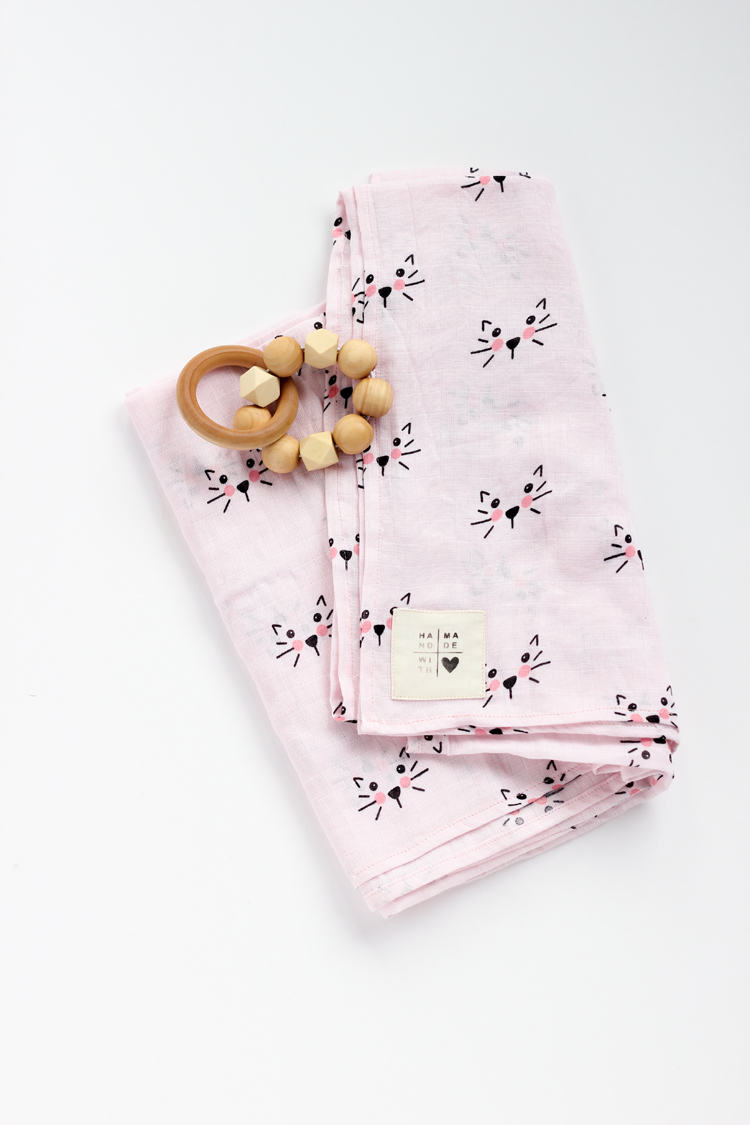
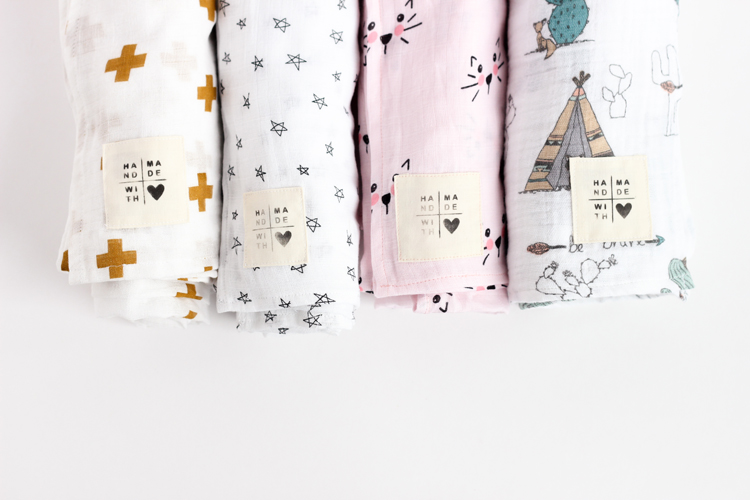
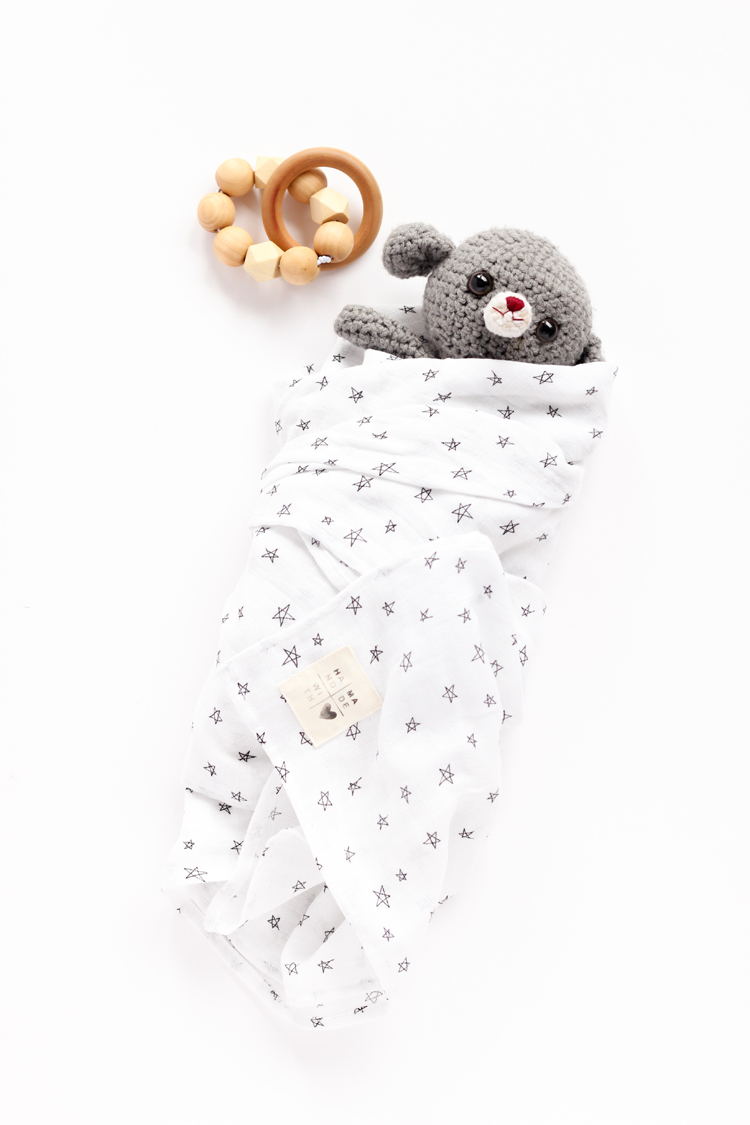
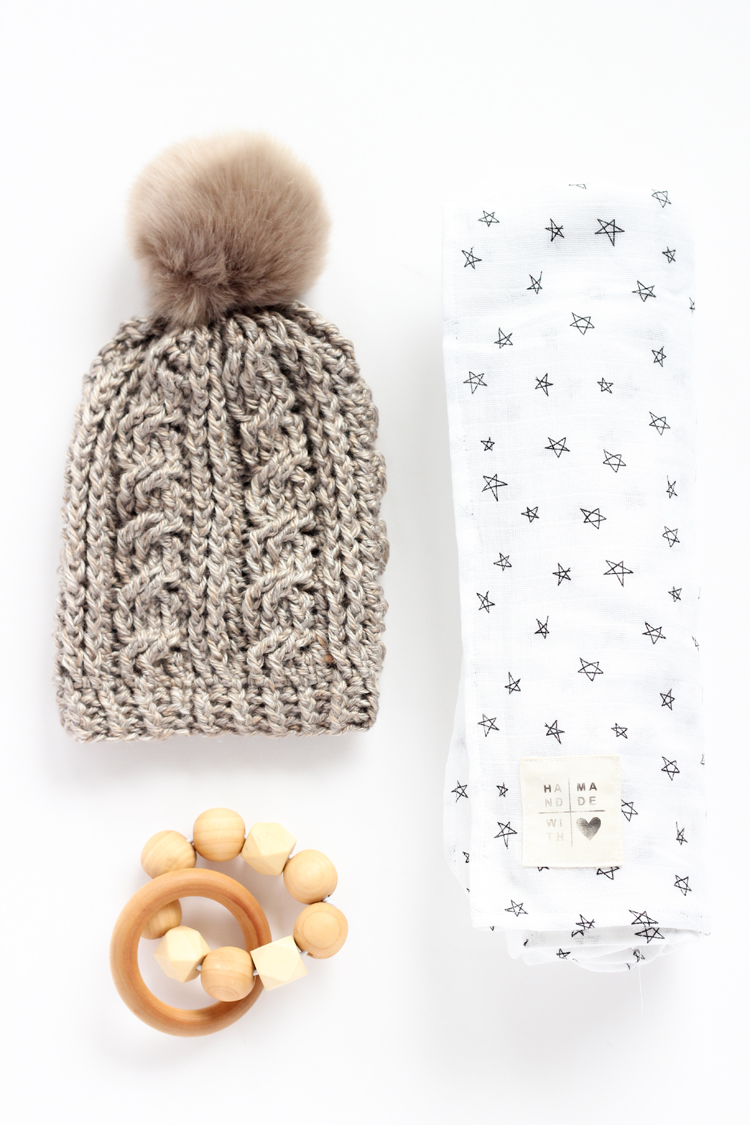
I’m pleased as punch to say that my dear friends from Simple Simon and Co designed the kitty and star fabric for Riley Blake. I’m in love with their clean, minimalist designs. If you are a long time reader then you know that star fabric is RIGHT up my alley.
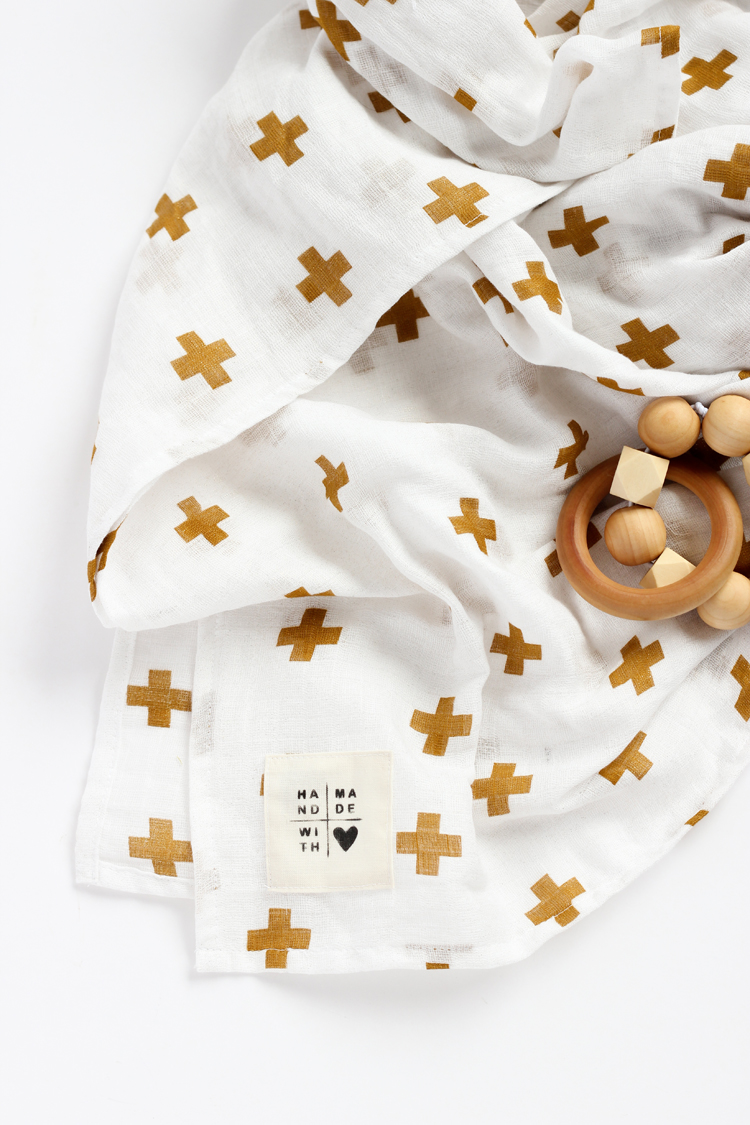
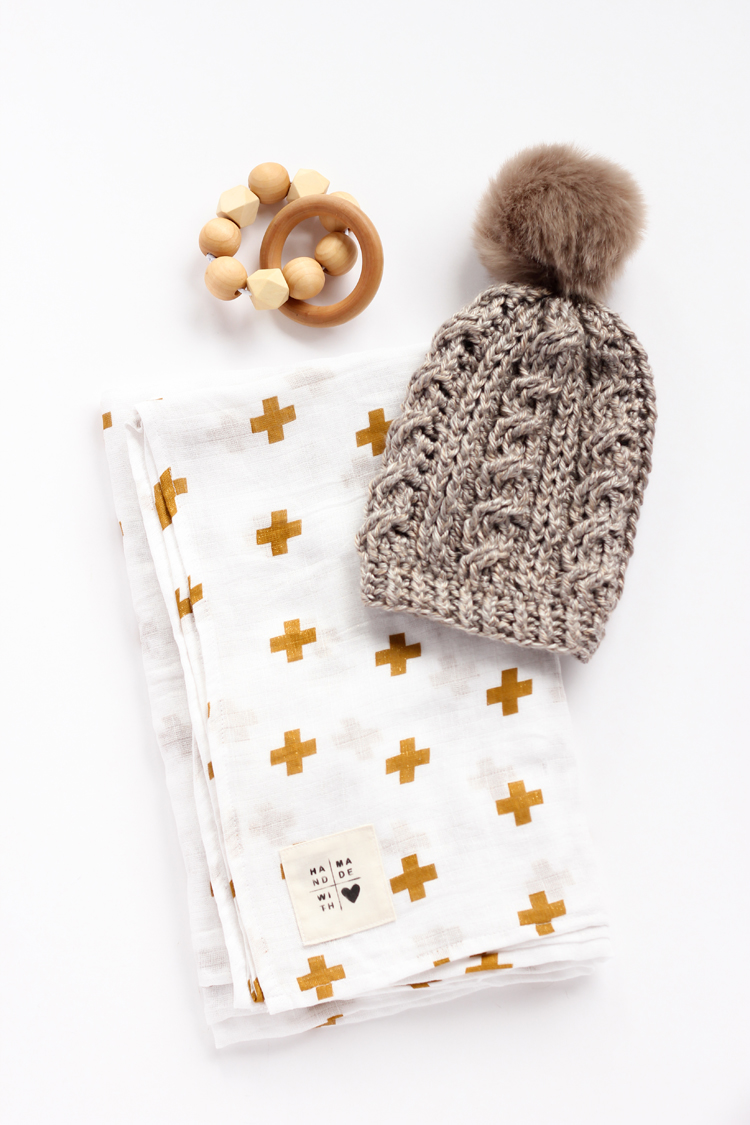
 The gold plus sign fabric is Cotton + Steel for Riley Blake. Along with the other two Riley Blake gauzes, it is a very thin double gauze that is well suited for summer weather or layering. The Gold plus fabric also has a gold sheen on one side, that is not as soft as the other side. Not a deal breaker, but something to note.
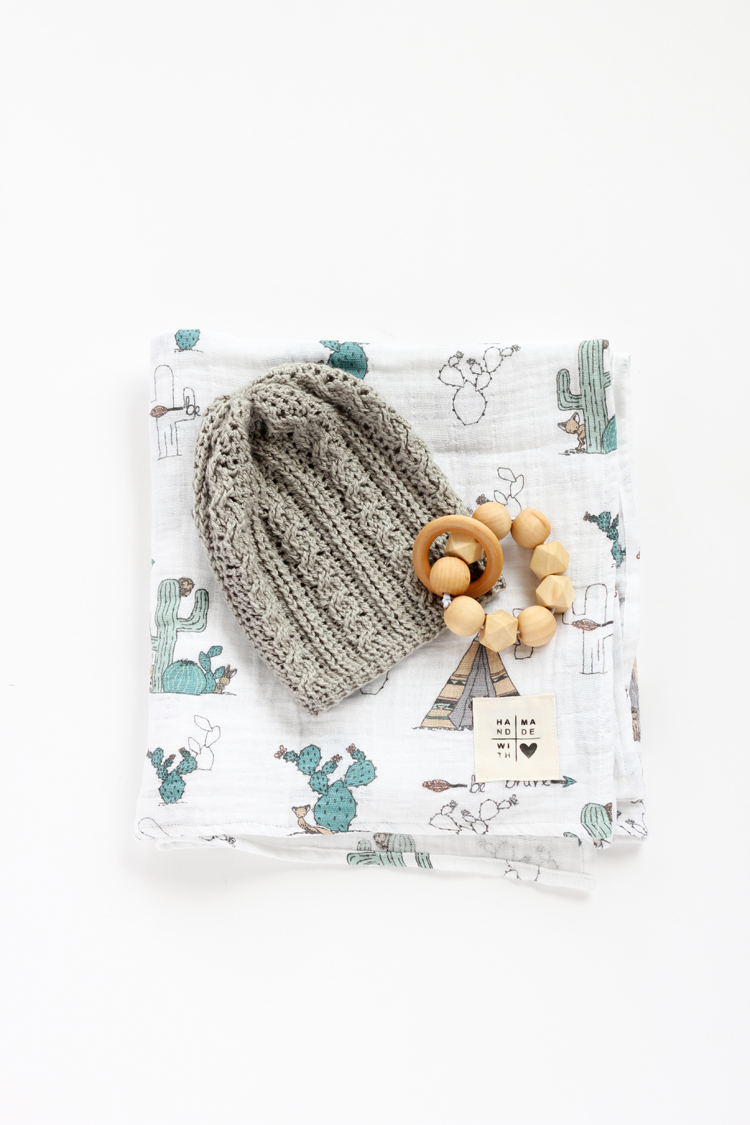
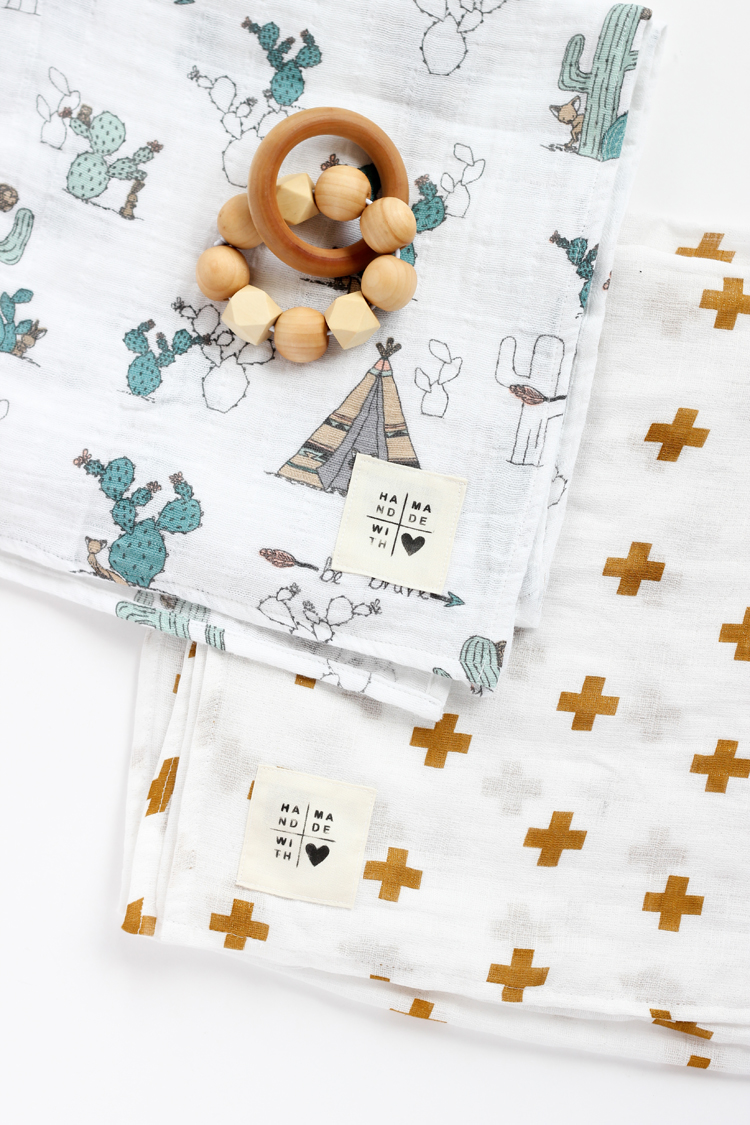 The last print is from Shannon Fabrics and it’s called Young and Brave. It’s really cute and it’s a nice, thick double gauze that crinkles up really nicely. Really, really…I say really a lot. Ha! But really ;)…I’m a fan.
On paper, these blankets are a cinch to make… but gauze wrinkles, stretches and can be a little fussy, so I’ve included some tips to keep it an easy sew.
First things first…
MATERIALS
- Double gauze fabric*
- Matching thread
- Iron
- Scissors (skip the rotary cutter this time)
- Optional: Walking foot
*Your goal is to make your blanket a square, so to determine how much fabric you need, first find out how wide it is. The Riley Blake gauze is 58″ wide, and the Shannon Fabric gauze is 48″ wide. That is about 1 2/3 yard and 1 1/3 yards respectively. Now factor in some shrinking. Gauze is made of cotton so it will shrink after washing. I like to add about 1/4 yard to account for this and for any crooked or off grain cuts.
STEP ONE: Wash and dry fabric.
This washes away the sizing on the fabric, it softens it up, and brings it true to size.
STEP TWO: Iron it flat.
When gauze dries it crinkles up like crazy, which is cute for when the blanket is complete, but it’s not so cute when you’re trying to sew it.
STEP THREE: Cut your blanket.
You’ll notice that double gauze has a faint grid built into it. This grid is what is keeping the two layers of gauze together. Hence…the “double” part of the name. It is also going to be your best friend when cutting and sewing this blanket.
Before you pick up your scissors, re-measure your fabric. My Riley Blake gauzes shrunk from 58″ to about 54″ after washing it and removing the selvage edges. So I cut it length wise to 54″.
The Shannon Fabric gauze measurements seem to have been generous with the selvage allowance, because after washing and cutting away the selvage I was still at 48″ wide.
When cutting, use your good old fabric scissors and choose a grid line closest to your measurements. Use that grid line to cut your fabric. Don’t even bother with a rotary cutter. Following the grid line with scissors will give you much cleaner and more accurate results.
STEP FOUR: Hem the sides.
Now that you have a nice, flat, clean square, it’s time to sew up the sides. You can iron the sides under first if you like, and then pat yourself on the back for being more precise than me. ha! 😉
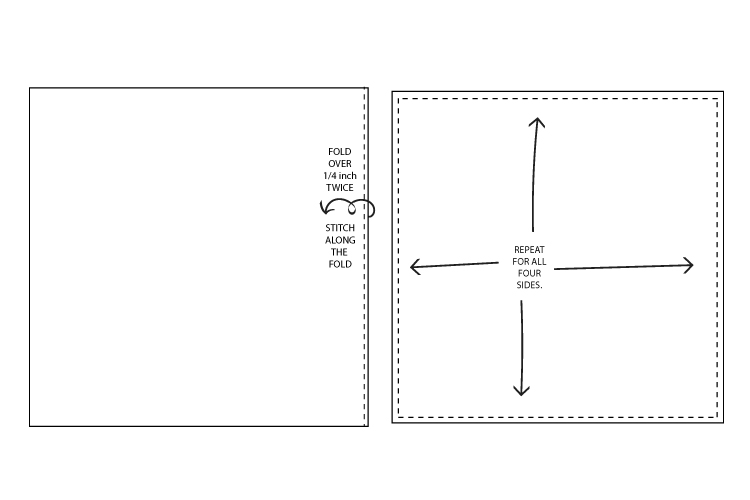
I simply folded the raw edge over 1/4 inch, twice, with the wrong side of the blanket facing up, and lined up the folded edge with a grid line. I sewed right on that folded edge and just kept folding and sewing as I went. That grid line keeps you right on track.
TIP: To keep corners clean, don’t begin your hem right at the corner. The gauze tends to bunch up and it will look sloppy. I start a few inches down from the corner and finish the hem. Then I come back to finish the un-hemmed portion by flipping the blanket the opposite direction. Remember to back stitch at the beginning and end of every hem line.
Easy peasy.
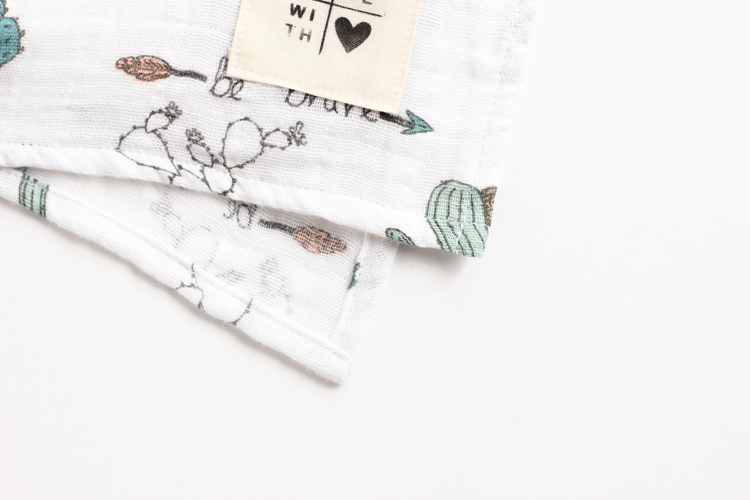
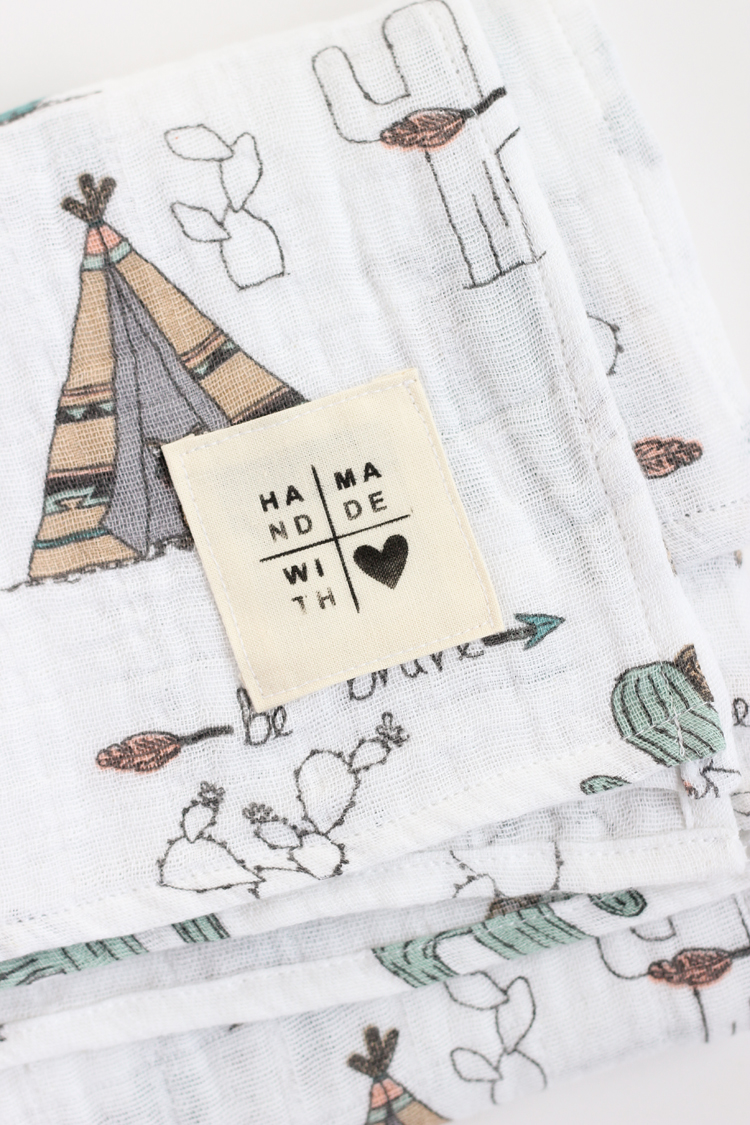
If you’re feeling really professional, add a label. It’s such a small thing, but I think it makes a huge difference. Little input and max output…I think that’s worth it, don’t you?
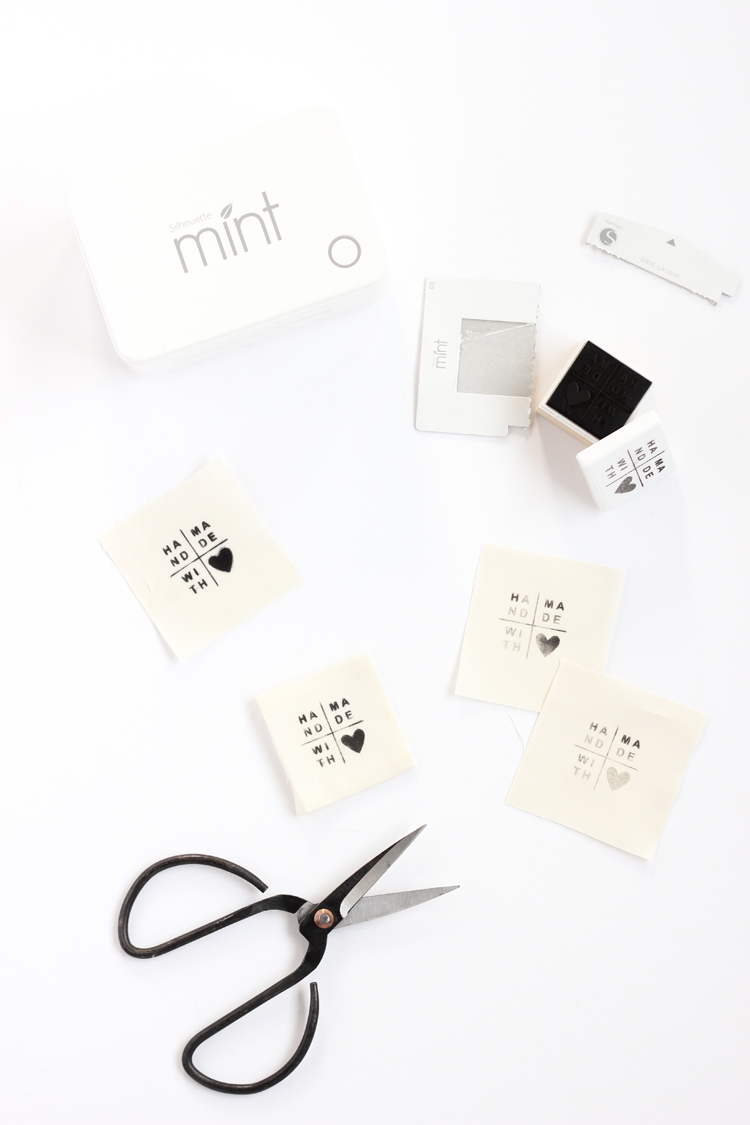
I just got a Silhouette Mint and holy moly I’m in love. It makes stamps in minutes, like voodoo magic.
I won’t do a Mint tutorial, because there are loads and loads and loads of them out there. But I will give you a free .png file if you want to use my image to make your own “Hand Made With Love” stamp. (Personal use only please).
And! I’ll talk about why it works on fabric. I googled this topic up the wazoo and I found one, ONE, other post about trying it on fabric.
I think that might be because, if you want to print designs on fabric, Mint stamps really aren’t the most effective method. But if you want to say….make a small label with them, they totally work.
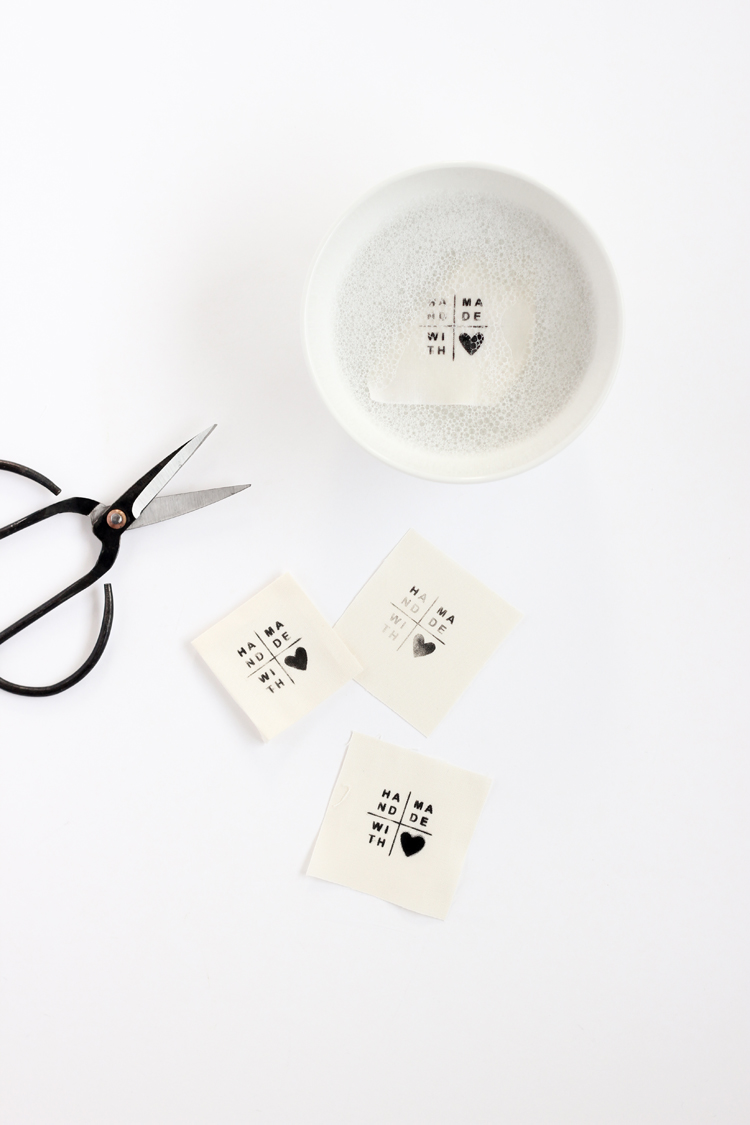
If you know anything about Mint stamps, they use special ink. I tested that ink to see if it would last through some scrubbing and washing. First, I let the ink dry, and then I heat set the ink with a very hot iron. I soaked it for hours, scrubbed it, and put loads of laundry soap in the warm water. The result is that there was slight fading after I scrubbed at it aggressively, but overall it really held up. I was impressed.
Notes to keep in mind:
When you stamp fabric, apply A LOT of pressure and hold it down for about 10 seconds at a time.
It does use up more ink when stamping fabric. You are supposed to get about 50 impressions per inking if you are stamping on paper. On fabric I would say you may be able to get 5-6 good impressions before it gets too faint and you need to ink it again.
Another thing to be aware of is that the stamping results varied. Sometimes it would bleed a little. Other times it would leave a faint impression, even if I stamped it the same way…or thought I did anyway ;). That’s why I think it’s well suited for tags, because you can discard any labels that don’t pan out, without sacrificing the whole project.
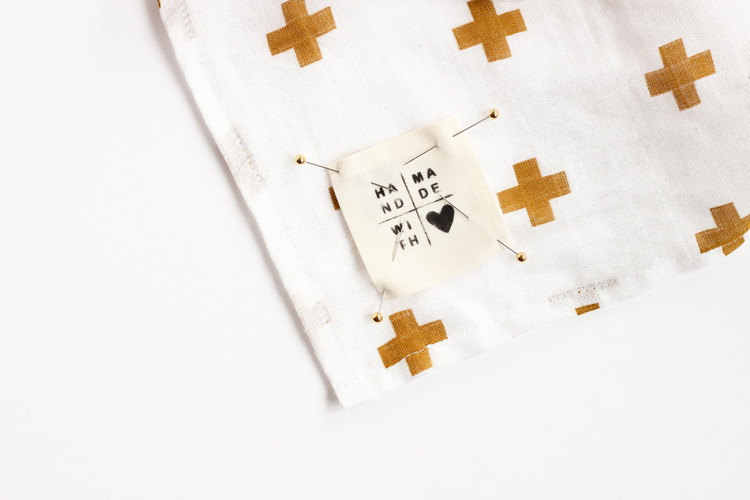
I cut small squares of cotton fabric, stamped them, and then heat set the ink while also pressing the raw edges of the label under about 1/4 inch. Then I sewed the labels onto my gauze blankets.
Bam…they’re boutique-fied!
BTW…
If you have been thinking about getting a Silhouette Mint or Cameo, I have an awesome deal going on for my readers right now. You get the new Cameo 3 + a Mint for $269.99.
That’s almost 50% off. If you consider that even if you try to buy the Cameo 3 for less on Amazon it’s still $250 on it’s own, and the Mint is $100 on it’s own. This bundle is pretty amazing and it’s only good until April 15, 2017.
Plus, you’re buying it from Silhouette straight up. You get their great customer service. The people who answer their phones are real crafters, who use the machines themselves. They walk you through how to set it up and they give you little troubleshooting tips and tricks that you just can’t get in a manual.
Source notes:
- All the fabrics are from fabric.com.
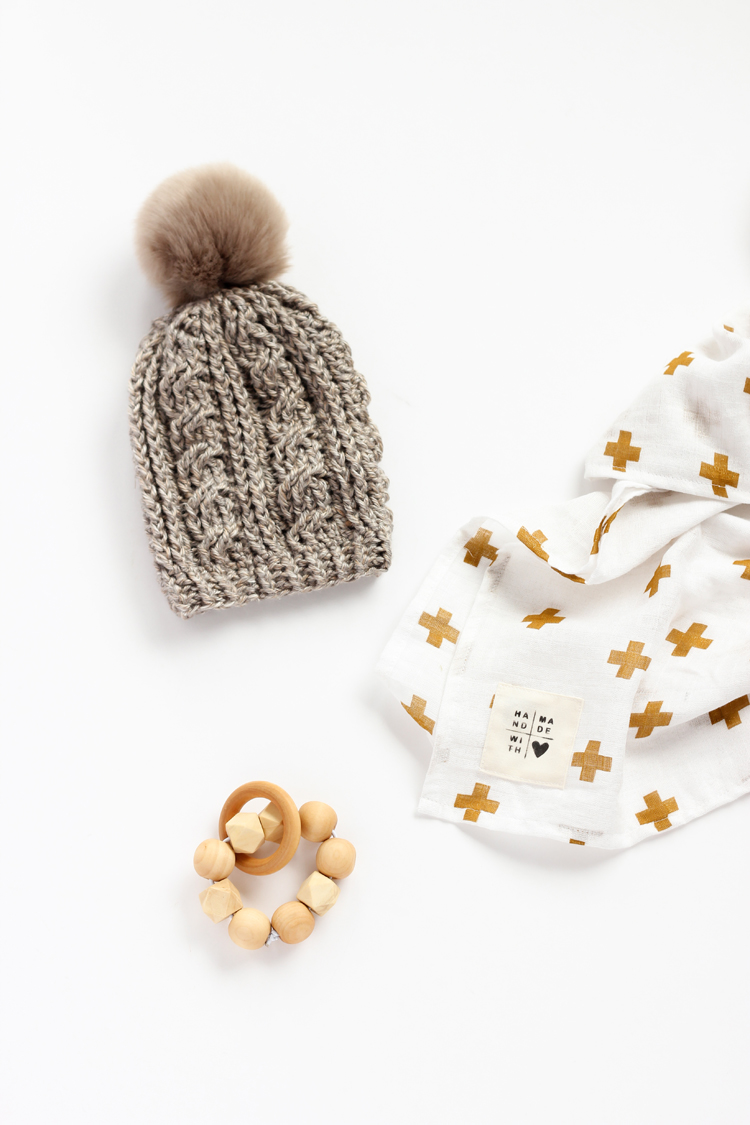
- The beanies were made with Lion Brand yarn, using my Ashton Beanie crochet pattern. The furry pom is from Michaels (the keychains in the jewelry section).
- I’ll be sharing the tutorial for the wood bead teethers very soon! 🙂
Disclaimer: This post contains affiliate links, which mean I get a percentage of any sales generated from clicking on these links. This does not affect your price, or change your buying experience.



I love it all! I’ve been wanting to make some gauze swaddlers so thank you for the awesome tutorial. And now I know what to do with all my leftover beads from my diffuser necklace project. 😉
Yes! I actually thought of you when I made these teethers. ha!
Those are so cute! I love the labels! And so cool that the ink is washable! That star fabric is so you that at first I thought you had made it yourself. 😉
Thank you Charity! I know…it’s like Elizabeth and liZ read my mind. I have SO much love for that print!
Hi-
Very cute and easy project!
Thanks for featuring our Embrace™ double gauze 🙂
-Ellen
Of course! I loved using your fabric. It is so cozy and soft!
Thanks so much for featuring my “Young & Brave” fabric that I designed for Shannon Fabrics! I’ve had the same thoughts wishing my kiddos were babies again so I could swaddle them up in all this cuteness 🙂 Great article!!!
Of course! Your design is so charming and adorable! I just gave it as a gift, and I know it will be well loved. <3
Delia-your tutorial is the best one I’ve found-thank you!
Aw thanks Julie! I’m so glad you found it helpful!
At a sewing conference a lecture was given by Shannon Mills. One of their claims to fame is they shrink all of their double gauze. One does not need to preshrunk before sewing. That means no ironing to get out wrinkles and keeps the fabric on grain. That is worth the extra cost of the fabric for me. No complaints about shrinkage from moms or garments I’ve Sew next sew
Hi Delia, I REALLY love the You g and Brave fabric that you used to make a swaddle blanket. Do you know if that fabric is still available and where I could find it?
Thank you for your time.
Charlotte
Thanks Charlotte! Unfortunately, all the fabric from this post seems to have been discontinued. I wish I had a better answer for you. I know there are a lot more gauze fabric options now though, so hopefully you can find a good replacement.