First things first, you have to know that I am totally not a quilter.
I would much rather sew a dress than a quilt, but when Kimbo from A Girl and A Glue Gun organizes a blanket drive for kids in need, a quilting I will go! 🙂
Project Linus is a blanket drive collecting handmade blankets to comfort kids in need. (I know right!? So good.) If you are looking for a service project to work on this holiday season, join us!
To help get the word out, Kimbo has rounded up a bunch of us bloggers to share blanket tutorials on our sites. I’ll post a link to the round up at the end of this post. There are some great easy blankets, that would be great for getting the kids involved too!
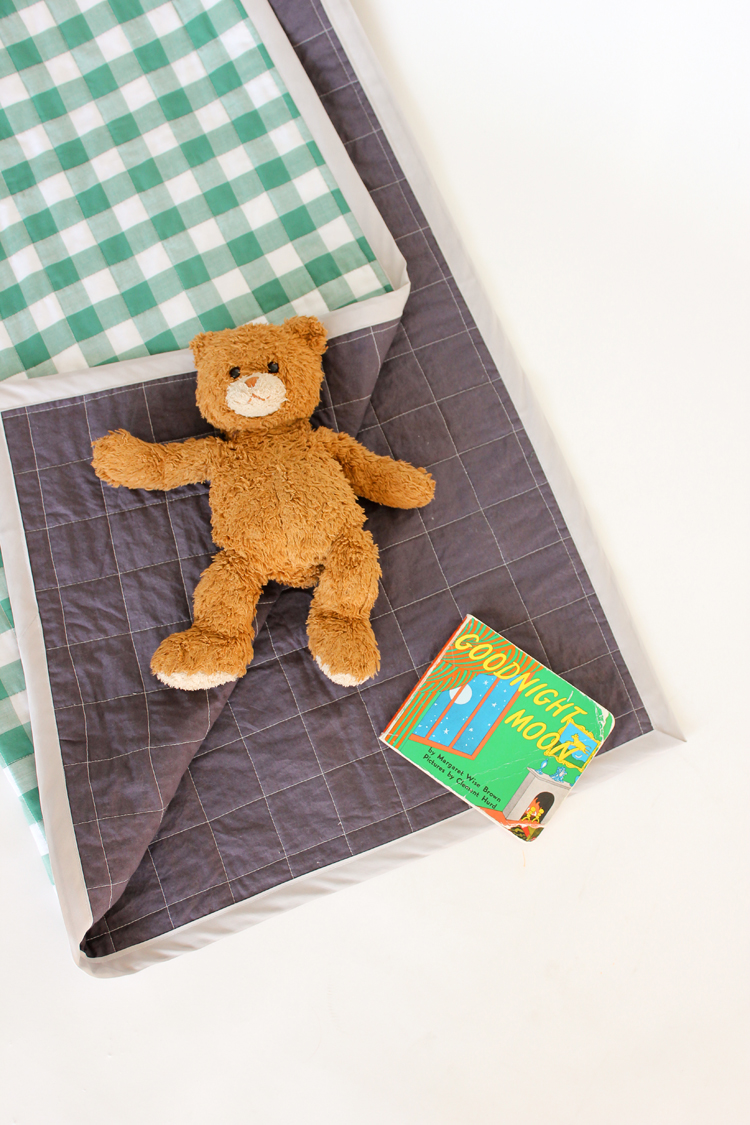
For my blanket tutorial, I whipped up this simple quilt tutorial. It’s great for non-quilters like myself, or it can be an easy project for more seasoned quilting geniuses.
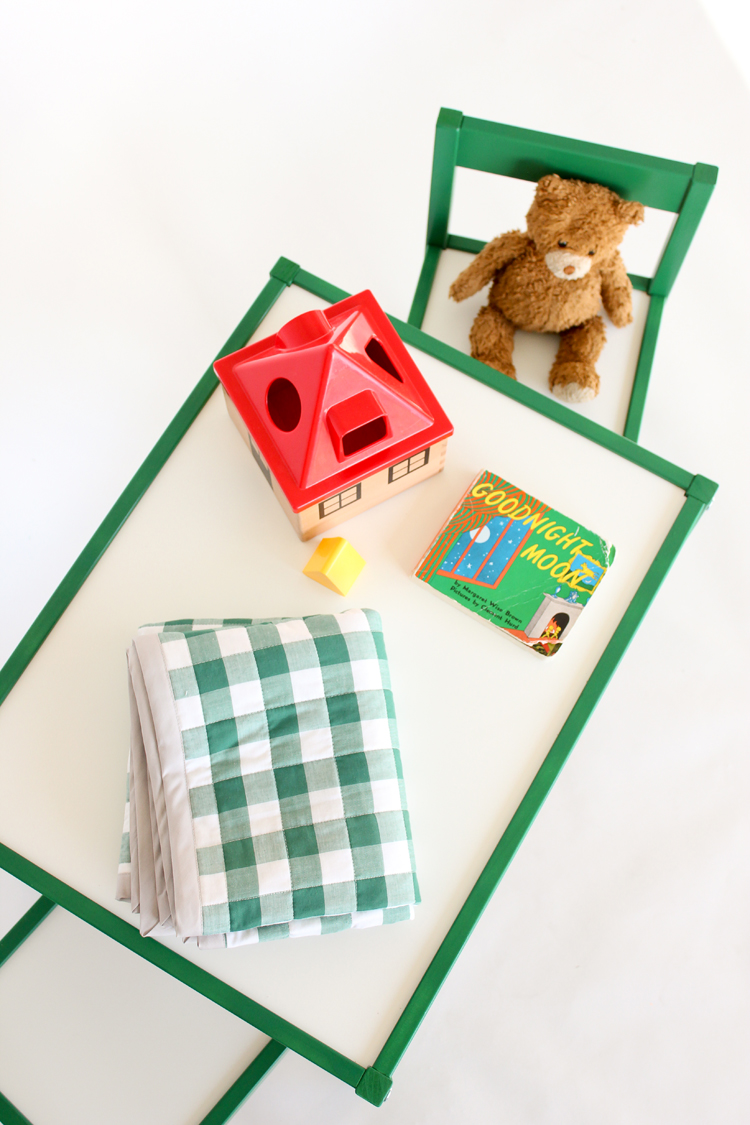
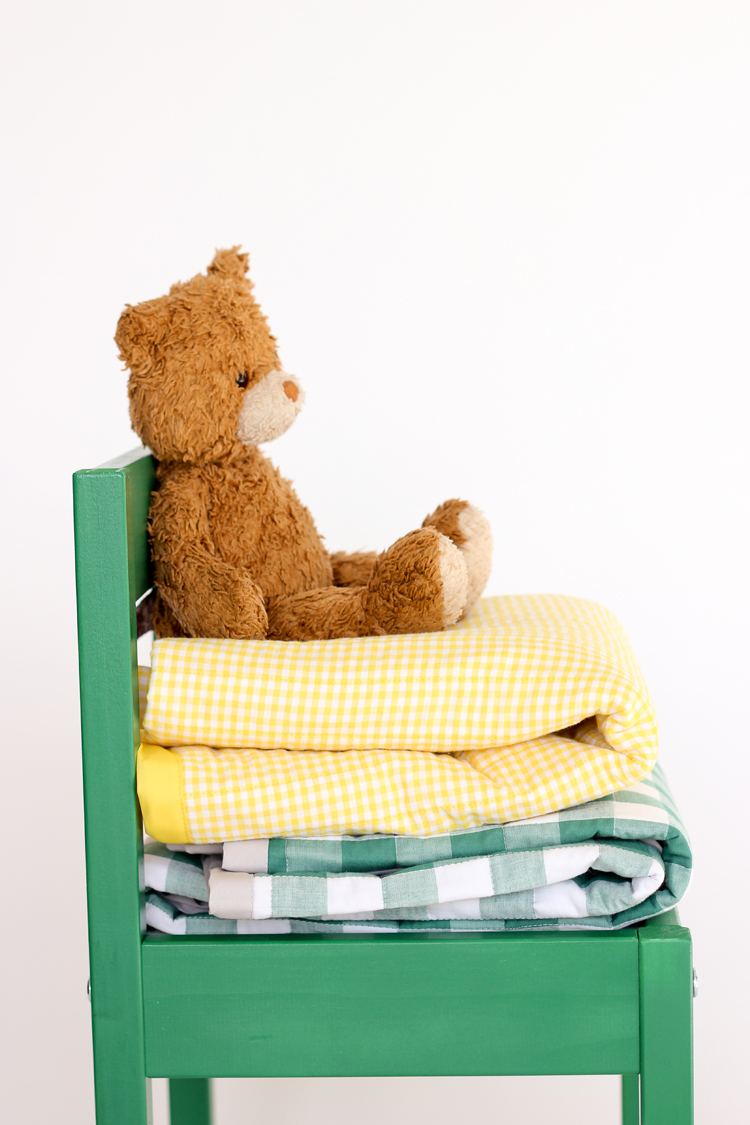
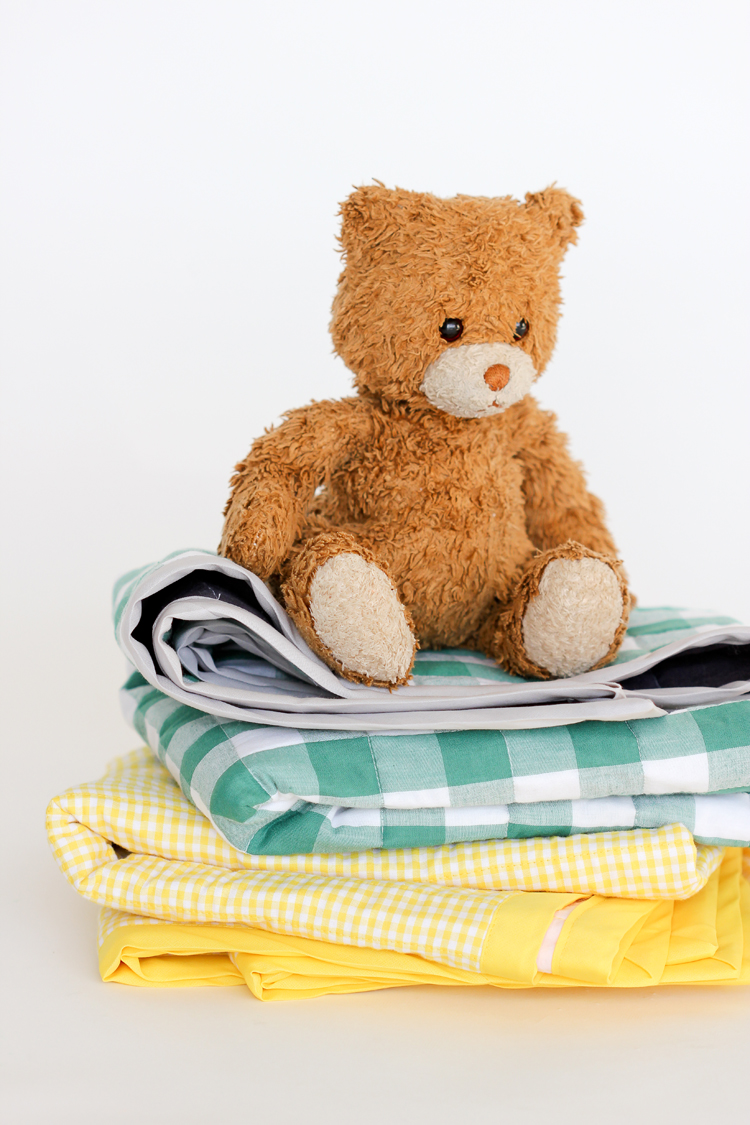
The key to the project is gingham – my favorite kind of plaid!
You know, I don’t think I’ve ever met a gingham I didn’t like. 🙂 I am so glad it’s on trend right now, because it’s my fave, favorite!
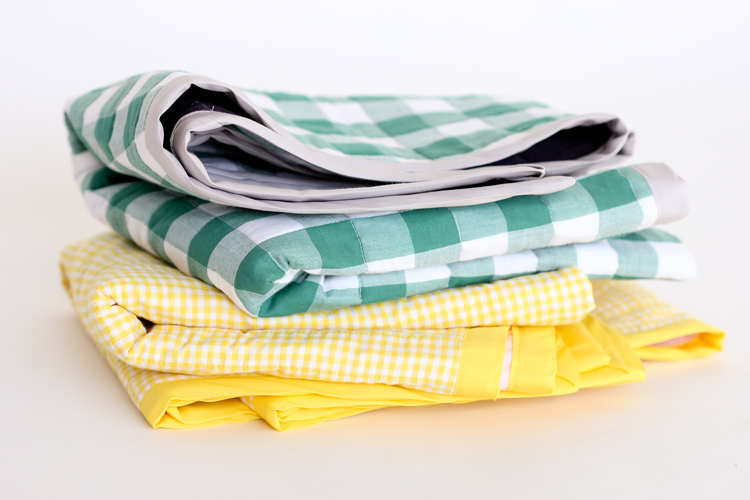
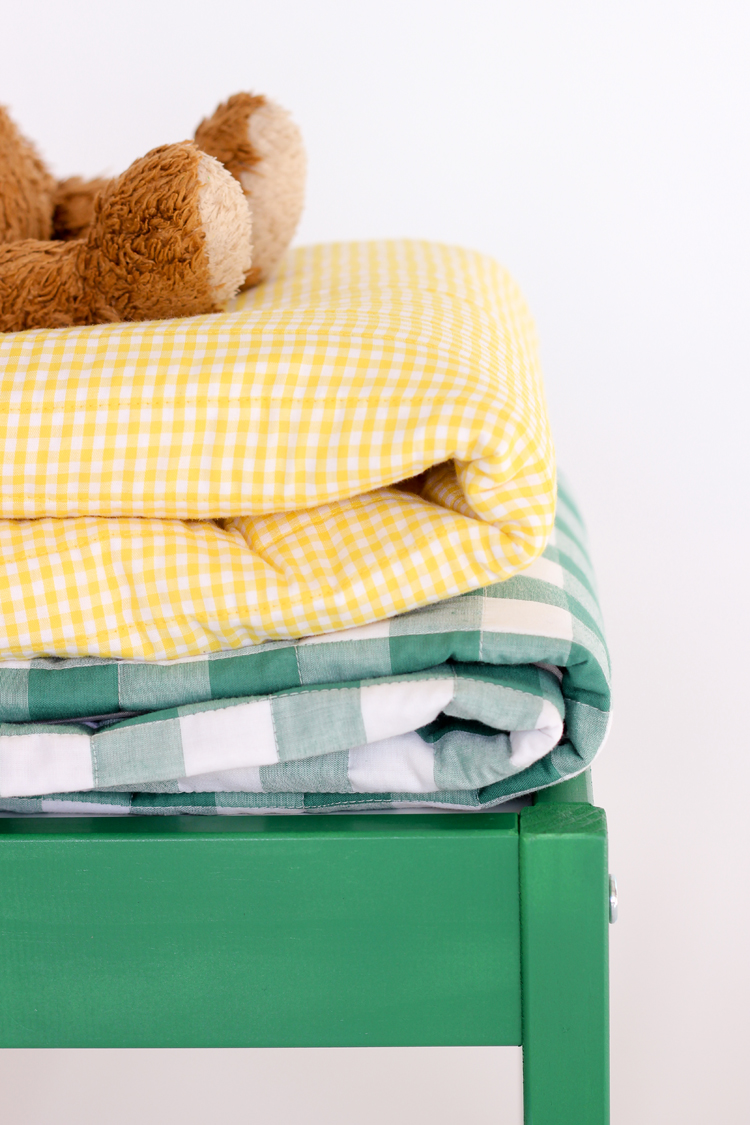
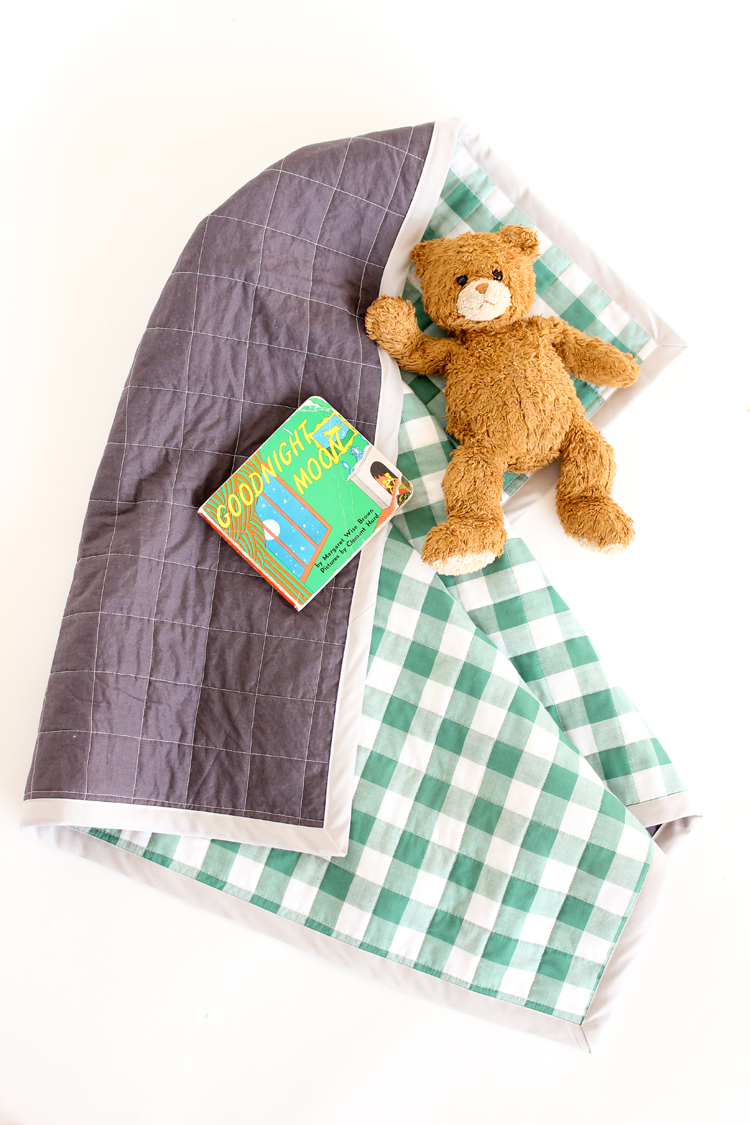
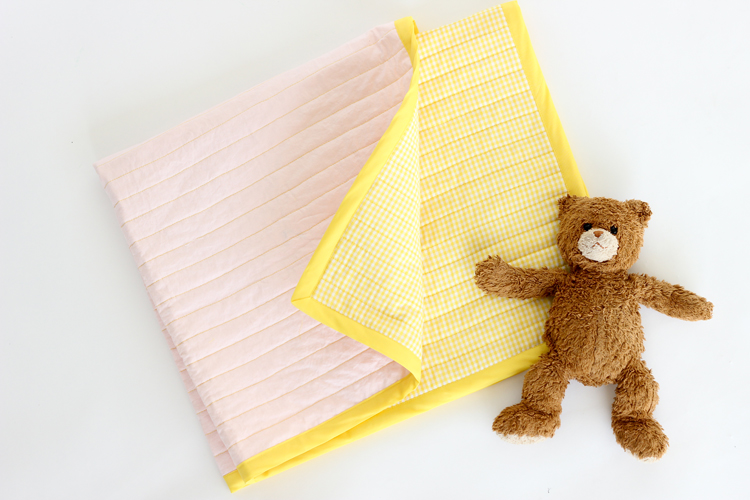
There is no piecing involved with this blanket, so the gingham print provides both the eye candy and the quilting structure for the whole blanket.
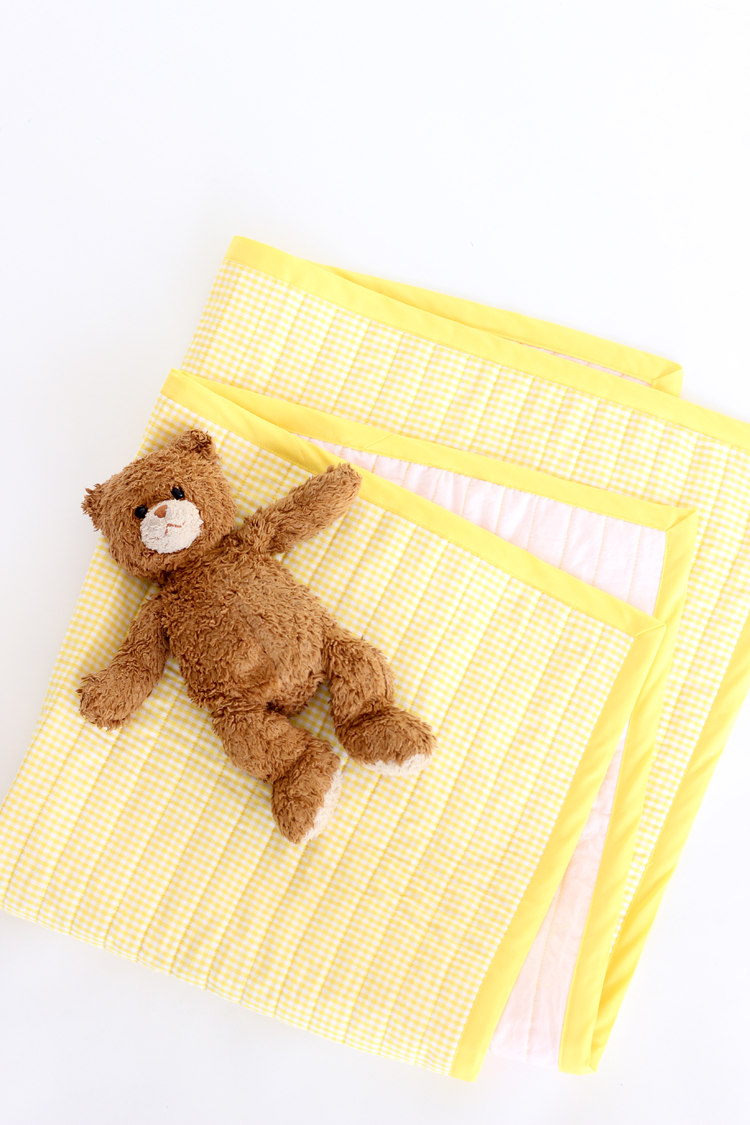
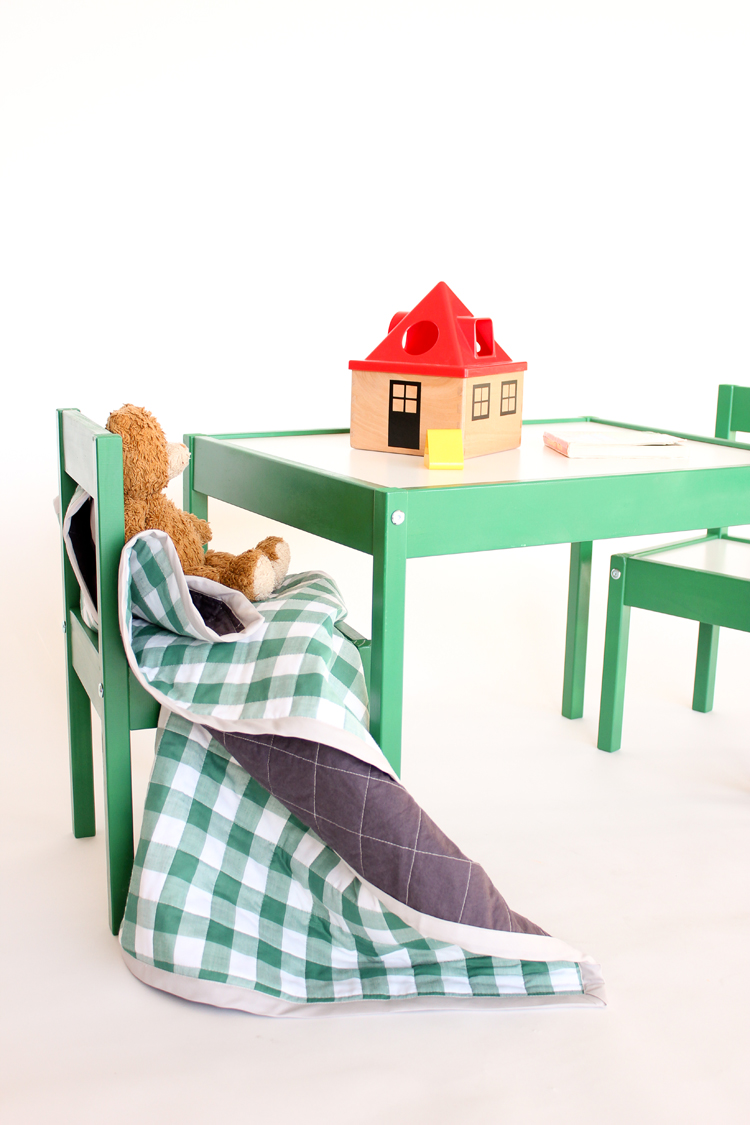
You can use the lines of the gingham to help you create striped lines or criss-cross stitch lines. I decided to do one of each.
I didn’t have to pre-measure or anything, which was great. I just used the gingham lines as a guide and zipped right through!
Let’s get started.
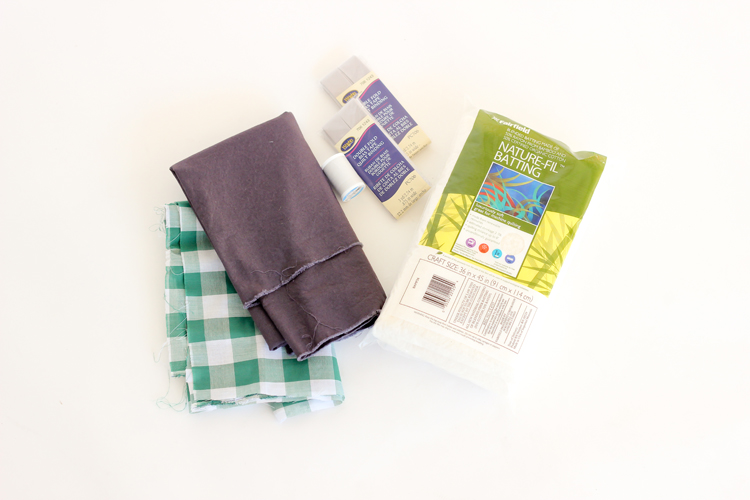
MATERIALS________________________________________
1 yard gingham fabric
1 yard solid cotton (or print)
1 yard sized cut of cotton quilt batting (45 x 36 inches)
2 – 3 yd packs of quilt binding bias tape (or regular double fold for a thinner option)
small safety pins
quilter’s clips
matching or contrasting thread
basic sewing supplies
walking foot
TUTORIAL__________________________________________
1. PREPARE FABRIC.
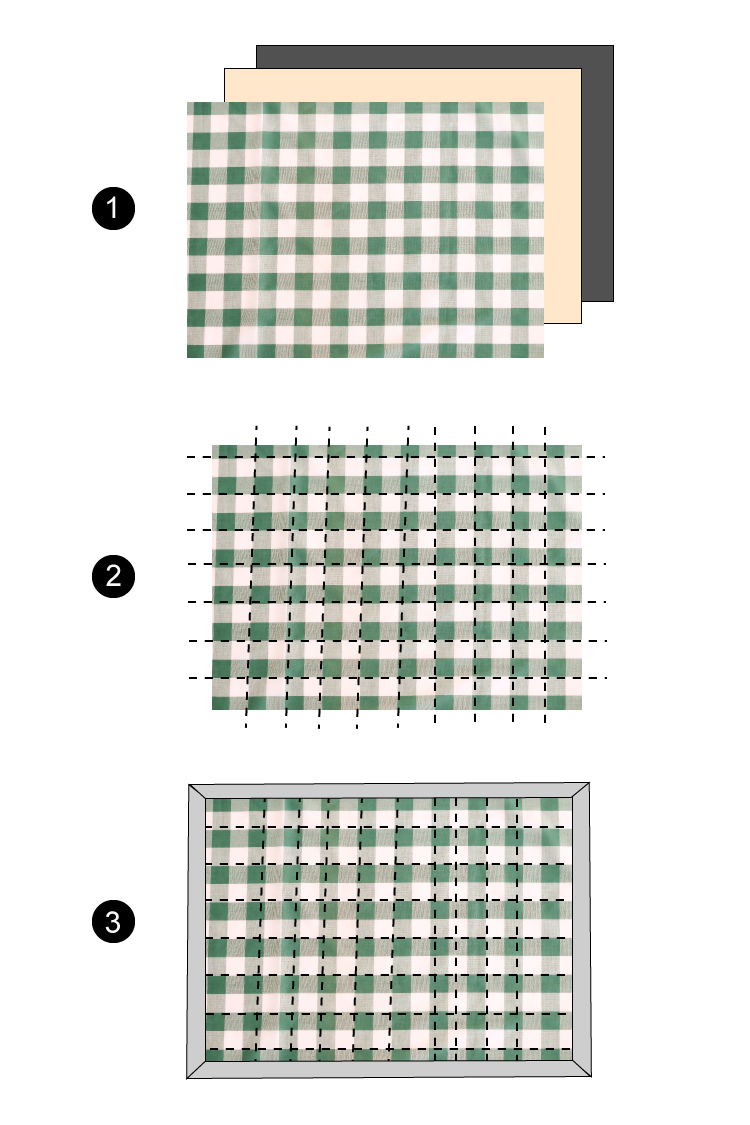
Pre-wash fabrics (not batting or bias tape) and stack fabric together like so: solid fabric, quilt batting, gingham fabric.
Ideally, in quilting you want your backing (solid fabric) and batting to be larger than your main fabric (gingham). This is not as crucial to this kind of quilt, because you can trim down the gingham top as needed if there is any shifting. Square out your fabric, using the gingham fabric as a guide. Sometimes the fabric is cut off grain at the store, so correct that now before you move on.
Once your fabric is layered appropriately, baste everything together with safety pins every few inches as desired (just pin it together enough so it doesn’t shift).
2. QUILT FABRIC TOGETHER.
Using the gingham lines as a guide, sew even lines of stitches in a striped or criss-crossed pattern. This is where a walking foot is totally necessary. I tried to see if I could do it without a walking foot, so that I could say this was optional, but it just didn’t work. Without a walking foot, the fabric will pull, pucker, and shift too much. If you need to borrow one, do it. A walking foot makes this quilting step a total breeze!
When you’re done, clean up the edges by cutting away any excess fabric or edges that shifted, so that you have a nice, even blanket. And don’t worry about using a ruler. Just use the gingham lines to help you keep everything straight. Easy!
3. BIND BLANKET.
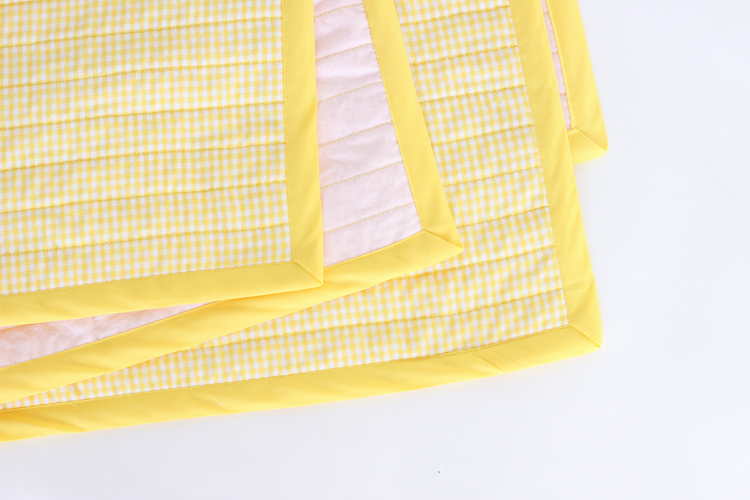
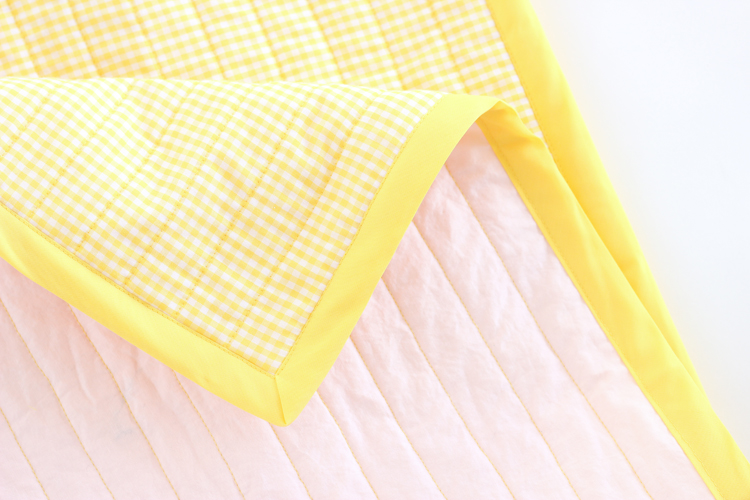
Using the bias tape, bind the blanket and top stitch in place. There are a bajillion tutorials on how to do this. This one from the Sewing Loft is great for sewing on binding with a mitered corner (like the ones pictured), as well as this one from Pretty Prudent. If you have never done it before, there are a bunch of videos on YouTube that can better help you visualize it as well.
My only major tip here, is to sew sloooooowly. It helps so that you can make sure you are top-stitching through both layers of bias tape, and so that everything looks pretty and even.
That’s really it! Nice, huh!?
A big thank you to Riley Blake Designs for supplying the super soft cotton pink and gray solid fabric, and to Fairfield World for supplying the really nice quality batting! Both gingham print fabrics and pre-made bias tapes are from Jo-Ann.
I’m super excited to send this off to the Linus Project. For more information on how to donate blankets, check out this post.
And if you need more blanket inspiration check out these tutorials…


Such a great way to share your talent!
Thanks Heather!
This is lovely!!! I really want to try!
Thank you Federica!
I love how sweet and simple these are! I made a gingham baby quilt recently… I didn’t have a walking foot for the quilting, but I spray-basted the quilt instead of using safety pins, and I really didn’t have shifting or puckering problems. It really helped everything to stay smooth! =)