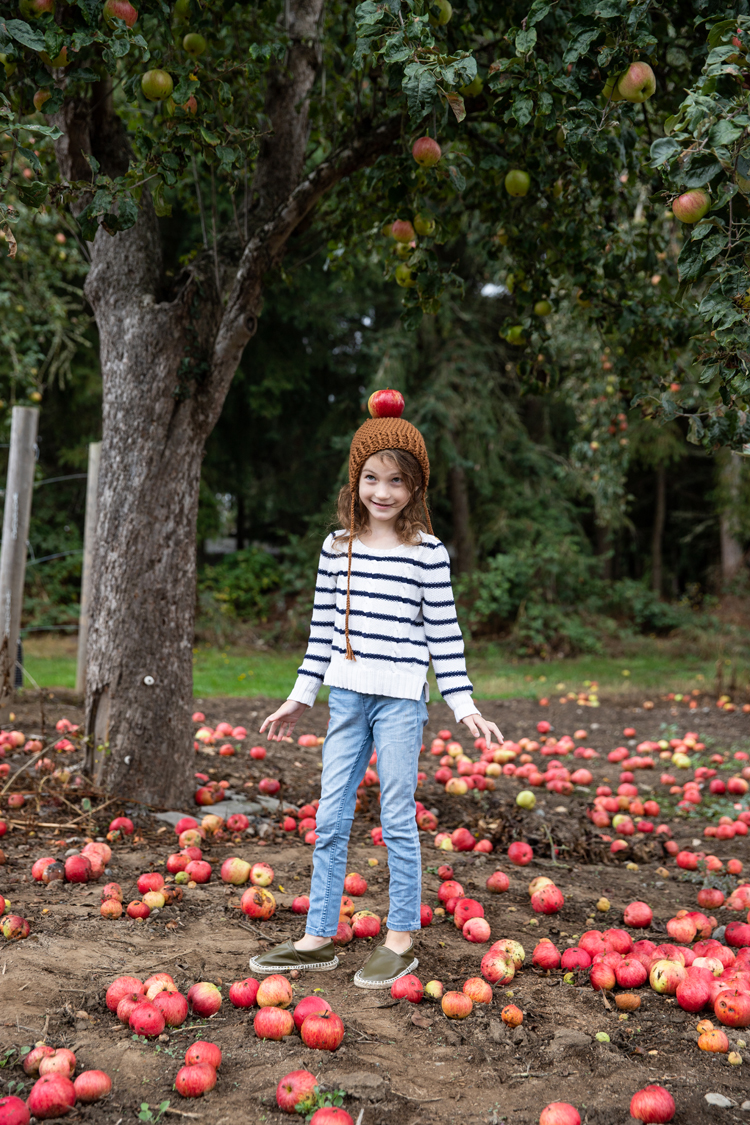
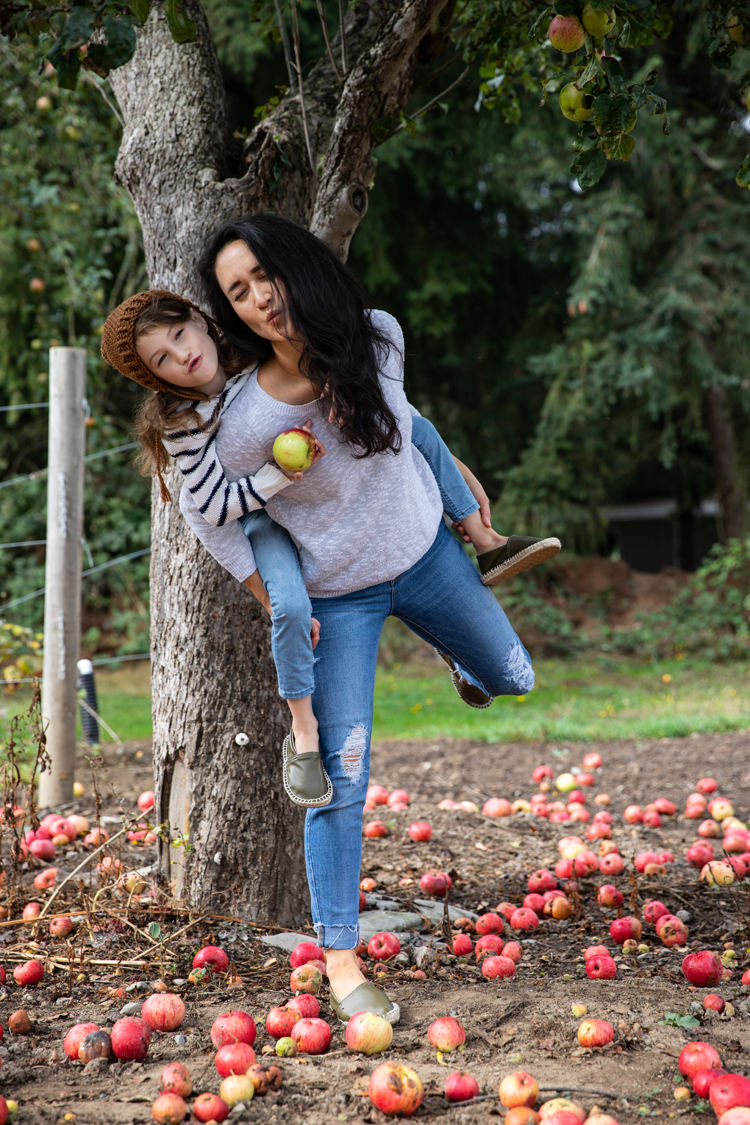
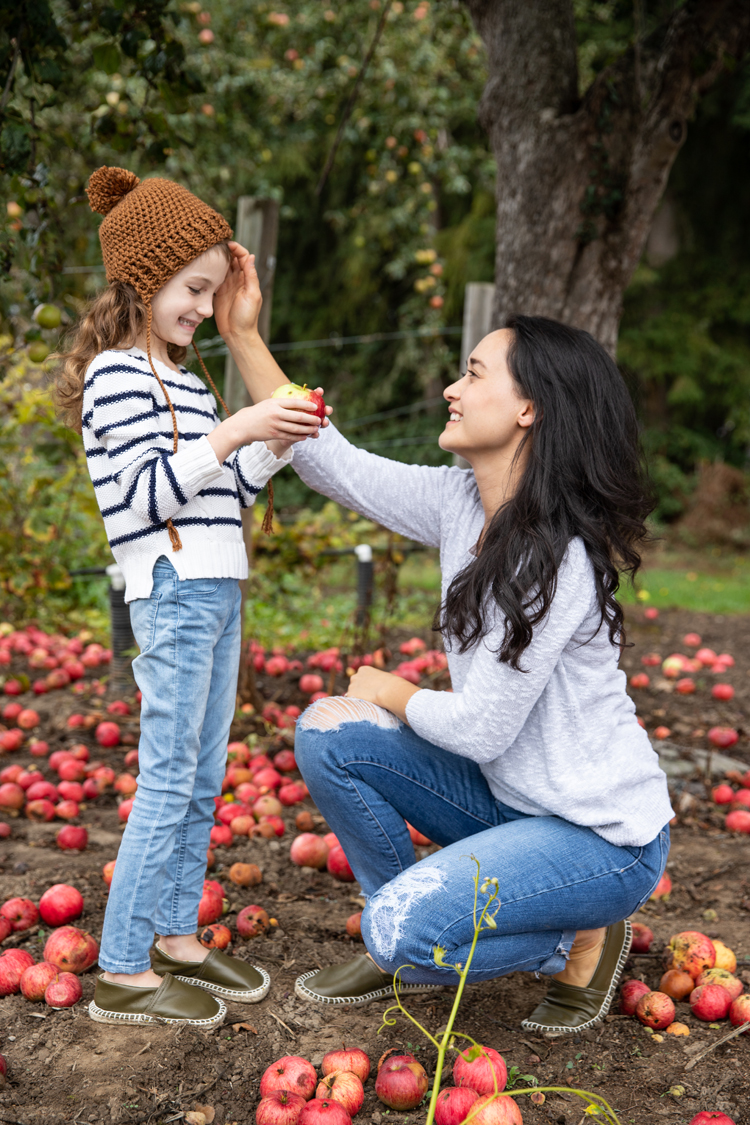
I think shoes are the probably the funnest thing you can sew, but up until making these handmade leather espadrilles, I had only made my Natty Janes Baby Shoes named after this cute girl below.
Making adult sized, hard soled shoes seemed like it would be next level difficult, but it was actually pretty straightforward because of Melissa’s espadrilles kit!
Melissa from A Happy Stitch asked me to be apart of her espadrilles tour, and I gave her an enthusiastic yes. I’m always up for a new kind of sewing project, especially when it’s as cool as these shoes.
She sells all kinds of versions of espadrilles kits, for adults in classic, ankle, and wedge styles, as well as toddler sizes. Some of the styles are soon to be released, so check back in her shop if you don’t see them yet.
What kit I chose:
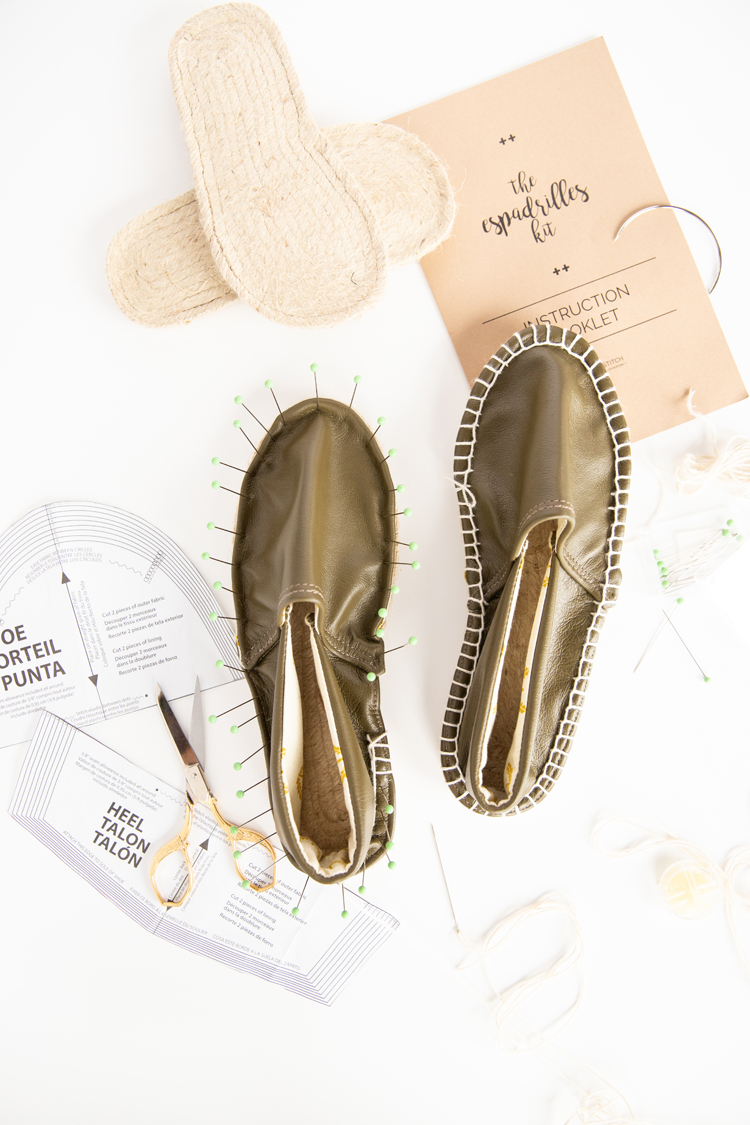
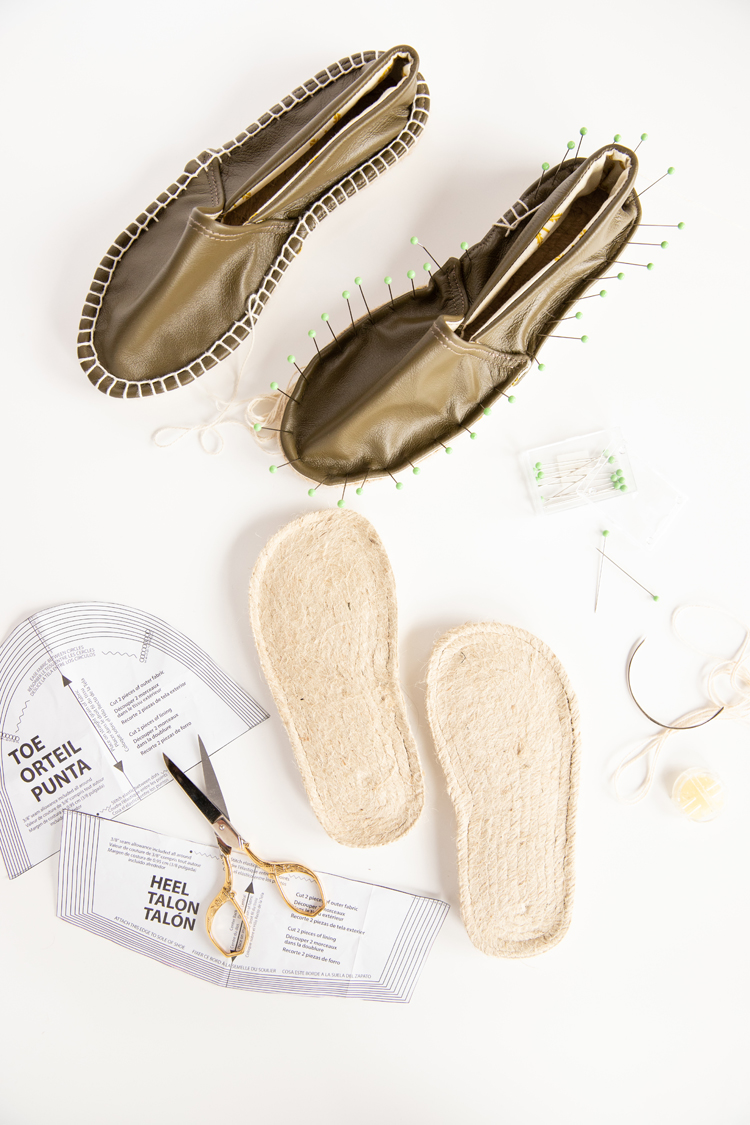
Most of the kits have fabric included. I chose the “I Got It Kit,” which omits the fabric, so that I could try out some scraps of leather from my stash. It includes everything thing else you need like the soles, the pattern, the wax for the twine, the needles, pins, interfacing, gripping thimbles, etc.
It’s also the most affordable kit. So if you have a healthy fabric stash, I think it’s the way to go.
The only other thing you need to provide is a sewing machine and matching thread for your fabric. You sew upper main pieces to the lining and then sew the pieces together according to the pattern (if you are using leather don’t forget to get a leather needle for your sewing machine!). Then you hand sew the uppers to the shoes soles with a simple blanket stitch.
This may sound a little silly, but my favorite part was waxing the twine. The wax comes in a container with notches all around it. When you pull the twine through it a few times it gets coated with wax that protects it from fraying while you sew; and I imagine it helps make it water resistant.
How to make adjustments for the leather upper:
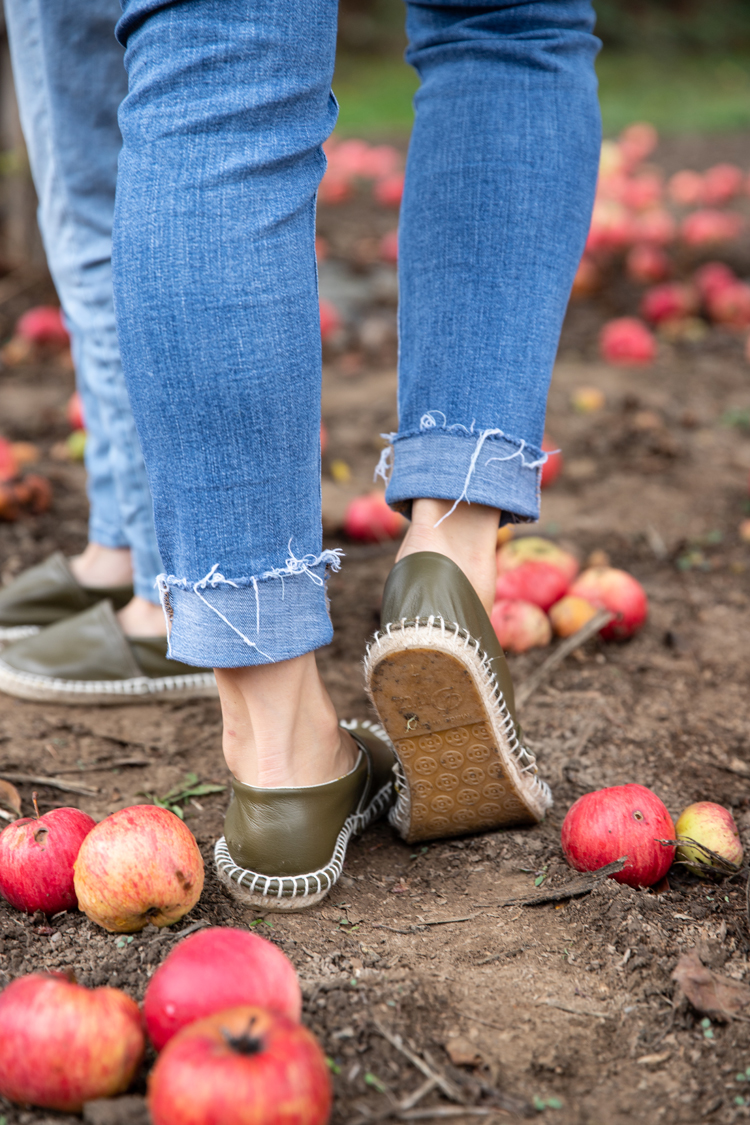
Using leather was kind of a gamble. It’s a fussy material and it was REALLY hard to the pull the needle through it; but I’m glad I went for it, because I love how it turned out!
I used an upholstery leather that I had left over from making covers for these chairs. I measured the thickness, and it is about 2 mm thick. I don’t think I would go much thicker than that. A thinner pleather would work great as well.
Melissa recommends using a table as leverage to get the needle through when using canvas fabric. This is especially true, if you are using leather. I inserted the needle through the side of the sole and started to press it into the upper, then I’d press the whole shoe down over the needle with the needle’s eye against the floor. This saved my hand from a lot of soreness.
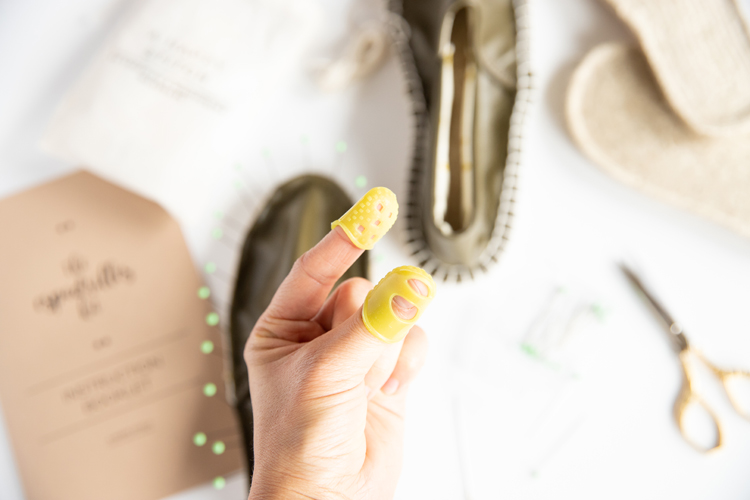
I also cannot stress enough that it was a MUST to use the gripping thimbles Melissa included in the kit. It helped me pull the needle through with much more ease and it saved my fingers.
Sizing:
As Melissa states in the listing, the sizing does run a little big. I’d say the whole sizes fit more like the half size above it.
I am a size 7, and I ended up sewing one of my uppers more than once so that I could adjust the sizing. It’s not ideal to undo stitches in leather, because needle holes are permanent, but the blanket stitch has covered most of it up. It’s really not noticeable. So, if you find yourself in a similar predicament, don’t be afraid to pull out the stitches and start again.
Likewise, don’t be afraid to pin the leather upper to the sole. Having the upper properly aligned is much more important than worrying about the tiny pin holes that you will most likely not even notice.
At the advice of the pattern, I simply grabbed more of the upper fabric, making the seam allowance wider and the shoe a little bit more snug fitting. It made a big a difference.
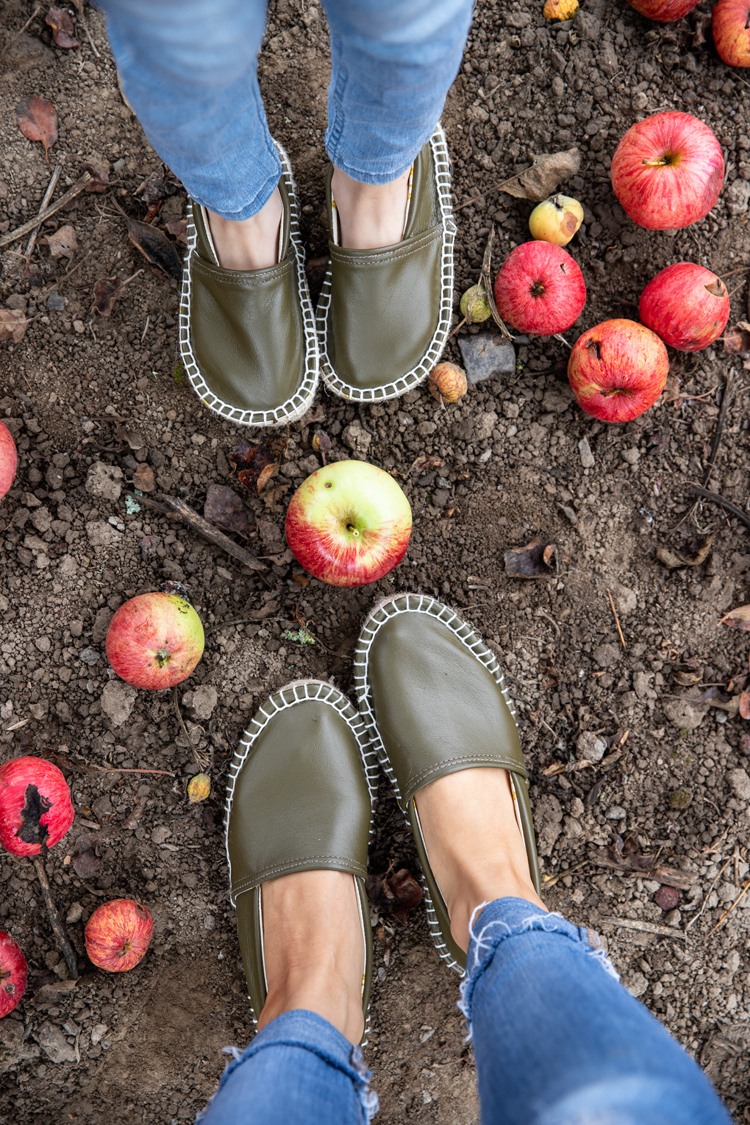
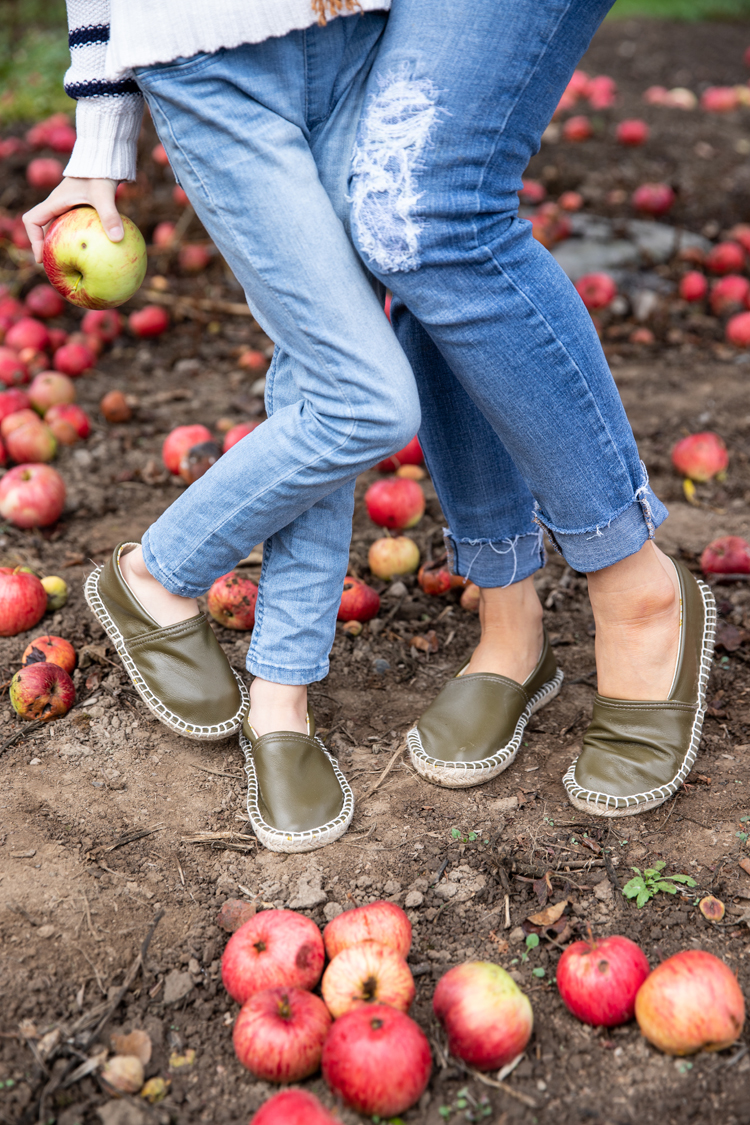
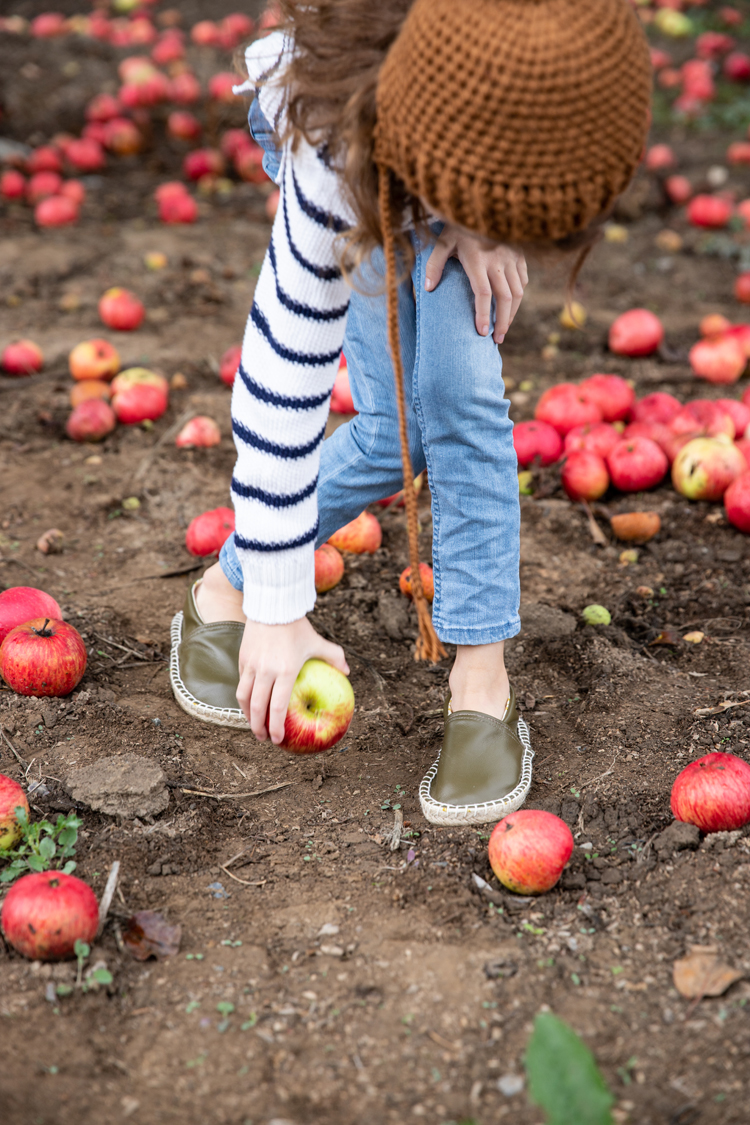
I did the same for Natalie’s shoes. She is in between a size 10-11 right now, so I grabbed a little bit more upper fabric to make a true size 11. They are still just a little bit big on her, but that’s what I was going for, so she can grow into them and wear them for (hopefully) a while.
TIP: One thing to keep in mind with the toddler sizes, is to not overlap the heel and toe pieces 5/8 inch when you sew them together. I would overlap them more like 1/4 inch. Otherwise, the uppers will probably be too small for the soles.
I was going to make Natalie’s pair out of a different fabric, but I couldn’t resist making a true mini-me pair.
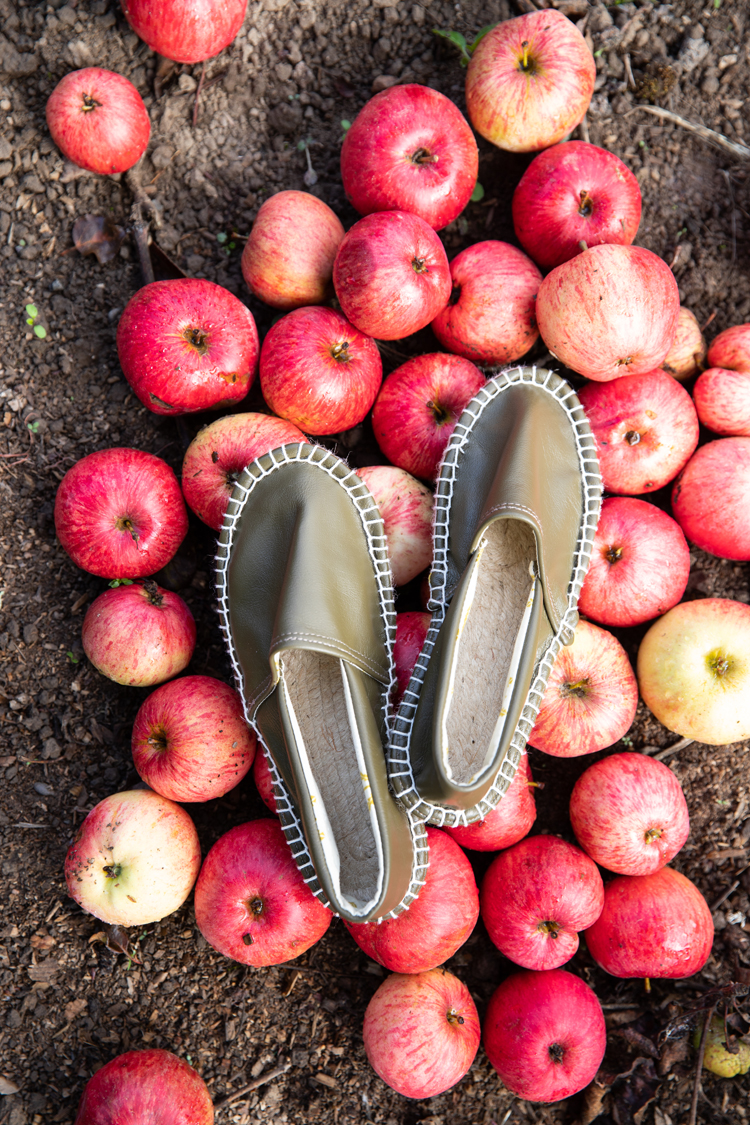
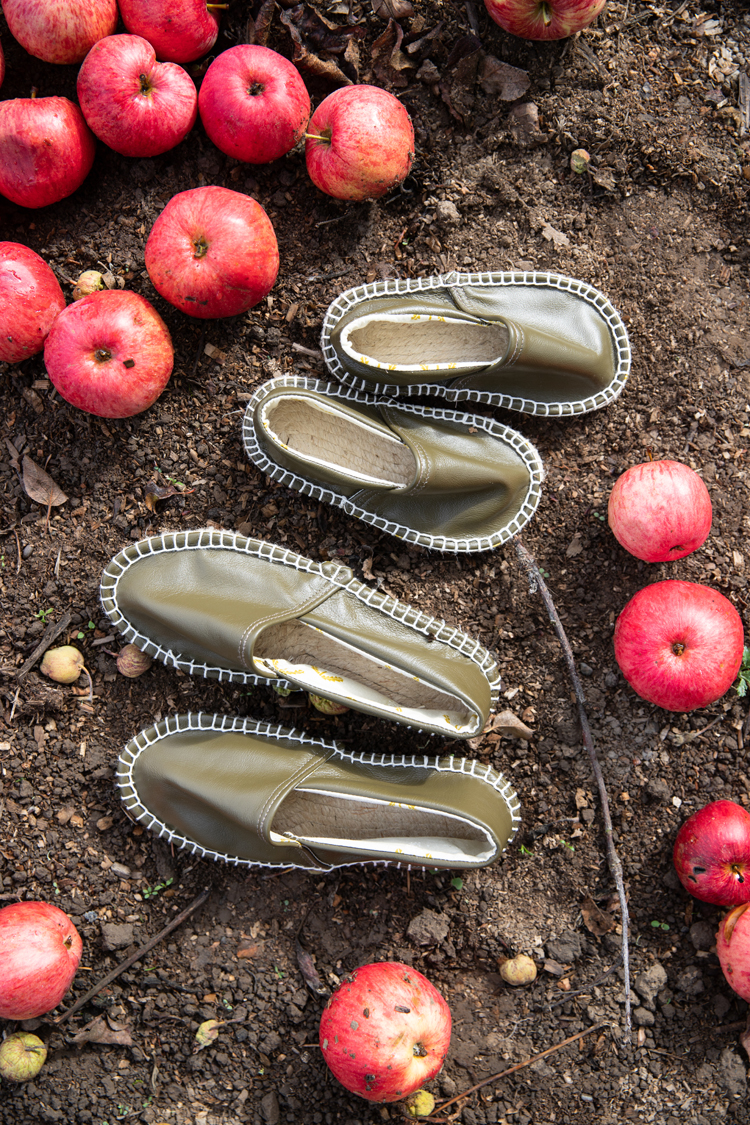
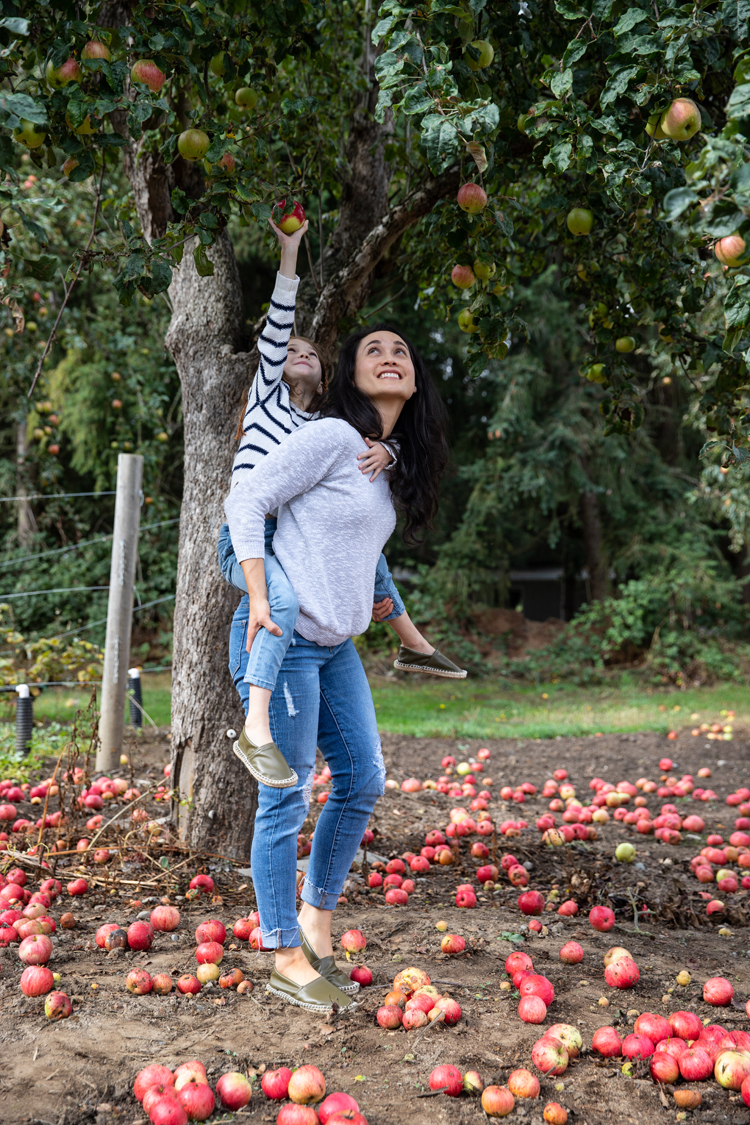
Fall is in full swing here, so these leather espadrilles have proved to be the perfect variation for our cooler weather. 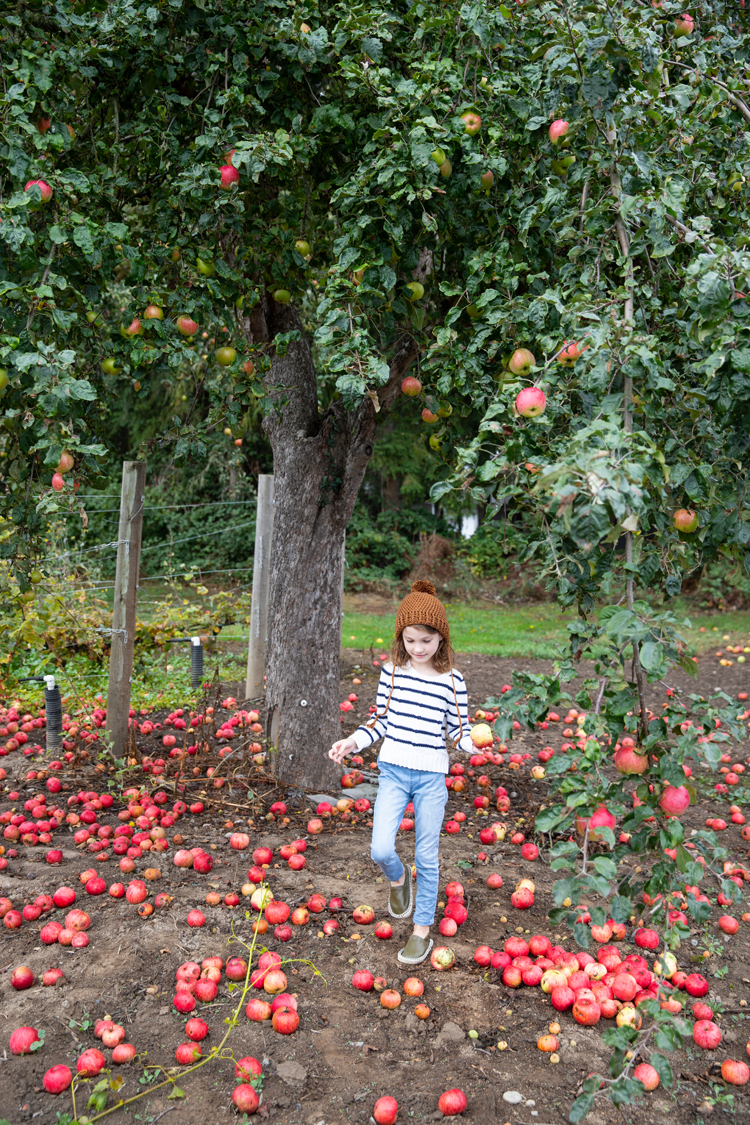
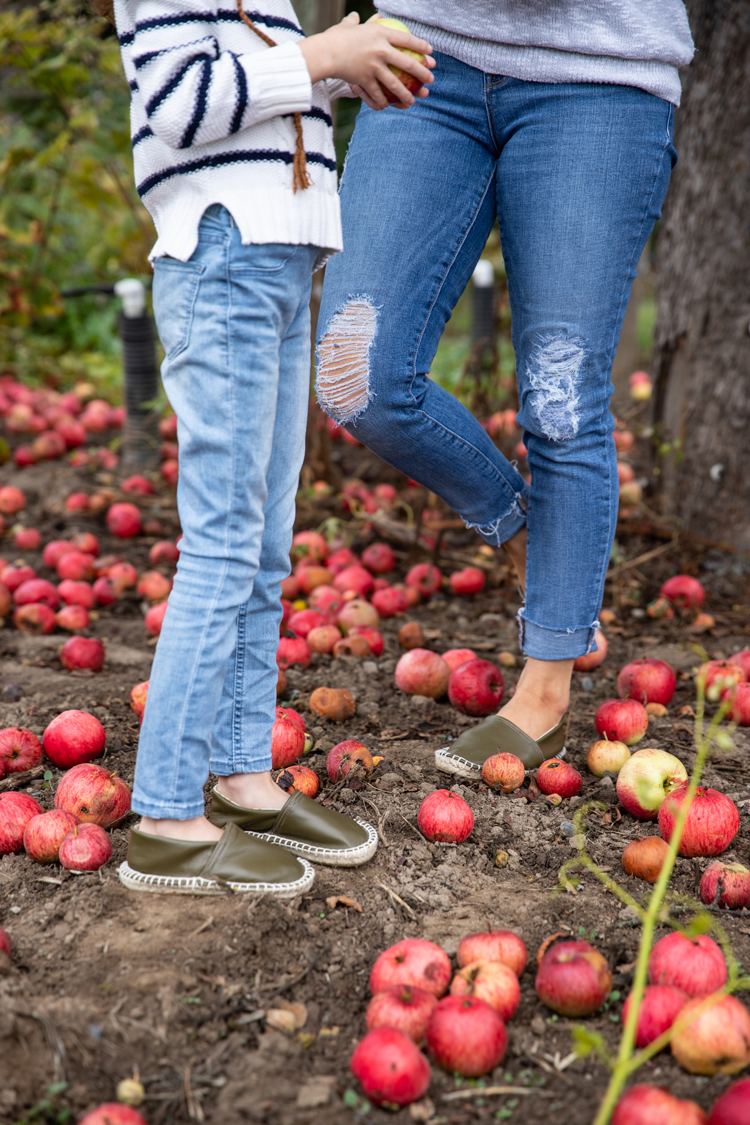
Overall, they were a very satisfying make, that I know will get a lot of wear!
Sources: Espadrilles kit – A Happy Stitch // Leather – The Leather Hide Store // Lining – Cotton and Steel // Natalie’s bonnet – my free bonnet beanie crochet pattern! 🙂


Love this project! Wondering if you have tips to try it or your Natty Janes Baby Shoes pattern in “cork fabric”: just bought a lush teal cork with silver flecks and thinking about first-walker shoes or small toddler boots in addition to my planned handbag. Thanks!
Hmm. I have never worked with cork fabric. I wish I could give you advice, but I’m just not sure. I wonder if you might want to add a felt lining to the sole. How thick is the cork? It might be really great for a sole. Sounds pretty! Pretty please let me know if you make it and how it goes.
These are so fun! I’ve been enamored with the idea of making my own shoes for a few years now, but I’m very shoe-picky so I haven’t put in the time needed for a proper start. Someday! This looks like a great way to dip a toe in though. And how cute are you and Natalie!
Thanks Charity! 🙂 These are a great first shoe, for sure. The construction is so simple and they’re really comfortable!