This past summer we decided to overhaul our bedroom closet and that included getting rid of the big bulky three drawer file cabinet we had stashed in there. As a family of five, living in a small home, I was tired of all that paper taking up so much real estate!
Not to mention how I never was able to stay on top of filing it all, so we always had stacks of papers cluttering up our bedroom and closet. I like to think of myself as an organized person, but motherhood has really altered that aspect of my personality. Ha!
I did lots of research into hard drives, cloud storage, and digital filing systems and ended up adopting a lot what Just a Girl and Her Blog shares in her post.
Her methods made the most sense to me and some of them seemed like something that I could actually maintain long term. We went from a tall file cabinet and a mess a papers we had accumulated over 15 years to just a little tray of papers in one weekend!!
Six months later, we have still been able to keep it up because even when I fall behind or lose motivation (which I knew I would!), it is really easy to play catch up. I have also made a few adjustments to our methods along the way to tailor it to our specific needs and habits. We now live about 90% paperless and we are MUCH more organized. However, letting go of all the paper is still a process we’re working through…I’ll explain why we have hung onto that last 10% as I explain our process below.
I hope by sharing our process you can see that there is more than one way to go paperless, especially if you aren’t always able to be as organized as you wish you could be (like me!). This is not a system that requires you to have to completely change your habits or devote a ton of time to maintain. It is forgiving, simple, and totally makes your life easier! You just have to get through a pretty tough initial purge and then it’s smooth sailing…
Please note: This post contains affiliate links which give me a small commission but do not affect your pricing or buying experience.
Tools
Before I get into how we got rid of (almost) all our paper, I have to talk about the tools that have made it possible.
Scanners
We already had a printer/scanner/copier combo but I just knew it wasn’t going to cut it when trying to scan three file cabinet drawers full of files. It’s slow, only scans one side at a time…I knew I wouldn’t stay motivated to see this project through if I didn’t invest in a better scanner.
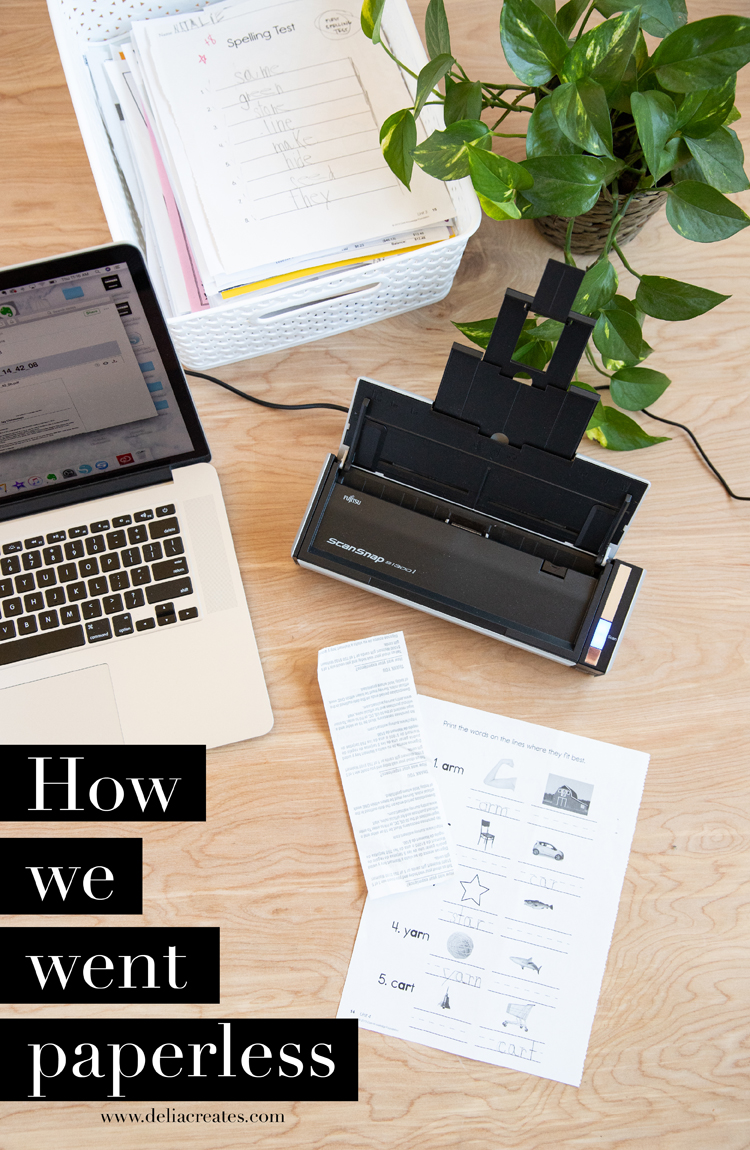
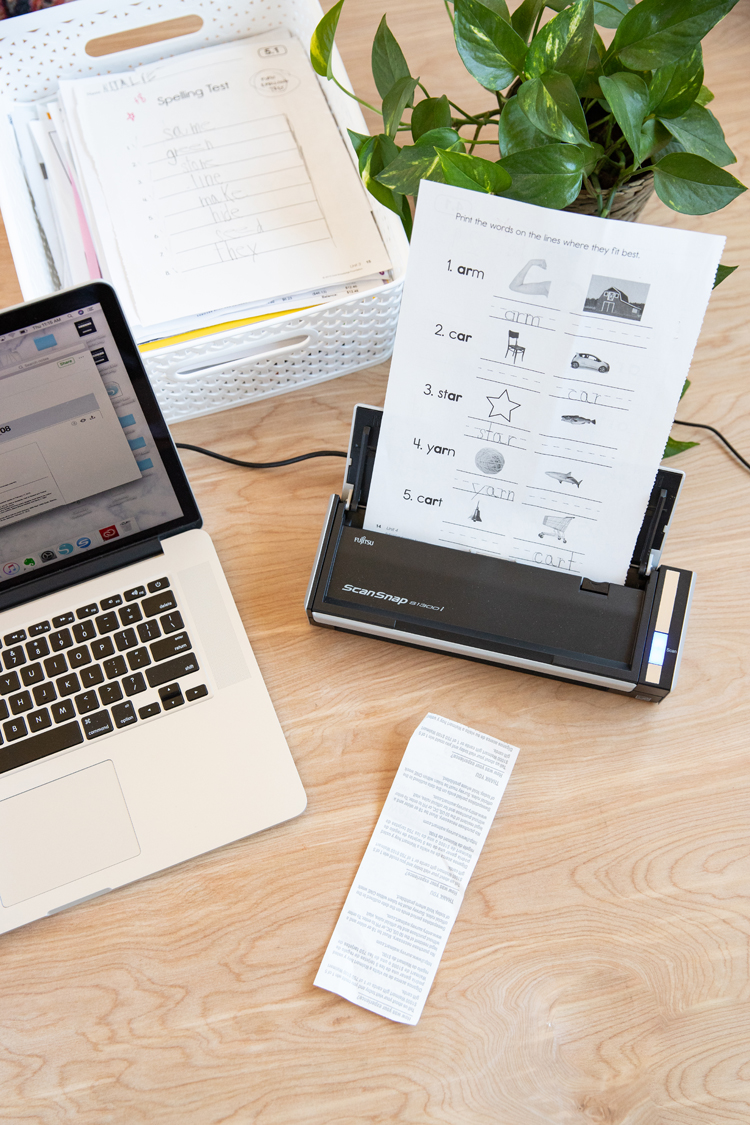
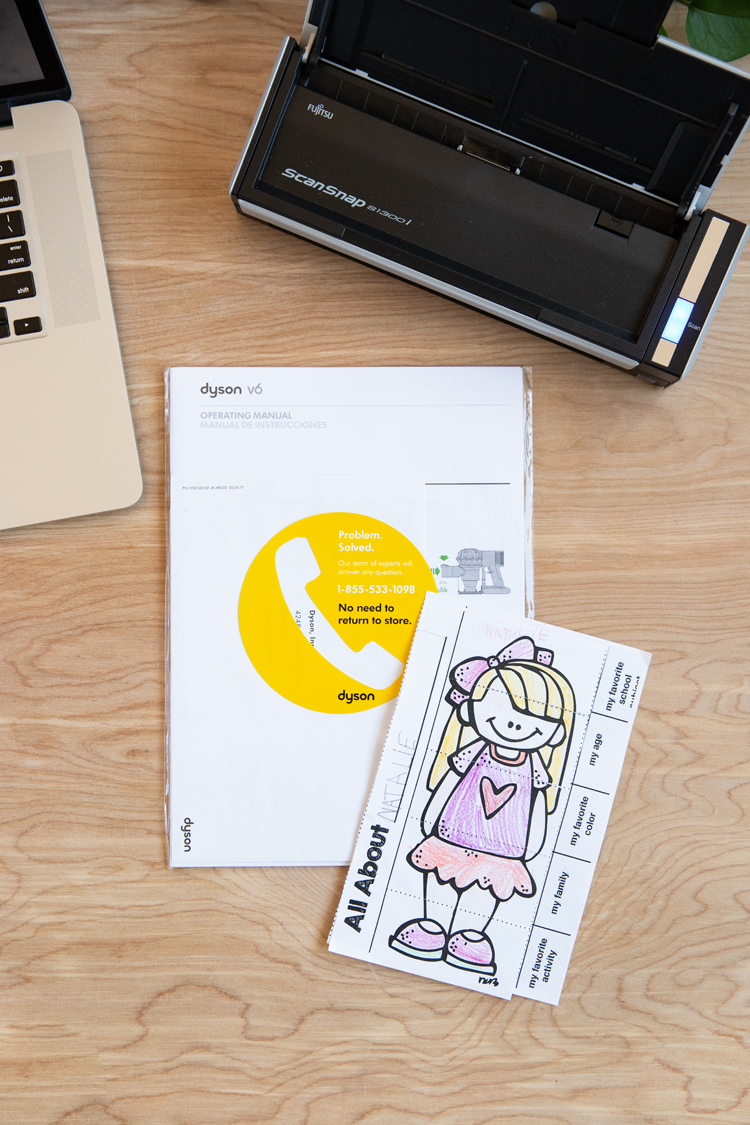
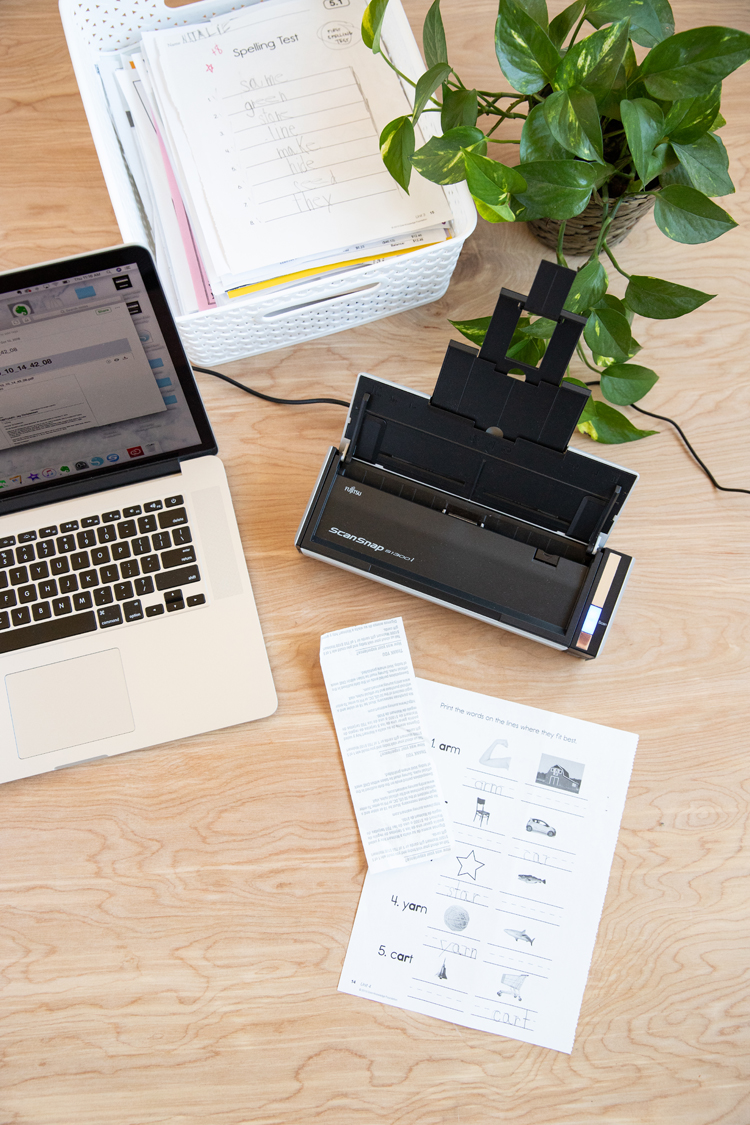
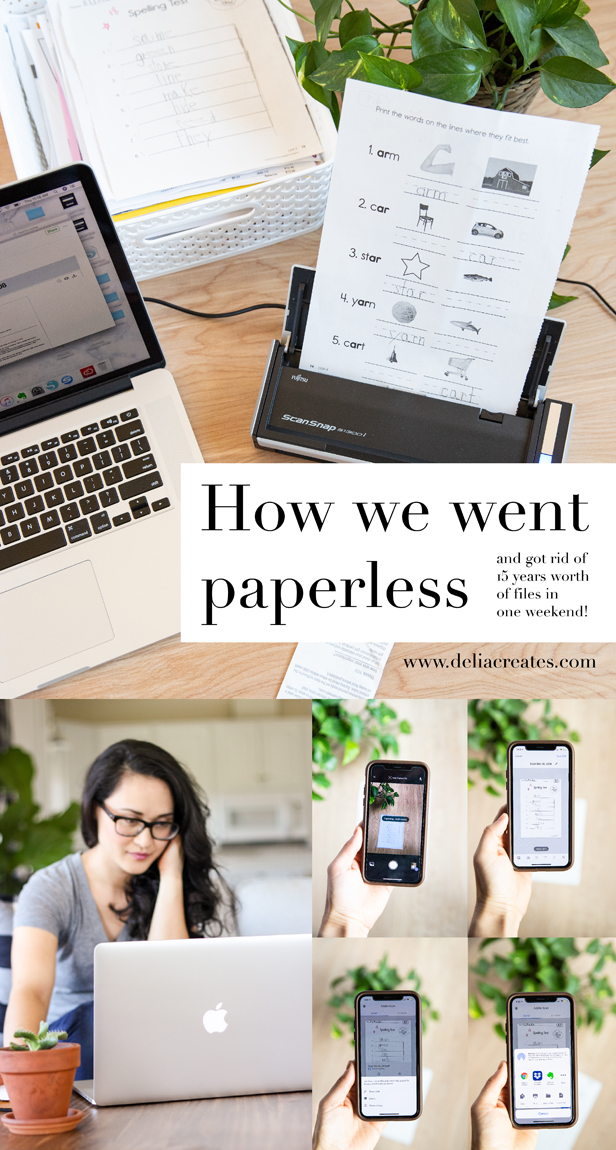
At the recommendation of Just a Girl and Her Blog, I bought the Fujitsu Scan Snap S1300i scanner. (affiliate link) Her husband, recommended this one, which is portable, and folds up to about the size of a box of crackers, as well as another larger scanner that is faster, wifi enabled, and more than twice the cost. For our purposes, I have found that the smaller one has been more than enough for our needs.
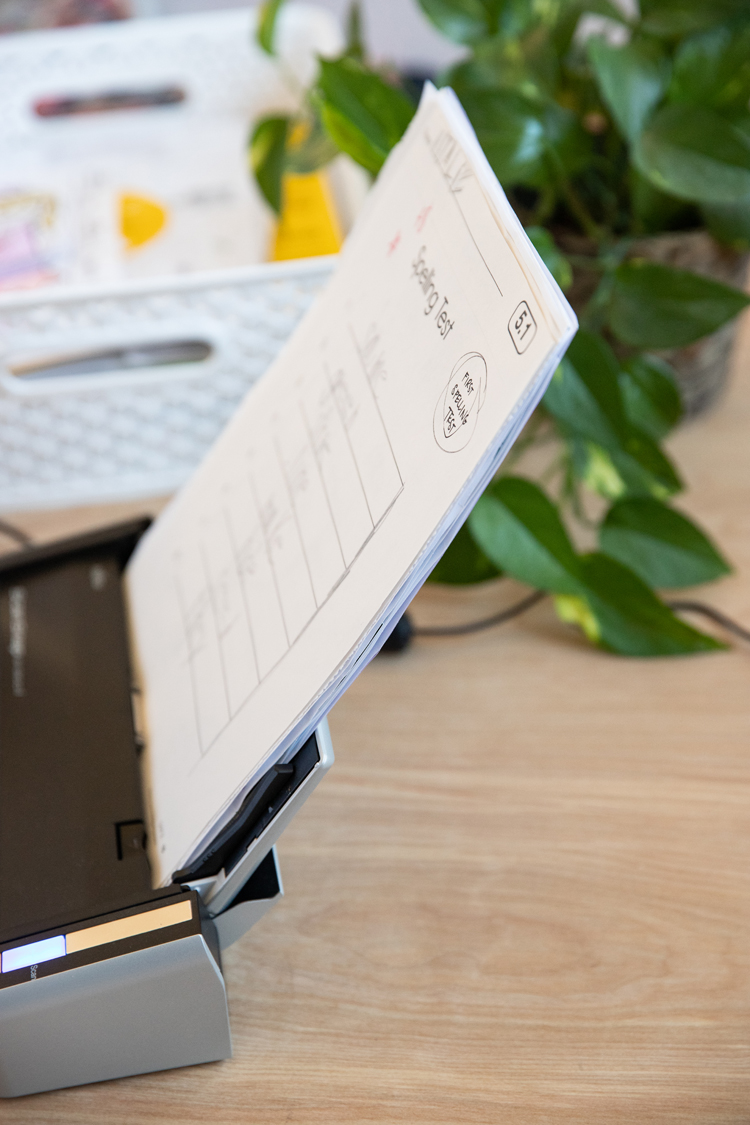
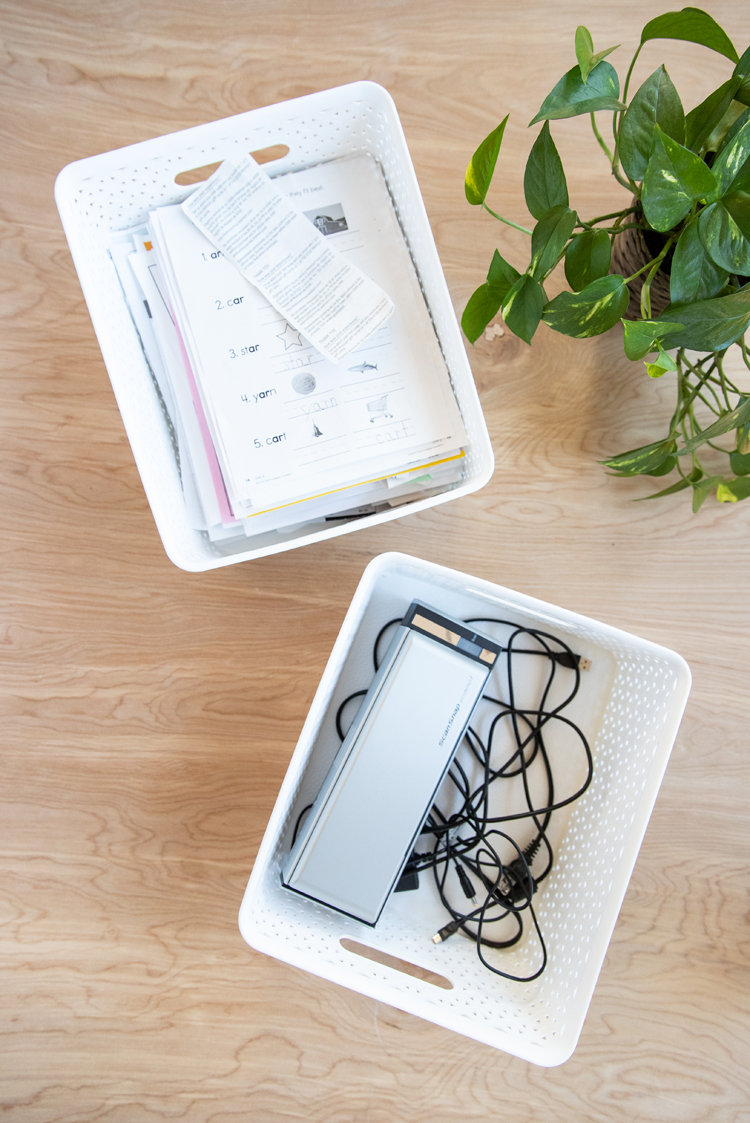
It scans both sides of a document at the same time which is a HUGE time saver in and of itself. It also can handle a stack of papers at a time. It got me caught up through 15 years worth of files in about a weekend. Plus, it fits nicely in a bin that we keep tucked away in our closet, which was really important to me. Because we live in a smaller home, it’s important to me to keep desks and surfaces clear as much as possible.
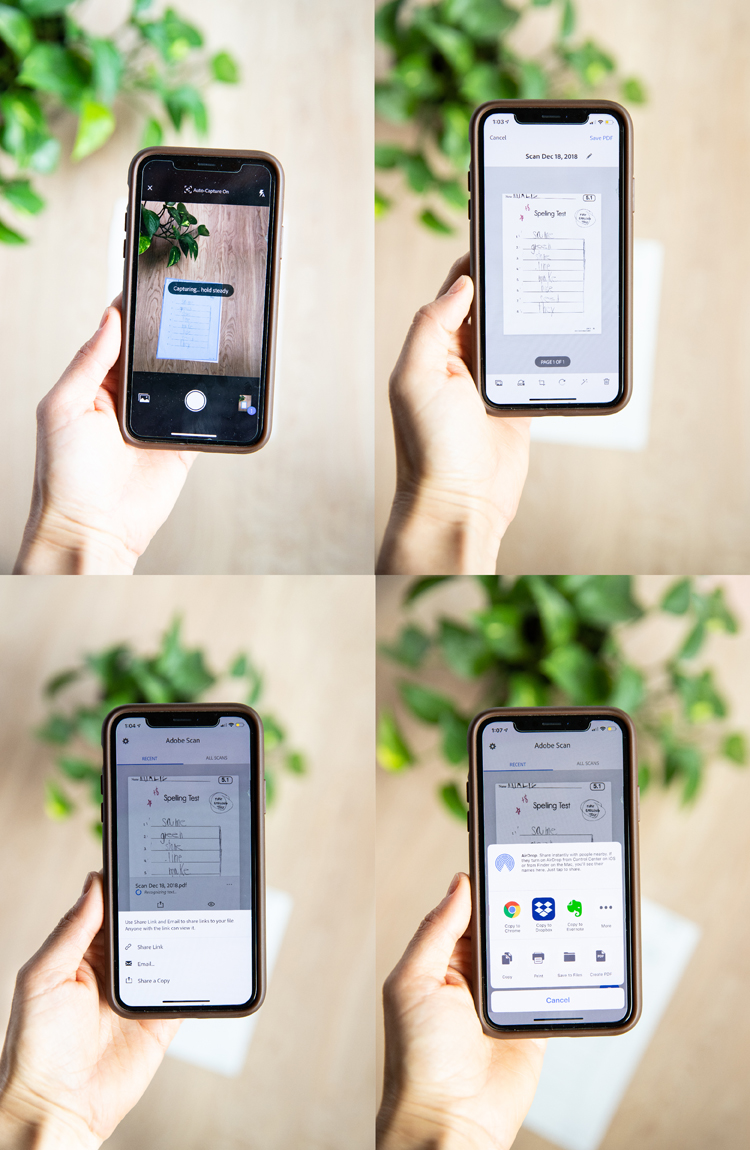
We also use the free Adobe scan app to scan things with our phones. We can send these scans to Evernote, the program we use to organize our files, so that they are all in one place. I will go into more detail about all of that in a minute.
Inbox
You need a tray or basket to house all the papers that you plan on scanning. I do my scans in batches every month or so, so I wanted something that could hold a lot of paper.
We got this white plastic basket from Target to use as our inbox. We put it in our closet next to our scanner that we store in the same kind of basket.
Shredder
I personally don’t think brand of shredder really matters. We got a lower-middle end shredder for about $30-40 at Walmart, and it has served us fine. This one from Amazon looks exactly the same as ours but with an Amazon Basics label stuck on it. 😉
You can also burn your files instead.
Fireproof File Box
There are some original documents that you still need to keep. This smaller fireproof box has been plenty big enough to hold all of our precious files, extra hard drives, etc.
External Hard Drive
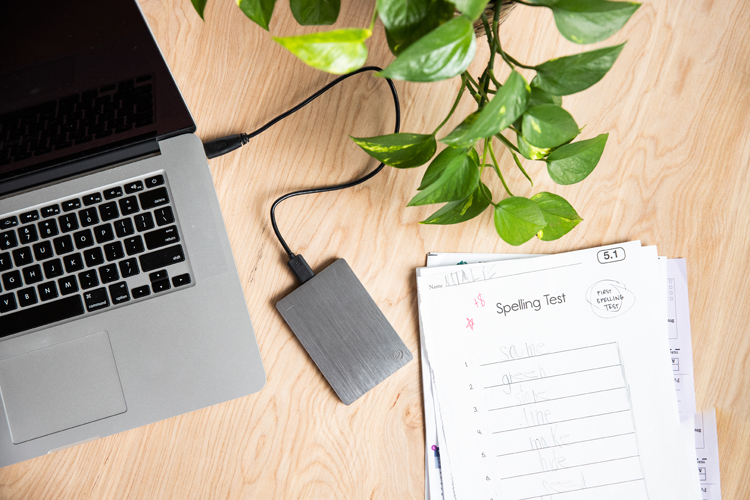
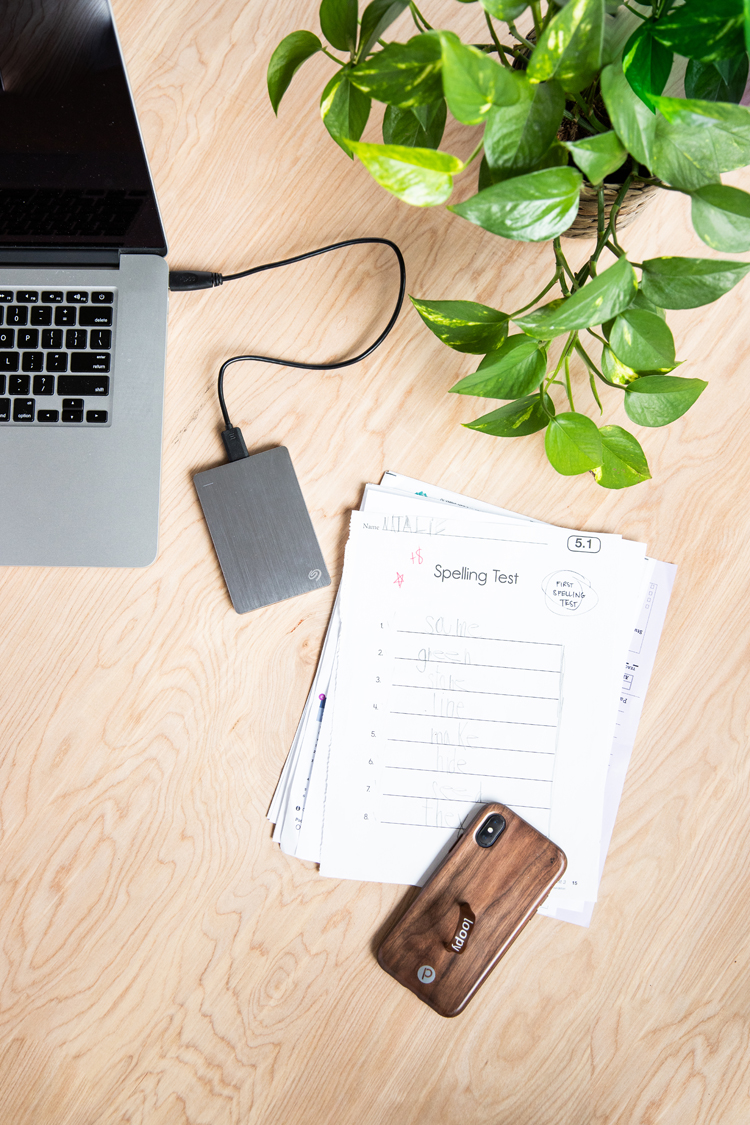
If you don’t have one already, get an external hard drive to back up your files. We have this same one but in silver.
What To Keep
Unfortunately, it is not possible to go entirely paperless. There are some physical papers you have to keep, and we have found that there are some things we actually prefer to keep.
What to put in your Fireproof Box
- Birth, Death, Marriage/Divorce Certificates
- Car Titles
- House Deeds and Mortgage Documents with original signatures
- Social Security cards
- Any other original documents of which you need a paper copy
We also put our back up external drives in our fire safe.
Kids’ School Work
You’re probably wondering how this fits under the “to keep” section. I guess you could say that this is one area that we are still trying to wrap our heads around. These papers have sentimental value so we are giving ourselves some space to figure it out.
Some may say to scan and get rid of all of it, but we found that many of the keepsake papers our kids bring home are in bound class books or have flaps and are otherwise not straightforward enough to scan easily. There’s also something special about having SOME originals. So, we have come up with a compromise. We have a file box for their school work that we started before going paperless and then we scan the rest…
- Each child gets one one plastic file box to hold ALL of their keepsake papers from baby until high school graduation. That means we need to be very selective about what we keep. We set aside notable projects and papers throughout the year and then whittle them down to about a dozen pieces at the end of the year. This is harder when they’re younger because they bring home SO many papers. As they get into the older grades, they bring home much less so we often don’t even keep a half dozen papers. When were curating papers at the end of the year, I will sometimes comb through previous years a second or third time. Fresh eyes help you see what it is really worth saving.
- We also apply these principles to scanned kid papers. Kids are SO prolific, it would be overwhelming and defeat the purpose of compiling keepsakes if we kept every single paper or even half the papers. We only scan the most notable pieces if they are scannable and then recycle it.
Our goal is to create a thoughtfully curated collection of both scanned and key physical pieces that are really special, and that won’t get lost in a mess of papers that are less significant.
But I think it’s worth repeating that I don’t make those hard cuts to our collection right away. I give it time. If you tend toward sentimental (like me), there is no harm in savoring it for a bit longer and saving the curating part for when it’s easier to be objective.
Receipts
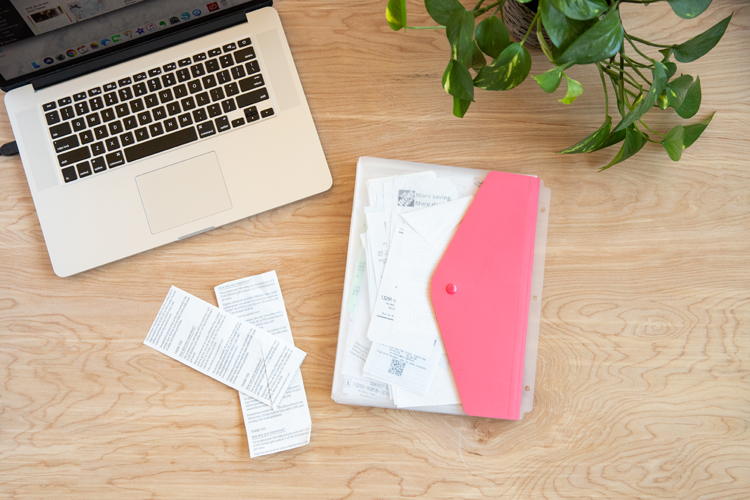
Again, this is a matter of personal preference. I like to hang onto receipts that I may need for returns or reimbursements. I scan them with my other documents but then I organize them by month in this four slot file organizer I bought at Office Depot for just a couple bucks. I scan papers monthly, put all the receipts in a slot and rotate out the oldest receipts so they can be shredded.
Technically, I could just print up receipts that I need to use for returns if they won’t take my digital copy, but that seems like a waste of paper to me, especially when the receipts are crazy long. Stores also sometimes require the original receipt. It’s so much easier for me to just hang onto them and put them in our paper inbox for a few months. Instead of shredding them right away, they just get shredded after at least 90 days (the common return period) has passed.
Instruction Manuals
Instruction manuals usually come bound in big thick booklets, so scanning them is a pain and a half. We had over 100 manuals that we had been hoarding (yikes!), so we narrowed them down just to the ones that we were certain we would need to reference again and that we couldn’t access online. We ended up with a small stack of a dozen or so that we have put in an Ikea Flyt Magazine box.
P.S. We did not keep this Dyson manual. 😉
What To Get Rid Of
- There are some papers you don’t even need to bother scanning! This list from the IRS and this article will help you determine which documents you need to keep on digital file and which ones can go directly into the shredder.
- Other documents not mentioned in those lists, that you should scan and then shred may include:
- All documents related to your home, such as home improvement or repair invoices.
- Vehicle repair and maintenance records. If you stay on top of maintenance, it can be a great selling feature to include with the sale of your vehicle.
- Warranties – We always kept warranties for large purchases and appliances on hand, but would often ditch the rest because it was more work to keep it. Now we also keep warranty labels on less expensive items because…why not? Since it’s a digital file, it’s easy to store and easy to find if we need it. We also keep a file for LL Bean purchases because of their warranty-like return policy.
- Convert statements to online statements if you haven’t already. If you want to keep your own file of these statements or a keep a back up copy, you can download them and save them to Evernote, which I will talk about in a minute.
Otherwise your medical paperwork, insurance policies, etc. and scan and shred it! It is SO freeing to get rid of all those papers. Not only that, but turning them into a digital files makes them even easier to find (see below).
Digital Organization
The next logical question, is where do all the scans go? This is where Evernote comes in.
Evernote
Evernote is a note taking app, but it also makes a great digital filing cabinet.
Why Evernote?
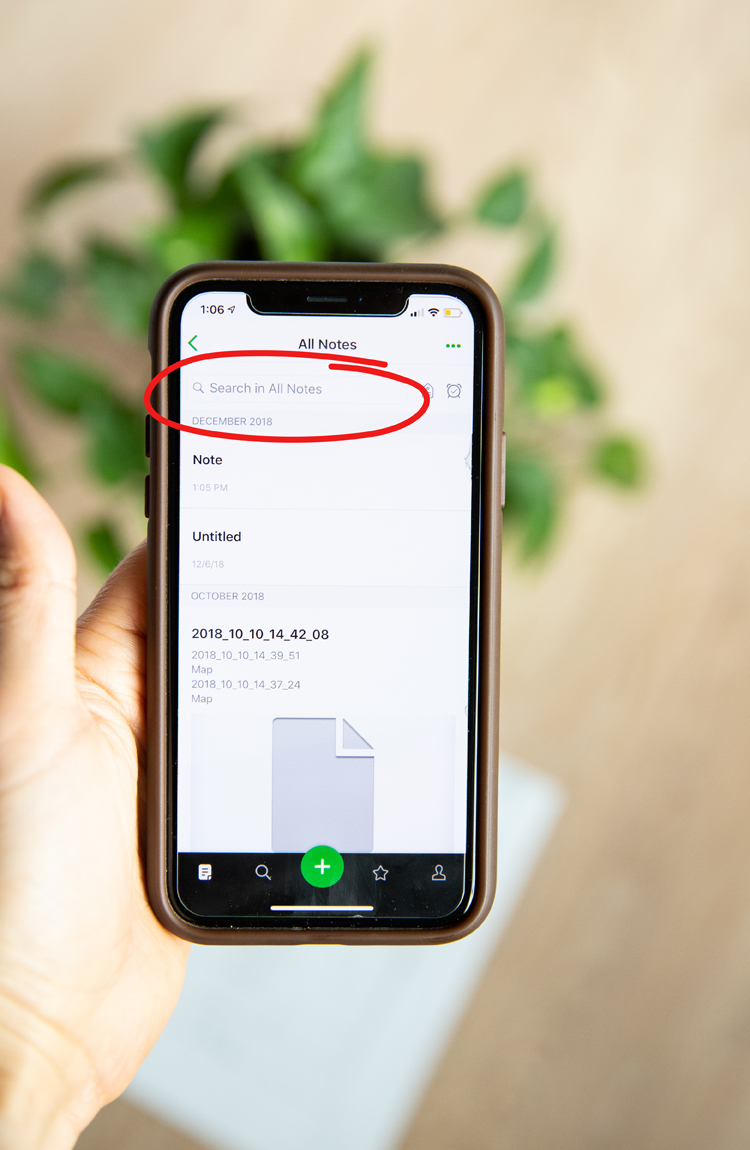
- It turns scans into searchable PDFs. Both my desktop and Adobe Scan do this as well, but Evernote does it faster and without bogging anything down. I love that I can search for any word or phrase in the search bar in Evernote, and it will pull up every document with that word or phrase. I’m able to find papers faster and easier than when we had file cabinets.
- I can access my files through Evernote from my phone, my laptop, my husband’s phone…anywhere and anytime we need it!
- I can clip articles and documents from the web.
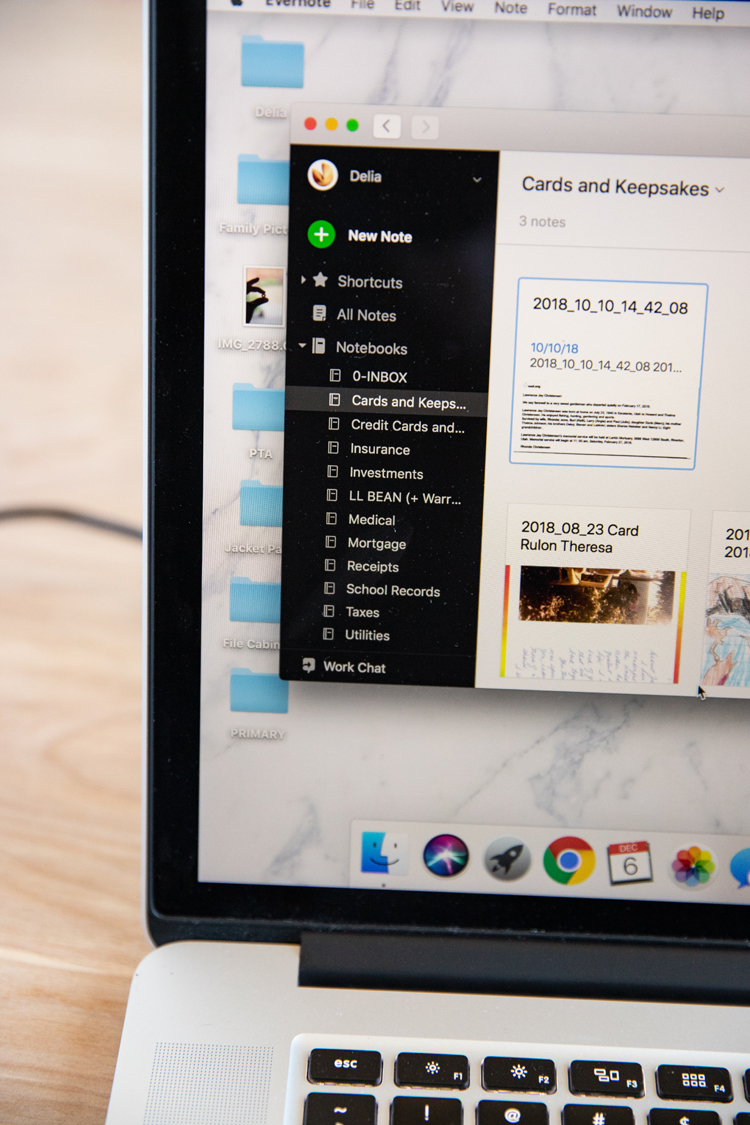
- I can customize my folders or “notebooks” however I want. Technically, folders aren’t really necessary because of the search bar feature..but I like having them.
What type of account should I get?
We signed up for Evernote Premium. It is listed at $7.99 per month but you can pay a year in advance at $69.99. It saved us about $26. I might be able to get away with the free account now that I’m caught up on uploading all my old files, but I like being able to access it from multiple devices. The free version also has maximum note sizes that I don’t want to have to worry about.
TIP: Because Evernote is technically a note taking program, it uses notebooks and notes instead of folders and files. For all intents and purposes, they are the same. Notebooks = folders and notes = files.
Computer + External Drive Back Ups
I don’t like to rely on just Evernote to store all of our important documents, so I followed the advice from Just A Girl and Her Blog and made a “File Cabinet” folder on my laptop. I don’t organize the files there because they are just back up.
I set up my scanner settings to send it both to Evernote AND the back up folder on my laptop at the same time to make it even easier. If you get the Fujitsu Scan Snap S1300i scanner it installs Scan Snap Manager software onto your laptop in order for you to use it. It allows you to dictate where you send your scans and it allows you to send it to multiple places.
For yet another back up, I periodically back up the “File Cabinet” folder to an external hard drive that we keep in our fireproof box.
If you are really worried about back ups, you may decide to sign up for cloud back up as well.
Mobile Scanning
Using the Adobe Scan App for mobile scans is new to us. I haven’t yet totally adopted it into my regular routine, but I’m trying to use it to help me get in the habit of scanning things right away.
If you are really set on not purchasing a scanner, then I highly recommend using the Adobe Scan app and the Evernote app. Not only is Adobe Scan free, but it is a lot quicker than a printer/scanner combo and it is easier to use. That said, it will still take A VERY LONG time to scan your documents when you do an initial purge. If you can get more than one person with a smart phone to help you, I highly recommend it. Or see if you can borrow a good scanner just to help you get caught up.
For single documents that you want to be able to just slip right into the recycle bin, then it is super convenient. Here is how I scan it and send it to Evernote:
- Open the Adobe Scan app. Scan a document by holding your phone camera over it.
- Once it has captured the image you want, click on “Save PDF” in the top right hand corner.
- Click on the box with an arrow coming out of the top that says “share”. Then click “share a copy.”
- Scroll to the right until you see Evernote as an option (you may have to clip on “more”). Select Evernote and it will send it to your account so you can access it from anywhere you can access Evernote!
My Digital Filing Process
Before I go through my process, I want to note that what I do may not work for you. It’s important that you find a method that you know YOU will stick with. So far, I have found that I am not good about scanning and organizing my papers right when I get them, or even weekly; so, I do it monthly or every two months.
- Drop papers in the inbox. I made my inbox a relatively large white bin from Target that I can fill up throughout the month. I just drop papers, receipts, and even junk mail that I won’t scan but need to shred in there. Otherwise, if it doesn’t need to be shredded, it goes straight into recycling.
- Scan in batches. Once a month or every two months, I scan and shred all in one sitting. Because I wait so long between scans, this usually takes me about 1/2 an hour to an hour. When you scan something this creates a new “note” in Evernote. You can add can merge scans or notes into one note (file) if needed.
- Title files by date. Because Evernote converts the scans into searchable text pdf files, this isn’t crucial, but I still think it helps. When I scan a document, it is automatically sent to the “inbox” in Evernote. From there, I input the date either of the scan or of the bill. Then I drag and drop it into a folder or “notebook.” (see number 4)
- File it into folders or “notebooks”. This is also not crucial because of the search feature, but I like being able to pull files up by more than just search field in case I don’t use the “right” keyword. Currently my notebooks are: Insurance, Car Maintenance, Utilities, Receipts, Mortgage, Medical Bills…the usual suspects. I also have a Keepsakes folder for memorable cards and notes, Christmas cards, etc.
- Back up files to an external hard drive. Remember, I set my scanner settings to automatically send a copy of the scan to a folder on my desktop named “File Cabinet.” I simply save it and merge it with the “File Cabinet” file on my external hard drive while I also back up all the photos on my laptop. Then that external hard drive goes back into my fireproof safe.
- Shred all the scanned papers you aren’t keeping and recycle them!
- Optional: I physically file away kids’ papers in their respective school totes and receipts in my receipt organizer that I keep in my inbox.
That’s it! It has saved us so much time and SO much space. Not only has it trained us to be more discerning about what we really need to keep a (digital) record of but it has helped us whittle everything down to just our inbox and our keepsakes boxes. We recently overhauled our closets and completely got rid of our dressers because we created so much space by going paperless. I hope to share more of that with you soon.
I know this is A LOT of information, so here is summary of everything you need to know to get started.
Summary
- Get tools:
- A good scanner
- Adobe Scan app for your phone
- Inbox or tray
- External hard drive
- Fireproof box
- Shredder
- Get Evernote to organize your files.
- Create a “File Cabinet” folder on your desktop.
- Convert to online statements where possible.
- Go through ALL of your files, keepsake boxes, holiday card boxes, etc.
- Set aside the original files you NEED to keep. Scan them and put them in your fire safe box. Optional: Sort out kid art and manuals that you want to keep but that are cumbersome to scan.
- Discard any files that you do not need to scan. This list from the IRS and this article will help you determine if you need to bother scanning it. We ended up discarding at least half of our files without scanning them.
- Only scan files for which you DO need copies. Title scans by date and put them into notebooks (folders) if you desire. Set your scanner to send scans to Evernote and the “File Cabinet” folder on your desktop.
- Back up the “File Cabinet” folder on your desktop to your external hard drive. Keep your external hard drive in your fire safe as well.
- Shred or burn all the papers.
Plan on your initial purge to take a good chunk of time. Once you do this though, paper organization will no longer be such a headache…even if you get behind like I usually do! 😉
Tips:
- If your scan gets interrupted in the middle of a multi page document, or if you want to link documents together as one, you can merge separate “notes” or scans together as one in Evernote.
- When scanning receipts are extra long documents, it will often give you an error message; just press continue scanning and it will complete the scan. It is a fail safe to help alert you to documents that may have gotten stuck together.
- I prefer to hand feed receipts if they are really long. It is so much easier and causes less paper jams.
- If you want to recycle your shredded paper, make sure you empty your shredder into a brown paper sack. Plastic sacks have to be processed separately at recycling plants and they can really muck up the paper recycling process, so steer clear of those. We roll the top down and secured it with a staple. For our initial purge, we hoarded paper sacks from the grocery store for a few weeks beforehand.
I hope this helps you in your journey to go paperless. It seems daunting at first, but now I am SO glad we made the investment in some good tools and went for it! If you have any questions, drop me a comment or email me at [email protected].





We are fairly paperless too but a big reason which you didn’t mention is that we’ve converted so many of our bills to online only. So the bill is emailed automatically by the company, and I pay it immediately or at its set date in my budget doc and if ever needed, I can pull it up in my email.
You’re right! I forgot to mention that. I have added a bullet point about converting to online statements. Thanks for your input. All our bills, except for medical bills are on automatic payment as well, so that helps cut out another step. However, I have found that even when they send it in an email, they almost never send the actual statement. It is usually a link to their site and then I have to log in, so I don’t like to rely just on that email notification.
I’m so inspired Delia! Thank you for the inspiration and such a thorough write up. You’re amazing! xo
Thank you Shannon! You are so kind. I am so glad you found it helpful!
This is all great advice. I have so many papers piling up. I need to use your system and get through them and discard!
Delia, this article is extremely helpful. Thank you!
I have been trying to be as paperless as I can for years. I have an all-in-one printer/scanner. It is very slow and requires my computer which I no longer have on every day as I am now retired. I use Quicken for my accounting and scan my receipts (sometimes) It is a painfully slow process, so I don’t keep it up. Now I have a huge pile again.
I have been researching scanning receipts when I found your article which has been most helpful. I am inspired.
I have a question. How do you name your receipts? Are they all just lumped into your file cabinet, or does your file cabinet contain subtitles? If subfiles, are those subtitles available in Evernote? What backup software are you using?
I’m so happy this was helpful! Great questions! I don’t name my receipts. I just do batches of a month’s worth at a time. Evernote makes all the scanned text searchable, so that I can search my scanned files for key words if I ever need to recall it. Sometimes I have to search a few different phrases to find it, but it really works. As for the file cabinet, it all gets lumped in there with no organization. I don’t ever access it. It’s just there in the unlikely case that I lose my other files. The idea is that I could upload the files back into Evernote and just search for what I need if that worst scenario happens. I back up my files with several external drives that are stored in a fire/water proof safe. It is also stored in the Evernote cloud storage. I do organize my files in Evernote a bit, but I don’t use that system nearly as much as the search feature. I hope that helps. Please let me know if you have any more questions.