When we started our home garden this year, one of my bucket list items was to plant an herbal tea garden.
Herbs are such an easy thing to grow and I loved the idea of creating our own blends.
In this post I’ll cover: what we planted, how to harvest them, two ways of drying them, and how to store them and use them.
WHAT WE PLANTED
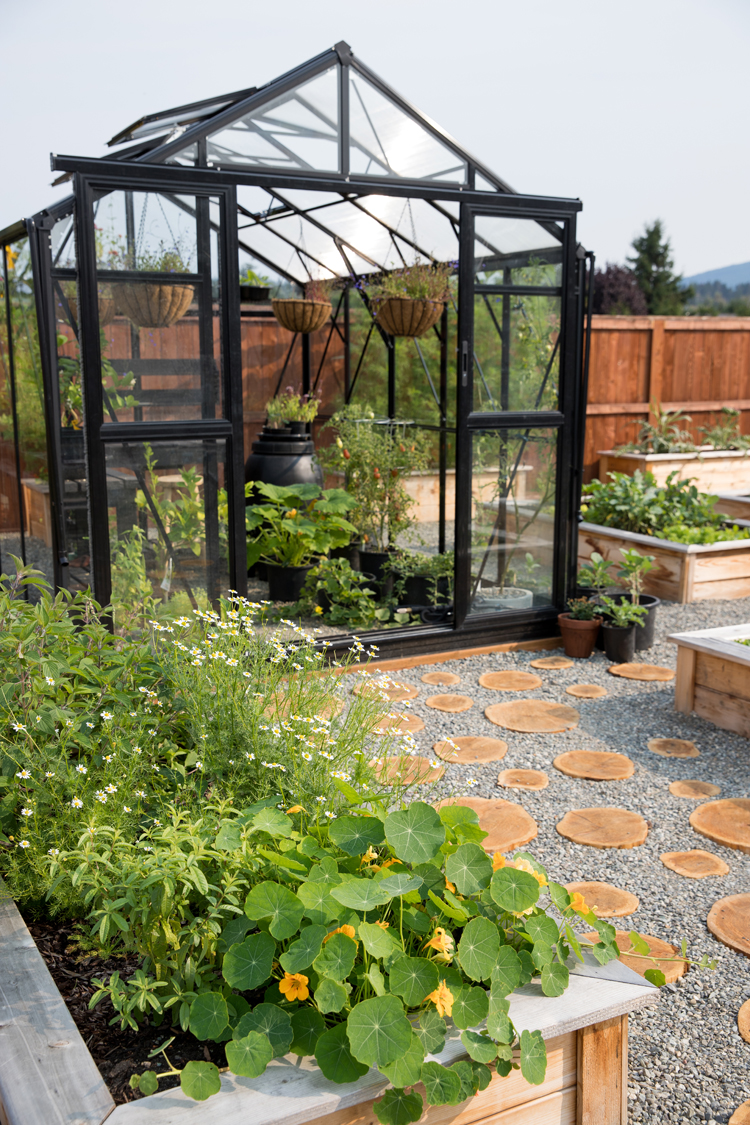
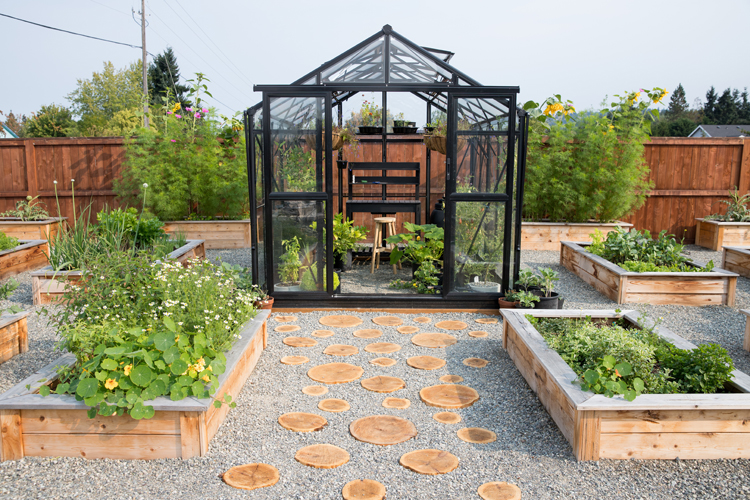
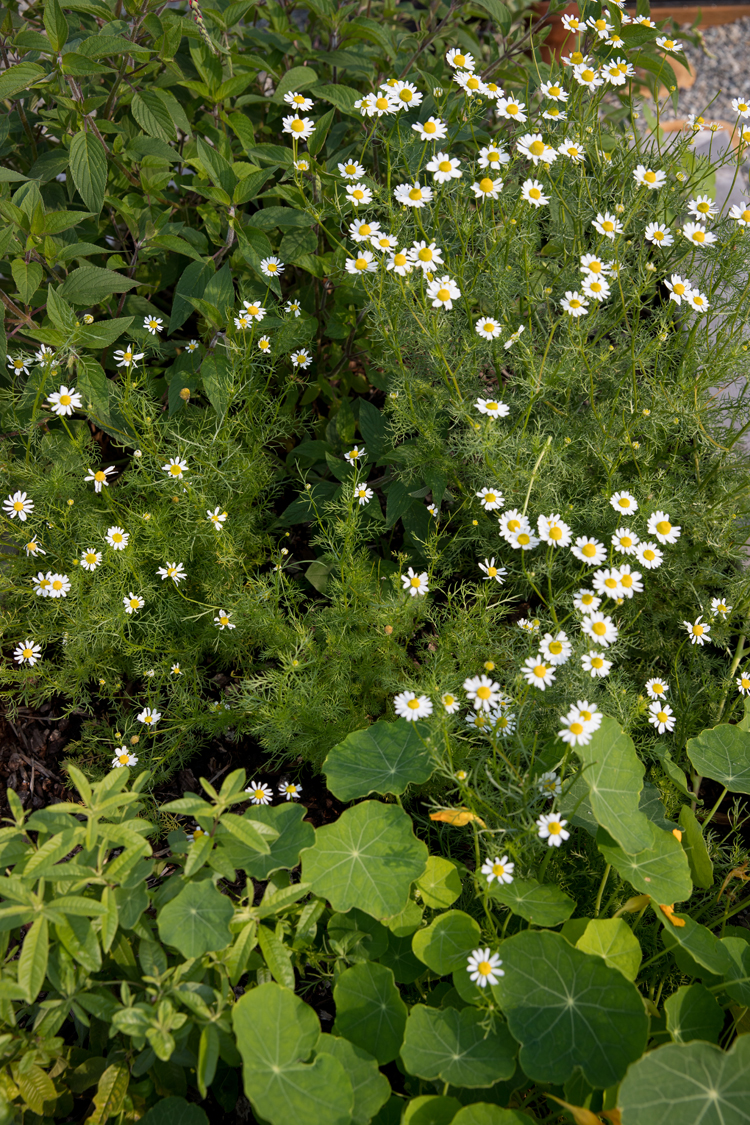
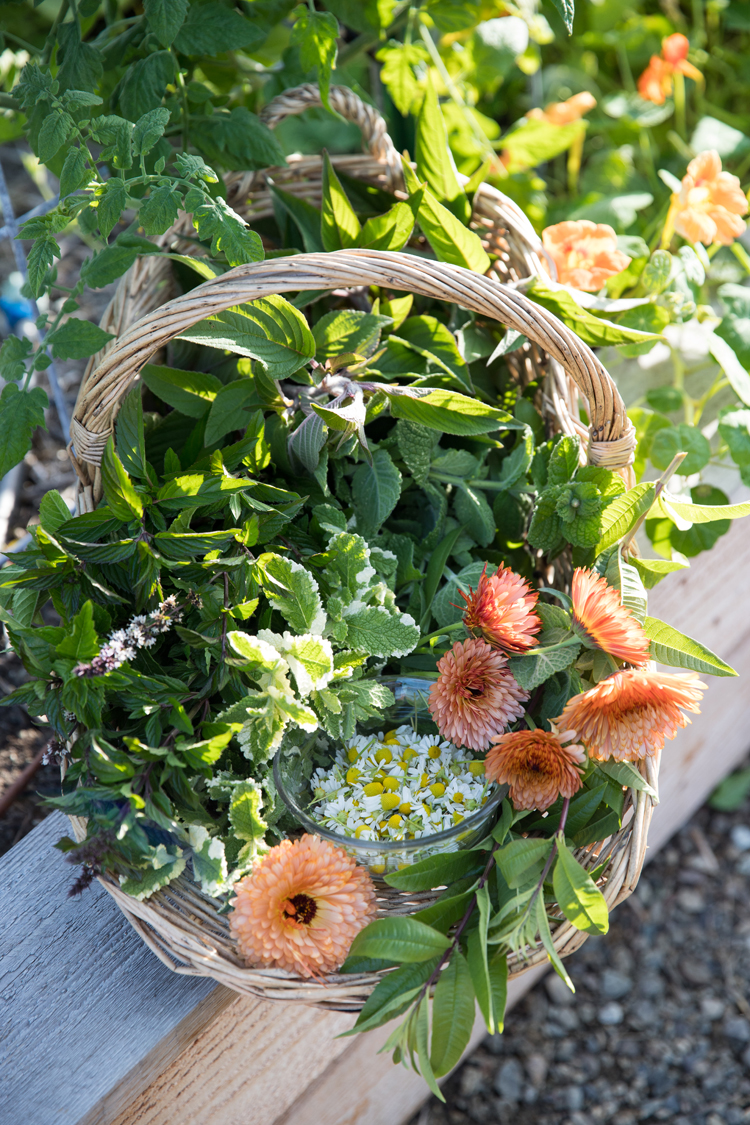
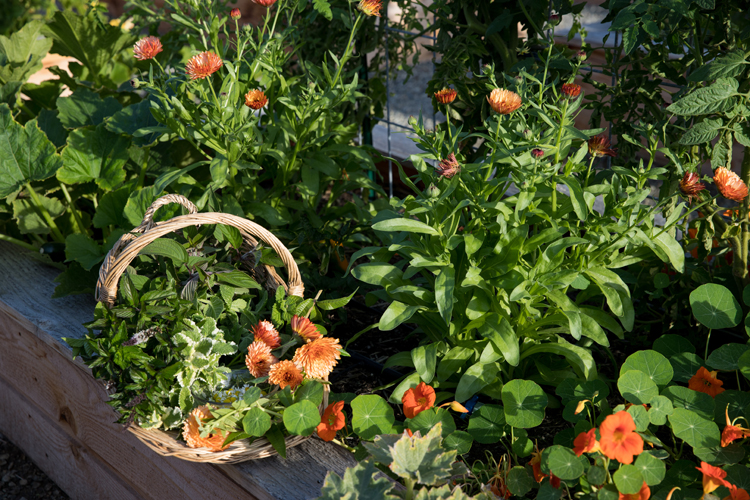
We like to drink caffeine free tea, so in the two beds flanking the entrance to our greenhouse, I planted six kinds of mint, German chamomile, pineapple sage, lemon verbena, stevia, and nasturtium. I also sprinkled some zeolite calendula and lemon balm in other parts of our garden.
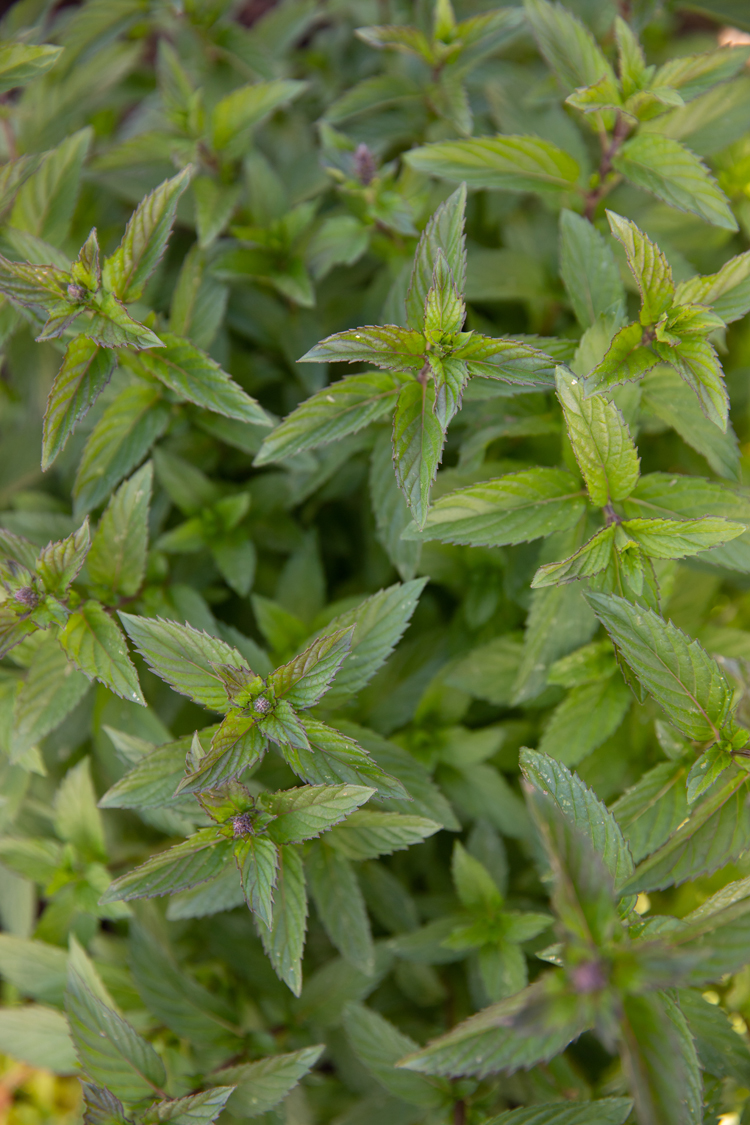
The mint garden needs its own bed of course because mint is very aggressive and will choke out other plants, but I did add some chamomile to it to help intensify its flavor. After growing and brewing tea all summer, we have discovered that the best mint for tea is spearmint, peppermint, double mint, and chocolate mint. The apple mint and pineapple mint offers a milder flavor after it has been dried which still tastes good, but didn’t offer the intensity of minty-ness that I was after. I think it’s better used fresh in salads and in desserts.
As the mint plants spread to fill up the garden bed, I’ve been pulling out the pineapple and apple mint shoots so that the other varieties thrive more.
HARVESTING & USES
*Disclaimer: Please note that my brief mention of benefits under each herb are from top google searches and things I’ve always heard and/or experienced personally. I do not really intend for this to be an herbal guide. The descriptions are just to pique your interest in learning more about the herbs and their uses. Please do your own research if you want to learn about all the benefits and possible side effects.
NOTE ABOUT WASHING
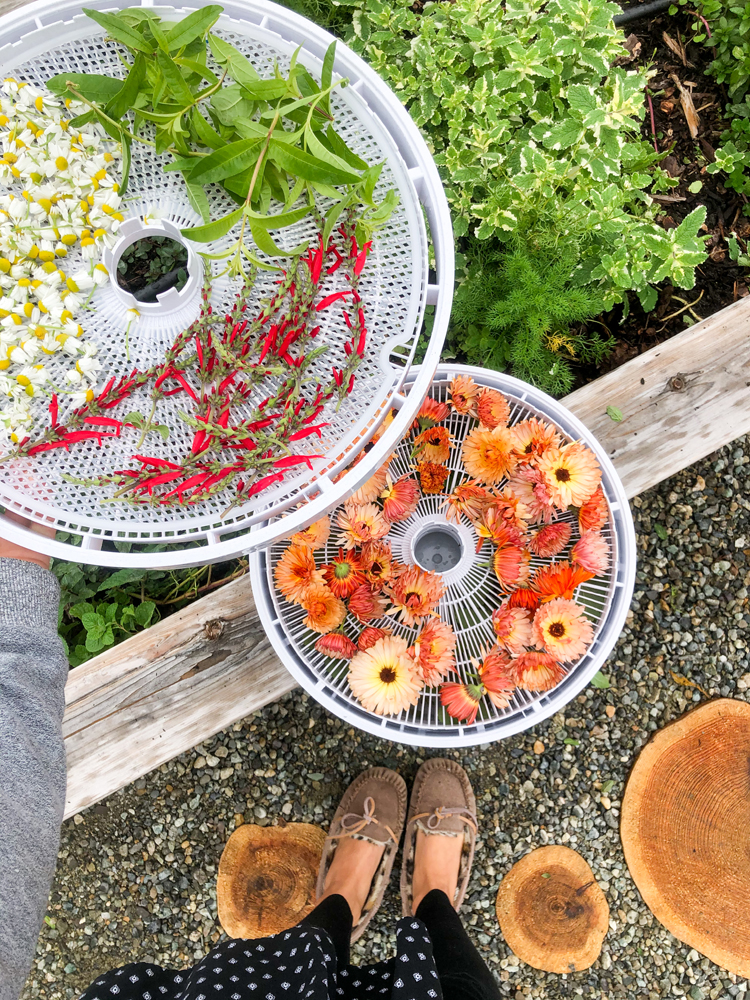
I personally, “rinse” my flowers and herbs when I water them, let them dry in the garden, and then harvest them straight to my dehydrator trays. I am an organic home gardener, so I feel safe doing this. If it has been really dusty outside, I will rinse them and pat them dry before dehydrating them.
Chamomile
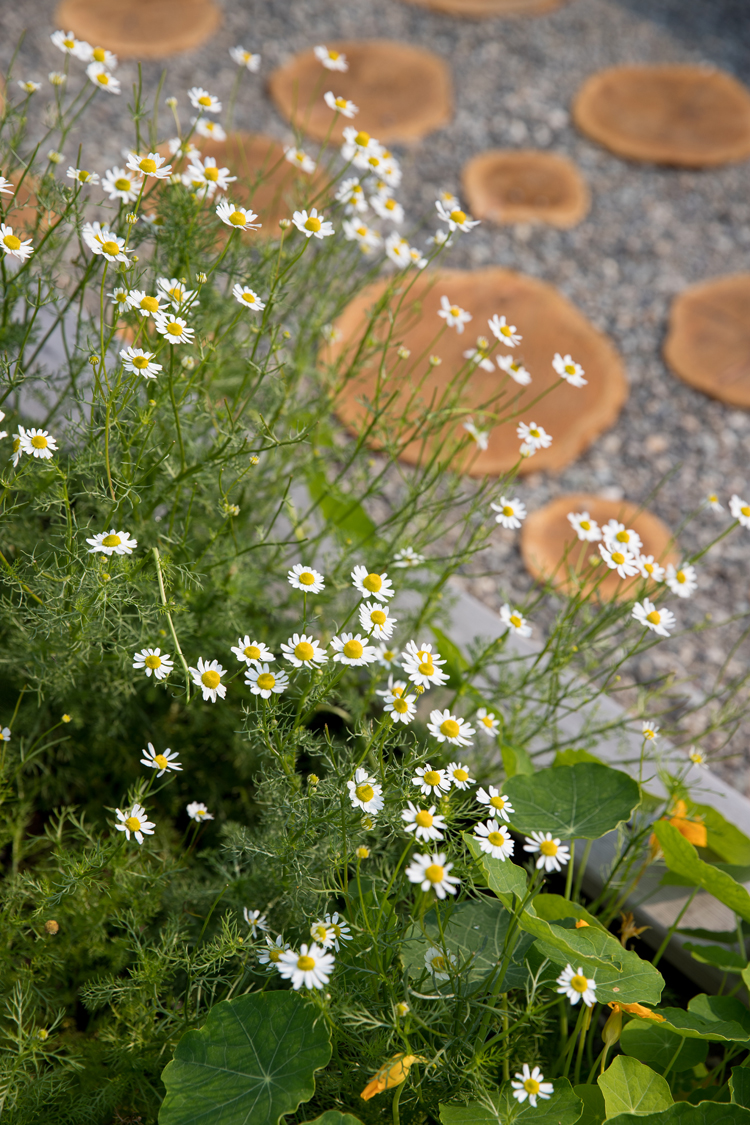
The best time to harvest them is when the flower is fully bloomed, the center is still firm and the petals are perky. The white petals will droop downward in the morning and when the weather is wet, so it’s best to wait until the dew or moisture evaporates and the petals perk up. I rake my fingers under the blooms and simply tug them away from the tops of stems, so that I can leave the other buds to bloom…usually very soon after I pick the open ones!
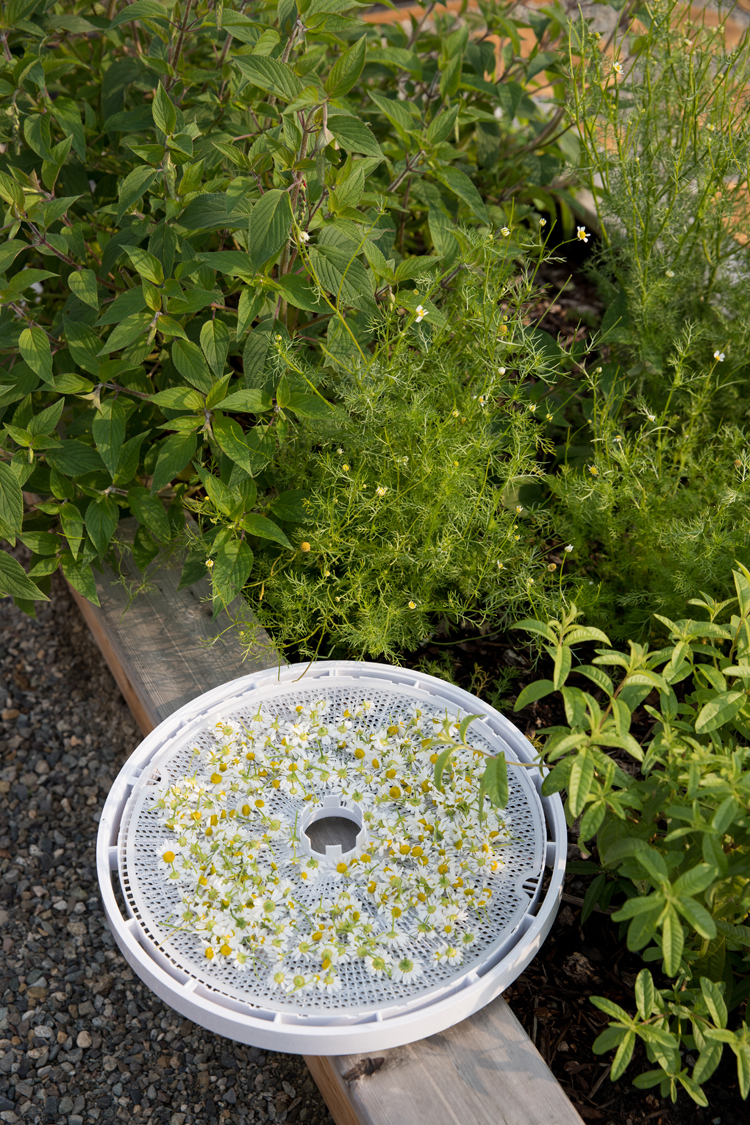
I’m sharing a quick video/Reel on instagram that shows this process in action.
Chamomile is believed to be good for soothing stomachs, reducing inflammation, and promoting sleep.*
Mint
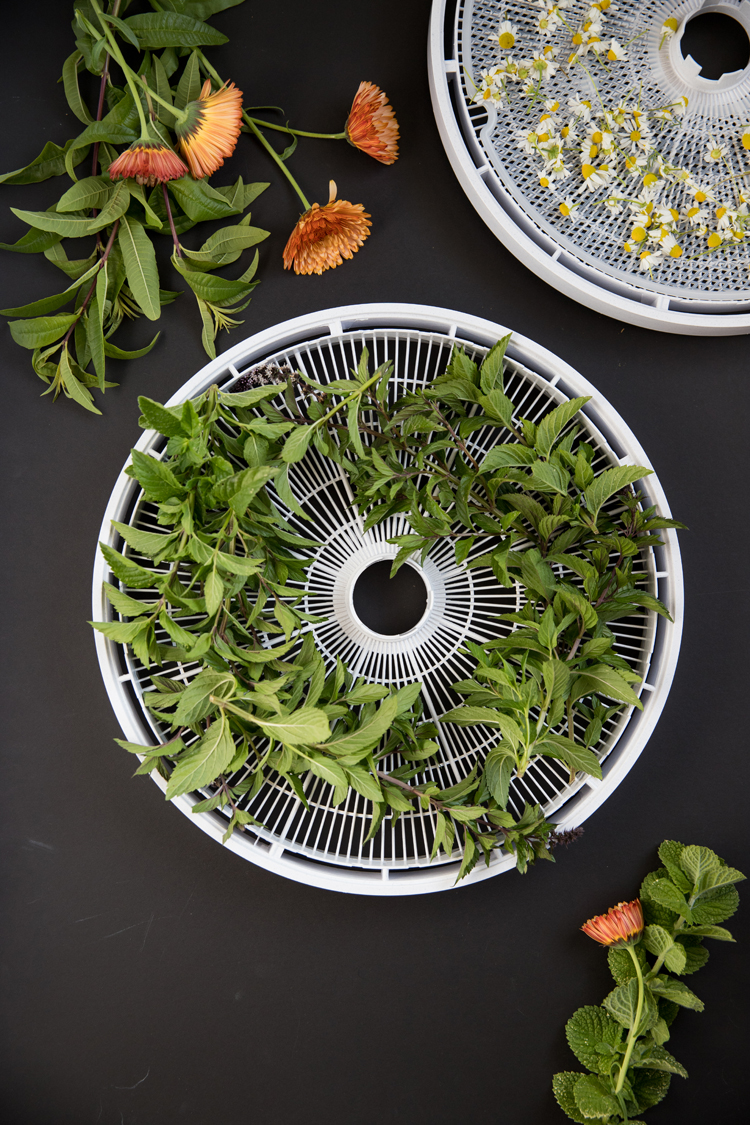
Simply cut away the leaves and dry them. I find that thick woody stems don’t dry as readily in my dehydrator, so I remove older leaves from stems but keep tender leaves and stems together as a whole sprig in the drying racks. It helps to keep young stems whole so that the leaves don’t shrivel up so small that they fall through the holes in the trays. (Note: Most of the mint stems in the picture below are too big/woody. I took this picture when I first started using our dehydrator, before I knew better.)
Mint is believed to help soothe stomachs and aid digestion.
Pineapple Sage
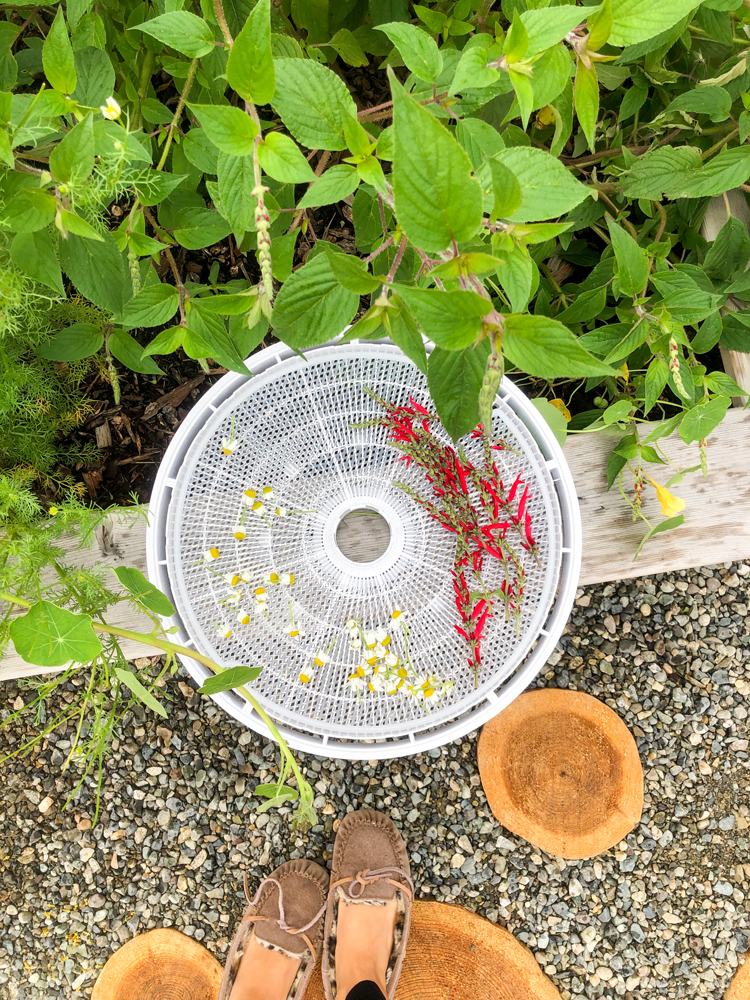
I harvested leaves all summer and I like the earthy flavor they give after they’re dried. But then it started blooming and the bright red blooms are almost minty tasting! They add great color and flavor and are now my favorite part to preserve for tea. Both leaves and blooms are edible.
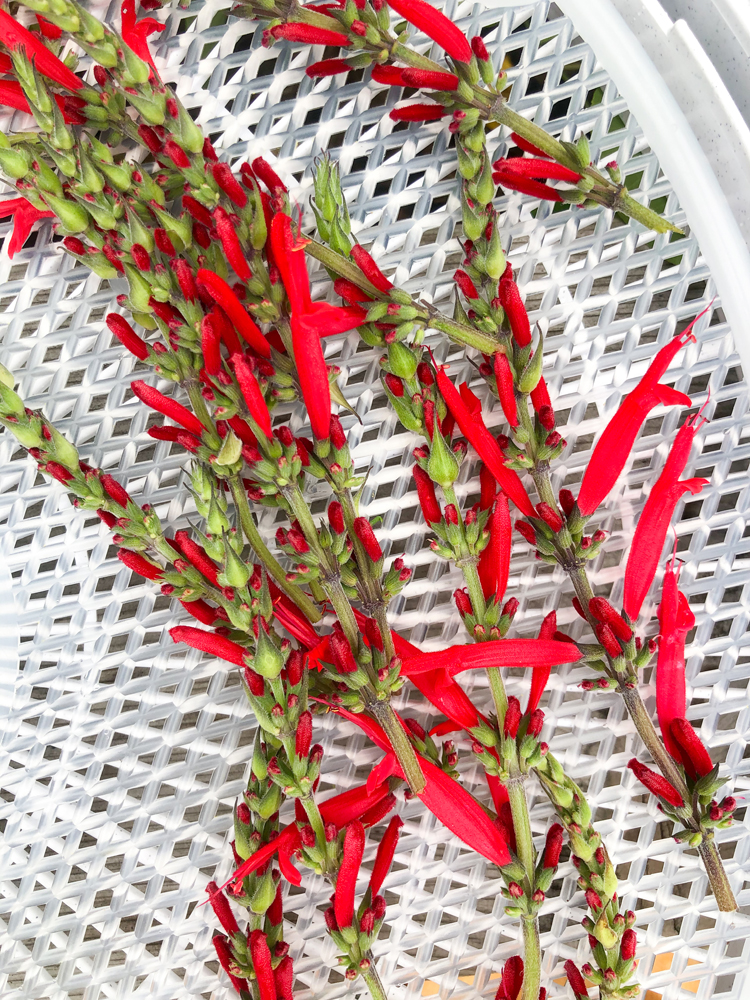
Pineapple sage is believed to soothe stomachs, aid digestion, and to have anti-anxiety inducing properties.
Lemon Verbena
The most heavenly smell when fresh and kind of an earthy, lemony flavor when dried. I pick and preserve this the same way I do mint.
Lemon Verbena is believed to aid digestion and sleep.
Lemon Balm
See mint for how to pick.
Lemon balm is believed to help ease anxiety and stress.
Nasturtium
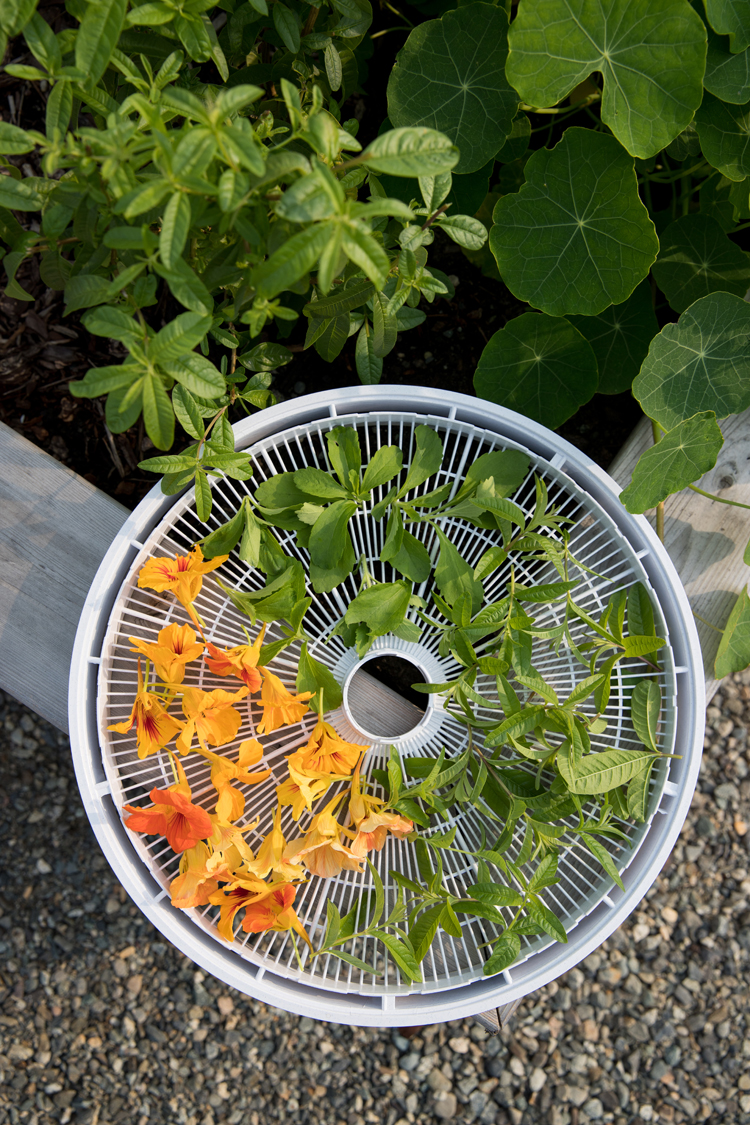
I dry the blooms only for tea, but you can use the leaves and seeds as well. Simply pick whole and preserve that way.
Nasturtium is believed to help boost the immune system.
Calendula
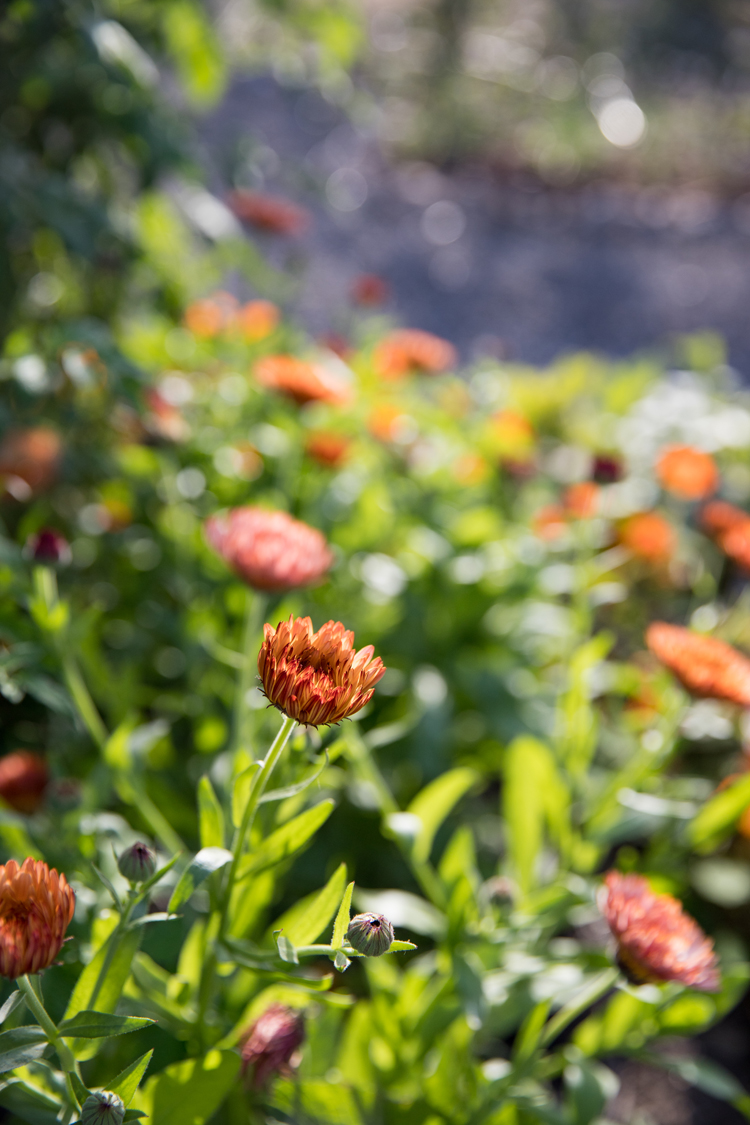
Pick when open. Dry whole or in pieces. I have found it easiest to tear them in 1/3 or 1/2 to help them dry faster. If you pull off the petals, it just makes a big mess that’s hard to contain and keep organized in a dehydrator. You also lose out on preserving the buds.
When I keep the blooms whole, I add at least five hours of drying time to my dehydrator and sometimes more.
Calendula is believed to aid in wound healing and skin health. I’ve read that it can also make you sleepy. I haven’t personally experienced that though.
Stevia
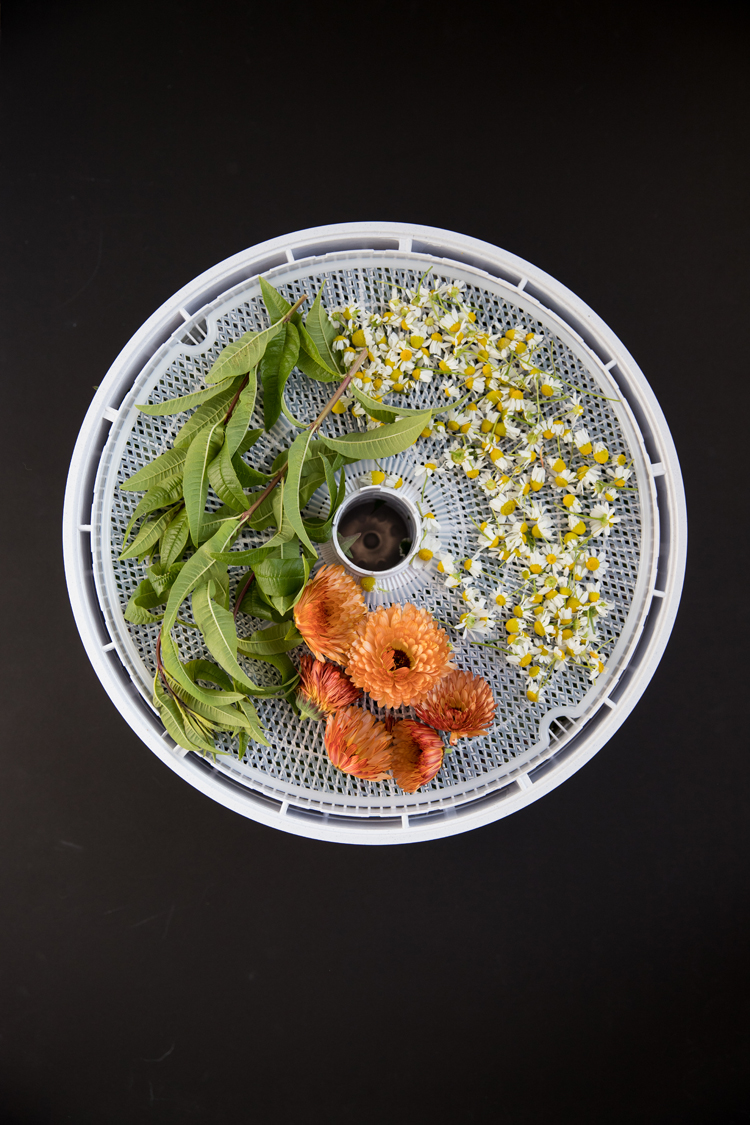
This was my first time growing Stevia and I was surprised at how slowly it grew for me. I preserve leaves in the same way as mint. I use Stevia as a non-sugary way to sweeten our tea.
It is believed to be good for skin and digestion as well, but does come with side effects worth looking up if you consume a lot of it.
DRYING
There are two ways I have successfully dried my herbs and flower for tea: air drying and using a dehydrator
AIR DRYING
Of course the easiest and least expensive way to dry your tea is to air dry it. If you have a screen, that can aid in speeding up the drying time. For a long time though, I simply placed my herbs on a dinner plate. In the summer, a plate of herbs can fully dry for me in about 3-5 days. It is best to position your plate in a spot where it receives the least amount of sunlight.
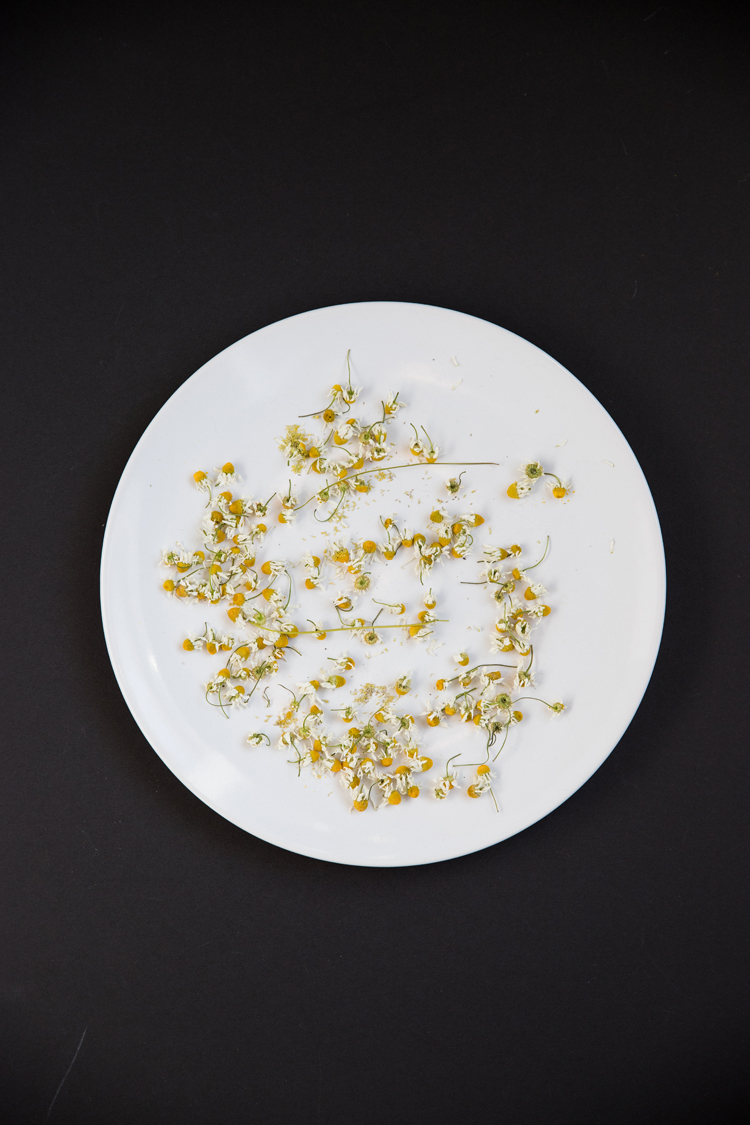
You can also hang it by the stems in bundles to dry. I don’t personally prefer this method because you have to be sure there is enough air circulation between all the herbs/flowers and you don’t want dried bits to fall to the floor. One con to air drying is it can collect dust.
DEHYDRATOR
I got the Gardenmaster Dehydrator by Nesco from the Home Depot a few months ago and I’m very happy with it. You can buy additional trays and stack as many as 20 at a time.
This is not a sponsored post or an affiliate link. It’s just the dehydrator that my readers on instagram said they loved and I can see why. 🙂
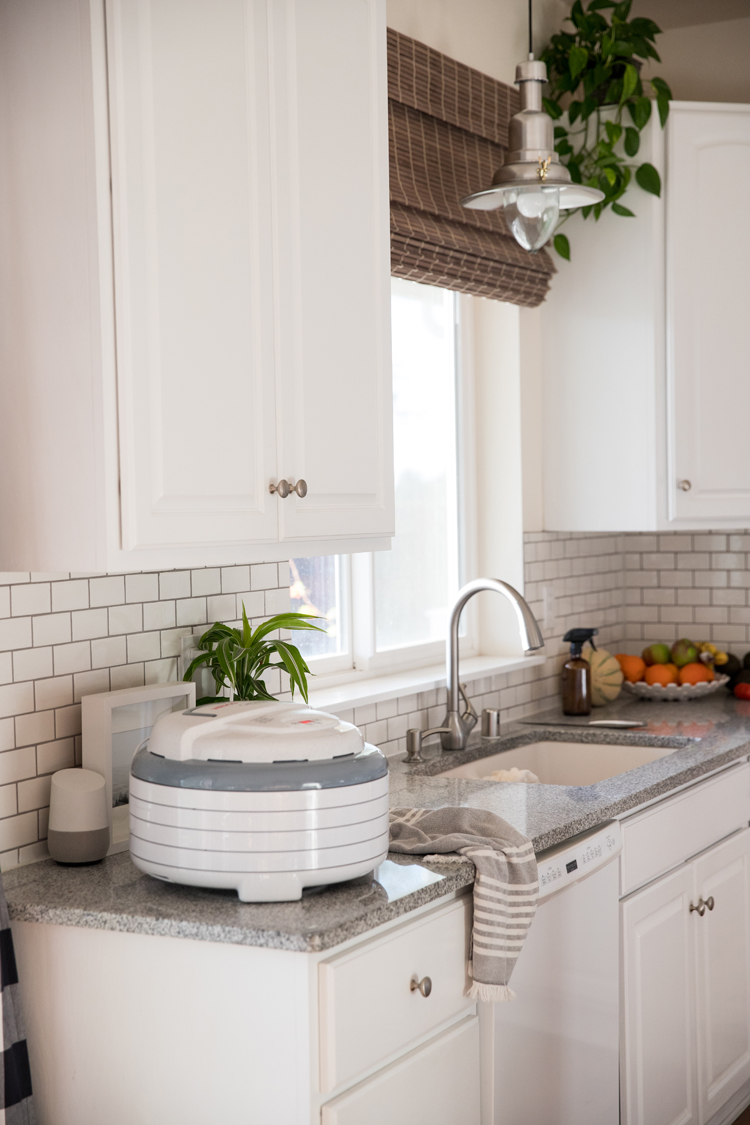
It fully dries everything in about a day and is a great space saver. I like that mine has automatic shut off too. It’s supposed to be quiet, but that’s relative. When you live in a small home like ours, any bit of noise adds up. After the first batch, we moved ours to a shelf in our garage.
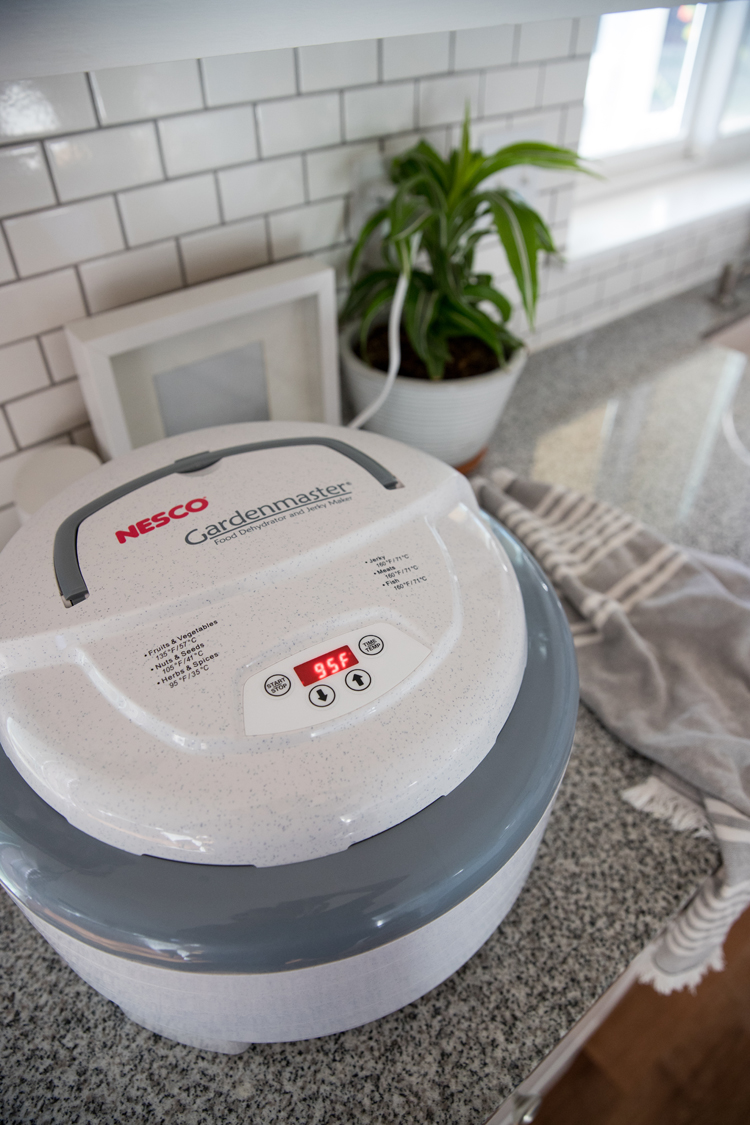
We dry it at 95 degrees F for about 28 hours or 30 if I have a lot of flowers. Blooms seem to hold more moisture and take longer to fully dry than leaves and herbs. This is longer than recommended by the handbook that came with it. I’m guessing, drying time can be affected by your climate as well.
STORING YOUR TEA
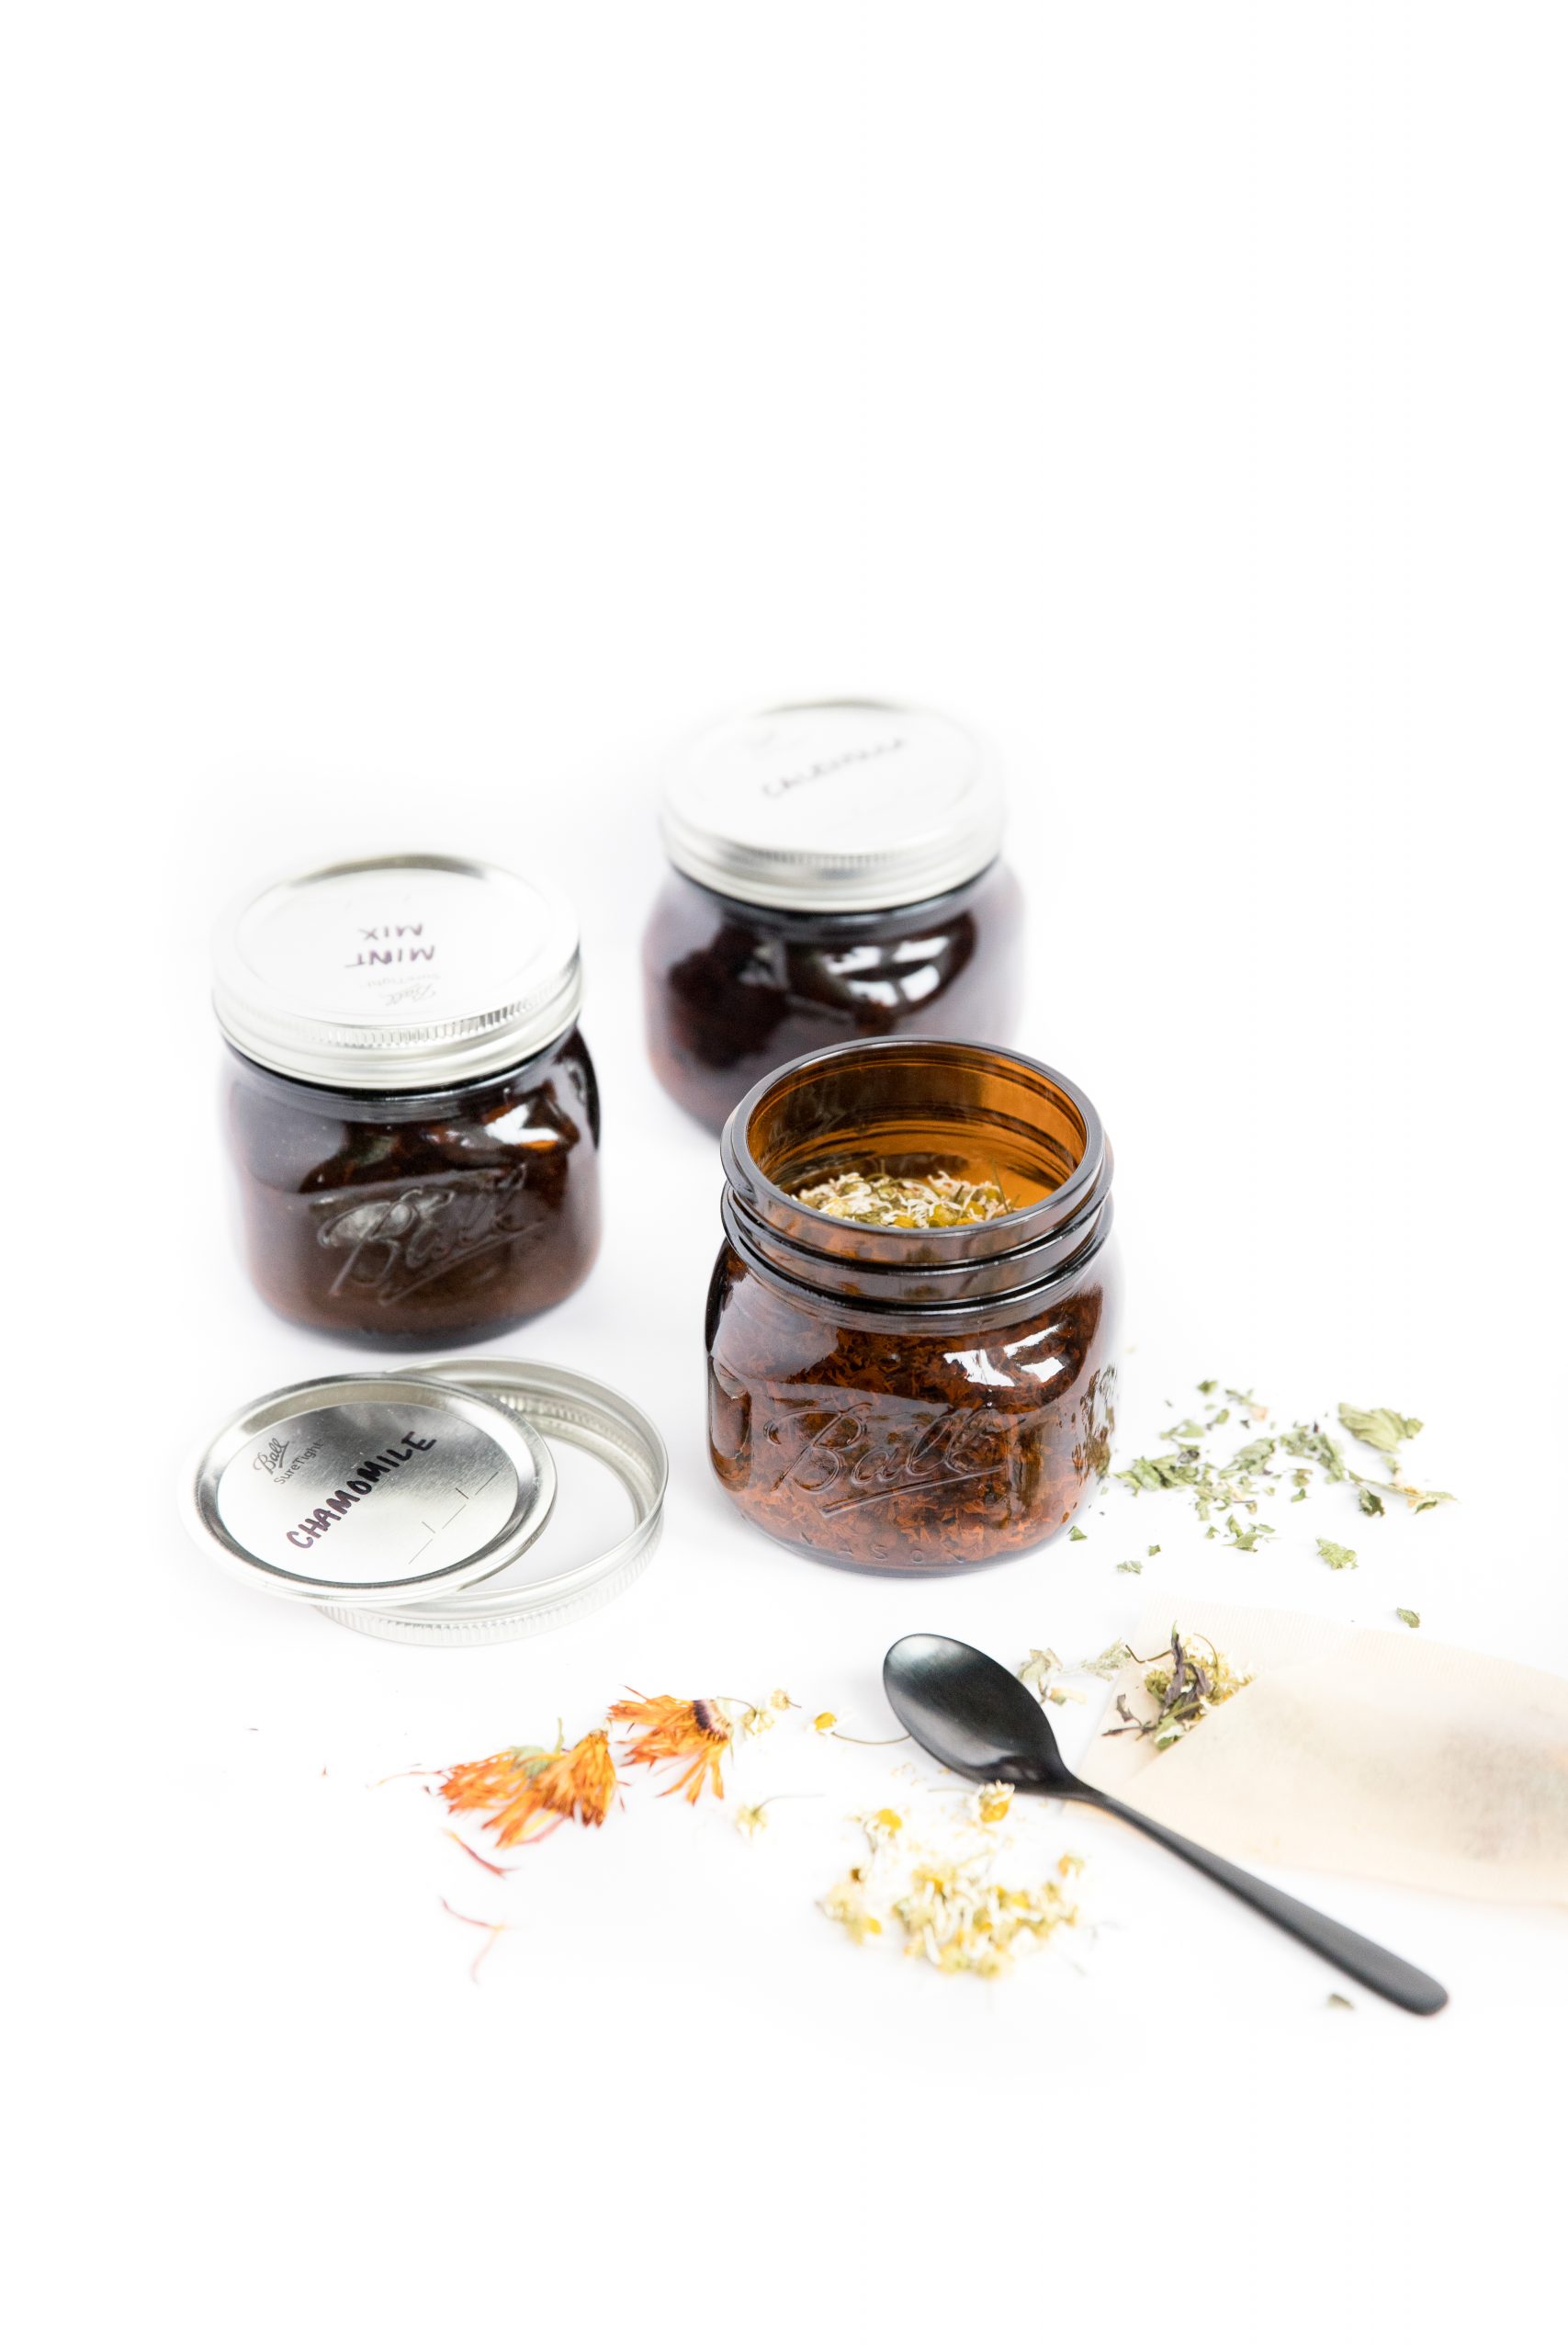
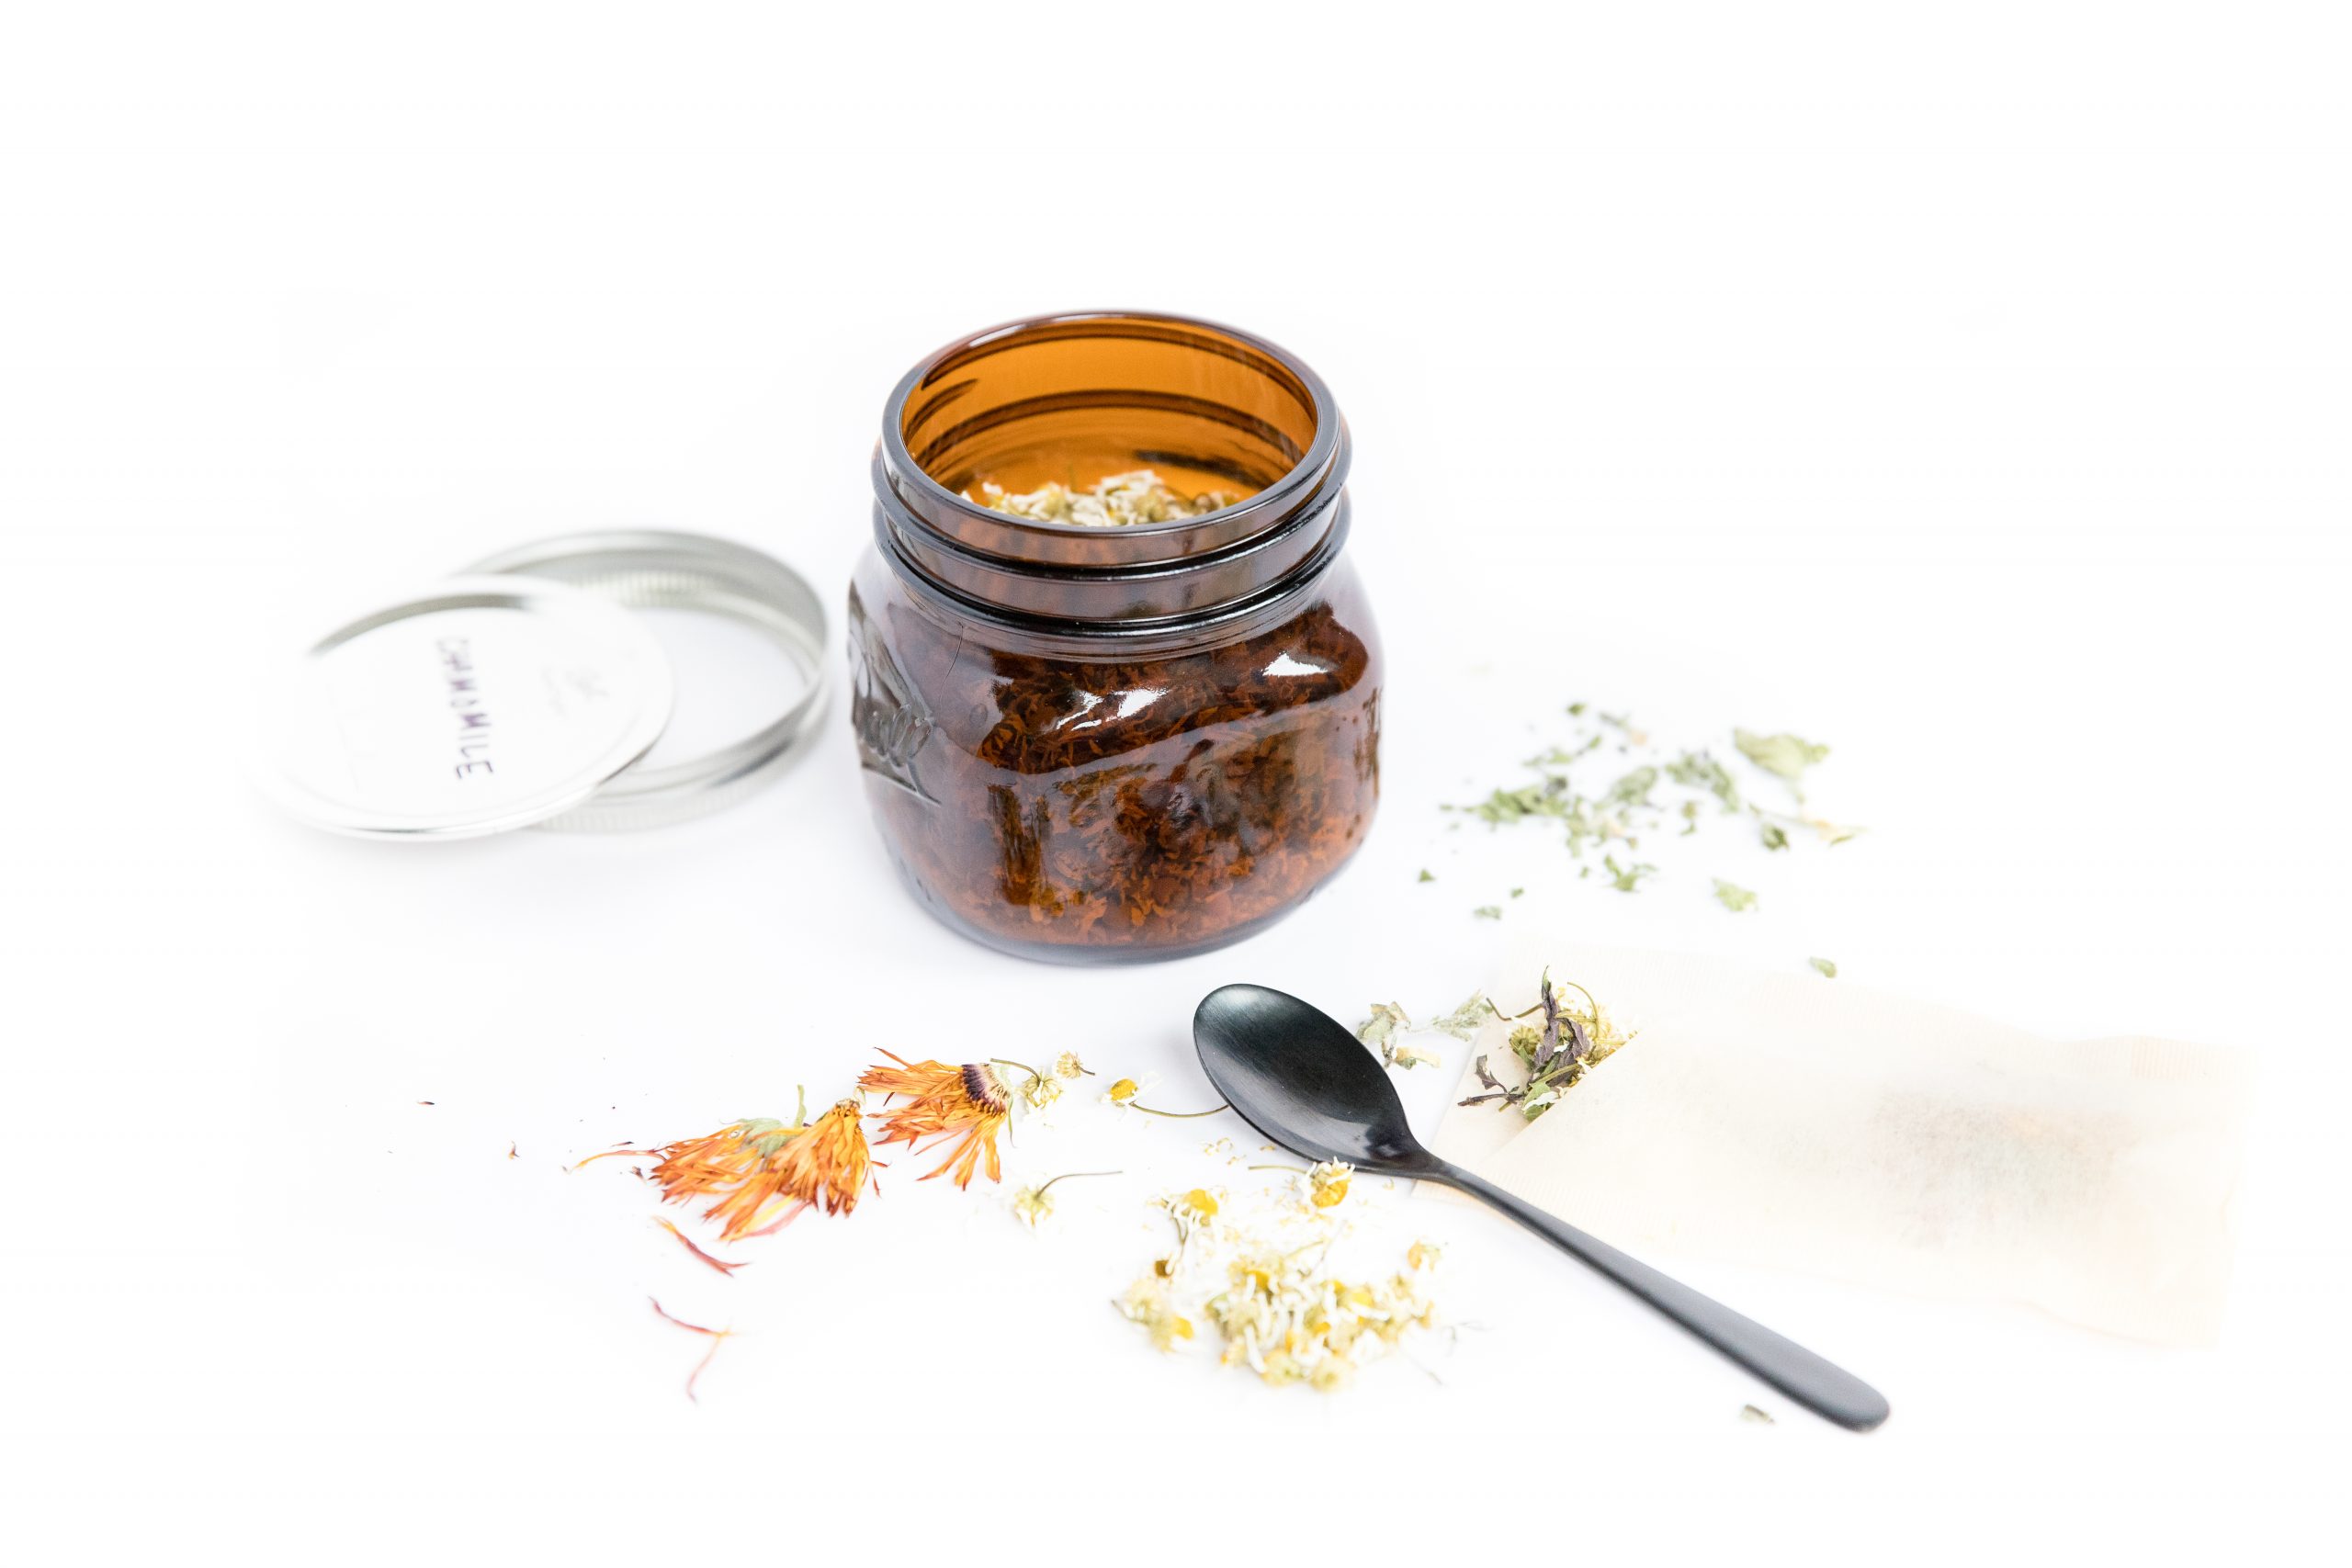
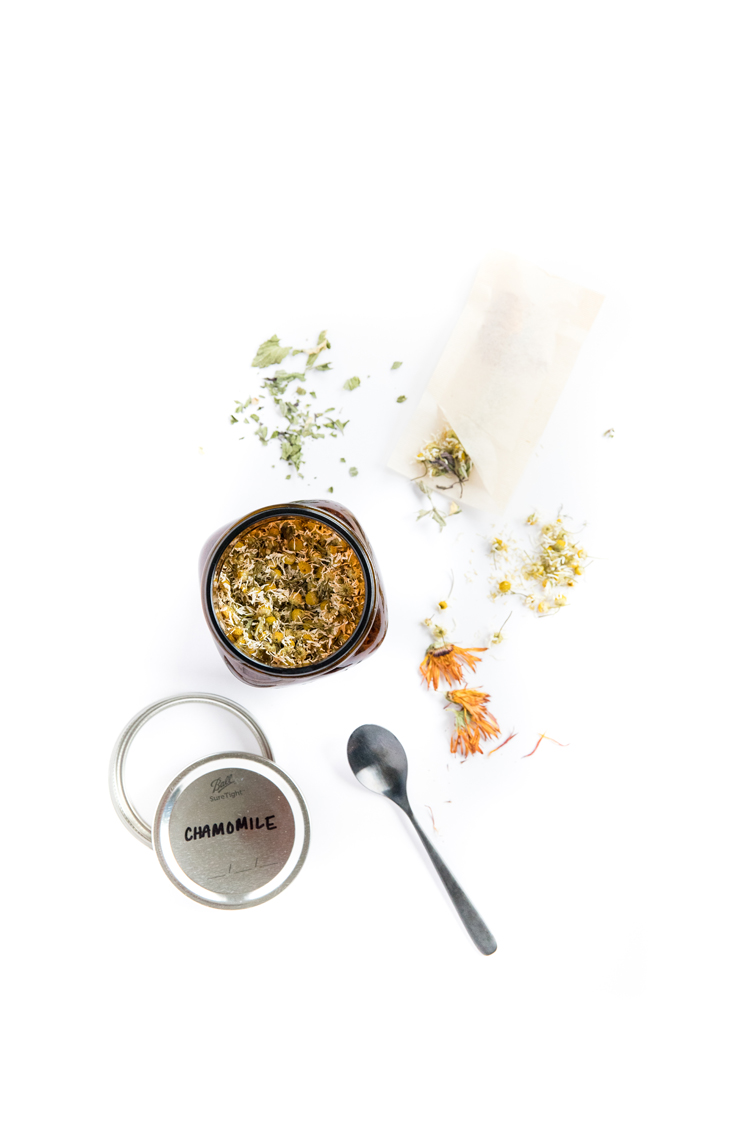
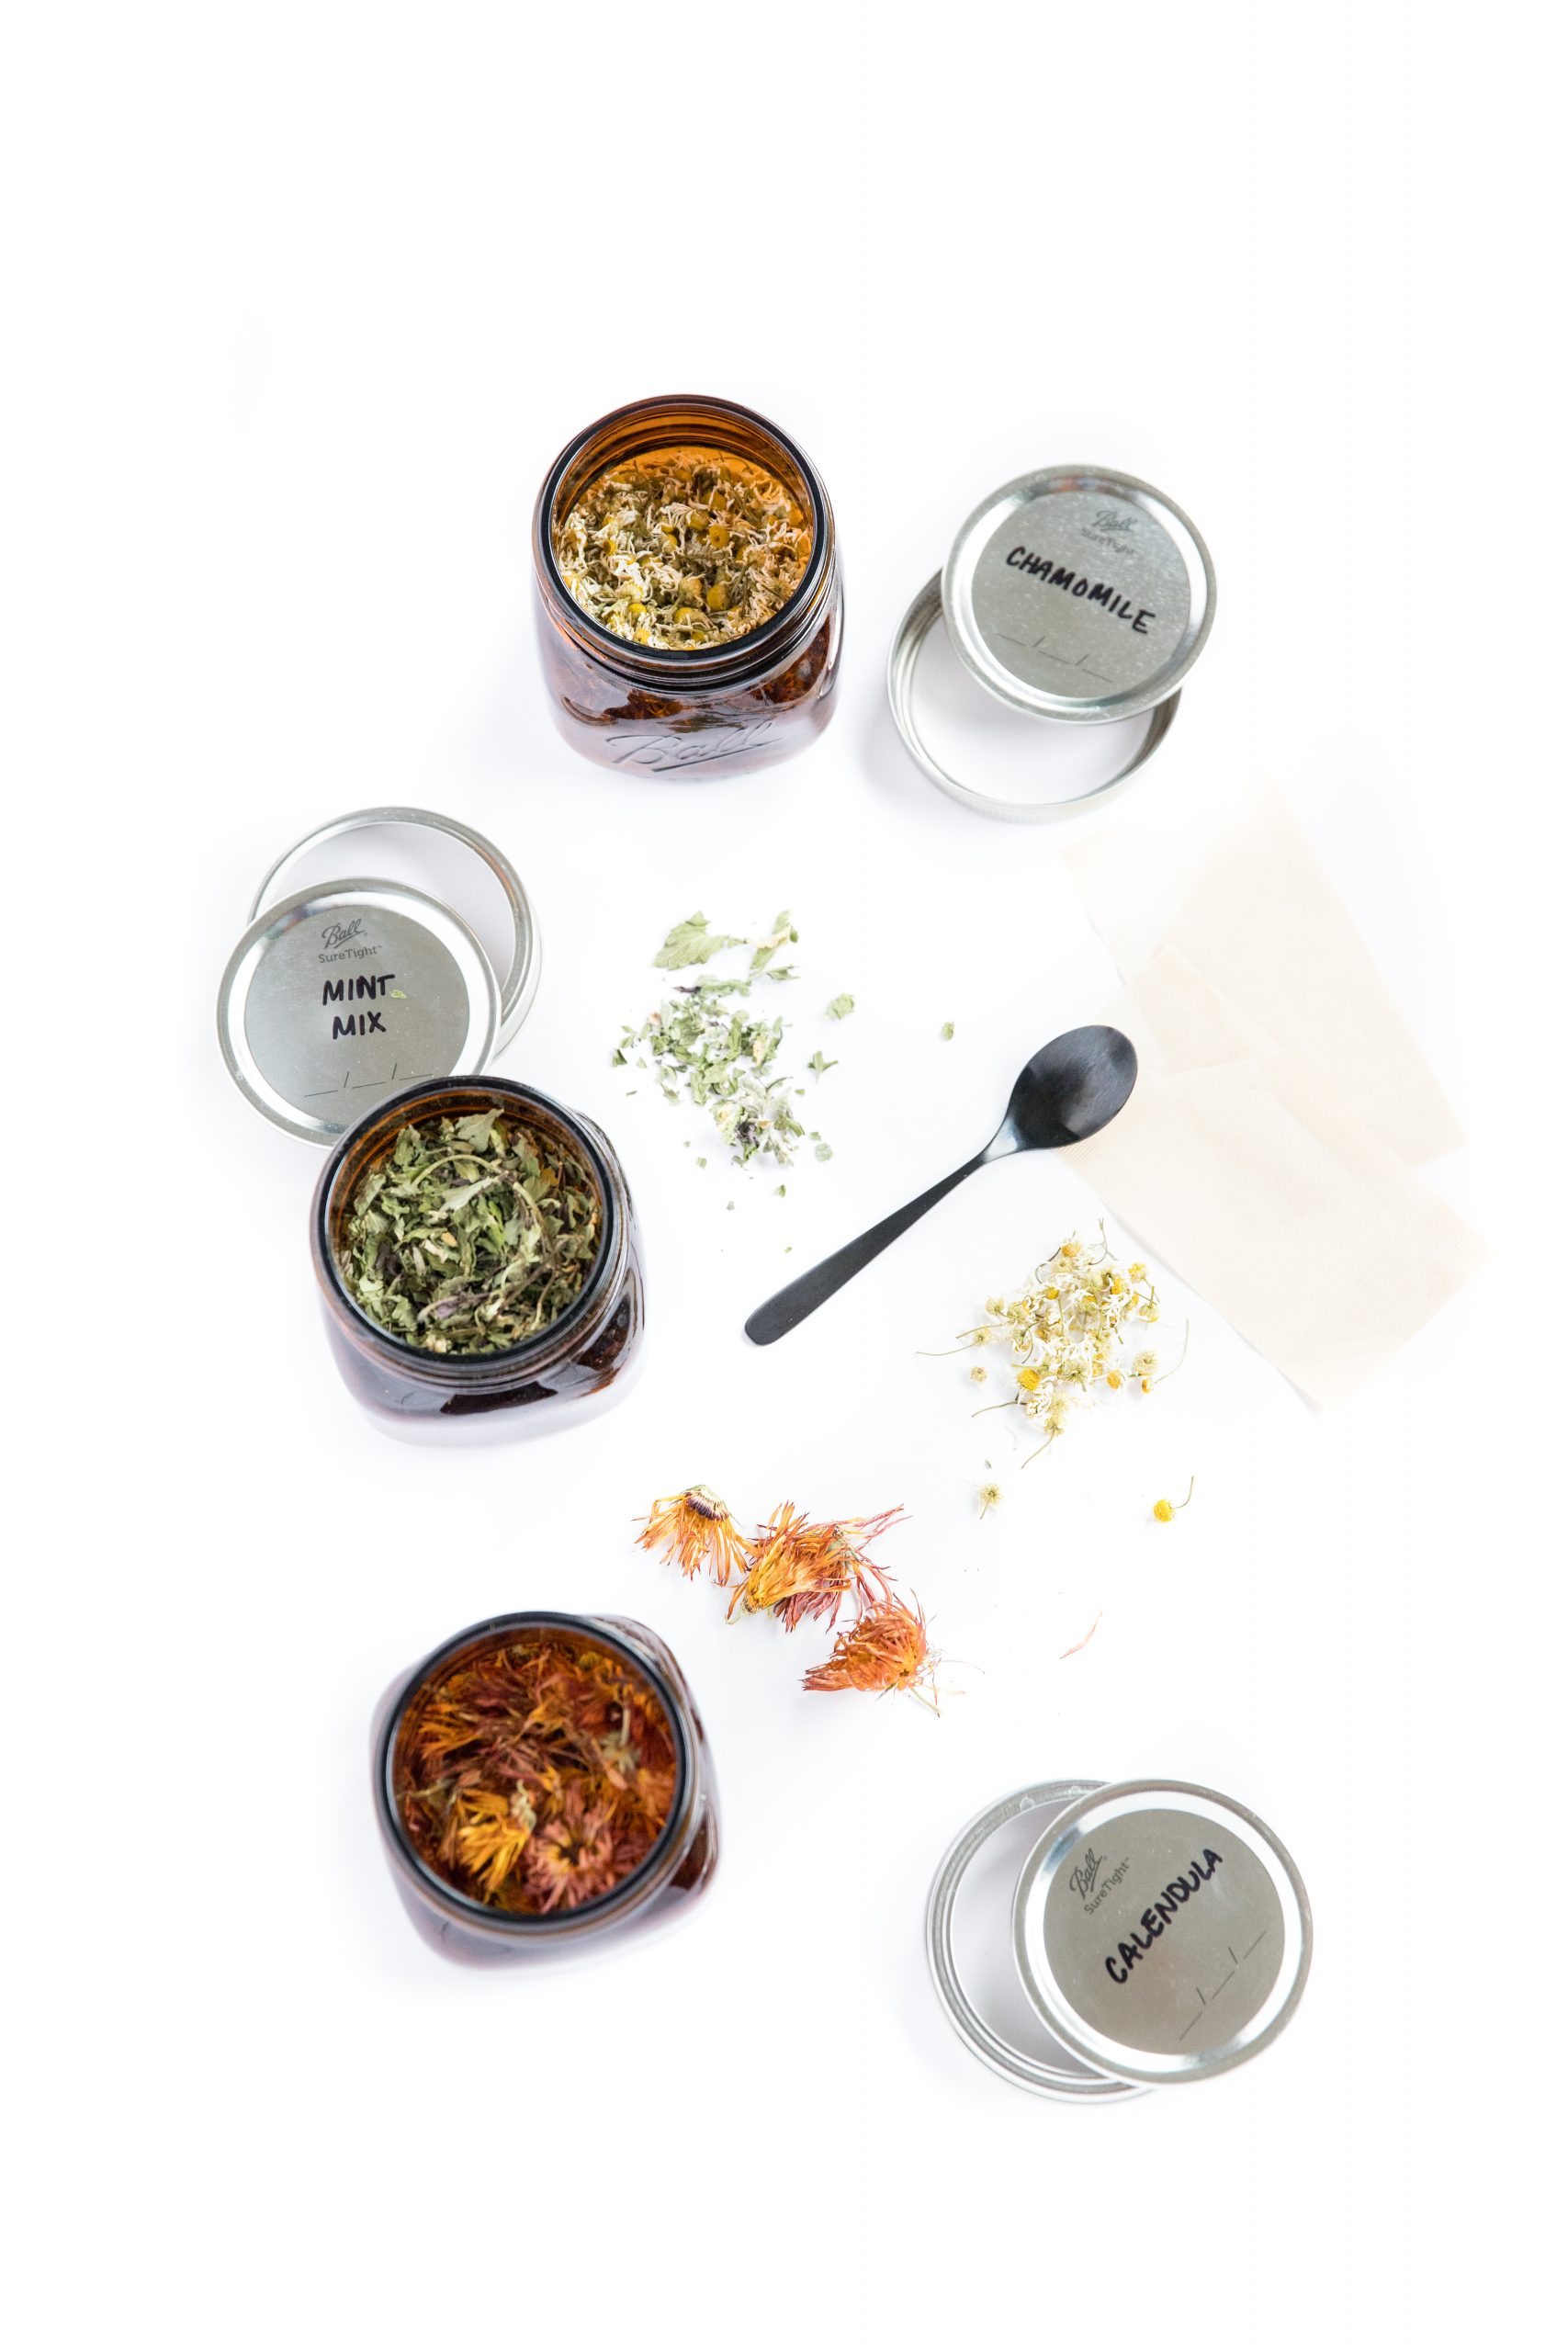
Once I am sure everything is completely dry, you don’t want to grow mold (!), I store the teas in amber mason jars. The goal is to block light and air to preserve the flavor and freshness. If properly stored it can last up to about a year.
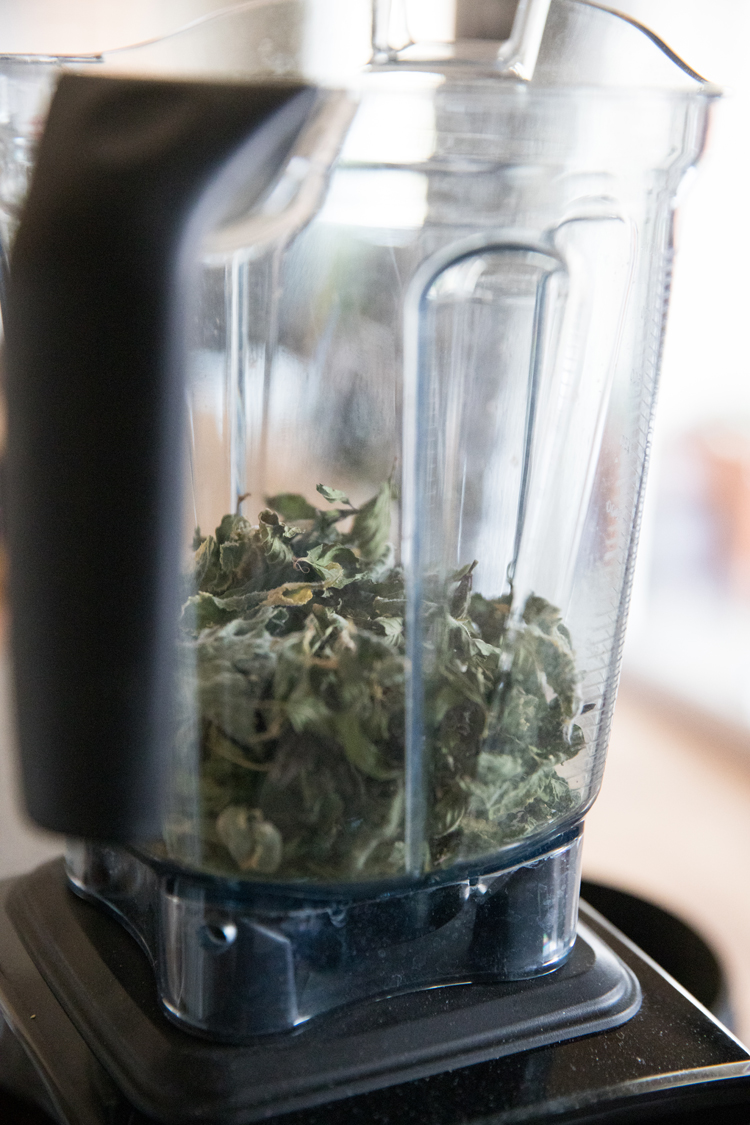
For leafy teas, I find that it improves flavor and gives you better storage capacity if you blend the teas into small flakes before storing.
TO USE
We use loose leaf tea bags or tea balls and create our own tea blends. I’ve heard that 1 tsp. of herbs per cup of water is the recommended ratio but I always use more. 🙂 Of course…the more you put in, the stronger the flavor.
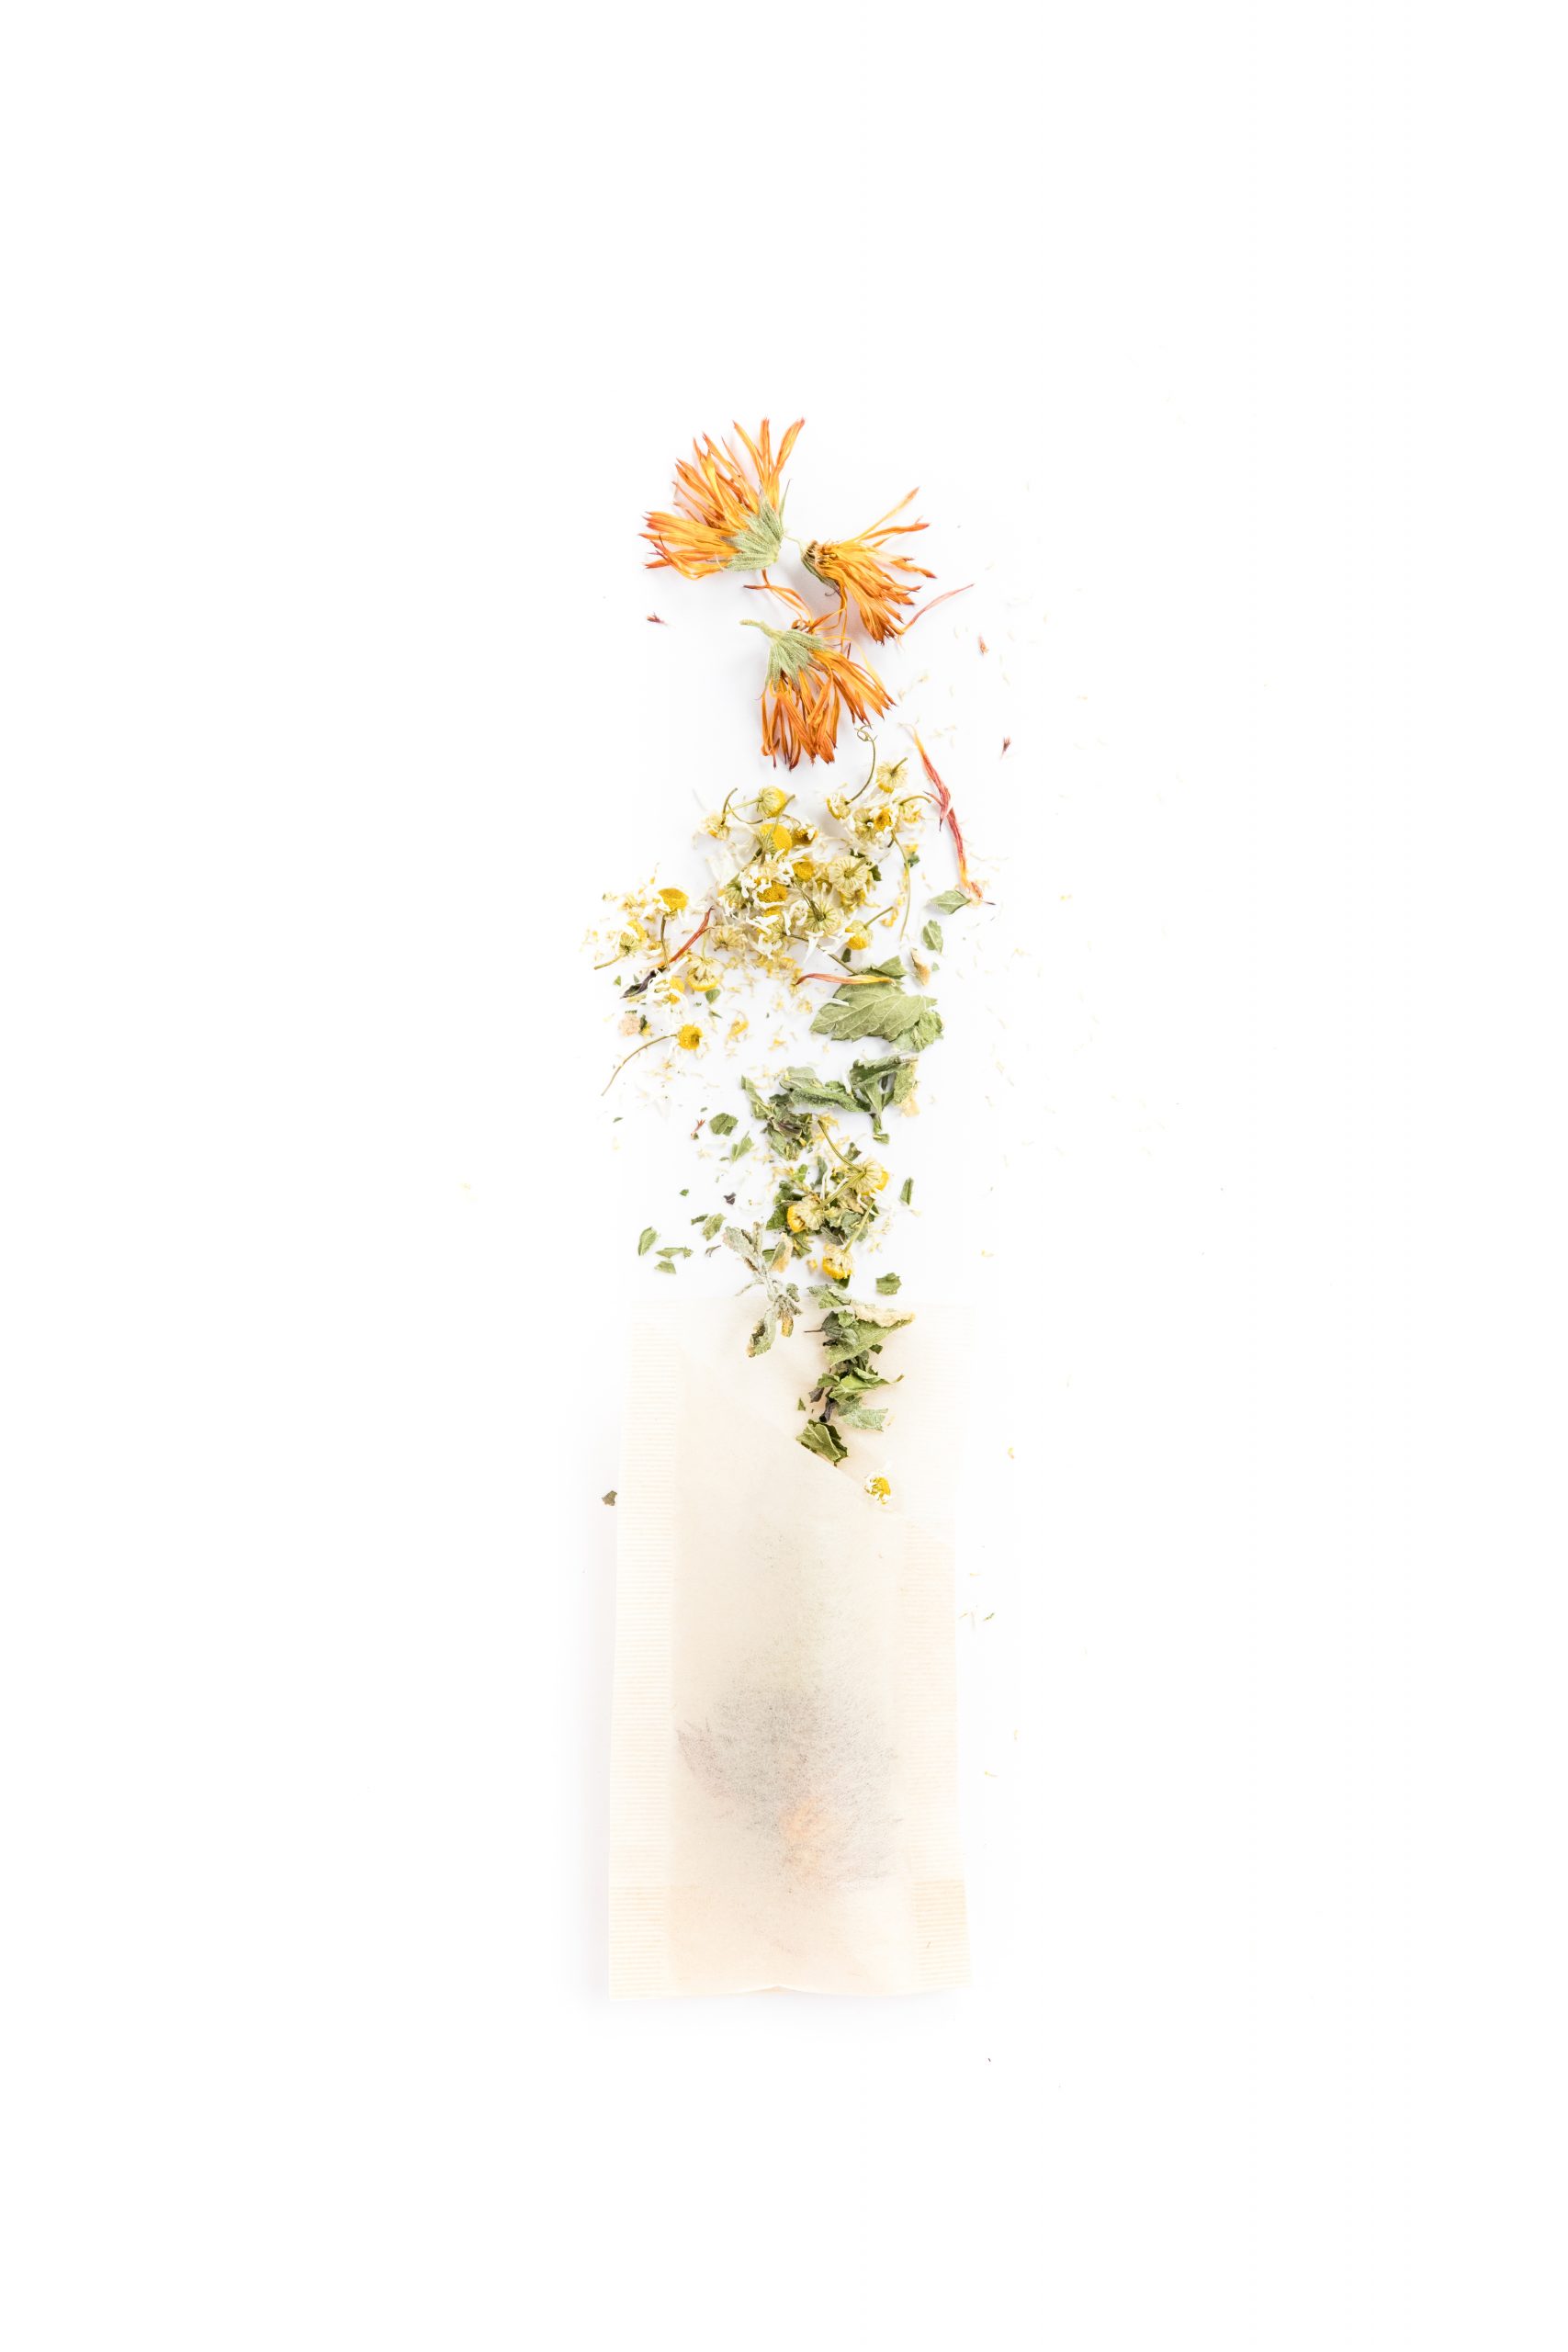
I’m playing around with sewing my own tea bags and will hopefully have something to share in time for gift making season. We’ll see!
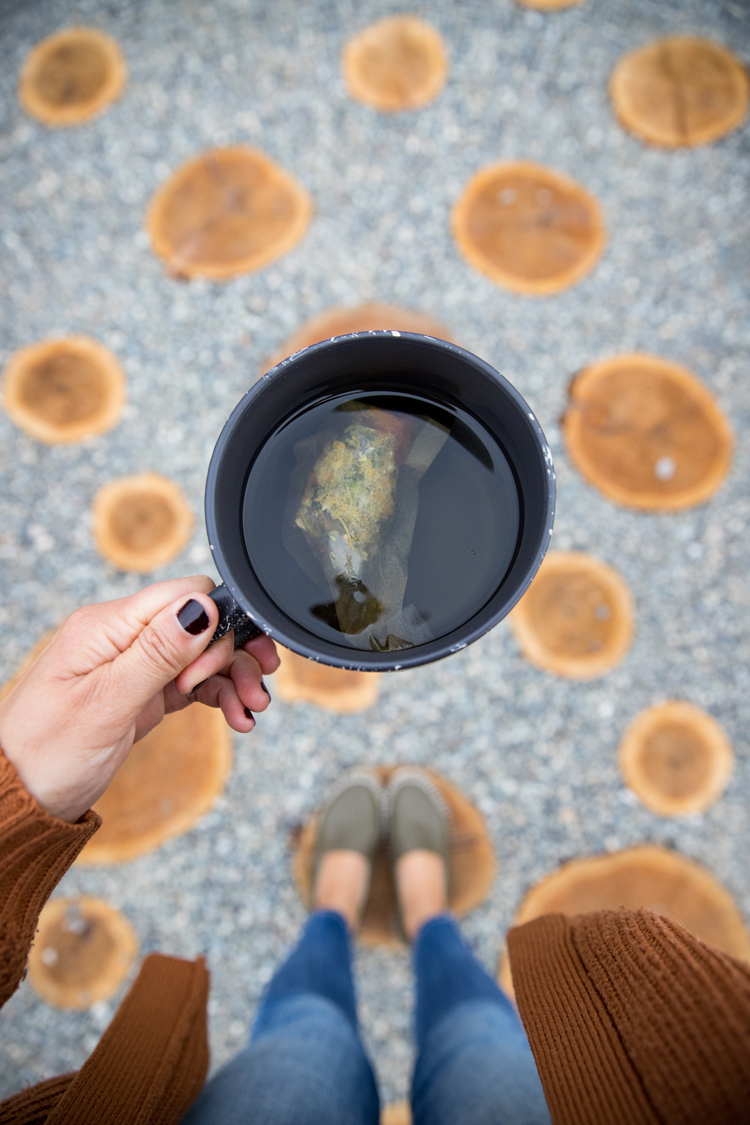
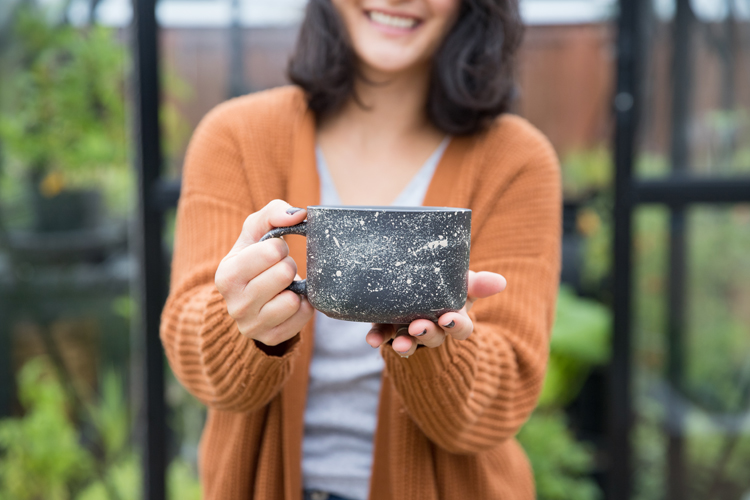
To learn how I made this dishwasher safe, hand painted mugs, go to THIS post.


Love the article and several others that I’ve read. You probably already know but just as some of my mint starts to flower I cut what I have room for and clean it up then make small bundles to hang in the pantry. When it dry’s it comes right off the stems for storage.
Yes. Air drying is a great, free way to dry herbs. I like using a dehydrator because it’s faster and less messy.