Have you ever crocheted with jute? You know, that scratchy, brown, crafty, multi-purpose string? I use it to tie up plants in the garden and to add the perfect touch to my brown paper packages. Well, it also makes a wonderfully sturdy mesh bag, perfect for summer!
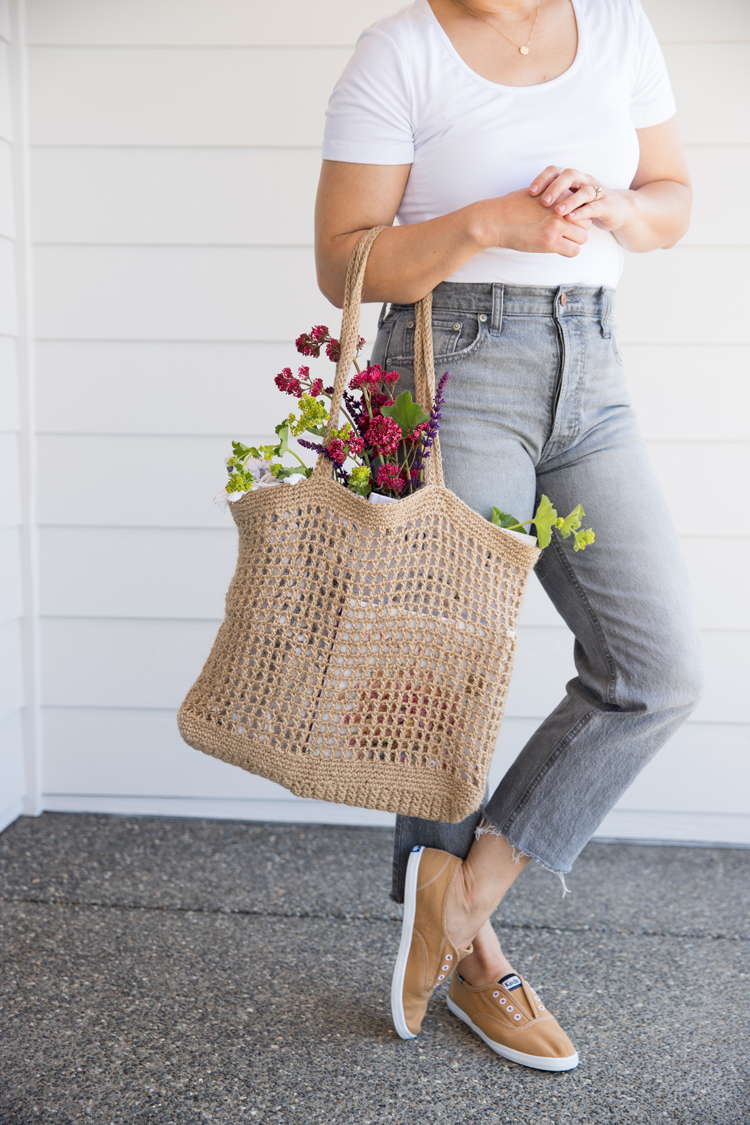
Even better, this bag is beginner friendly because it uses basic stitches: chain, slip stitch, single crochet, and double crochet (US terms). If you’re brand, brand new and those stitches seem unfamiliar, check out my Crochet Basics Series to get entry level instruction on how to work those stitches, and even on how to hold your hook and yarn.
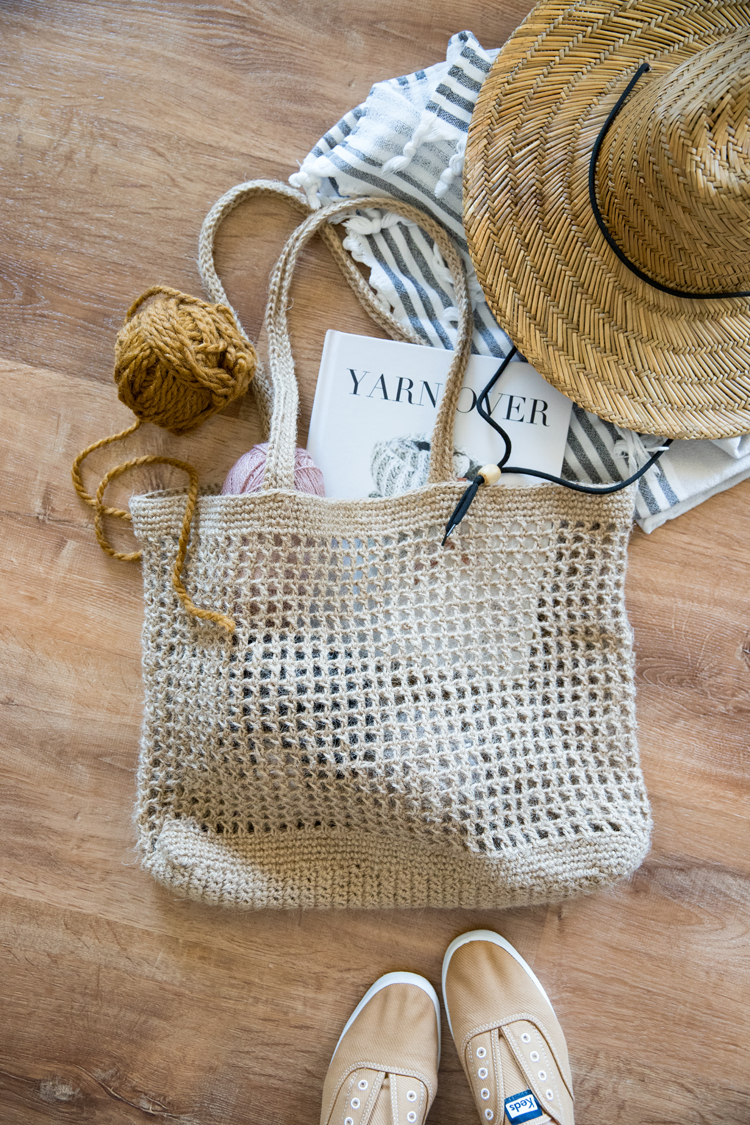
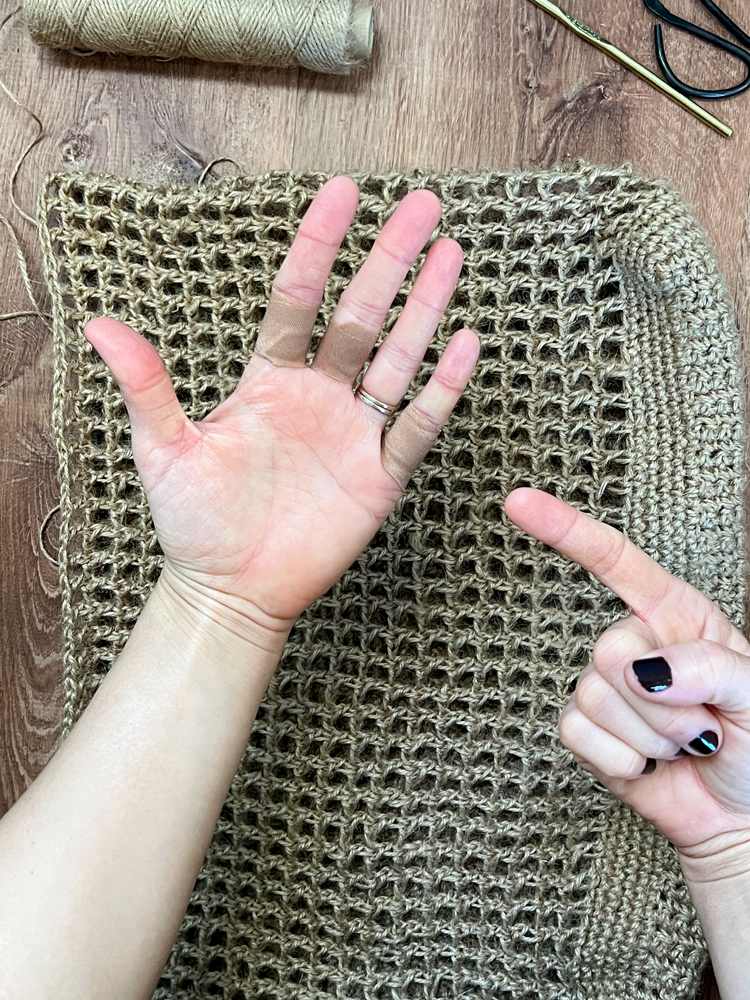
That said…even though this uses basic stitches, the use of jute string does up the skill level a little bit. It’s more challenging to use and tends to be a little “hairy” or irregular in thickness. That rough texture can make it “sticky” or tough to pull through with the hook and it’s what makes it hard on the hands (hence the bandages in the materials list). But, these rough qualities are also what make it so strong and durable. So, if you’re ready to try your hand (literally ;)) at a new material that will pay off in a quality, sturdy bag…let’s go!
MATERIALS
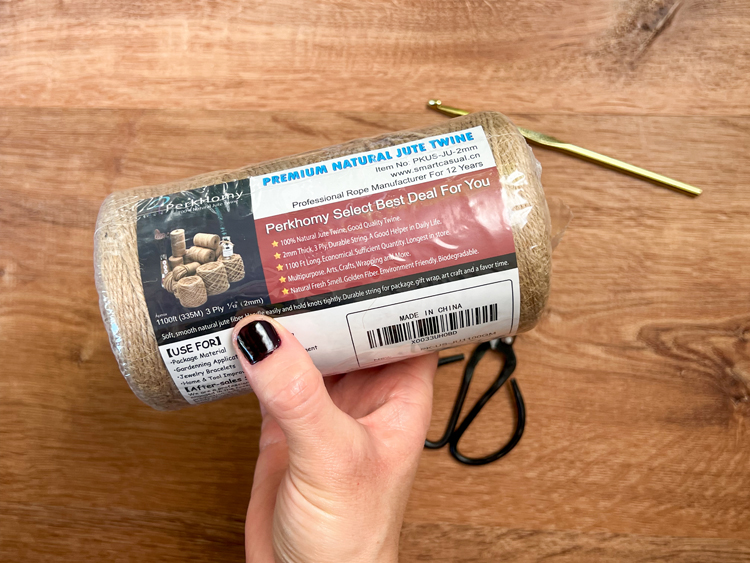
- 3 ply, 2 mm jute string/twine – about 1100+ feet*
- H/8 or 5.00 mm crochet hook
- scissors and yarn needle
- finger bandages**
- towels and spray bottle***
Material Notes
*The main bag requires just under 1100 feet of jute string. If you also want to make jute handles, you will need an additional roll of jute (about 100 feet). I designed the bag so that it can be made with just one roll, but if you are purchasing more than the 1100 foot roll of jute so that you can make handles, then you also have the option of adding a few more rounds of mesh stitches if you want the bag to be taller.
I used this jute string from Amazon. (This link is an affiliate link, which means I get a very small commission on any purchase using this link. This does not affect your pricing.)
**Jute is hard on the hands. Bandages can help prevent “rope” burn or you can try using fingerless gloves.
***Towels and a spray bottle of water will be needed for blocking at the end. One of the towels needs to be a bath towel size.
GAUGE
4 x 4 inch square = 16 stitches (dc and chains) x 7.5 rows of dc mesh stitch
FINISHED SIZE
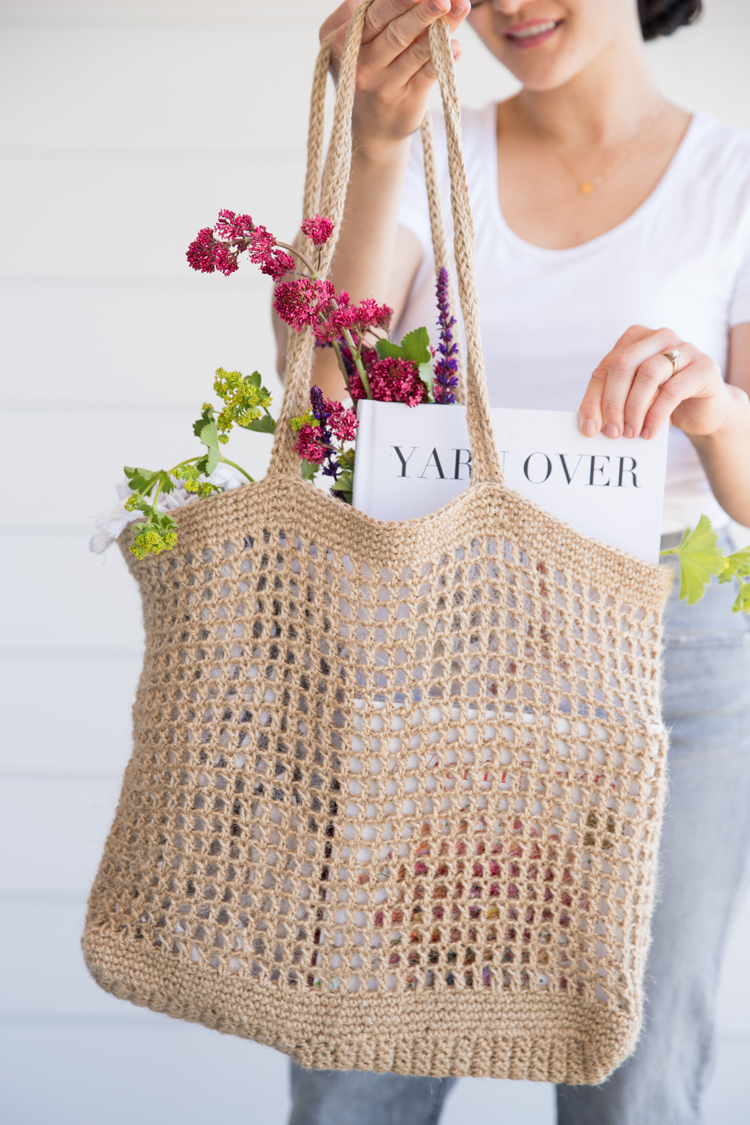
The main bag is about 14 inches tall and 17 inches wide. The handles add about 12 inches to the height.
ABBREVIATIONS
- ch = chain
- sl st = slip stitch
- sc = single crochet
- dc = double crochet
VIDEO TUTORIAL
The video tutorial will play below after the initial ads, if it hasn’t already started playing to the top or side of your screen. Please refer to the written pattern below for stitch counts and further instructions.
Trouble playing the video? Make sure you are not using an ad blocker. The video will not play with an ad blocker.
WRITTEN PATTERN & TUTORIAL
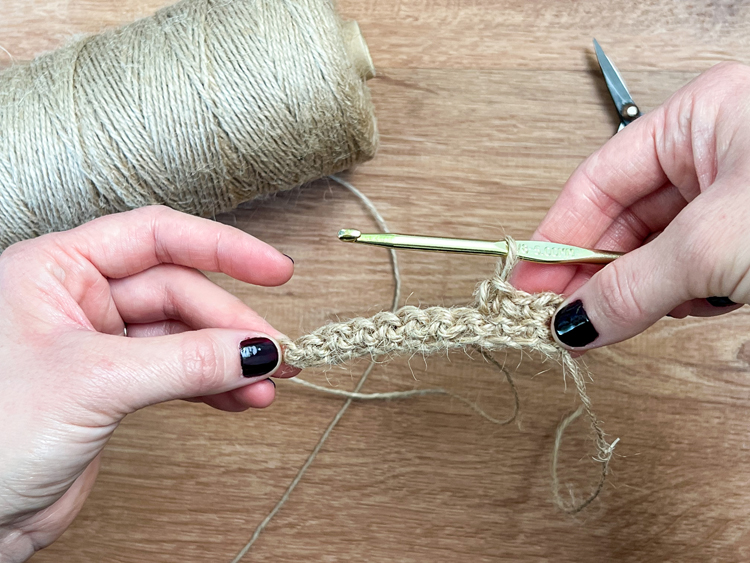
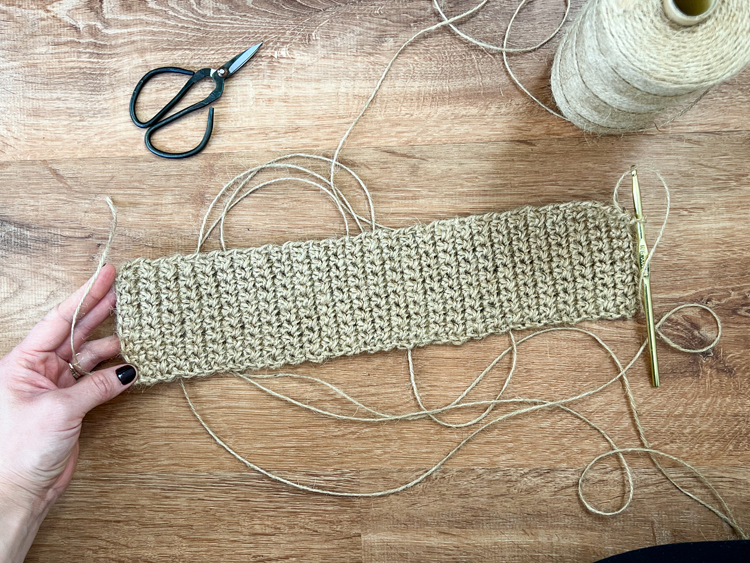
Ch 11.
Row 1: Turn, sc in second ch from hook, sc in remaining 9 ch. (stitch count = 10, ch 1 that was skipped doesn’t count)
Row 2: Turn, ch 1. Sc in each stitch in the row. (10)
Rows 3-54: Repeat Row 2.
Now, turn to work in the round, around the rectangular base you have just created.
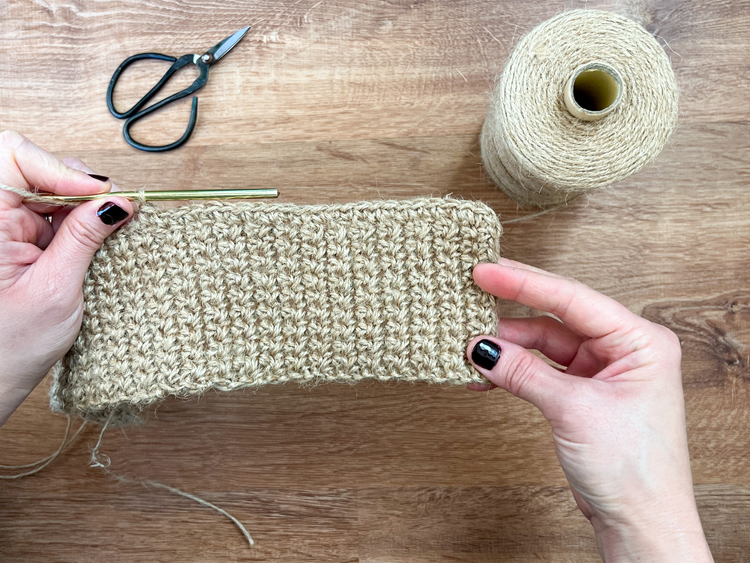
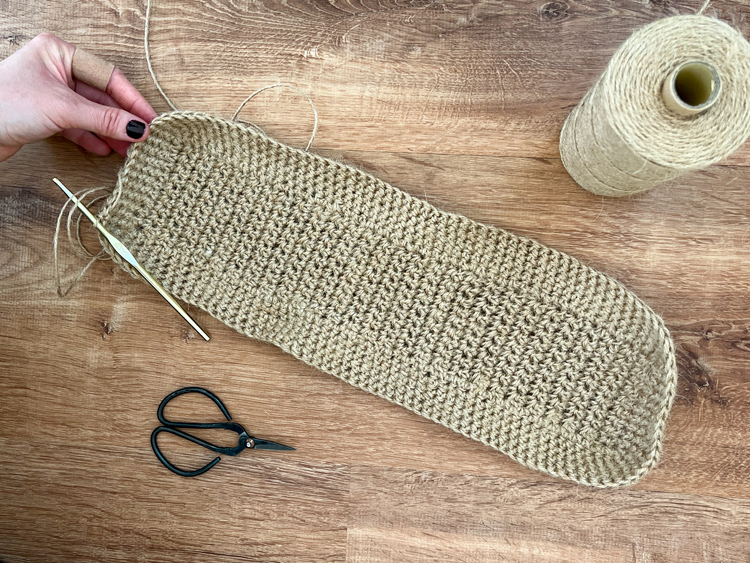
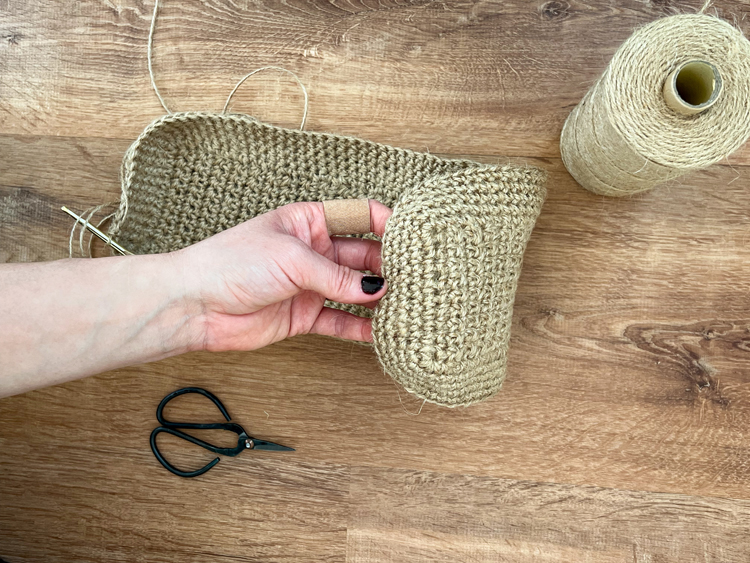
Round 1: Turn, ch 1. Work 9 sc across the row like you have been, but then work 3 sc into the last stitch/the corner and turn to crochet into the long side of the rectangle. Work 1 sc into the side of each row, 52 times. Work 3 sc in the last row, which turns you to the other short side of the rectangle. Work 8 sc, then 3 sc in the third corner. Sc along the other long side of the rectangle, 52 times. In the last stitch work 2 sc and slip stitch to the first sc from the beginning of the round. The 2 sc plus the first sc from the beginning form the 3 sc at this last corner. (132)
Round 2: Ch 1, sc in each stitch in the round. Sl st to the beginning ch 1 to complete the round. (132, but ch 1 at the beginning now counts as a stitch)
Rounds 3 – 5: Repeat Round 2.
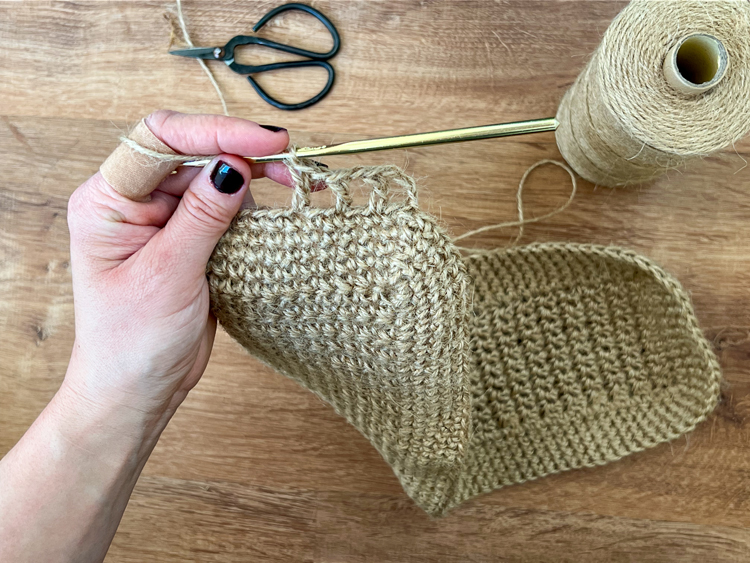
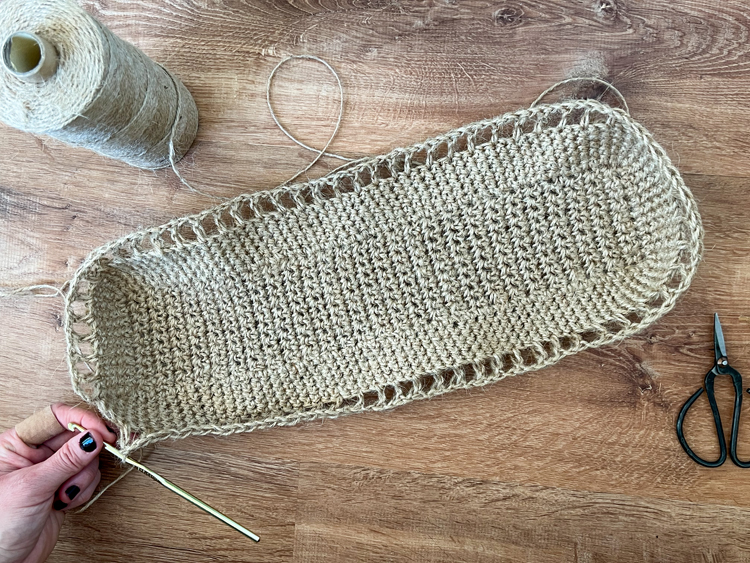
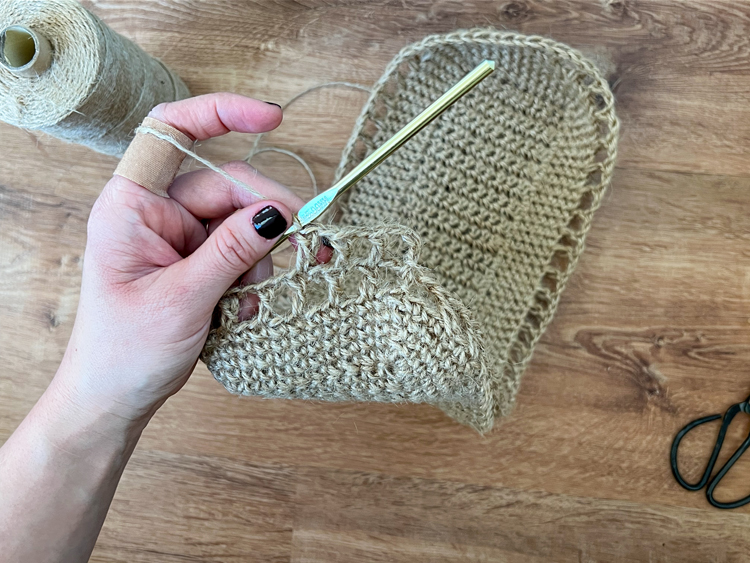
Round 6: Ch 3, skip 1 stitch, dc in the next, *ch 1, skip 1 stitch, dc in the next.* Repeat * to * 63 times. Ch 1, skip 1 stitch, slip stitch into the open space the ch 3 created from the beginning. (132, ch 2 from the starting ch 3 counts as 1 dc, and each ch in between each dc counts as 1 stitch)
Round 7: Ch 3, skip ch, dc into next dc from previous round. *Ch 1, skip ch, dc in next dc* for the rest of the round. Ch 1 and then slip stitch into the open space the ch 3 created from the beginning. (132)
Rounds 8-25: Repeat Round 7. (OPTION: If you want the bag to be taller and you have additional jute for the handles, then add as many rounds as you like here.)
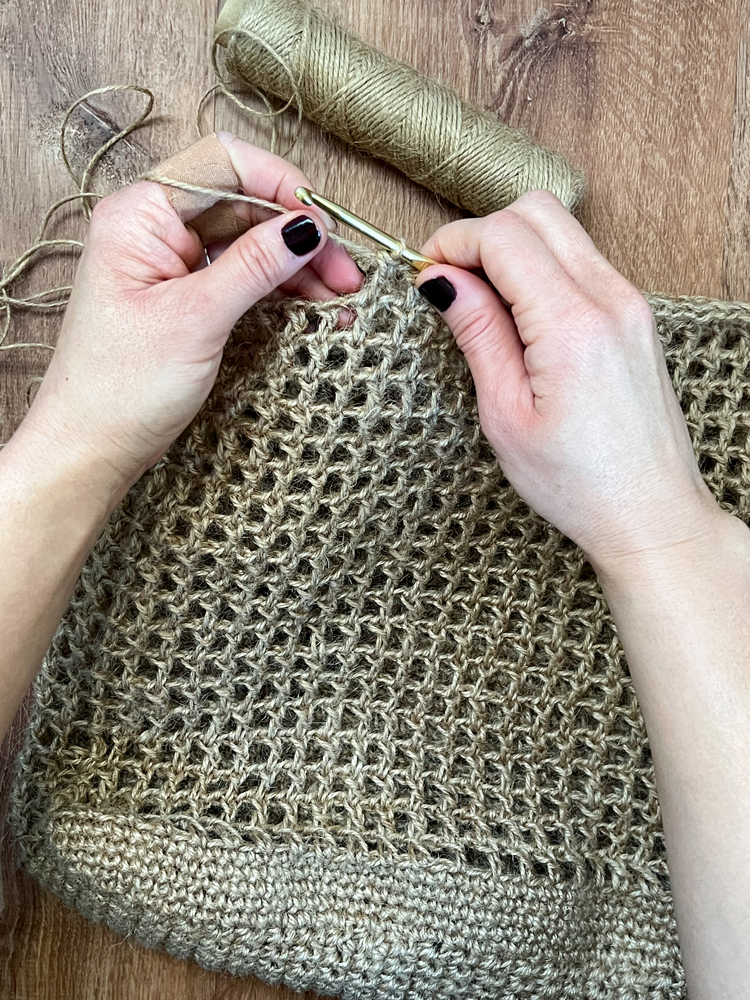
Round 26: Ch 1. Sc in each space and stitch in the round. (132, starting ch 1 counts as a stitch)
Round 27: Ch 1. Sc in each stitch in the round. (132)
Rounds 28-30: Repeat Round 27.
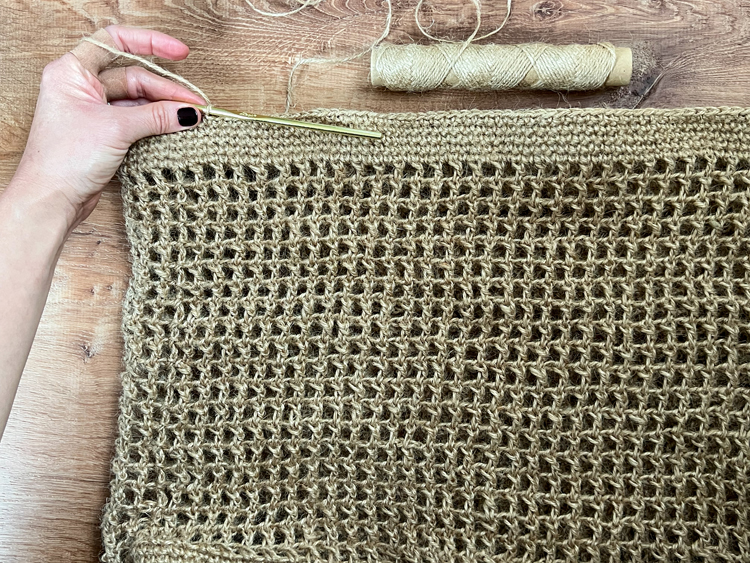
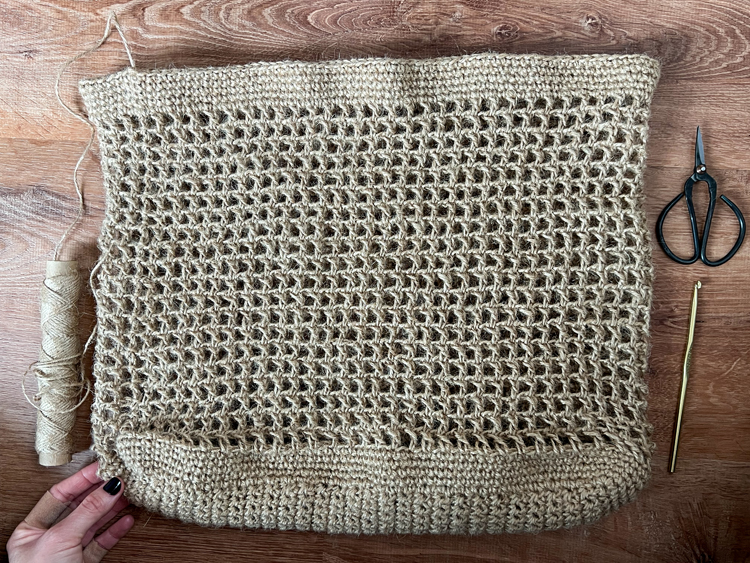
Tie off and weave in ends. The main bag is complete.
Handles
You can attach any kind of handle at this point: leather, cotton belting, rope, etc. If you would like to crochet some handles, the following pattern is worked in slip stitches which creates a strong, dense material.
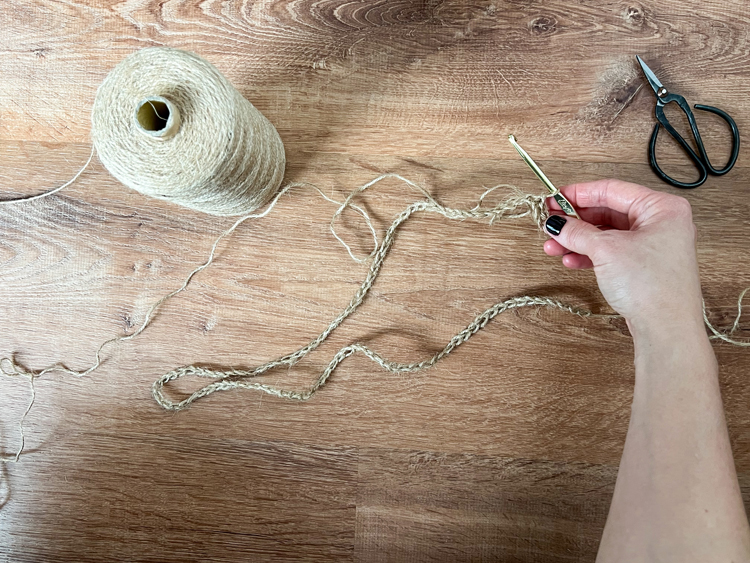
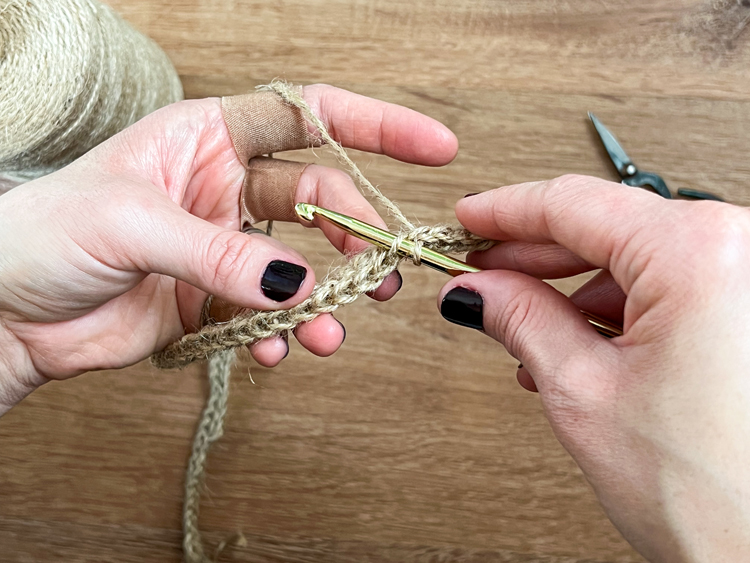
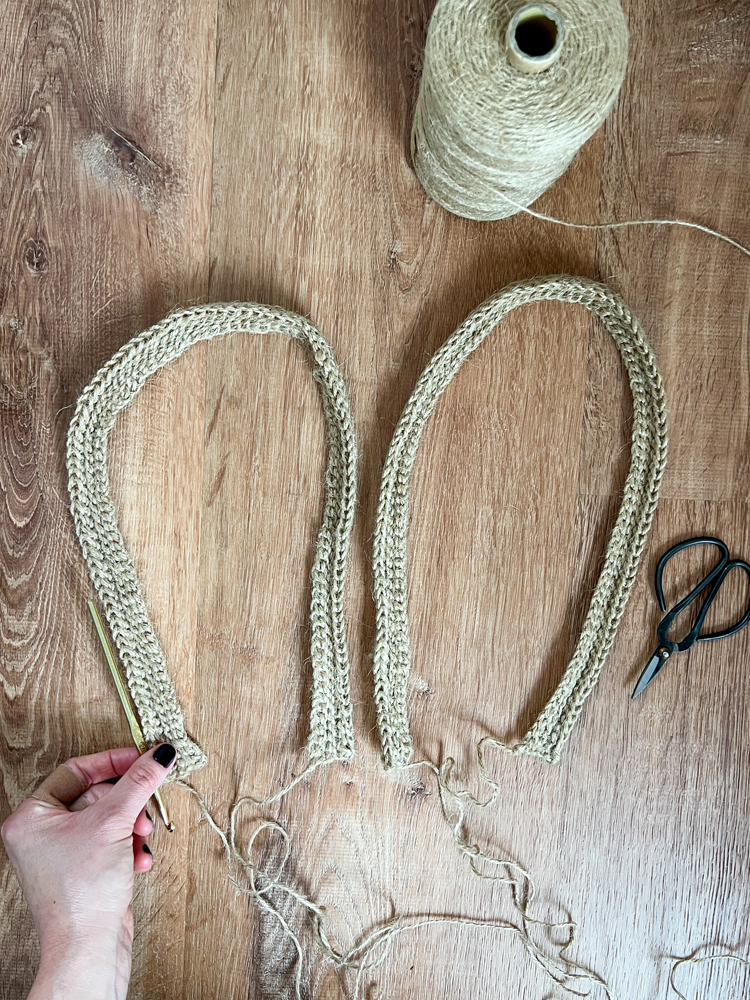
Starting with a long (12 inches + tail), Ch. 101
Row 1: Slip stitch in the second ch from the hook. Sl st in each ch. (100, skipped ch doesn’t count)
Row 2: Turn, ch 1, sl st in front loops only for the rest of the row. (100, ch 1 doesn’t count)
Row 3: Turn, ch 1, sl st in back loops only for the rest of the row. (100)
Row 4: Repeat Row 2.
Row 5: Repeat Row 3.
Row 6: Repeat Row 2.
Tie off leaving a long, (12 inch + tail). The tail from the beginning and the end will be used to sew the ends of the handle to the bag.
Repeat for a second handle.
Attaching Handles
Determine where you want your handles, using mesh spaces to help keep things centered and even. I chose to make my handles 10 mesh spaces apart and centered on each long side of the bag.
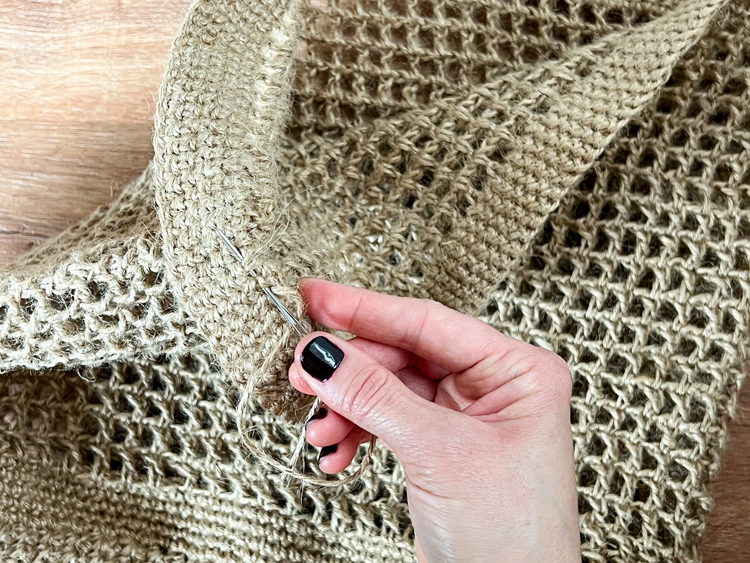
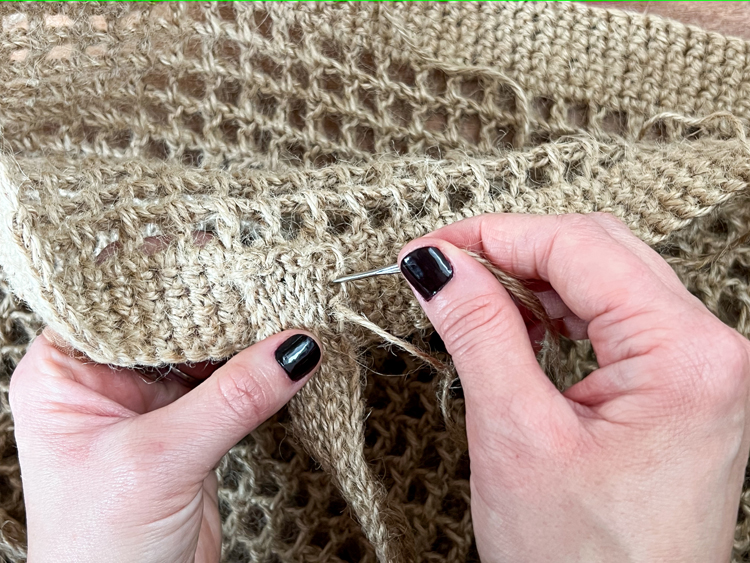
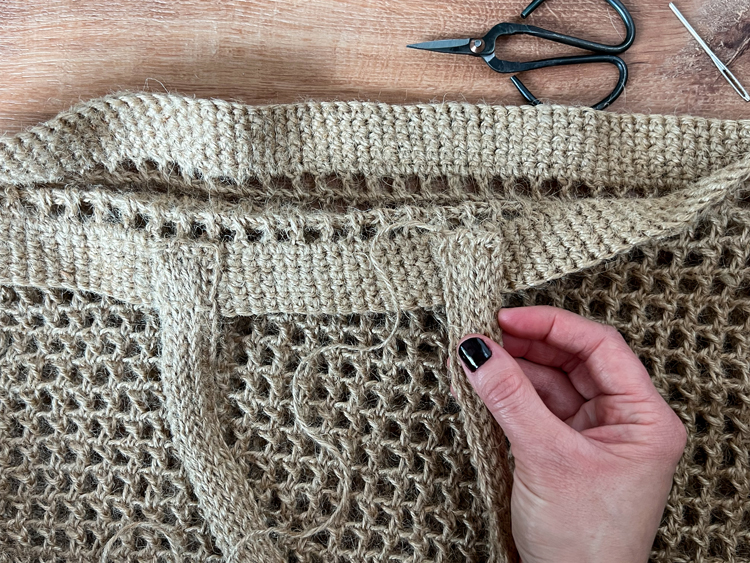
Using the tails at each end of the handles, sew the handles in place with a running stitch in a square shape around each end. I put my handle ends on the inside of the bag, but outside is fine too. Once each handle end is secure, weave the tail into the bag for a few inches and then trim off the excess.
You can stop here, but if you want your bag to look and feel more professionally finished, I recommend wet blocking it.
Blocking
Lay the finished bag on a towel. Fold a bath towel and slide it inside the bag. Spray the bag with water and use your hands to smooth out any waviness or distortions. Repeat for the other side of the bag and let it dry.
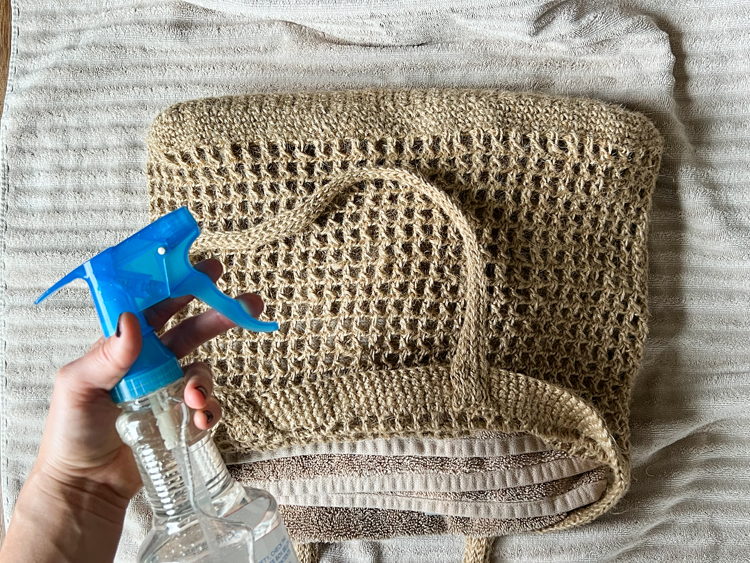
Jute can also shed at first. You can take some tape or a lint roller to it to help catch any stray pieces.
And that’s it!
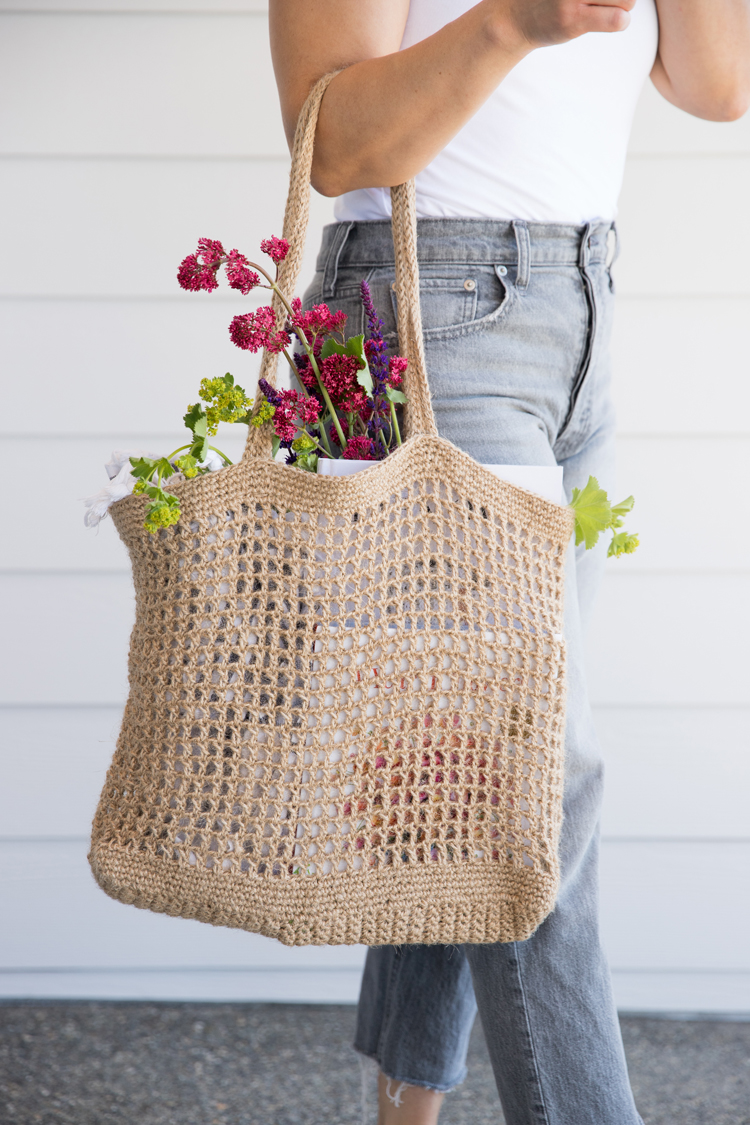
Your bag is ready to carry you through the summer ;). You know I couldn’t resist the pun.
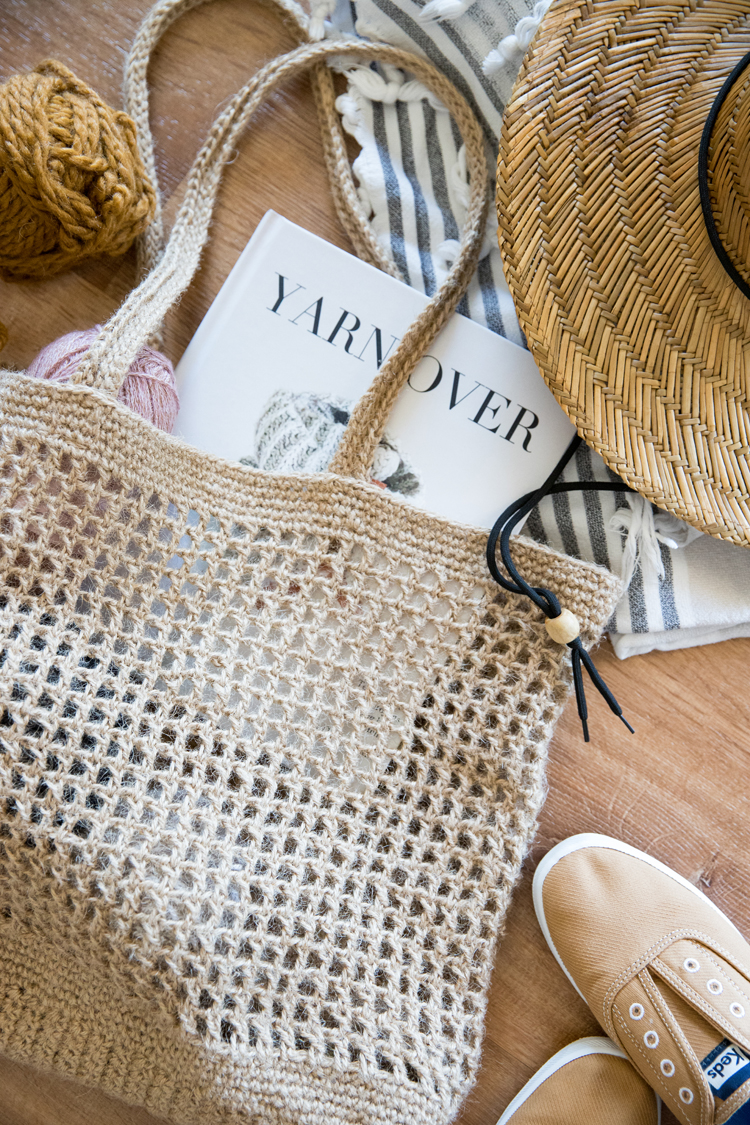


The jute wasn’t my favorite thing to work with, but I am quite happy with my tote! Once summer comes along it’ll be my beach tote.
I totally understand! It’s hard on the hands but the result is so pretty.
If I dont use jute, what should be my choice? A cotton?
I would use a very sticky, non-mercerized cotton and test the gauge to be sure it’s a match. You could also use a think macrame type yarn.
How many inches long is the base of the bag?
It’s 15 inches but with the way the sides curve up a bit, it seems to accommodate about 17 inches.
what do we do with the ch 1 on the second segment? is the total stitches for round 2 133 or 132.. thanks!!
Good question. The chain 1 is included in the 132 total stitch count, so 132. Does that answer your question? I’m not sure I understand the first part of your question or if my answer addresses it. If I misunderstood or if you have more questions, I am easier to reach on instagram, I’m @deliacreates, or through email: [email protected].
hi – i’m confused on starting in the round. how do we finish the round for rounds 2-5 growing the sides of the bag? i’m coming to a total of 135 stitches in round 1 and then unsure of how to handle going from one round to the next.
Great question. Thank you for bringing this to my attention. I address it in the video but missed it in the written pattern. To complete rounds 2-5, slip stitch to the starting ch 1.
I hope that helps. Sorry for the confusion. Please let me know if you have any further questions. I am much faster to respond via email: [email protected]
Once jute bag is finished is there anything I could do to soften jute, pull bag straight etc. Thought maybe soak in hot water then hang to dry. Any advice appreciated. Love final result of bag though.
That is a great question. I don’t have any special tricks for softening it really. Just use and washing it helps soften it up a *little* bit. If you find something that works well beyond that, I’d so appreciate it if you would leave a comment so we can all try it. I never use fabric softener, but I might try that this time or maybe some vinegar?
As for pulling the bag straight, slide a folded up bath towel inside of it. Spray it with water or get it wet before hand. Then let it dry like that. That will help mold it in the correct shape.
CAME OUT PERFECT! i didnt use jute string instead i used acyrlic yarn and came out beautifully! thank you so much for this pattern!!
Oh awesome! So happy you enjoyed the pattern. Thank you for your kind comment. 🙂
I love this jute mesh tote. I am sending the link to my daughter to request it for my birthday. She is crafty and will love a new crochet project.