Involving kids in making gifts can be well so rewarding, but let’s face it…also a lot of work!
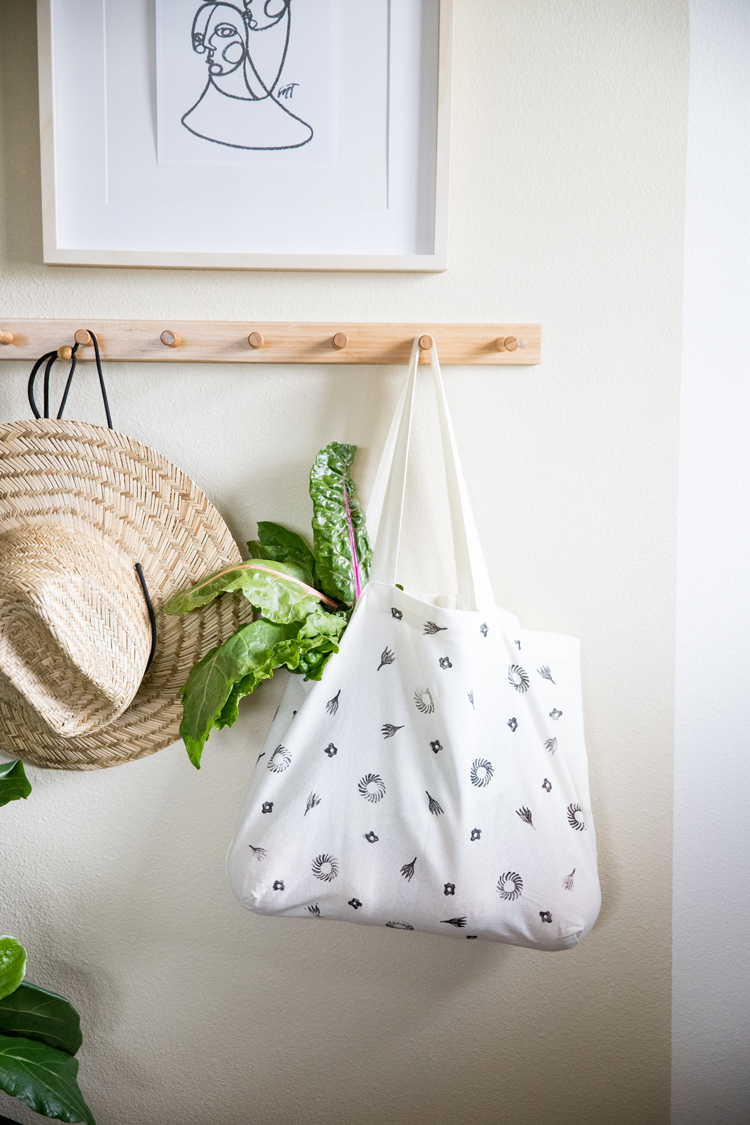
My friend Betsy Clegg (@betsy.s.clegg), made carved stamps out of her kid’s drawings to make valentines and I thought it would be perfect to do that for Mother’s Day gifts too.
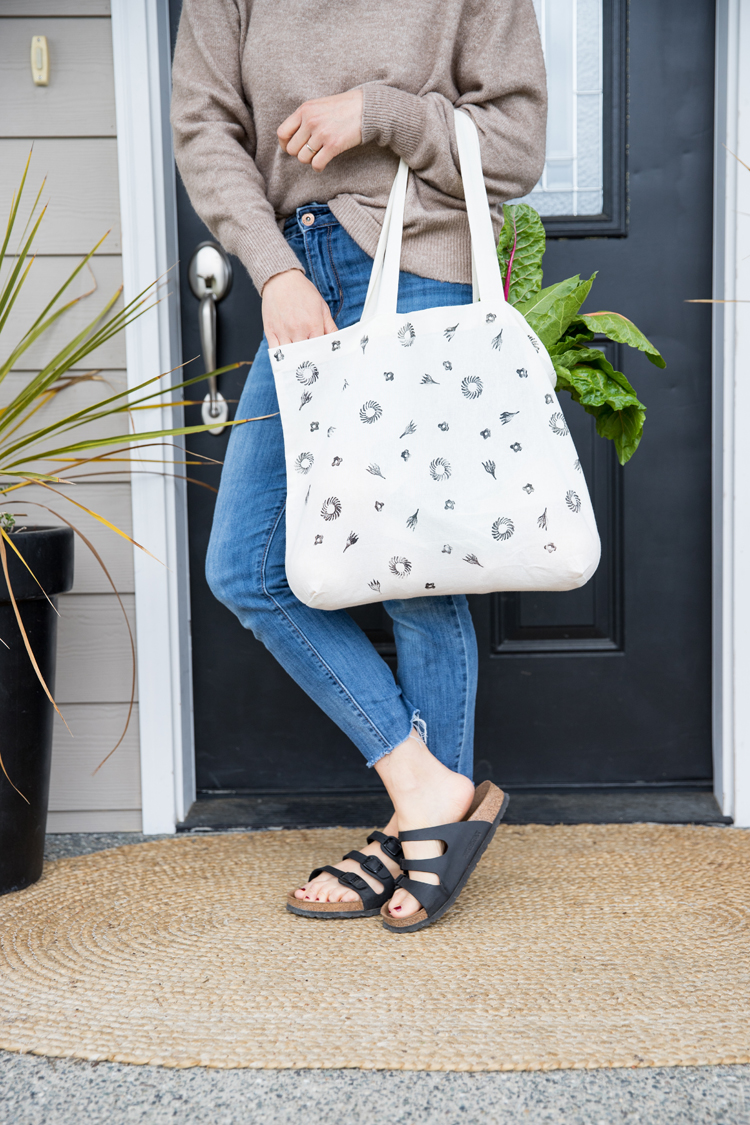
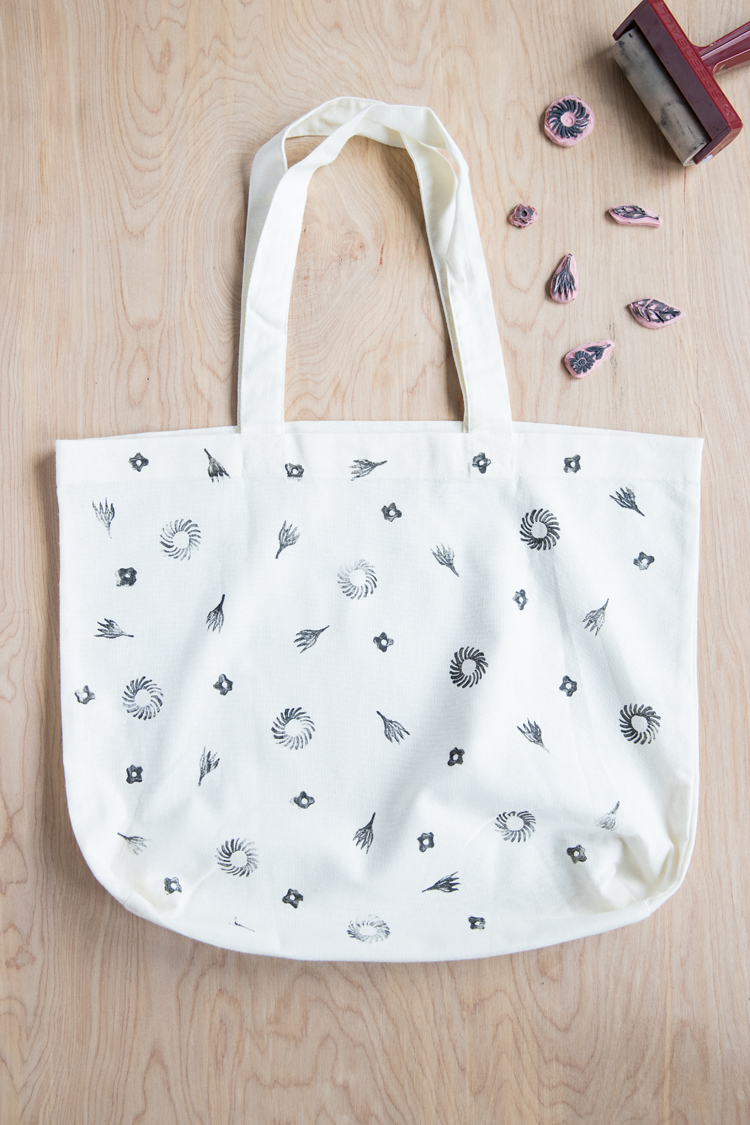
I asked my kids to draw some flowers for their grandmothers and then used those drawings to block print reusable grocery totes and card sets. Things they are sure to make use of! I’m a big fan of creating practical things that can be fully appreciated.
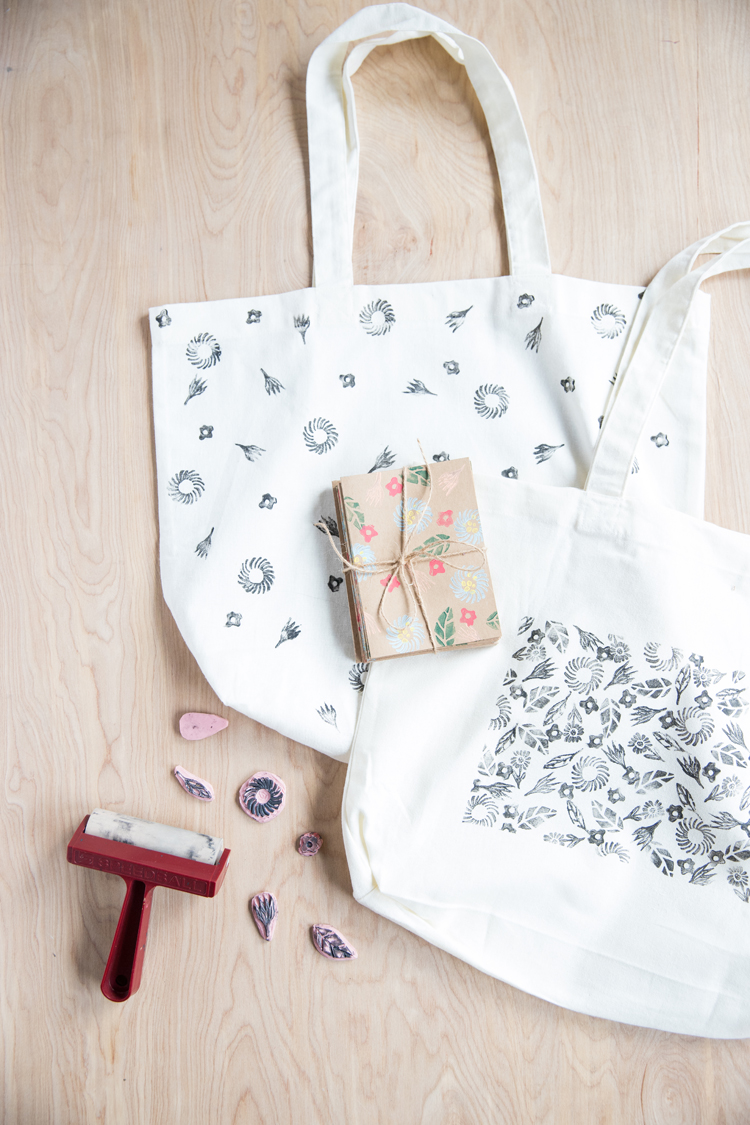
I’m thinking this project will be the cutest with the Pre-K crowd and perfect for their short attention spans, but it can work for any age. My youngest (9 year old) was my main artist for this project but I convinced even my reluctant older kids to contribute a couple of designs to add to the mix. It was a pretty painless way to get them to collaborate on a meaningful gift. 😉
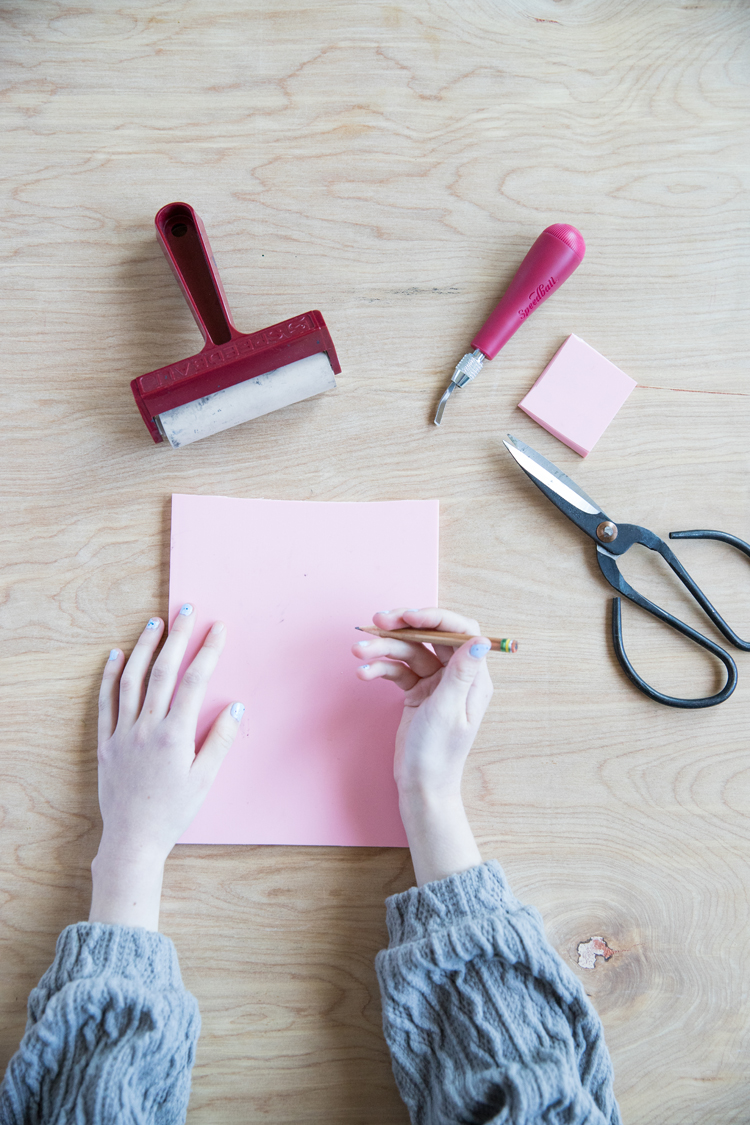
MATERIALS
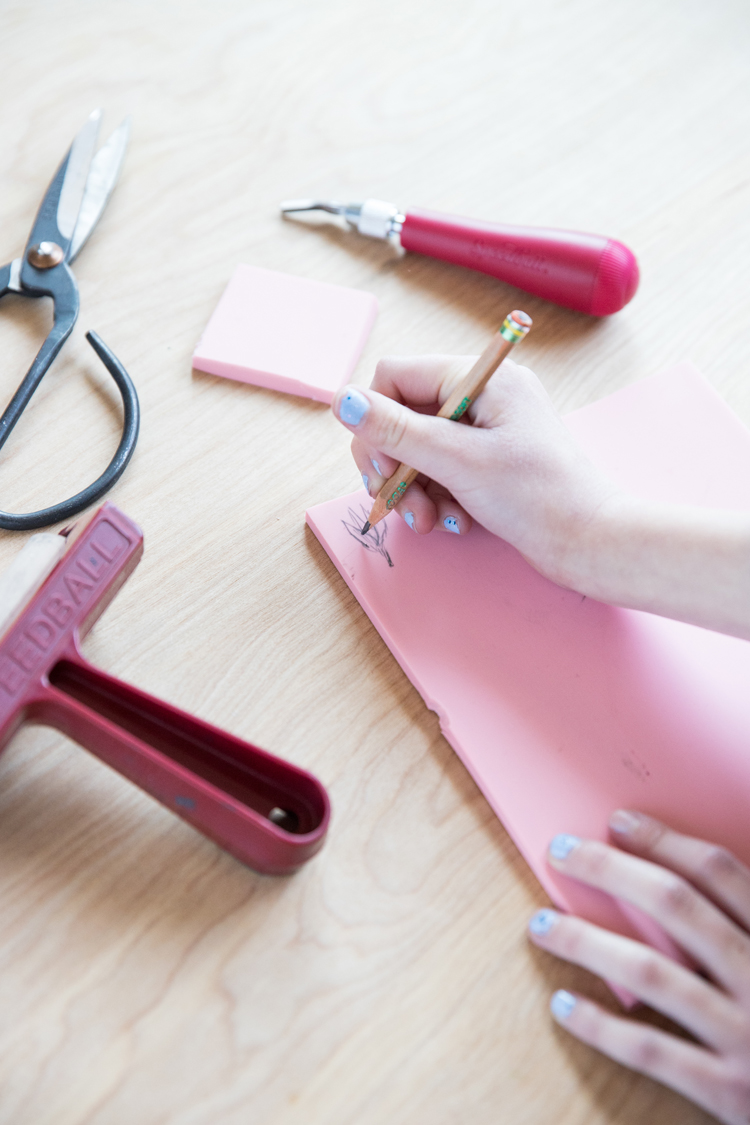
- Rubber block printing block
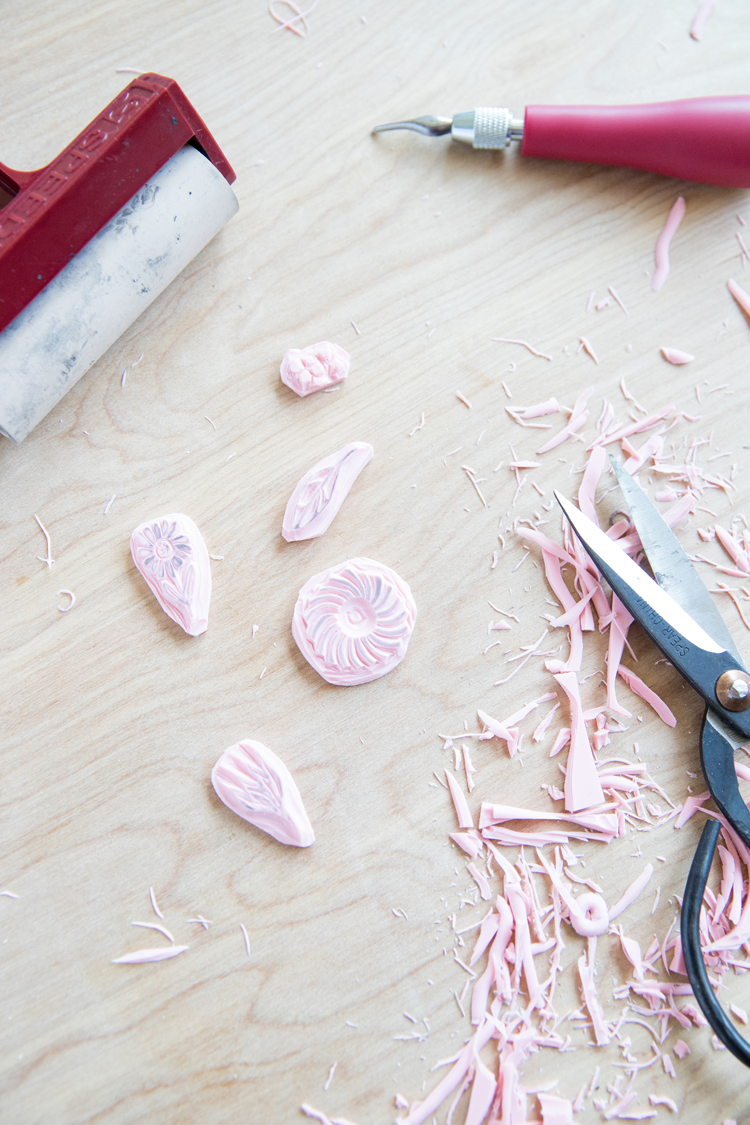
- Block printing carving tools
- Rubber brayer (to roll paint evenly on the stamps)
- Pencil
- Scissors
- Fabric paint
- Cotton Tote (or note cards, or anything you want to personalize)
Material Notes:
I got all these materials at Michael’s. The rubber block printing block and carving tools I used are Speedball brand. Definitely use a coupon if you can. I also got my Imag8 brand cotton totes there. They have them in bright colors, white, black, and this natural tone I used.
TUTORIAL
Note: If you keep scrolling past the video it should pop to the side of your screen so you can keep reading.
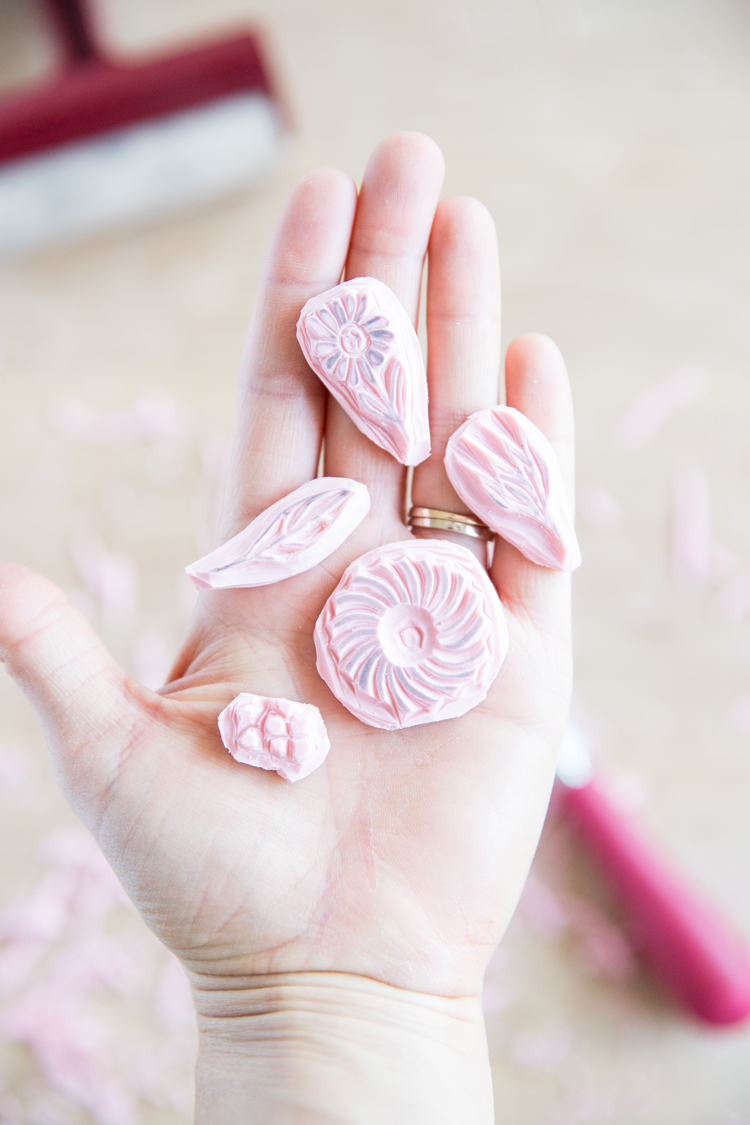
- Have your child draw on the rubber block. It may help to pre-cut a smaller block to give your child a guide for how large the drawing should be. It’s easier to repeat smaller pictures in a design.
- Carve away the rubber around the drawing, so the drawn lines will be what remains and is transferred onto the stamped design. TIP: I also like to cut away excess carving block around the design. I find that if there is too much extra carving block around the design, there is a higher chance of accidentally smudging paint where I don’t want it.
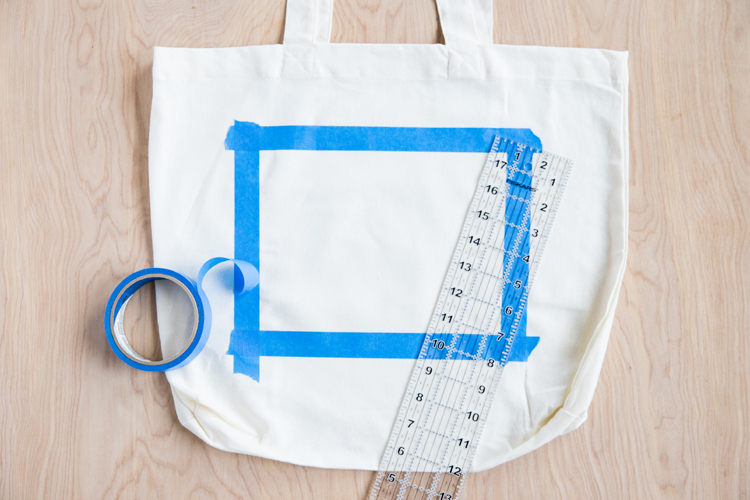
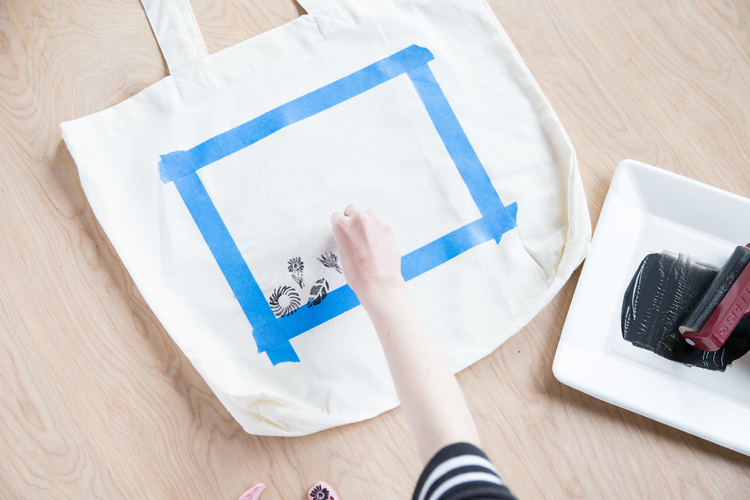
- Prep the item being stamped. For the bags, I inserted some paper inside them to prevent any paint from bleeding through. For one of the bags, I also decided to contain all the stamps within a rectangular shape with painter’s tape. This can be a good way to guide kids on where to stamp if they are helping you with this step.
- Roll the brayer in fabric paint until evenly coated and roll onto the stamp. Stamp as desired and let it dry. I felt the flowers lent themselves well to a random pattern, but you may decided to use one single stamp in tight rows or in a scattered polka dot pattern.
- Set the paint with a warm iron, following fabric paint instructions.
After we were done with our bags, we got out a rainbow of acrylic craft paints and stamped up a floral design on cards to make a card set as well. We just washed our stamps in between each color.
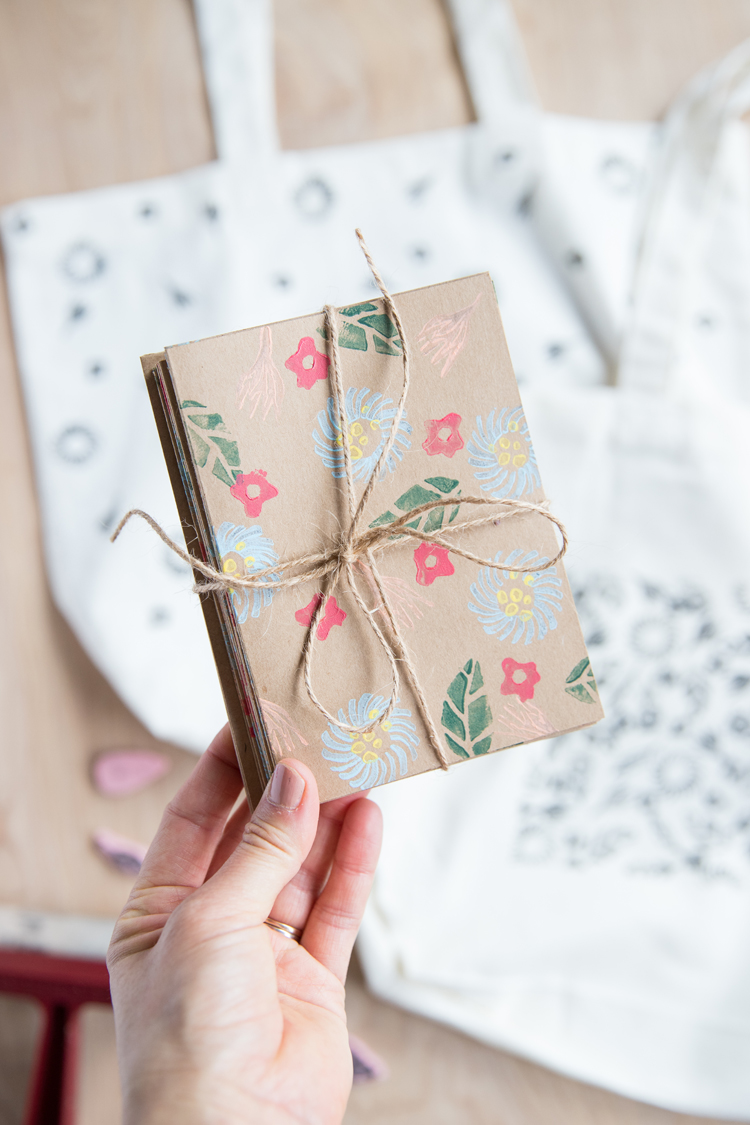
We got a lot of DIY mileage out of just a handful of designs! (literally ;))
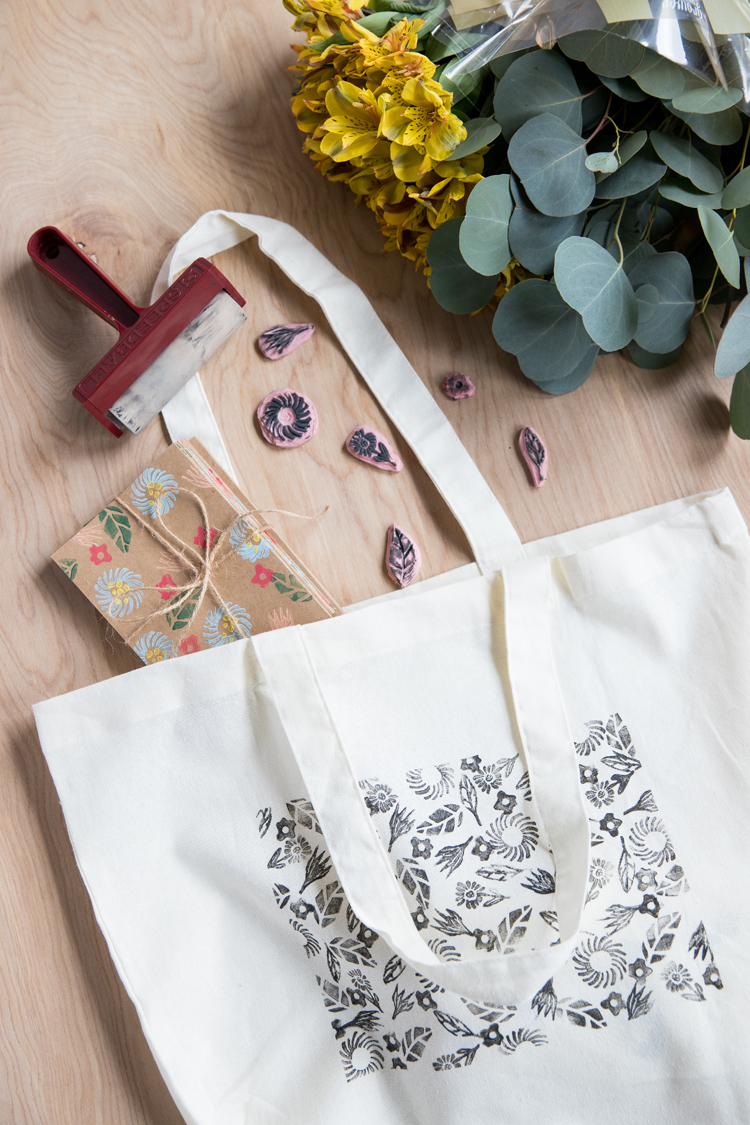
Of course, you can do this for any occasion: Father’s Day, Christmas, as a thank you to a teacher… we just happened to use this idea for Mother’s Day.
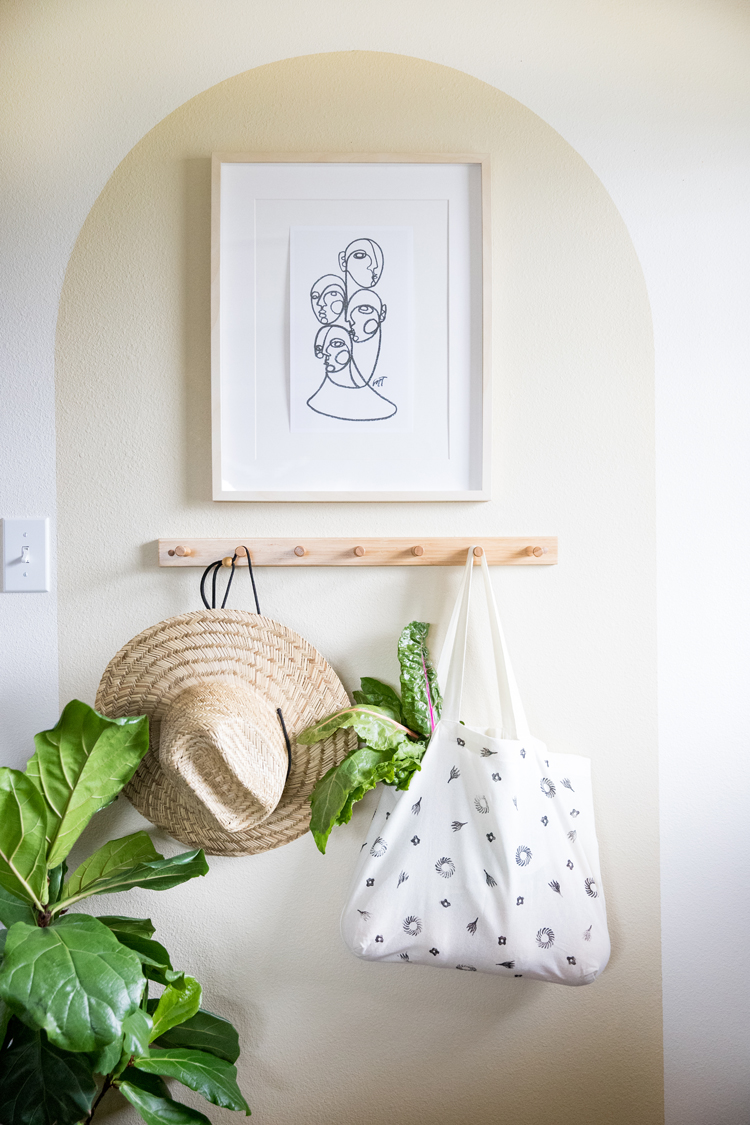
I think this would be really fun on a shirt, tie, or even a blanket, if you’re feeling ambitious. What would you personalize?


Leave a Reply