Yesterday, I showed you the before and after of our kitchen renovation. Today, we get to talk counter tops, sink, and lighting and window treatments!
COUNTER TOPS
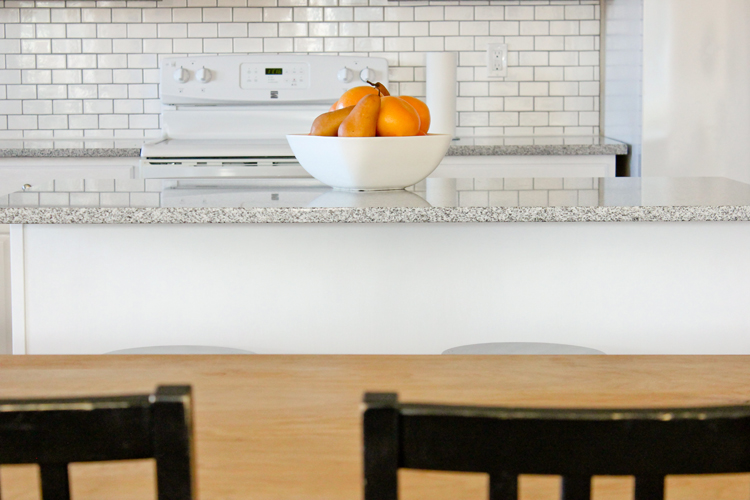
The very first thing on our kitchen renovation list was replacing the counter tops. This was really the only expensive thing we did to the kitchen, but it we knew it would pay off in increasing the value of our home, so we made it a priority. We saved up to do the counters in the kitchen and bathrooms all at once, so that the stone would be uniform throughout the house. Then we took advantage of a good sale at Home Depot (they were 15% off). The sales cycle quite often actually, so if you catch it at the right time or if you can wait a month or so, you can get a good deal.
Home Depot organizes their counter top materials into groups: Group A, Group B, Group C, and Group D being the most expensive. There is also a budget granite that is even less expensive, but comes with only four choices and a one year warranty (compared to a 15 or 30 year warranty).
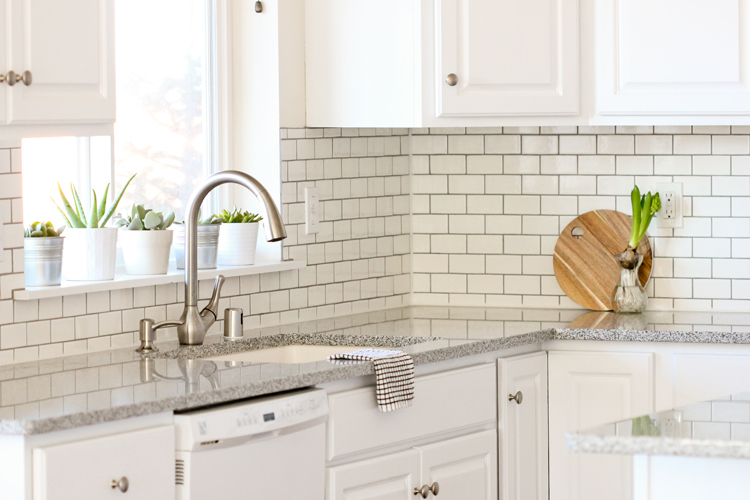
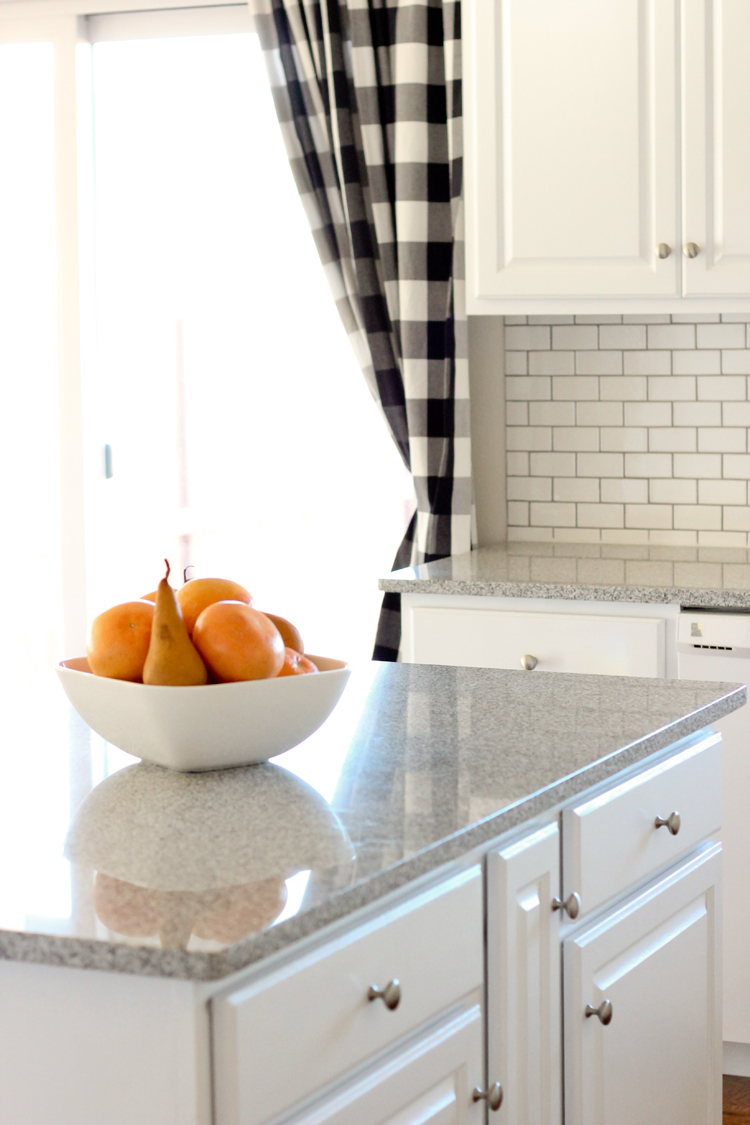
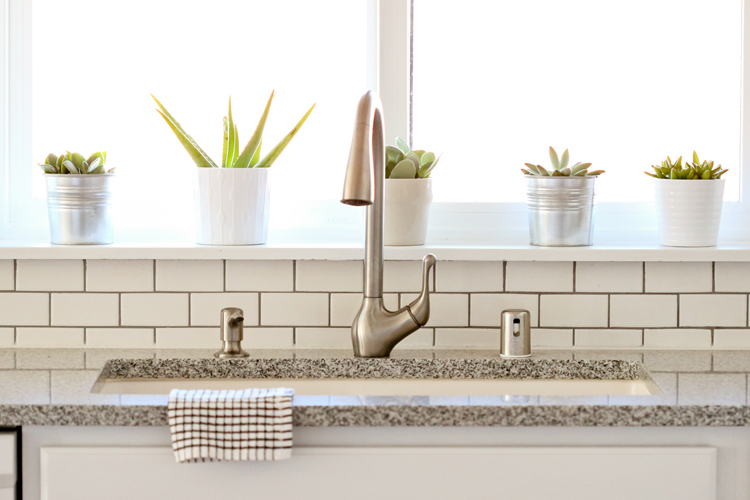
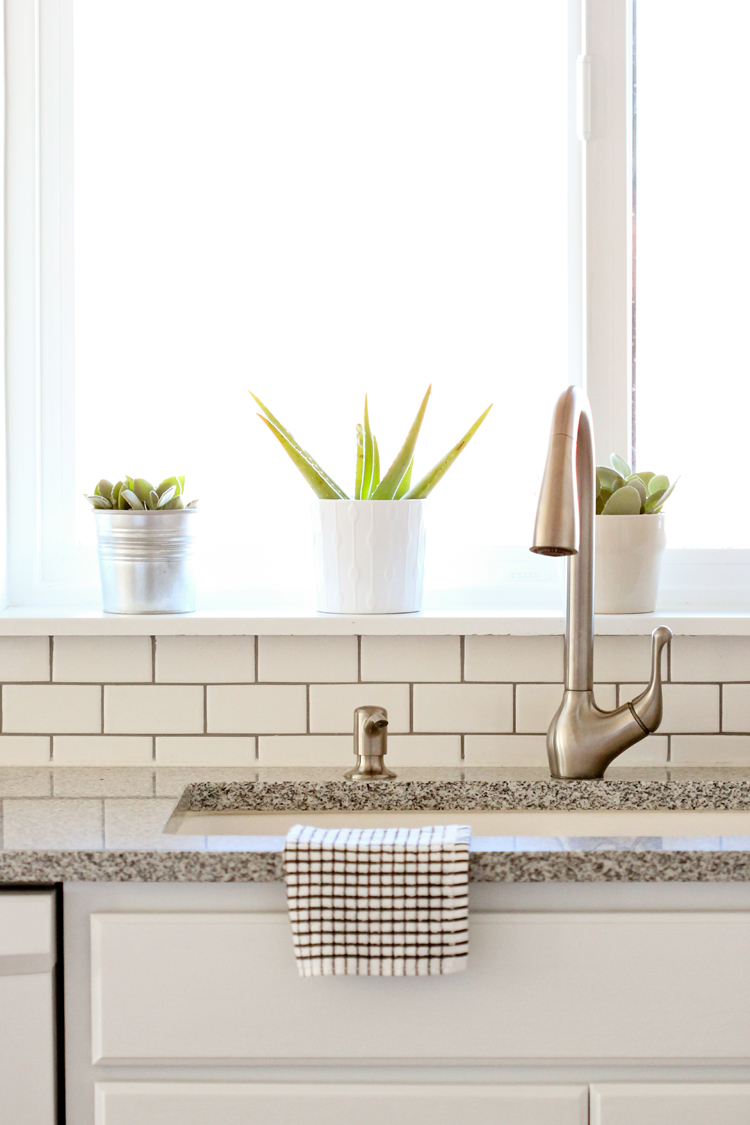
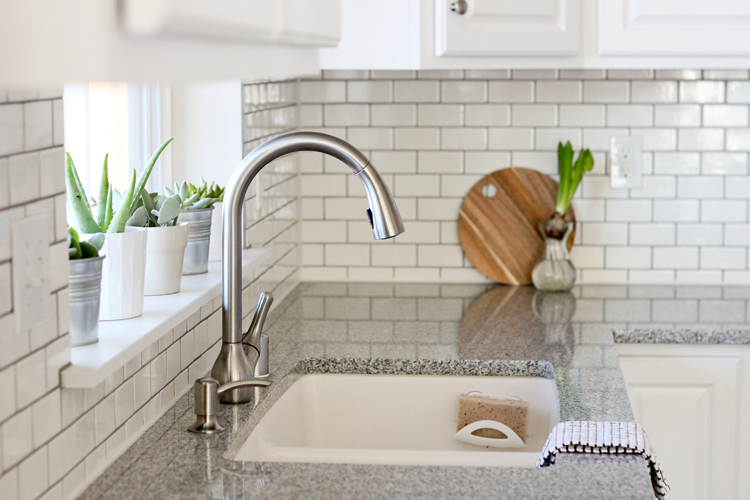
We chose the Meteorite White granite from the lowest tier, Group A, for both budget reasons and because I actually really liked it over some of the more expensive stones. Usually my tastes run expensive, so this was a nice a perk. 🙂 We also saved money by choosing the complimentary basic eased edge profile. I prefer the simple eased edge over the fancy bull nose (rounded) edge options anyway, so it was win-win all around.
Pros:
The granite is beautiful and comes with a 15 year warranty. It comes pre-sealed with a coating that is good for 15 years, so it’s fairly low maintenance compared to the budget granite which needs to be sealed yearly. It’s super durable, heat resistant and all that jazz. You know…all the obvious reasons why it’s so popular! 😉
Cons:
Granite is porous. You have to be diligent about not letting oil or water sit on the counters. I feel like I am constantly wiping up around the sinks, especially in the bathrooms. This was my first experience with granite, ever, so I had no idea that when it gets wet, the wet spots look like stains until they dry. I also had to buy a steam cleaner to sanitize the counters, for example after I prepare meat, since I can’t use bleach or chemicals. I had been wanting to buy one and reduce the number of chemical cleaners in our house anyway, so this just gave me the push to finally get one. I bought this one from Amazon and I really like it —–> DBTech DB-8561 Multi-Purpose Pressurized Steam Cleaning and Sanitizing System with Attachments (affiliate link). For only $30, it’s a handy cleaning tool to have around. It gives off more of a wet steam, so it’s not good for upholstery, but it’s great for kitchens, bathrooms, cars, etc.
Even though the stone we chose has a fairly homogeneous pattern, it is still a natural stone with natural irregularities. In the kitchen, where the pieces of granite are the largest, you don’t notice it, but some of the irregularities are obvious and slightly awkward on our smallest bathroom counter.
Quartz Dreams:
We almost spent a little more for quartz counter tops, and looking back I kind of wish we did. Quartz is man made so you can be sure the pattern will always be even. It’s not porous and almost indestructible against normal wear and tear. It also comes with double the warranty…yep, 30 years. It is just so much less maintenance for kids and busy moms! If we ever get to redo/design our kitchen in our next house, I’m going with quartz all the way.
Old Counter Top Removal:
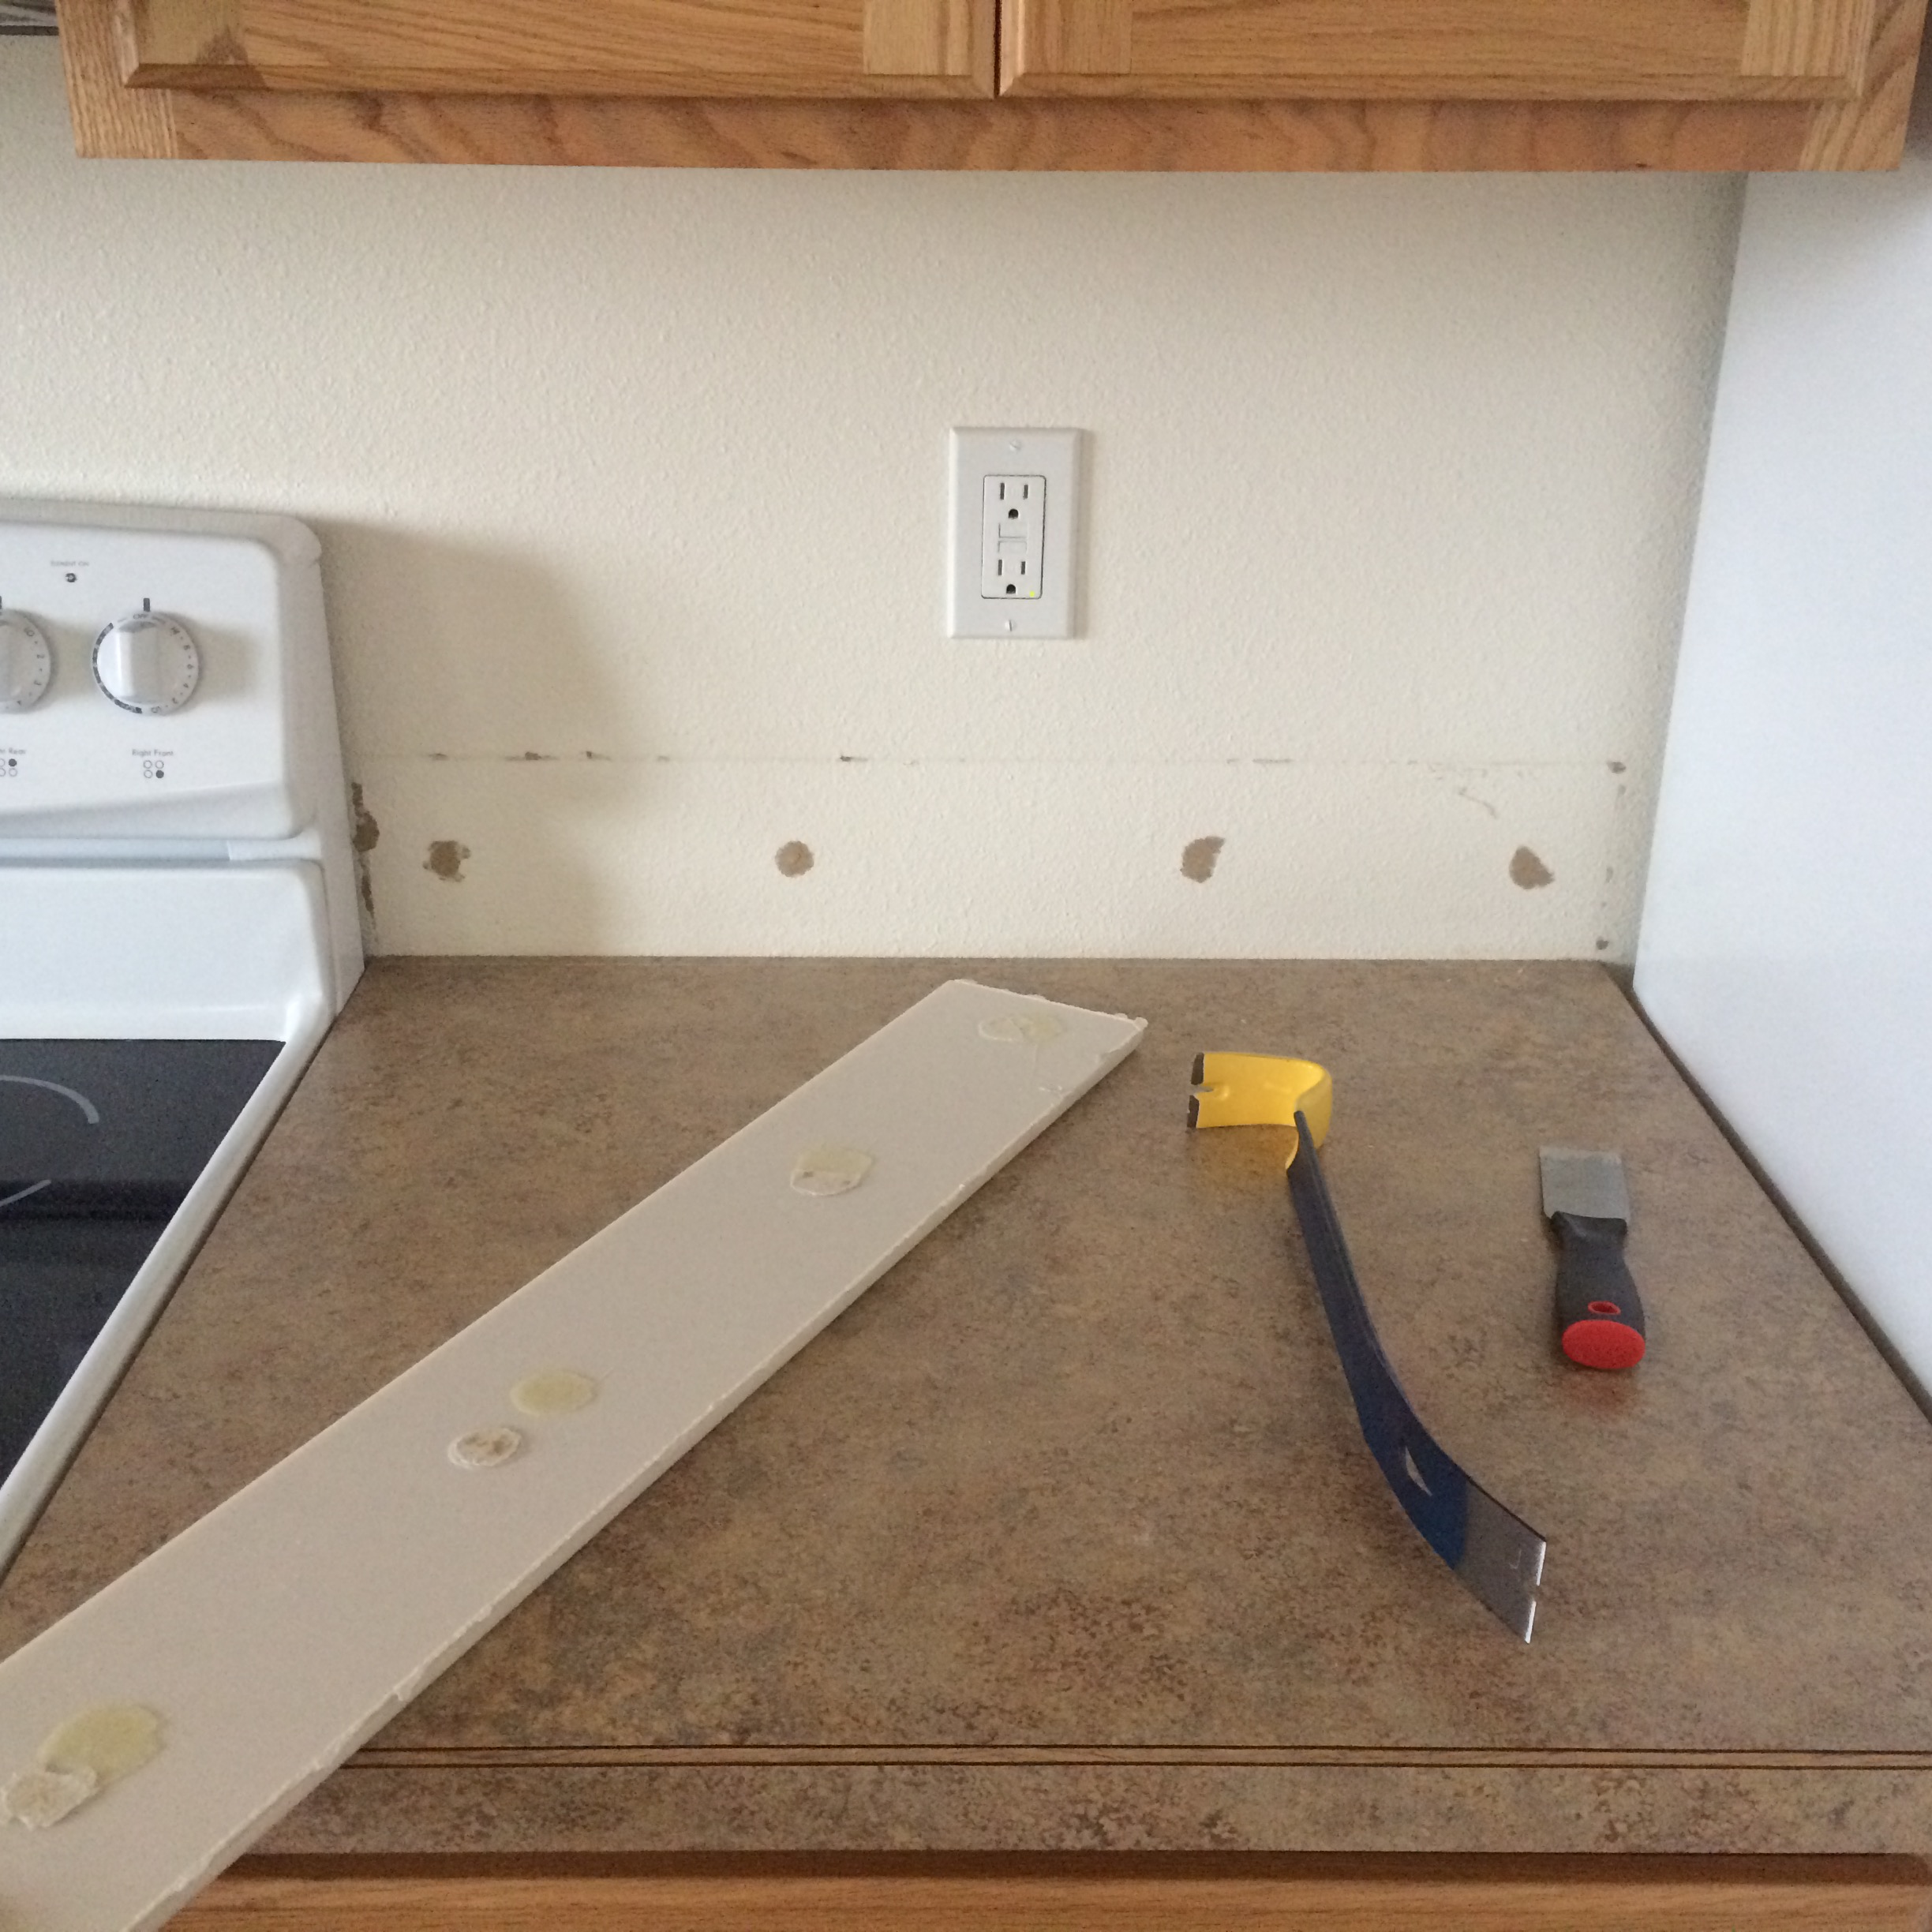
We decided to remove the old counter tops ourselves to save money. Well…we saved money, but we totally underestimated how hard the demo step is! After we removed the plastic “back splash” we were stumped on how to pry off the rest. We couldn’t just take a sledge hammer to them because we were keeping the cabinets, so we consulted Youtube and decided to use a car jack and wooden boards to basically jack the counters off the cabinets (like this). Then we used crow bars and mallets to finish off the job. Still…I think it was worth the savings of not paying the counter top installers to do it. I admit, it’s probably easy for me to say that because my husband did most of it. 😉
Installation:
We bought the counter tops from Home Depot and then used their preferred installers, Precision Counter Tops for the installation. The whole process took three visits. First, they came out to measure and do an estimate. Then they came out to create a template. The counter tops took a few weeks to cut and prepare, and then they came out to install them. The installation process is well organized, they give you lots of reminder calls, and it’s pretty painless.
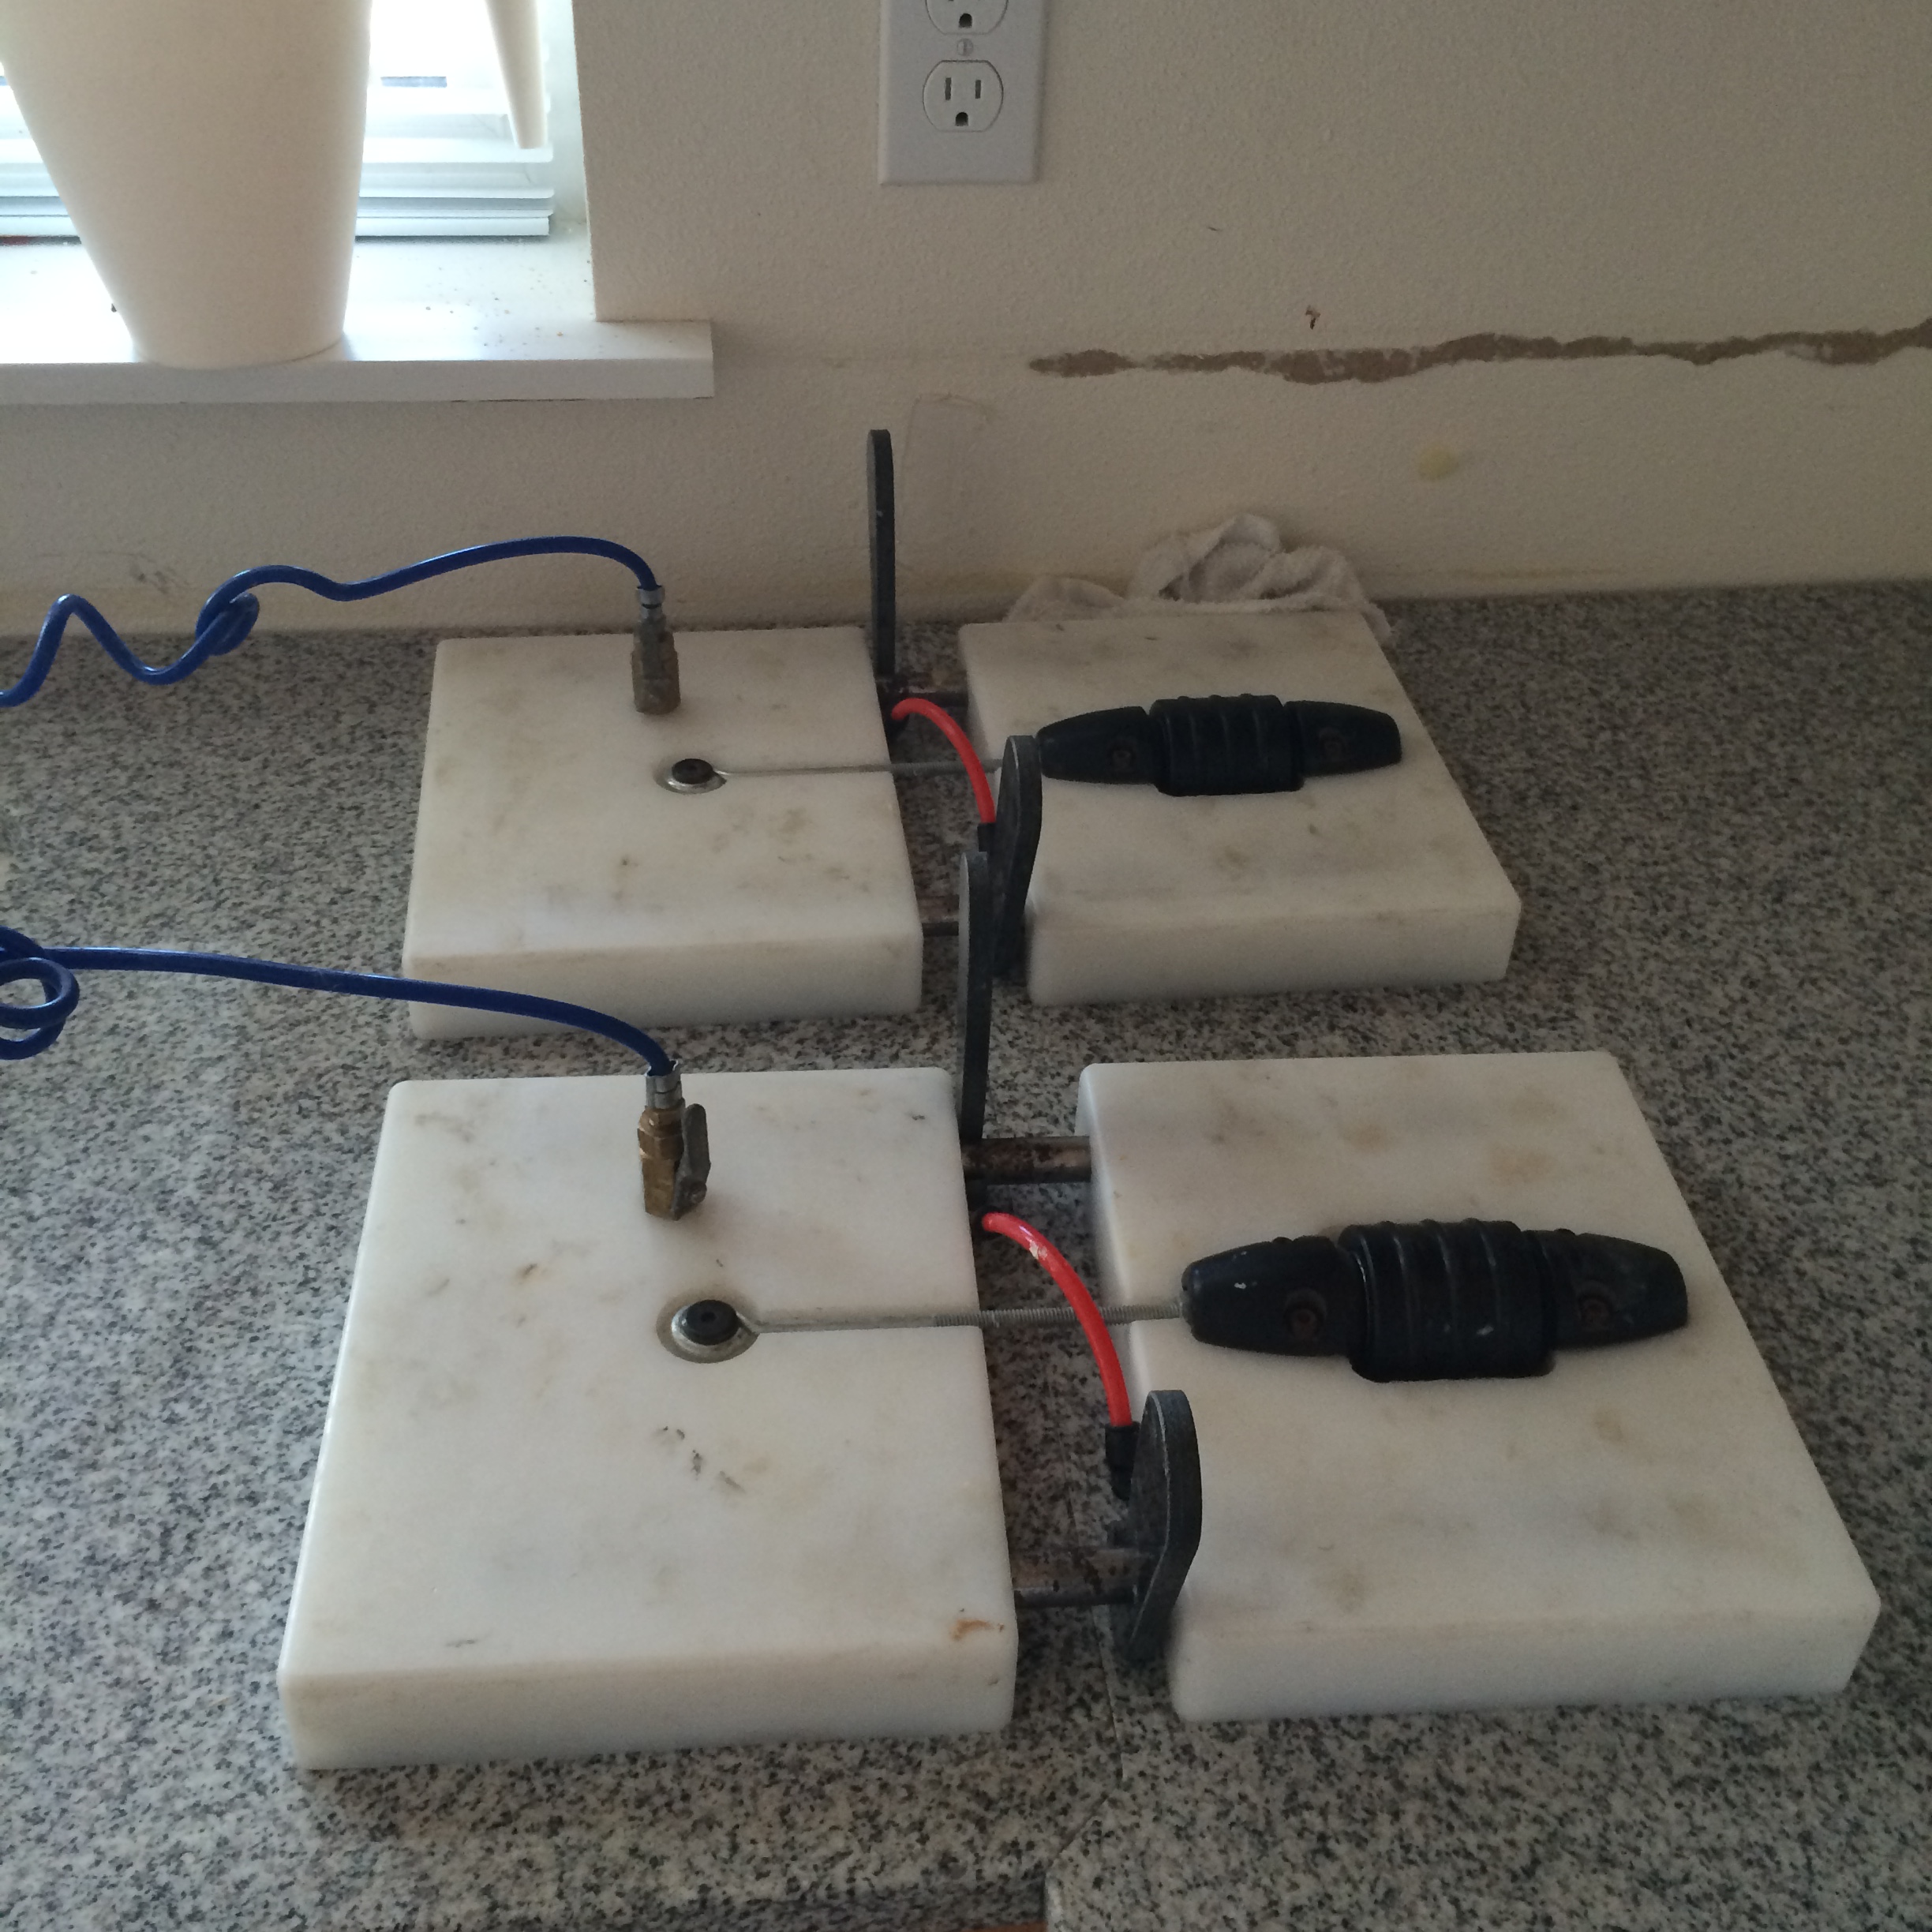
Overall, we love our counter tops. The installers did a super fantastic job seaming pieces together at the L-shaped joint (you can hardly see it if you don’t know it’s there) and they were efficient. I snapped a quick phone pic of the seaming process above.
But…the counters aren’t perfect. They did leave fairly big gaps (1/4″- 3/8″) at the joint between the wall and the counter top in certain spots. This made tiling the back splash a little tricky. I’ll go into a little more detail about how we worked around that in the back splash post.
SINK + FAUCET
We also got a new sink and faucet with the counter tops. We stayed in the middle range in terms of quality and price. Not super fancy, but we upgraded from what we had before.
Sink:
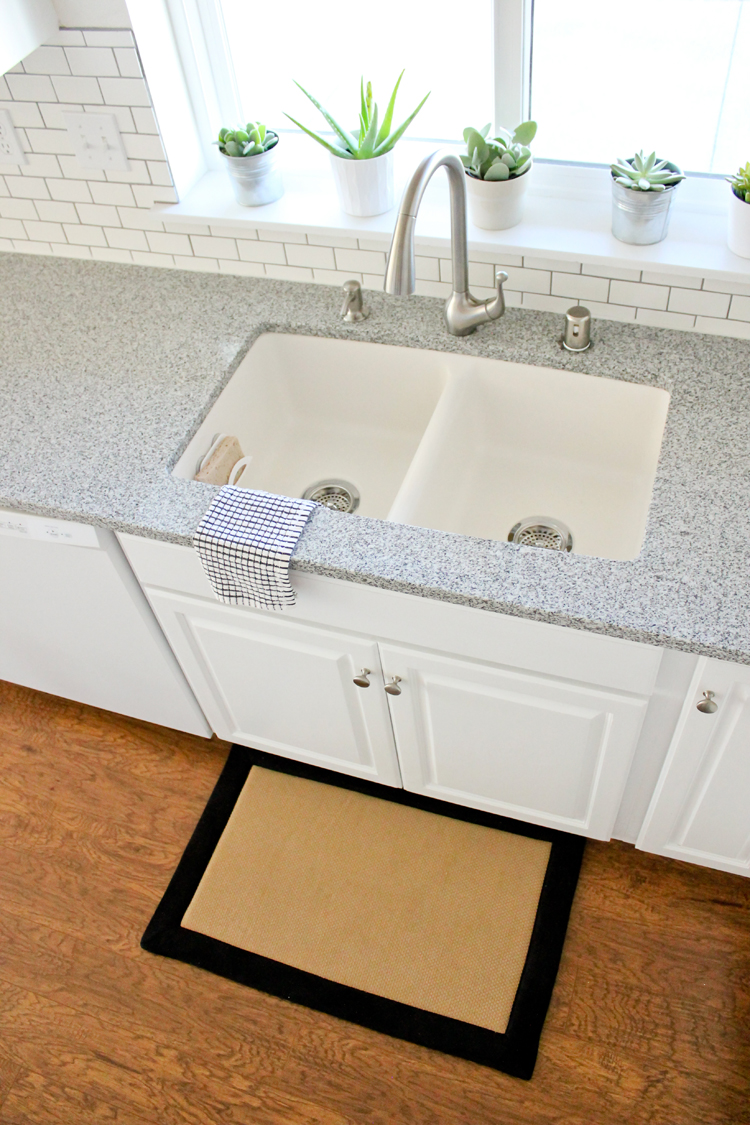
Granite Composite Double Bowl Dual-Mount Sink (about $150 from Home Depot – but for some reason can’t find online, so check in store). Very pretty, lightweight, durable and doesn’t scratch easily. The white sinks (they also come in black) are prone to staining if you let dishes sit in the sink though. If were to choose again, I would probably choose stainless steel…or I guess I could just get better at doing the dishes more consistently. 😉 It will respond to bleach pretty well, but not as well as porcelain. Every once in a while, I let the stains soak in a bleach wash for 10 minutes or so and all but one small stain has completely faded away.
Another perk is that it is “softer” than porcelain and even stainless steel, so that when I accidently drop a plate in the sink, it usually doesn’t chip or break unless it knocks into the granite or another dish.
Faucet:
Kohler Barossa Faucet (just under $200 from Home Depot). We liked that it came in a brushed nickel finish that matched our cabinet hardware, along with it’s other features, like a detachable nozzle, built-in matching soap dispenser, and sleek profile. The spray feature is a little intense and almost always causes over spray and splatter, but works well on power rinsing off food if you remember to lower the faucet head into the sink first.
LIGHTING & WINDOW TREATMENTS
These components were actually among the last steps in our kitchen reno project, but it seems like a good place to mention them now.
Dining Room Light:
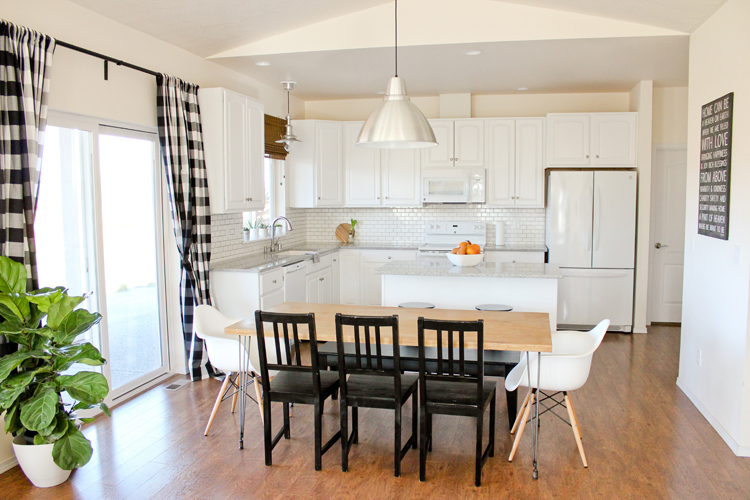
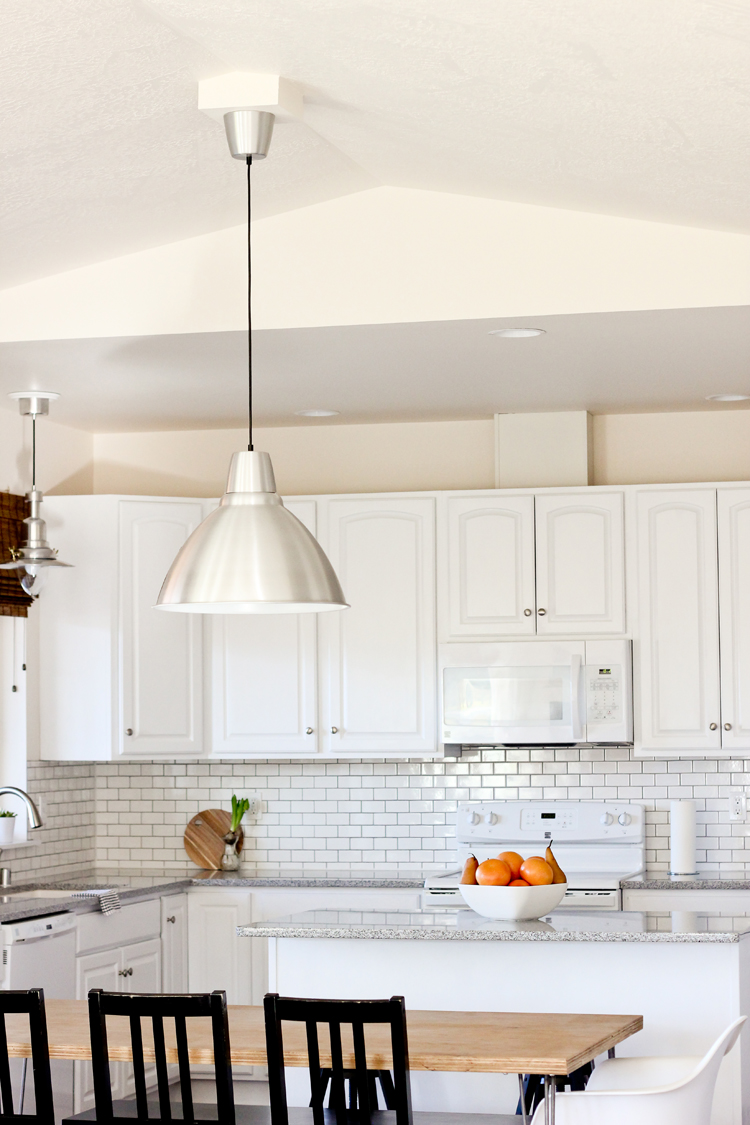
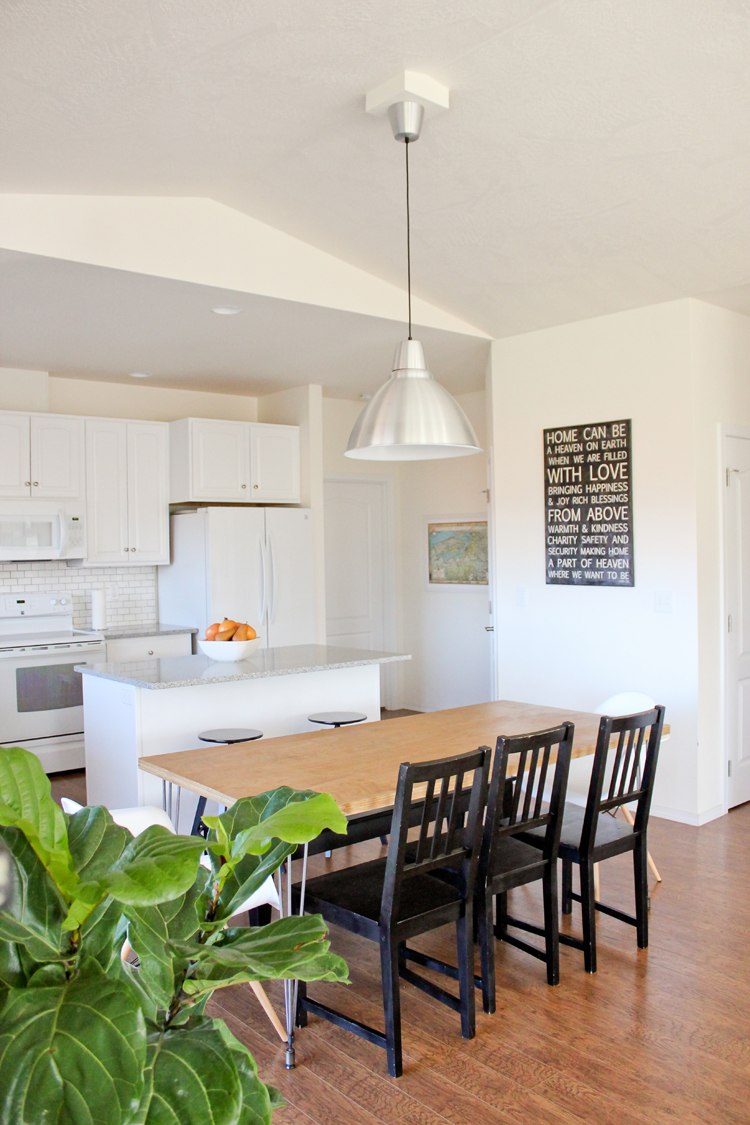
We weren’t big fans of the builder’s standard chandelier in the dining area, so we picked up a simple silver 20″ FOTO Pendant Lamp from IKEA. It knocked down our number of light bulbs from 6 to 1, so we installed a 1000 lumens LED bulb to help compensate. It still offers a much dimmer, cozier light than the previous chandelier, but we expected that, and we quite like it. There are bright can lights that flank either side of the dining area, so we just turn those lights on when we really need more light.
We looked at a LOT of light fixtures, and felt like this simple pendant best complemented the simple aesthetic in our kitchen and the silver hardware on the cabinets. Plus, for $30, we couldn’t beat the price!
Sink Light:
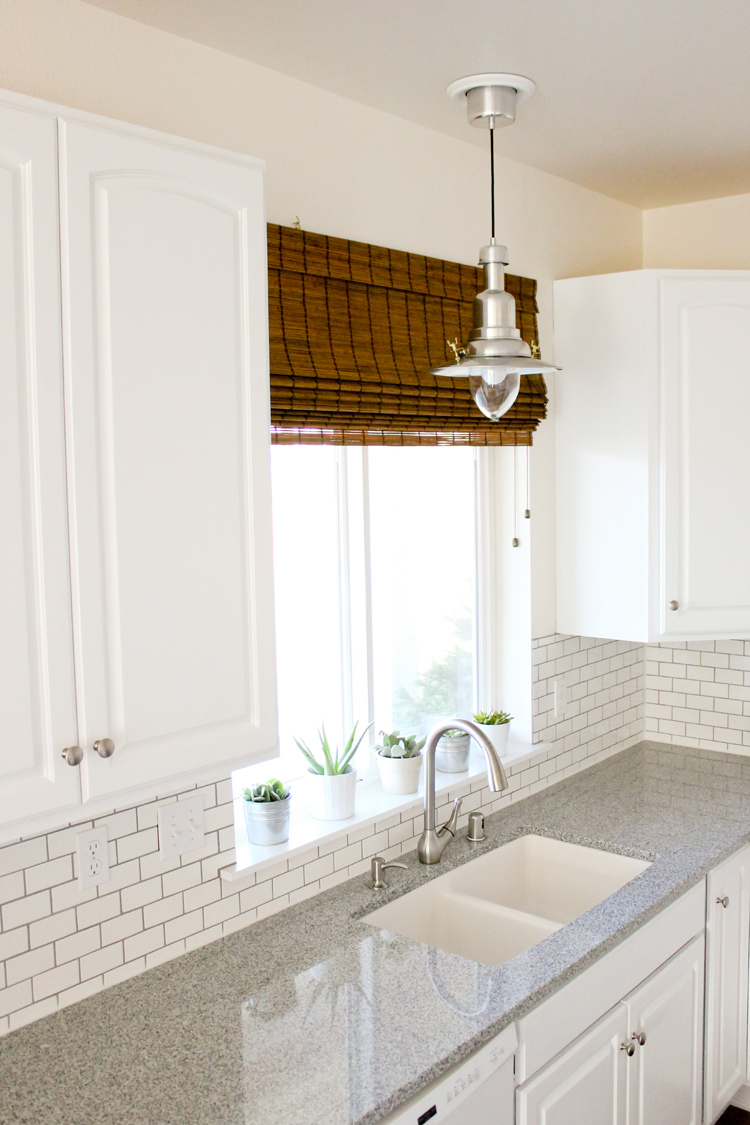
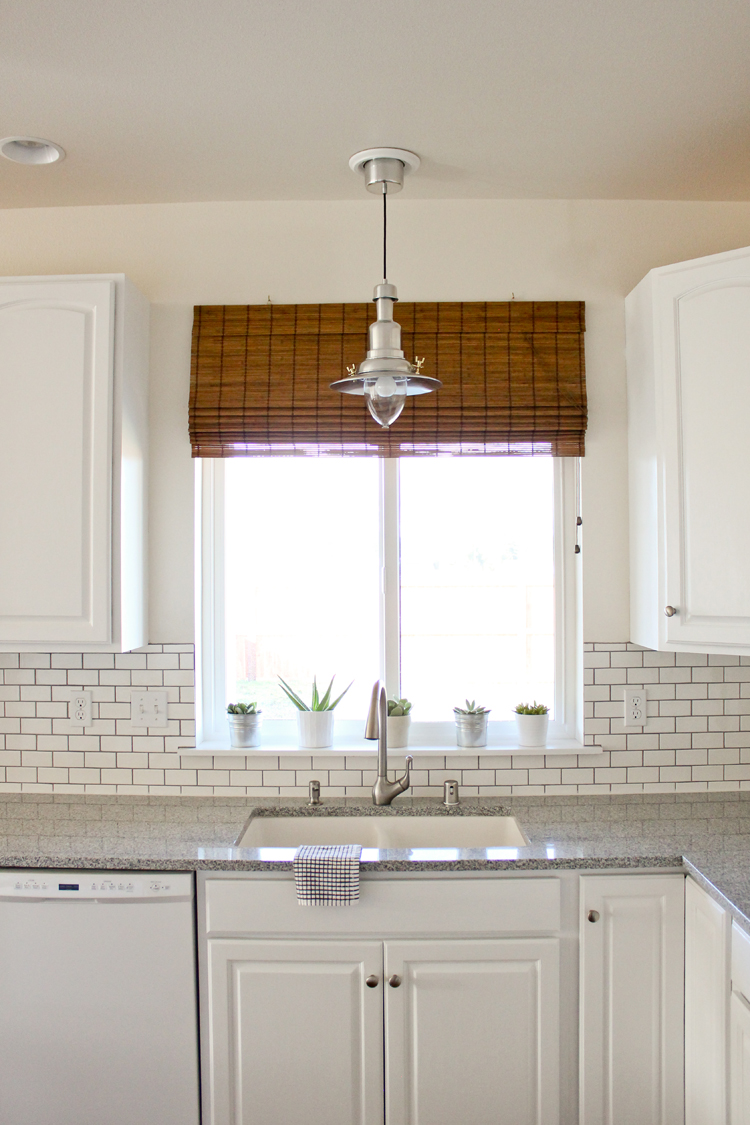
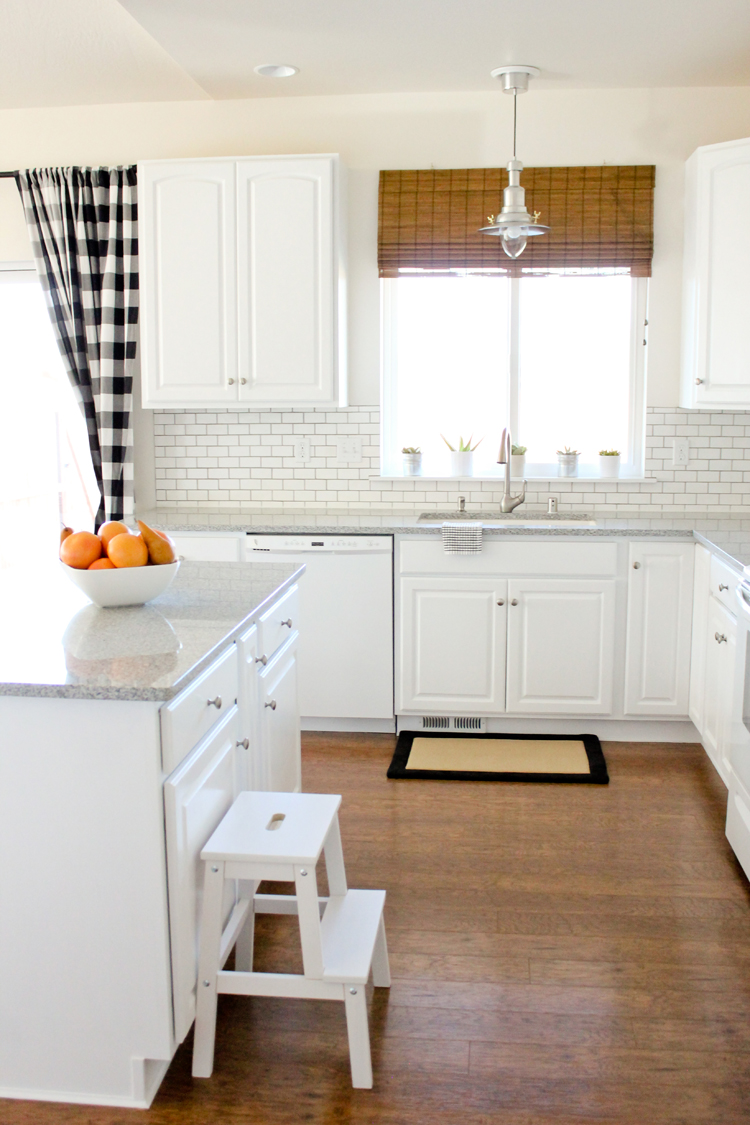
The light above the sink, was originally a can light. We bought this can light converter kit and installed it with an OTTOVA Pendant Lamp, from IKEA. I think it complements the dining lighting really well, and pops nicely off the bamboo shades. I think it’s also just the right size, proportionally, to go above a sink.
Window Treatments:
Speaking of above the sink, we hung 60″ wide Hampton Bay Caramel Bamboo Roman Shades from Home Depot, about 14-15″ above the the actual window. This gives the illusion that the window is bigger than it actually is and doesn’t compromise any light coming through. We almost never close the kitchen blinds, but even by cheating the blinds higher, they are still long enough to be let all the way down to the ledge.
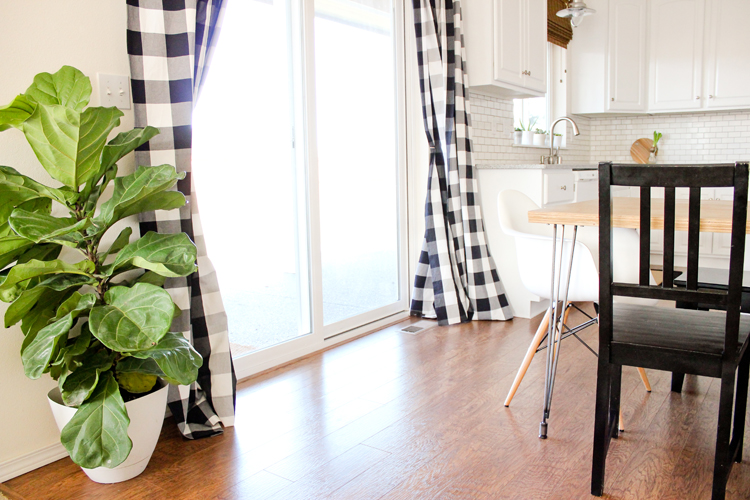
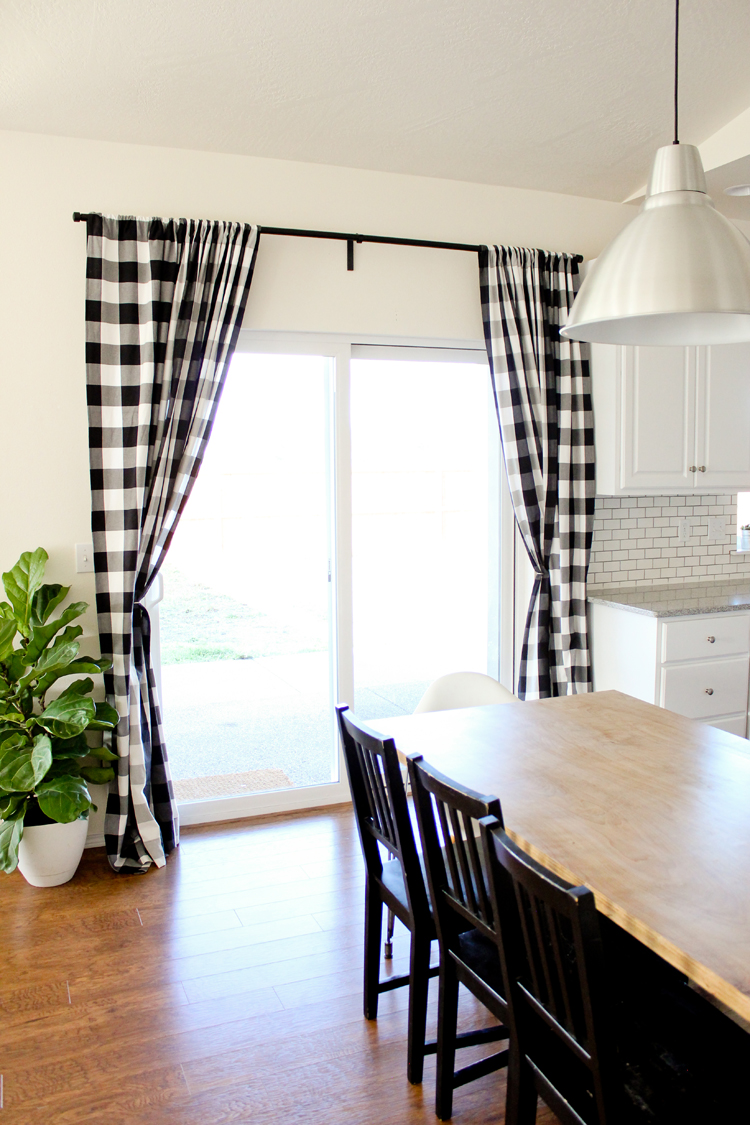
The drapes in the dining area are made from Berta Ruta black and white gingham fabric from IKEA, which I have just sadly noticed they have stopped carrying online! Sad! That means they are probably going to phase their inventory out in stores. If your stores have some right now, I would grab it while you can!
I sewed the drapes very simply, with three hems and a casing on top. I’ll share a tutorial soon.
That wraps up most of the counter top and accessory details. I feel like there is so much involved in any home project, so if I am forgetting to source something, or if you have a question, please ask! I’ll try my best to reply in the comment section.
Also, I would like to mention that no part of this kitchen renovation series is sponsored. I am simply sharing my sources and experiences in hopes that it helps you with your own renovation journey. When we first started, I tried to read as many home reno posts as I could, so I’m hoping to help others now too!
Tomorrow, we talk paint!


We replaced two lights in our kitchen with the same Ikea light that you have over your sink. We love ours! We’ve had them for a little over a year now, and I still smile when I look at them! Hope you enjoy yours as much as we do.
Fun! We do! We like it so much, we actually installed the same light in our entryway as well. <3
Thanks for sharing the positives and things you would change for next time. I always wonder about that stuff! 🙂
Thanks Anna! Home projects are so spend-y, I like to go in with eyes wide open. I’m hoping my posts help others do the same!
I love your new kitchen! Looking forward to the rest of the series!
Thank you Emily!
Thanks. I just chose counter for our new build and picked Quartz over granite. Glad to hear you wish you had done the same.
Yes! Good choice!
Looks soooo good! We picked quartz for our countertops (remodel in process, nowhere near countertop phase) so I’m glad to hear you’d pick it over granite. 🙂
Thanks Kristin! Yes. Good choice on choosing quartz! I didn’t realize granite would require some upkeep. It’s manageable, but annoying. Good luck with your remodel! I’m so excited for you!