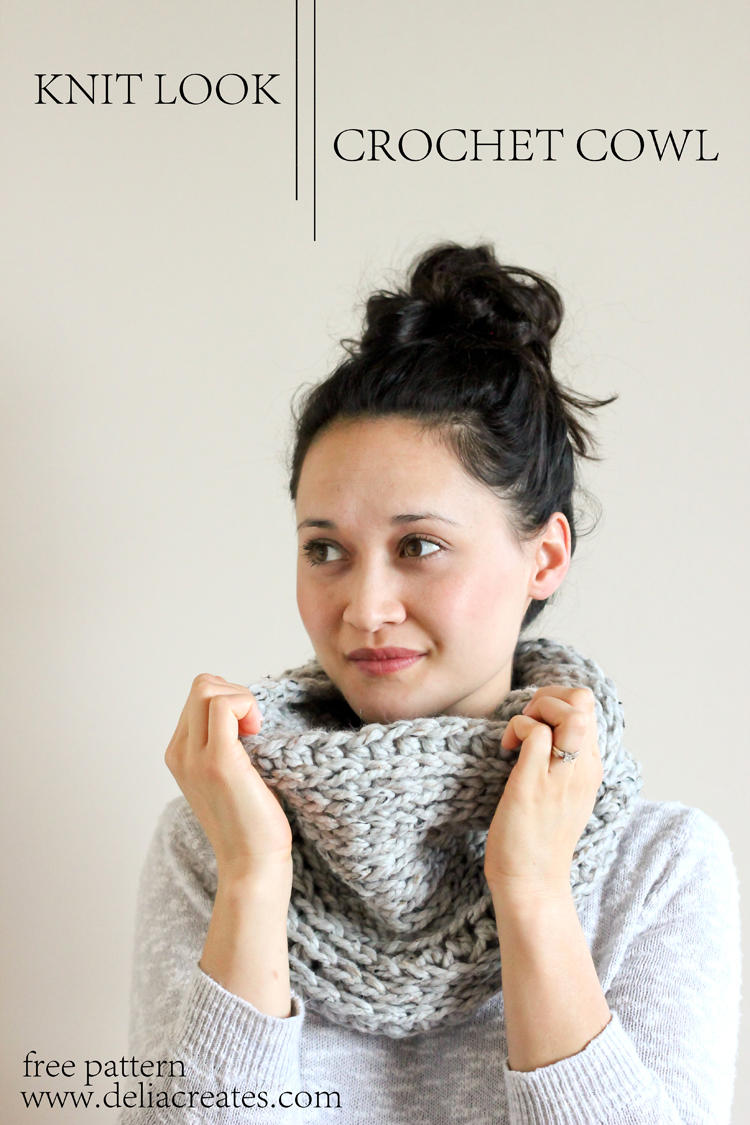
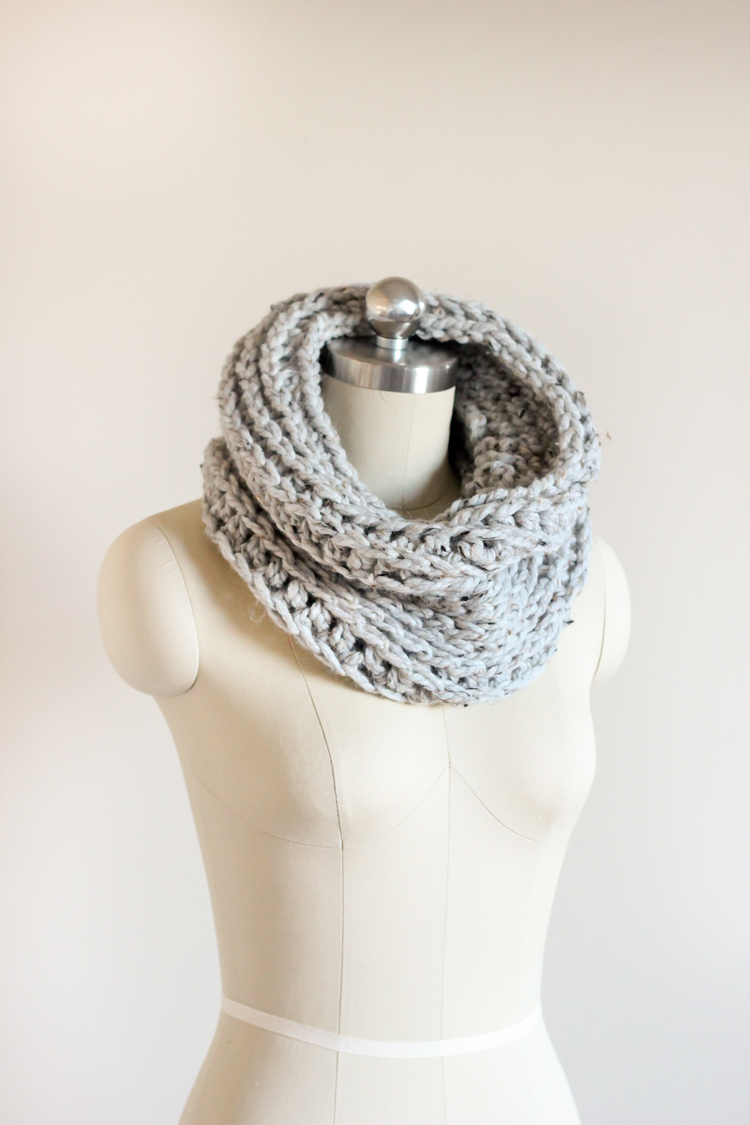
I am a crocheter through and through, but I am also a sucker for the look of knitted stitches. For today’s Scarf Week scarf, it’s a blend of both looks.
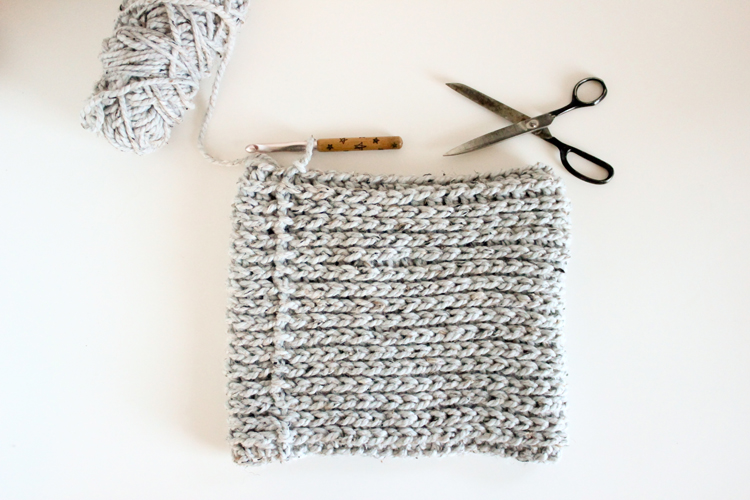
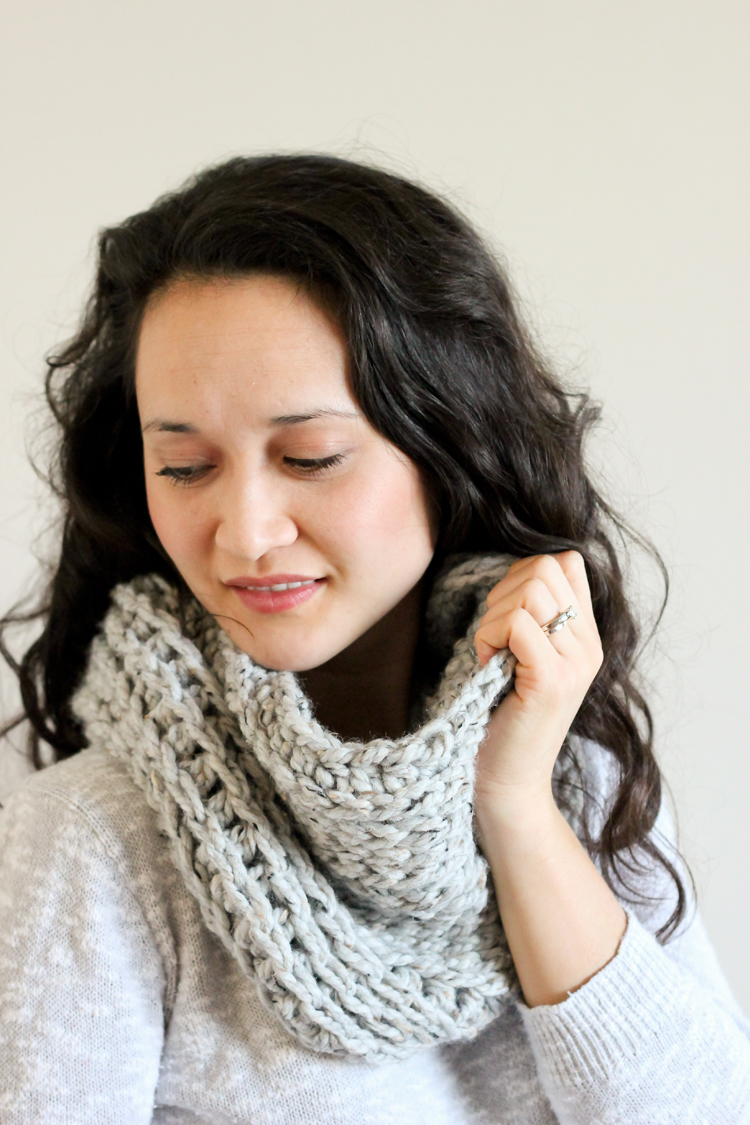
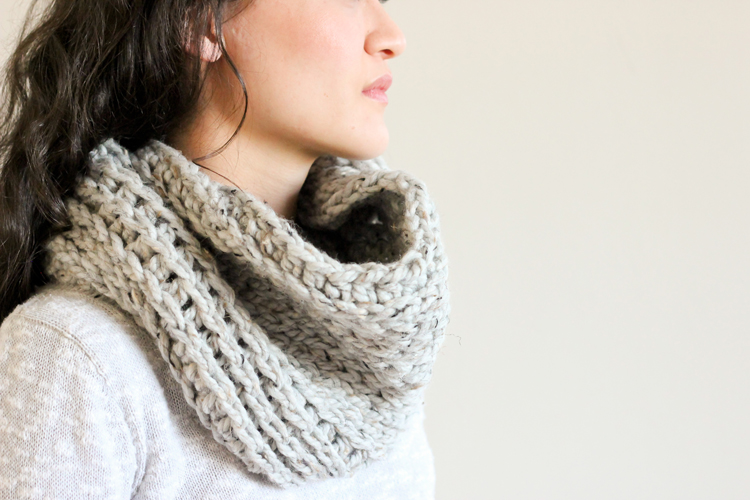 A crocheted scarf, with a knit look.
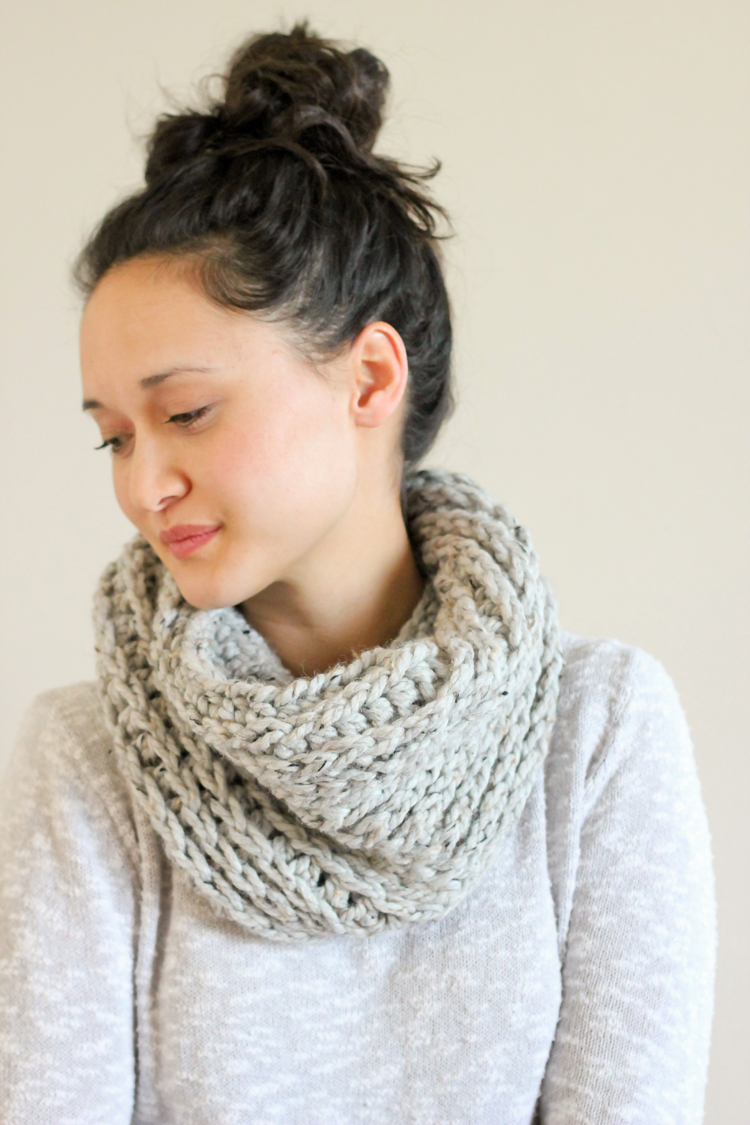
 The stitch is called a Camel stitch, and is probably my new favorite crochet stitch of ever. I love it so much, my next two scarves after this one will feature the stitch as well, but with variations.
 I first learned about the stitch from the fabulous and amazing crochet blogger Stephanie from All About Ami. She provides great instruction on how to crochet in the third loops, which is how the camel stitch comes together.
 Update 1/27/25: This post originally linked to Stephanie’s camel stitch tutorial, but it has since been removed. I have a newer video tutorial and free pattern that uses the same stitch HERE. Refer to that tutorial if you don’t already know how to crochet into the third loop (the diagonal loop underneath the top two loops).
Alright! Let’s get going…
MATERIALS
Super Bulky Category 6 Yarn – 2 skeins or about 135 total yards* N15/10.00 mm hook yarn needle * I used about a skein and a half of Wool-Ease, Thick and Quick in Grey Marble from Lion Brand Yarns.GAUGE
4 x 4 inch square = 6 stitches x 6 rows
ABBREVIATIONS
ch – chain sl st – slip stitch hdc – half double crochet Foundation chain: Ch 45, sl st to the first chain, creating a looped row. (45) Row 1 – Ch 2, hdc in each stitch around, sl st to top of ch 2. (45) Row 2 – Ch 1, camel hdc in each stitch around, sl st to the top of ch 1. (45) Rows 3 through 17 – Repeat Row 2. Row 18: (optional) sl st around in each stitch (not too tight!). Tie off end and weave in tails with a yarn needle.That’s all there is to it!
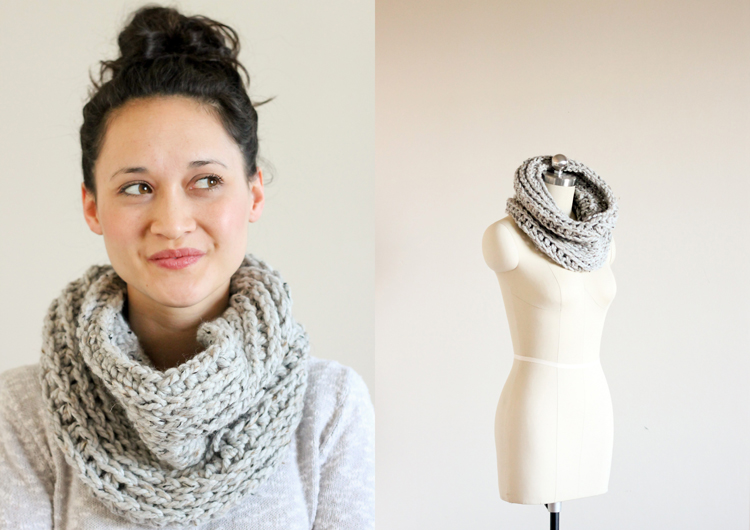 It’s a really quick, satisfying project that you can easily complete in one sitting or one movie. I think it’s easy enough for a beginner too! It’s just a basic hdc but worked in a different loop.
Camel stitches are a cinch to work up, with really pretty results.
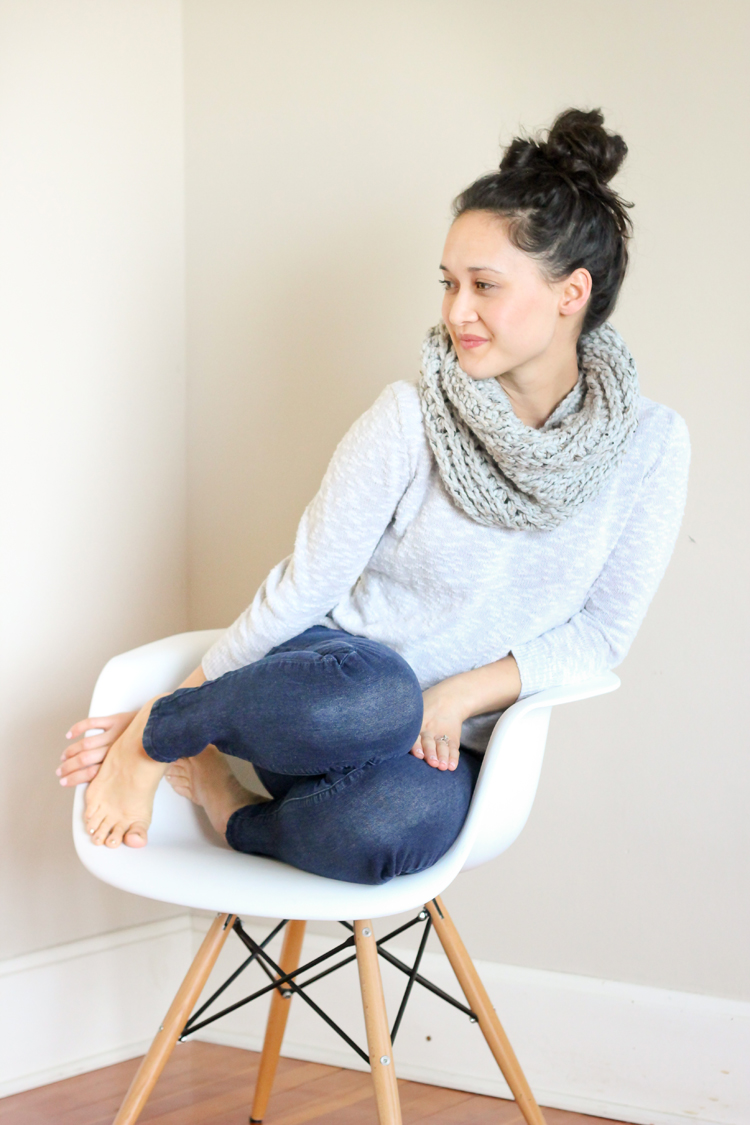
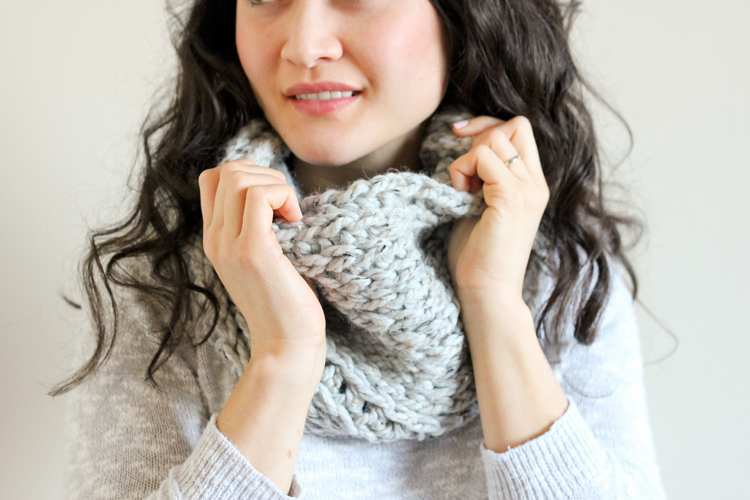 Can you see why I want to camel stitch all the things?
Oh and the back side, or inside, looks almost like purl stitches. I wish I had thought to take a picture of it. Maybe I’ll instagram about it this weekend (I’m @deliacreates).
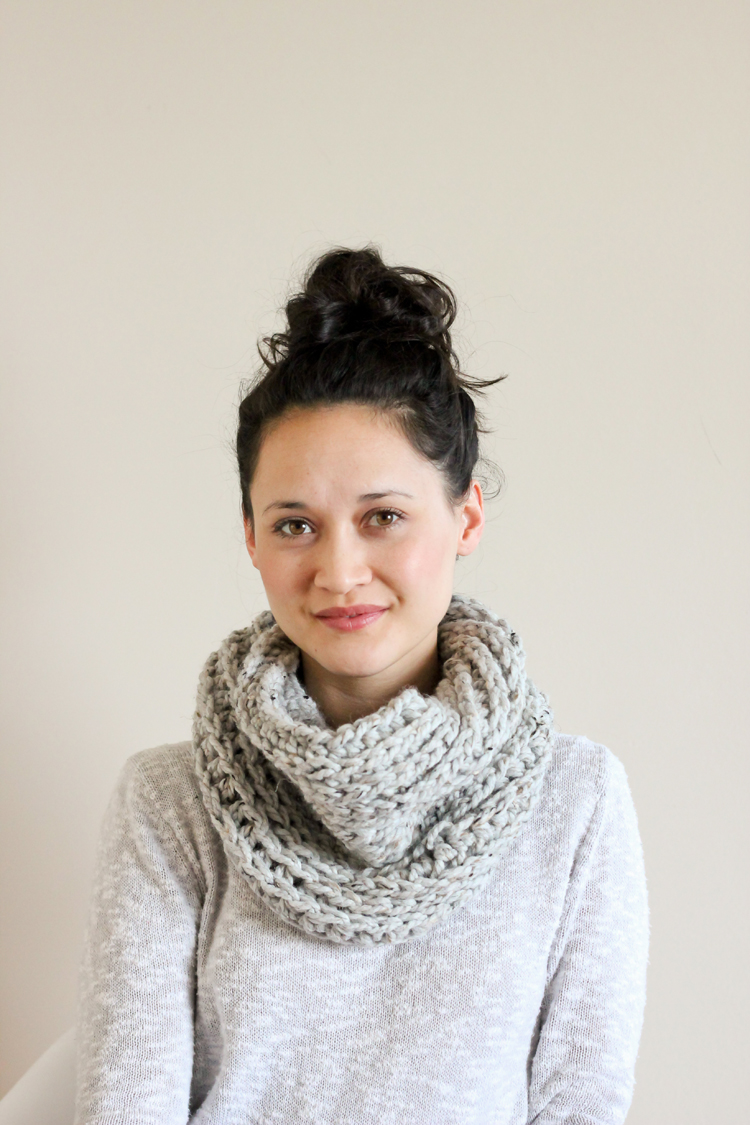 I don’t know if you have noticed, but the scarves are getting incrementally more complicated as Scarf Week continues. We started with a fast, chunky infinity scarf great for beginners, a simple fur cowl made from all hdc stitches, and now a slightly more challenging (but still super simple and easy) camel stitched cowl. Come back tomorrow to see how I throw in some color changes and a different variation to this camel stitch!


I like this – thank you for the how-to.
I love the look of knit stitches too… this is an interesting way to get that look! Thanks for sharing. =)
Thanks Charity! I wish I had shown it better, but the stitches on the inside totally look perled. It’s really fun.
Super Excited to start on this scarf tonight! Thank you for sharing your creativity with us ☺
Thank you Veronica! Enjoy!
I love this pattern, thank you so much for the how to. I wanted to ask if you could post how wide the scarf is in inches? I am working the pattern in a bulky yarn instead of a super bulky and would like to know how many chains to do.
Sure! It’s about 32 inches around and 11 inches tall, when blocked. I hope that helps!
How do you get the seam to be straight? Mine keeps wandering.
Hi Kristan. Good question! It’s actually quite normal for it to wander. I try to catch the outside loop at the end of a row and I tend to chain one fewer than is traditionally accepted. These two things help me keep a straighter seam, as well as disguise the seam better, depending on which stitch I am using (not this one). I hope that helps? I would also count my stitches to double check that I am not letting the work grow and shrink as I go. That could affect the seaming as well.
Please let me know if you have any more questions.
Delia 🙂
Nice pattern. Can you explain or show a video of you weaving in the end tail of the yarn?
Thanks Joy! I am so sorry, but I don’t have any videos at this time. I am sure if you do a quick google or youtube search you’ll find one though. Sorry to not be of more help. Good luck!
For the foundation chain. I chained 45, now I’m confused about if I slip stitch in the first chain in the 45 or if I’m supposed to slip stitch across each 45 to get to the first chain.
Please explain. Thanks
Joy,
No problem. Sorry for the confusion. You want to slip stitch right into the first chain so that you are making a loop or a circle. I hope that helps. I tried to illustrate this in the pictures as well if that helps? Let me know if you have any more questions.
Delia
Thank you for replying to me really fast and clarifying my question about where to slip stitch at in the beginning.
Once I figured it out I was so happy. Once I finish I’ll link the picture to you.
No problem. I’m happy to help! I can’t wait to see it! <3
Hi!
I just finished the 45 chains with a super bulky 6 yarn, and it won’t fit over my head. Is it supposed to be like this? I know I have a large head, honestly, but I’m wondering if there’s something I can do to fix it.
Thanks!
Kim,
Sorry you’re running into trouble. It may be that your chain has been worked too tight. Even if you have a larger head, it should be able to fit over your head with plenty of room. I would love to help you troubleshoot…How long is your chain?
Delia
Thank you for sharing this pattern. I made one in chunky yarn and with a 9mm hook . It came out beautifully using the dimensions you gave of 32 inches and 11 inches. I love it.
Oh awesome! I am so glad you like the pattern!
I love the look of this cowl! I am trying to make this for my best friend, a man of smaller frame / excellent sense of style. I’m trying to make sure I get the measurements just right — but I cannot seem to get the correct gauge. I went up a hook size (P) to try and get a larger gauge, but still getting about 3.5 stitches / rows for each 2in x 2in square (my stitch gauge size). I know you said that the piece is 32 inches around .. according to my tape measure, I’m only getting about 27 inches around. I usually have a pretty tight stitch but I’ve been quite loose. Would you suggest I add more stitches to my foundation chain? My worry is that the piece will be too large and will look odd. Suggestions welcome! Thank you!
I love your blog by the way — your double crochet infinity scarf is one of my favorite scarf patterns! 🙂
Hmmm… Good question Kelly! So, sometimes yarns are listed as a certain weight but they are thinner than other yarns in the same weight category. It should be more consistent industry wide, but it isn’t always. I wonder if that is what is causing issues this time? You can fix this several ways…go up another hook size, or like you mentioned, add more stitches to your foundation chain. This will take some guess work from you if you don’t mind it. A little tip… it doesn’t take much to add a few inches (less than you would think), so you’ll likely need to add only a few chains. One other thought…are you measuring the chain or after you have crocheted a few rows? If you are just measuring the chain, are you stretching it a little bit as you measure? As you work into the chain, it will naturally stretch a little bit, so the best way to get an accurate measurement is to work a few rows first. I hope that helps! Let me know if you have any more questions.
Currently working on the scarf and love it so far, question? How much length do you gain by blocking? Have never blocked anything and just finding out its a must!
You gain just a few inches but it definitely makes it look and drape better when you’re done! 🙂
Hi! Thanks for sharing this pattern, I just used it to make a cowl and a pair of fingerless gloves, I’ve blogged them here: http://creativechaosart.blogspot.co.uk/2016/01/fluffy-cowl-and-mittens.html
Helen x
Oh cute! Love it!
I want to make it a little bigger any tips.
Sure! Just increase the number of chains to the length you want before joining in a loop. Then increase the other stitches to match. If you want it taller/wider instead of longer, then you simply add more rows. I hope that helps!
Thank you so much for sharing this pattern. It has quickly become my favorite go to cowl pattern. I have made several for myself and for family. I absolutely love it. It is such an easy pattern and works up so quickly and looks gorgeous ?
That makes me so happy! Thank you Laura. Happy holidays! <3
I had to jump up to a Q17-15.75mm crochet hook to get the correct gauge. I must be a pretty tight crocheter! Where did you get your adorable crochet hook with the wooden handle and stars??
You might be! 🙂 That means you probably have really consistent work though.
I got the hook from I think….Michaels? or Joanns? I then burned the wood design with my wood burn tool.
Done! And totally pleased? Thanks for this pattern!!!!
You’re welcome! I am so happy you enjoyed the pattern! <3
I love the look of this scarf! Going to order some yarn (I only seem to have DK/worsted for some reason!) and have a go. Would you mind if I maybe made and sold some?
Of course! I love to support fellow small businesses. My terms are that you can sell anything you make from my patterns (free or not), as long as they are for a small, home-based business. I just ask for a link or pattern credit when that’s possible. Good luck! <3
just found the link to your pattern from megmadewithlove and want to make this cowl. I searched allaboutami website for the camel stitch but did not find any info so I will search youtube for videos. I love cowls and will be trying this pattern this winter.
Oh darn! Sorry about this. Try this link: http://www.allaboutami.com/tripleluxecowl/
Is it supposed to be twisted? Somehow I’m on row 3 and my tube is twisted… I can’t tell if that was supposed to happen or if I made a mistake when connecting the rounds. I guess it could technically end up looking ok, but wondering if that is how its supposed to be. Thanks 🙂
Hi Leah! Good question. It shouldn’t be twisted. It may be that it was twisted when you connected the ends. And yes, you’re right. Having it twist would still look pretty cool. If you want it untwisted though, frogging (pulling it out and starting again) is your best bet.
I tried to access the camel stitch mentioned & it says the site is Unavailable !!
Oh dear. I’m sorry that link is broken. I will update it. This beanie pattern uses the same stitch: https://www.deliacreates.com/classic-ribbed-crochet-beanie/
It includes a video tutorial. If you have additional questions, you can direct message me on instagram (@deliacreates) and I’d be happy to help you troubleshoot.