Knit pencil skirts are one of my favorite wardrobe staples. They give off a put together vibe but are super comfy at the same time.
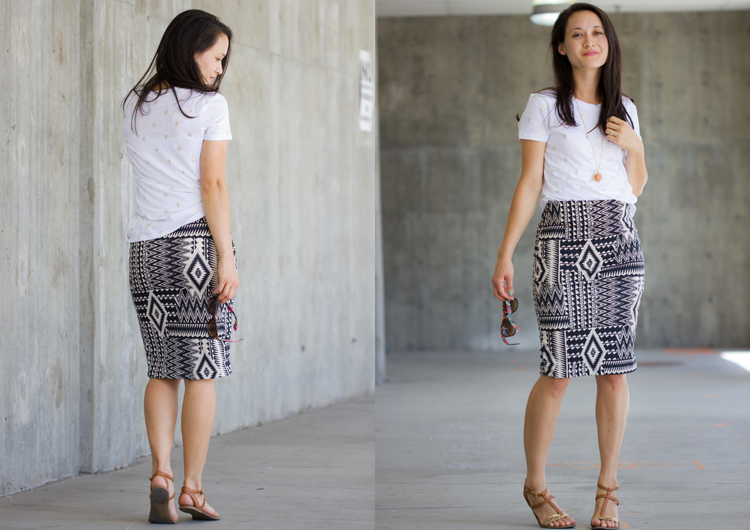 Like…when I feel like wearing sweat pants, but I know I’m going somewhere, I wear a knit pencil instead. They are SO comfy!
To kick things off for my Pleated Pencil Skirt Re-Mix Tour, I decided the knit pencil version was a good place to start.
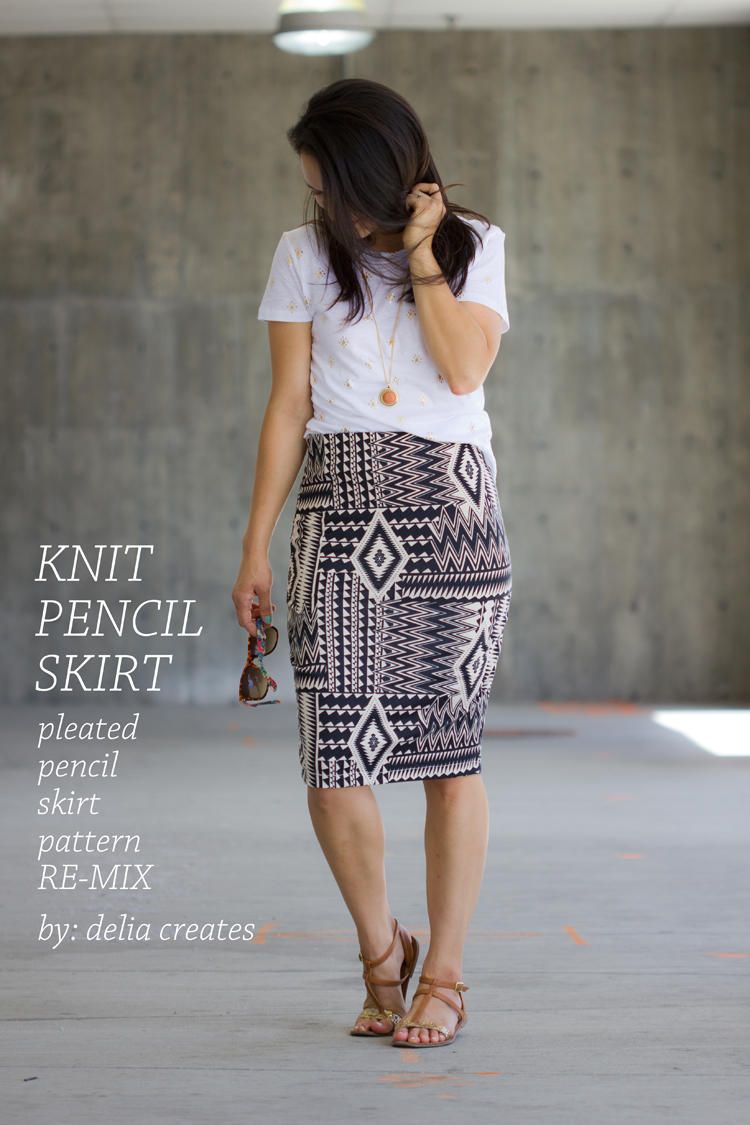 Now…I have shared a knit pencil skirt tutorial before. This one is similar, but different. The main difference being that you use my Pleated Pencil Skirt Pattern to get a more flattering shape for the skirt.
Let’s get started…
Materials:
Mid to Heavy weight knit fabric – 3/4 yard for all sizes* 2 inch wide elastic – your waist measurement + 1 inch stretch/ball point/jersey needle** matching thread basic sewing supplies/machine Pleated Pencil Skirt Pattern*Fabric Notes: This skirt looks best when sewn with mid to heavy weight knit fabric that has about 25% stretch or more. Light weight knits or knits with a lot of drape are not recommended.
**Needle: When you use a stretch, ball point, or jersey needle, which are designed for sewing with knit fabric, you will have a stronger, smoother seam. A universal needle has a tendency to skip stitches when used with knit fabric.
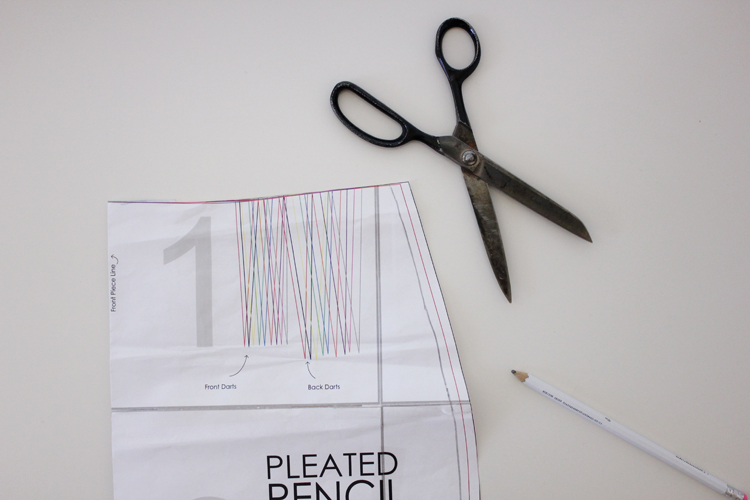 FIRST, modify the Pleated Pencil Skirt Pattern.
Because knit stretches and the pattern was designed for woven fabric, which doesn’t stretch, you need to remove some width from the pattern. If you choose not to do this, you will end up with a looser fitting skirt that produces an almost A-line shape, not a pencil shape. It will also likely slink down to your hips.
Now to decide how much to remove…
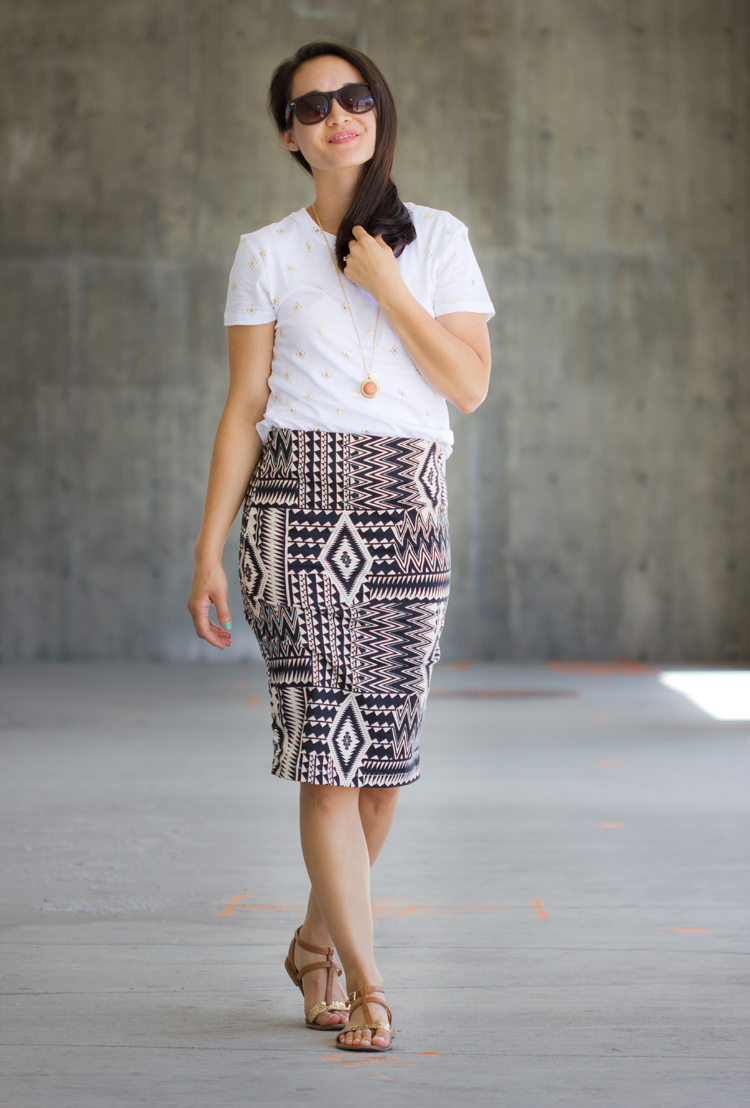
If you go down two sizes, or remove 1/2 inch from the outer curve of the pattern piece (as pictured above), you will end up with a slim pencil skirt that is still a bit loose fitting. If you want a skirt that fits slimmer, like the one I am wearing in the pictures in this post, you will need to remove about 1 inch from the outer curve.
To achieve a more dramatic pencil skirt shape, I also eased the curve in even more from the hip to the legs (pictured below).
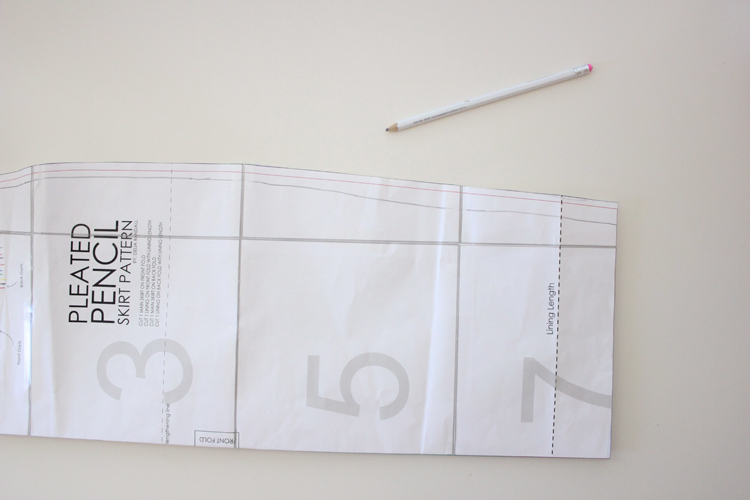 This picture shows the amount you should slant it inward if you are removing only 1/2 inch from the pattern piece, which is about 1 inch. If you are removing 1 inch from the pattern piece, the leg slant should end up about 1 1/2 inch inward from the outer curve.
SECOND, cut your skirt fabric.
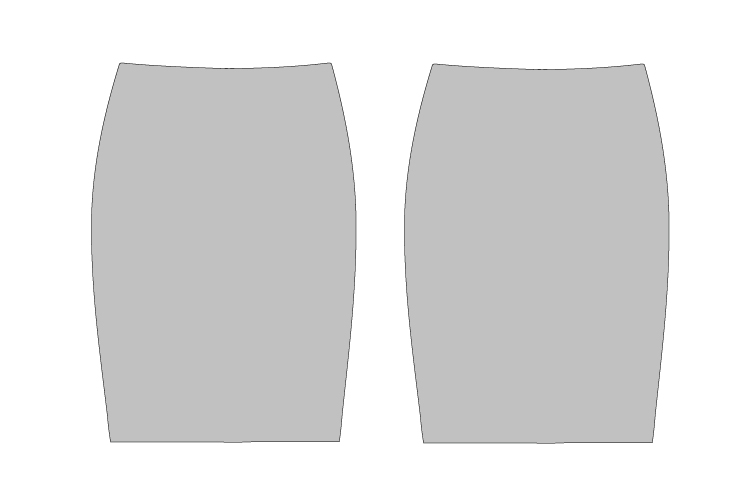 Now, that your pattern piece is ready. Cut TWO identical skirt pieces on the fold, from the “Front Fold” line. We are omitting the back pleat for this skirt altogether.
THIRD, sew the skirt pieces together with a 1/2 inch seam allowance.
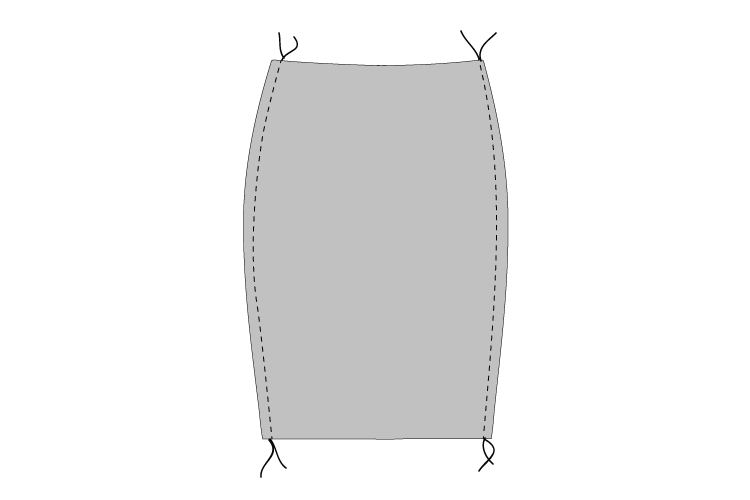 With right sides facing, sew the two skirt pieces together at the sides.
You can use a narrow zig zag stitch, or a modified stretch stitch (which is what I used). A stretch stitch on your machine may look like a lightening bolt rather than a zig zag and when sewn it alllmost looks like a straight stitch. Because knit does not fray, you may leave the seam raw or serge it with an overlock stitch.
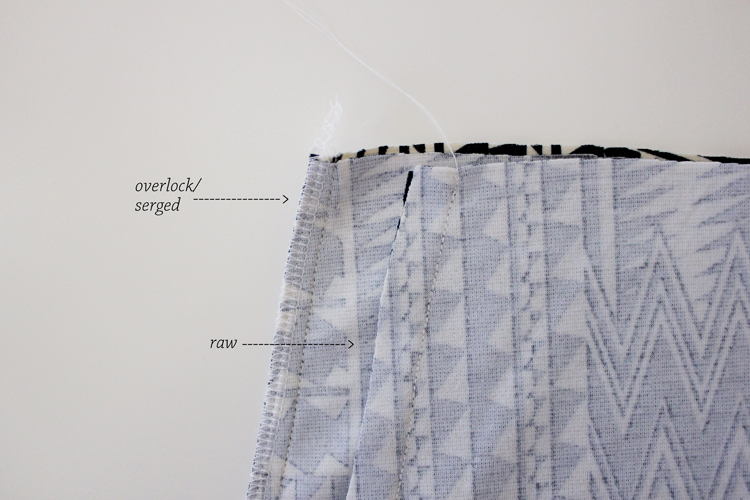 FOURTH, sew elastic waistband.
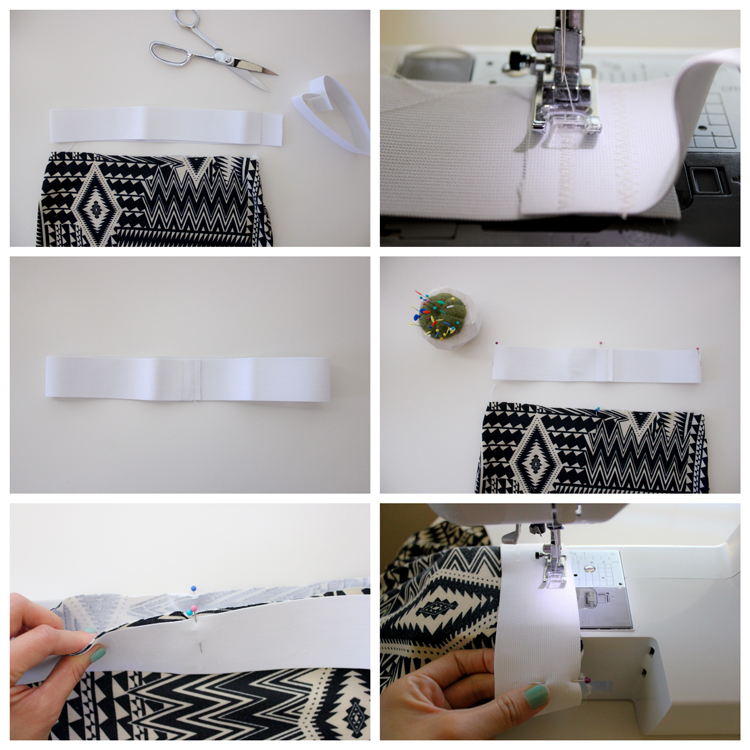 – Cut a piece of 2 inch elastic about 1 inch longer than the width of the waist of the sewn skirt.
– Over lap the ends of the elastic about 1 inch, creating a loop. With a wide zig zag stitch, sew the overlapping ends together. I prefer to sew down the height of the elastic and then back stitch back to the top, move my presser foot over, and then do it again.
– Mark the elastic band at equidistant points with pins: the sides, and the middle of the front and back; the overlapping elastic being the back. Mark the skirt in the same manner.
– Matching up the pins, pin the elastic waistband to the skirt. Make sure the skirt is right sides out and that the elastic band is pinned around the outside of the waist. The elastic band is not much smaller than the skirt, but knit tends to stretch as you sew. The matched pins will ensure that everything stays lined up as it’s supposed to.
– Sew the elastic waistband to the skirt using a wide zig zag stitch. Gently and slightly pull the skirt taut as you sew with a 1/2 inch seam allowance.
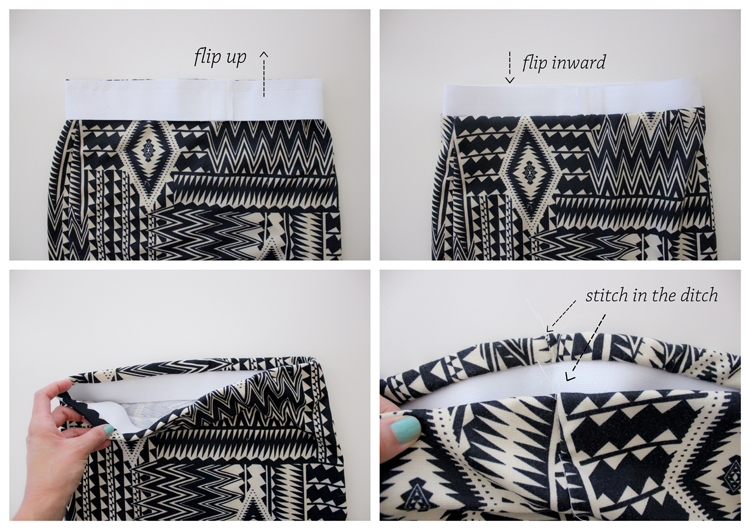 – Now that the waistband is sewn to the skirt, flip it up.
– Then, flip it down again into the inside of the skirt.
– Stitch in the seam (also called stitching in the ditch) to secure the waistband and to keep it from flipping up. I used a modified stretch stitch for this.
Try the skirt on and make sure it is the length you want.
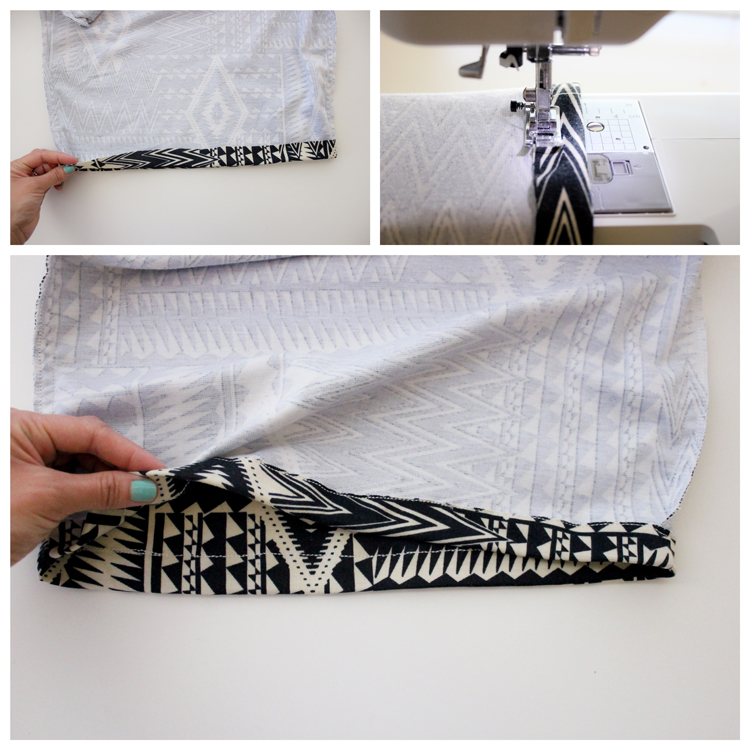
Then iron the hem under 1 inch, and stretch stitch right close to the edge of the flipped under hem.
If you have a cover stitch machine, use it here. For an even cleaner hem, fold the bottom edge under 1/2 inch and then again another 1/2 inch. Top stitch in place with a stretch stitch of your choice.
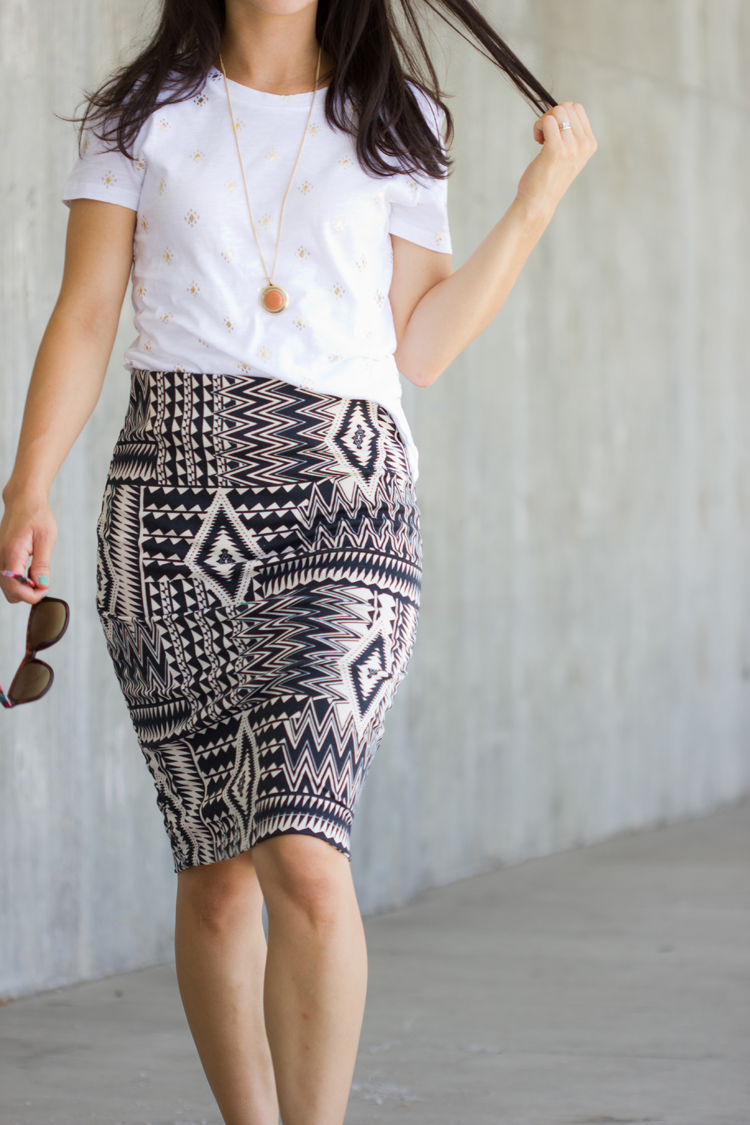 This skirt is fast, so easy, and it takes such a small amount of fabric for a women’s pattern. Gotta love that!
I honestly wear these skirts all the time too. I have three knit pencils now, this one and two of which I made months ago ( I instagrammed about them a few times @deliacreates).
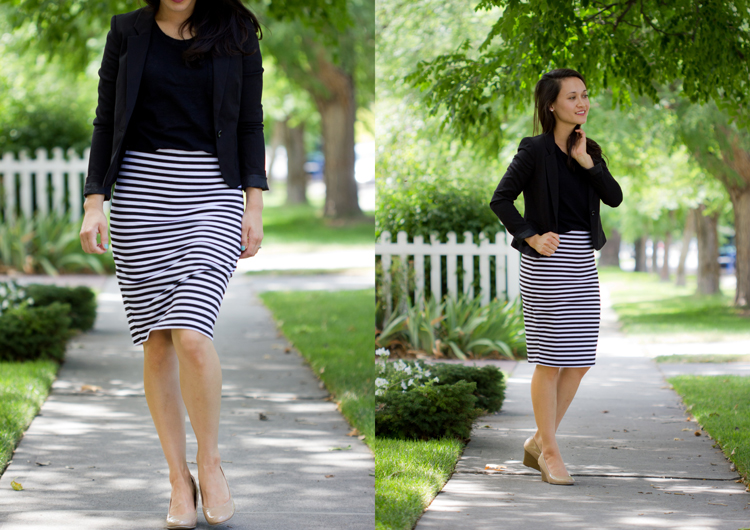
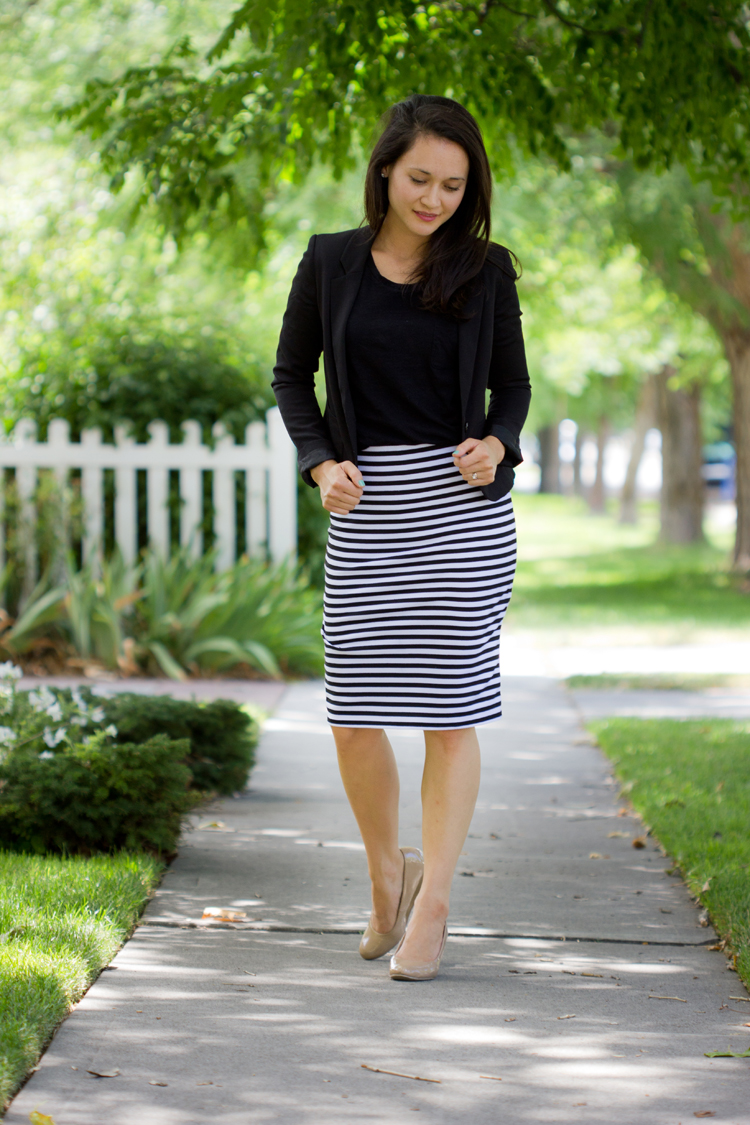 There is this black and white stripe and another green and cream stripe version which you will see pop up in future posts.
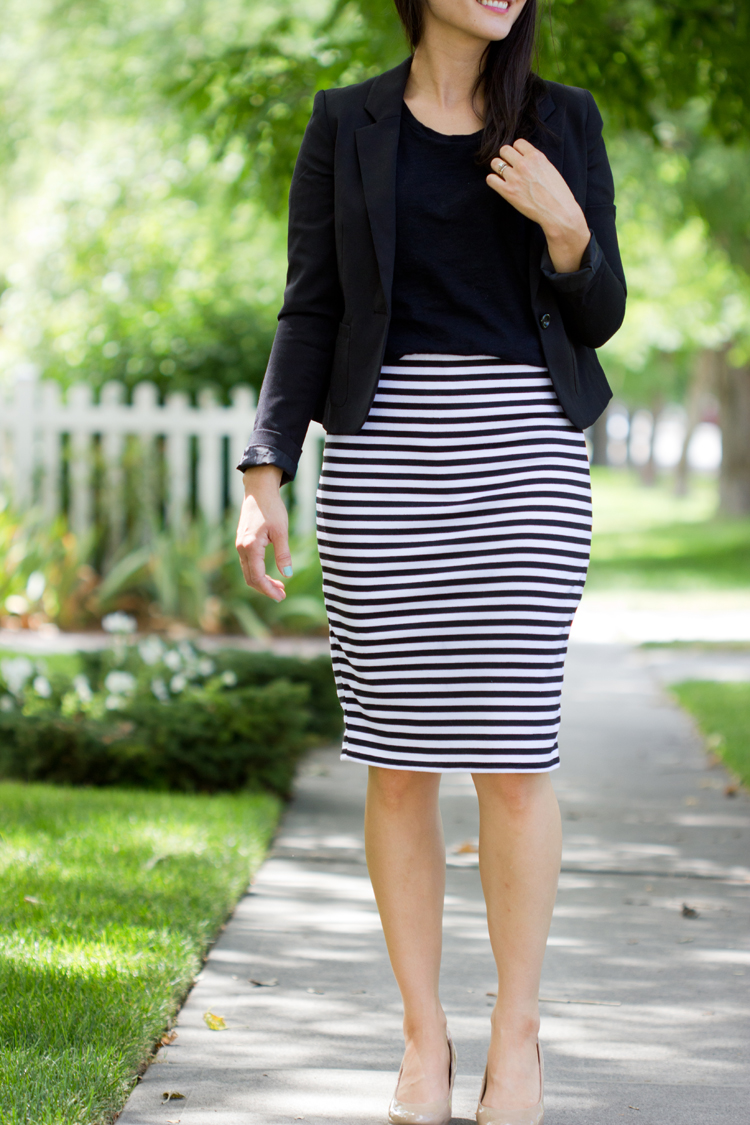 I love how easy they are to dress up and down…
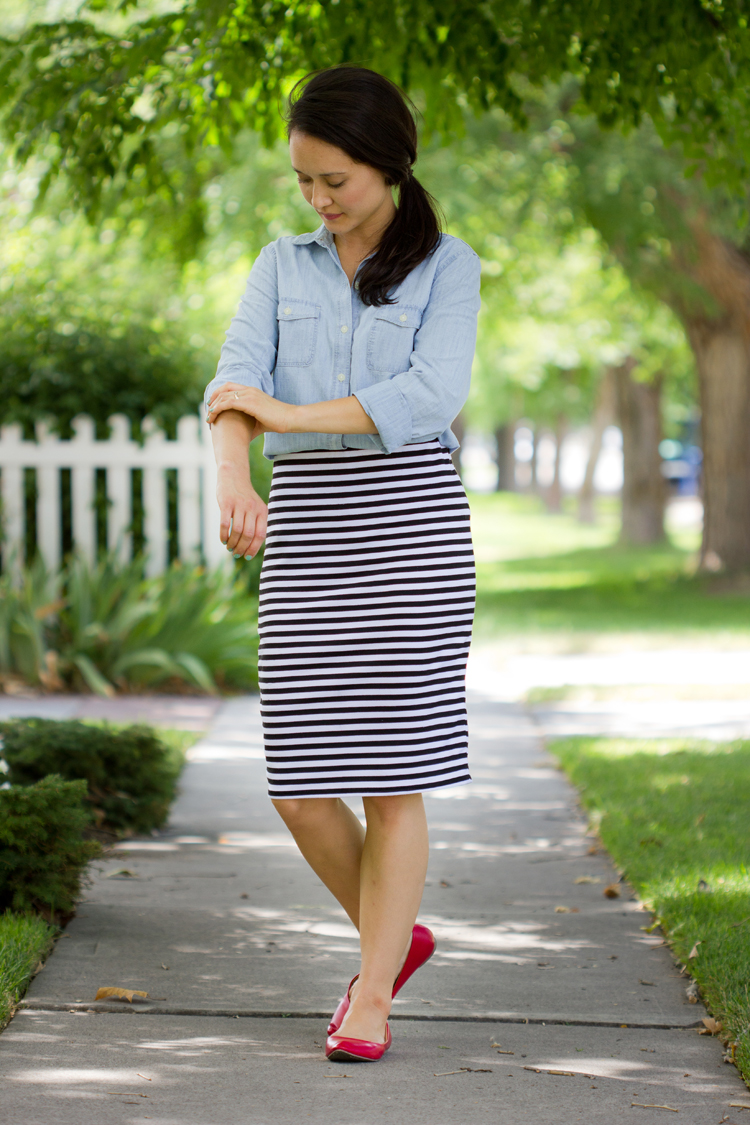
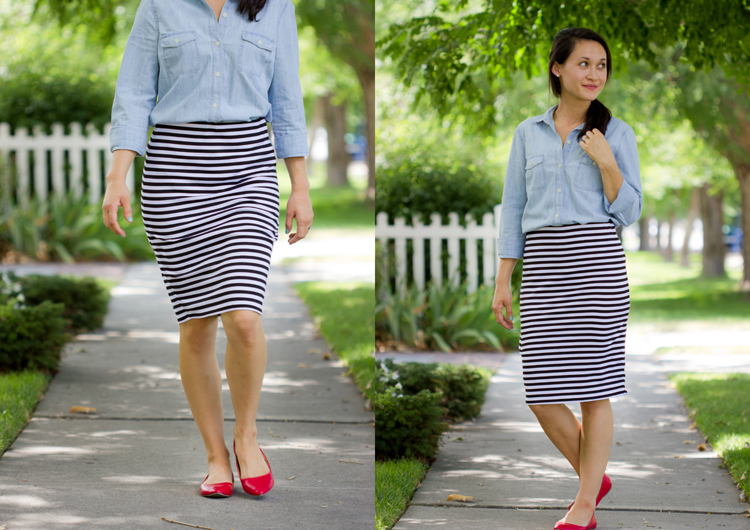
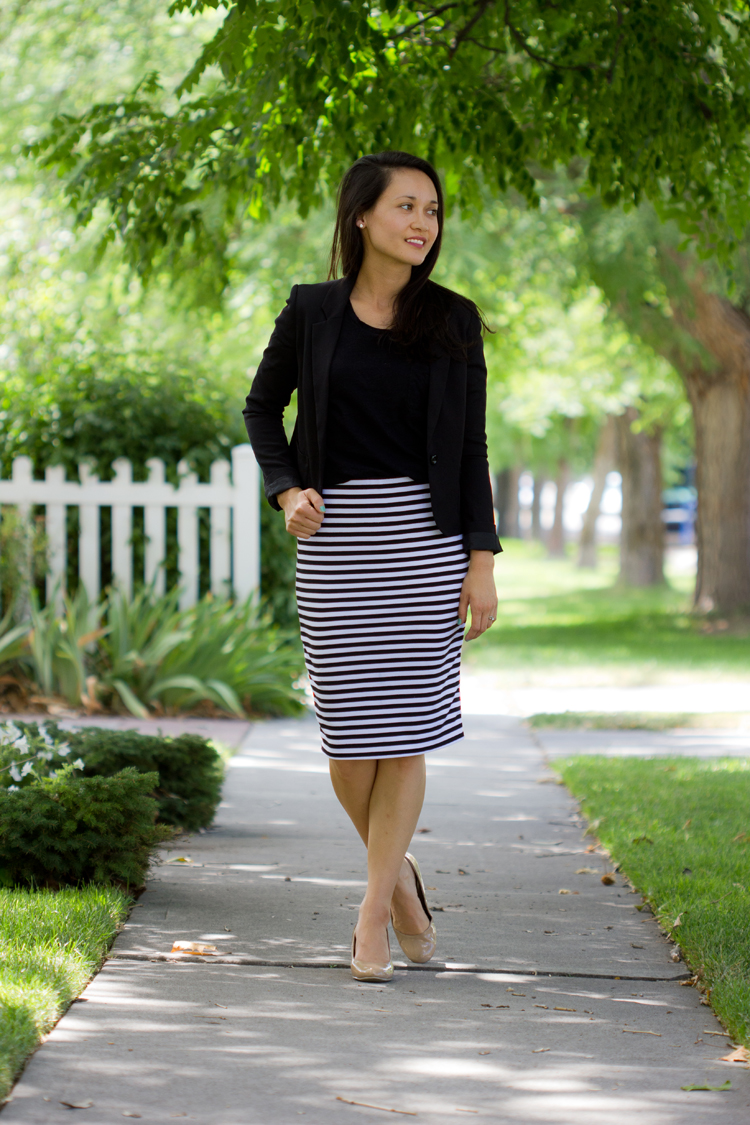 They are versatile enough to flow into every season as well. I know I will be adding tights, boots, and sweaters to these skirts in the colder months.
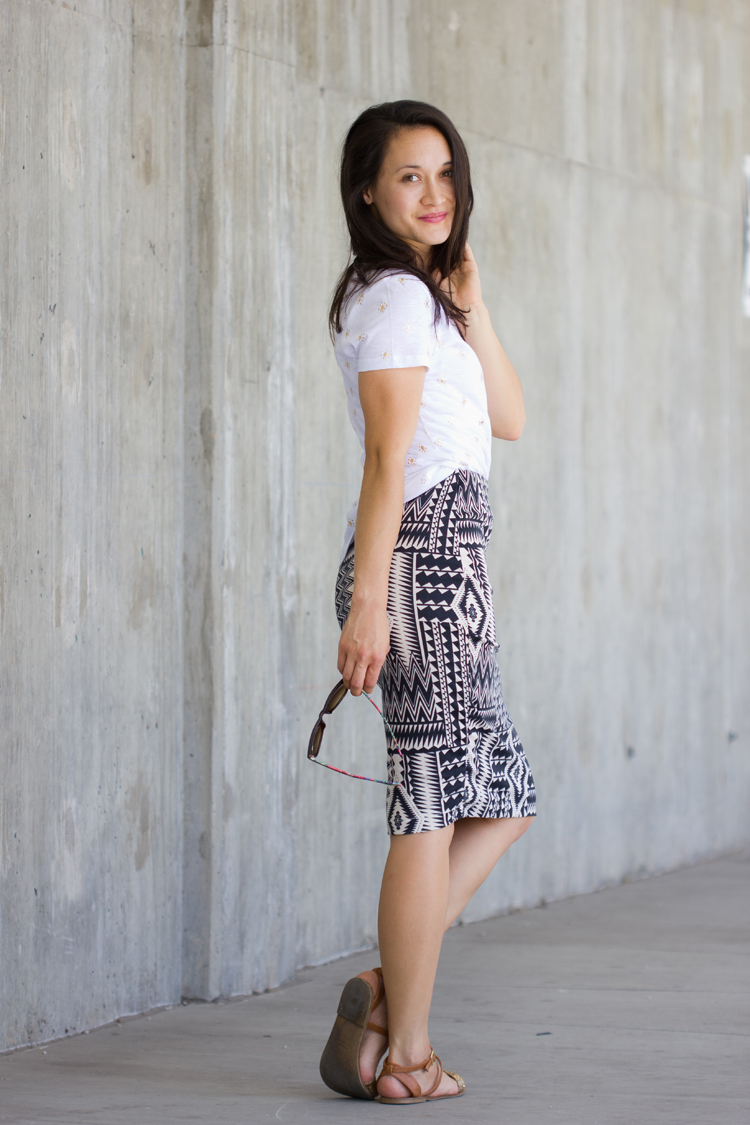 Sources: All knit is Ponte De Roma from Girl Charlee || white and gold shirt and necklace, denim shirt – Old Navy || tan and gold gladiator sandals – Forever 21 (last year) || black tee and black blazer – H&M || red pointy ballet flats – Head Over Heels


simply adorable! and those pictures of you are amazing!
aw. Thanks Christina!
I recently made myself a knit pencil skirt, and love it for the same reasons you do–so comfy and still put together! You look fabulous!
I have been trying to come up with how I would make your pattern with a knit. This is much easier than what I was going to do!!! Can’t wait to make one. Thanks so much!
You are most welcome! It’s honestly a toss up, which version I love more…the knit or the original! 🙂
Thank you so much for posting this. I’ve been working on making skirts for the Skirting the Issue project and couldn’t figure out what pattern or style to use for the teenage sizes. A knit pencil skirt in the smaller sizes of your pattern would be perfect. I really appreciate the inspiration.
You are so right! It takes so little fabric too, which makes them really inexpensive!
I love these types of skirts! I may have to give it a go, I’m a total newbie when it comes to sewing clothes! Eeek 🙂
You are super-stylish! I love the way the striped version looks.
Thank you so much Charity!
Love these knit skirts so much! I’ve never owned any kind of pencil skirts but they are definetely on my to do list now. Your pattern looks is absolutely perfect!
Do you know the name of the patterned fabric??? I love it.
Really excited to try a knit pencil skirt!
It is a tribal print but I do not remember the specific name. So sorry! I believe Girl Charlee is out of it anyway. They often bring back popular discontinued listings, so I would keep my eyes open for that.
I love this tutorial. One question I have though is about the darts. Do you just not sew them? And then the elastic pulls that extra fabric in?
Natalija,
Yes. Good question! There are no darts needed with the knit fabric. Because you jump down a size and with the elastic pulling the waist in, it all works out to a good fit. I hope that helps! Let me know if you have any more questions. I’m happy to help!
Delia
Great pattern, I can’t wait to try it.
I have a question about how you wear these…in the photo where you have the chambray top tucked in, how do you keep it from looking bulky underneath the skirt? Every time I try this, I end up with bunched up fabric that is really obvious.
Hi Tracy! Good question! So, for the fitted woven pencil skirts, it doesn’t show the tucked in bulge quite as easily as with the knit skirts. It also depends on the length of the chambray shirts. I have a couple chambray tops that I can never wear tucked into skirts because they’re too long and create too much bulk. If you do want to wear it with a knit pencil, then I recommend casually tucking in about half of the front and leaving the back and sides out. I hope that helps!