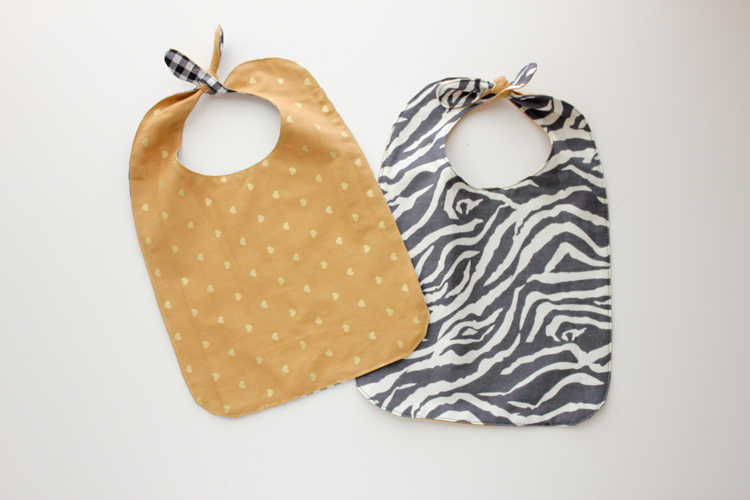
 Baby bibs are the perfect baby gift to sew. You can easily customize them with fabric choice and they are fast, fast, fast to sew (love that!).
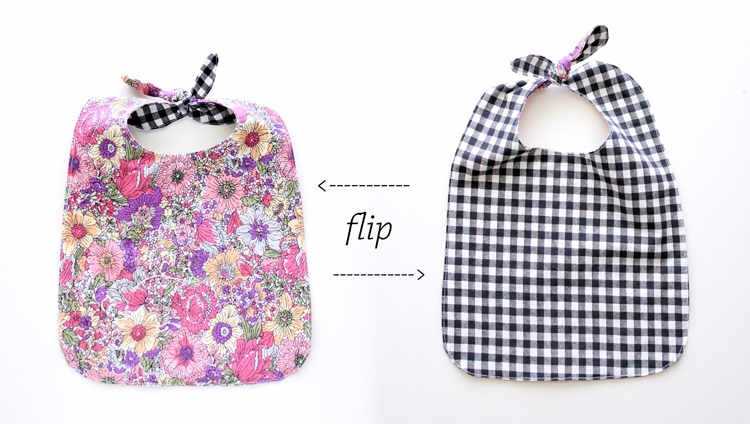
There are lots of versions out there and tons of possibilities. Make it double sided, add a pocket, add a snap, a button, velcro, or a knot! Or not….
You may remember my free Knot-knotted Cape pattern from last year. Well, this is the same concept.
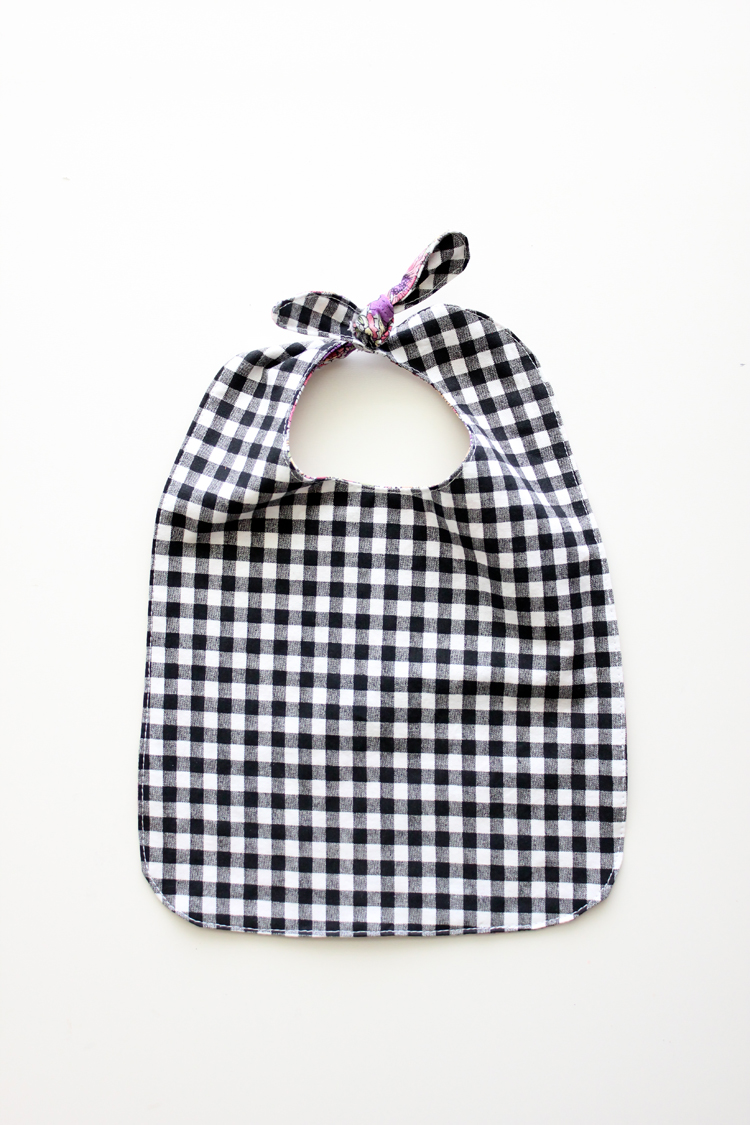
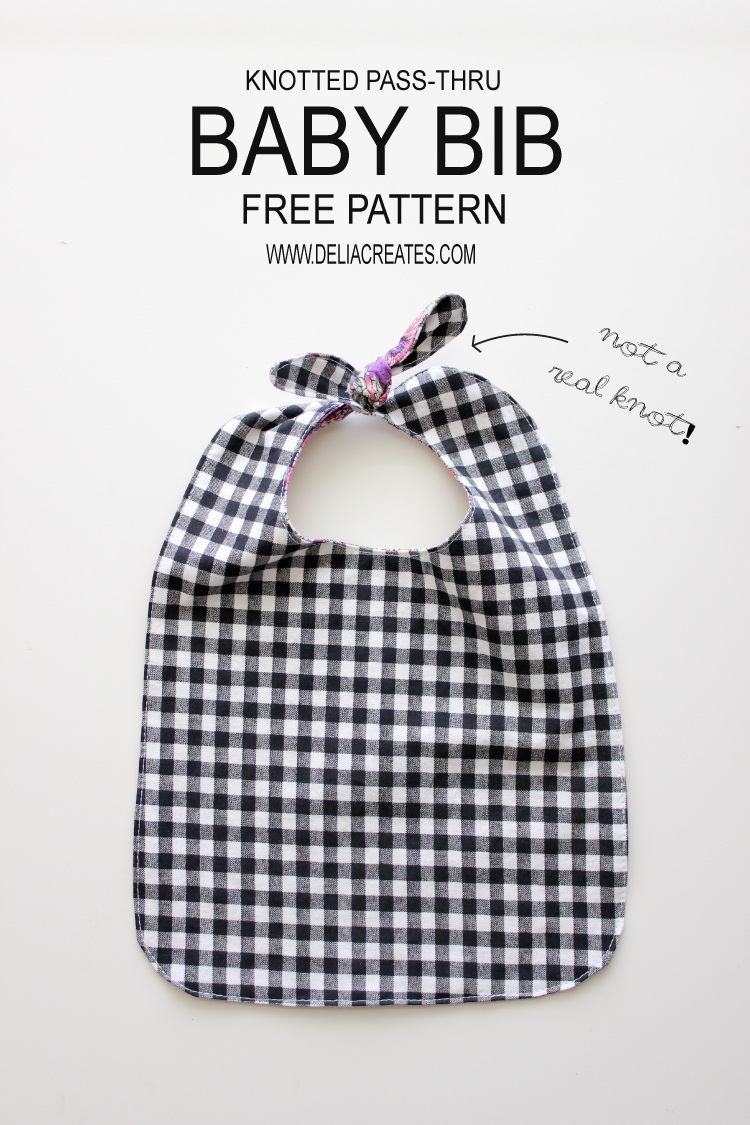
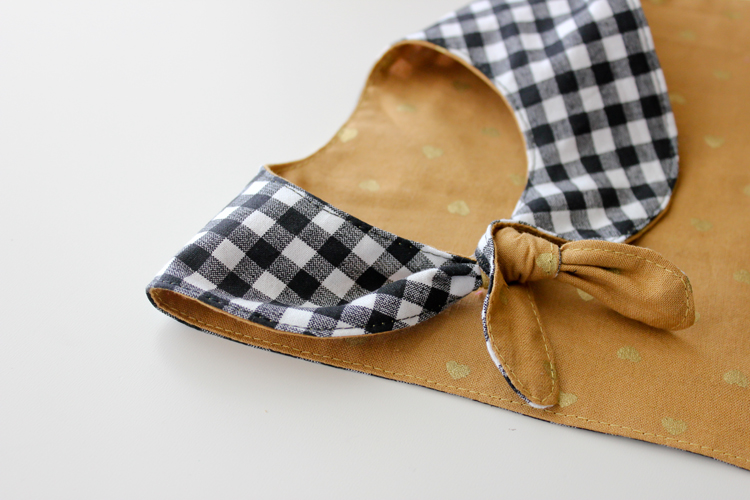
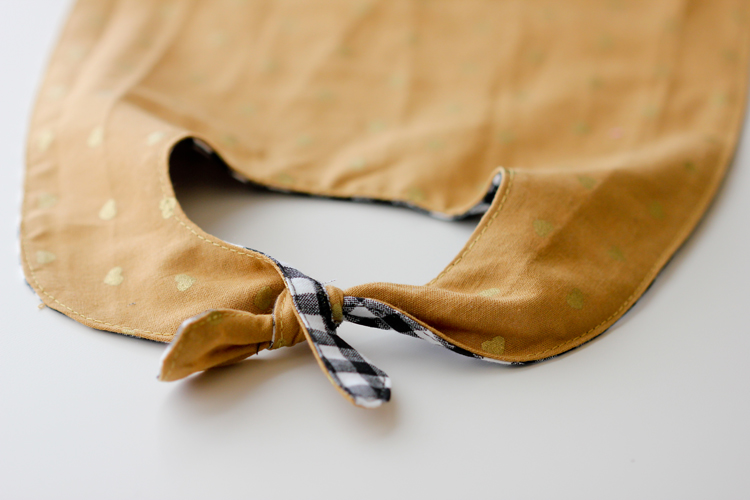 It’s looks knotted, but it’s just a knotted end that passes through a button hole.
>>>SEAM ALLOWANCE: 1/4 inch<<<
MATERIALS
Free Knotted Pass-Thru Baby Bib Pattern 1/4-1/3 yard quilter’s cotton, or a fat quarter – mix and match coordinating fabrics for a reversible look basic sewing supplies matching thread buttonhole foot for your sewing machineSTEP ONE: Prepare your paper pattern pieces.
a. Print your pattern on standard 8.5″ x 11″ or A4 paper. (GET PATTERN HERE)
b. Cut off the paper outside the gray border by cutting on the OUTSIDE edge of the gray border.
c. Match up pattern lines to form the bib. Tape all three pieces together. Cut the bib pattern out.
 STEP TWO: Cut fabric.
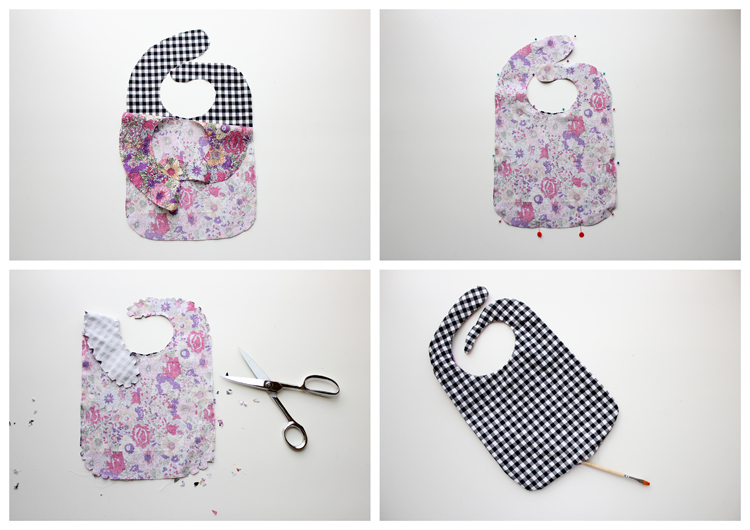
Cut two mirror pieces from desired fabric.
The pattern just barely fits 1/4 yard of fabric. To be safe you can ask for 10″ or 1/3 yard, or use a fat quarter. Remember quilter’s cotton will shrink a little after the initial washing and drying.
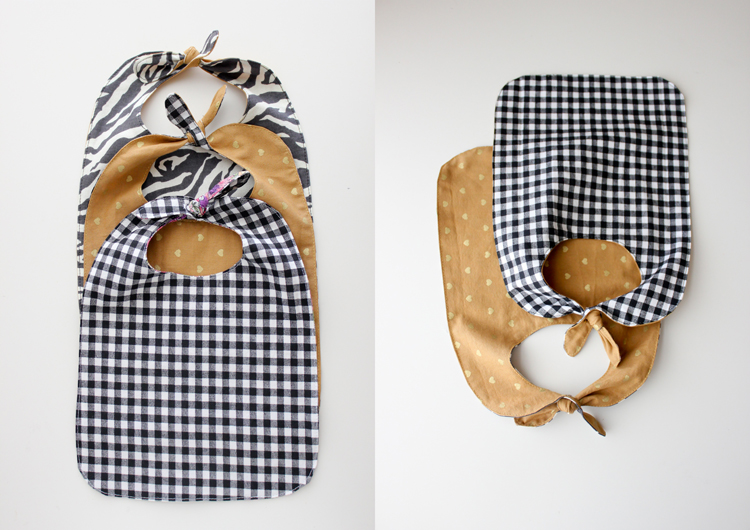
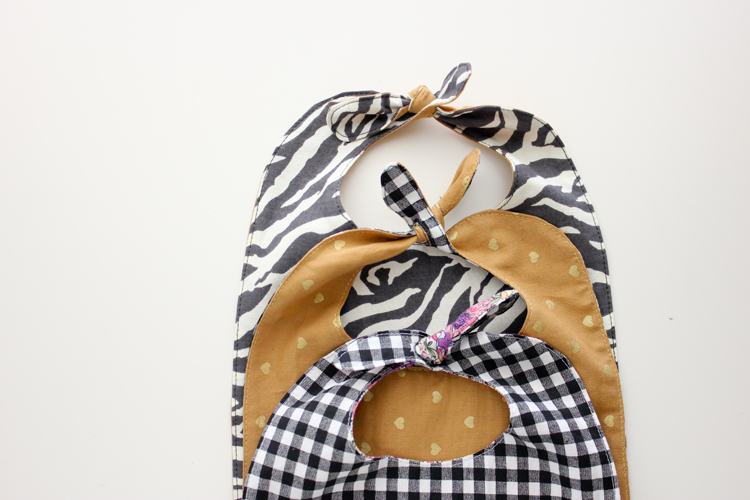
Grain doesn’t matter for this project, but if your fabric has a directional pattern, you will likely need to get 1/3 yard or a fat quarter. You can see on the yellow and gold hearts fabric that I probably could have gotten 1/3 yard so that my hearts would be vertical.
 STEP THREE: Sew bib together.
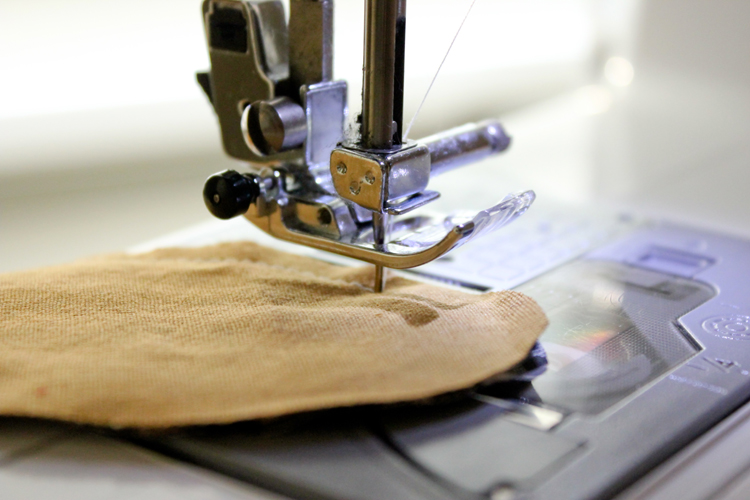
a. Sew around all raw edges of the bib except for a 3 inch opening at the bottom. There are quite a lot of tricky curves. Sew slowly and lift the presser foot often to make sure the fabric doesn’t bunch up as you turn. Make sure that you are using a 1/4″ seam allowance.
b. Clip the seam allowance of concave curves and notch convex curves. Be careful not to snip through any stitches.
c. Turn the bib right side out through the opening. Use a point turner, or the blunt end of a paintbrush or chopstick to turn all the curves out nice and neat.
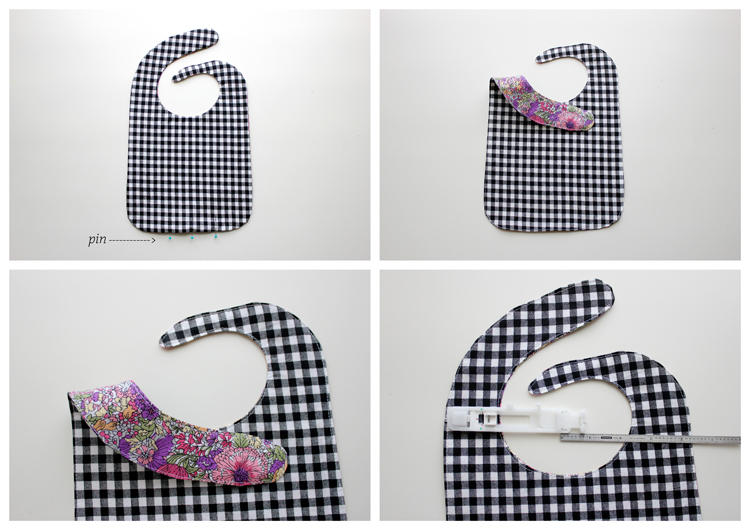 STEP FOUR: Top stitch bib.
a. Press the bib flat and in place. Fold under the raw edges of the opening and press them in place.
b. Pin opening closed.
c. Starting at the opening, top-stitch around the outer edge of the bib close to the edge, thus closing the opening at the same time. Sew slowly and lift the presser foot up often, to prevent bunching, as you did in Step Three.
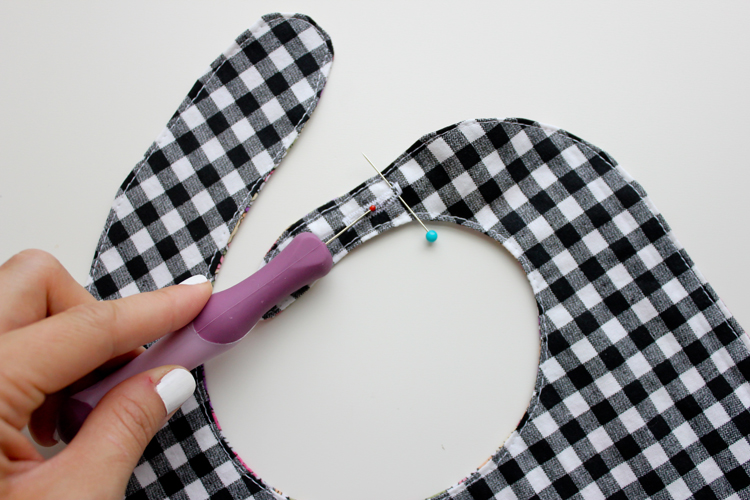 STEP FIVE: Sew buttonhole.
a. Using a button hole foot, open the button gauge up to about 3/4″-1″.
b. Mark the buttonhole placement, using the pattern as a guide.
c. Sew a button hole.
d. Place a pin at one end of the buttonhole. Using a seam ripper, or sharp scissors, carefully open up the inside of the buttonhole. The pin acts as a safety precaution to keep you from ripping through the sewn button hole. Apply fray check to the inside of the button hole if desired.
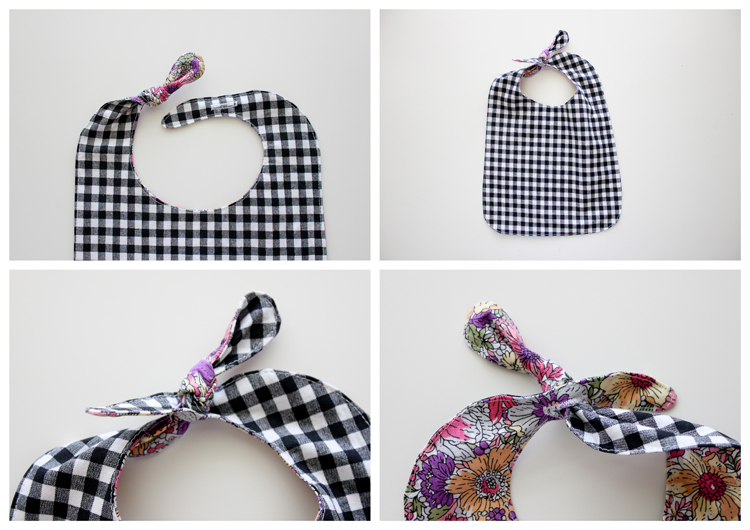 STEP SIX: Complete the bib.
a. Knot the other end of the bib that has no buttonhole.
b. Pass it through the buttonhole and voila!
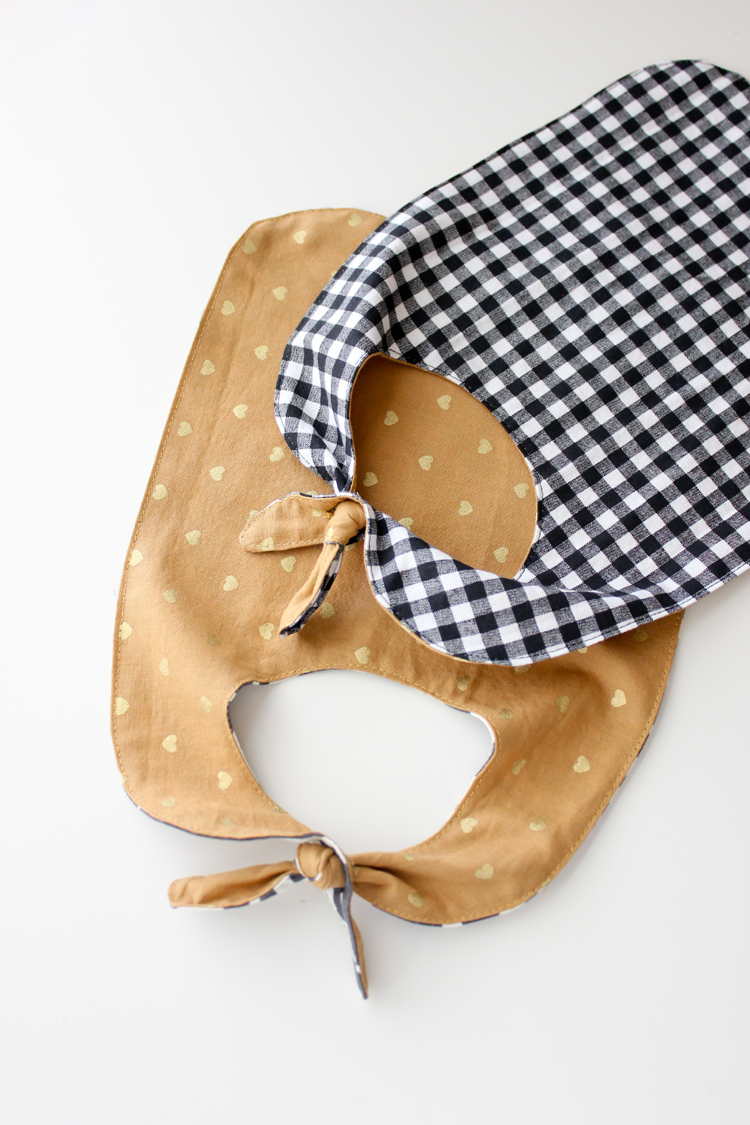 The buttonhole may be a little tight at first.
Make sure your knotted end is knotted very tightly. Then, pass the knot through the buttonhole several times to break it in. After that, you should be good as gold.
I like these bibs because they don’t require notions, so not only does this bib have no choking hazards but it reduces strangulation risks. If you tug on the knot it will stay, but if the weight of a child got caught on the bib, the not knotted ends would most likely come apart. Kind of cool huh?
Disclaimer: of course, this is not a guarantee, please supervise your children when wearing these bibs and when eating.
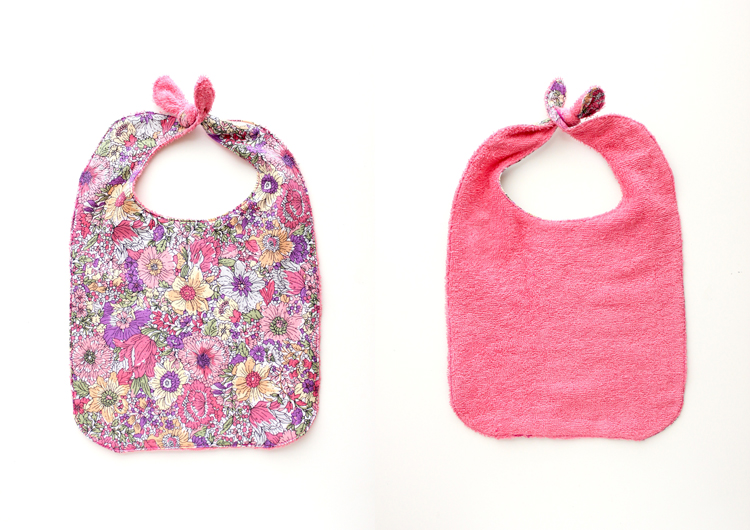 For kicks, I lined one of the bibs with some terry cloth. It is trickier to sew, but great for big messes.
 This post is part of the Jo-Ann Sew Your Style Contest, sponsored by Pellon.
 In honor of National Sewing Month, Jo-Ann is challenging you to create something innovative using quilting fabrics. Enter the contest and you just might win $1000! Whoo hoo! Click on the image or link above to learn how to enter. Be sure to link your projects up on social media as well, using the hashtag #sewyourstyle.
Need some blogger inspiration? A new blogger is sharing a quilter’s cotton project every day for the month of September. Check them out HERE.
**Disclaimer: This post was sponsored by Jo-Ann. The tutorial content and all opinions expressed are absolutely and enthusiastically my own. All fabrics used in this post are from Jo-Ann.


I love these, such a clever design w the knot! I also love that it’s reversible too. I can’t always get my two year old to wear one/keep one on half the time but I sometimes think that’s b/c they are getting too small. Does Natalie still wear one? I might have to give this one a go, thanks for sharing.
Thanks Nancy!
Natalie doesn’t wear them anymore but it’s because she doesn’t like it around her neck. I tried this bib on her (before she soundly ripped it off – ha!) and it still fits her pretty well. She’s really petite though. I would say this bib would fit most children up to about age 18 months.
What a great idea – thanks so much!
Thanks Kate!
I love it! I can see myself whipping up a few in a bandana print for my nephew 🙂
Is there any way you could possibly link to the fabrics you used? I love the gingham and the floral (looks like a Liberty print!)! 🙂 (Not for the nephew, haha. Well, maybe the gingham on one side, but I’d keep the floral for my daughter and me… not that boys can’t rock flowers!)
Thanks Kate! I tried doing a search online but came up empty for the floral and gold and yellow hearts. That doesn’t mean they aren’t there, but I may need to do a lot more digging to find a link. They are all current prints on the quilter’s cotton wall at your local Jo-Ann though. I don’t know if that helps? Sorry about that. When I have more time, I’ll try to look some more.
Oh gosh, thank you but please don’t worry about it! I wasn’t sure if you had ordered online or gone into the store 🙂 I’ll check out my local store – I need to get some quilt backing anyway! 😉 (And actually, I think I just bought some of the gold hearts on white!)
Love, love, love this! I’ve got a Craft Gossip post scheduled for tomorrow evening that links to your tutorial:
http://sewing.craftgossip.com/free-pattern-knotted-pass-through-baby-bib/2014/09/10/
–Anne
Thank you Anne!
Genius! Love it! Thanks for sharing.
Thanks Kerrie!
That is a great idea! And so cute!
Thanks Charity!
Terrycloth = pasta bib. Spaghetti sauce would go much better with something absorbent!
good thinking!
Cute! Fun idea! Never seen it with faux knots like that. Inventive!
Thanks for the pattern. I love your step by step tutorial, it looks so easy to do I want to try one.
Love this! I’ll be having a new niece and new nephew in the coming months and this will be a darling gift for the baby showers! I’ve been looking back through your archives to find all the baby friendly crafts and projects 🙂
I have been trying to download the baby bib pattern all day. Keeps saying “Whoops” !!
Love it and would like to make some…help!!
Hi Patti!
Sorry about the inconvenience. The pattern is hosted through google docs. It is not uncommon for a server to block google doc links. If you email me: [email protected] I can send you the pdf file.
Thanks for sharing this nice and easy pattern. I added “col Claudine” to it to make it more chic, if you want to see the result it is here http://sweet-a-porter.blogspot.co.uk/2015/03/bavoir-chic.html
It’s so lovely! Thank you for sharing a link!
Thanks Delia, the bib was easy and quick to make. I have one question though, what should the completed dimensions be for the bib? Mine came out to 71/4 inches wide and 63/4 inches long from the bottom of neck opening and it looks small! I fear my printer may have shrunk the pattern to fit the page. When I tried to reprint it, specifically telling the printer not to fit the page I lost the left side of the bib.
Mandy,
I don’t have a finished bib to measure right now, because I gifted all the ones I made, but that does sound too small. Can I ask if you are printing it in landscape? It should print in three pages. Let me know. I would love to help you trouble shoot! 🙂
Delia
Cute pattern! Wanting to use flannel, any comments as to how flannel works?
Thanks!
Great question. I think it would work just fine. It will feel a bit “sticky” or friction-y (for lack of a real word- ha!) when you pass the knot in and out, but it should’t be a problem. I imagine it would make a more absorbent bib actually!
Thank you so much for this nice tutorial!!
I have a question though, is the outline of the pattern the sewing line or does the pattern already include it?
Great question! The seam allowance is included, so the outline is the cut line. Sew with a 1/2 inch seam allowance. I hope that helps. <3
Instructions say 1/4″ seam. Just now you say 1/2″ ????????
Hi Bonnie. I looked for the typo which you mentioned and I am unable to find it. I would love it if you could help me find it so that I can fix it. If you’re just wondering what the correct seam allowance is, it’s 1/4 of an inch.
The error was in your comment, not the tutorial
You’re right! I usually answer the comments from my dashboard so I must have mixed up tutorials/comments. My apologies for the confusion.
Thank you so much for this original take on a bib. I can’t wait to try it. Great tutorial. Some toots are so wordy, and can lead to frustration. You made this sweet and short. I love it! You get right to the point. May God bless you and your family. ♡
Thanks Susan! So glad you found it helpful! <3
Thank you for the pattern and tutorial. This bib is adorable. I made two this week and was wondering about the size of the neck when completed. It seems very small. Are these for newborns only? Thanks again.
Great question! It is not for newborns but for a baby who is ready for solids. It may not be large enough for a baby who is about 12 months or older. Of course, babies can vary widely in size as well, so I should say that this should fit most babies younger than 1. Another factor that may be skewing the size of the bib is if it is scaled to fit when printing the paper pattern. Make sure the scale is 100% to ensure it is printing to the correct size.
I hope that helps. Please let me know if you have any more questions. 🙂
Thanks so much for the pattern! It worked super well in a pinch for my son’s 1st birthday party bib (Teddy bear picnic themed).
Oh! That makes me so happy! Happy birthday to your son.
Riley Blake had a free scallop bib pattern on her site from you. But the link is broken. Any chance I can get that from you? Thank u in advance.
Hi Elyse! I am so sorry but I don’t have that version of the pattern. You’ll have to reach out to Riley Blake. Best of luck!
Would it be possible for you to send me this pattern. I can’t seem to print it from Google drive.
Thanks so much! Looking forward to creating some of these!
Just sent you an email! 🙂