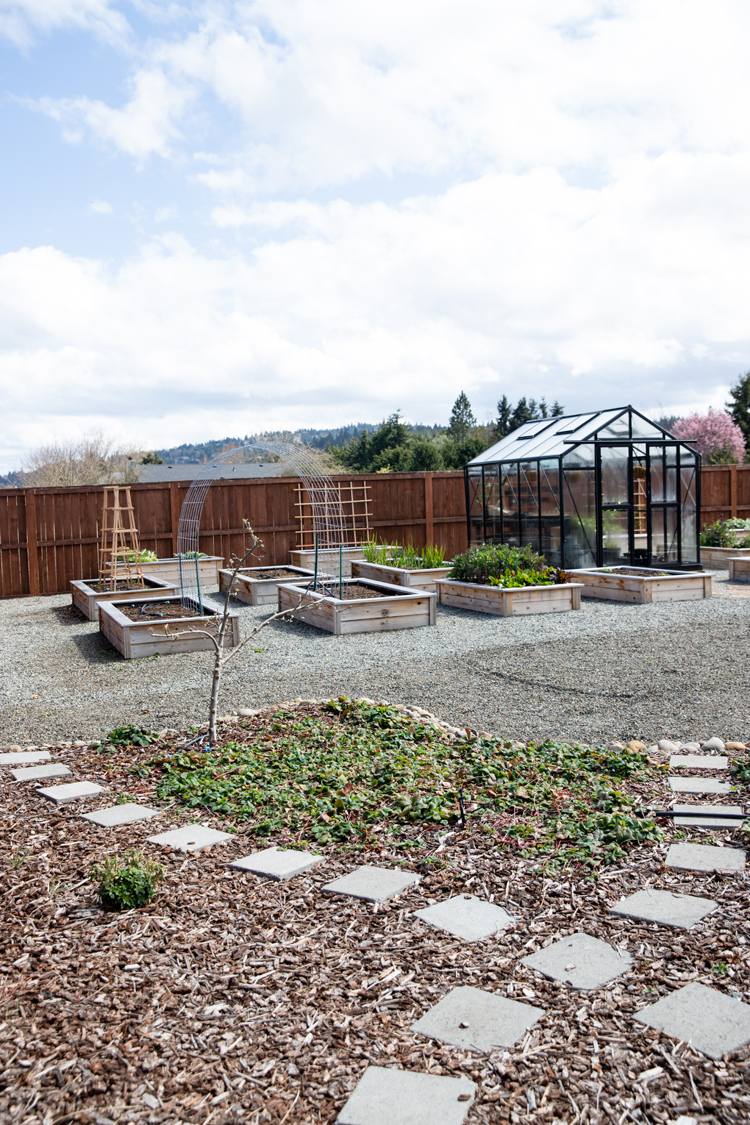
My garden has been waking up and so have my power tools!
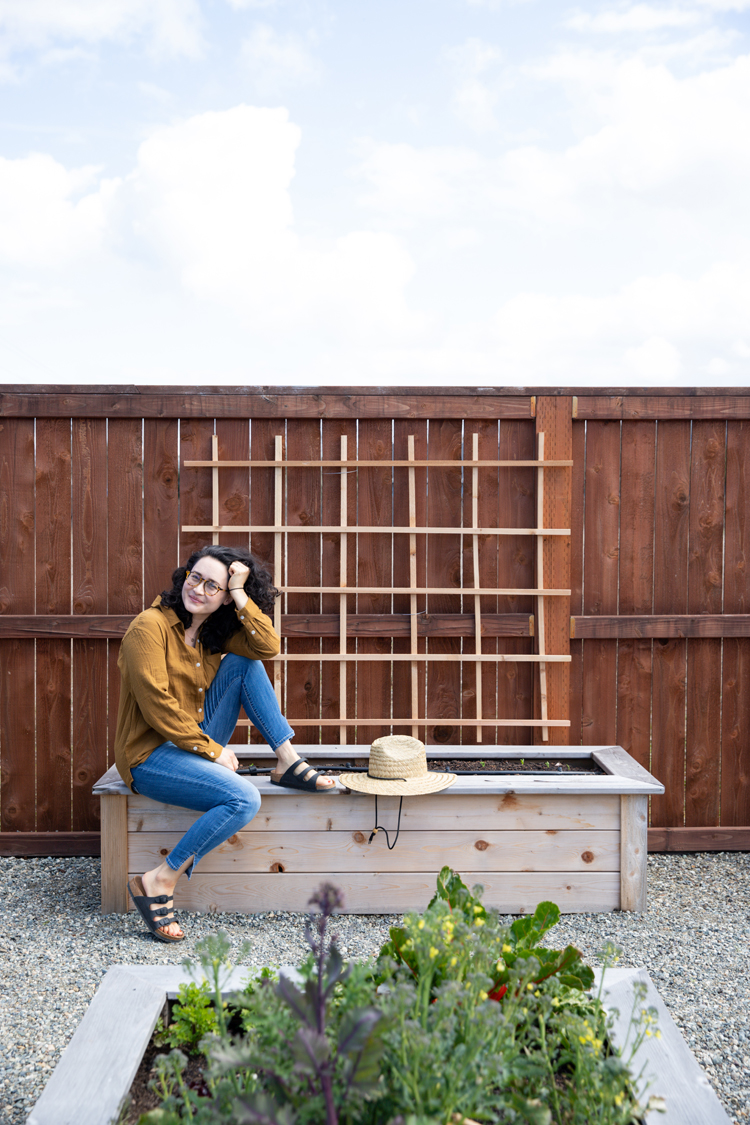
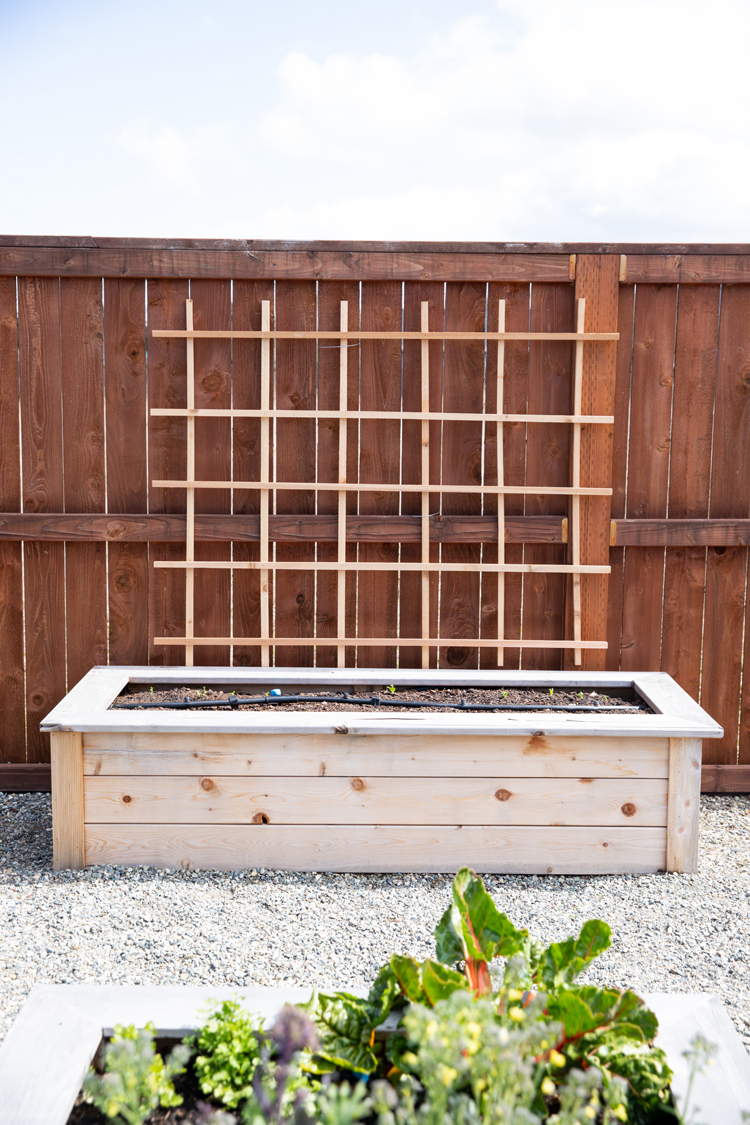
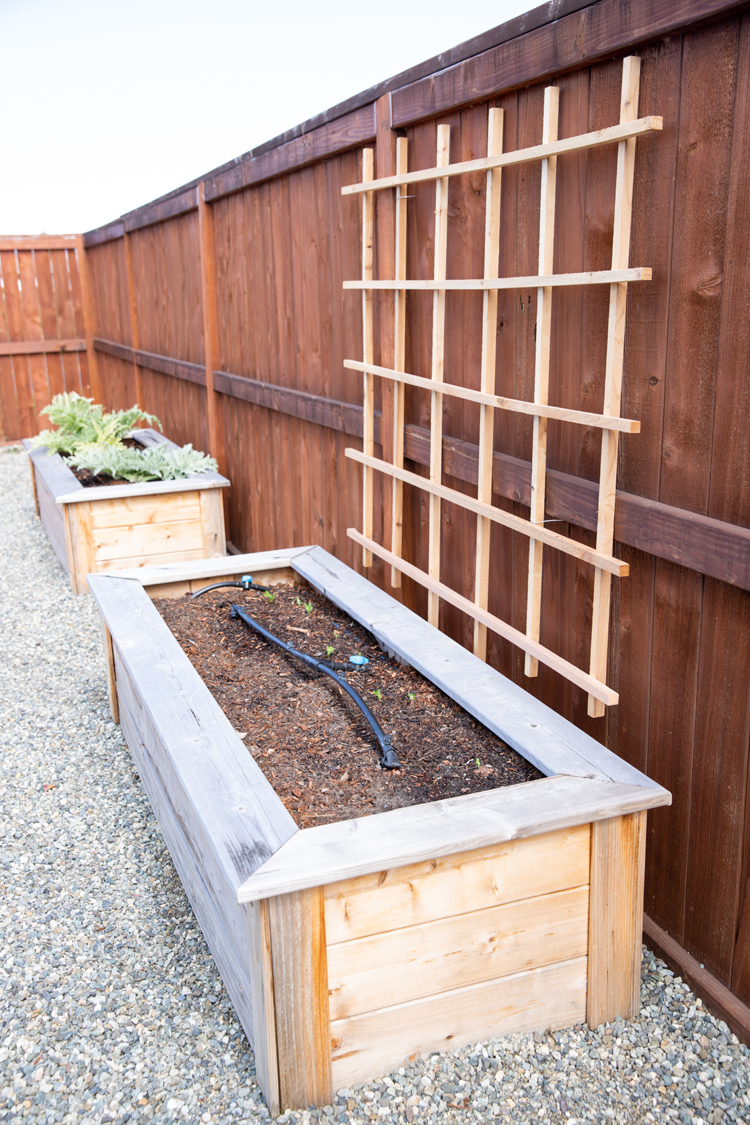
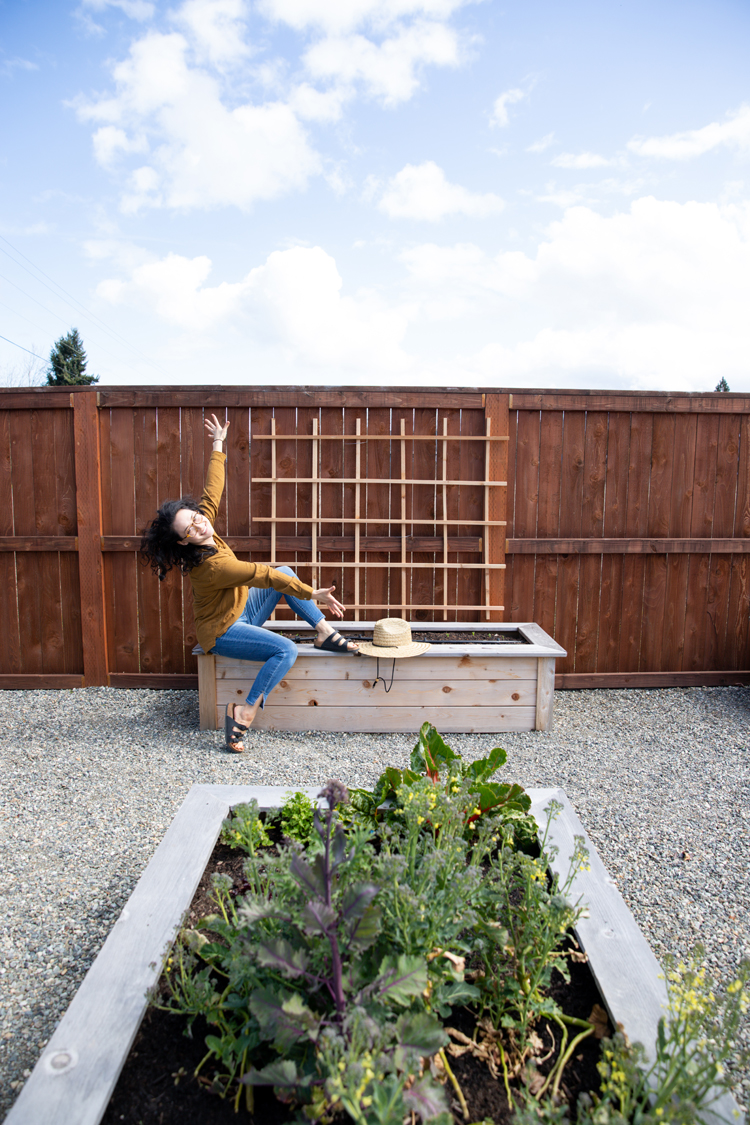
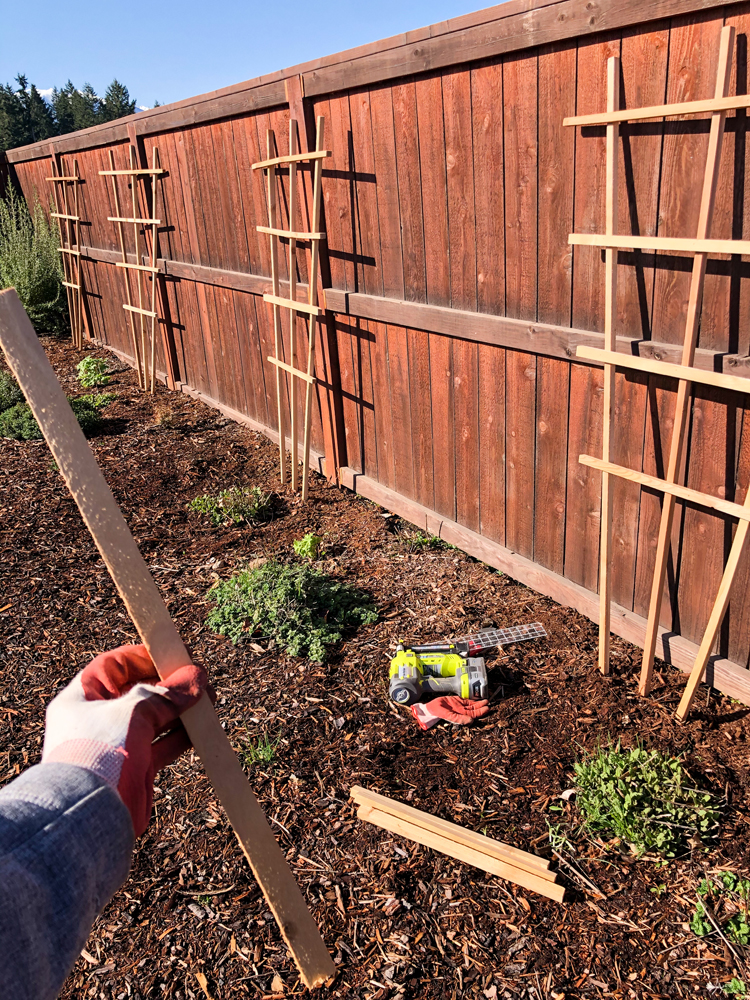
I made two styles of wood lattice trellises. At least I think that is what you would call them?… One style is a grid of squares that I attached to my fence for some peas to climb.
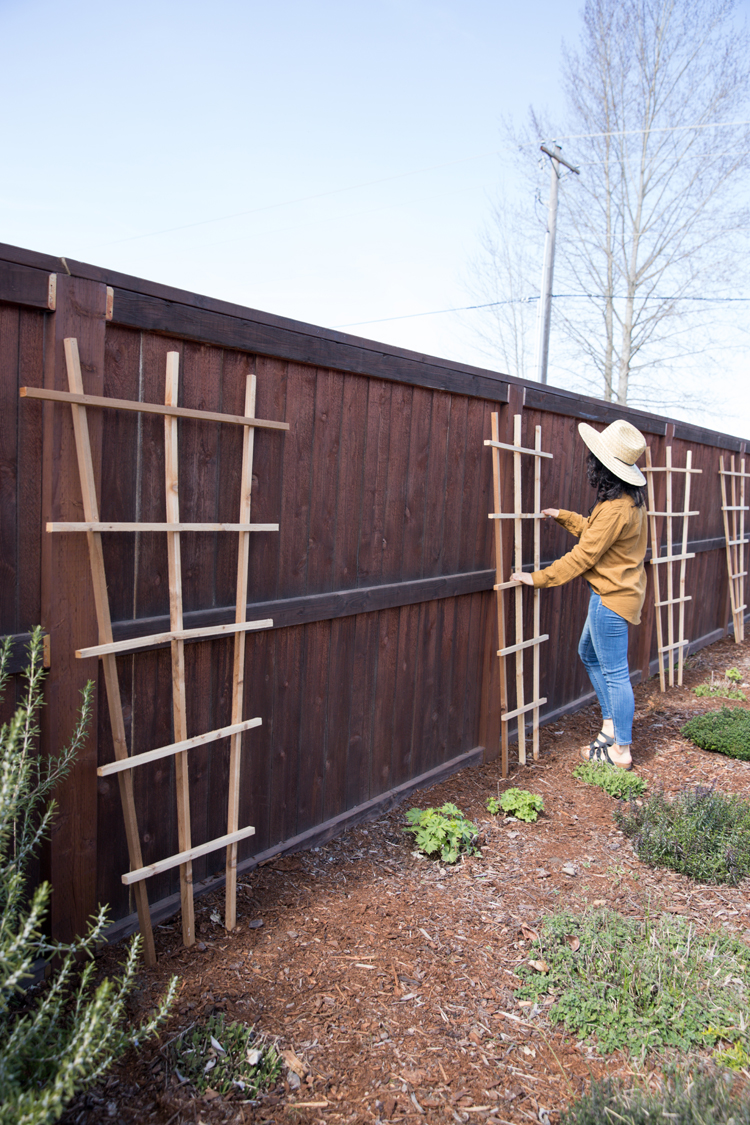
The other is a “v” shaped or fan trellis. I made four of those for my work in progress flower garden. I’m hoping to get it up and blooming this summer!
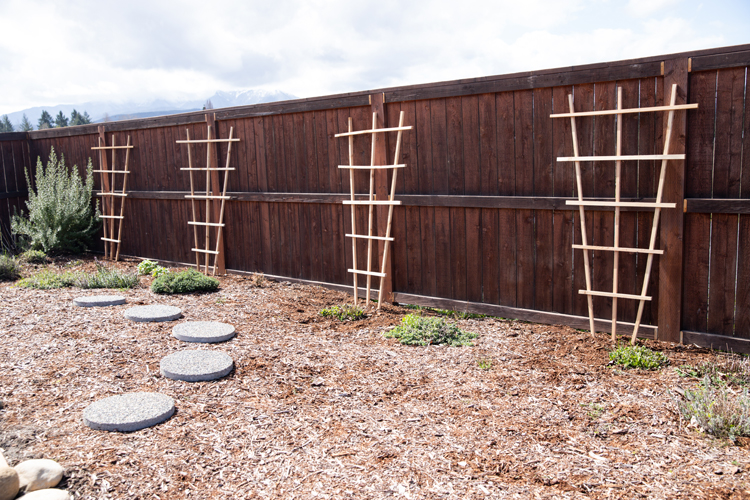
The best part is that they were really inexpensive. The fan trellis was about $6 per trellis plus hardware (maybe $7-8 total). Each grid trellis was bigger so it cost more, about $12 + hardware. Still…not bad!
MONEY SAVING LUMBER TIP:
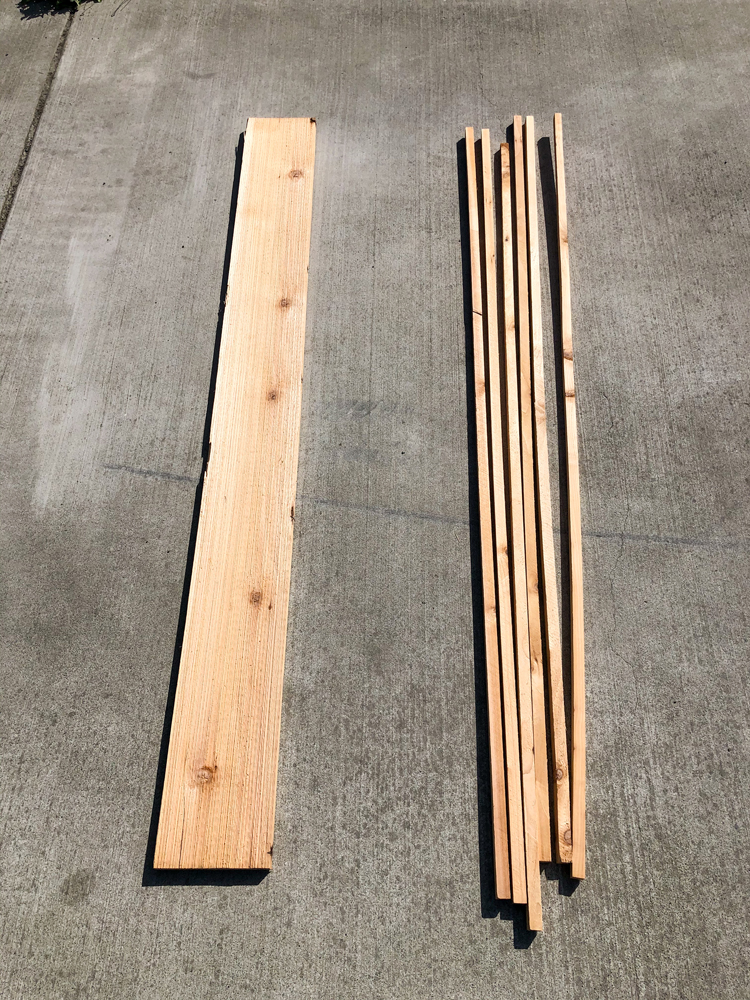
The biggest money saver was buying 8 inch by 1 in by 6 foot fence slats from a cedar lumber yard for about $6/board and ripping them down into 1 inch pieces. If you don’t have a lumber yard near you, I found 6 ft. fence boards that are 5.5 inches wide and 5/8 inch thick for under $4 which is still pretty comparable in price. Your trellis will just be thinner and you may have to adjust your nail length to 1 inch.
Using fence boards did require me to get a table saw which I have been meaning to buy for some time now anyway. It’s hard to find lumber already cut to these dimensions, so if you don’t have a table saw, I recommend borrowing one or paying someone to cut your boards.
MATERIALS
- 8 inch by 1 in by 6 foot cedar fence slats**
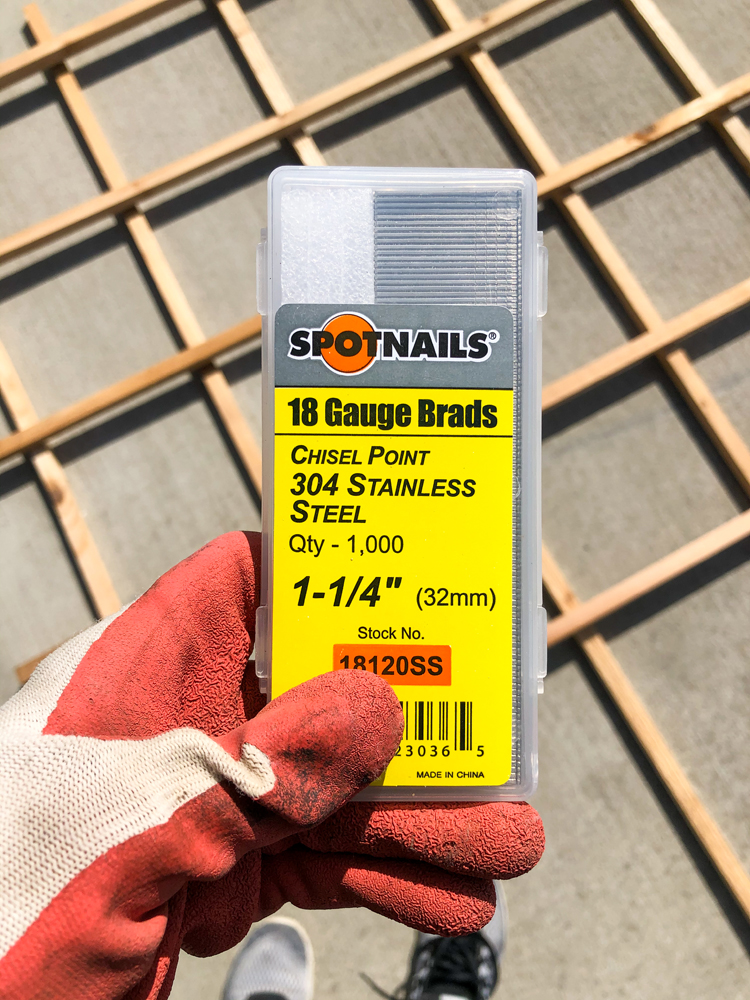
- 1.25 inch stainless steel or galvanized steel brad nails (rated for exterior use)*
- square (or a quilting ruler which is what I use ;))
- measuring tape
- pencil
Material Notes:
*You can use flat head nails and a hammer but I don’t recommend using any hardware that is too thick or it will split the wood.
**I used rough cut cedar from a lumber yard. A lumber yard will almost always give you a better price and quality if you have one near you. The dimensions of the board are 8x1x6 BUT that actually translates to about 7.5 inches by .8 inches x 6 feet. Because of blade depth, I cut each board into 7 pieces just under an inch thick with 1 piece of waste that was too thin. You can also use decking lumber which is even more sturdy.
If you don’t have a lumber yard near you, you can buy fence board from Home Depot. The boards are thinner, so you will have to adjust your nail length.
TOOLS
- Table saw
- Miter saw (or hand saw)
- 18 gauge brad nailer
Tool Notes:
- A miter saw or hand saw is helpful for cutting smaller pieces of the “v” trellis. You could probably get away with just using the table saw as well.
- I like to use a brad nailer for ease, but you can also use a hammer and stainless steel or galvanized steel nails.
Video Tutorials
I created some reels for instagram and thought I’d share them here as well in case you prefer video.
Grid Trellis
Fan Trellis
BEFORE WE BEGIN:
I recommend using your ripped lumber ASAP after cutting it. Make sure it stays dry too.
My lumber was dry in the sense that it wasn’t freshly cut, but it got wet in the lumber yard. Even though I had it protected in our garage, our weather was very humid and had difficulty drying out. So I cut it when it was still a bit damp. I then waited weeks after cutting them to make trellises and quite a bit of the pieces ended up warping. I ended up using some of them anyway and they bug me. 😉 I wish I had cut them right before assembly. I know they will warp over time because I want them to be untreated (for growing food) but at least they will stay mostly straight because they are nailed in place.
Grid Trellis Tutorial
One: Cut your wood.
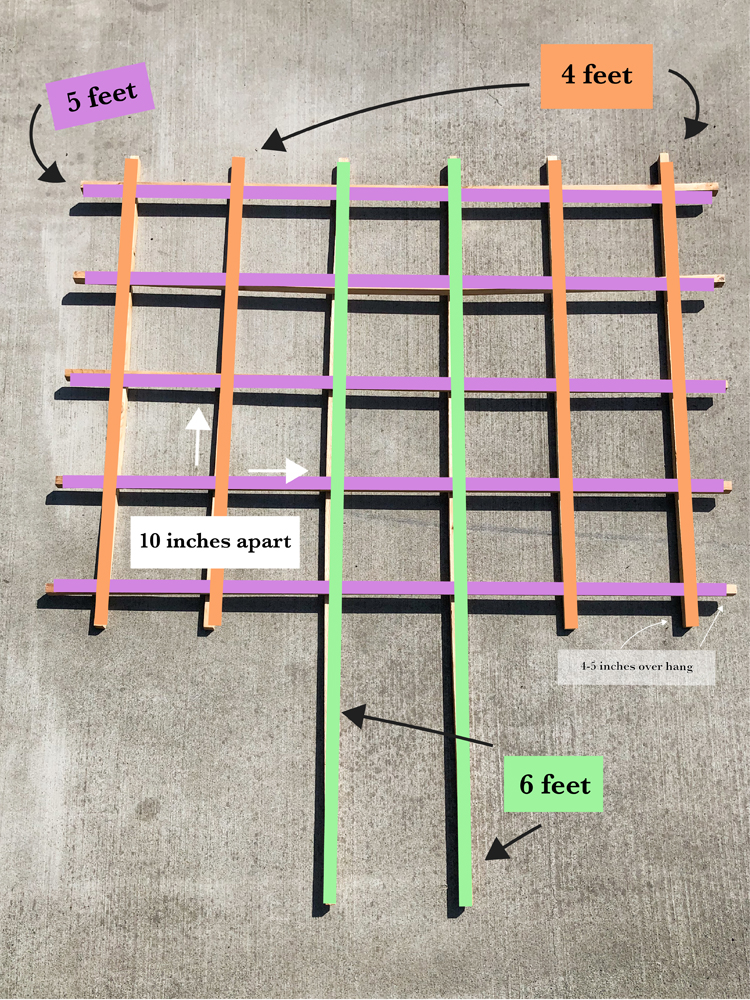
You need four 4 foot pieces, five 5 foot pieces, and two 6 foot pieces.
Two: Lay out your pieces.
I put the two longest pieces in the center, 10 inches apart, then laid two 4 foot pieces on either side, also 10 inches apart.
Then I laid the 5 foot pieces perpendicular to the other pieces leaving a 4-5 inch overhang on all sides (except for the two long pieces in the middle), and 10 inches in between the rows.
I used my quilter’s ruler to maker sure everything was as square as possible. You can also use…well a square! 😉
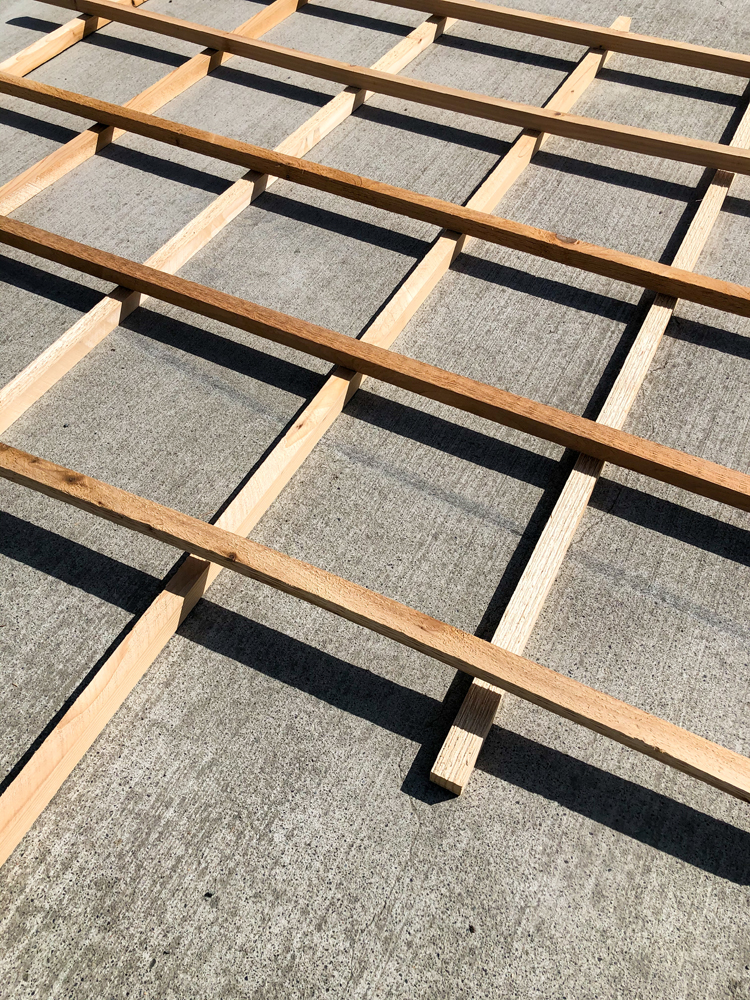
Three: Nail them together.
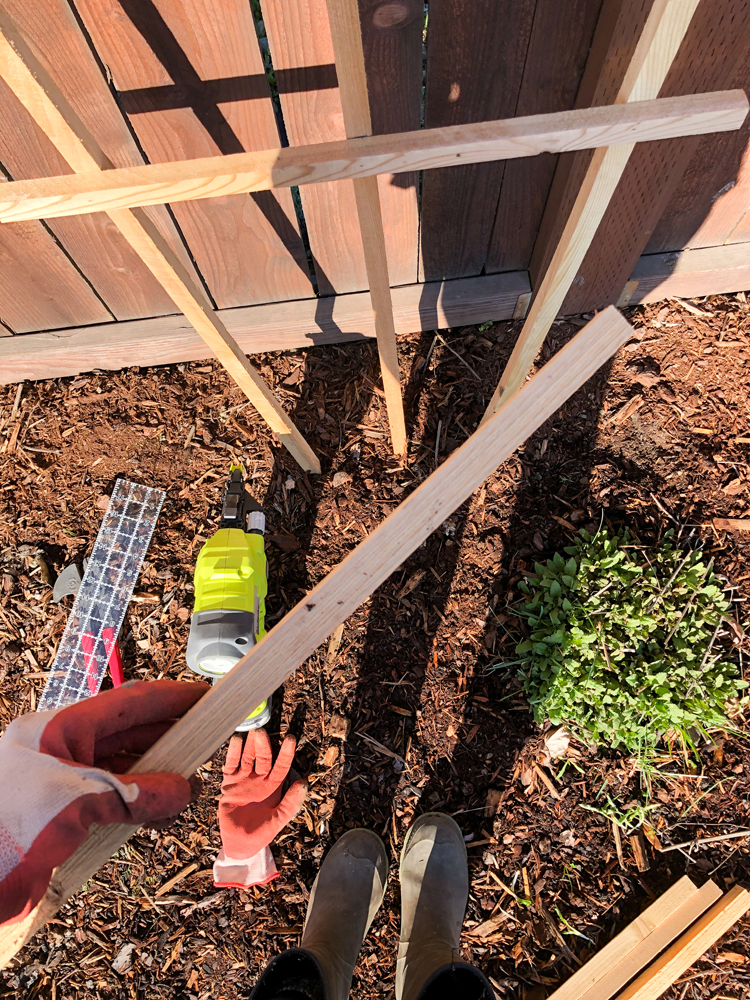
I used my nail gun at every overlapping spot. For extra security, I flipped the trellis over and nailed it from the other side as well. You don’t have to do this for every overlapping spot if you don’t have enough nails. It will become even more stable once installed.
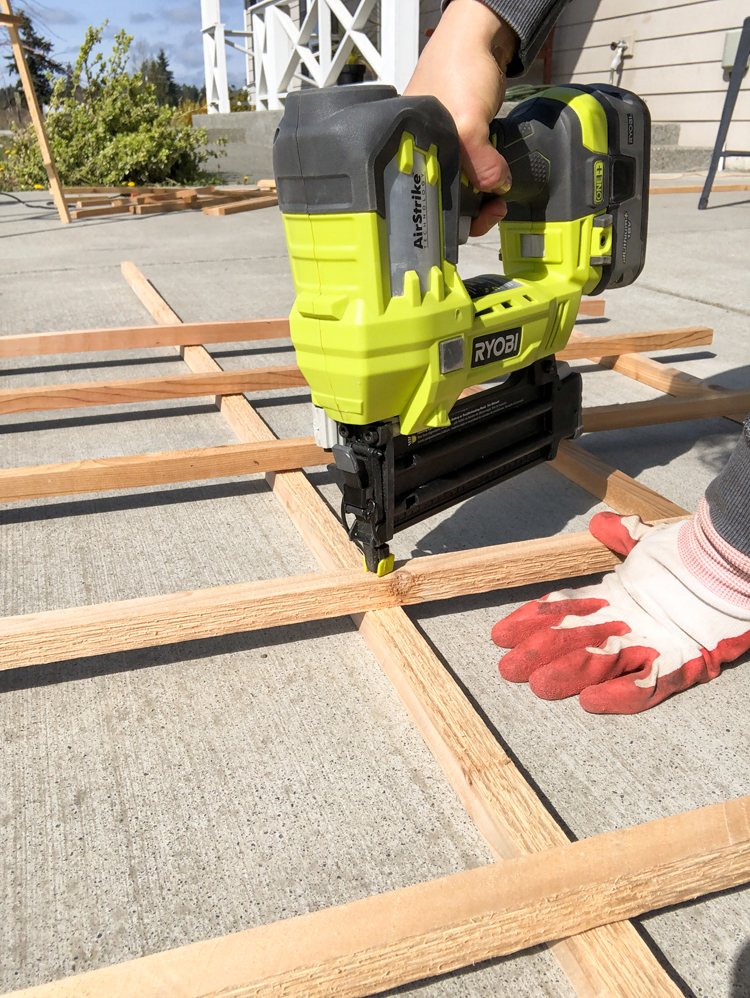
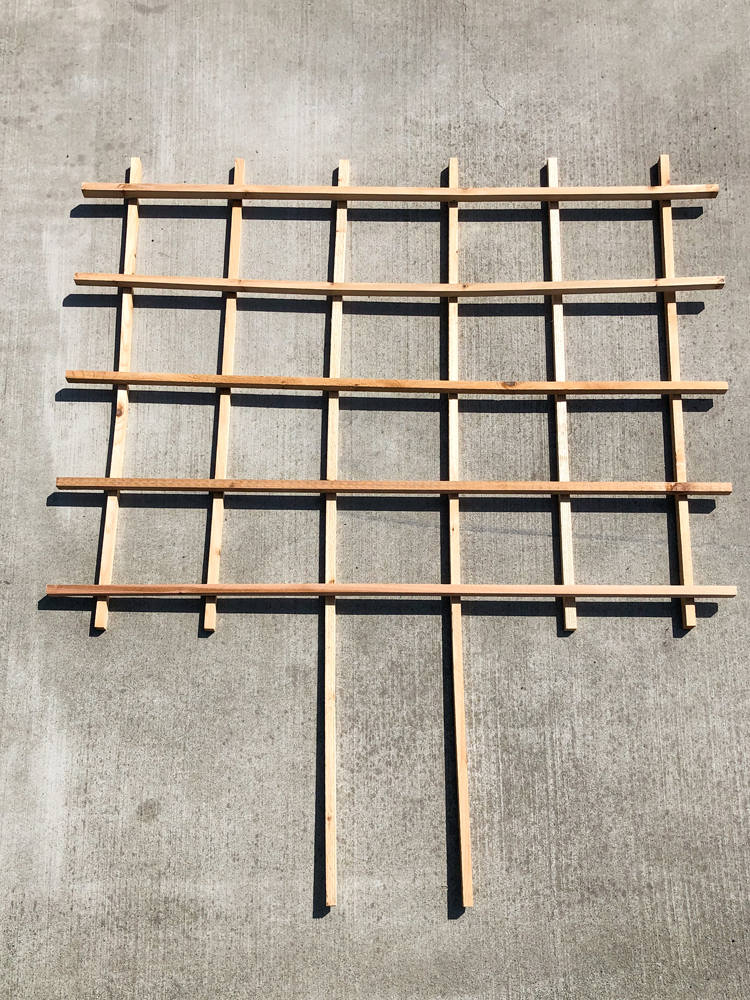
Four: If you are making more than one, use the first one as a template.
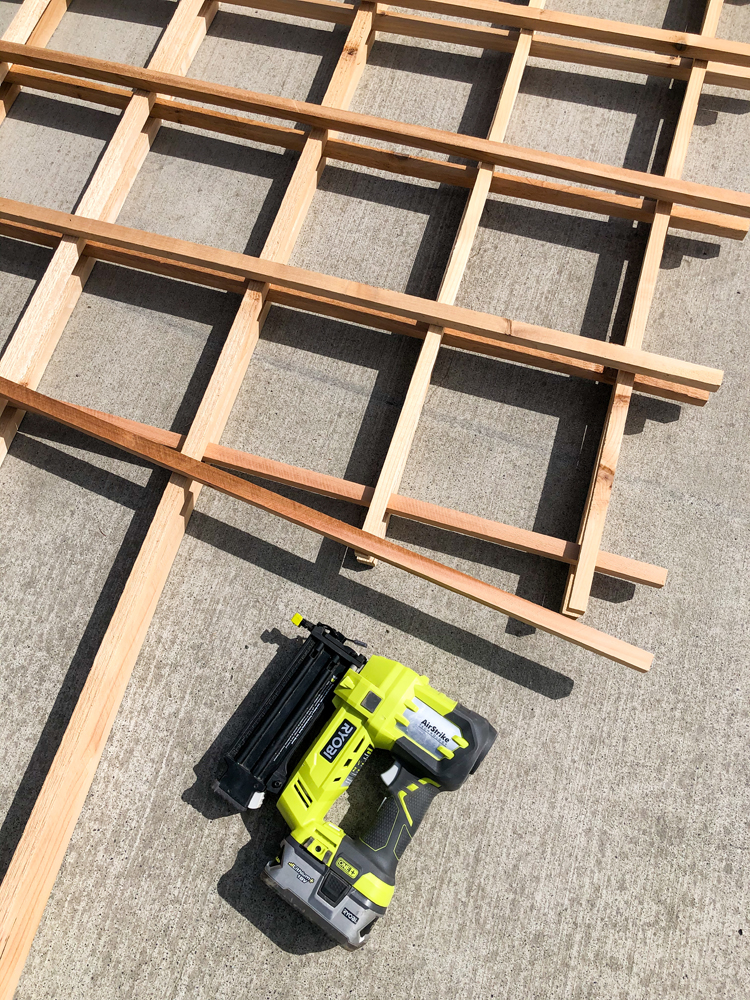
Skip measuring twice this time ;), and lay the pieces of wood right on top of the first completed trellis. You can nail the second trellis in place right on top of the first.
Five: Installation.
I was going to use the two longer pieces in the middle to put it into the garden bed, but….because mine have cap pieces, I decided to put it on the outside and attach it to the fence. I added gravel behind the bed to help stabilize the trellis from the bottom.
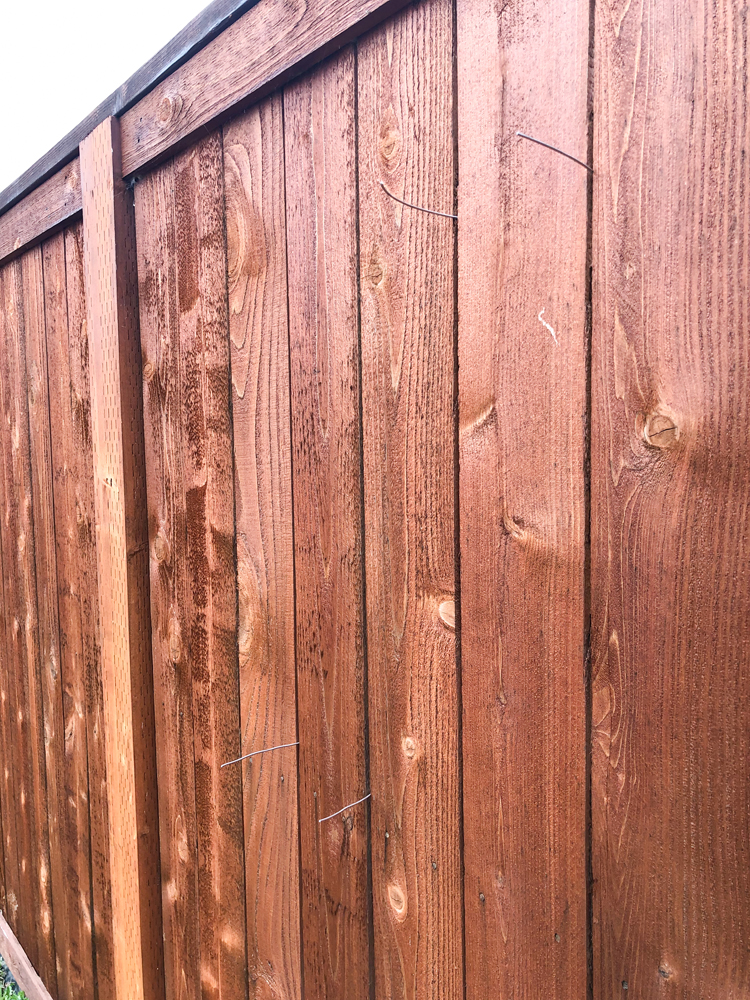
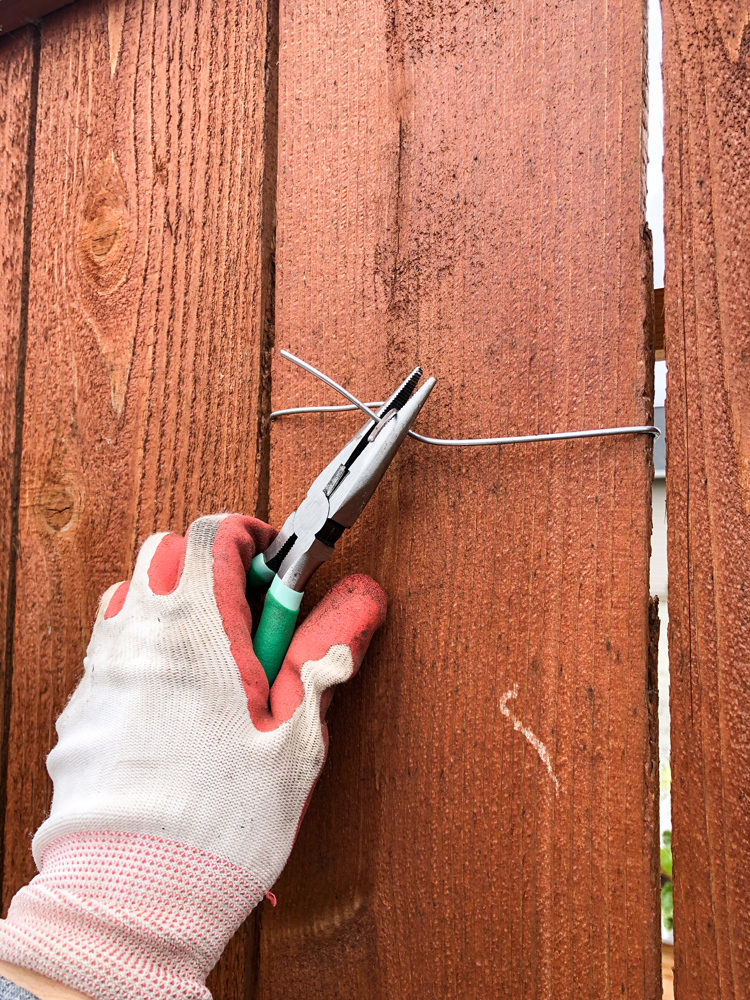
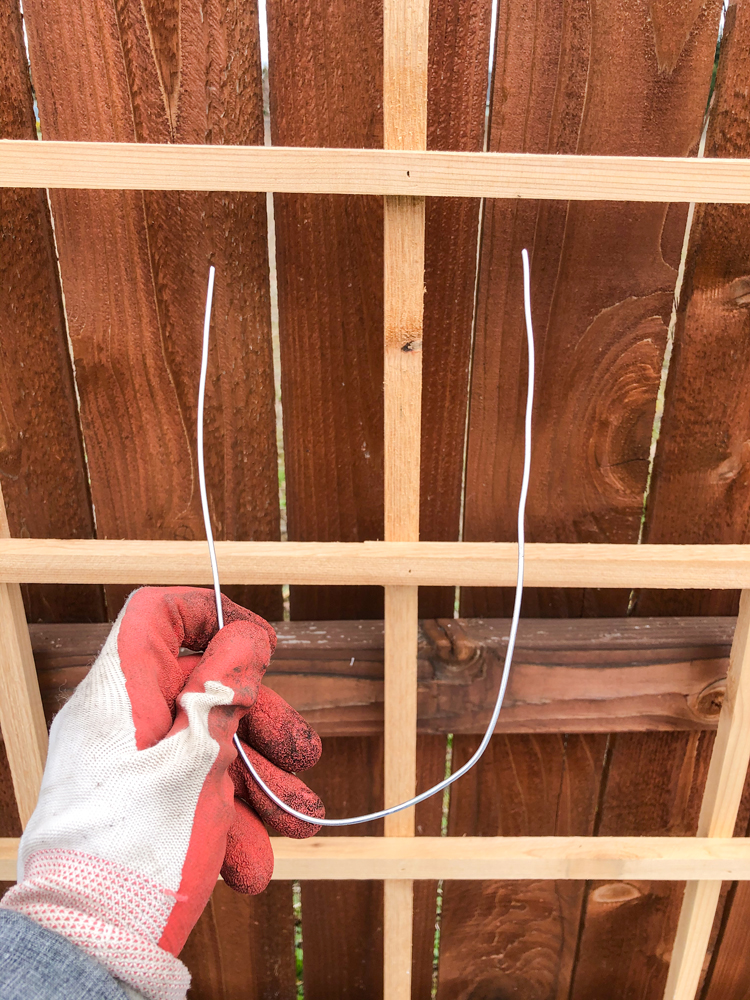
Then, I used galvanized wire to essentially twisty tie the trellis to the fence in two places. It is pretty dang secure for being attached in just two spots.
Fan Trellis Tutorial
One: Cut your wood.
You need:
- (3) 6 foot pieces
- (1) 39 inches
- (1) 34 inches
- (1) 29 inches
- (1) 24 inches
- (1) 19 inches
Note: I originally didn’t include the 19 inch piece but added it later because I felt it needed it once it was in the ground.
Two: Lay out your pieces.
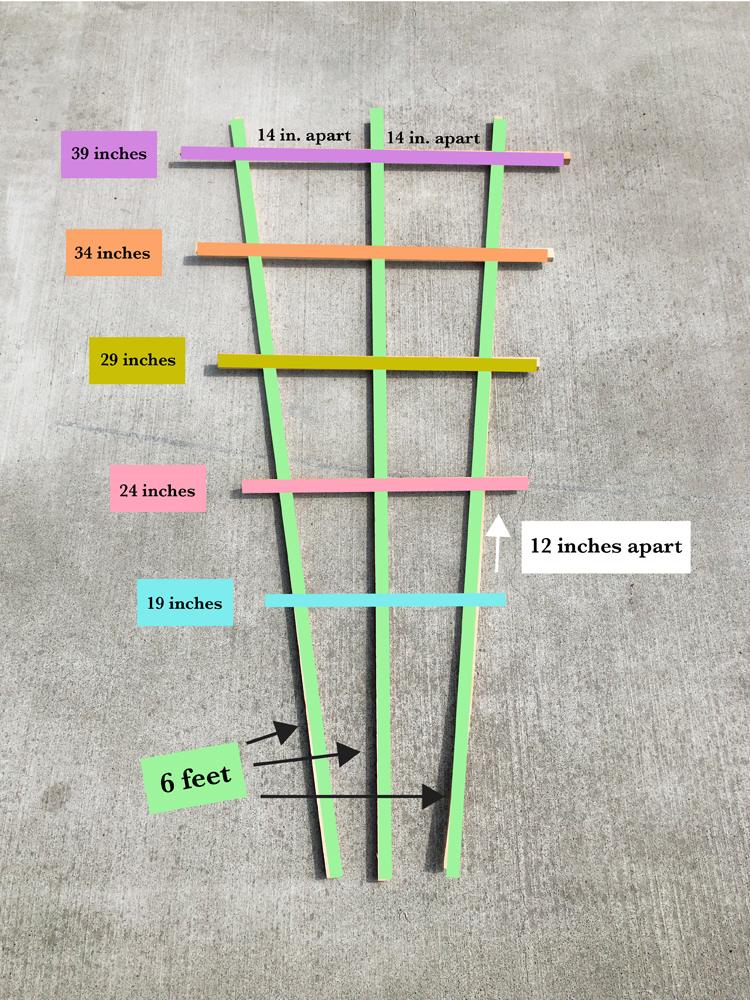
This diagram shows you how to lay it out. I didn’t measure the angles, one because I wasn’t too concerned about being THAT precise, and two well…you can see how my pieces are slightly warped. Getting exact angles wasn’t going to happen. I measured as best I could and then relied on my eye to make it look balanced.
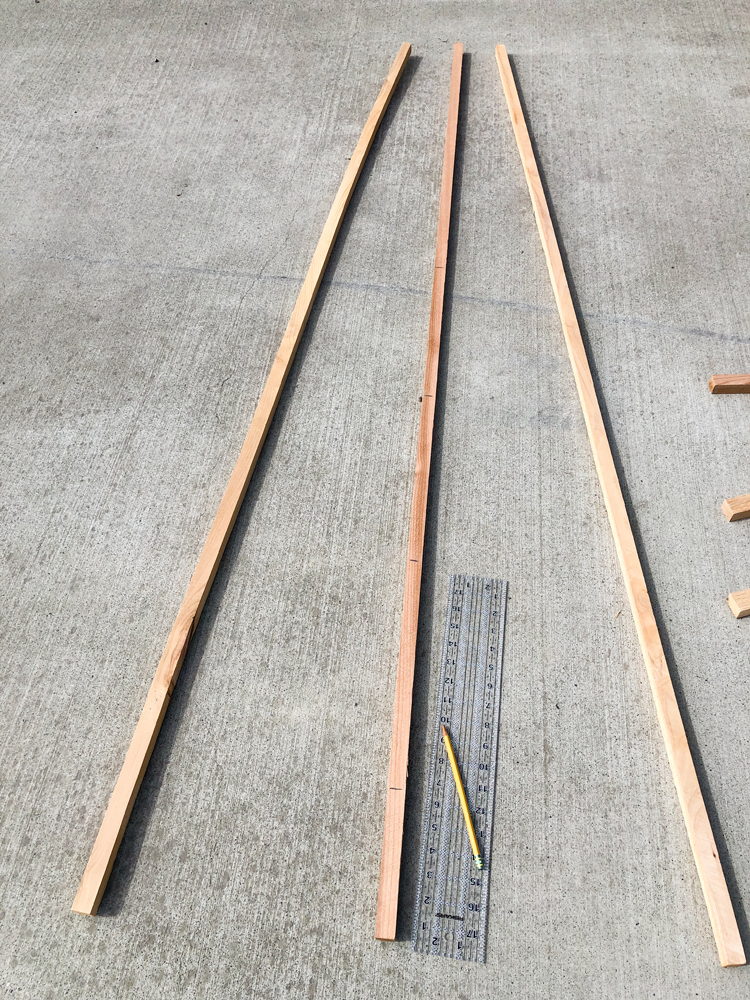
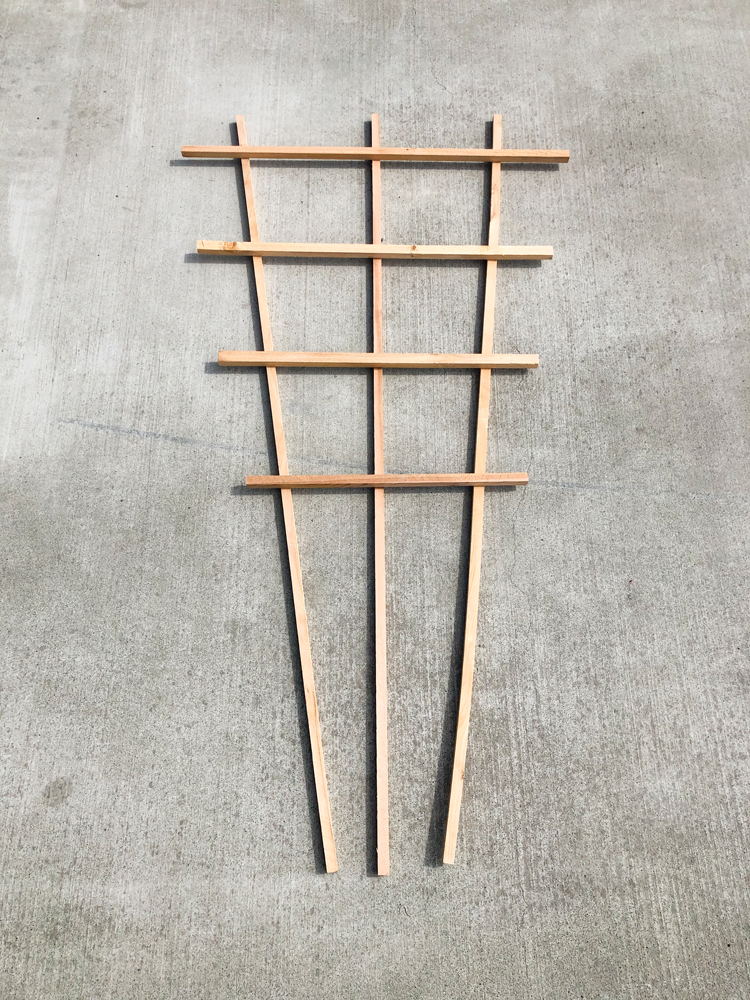
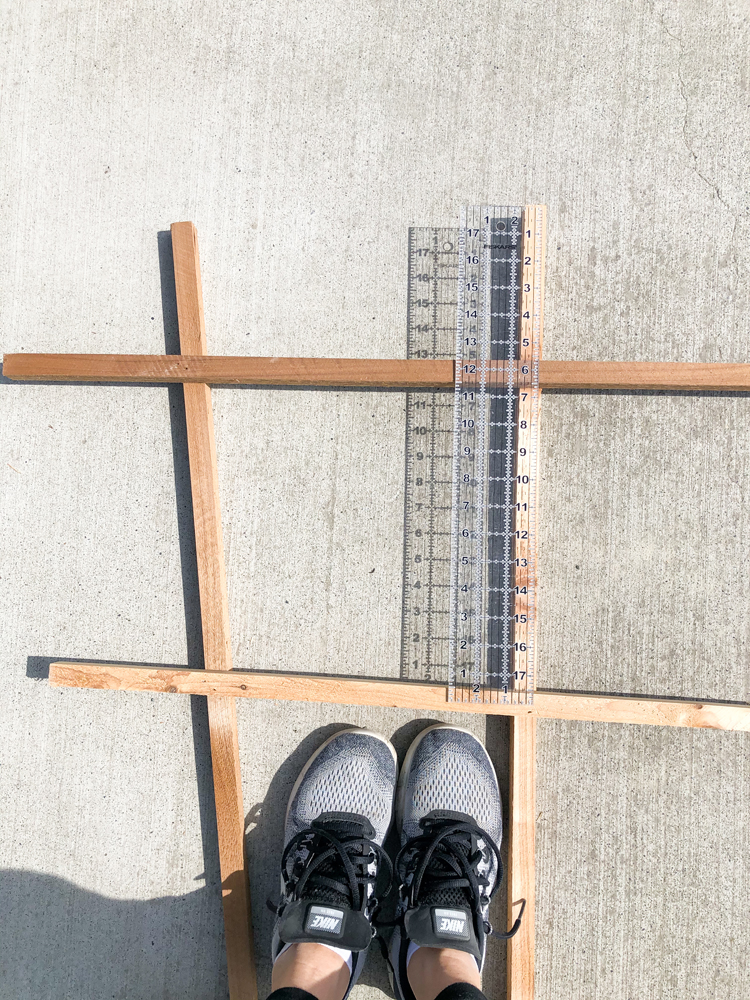
I found that it was most important to make sure the smaller horizontal pieces were square with the middle support piece.
Three: Nail it all in place.
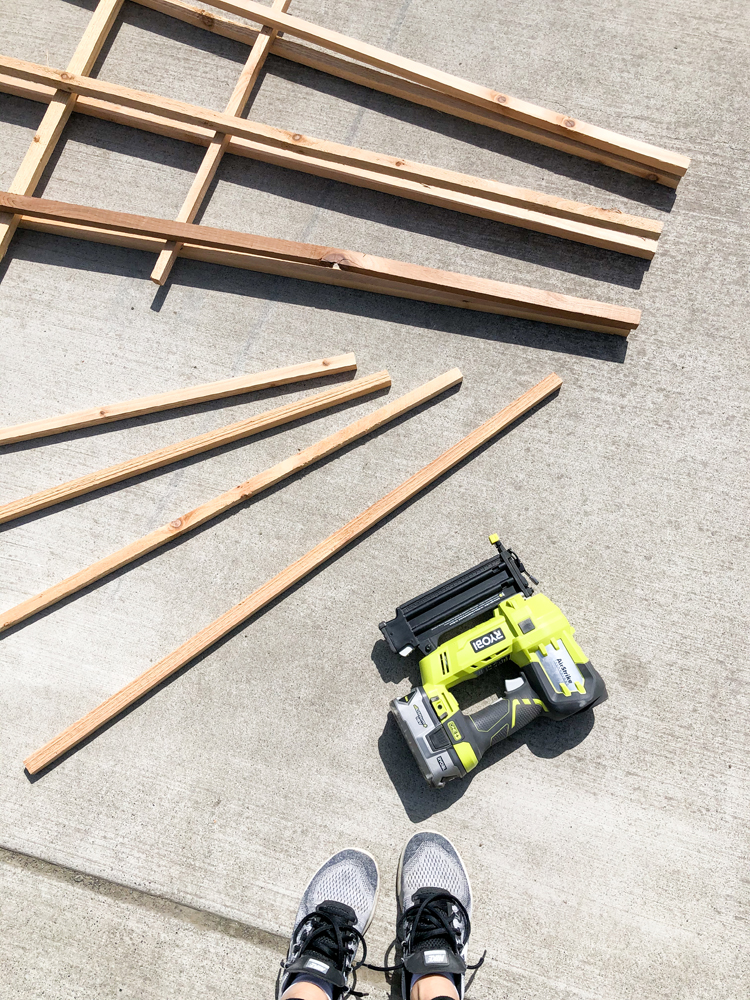
I definitely recommend flipping it over and nailing it from the other side as well if you’re using a brad nailer. These smaller trellises really needed this more than the grid did.
Four: If you are making more than one, use the first as a template.
Lay the pieces of the second trellis on top of the first and nail it in place. Because some of my pieces were a bit warped, I doubled checked to make sure the horizontal slats were as square as possible with the center support.
Five: Installation.
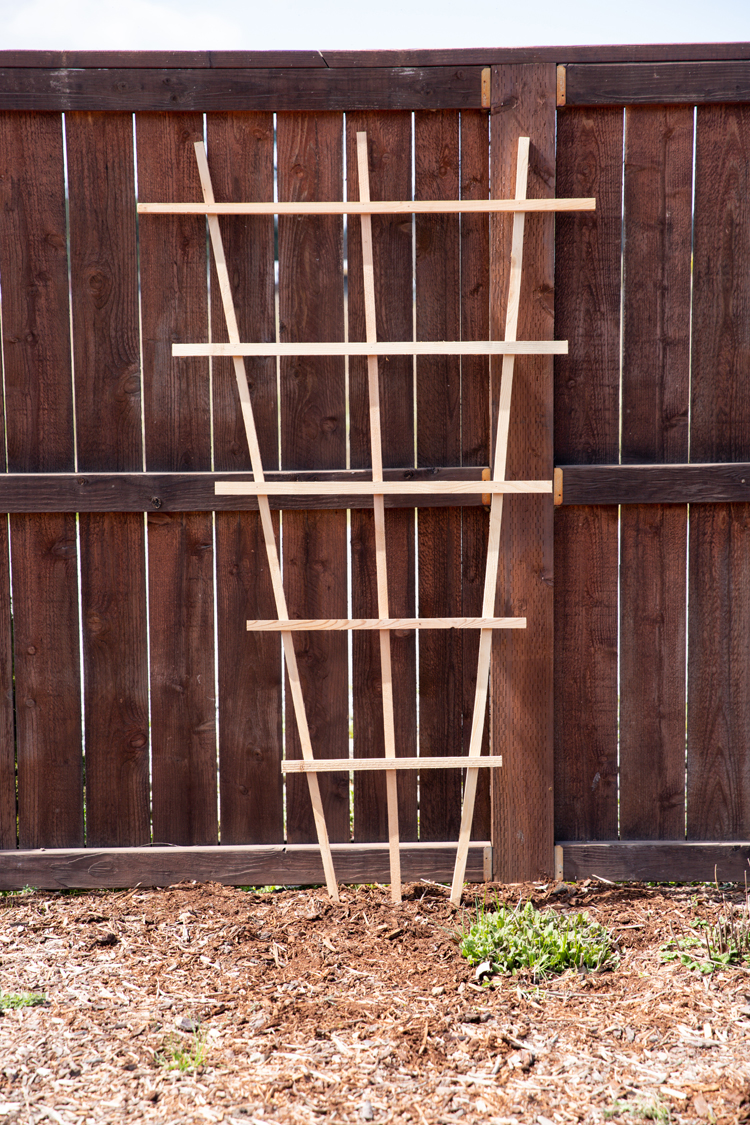
I buried the bottoms of the trellises into the ground. Then I attached the tops to the fence with…nails. Gasp. I know. I would have used the steel wire like I did with my grid trellises but the other side of this fence needs to look good because it faces the front of our house…sort of. So I used brad nails which shouldn’t cause the fence too much damage should it need to be removed.
If you’re wondering why some of the trellises have a fifth horizontal slat and others don’t it’s because I originally made it with four and then decided to add a fifth after I installed them.
All done!
Sort of…
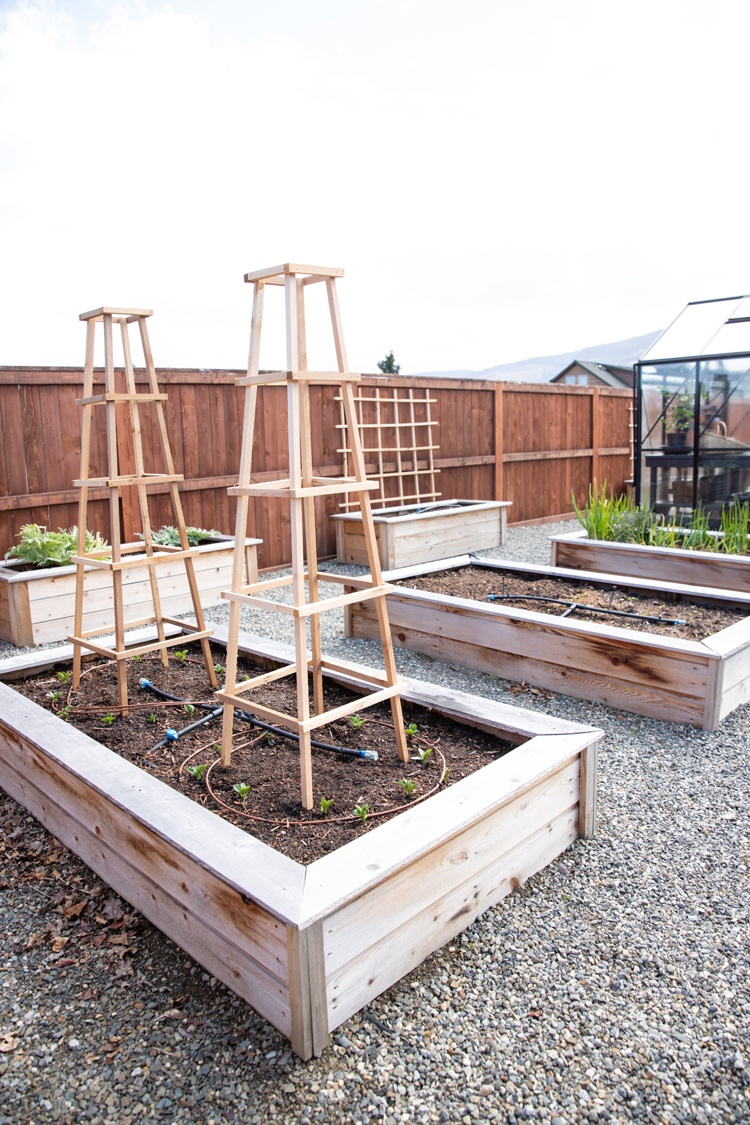
I have one more trellis, but I saved it for another post because it’s a bit different. Click HERE for my tower trellis tutorial.
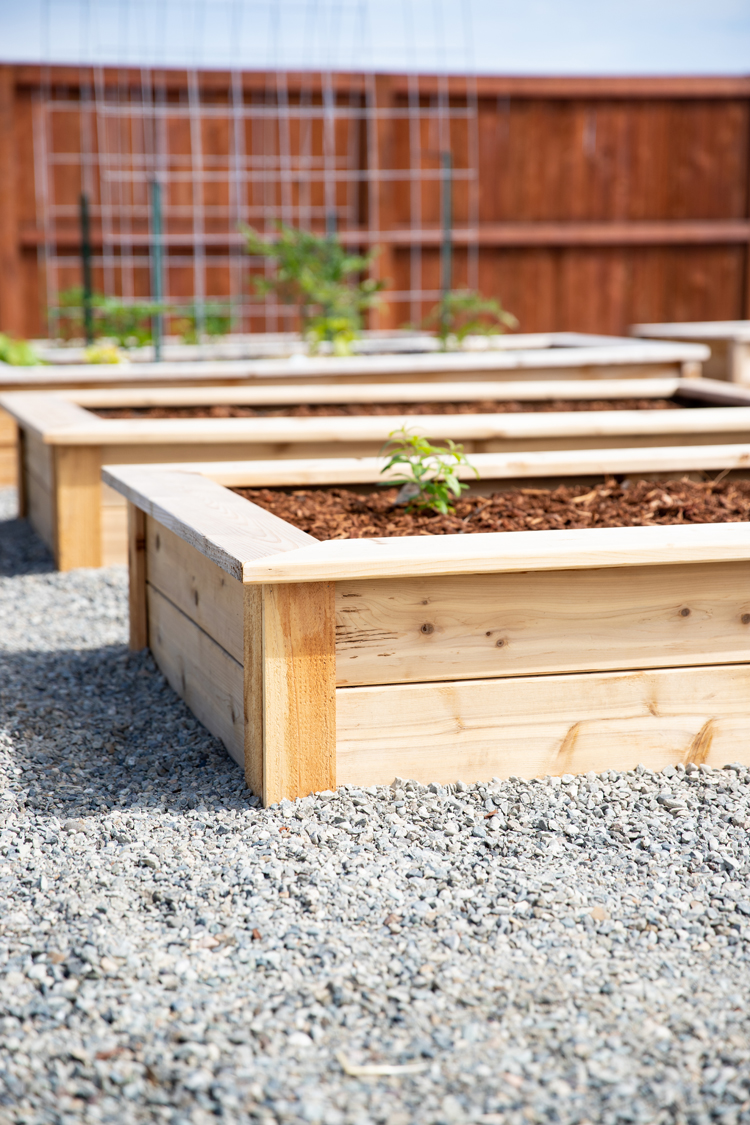
If you’re looking for a garden bed tutorial, I have one that teaches you how to make one in any size! Click HERE.
I also have a tutorial for this cattle panel arched trellis HERE.
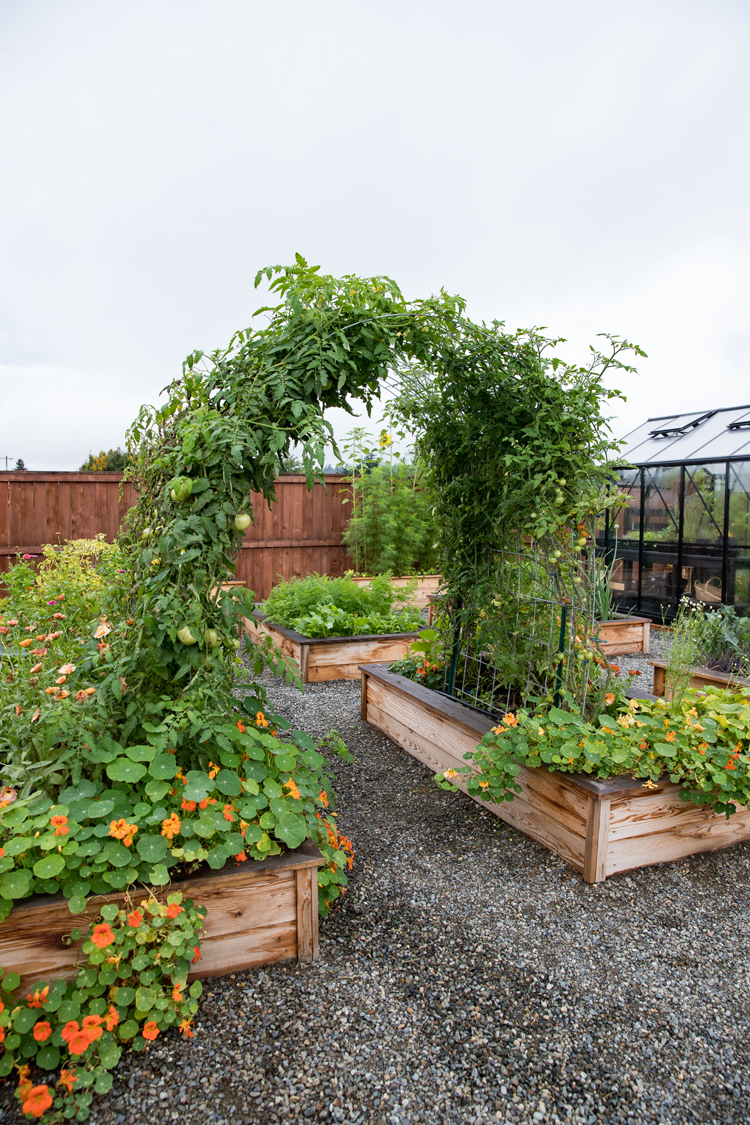
I can’t wait to see the garden fill back up with more life!


Leave a Reply