This post is created in partnership with Silhouette.
The beauty of pleather anemones is that they can be in bloom all year round!
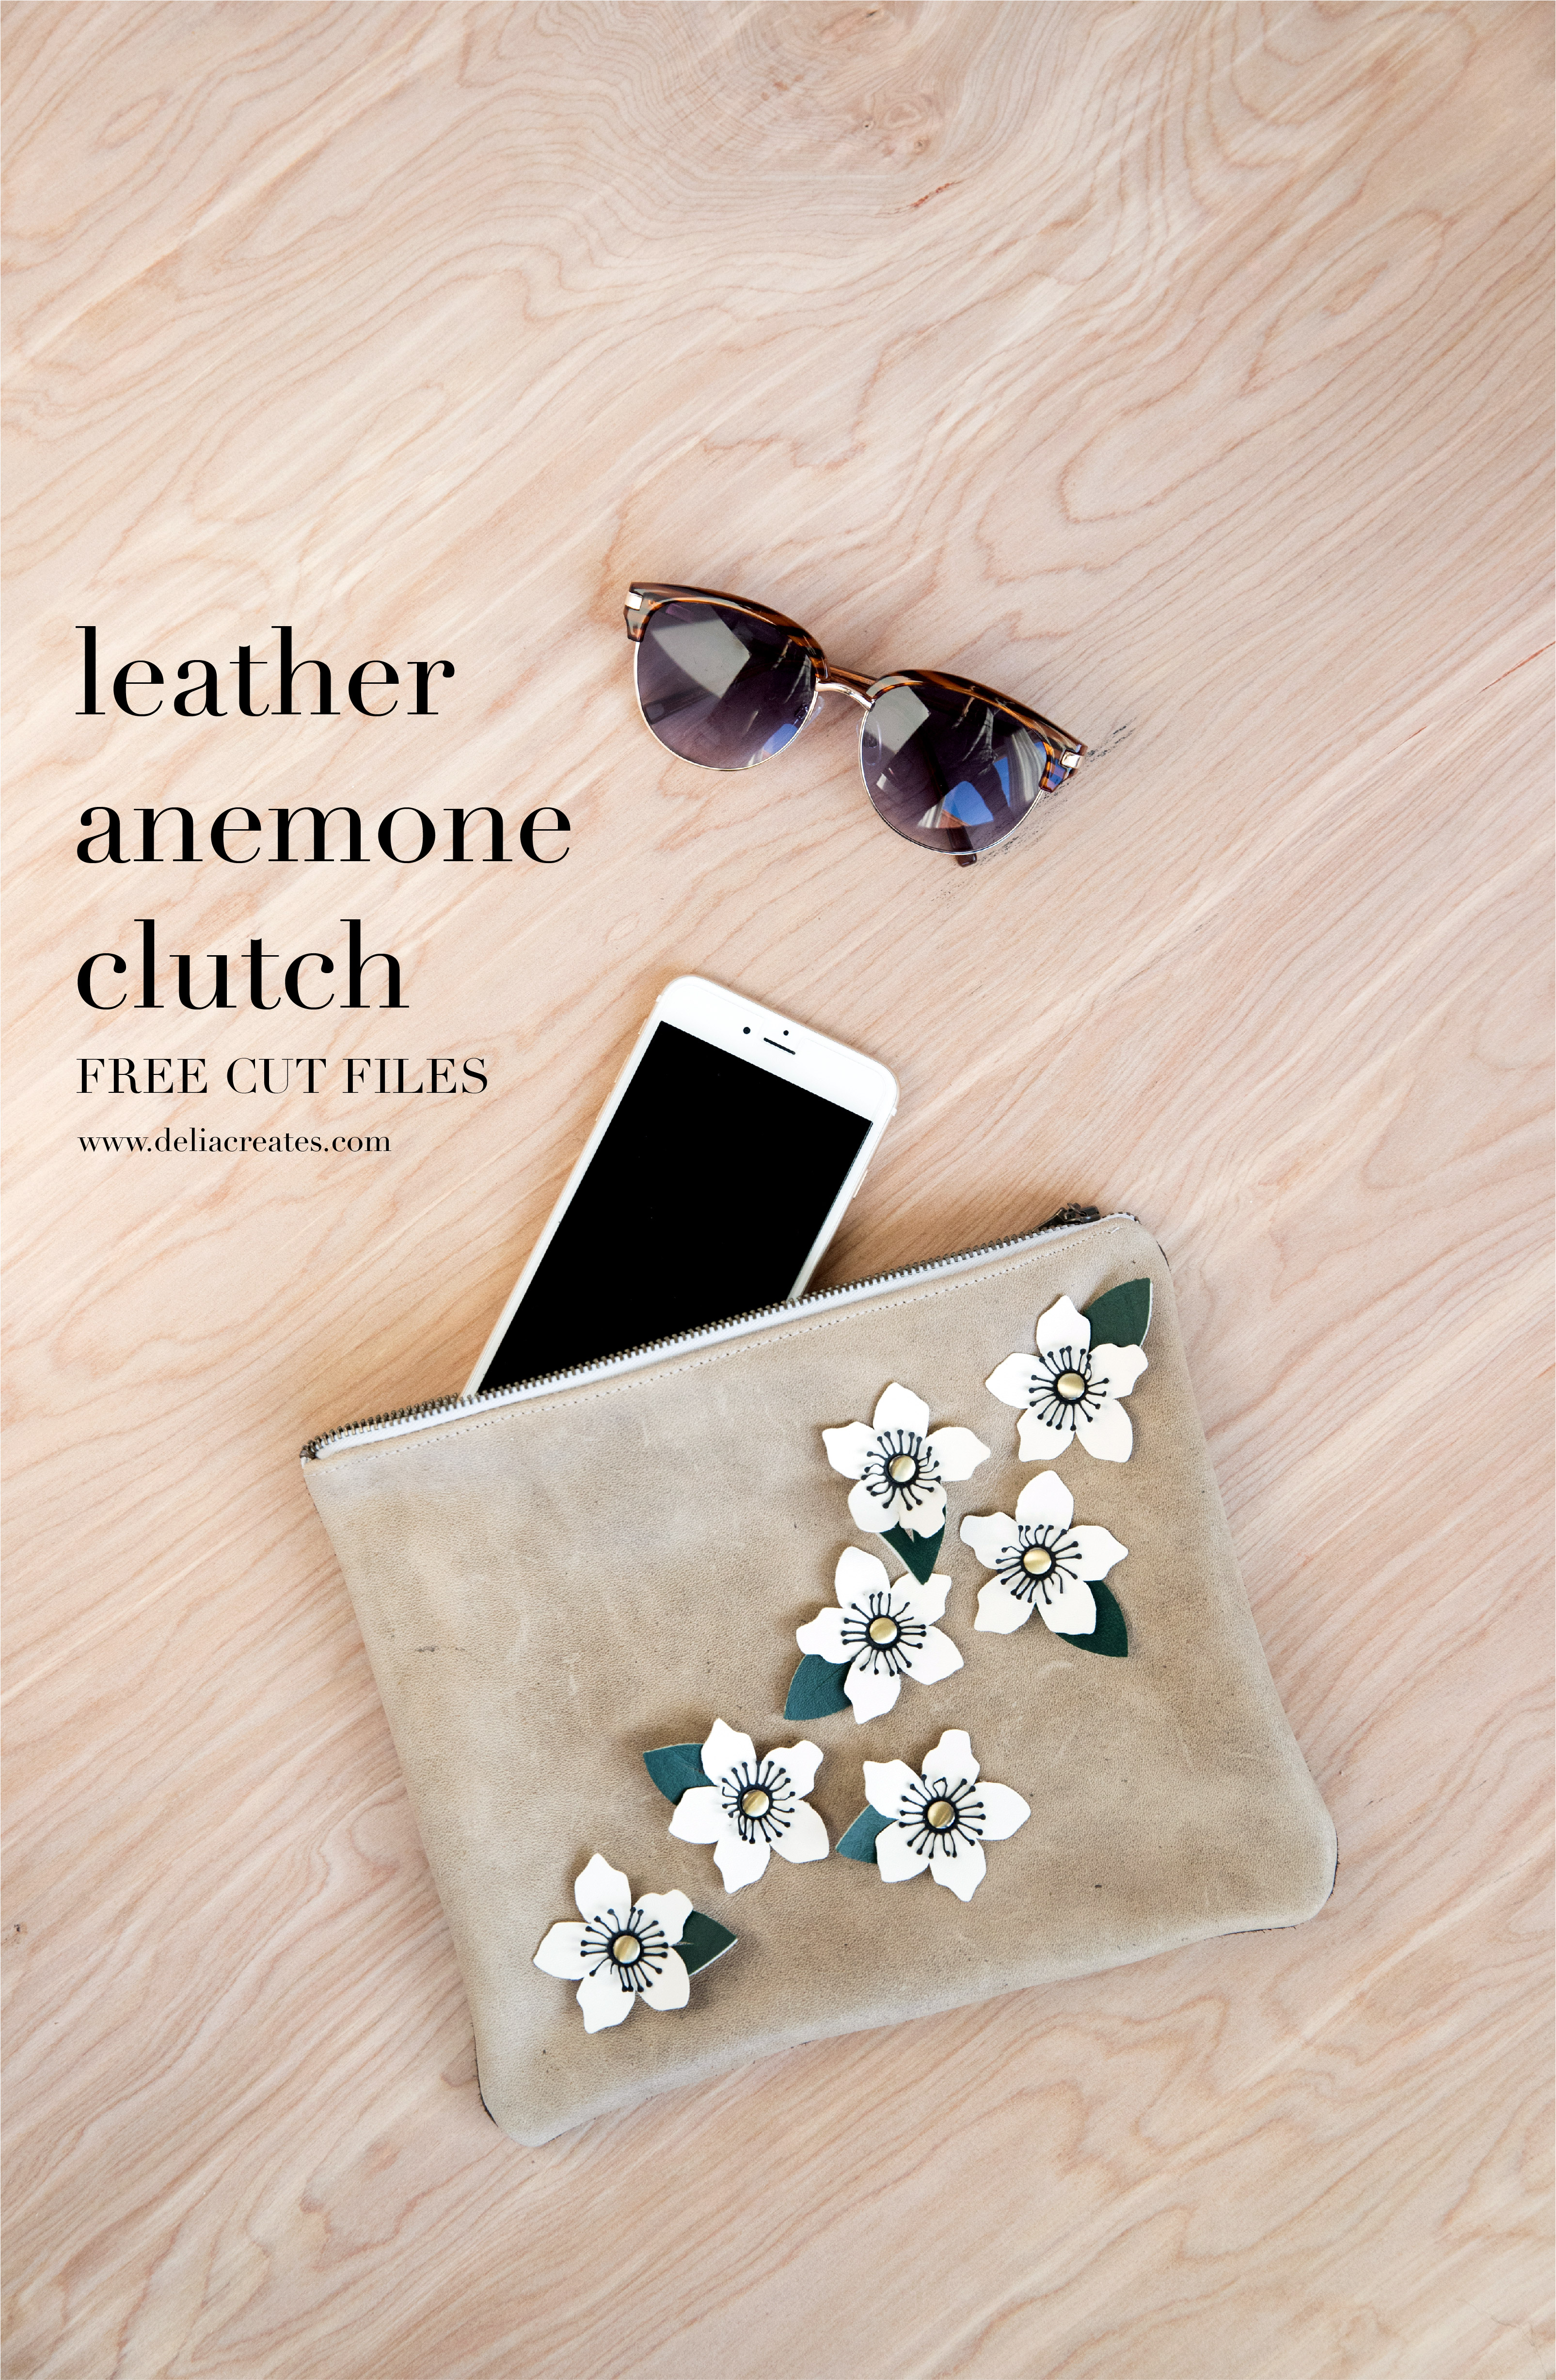
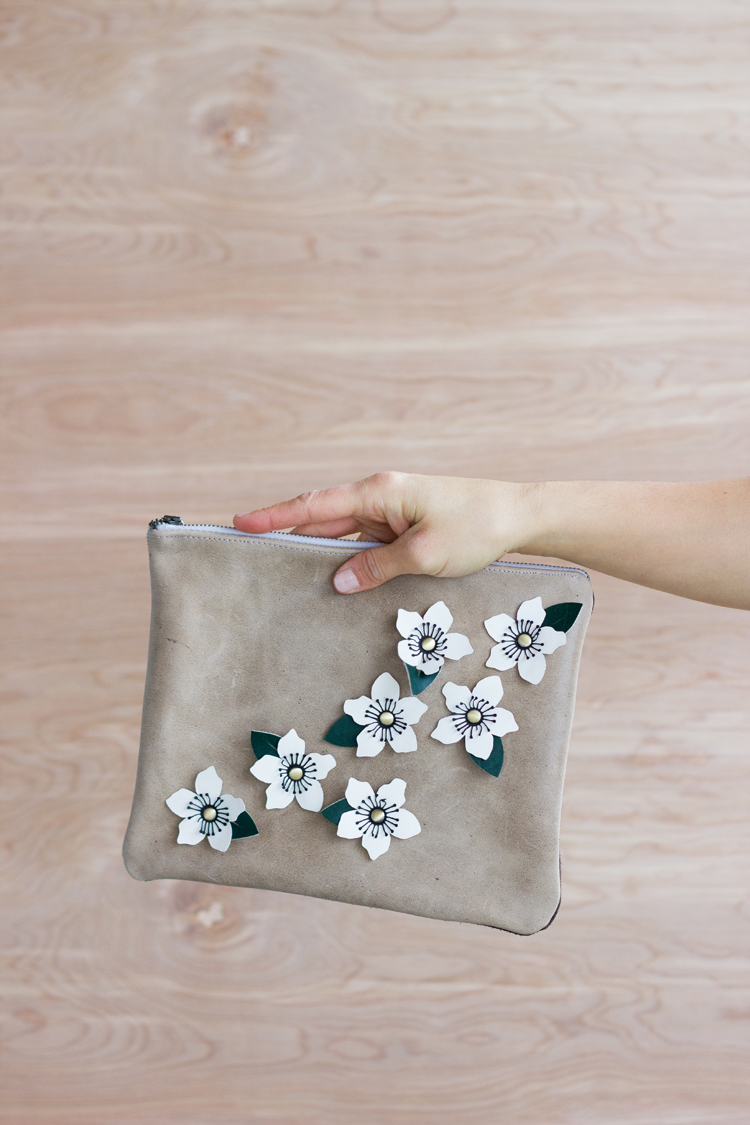
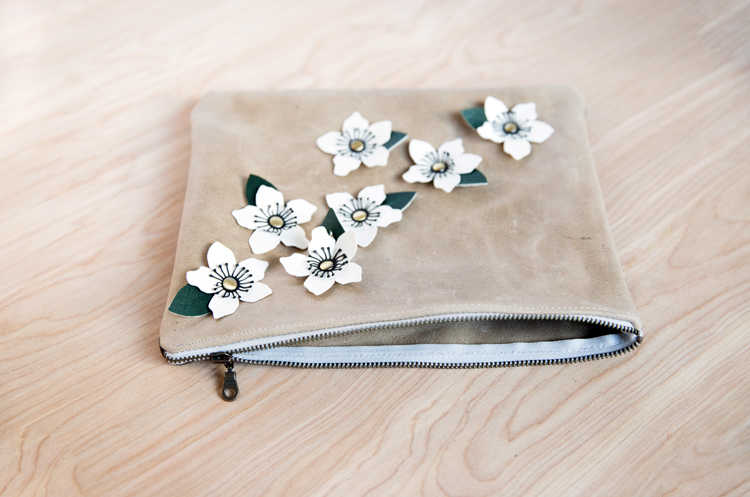
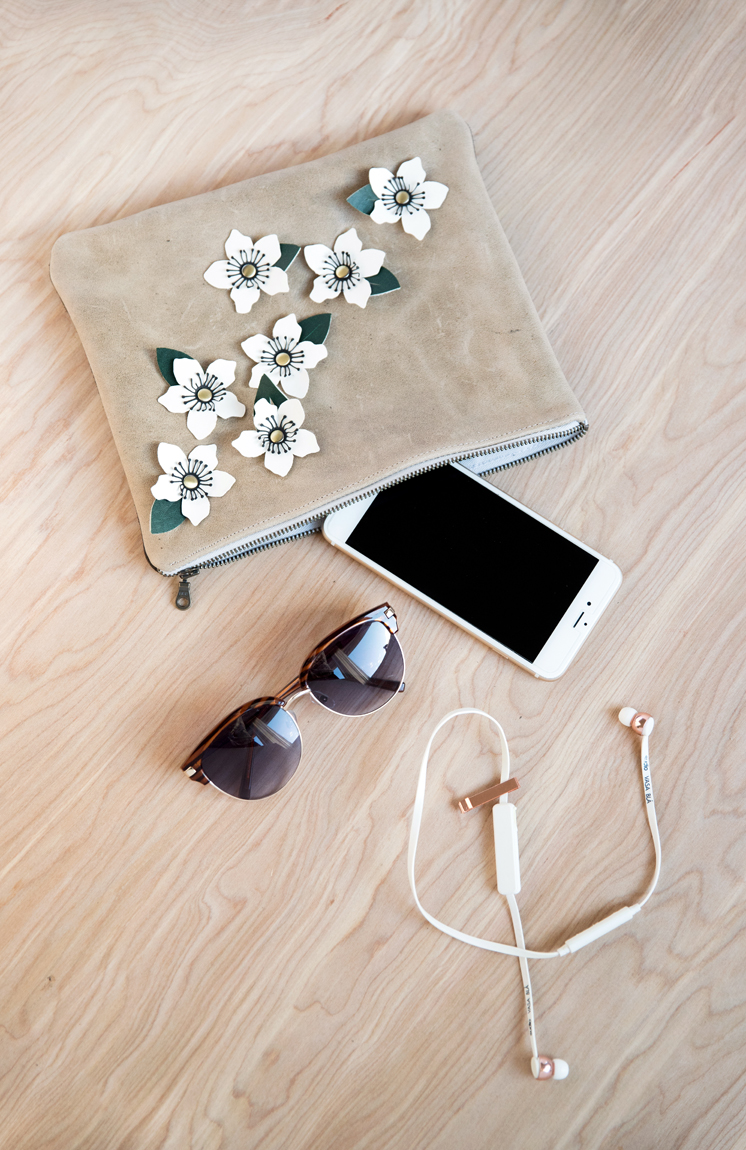
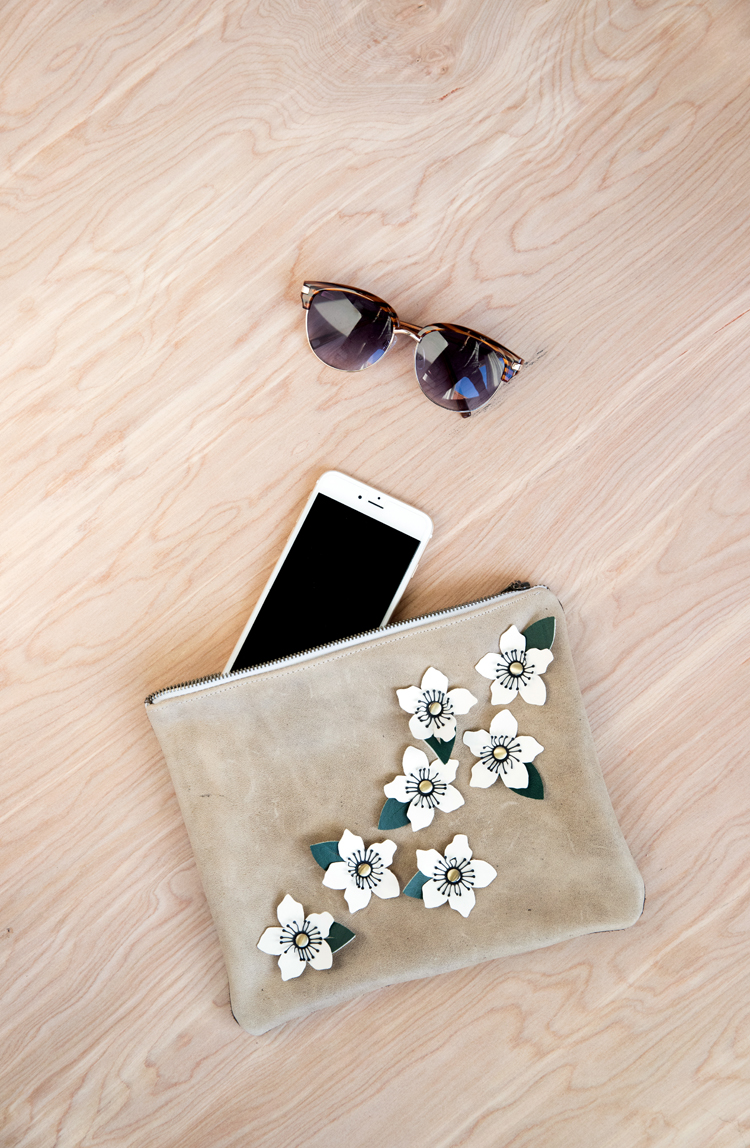
And with this project, you can carry a bouquet of them with you wherever you go, in the form of this leather clutch.
If you’ve been here a while, you know I like anemones (see here and here). They’re such a visually simple, yet stunning flower.
I had been playing around with my new Silhouette Curio and some of their faux leather paper when the idea for this clutch came about. The faux leather paper is so fun to use btw…I have another fun project for it that I’ll share soon! (P.S. This post include affiliate links.)
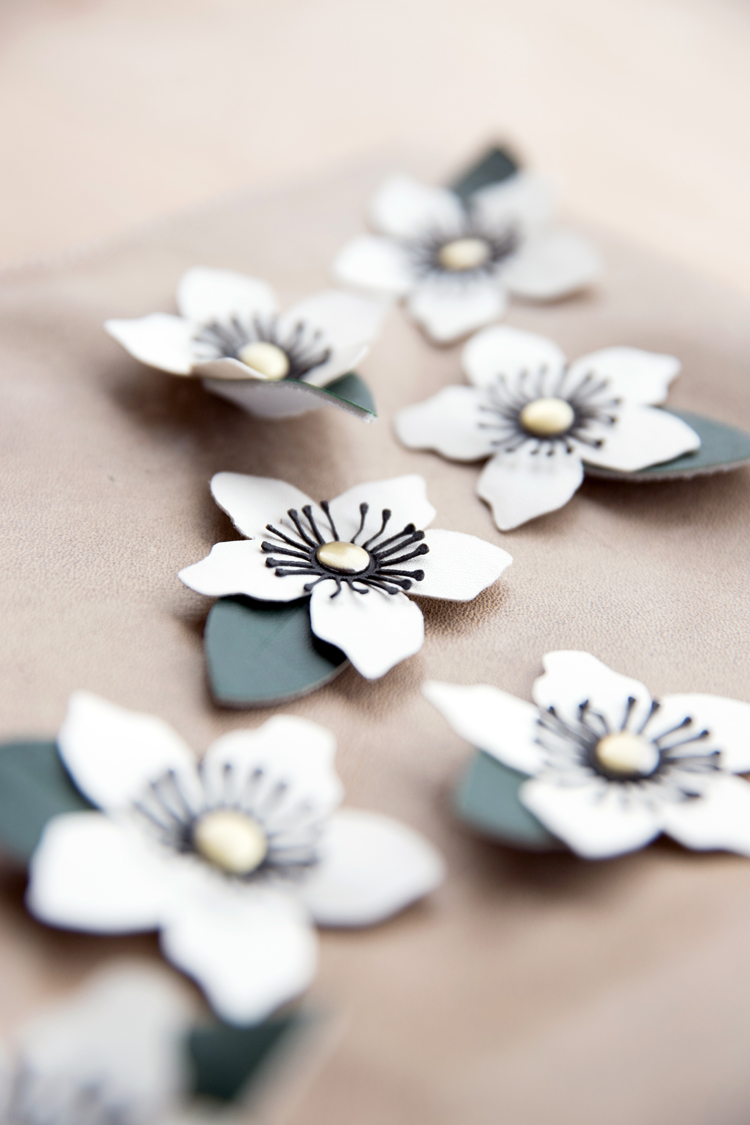
I basically took the anemones I made earlier this year, scaled down and simplified the flower design, and then attached them to pieces of leather with rivets.
Really simple, but so pretty!
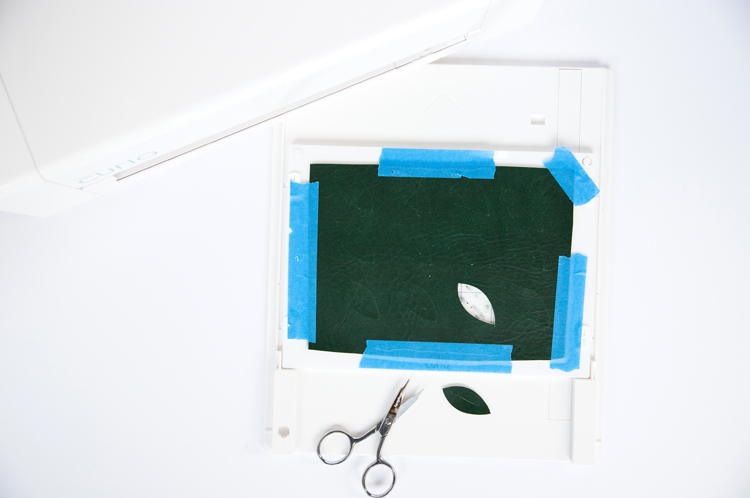
I used my new Curio for the thick vinyl leaves because it sports a deep cut blade that has double the blade depth of a ratchet blade. There’s no way my Cameo could cut through something this thick, so it was fun to see the Curio handle it like a champ.
TIP: I’ve found that thicker materials have a tendency to shift on the cutting mat, so I tape it in place with painter’s tape. It works great! I also recommend keeping the spacing I use in my cut file. If there isn’t enough negative space between the cuts, sometimes the material can’t grip to the mat, which causes shifting and tangles.
You can also use the Curio for the flower pieces but they don’t require as much blade depth so I used my Cameo for that. Even though they are both Silhouette machines, they are pretty different. I’m still getting to know my Curio, but as I do, I hope to share more projects with it.
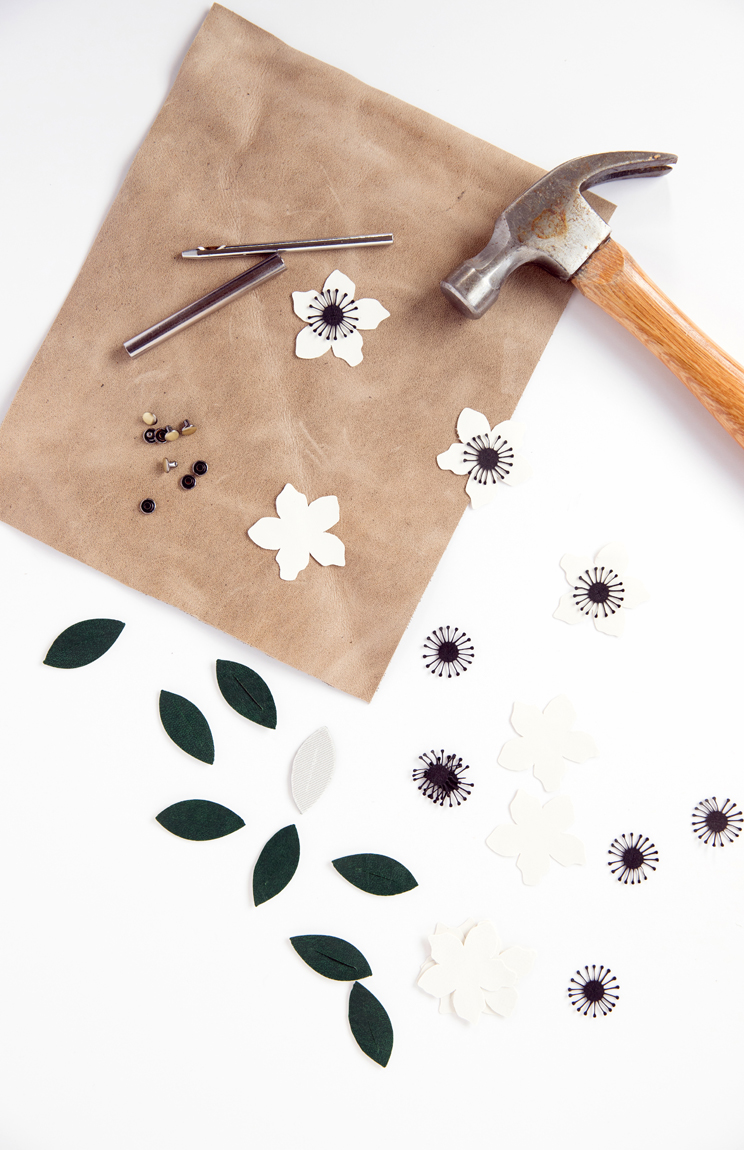
MATERIALS
- Pleather scraps
- Faux leather paper
- Leather for the clutch, you need two pieces 9 x 11 inches
- Rivets
- Rivet setting tools + hammer
- Zipper (10-12 inches)
- Leather sewing needle
- High quality matching all-purpose thread
- Cut files
*Cut File Notes: Includesfolder includes .svg cut files for leaves, flowers, and centers. You need Designer Edition of Silhouette Studio to use these files.
Materials Notes:
Flower petals: I used a “vegan” leather from Girl Charlee, with fabric stabilizer fused to the back, for the flower petals. You can also use white leatherette which is a great leather substitute that Silhouette carries.
Leaves: I used green vinyl sold by the yard from Joann.
Black centers: I used Silhouette’s faux leather paper, which is washable, durable paper that looks more and more like leather as it gets worn.
Rivets: I found my rivet setter and rivets in the leather work section at Michaels.
Clutch: You can use leather from a hide, I got mine from the Leather Hide Store, or you can use an old jacket or bag.
TUTORIAL
1. Cut out your flower pieces using my cut files.
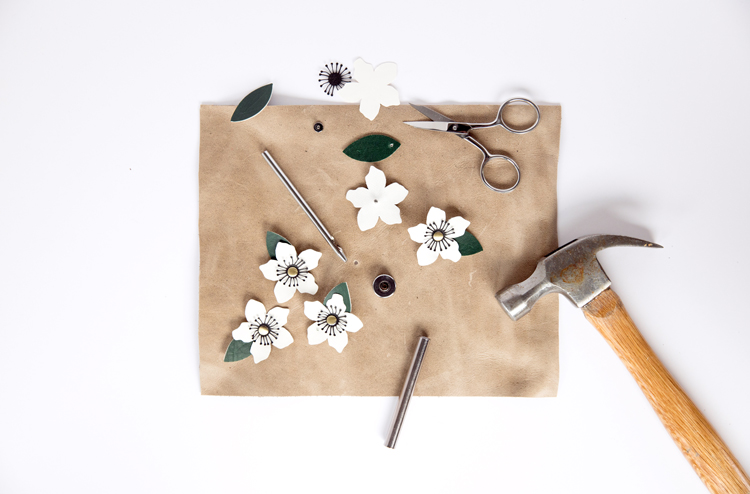
2. Decide the placement of your flowers.
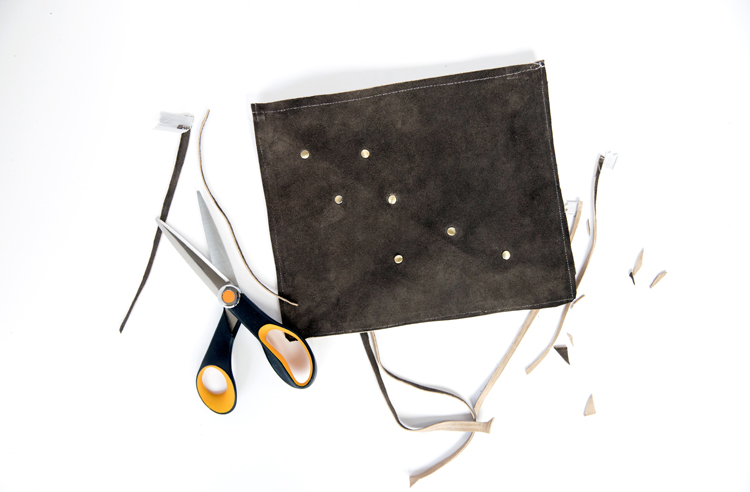
Using the rivet setting tools, punch a hole in the clutch and at the end of one leaf. The petals and flower centers already have an “x” cut into the center.
3. Set the flowers in place.
The rivets come in pairs. One piece is taller than the other. Stack the flower pieces onto the taller piece. Place the smaller rivet piece into the rivet setting base and through the hole. Press the taller rivet into the smaller rivet, and use the tools to hammer everything in place.
Continue with the remaining the flowers as desired.
Tip: You want to hammer the rivet in firmly, but not too hard or you will damage the flowers and the rivet. I suggest practicing on a scrap piece of leather beforehand, so you can get a feel for how much force is needed. Once the rivet is in place, it is very difficult to remove it.
4. Sew the leather clutch…OR….use an existing clutch and skip the sewing. 😉
Usually I like to sew a lining, but the rivets provide such a clean result and my leather has a nice finish on both sides, so I skipped it. If you would like to include a lining with yours, I have a similar tutorial here.
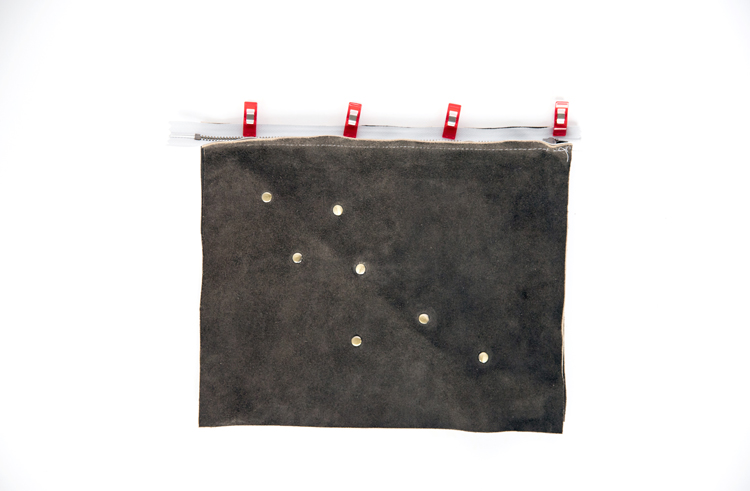
a. Lay the zipper tape across the top of one of your leather pieces, right sides facing. Using a zipper foot and leather sewing needle, sew it in place. Repeat for the other leather piece.
b. Open the zipper almost halfway, so you can turn it right side out later, and lay the leather pieces together, right sides facing. Clip the sides in place. I used quilter’s clips, but binder clips work great as well. Sew down the sides and bottom of the bag, with a 1/2 inch seam allowance.
TIP: When sewing with leather, lengthen your stitches to 3.5 mm and sew slowly! If you go too fast you risk skipping stitches and you may break a needle.
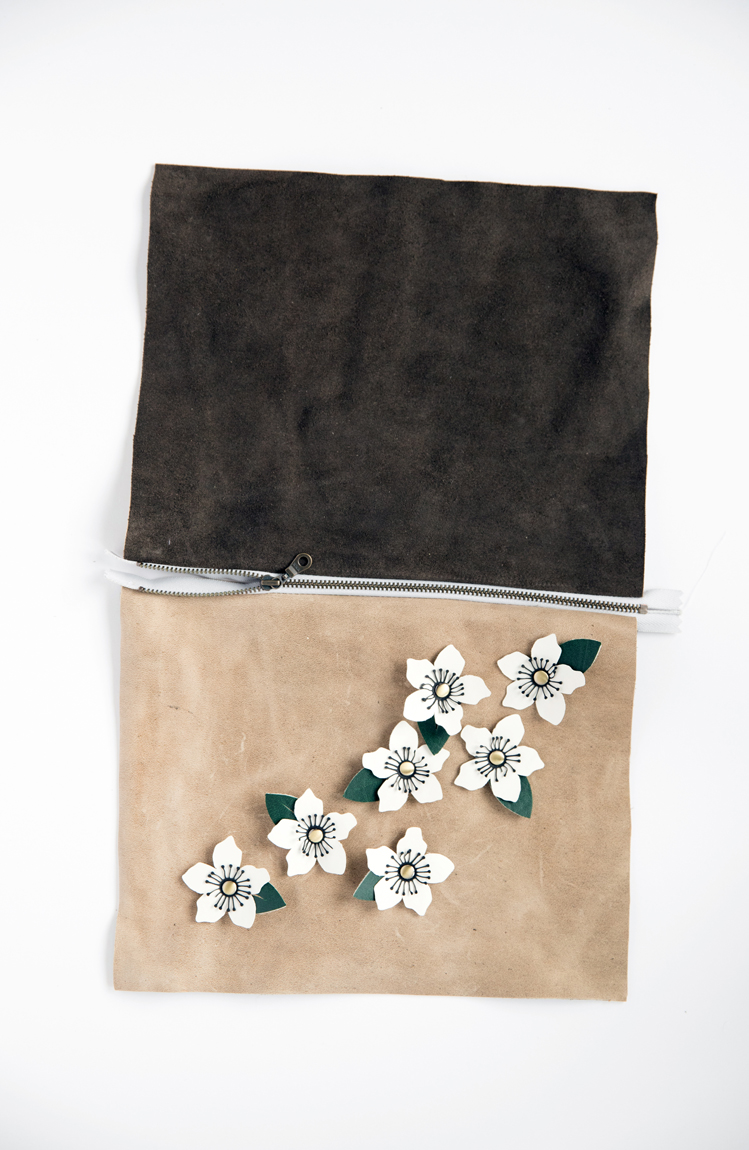
c. Trim down the seam allowance and clip the corners to reduce the bulk when you turn it right side out. Turn right side out through the unzipped opening. Use chop stitches or a blunt stick to smooth out the corners and seams. It also helps to roll them between your fingers to get them to lie flat.
d. Top stitch around the zipper opening…and you’re done!
TIP: For topstitching, I lengthen my stitch to 4 mm. I start and stop just before the zipper pull as well, as the seam by the zipper pull is just too bulky to make look clean.
Annnnd…If you’re in the market for a new cutting machine or some supplies, all my readers get early access to Silhouette’s Black Friday deals.
Theres’s 40% off supplies and accessories, including clearance (hello, stock up on faux leather paper!!), limited runs of purple and blue machines, smoking deals on machine bundles (50-60% off!)…see all the goods by CLICKING HERE and use my code DELIA at checkout, to get the discounts.
Happy Thanksgiving!


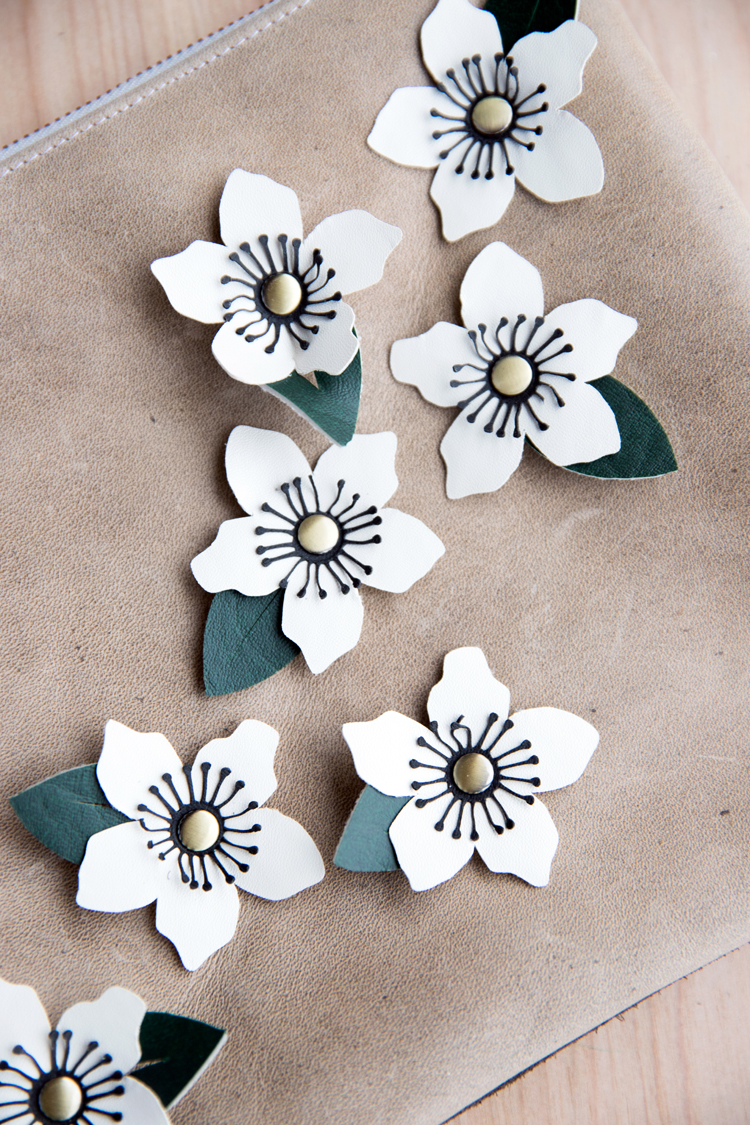
I love the rivets as the flower centers! Such a perfect way to attach them!
Just darling!!