Sewing with leather is my jam. It can be tricky to do, but once you get a handle on it, the possibilities are such fun!
All it takes is some trial and error….plus a few tricks and tips, which I’ll share with you today!
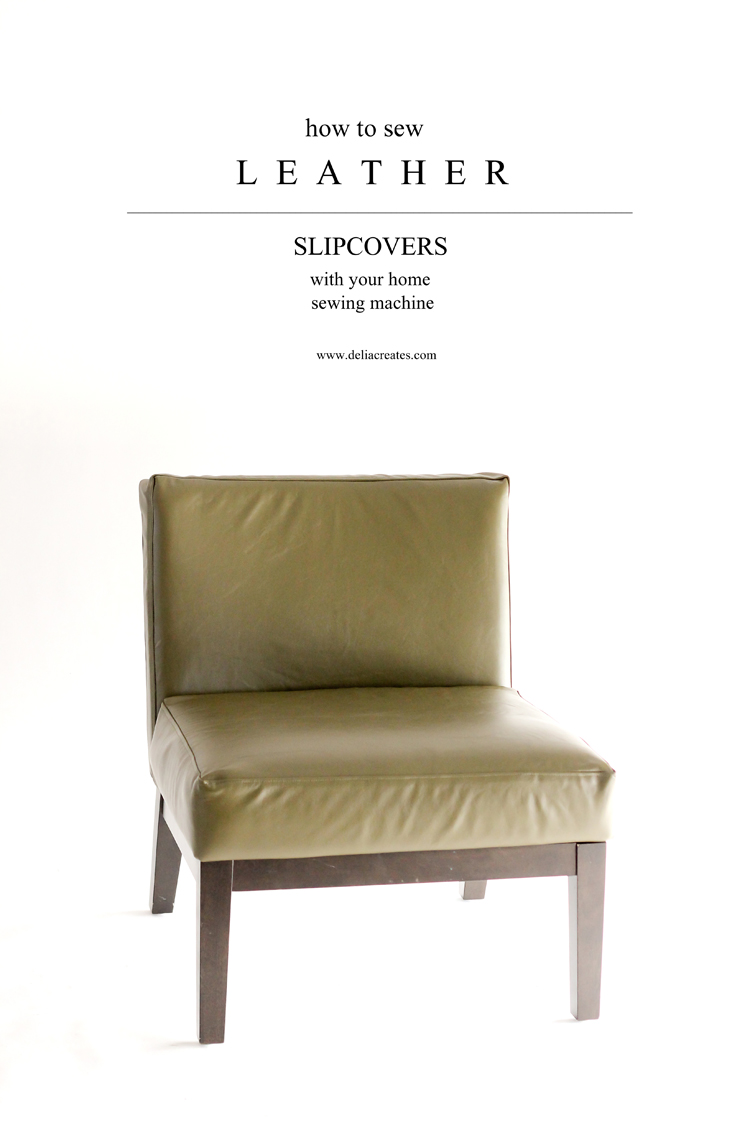
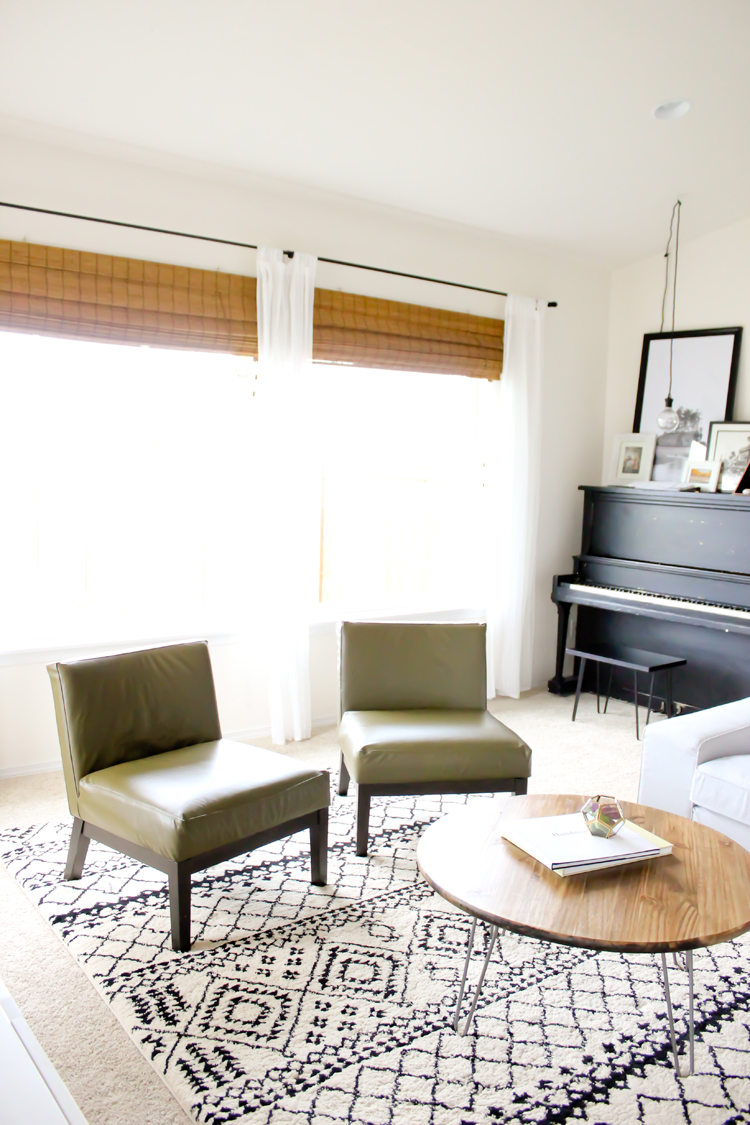
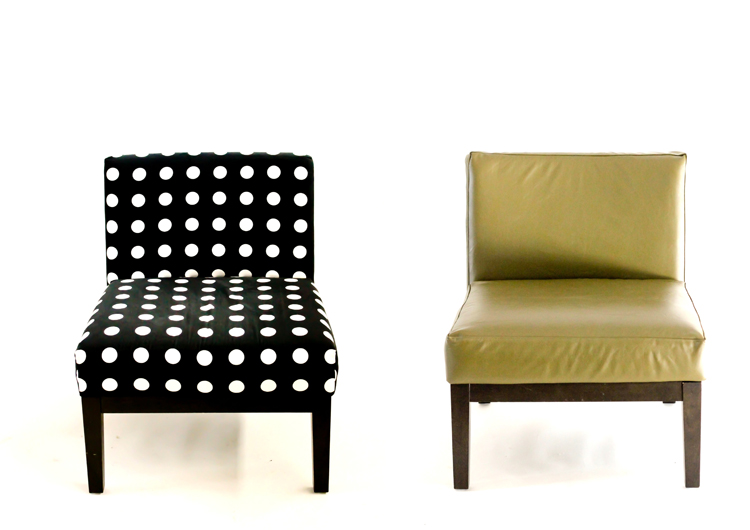
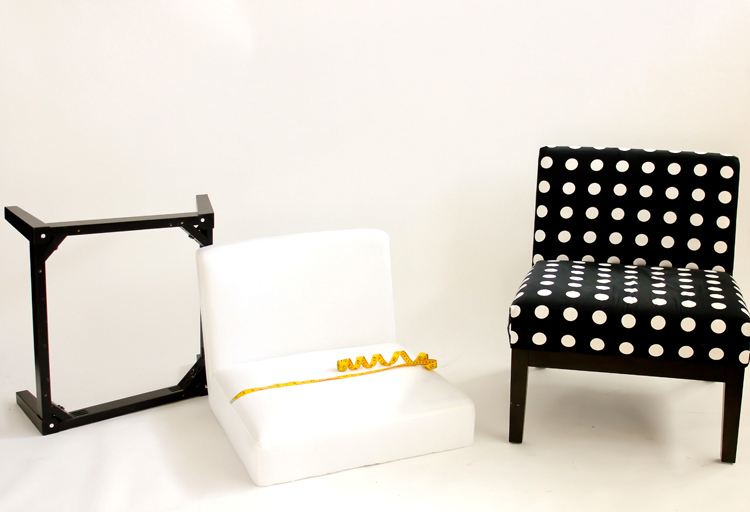
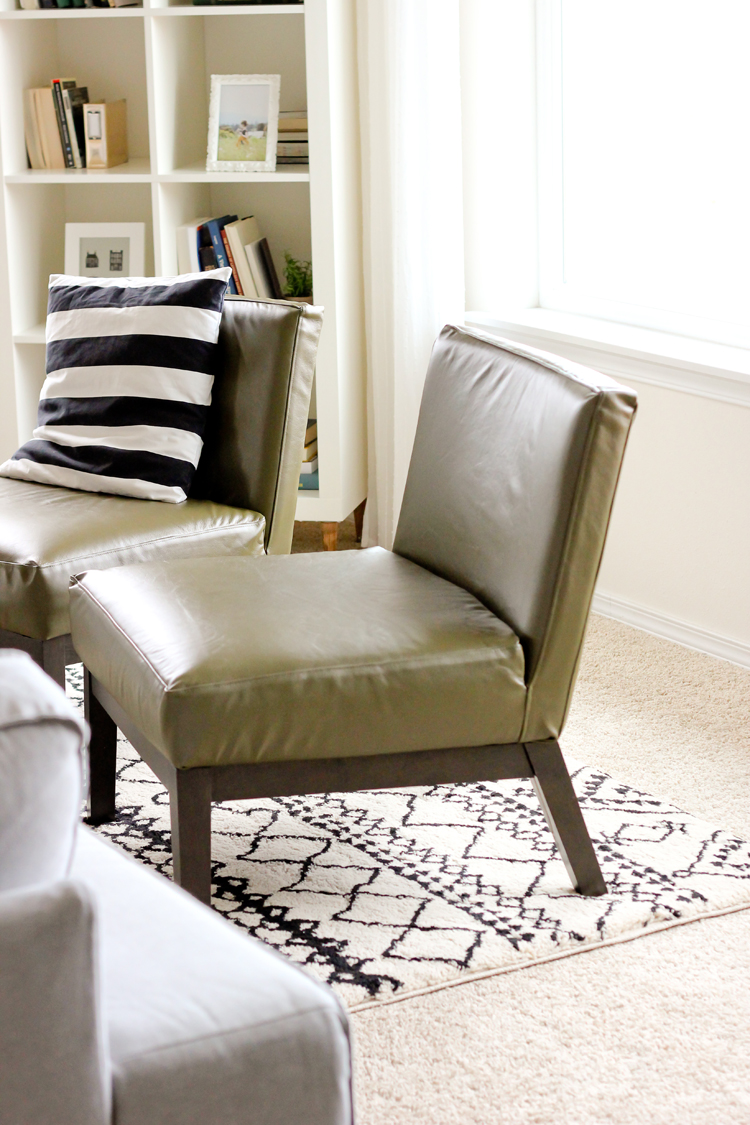
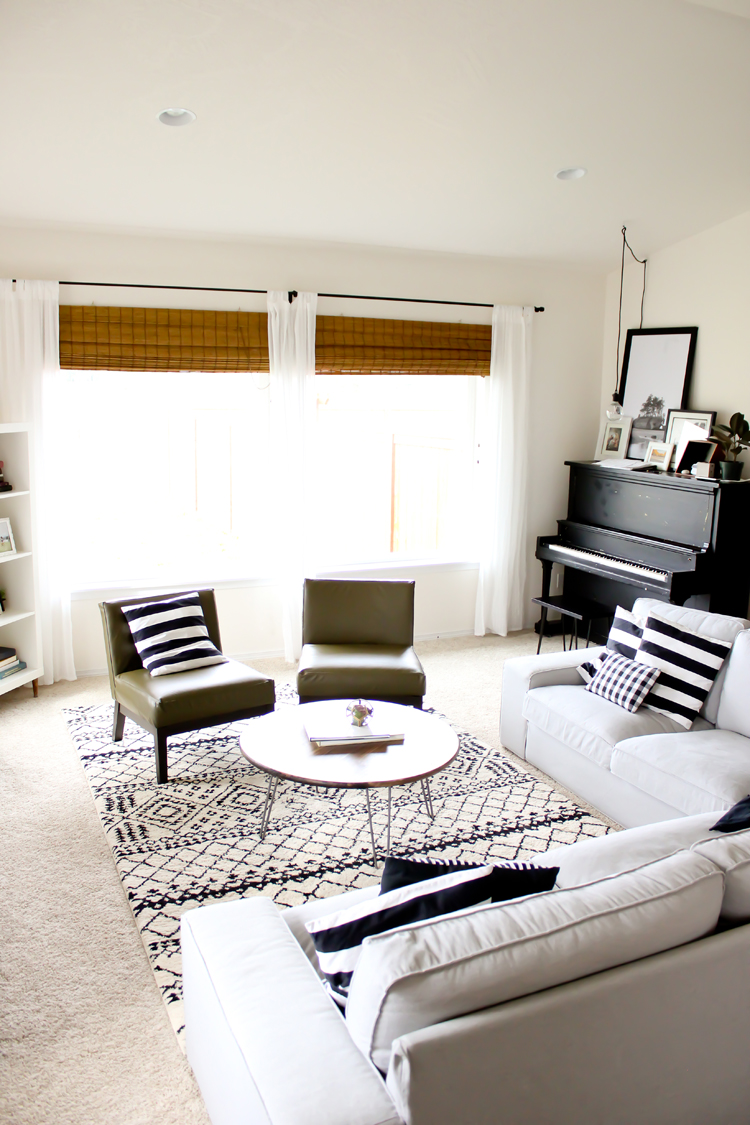
These tough little accent chairs have survived five moves and three slipcover makeovers. Recently, I teamed up with The Leather Hide Store to see if I could tackle the biggest makeover they’ve ever had, and make leather slipcovers.
I’m happy to report that they worked out (PHEW!). I’m not an upholstery pro, so I definitely learned a lot as I went. They aren’t perfect, but overall I’m totally happy with how they turned out. Leather requires more precision than cotton canvas, so it took quite a bit of work to figure out how I was going to tackle this project. For those of you in the same boat, I thought I would share my process and some tips with you!
It’s not an exact tutorial because chances are, your chair is a different shape. This general silhouette is pretty common though, so hopefully my steps help you figure out how to approach your next slip cover project.
My biggest help and resource was this video tutorial from Cechaflo. It is quite long and I can tell that he uses an industrial sewing machine, but his process is mesmerizing to watch, and I learned so much from watching his technique! He is so exact and mathematical about everything he does. His videos also make me want to get some upholstery adhesive before my next project. I didn’t use it for this tutorial, but if you have it I think it would be great to press and glue seam allowances open if you can!
Okay…let’s get this party started!
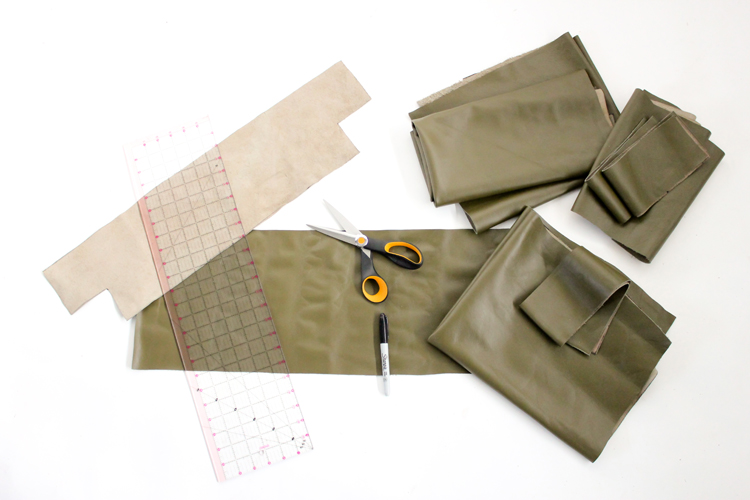
First things first, make sure you are using upholstery leather. I chose a Deep Army Green upholstery leather hide from The Leather Hide Store.
You will also need:
*Leather Sewing Needle
*Walking Foot
**Heavy Duty Thread (matching), all-purpose is okay
Stapler (regular office stapler)
Clover Clips (binder clips work in a pinch)
Permanent Marker
Quilter’s Ruler
Heavy Duty Scissors
Eyelet Tool and Grommets
Staple Gun
* You absolutely need a leather needle and a walking foot. These two tools will make sewing with leather on your home sewing machine, infinitely more manageable and in some cases when the layers of leather get thick or sticky, simply possible to begin with.
** If you don’t have heavy duty thread, all-purpose thread will do just fine. I couldn’t find a heavy duty thread to match my leather, so I went with all-purpose. It’s not ideal but it’s held up just fine. You may use a contrasting thread, but I do not recommend it unless you have an experienced hand, as small mistakes will be more obvious.
STEP ONE: Measure your chair and make a pattern.
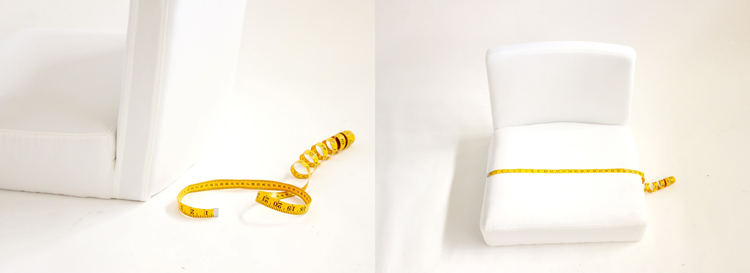
If there is a cover on it that you are going to remove, remove it now. Take your sewing measuring tape and get as accurate measurements you can of every curve, point, and side.
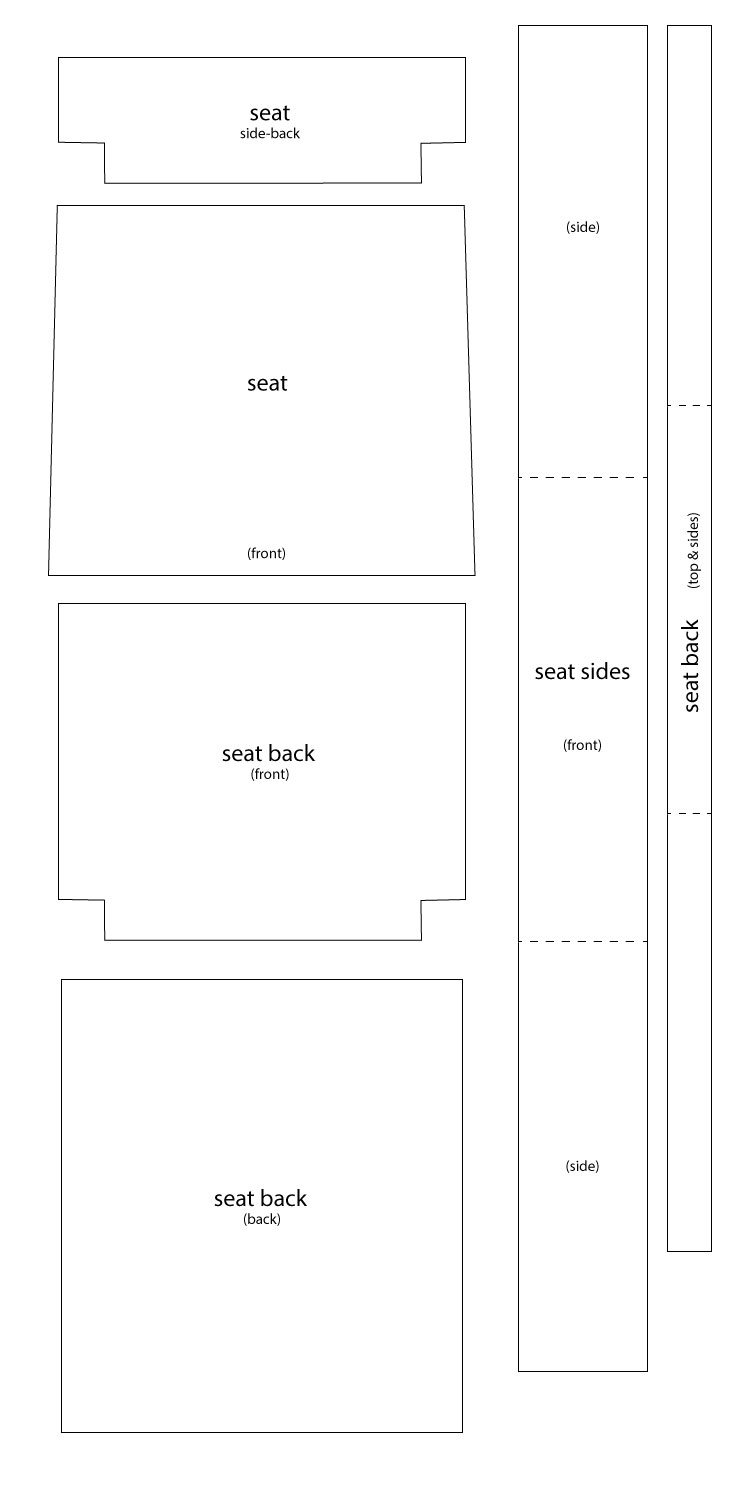
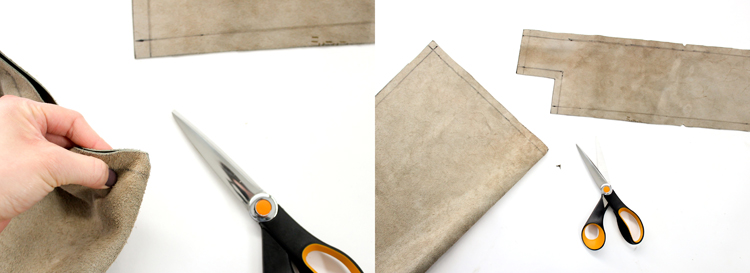
Take those measurements and decide how you want to sew around it. For crisper corners, I decided to use long, continuous strips to join flat back and seat pieces. Here is what my pattern looked like:
On the continuous strips, I marked out where the corners lined up (on the wrong side, of course), so I could make sure I was staying on track while I sewed.
I also made sure I had at least 4 inches of overhang on the bottom pieces, so I could wrap and staple the ends of the slip cover to the bottom of the chair later.
Note: I used as exact measurements as I could, but I did not account for the curve in the back of the chair. If you run into the same issue, and I if were to do this again, I would make the back front piece a little narrower, so the leather would stretch better on the back.
Step Two: Cut and prep leather pieces.
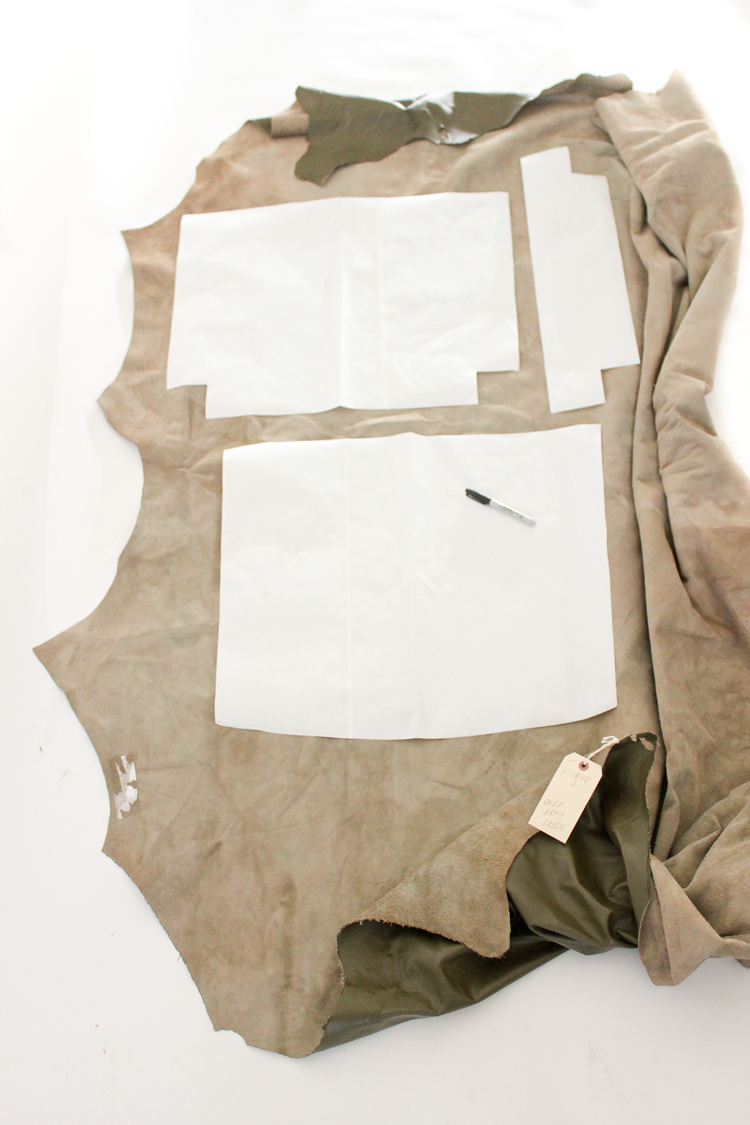
After I cut my leather pieces, I marked out my seam allowance (I used 1/2 inch), to make sewing everything easier. The corners are tough to sew around, so having the seam allowance pre-marked allows you to see exactly where you need to go at all times.
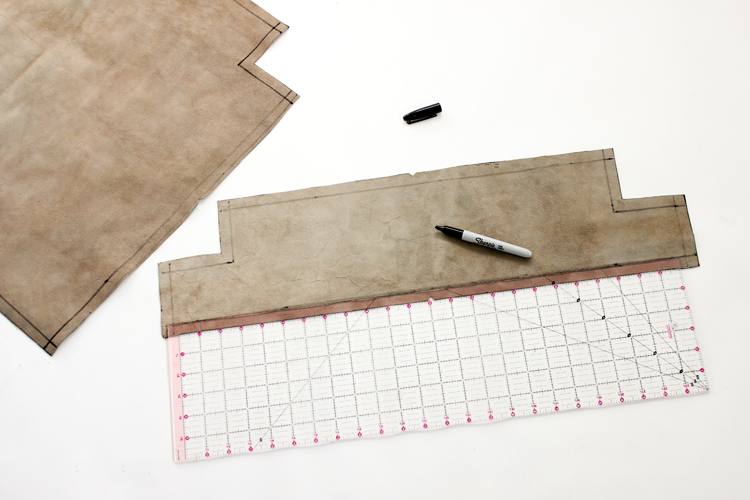 I also marked and cut mid-point notches to help me keep my pieces lined up correctly. I almost always prefer the quick and dirty method to sewing, whenever I can use it. With leather though…it pays off big time to not cut corners. So don’t skip these steps!
Step Three: Sew the seat.
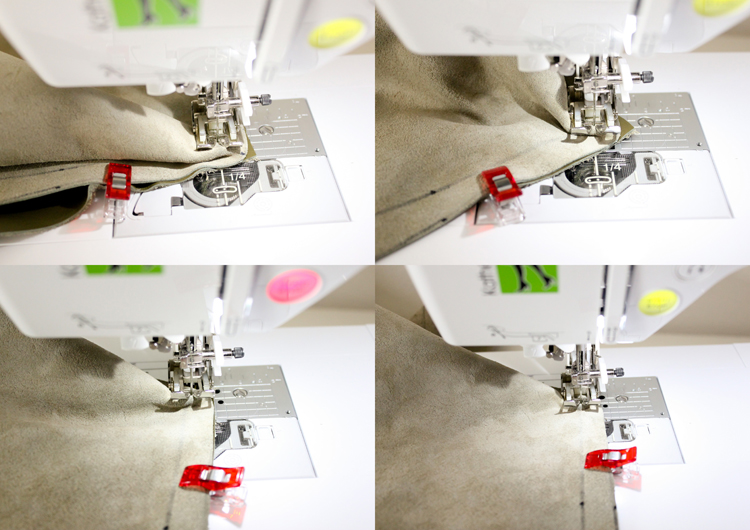
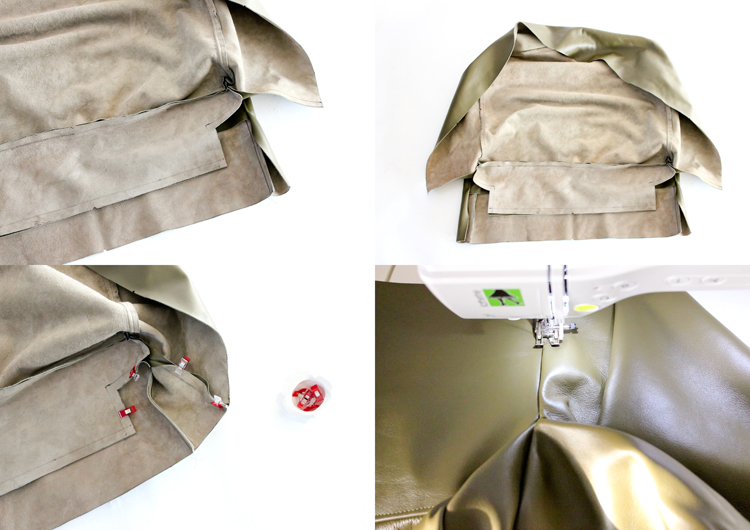
Using the notches and pre-marked corner lines, clip the seat pieces together. To keep the leather from shifting, staple the seam allowance together at the notches, and other strategic spots as you see fit. This is a tip I learned from Cechaflo. It is GENIUS and it works like a charm in helping you keep everything lined up while you sew. Just be sure to remove the staples when you’re done sewing.
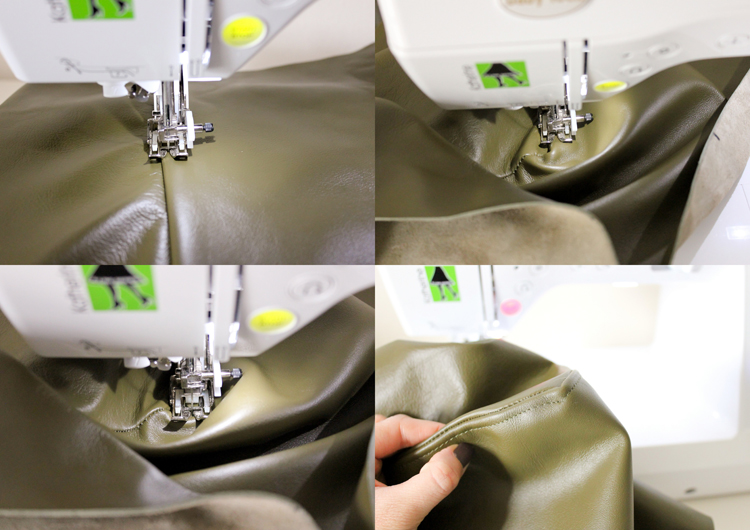
I highly recommend lengthening your stitch. I used 3.0-3.5 mm for sewing pieces together and 4.5 -5.0 mm for top stitching.
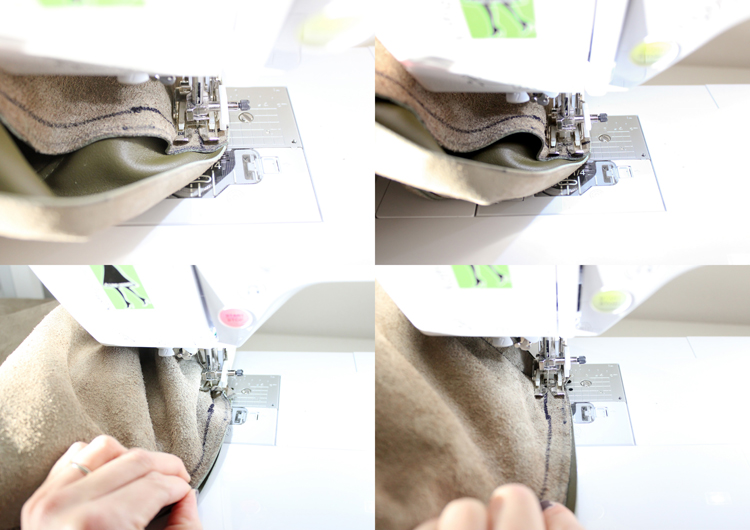
When you get to the corners, go very slow. Hand cranking the needle is advised. As you turn your work, be sure to dip the needle down all the way and then stop it as it starts to come to the upward position. This ensures that the bobbin thread is picked up and you won’t skip any stitches. Crank one to two stitches, lift the presser foot, turn and adjust the leather and then repeat until you have completely turned the corner. It helps if you practice this on some scrap leather first.
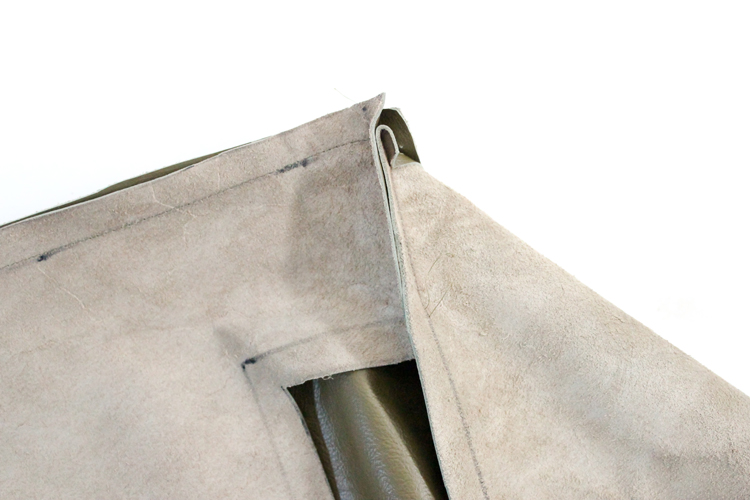
TIP: At the start and stop of the seam, leave about 1/2 inch of the ends un-sewn. More pieces will be sewn onto these ends, some from different angles.
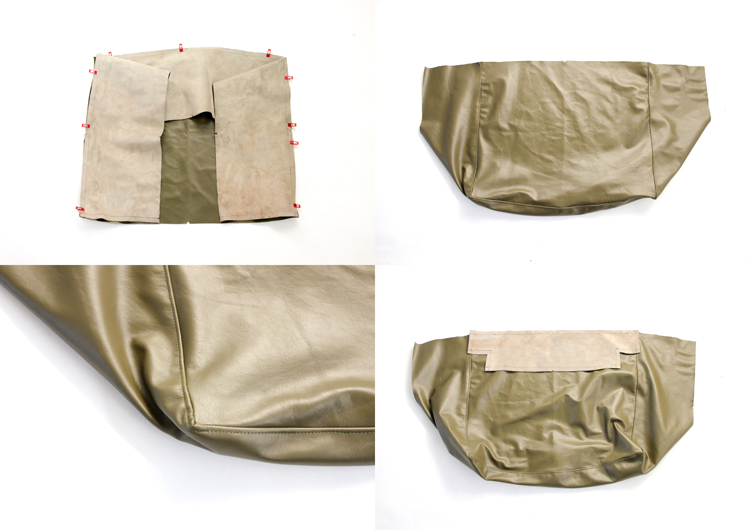
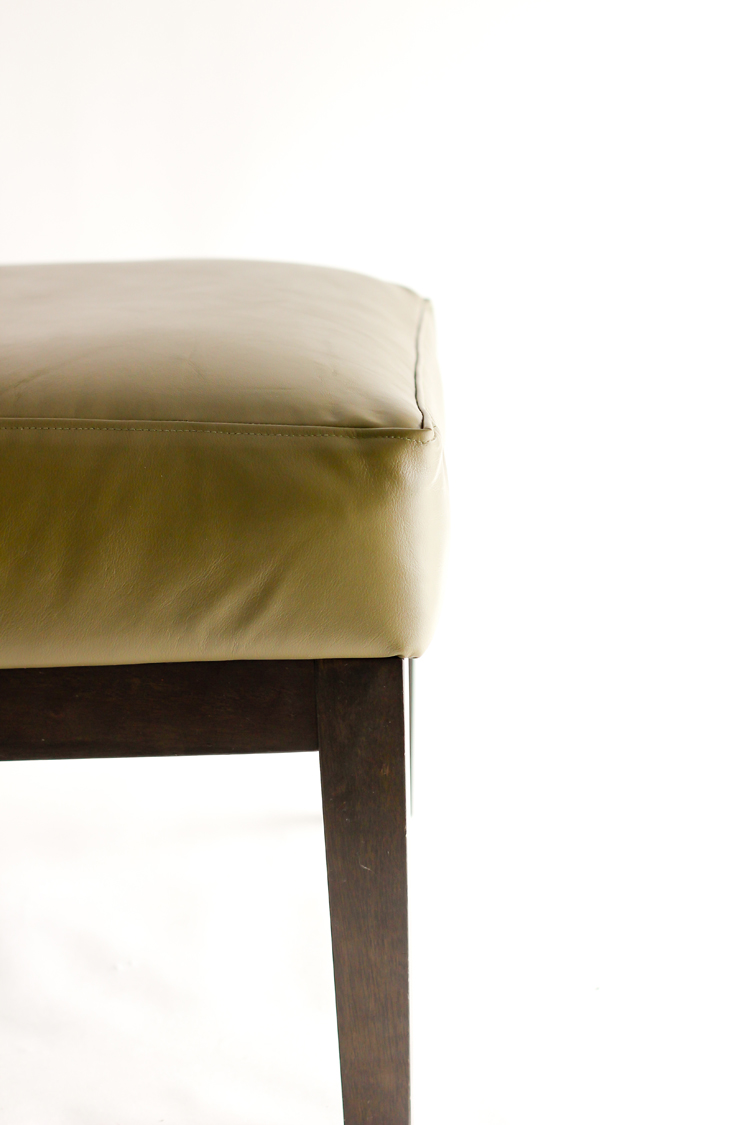
After you’ve sewn the long side piece around the seat, clip the corners and top stitch around the seam. Remember to lengthen your stitch even more, and sew with the leather turned up like a bowl, with the right side of the leather inside the “bowl.”
Now you can add the back side seat piece. See the picture below, to see how the corners line up. The un-sewn seam allowances at the edges, help them line up correctly (see the tip above). You can trim back these corners to reduce bulk, if needed, before turning your work right side out.
Step Four: Sew the back.
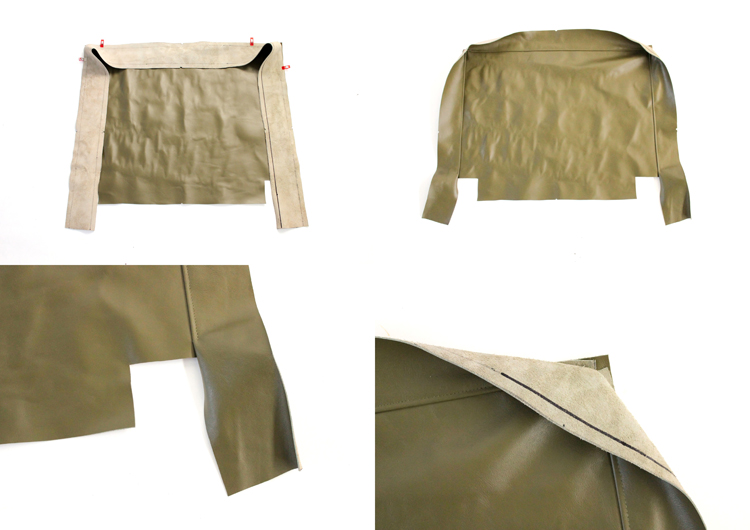
Sew the top and side strip to the front piece like you did the seat piece. Top stitch around the seam in the same manner, leaving 1/2″ of the ends of the seam (start and stop) un-sewn and not top-stitched.
This is another view of how to sew around the corners. The previous view was with the flat piece down. This is with the flat piece up. Either way works. Use the one that comes easiest to you.
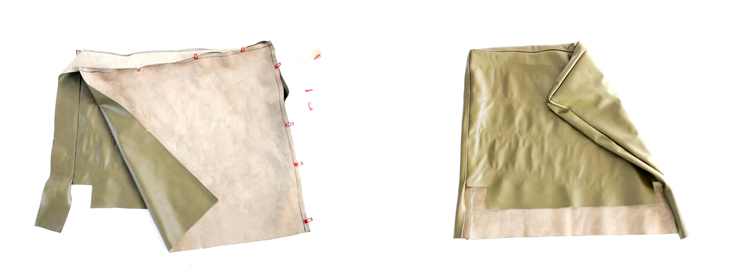
Sew on the back piece to the strip. Clip corners and turn everything right side out.
Step Five: Sew the seat and back together.
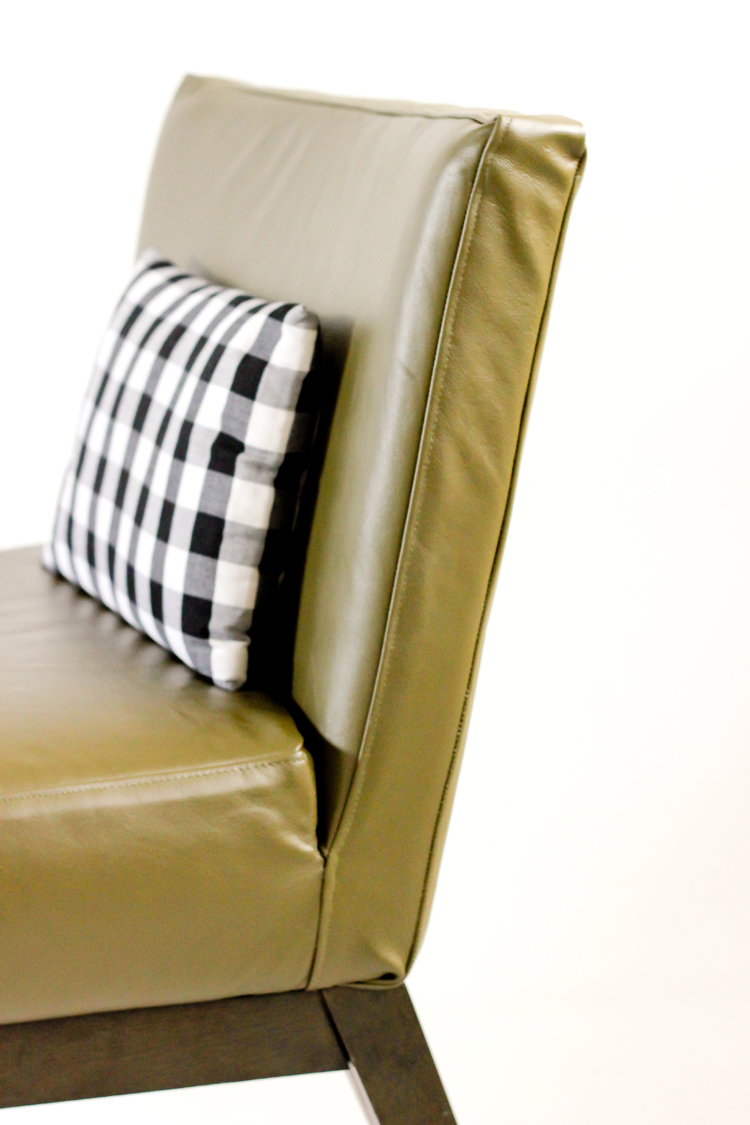
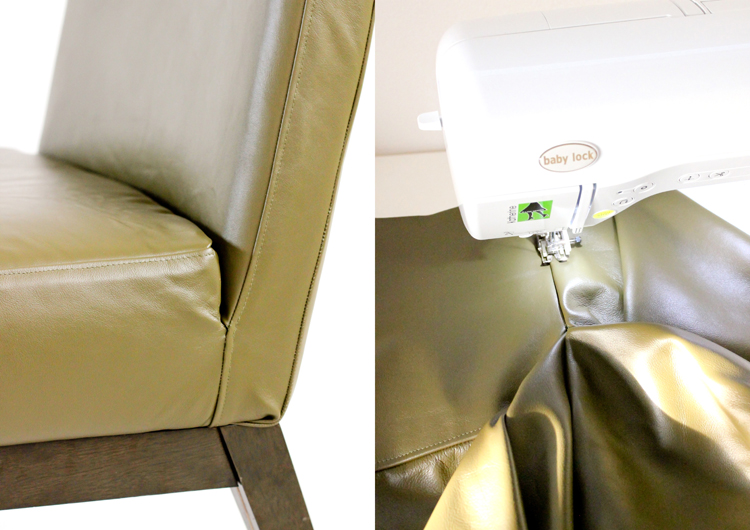
My chair has a tricky rise and fall part where the back and seat meet. I cut little notched corners to accommodate those curves, then I lined the pieces up at the notched corners and carefully sewed the pieces together. I was careful to sew up to the other seam lines as close as I could so that I would not have any awkward holes and gapes. This took some creative turning and very slow hand cranked sewing at some points. I also finished the line of top stitching on the sides of the back piece (see picture above).
Step Six: Add vent holes and cover the chair.
Vents:
Using an eyelet tool and 2 small eyelet grommets per corner, add some small vent holes to the unseen corners of the seat. Leather doesn’t breathe, so if you sit on it without a vent hole, the air will not allow the cushion to absorb your weight and the air that is being displaced will bubble up and put stress on the seams.
If you need to score a hole for the grommet to fit through, use a very small, sharp pair of embroidery scissors to cut a small “x” where you need the grommet to go. Trying to just pound the grommet into the leather won’t work, and trying to needle the sharp end of your scissors to bore a hole, runs you the risk of gouging too big a hole into the leather.
Cover:
Then….the moment of truth. Slide your cover on your chair. Leather is a beast to stretch onto something, so it will likely be a bit of a work out.
Pull the slipcover ends tightly and staple in place with a staple gun. Re-install the legs.
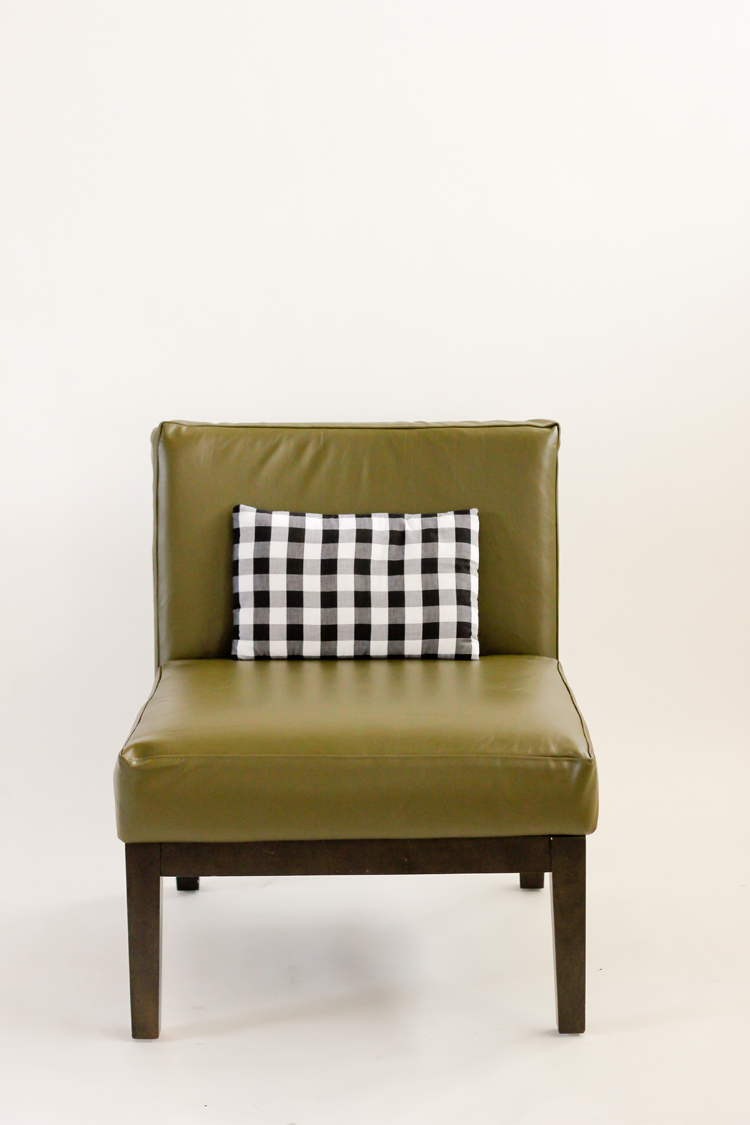
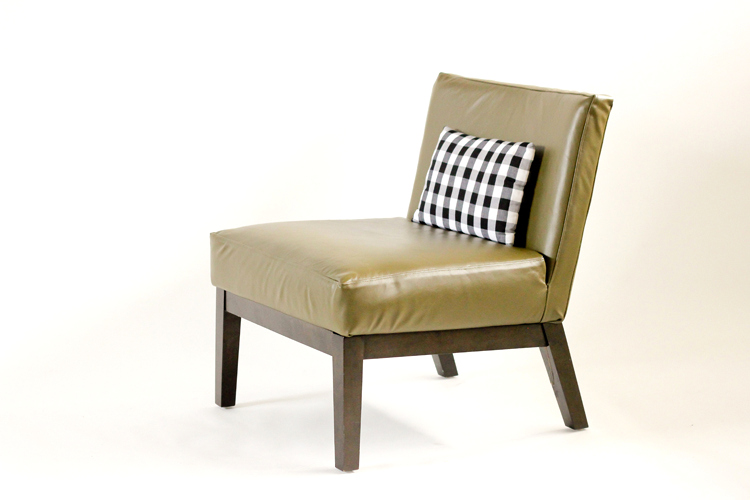
Ta da!
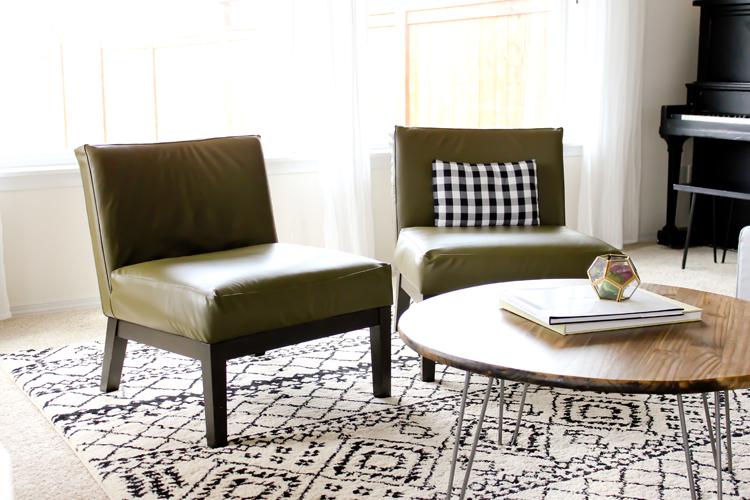
It’s so nice to have matching chairs in our living room again (they were two different prints before). The rest of the room is slooooowly coming together. I probably move the frames around at least once a week. ha! This space is also due for a throw pillow refresh. So, back to the sewing table!
I hope this tutorial is helpful to you. If you have any questions, please ask in the comments and I’ll do my best to answer there.
Disclaimer: The leather used in this post was provided to me by The Leather Hide Store. All opinions and content are my own.



Great tutorial. I’ve sewn slipcovers but never with leather — I love the way it looks!
What I really want to know about is that wonderful coffee table! I’m hoping it was a DIY and that a tutorial will be coming soon?!
Thank you! Yes! It is a DIY. I should be sharing the tutorial probably next week. 🙂
They turned out great! I recently started sewing with leather myself (and I don’t have an industrial machine, but I’m dying to get one!) and talk about a learning curve! I consider myself a pretty proficient sewer but leather is a whole new ball game. Ha ha
Nice work!
I would love to get my hands on an industrial machine too! Thank you Lindsay!
Wow, those turned out amazing! They look professional! I love sewing with leather, but the sewing machine I’m using now can’t fit a leather needle (weird, right? Other needles of the same brand fit fine!) and skips every single stitch with any other kind of needle. Makes me so sad!
Oh no! So sorry! Have you tried a denim needle? Would that fit? It wouldn’t work as well as a leather needle, but might be okay for smaller projects? Oh…but if it skip. ugh. bummer!
Try taping a piece of paper under the leather, I find some fixes/solutions on youtube.com this one worked for me. Some leather doesn’t offer enough resistance, that’s why it skips stitches, it’s pulling too fast to keep up.
Great tip! Thank you.
Daarnaar Delia! This is incredible!!!
that was supposed to say Daaaaaaang. I don’t know what Daarnaar is…
hahaha…auto correct FTW! Thanks Jess!
wow that looks amazzzzzzzzing
Thank you!!
Wow that was amazing!!!! Just seeing the top of the chair off the legs was an eye opener for me! Never knew you could do that! Your living room looks great!
Thank you Jamie! It depends on the chair, but if you inspect the bottom, chances are, you’ll see where the legs screw in.
Great work. One question. Did the back cover (back) get double stitch like the back cover (front)? I don’t see it in the picture. I also can’t imagine how to feed it in the machine if you wanted to do double stitching from the outside.
The backside of the cover did not get top stitching. I couldn’t imagine how to feed it through either. 😉 I think you need a special machine for something like that.
Great job! I’m considering covering an ottoman, and although I’ve done lots of other slipcovers, I’ve never worked with leather. This was VERY helpful. I may see how expensive it would be to have a pro do it…
Thank you Ginger! It’s definitely a little challenging, but totally doable on a home sewing machine if you end up doing it yourself.
Hi Delia, this Spruce post just came up in April 2022, so it’s been awhile since you’ve done your chairs, but I was soooo impressed with your work. I’ve done leatherwork (handbags, clothing, small projects) but have not yet tried to do chair covers. Do you recall approximately how long it might have taken you to do one of these, including measuring and pattern prep? Thank you again for sharing!
Hi Brenda,
I am terribly sorry for my super delayed response. Your comment erroneously got lumped into with spam comments which I am clearing out right now.
It’s probably moot by now, but to answer your question, it’s hard to separate how long each chair because I did them together. For both of them it took me about 1 interrupted week. The measuring and pattern making was the toughest bit. The sewing was actually pretty quick. I can’t remember if I mentioned this in the post, but I recommend making a muslin first. That part takes that longest but helps you work out the kinds. It’s best to do that before you cut into the leather.