Today, I’m sharing another project I made for Jo-Ann’s Fall Look Book.
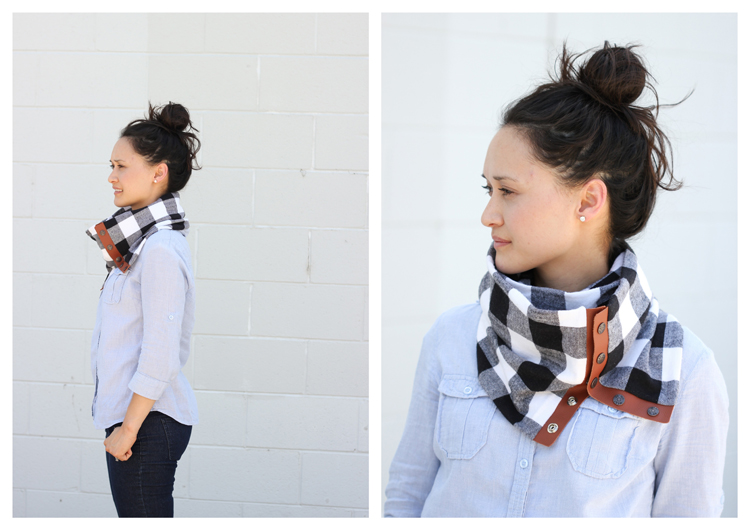
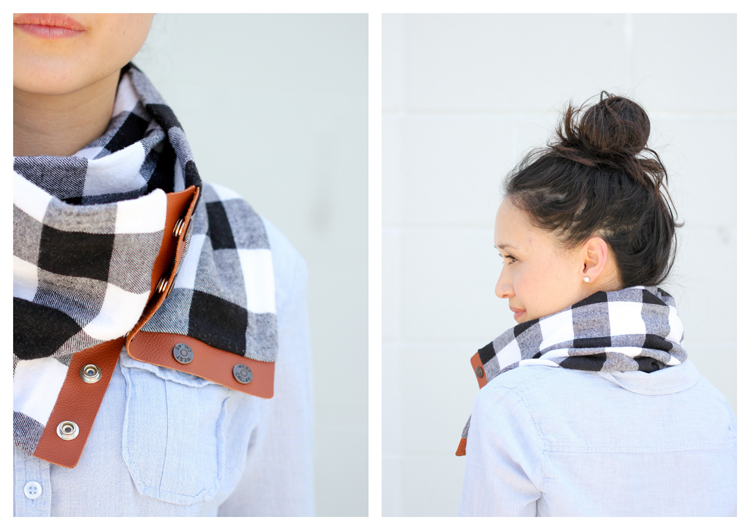
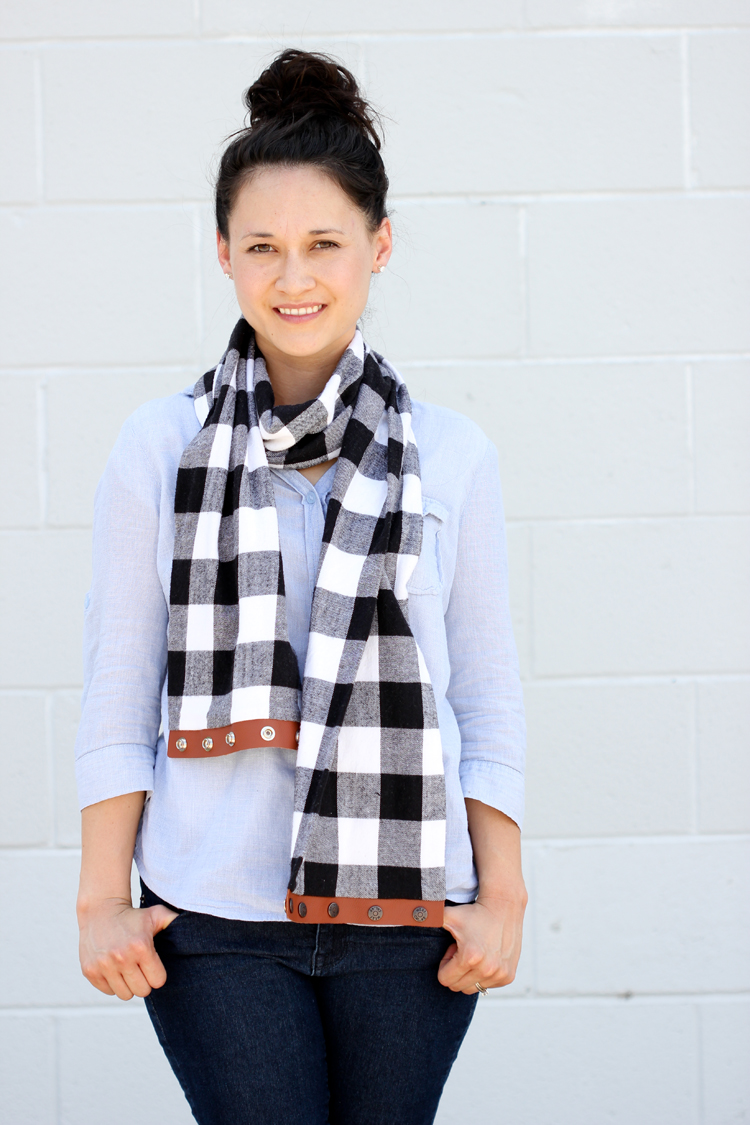
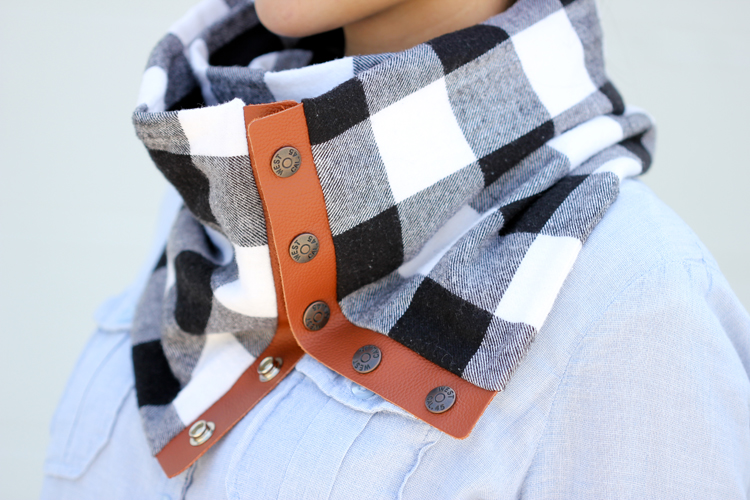 This leather and flannel snap scarf!
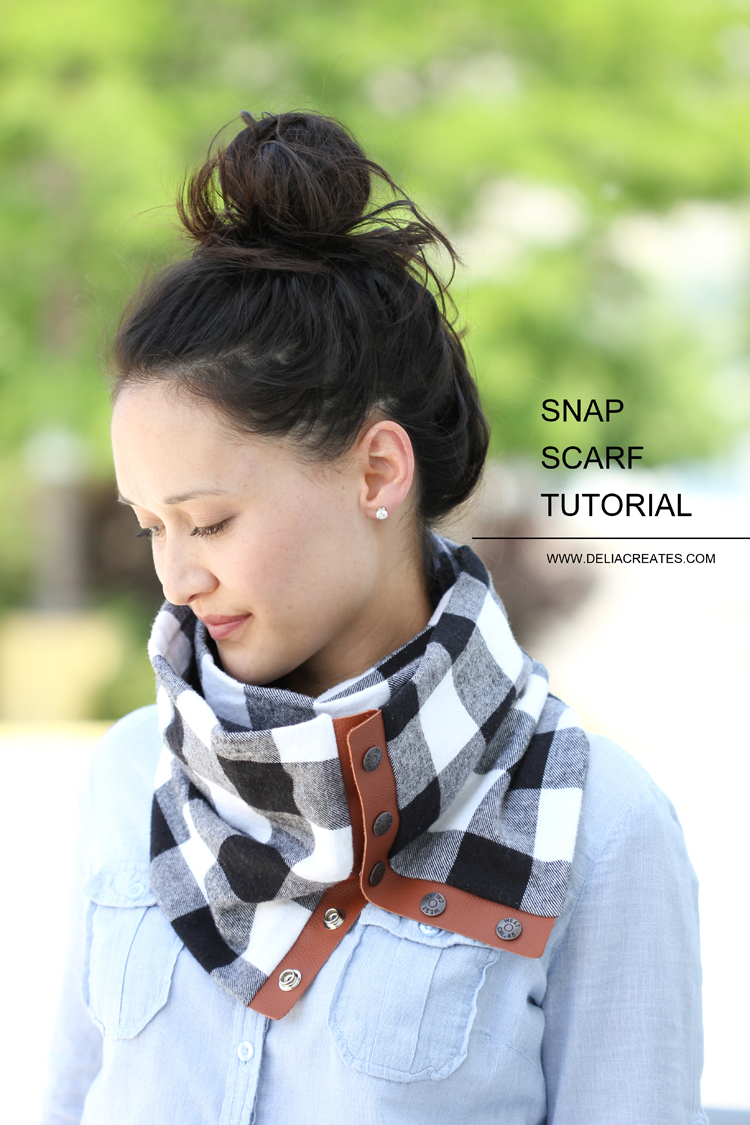 It’s a simple sew, with stunning results.
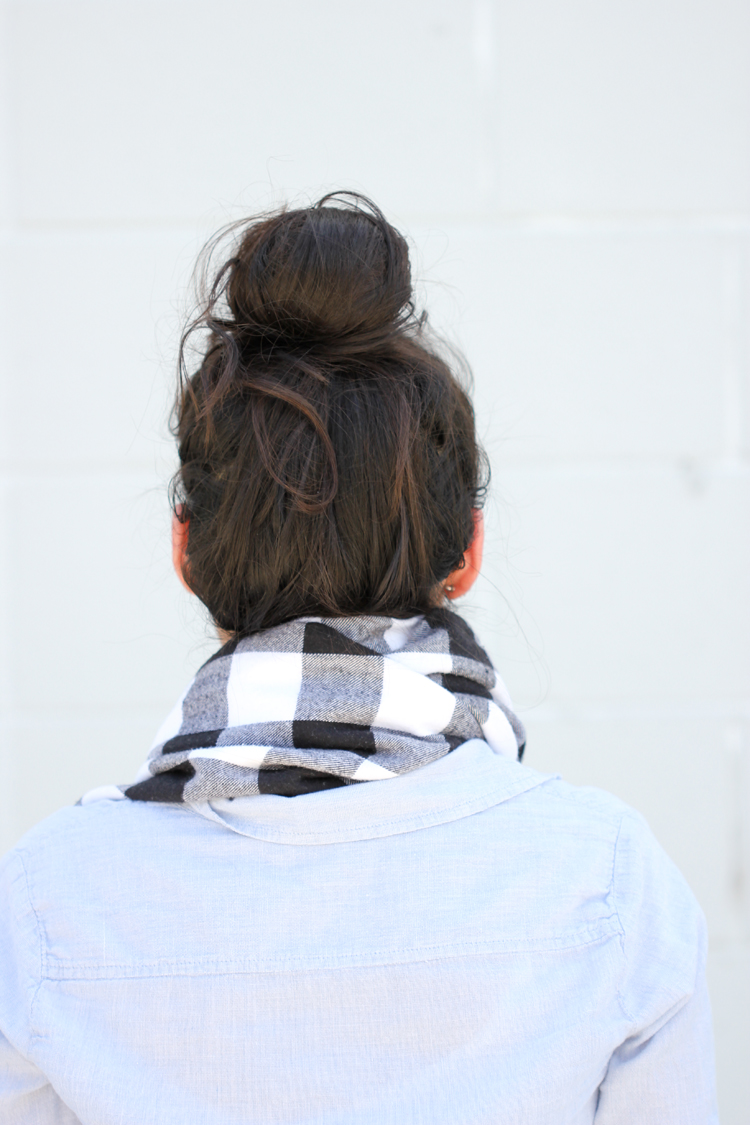 You just have to splurge a little for heavy duty snaps and a leather needle, but it’s totally worth it. Plus, once you have the tools…you have the tools, which frees you up for more project opportunities later.
 This scarf is also a pretty quick, under an hour, type project which makes it a great DIY gift!
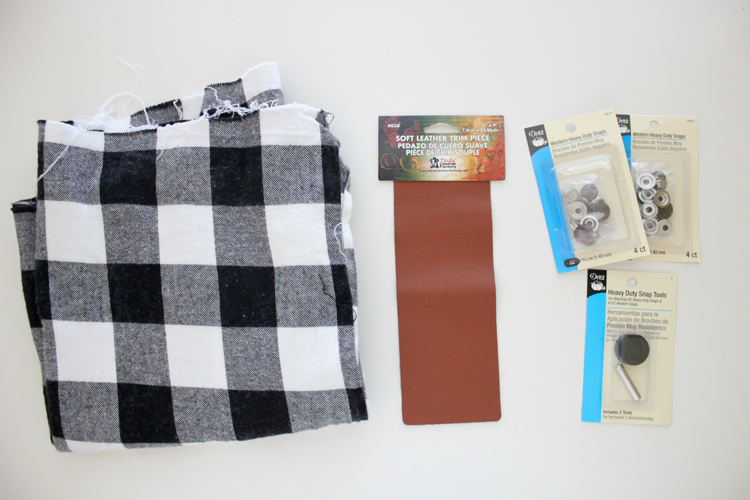
SUPPLIES & TOOLS:
- 1 Soft leather trim piece – 3″x 9″ (Jo-Ann carries it in the leather section near the craft and jewelry supplies)
- 5 Dritz Western Heavy Duty Snaps – #105
- Dritz Heavy Duty Snap Tool for attaching #5 and #105 snaps
- Schmetz leather sewing machine needle
- Flannel fabric: 1 1/4 yards
- Matching Thread
- Sewing machine
- Scissors
- Rotary cutter and self healing mat (optional)
- Ruler
- Hand sewing needle
- Pins and clover clips (binder clips can substitute)
DIRECTIONS:
1. Prepare flannel fabric:
– Machine wash and dry flannel fabric.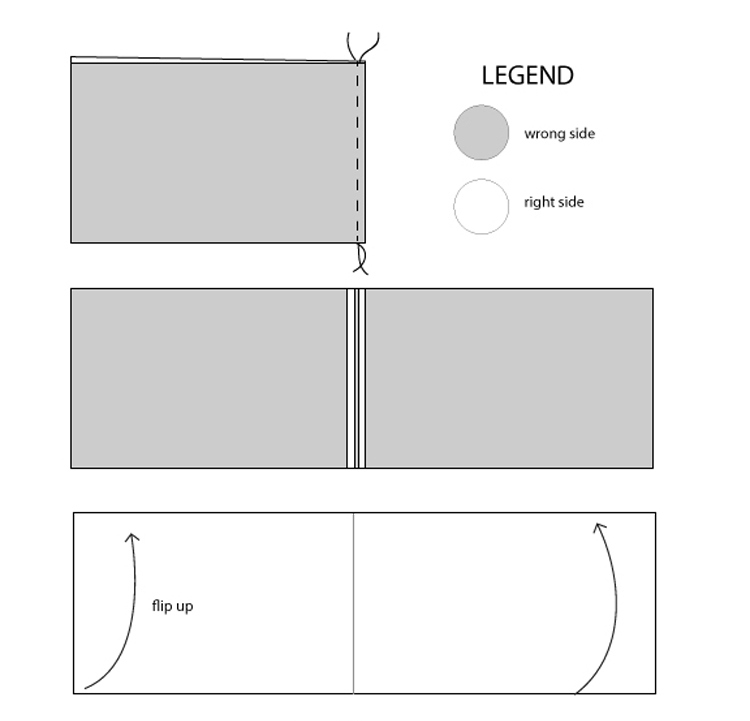 – Cut flannel into two 19″ x 45″ pieces. Plan your cuts carefully to ensure that the fabric pattern will match up when the two pieces are sewn together.
– With right sides facing, pin the two pieces together at the short ends. Check to make sure the fabric pattern matches and sew with a 1/2″ seam allowance. Press seam open. You should now have one long piece of flannel 19″ x 89″.
-Fold it in half length wise with right sides facing, and set it aside.
Note: You may simplify this step by buying 2.5 yards of fabric and cutting it in half length wise, so that piecing it together is not necessary.
2. Prepare leather snap placket:
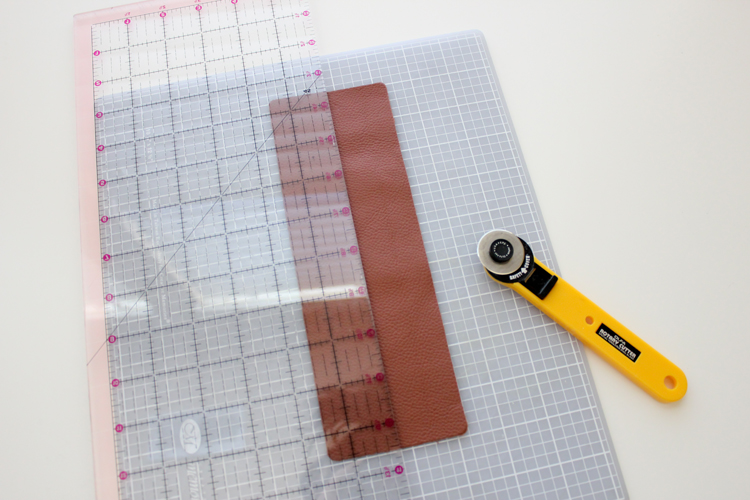
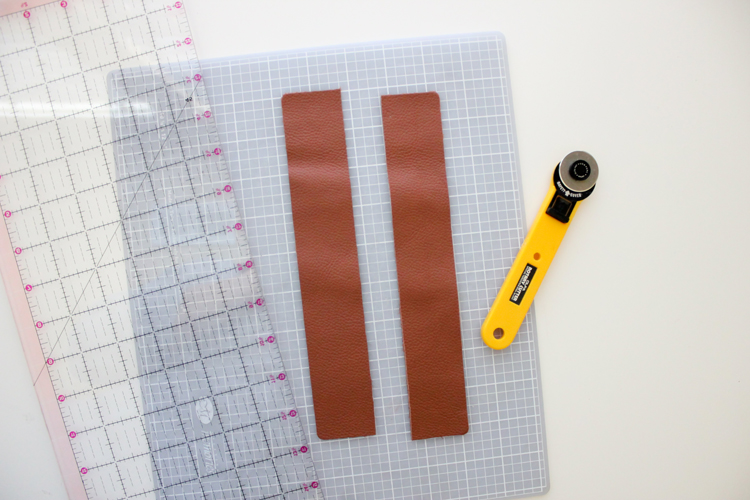 – Cut leather trim in half, length-wise, so that you end up with two 1.5″x 9″ pieces of leather.
3. Take your folded flannel piece and pin it together along the matched long edges.
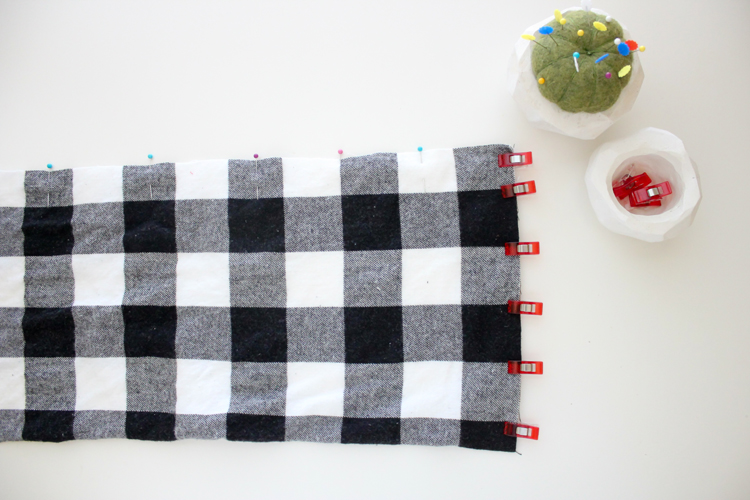 4. At the ends, leave them unpinned. Sandwich each leather piece in between the layers of flannel at each end. Ensure that the straight, cut edge of the leather trim is lined up with the raw edges of the fabric and clip into place with clover clips or binder clips. There should be about a 1/2″ space above the top of leather trim piece and the long raw edges of the fabric to account for seam allowance.
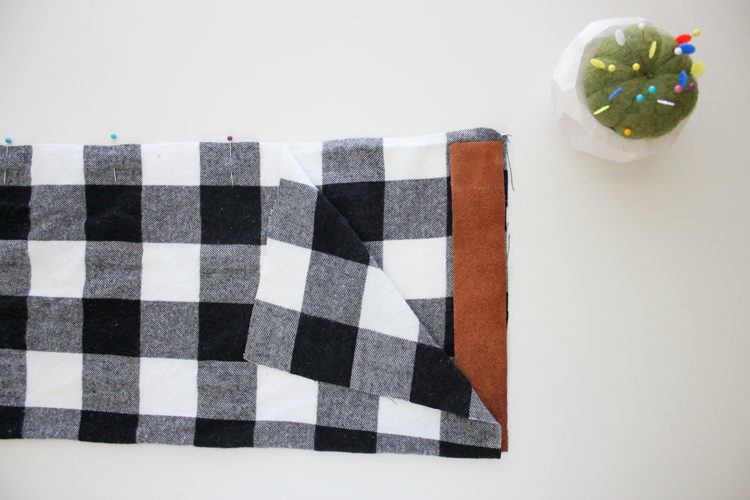 Note: If you want your scarf to naturally twist when you snap it closed, insert the leather pieces in the same manner for each side. If do not want the scarf to twist when snapped closed, lay one leather piece right side up and the other side right side down.
 5. Using a leather needle, sew along all raw edges with a 1/2″ seam allowance. Leave a 3″ opening un-sewn in the middle of the scarf for turning. Remember to back stitch at the beginning and end of the gap.
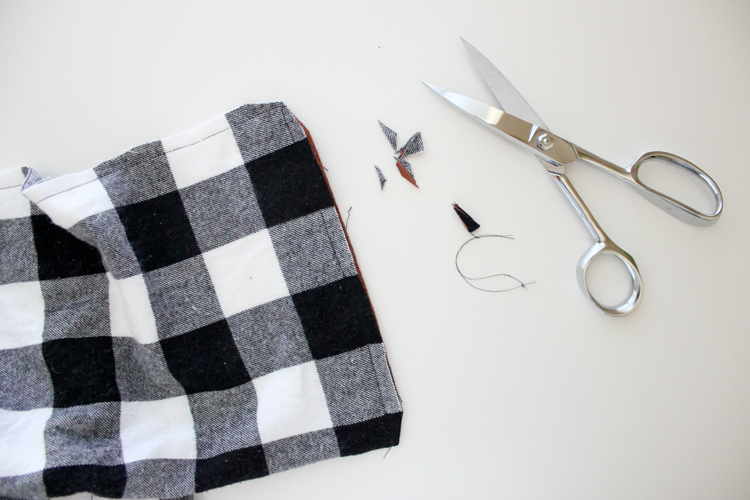 6. Clip corners with scissors, being careful not to clip through any stitches.
7. Turn the scarf right side out through the un-sewn opening. Use a dull pencil, or point turner to help corners turn out properly. Press flannel with an iron.Avoid ironing the leather.
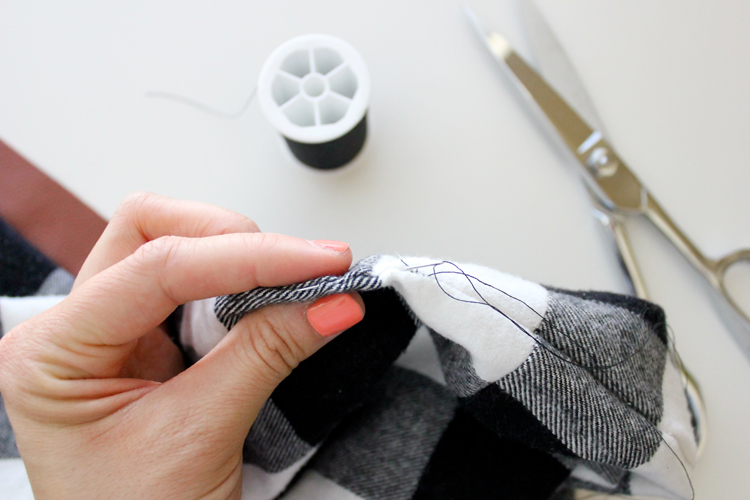 8. Hand sew the opening closed with a blind ladder stitch.
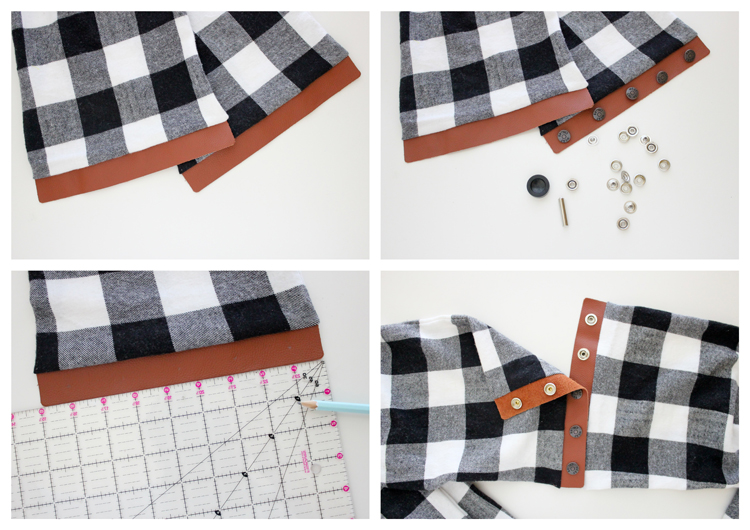 9. Evenly measure and mark snap placement.
10. Install snaps according to snap package directions.
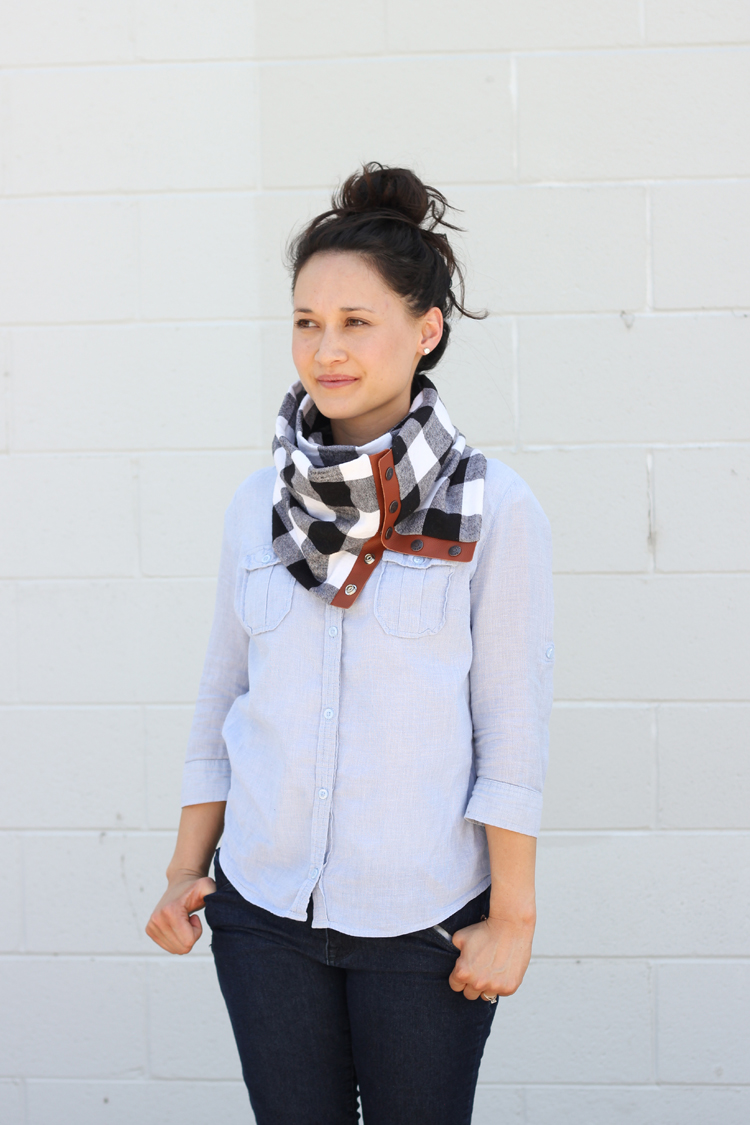
Now wrap it around and snap it up. You’re done!
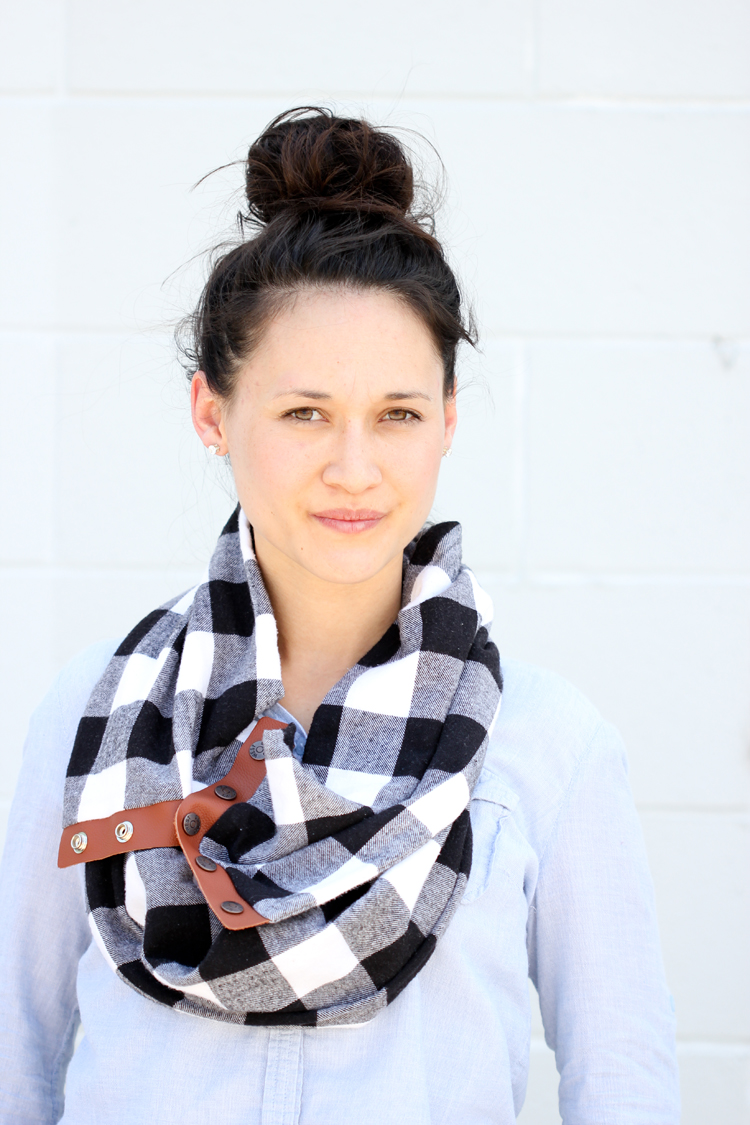
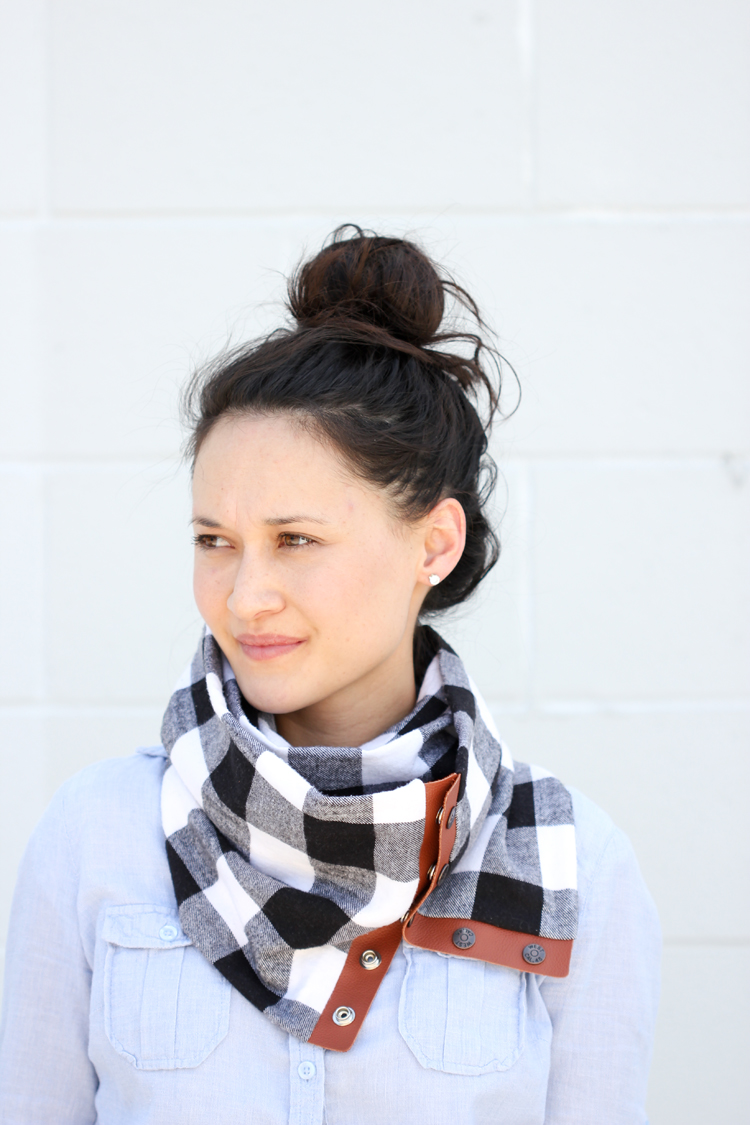 This is what it looks like wrapped around three times.
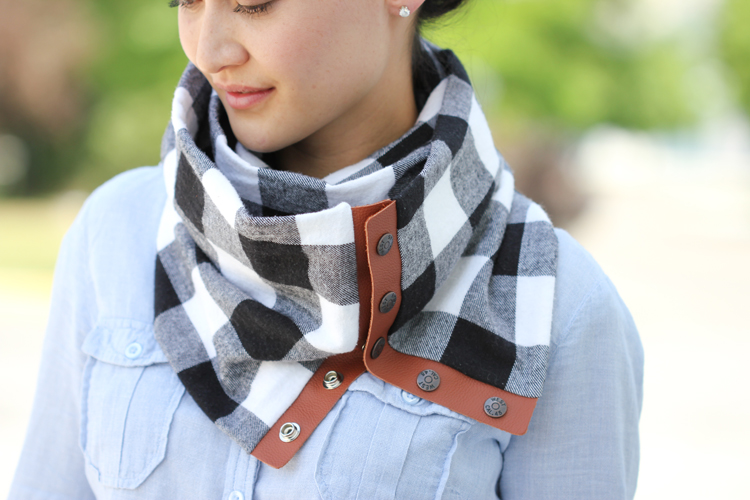
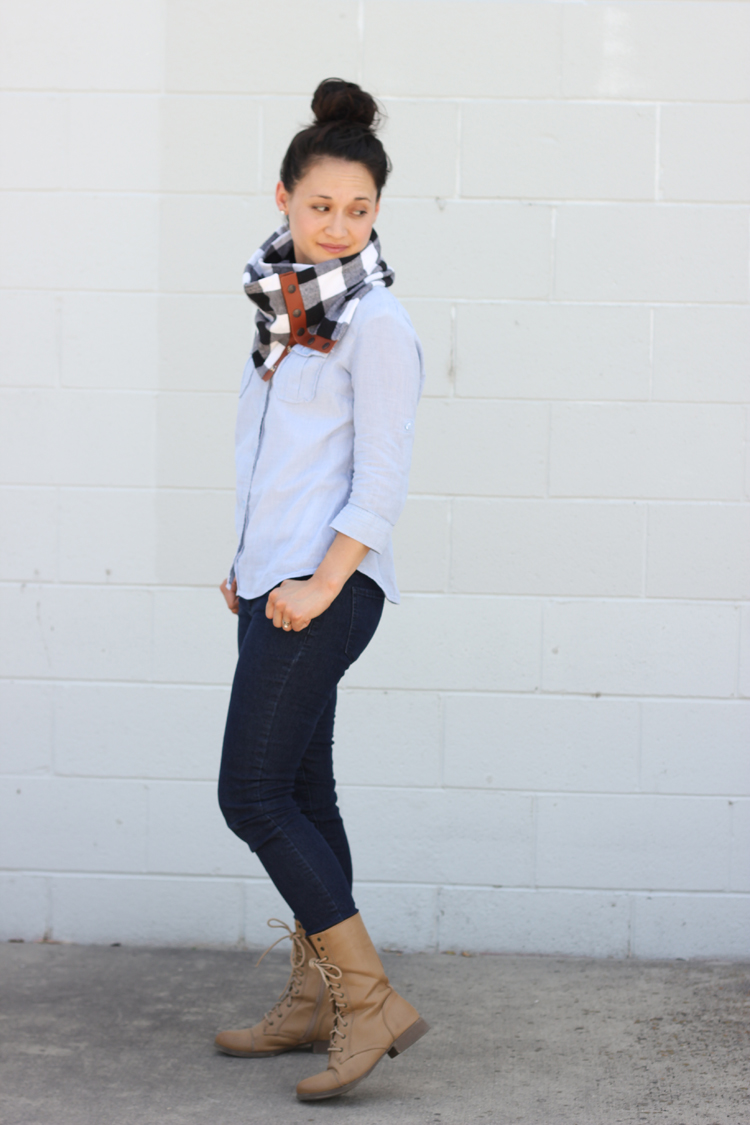
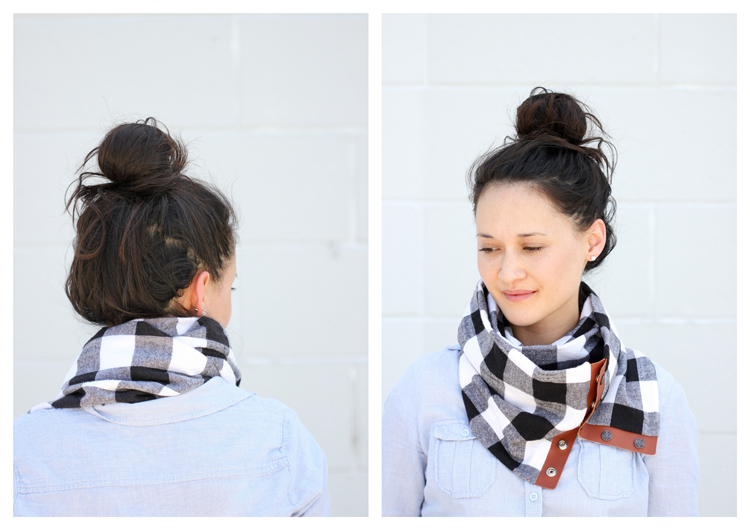 It also works, wrapped around just twice…
 For more similar DIY gift ideas click HERE for an even easier scarf and HERE for leather cord organizers. Or click HERE for even more leather projects.


Love this! Great twist on a circle scarf that is modern and different. I think I’ll try some for gifts this year
Thanks Sydney!
This is adorable! Cannot wait to make several of these!! Thanks for the awesome tutorial!
Thank you Angie!
Ohhh, I need to make one of these! I have the hardest time wearing scarves because I can’t get them knotted pretty. I’ve got a Craft Gossip post scheduled for later this morning that links to your tutorial:
http://sewing.craftgossip.com/tutorial-leather-and-flannel-snap-scarf/2014/12/10/
–Anne
Thanks Anne!
Love these, must buy tools!
Thanks Tracy!
I can’t wait to try this! I linked this post over at sewabuttononyourunderware.com as a terrific Christmas gift idea!
G
Thanks Genevieve!
I wish you would make this so we could print the directions in less than 31 pages. Thanks Mary
Hi Mary! It wasn’t intended to printed, but instead was created to be viewed on a computer screen. Sorry for the misunderstanding and any inconvenience that may have caused you.
That scarf doesn’t look 89 inches. What am I missing?
When it is completely open and unbuttoned it is 89 inches. Do you mean it doesn’t look 89 inches when worn? That is because it is triple looped around the neck. Does that answer your question?
Made them for my team and they came out perfect. Wish I could share a picture here!
What an amazing, fun coach you are! You can always tag me on instagram if you want. I would love to see them!
Hi! Quick question that’s entirely off topic. Do you know how to make your site
mobile friendly? My site looks weird when browsing from my apple iphone.
I’m trying to find a theme or plugin that might be
able to correct this problem. If you have any recommendations, please share.
Appreciate it!
Good question. My ad manager, AdThrive, has actually made my mobile site look the way it does. Sorry I don’t have a better answer! You can also use a wordpress theme that has a built in mobile theme.
Where else can you find the leather at a wholesale price?
I like Leather Hide Store if you want a lot of leather. Tandy Leather is great too. If you just want a small piece, for a project like this scarf, try Michaels, or Jo-Ann. They have smaller pieces and you can use a coupon. I hope that helps! Let me know if you have any more questions.
Wondering how you wrap this 3 times? I’ve made 2 now one each way with the leather facing same way and 1 opposite and can’t figure how to wrap them nice like yours. Thank you
That’s a good question! I start with the scarf wrapped around my neck and the tails of the scarf lying down my back. So, it’s wrapped around my neck more like 2.5 times. I hope that helps?
Hi! I know this is an older post, but I just made this and I love it! However even with the above explanation I can’t for the life of me wrap this around in anyway that is easy or look like yours. Is it possible to get a tutorial for wearing it haha? Any tips will be much appreciated!
Hi Ashley! I am so glad you liked the tutorial! It can be kind of a trick to get it to the cowl option. I wrapped it around my neck unbuttoned and then buttoned it up once I got the configuration I liked. It can feel snug at first, but after you button it then you can adjust the layers to be more comfortable. I hope this helps. Let me know if you have more questions.
Think I’ll try it with denim instead of leather. Maybe even use part of some old jeans.
Ooh…I like that idea!
I made one and love it! Just wondering how you clean / launder it when needed? Great tutorial!!
So glad you like it! To clean it, I hand wash it. The leather can get a little wet, but it’s best to try to avoid it. Then hang to dry.