When I sew with leather, I usually stick to using my sewing machine and simple leather crafts.
When Kimberly from Straight Stitched Designs asked me to teach a hand sewing leather project at her Maker’s Retreat this past fall, I was excited to learn another side of leather.
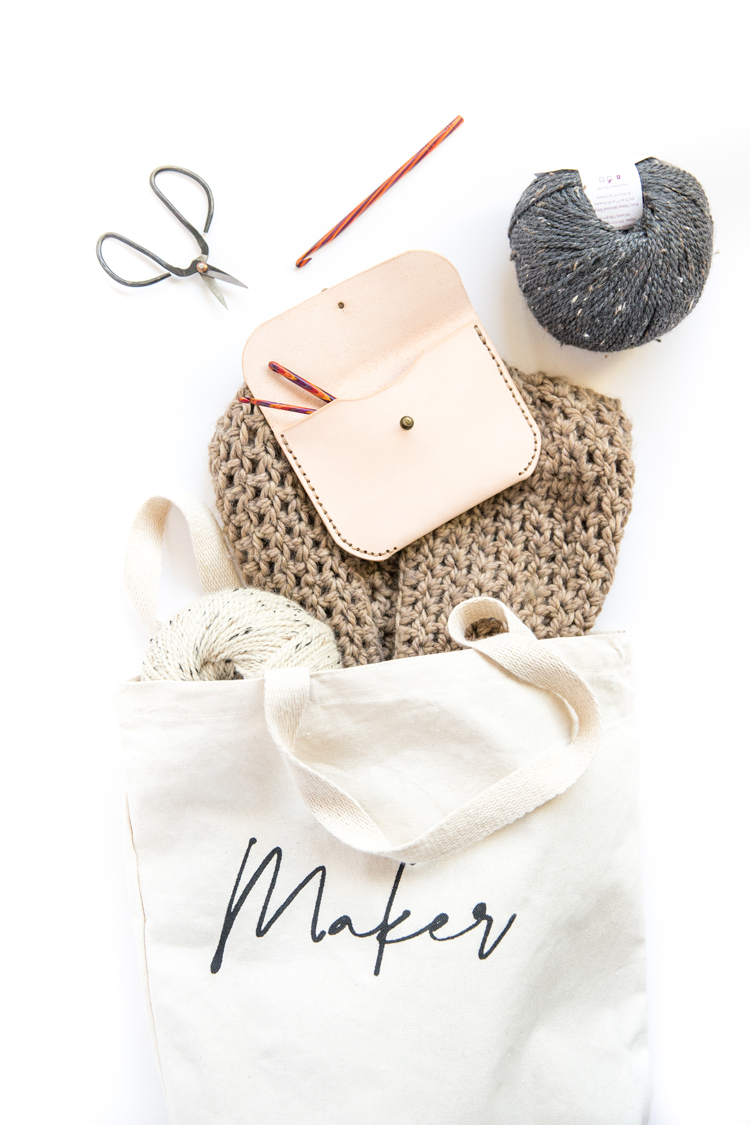
It didn’t take long for me to learn how this side of leather work could be dangerous for me though. ha! There are so many tools that are SO fun to use! …But lots of tools can also mean lots of money.
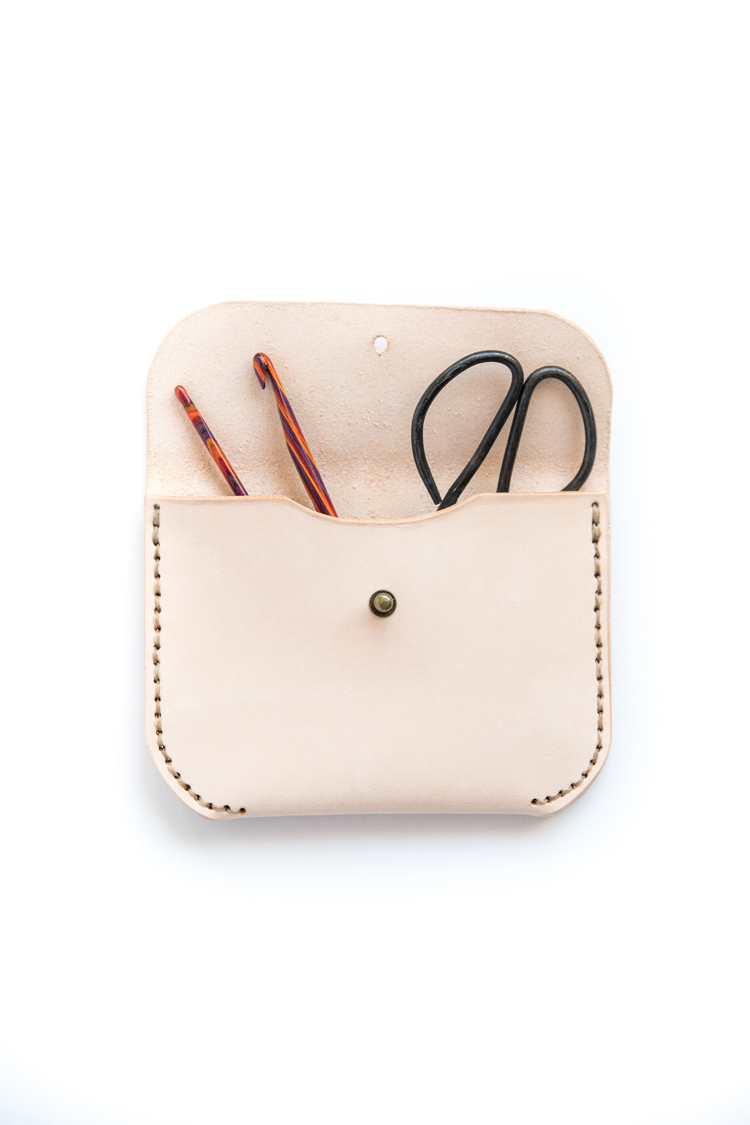
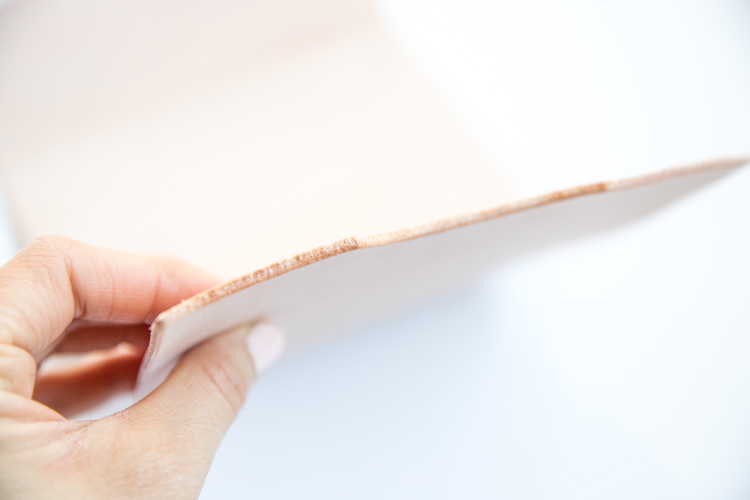
So, I did some research to come up with low cost solutions for shaping and burnishing edges to get a nice finish.
This pouch project is a great introduction into simple leather work. It covers cutting, hole punching, sewing, and burnishing.
Let’s get started!
Materials
- Vegetable Tan Leather 8.5×11 inch sheet
- pencil
- exacto knife
- ruler
- self healing mat preferred, or block of wood that you can cut and hammer into
- mallet
- punch tool – three hole punch and hand punch*
- leather glue (optional, but gives a nicer finish)
- Fine grit sand paper
- small scrap of canvas fabric
- dish of water
- beeswax
- burnishing tool or large peg doll
- two large eye sewing needles (tapestry needles)
- artificial sinew or waxed thread
- screw post button stud
- bone folder, optional
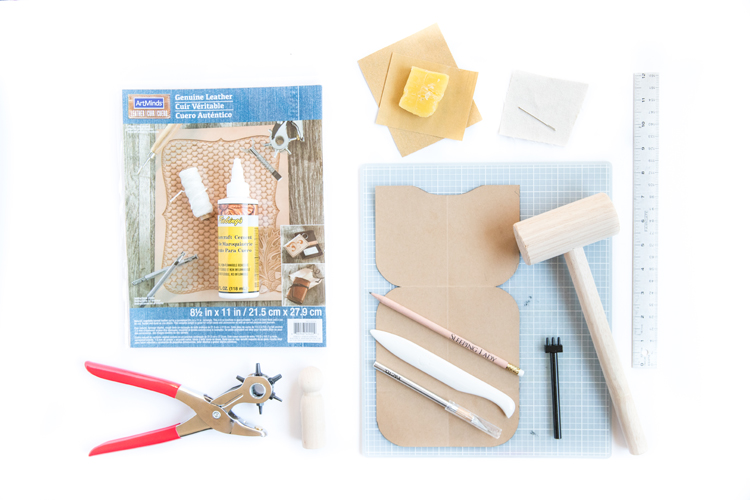
*If you can only have one, get the hand punch tool (red handle).
Michaels sponsored this craft at the retreat, so I was able to find everything I needed there at a relatively great price (yay for coupons!). Their vegetable tan leather is called tooling leather. You can see all their leather supplies by clicking HERE.
I also tried to keep this list to things that are easy to find around the house.
Template
Click below to download the free pouch template.
To get it to fit onto computer paper, I had to divide the pattern between two sheets of paper. Take care to print it at 100% scale or “actual size.” Piece the two pieces of paper together at the pattern markings, measure the test square to make sure it’s scaled properly, cut out the template, and then use it to cut out your leather.
Tutorial
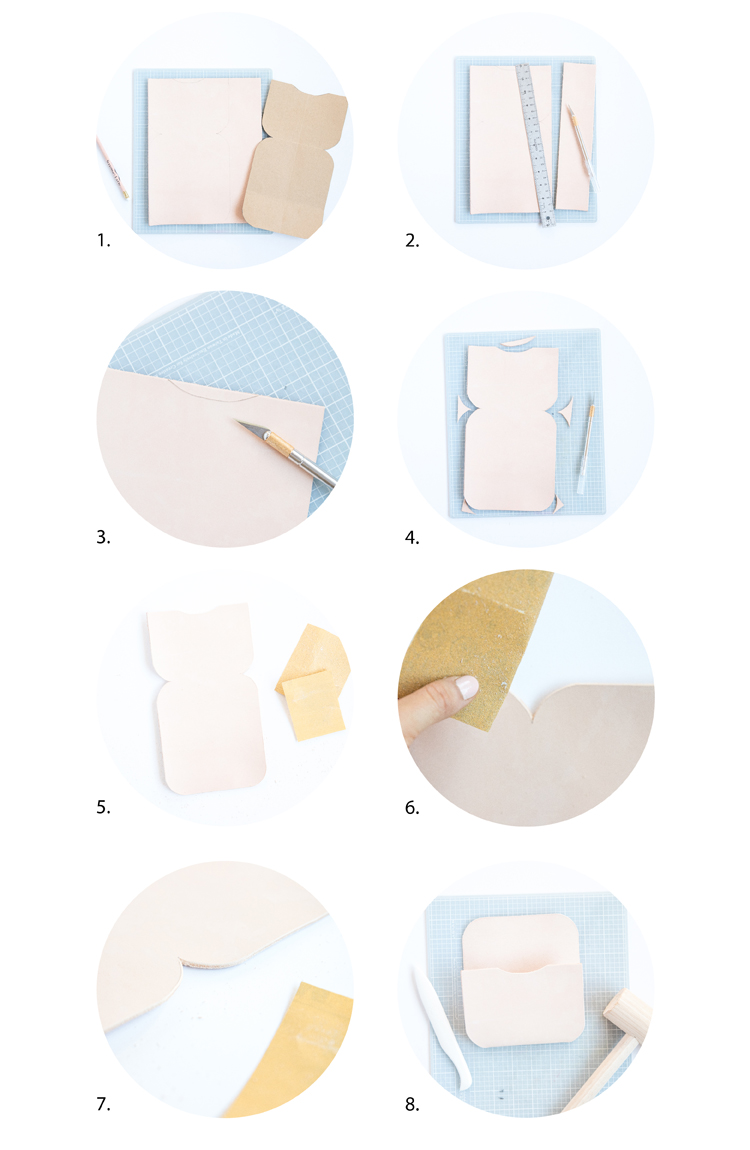
- Align the template to one side of the vegetable tan leather and trace.
- Cut away the excess with a ruler and exacto knife.
- Cut the rest of the pouch out. It works best to make several shallow passes until you cut all the way through the leather. If you press too hard from the beginning there is greater room for error.
- This is especially true for round edges. Take your time and cut slowly. If your cuts aren’t perfect, don’t worry. We will be smoothing out the edges.
- Get your fine grit sandpaper and smooth out the edges, much like you would a block of wood. Take care not to scratch beyond edges too much though.
- To get in the inverted corners, it helps to fold the sandpaper into the crack.
- Take your time at this step, get all the edges nice and smooth. If you have a beveling tool, it makes this step much faster, but if you don’t, sand paper does wonders.
- Now fold your pouch into shape with a mallet and bone tool (optional). Folding it by hand is tricky, since the leather is so thick and stiff. Using a mallet helps press the edges.
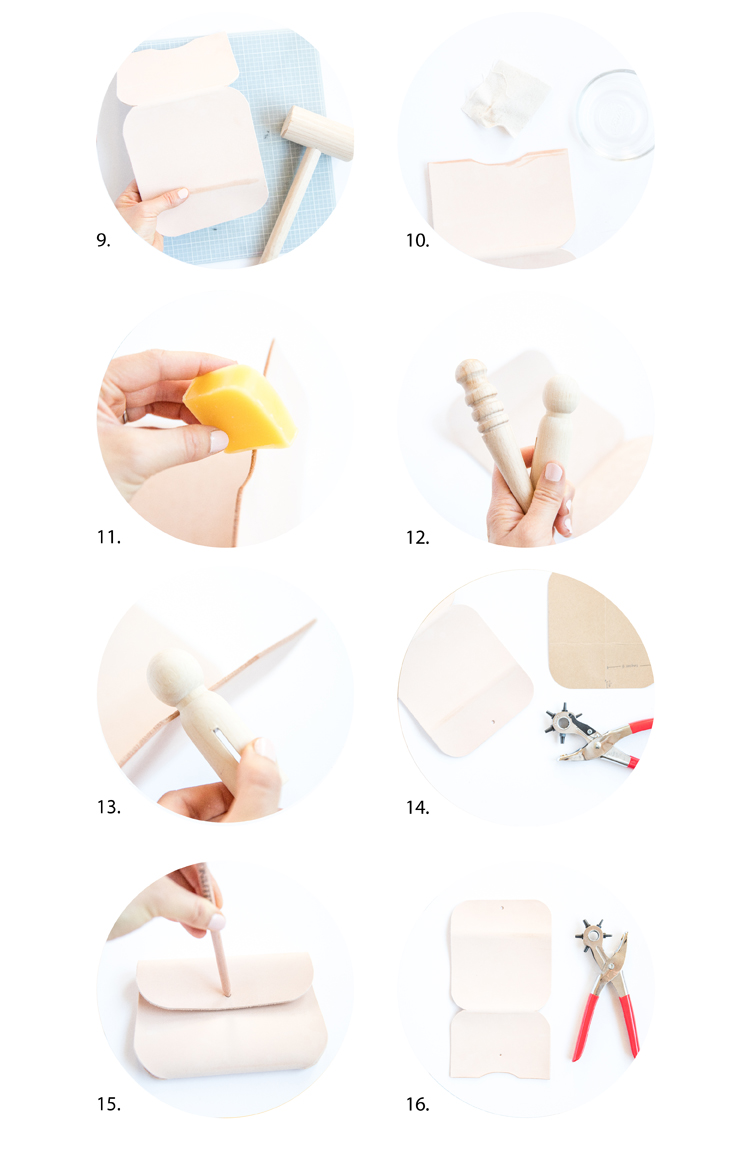
9. If the leather seems dry or starts to crack, wet the creases of the leather with a little bit of water. This will help the leather bend more smoothly.
THREE ways to Burnish Leather on a budget: with water and canvas, with a burnishing tool and water, and with a burnishing tool and beeswax.
10. To burnish with water and canvas, simply wet the edge of the leather and rub with a scrap piece of canvas until the edge is smooth and shiny. It takes a lot of elbow grease, but it’s effective and it’s the simplest burnishing method.
11. To use beeswax, rub it on the edges and on any fuzzy parts of the leather.
12. Then use a burnishing tool to smooth everything out (either beeswax or water). On the left is a traditional burnishing tool. On the right is a large peg doll I found at Michaels that works just as well for this thickness of leather.
13. Simply place a groove or the neck of the tool over the edge and rub back and forth until it’s smooth. This also takes a lot of just good ole elbow grease. It’s hard to burnish too much. You can burnish all the edges, but at this point it’s only really important to burnish the top instead edge of the pouch because it will be harder to access after it’s sewn.
14. Mark the placement of the button stud from the pattern. You can punch the hole in the pattern and mark it with a pencil, or use the measurements to determine placement yourself. Use the largest punch in your hand punch and create a hole.
15. Fold your pouch up and determine screw post placement with a pencil through the hole you just made.
16. Using the second to smallest hole on your hand punch, punch the hole for the screw post.
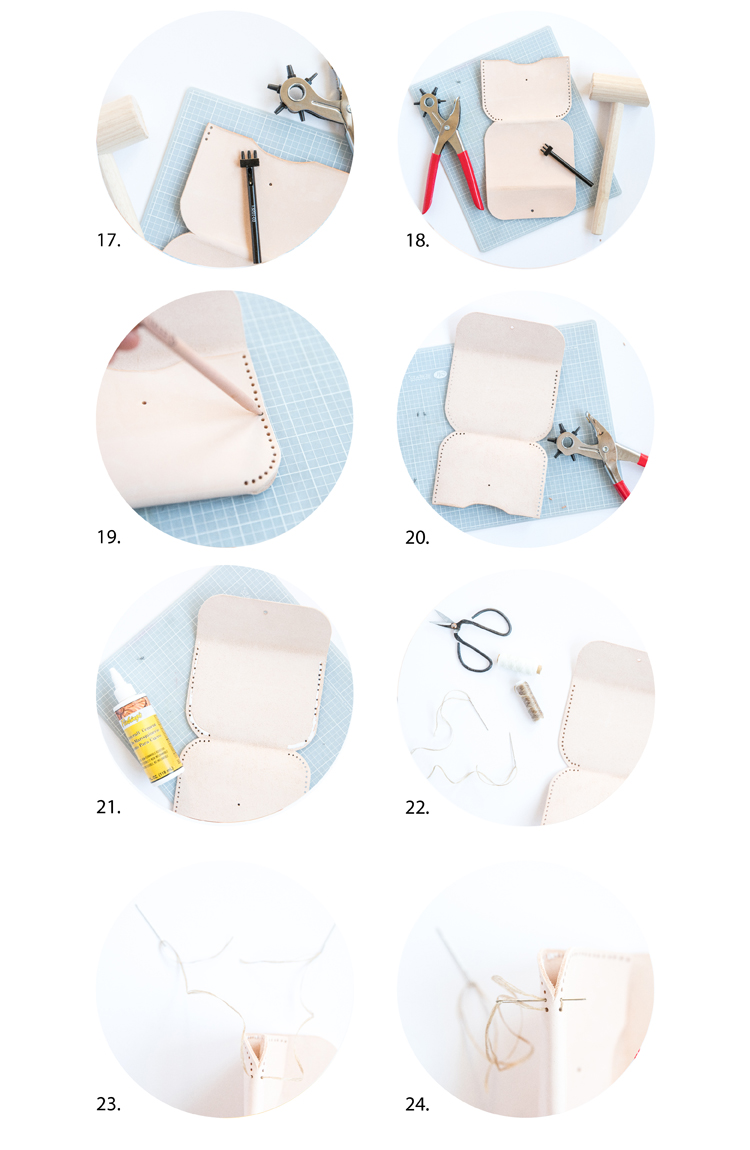
17. Working with the non flap end of the pouch, mark a faint line about 1/8 of an inch away from the edges of the sides. End the line about 1/2 inch into the folded bottom, after the sides curve. Punch along these lines using a three hole punch or a hand punch (if you feel like you can keep your holes straight).
18. Complete both sides of the non-flap end, as pictured.
19. Fold the pouch and transfer hole placement to the other end of the pouch.
20. Following the guides you just marked, punch the other end of the pouch.
21. Add a thin line of glue. It won’t make it stick together initially, but it will help seal it up after it’s sewn and dried. This is optional, but adds a nice finish to your pouch.
22. Cut a piece of artificial sinew or waxed thread longer than about twice as long as the folded side of the pouch. Thread the needles at each end of the sinew.
23. Fold your pouch, and insert one needle, starting at the bottom fold. Center the sinew through the first pair of holes.
24. Sew a running stitch with each needle, so that each needle passes through each pair of holes twice. Both sides of the leather should show stitches in between each hole, with no gaps.
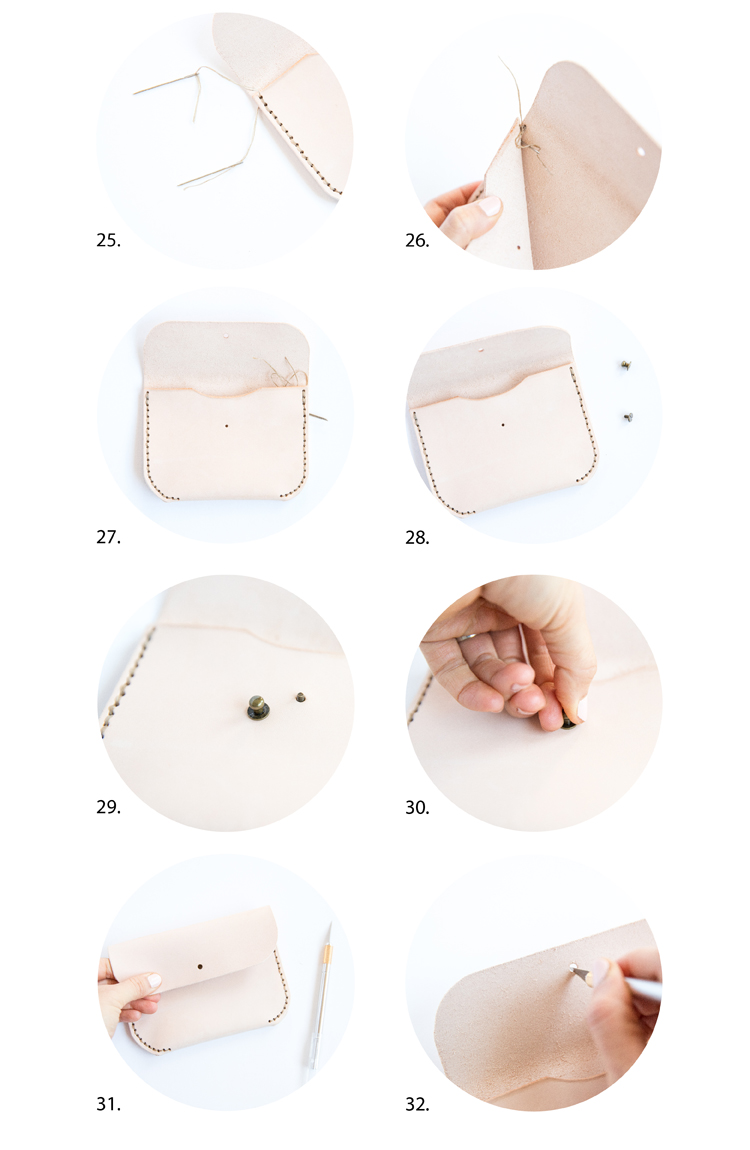
25. When you get to the top of one side, back stitch a couple of times.
26. Insert needles into the inside of the pouch and knot it.
27. Push the sinew tails through the side, in between the layers of leather, and trim away excess. Repeat for both sides.
28. Now you’re ready for hardware!
29. Insert the bottom part of the button stud into the small hole, so that the screw pushes through to the outside of the pouch.
30. Screw the top of the screw post on. Tighten the back with a screwdriver, if needed.
31 – 32. Cut a small slit at the top of the hole in the flap. Make sure that the slit goes north of the hole. Cut conservatively at first, lengthening it as needed. It should fit tightly at first and will wear in with use.
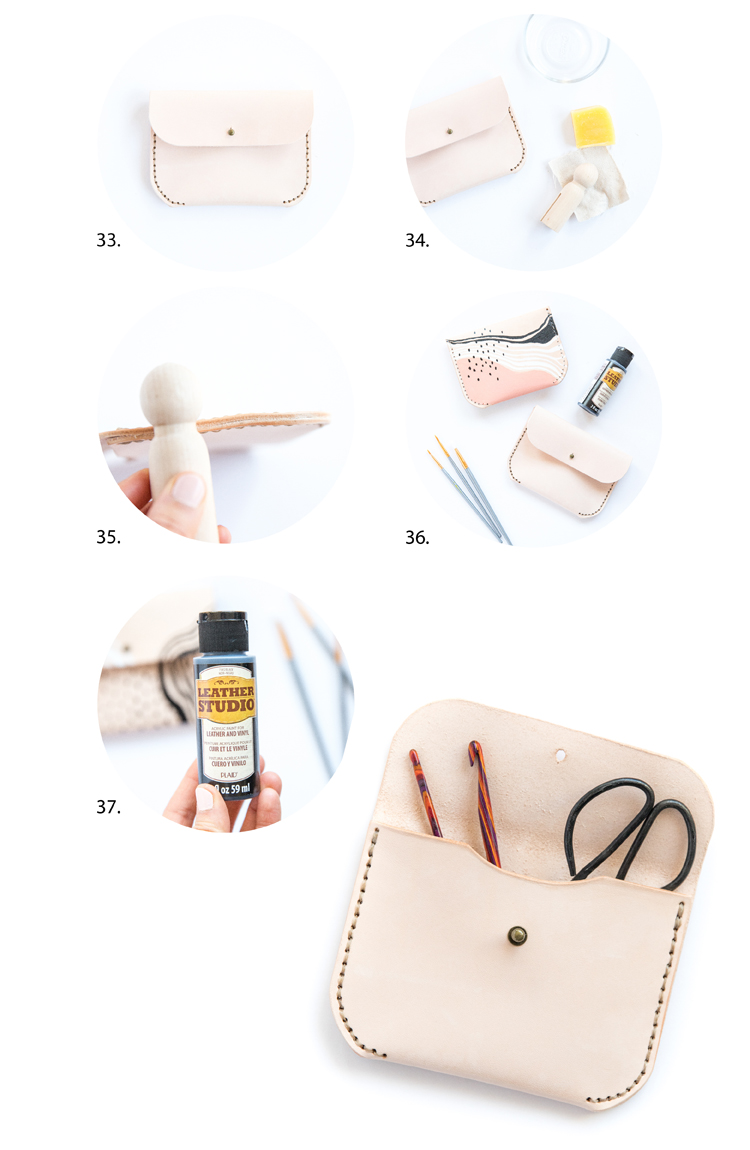
33. Almost done!
34. Now the rest of the edges need to be burnished. Wax, water, canvas, burnishing tool….pick your favorite method.
35. I like to save burnishing the rest of the pouch after it’s sewn together for two reasons. One, it’s faster. Two, I like seeing the sewn edges get smoothed together. If you align it perfectly and use glue, you can get the edges to almost look like it was always one piece.
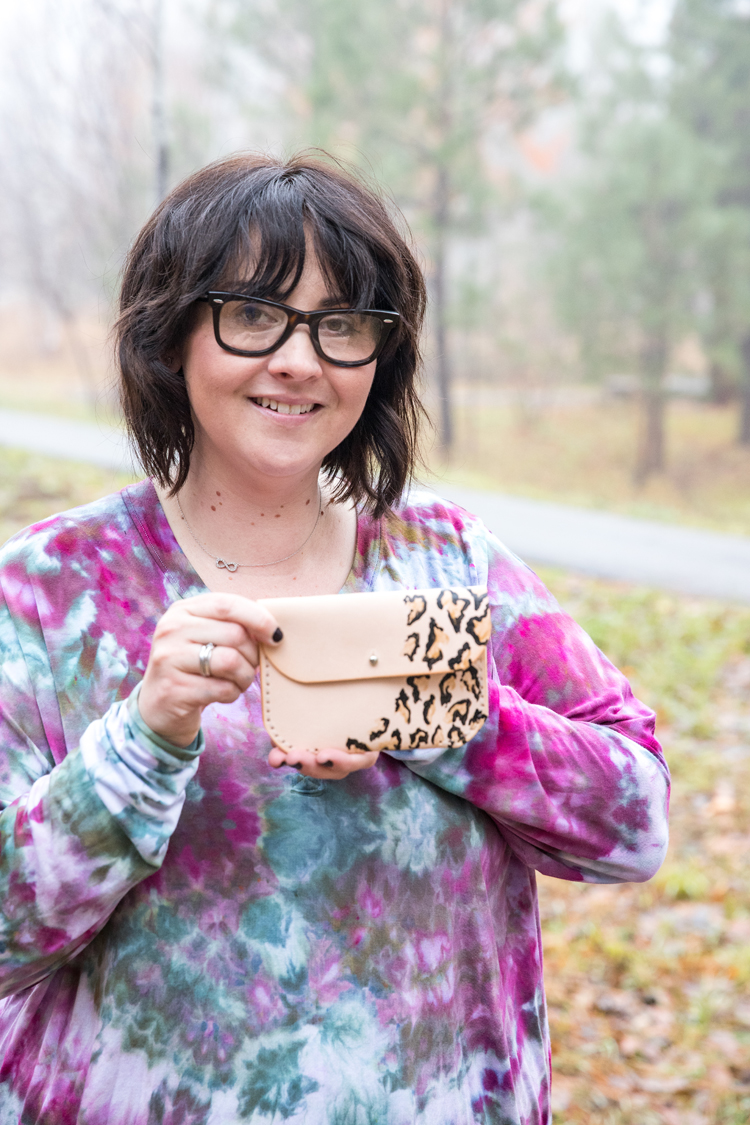
36. Leave it raw, or paint it!
37. I used this leather paint from Plaid and it works great. It has terrific coverage, dries quickly….but it’s permanent. Once it hits the leather, it’s there to stay. There is no washing it out. So paint carefully. 😉
All done!
Plus, you have some scraps to make other things:
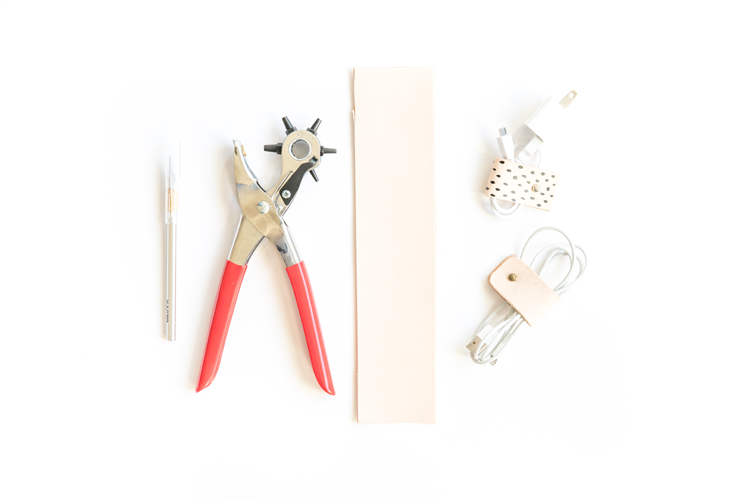
…Like some cord organizers, or whatever strikes your fancy!
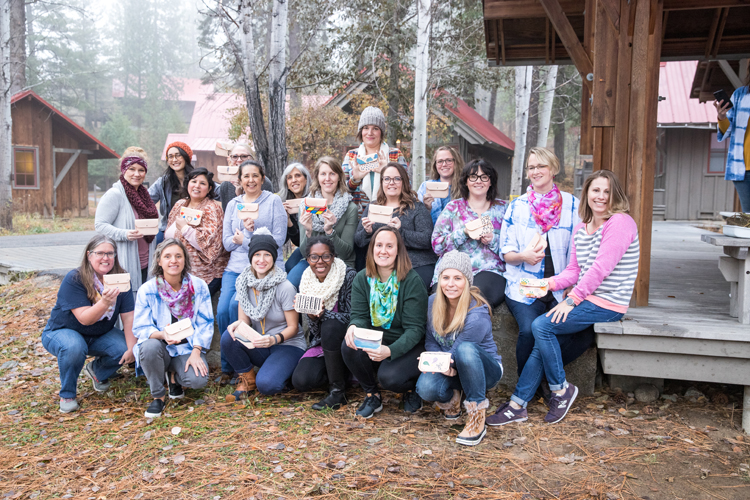
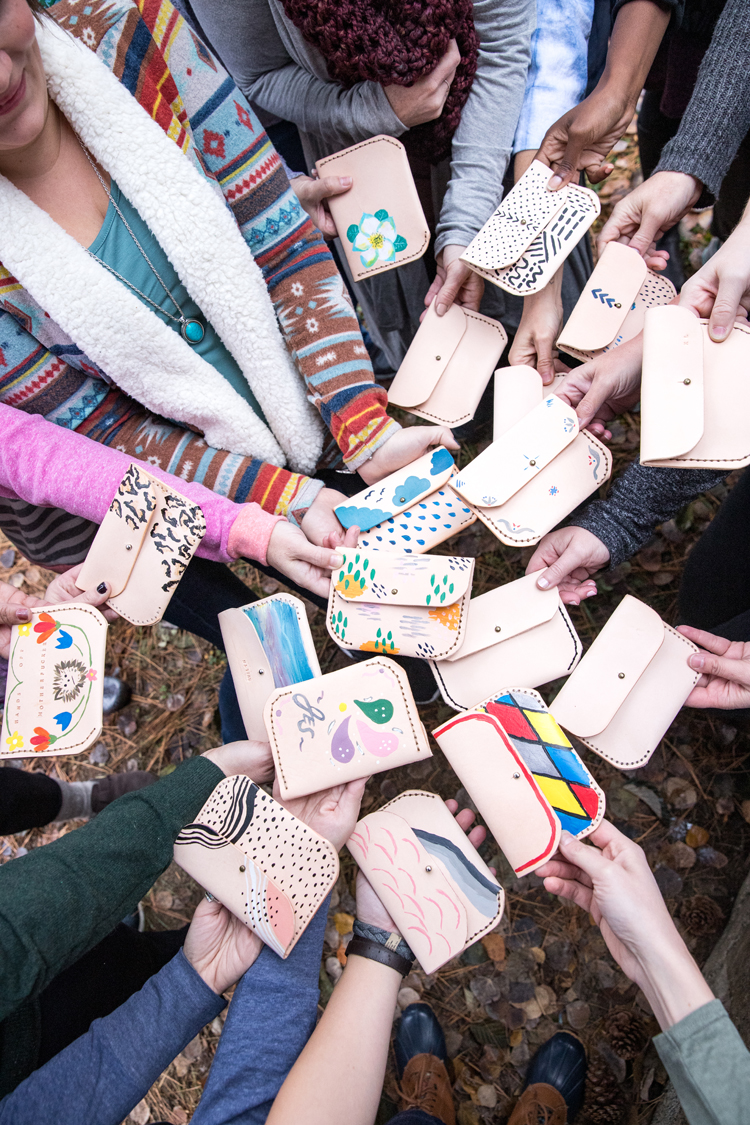
We had so much fun painting our pouches at the retreat.
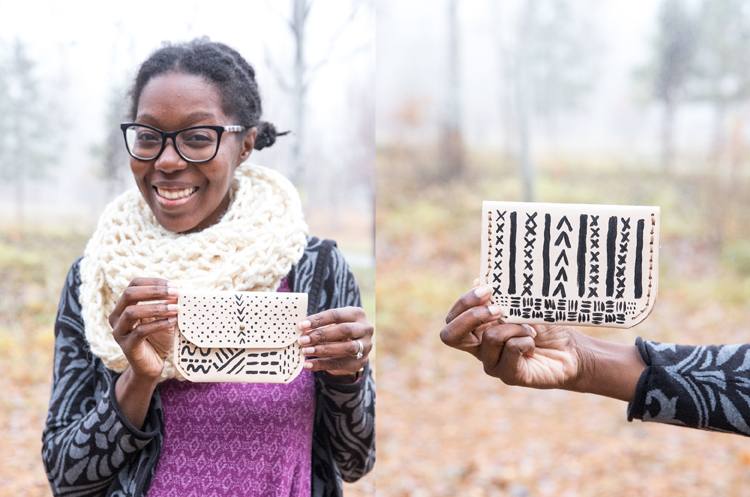
I especially loved these designs from Kayla @bobbininmythread and KZ @coffeandcreatingwithkz.
As pretty as this pouch is, I admit that its small size makes it pretty limited in terms of capacity.
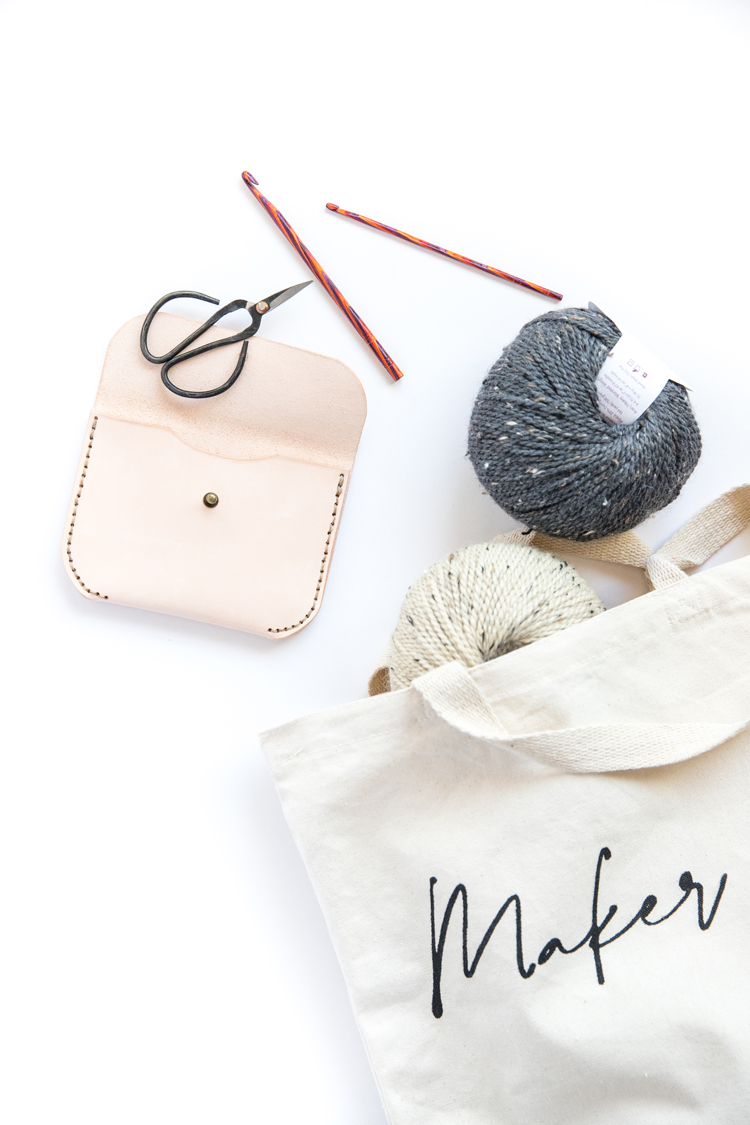
It holds a few crochet hooks and a pair of small scissors, making it a useful little pouch for taking my crochet projects on the go.
You can make the pouch longer to accommodate larger and more hooks, or other tools. Just be sure to add two button stud closures to the flap.
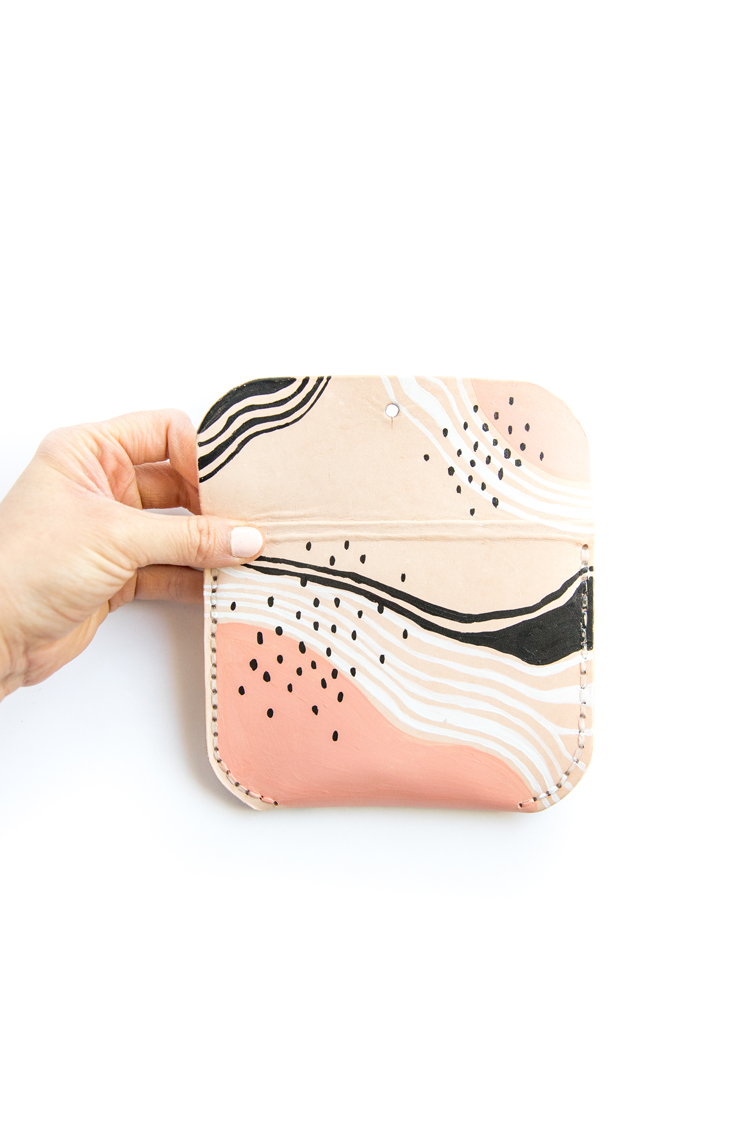
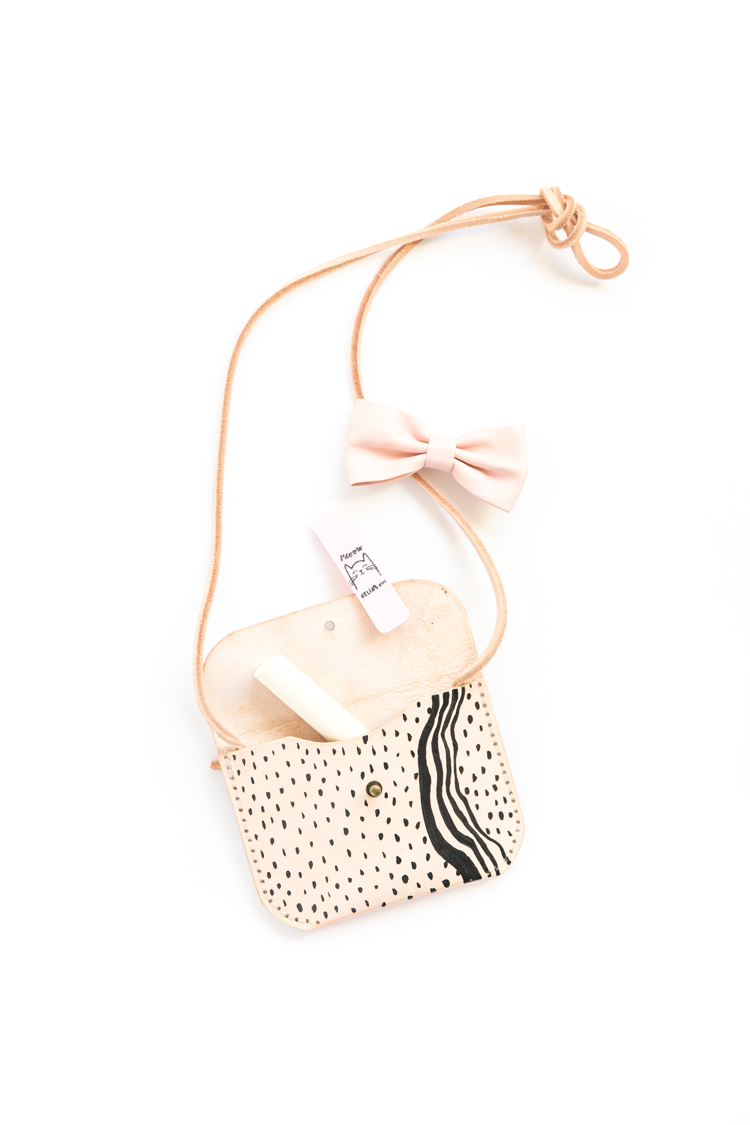
My daughter saw the one that I had painted for the retreat and instantly claimed it as her own. So I added a leather strap and made it into a little purse. It’s just barely big enough to carry a few 7 year old essentials. 😉


Leave a Reply