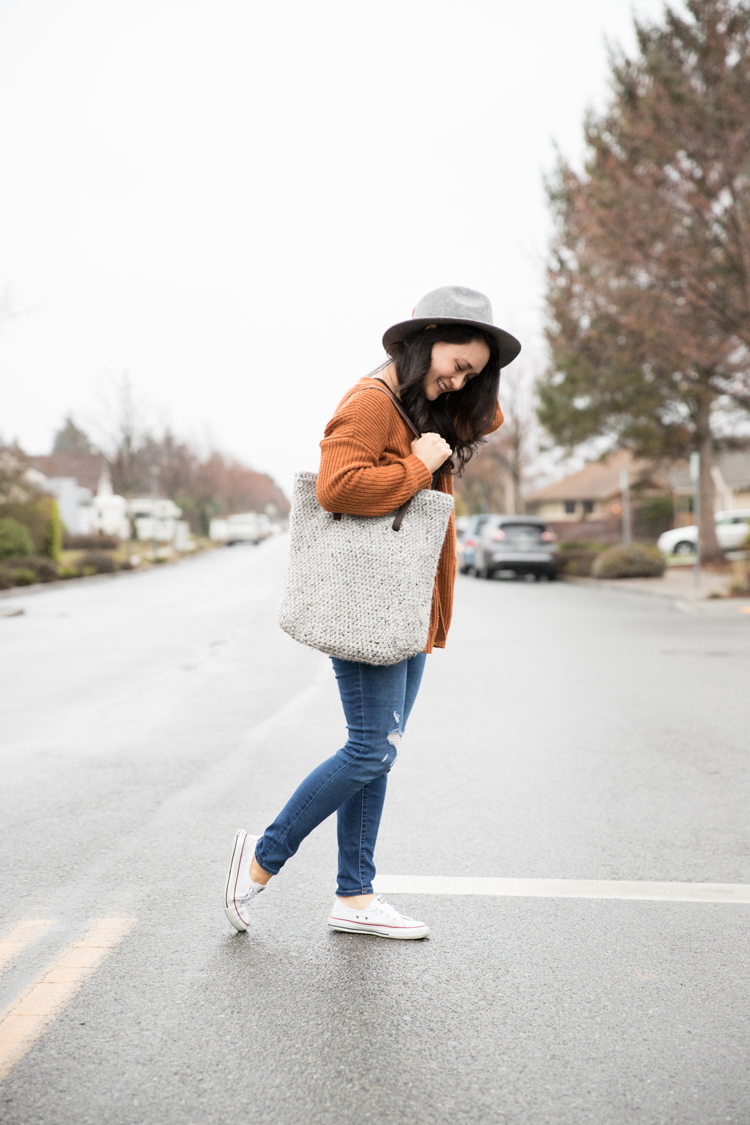
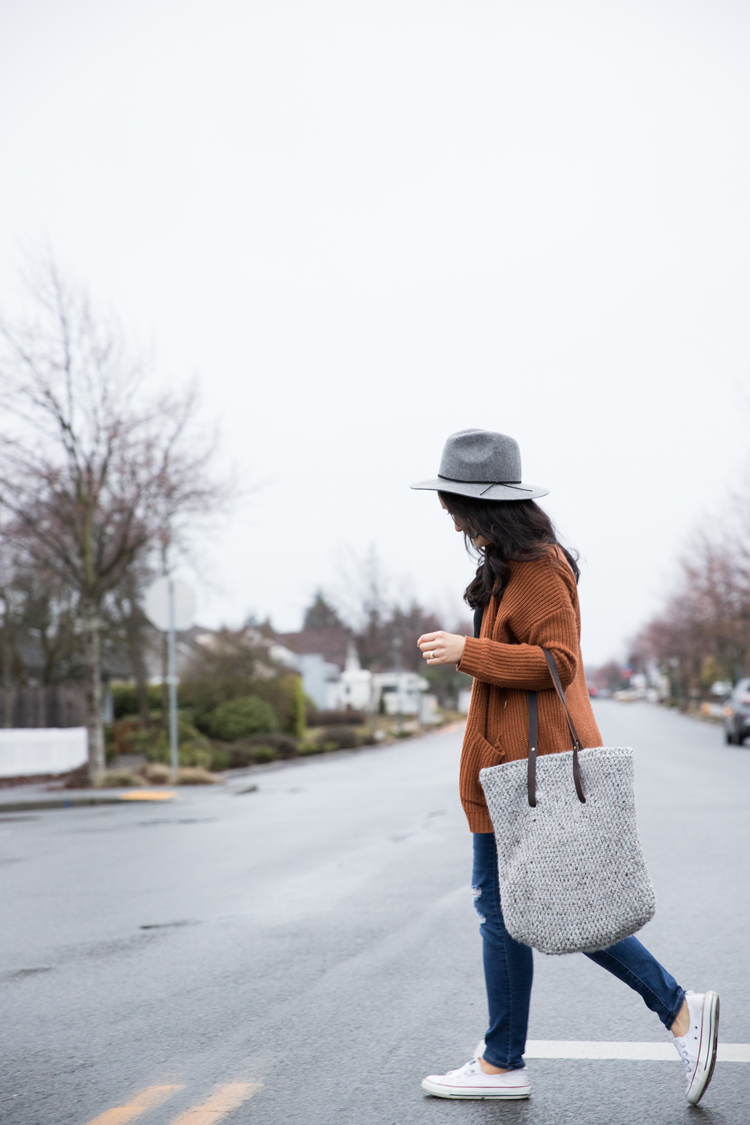
I love the look of leather and yarn together, especially if that yarn has a nice chunky texture. Yesss…
So, it’s probably no surprise that I’ve made yet another leather strapped crochet tote pattern. I have two other free patterns here (without leather) and here (with leather). 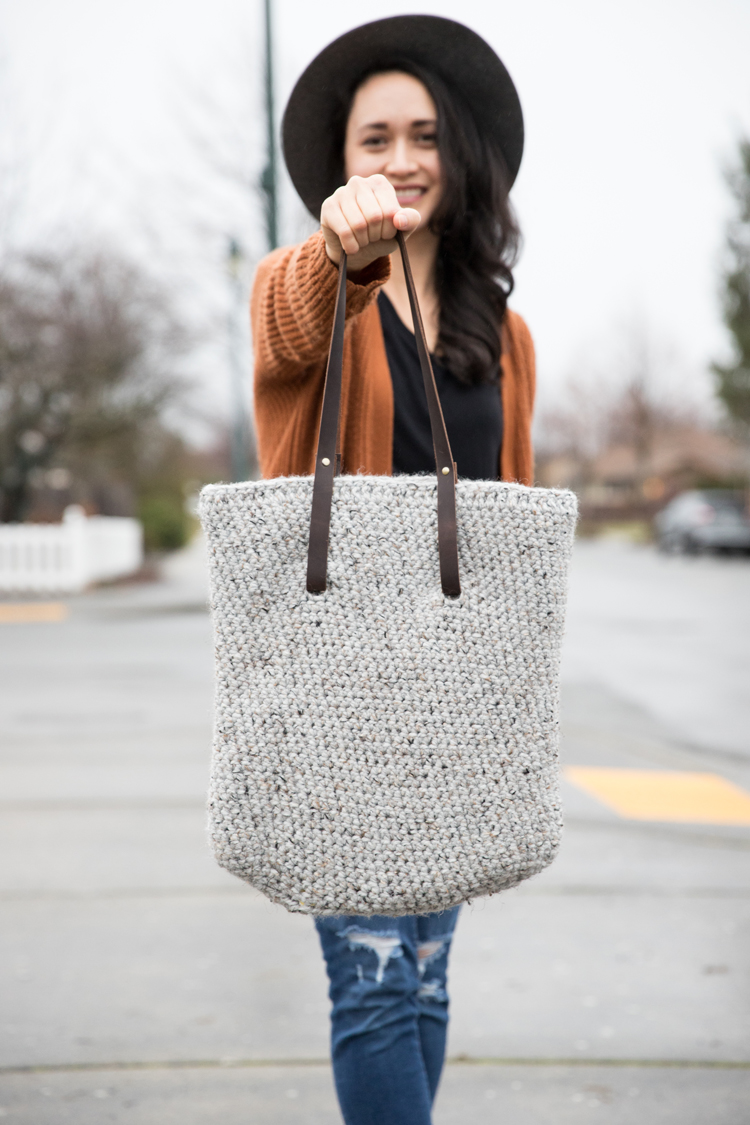 I know I shouldn’t choose favorites, but between you and me this one comes pretty close. 😉
If you’d prefer an AD FREE inexpensive PDF, click HERE.
It uses a super bulky, size 6 yarn, so it works up pretty quickly. But don’t worry, it only uses three skeins so it’s easy on the budget as well. Get your hands on a few good coupons or a sale and you could make this bag for around $20, including the leather straps!
Let’s dive right in, shall we?
MATERIALS
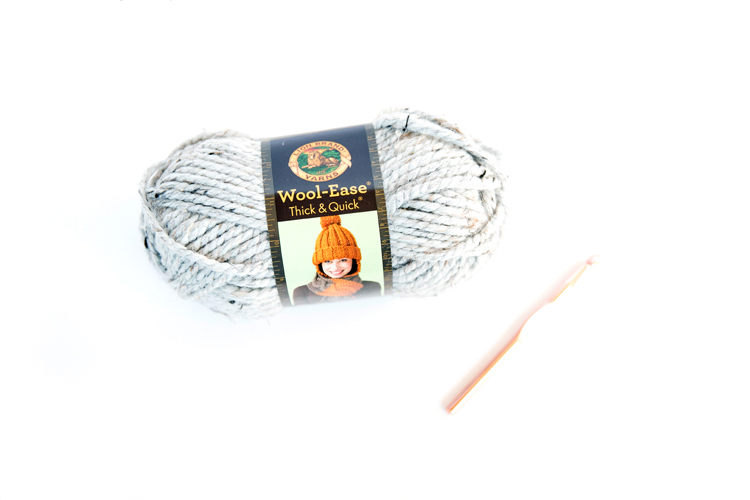
- 3 skeins or about 315 yards of super bulky, size 6 yarn*
- 9 mm (N) crochet hook
- scissors
- yarn needle
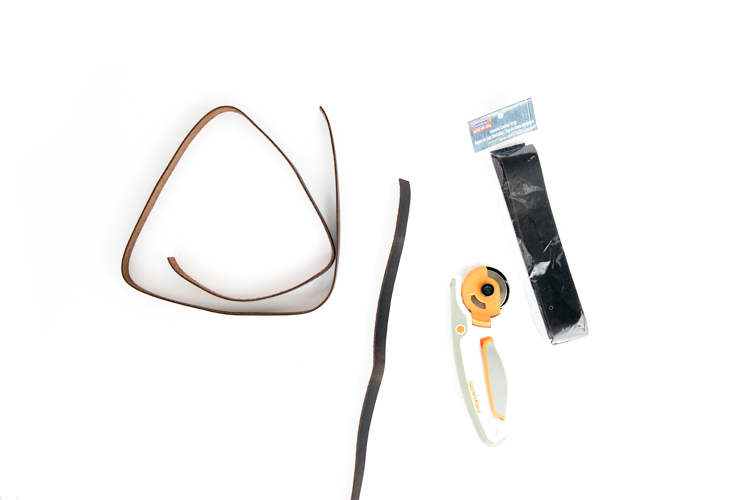
- leather straps**
- 4 rivet pairs and rivet setting tool***
- hammer
- optional: rotary cutter, self healing mat, and quilter’s ruler
Materials Notes:
*I used Lion Brand Wool-Ease Thick & Quick yarn in Grey Marble.
**I bought my leather strap from Michaels in the leather work section of the store. It comes 1.5 inches wide and 42 inches long, which is exactly the length you need for this bag. You’ll be cutting the strap into two, so you only need one strap. I believe it’s about $10 per strap but it almost never goes on sale so you can usually use a 50% off coupon.
***You can get rivets at Jo-Ann, Hobby Lobby, or Michaels. I got mine at Michaels right near the leather straps. Be sure to pick up the rivet setting tool as well. It can be a small investment up front, but once you have the tools, the rivets are inexpensive and come in handy for a plethora of projects in the future. (Plus…use coupons! ;))
GAUGE:
4 x 4 inch square = 10 stitches x 11 rows (I pulled it tight as I went for a nice dense texture.)
ABBREVIATIONS:
Ch = chain
Sc = single crochet
Hdc = half double crochet
Dc = double crochet
FINISHED SIZE
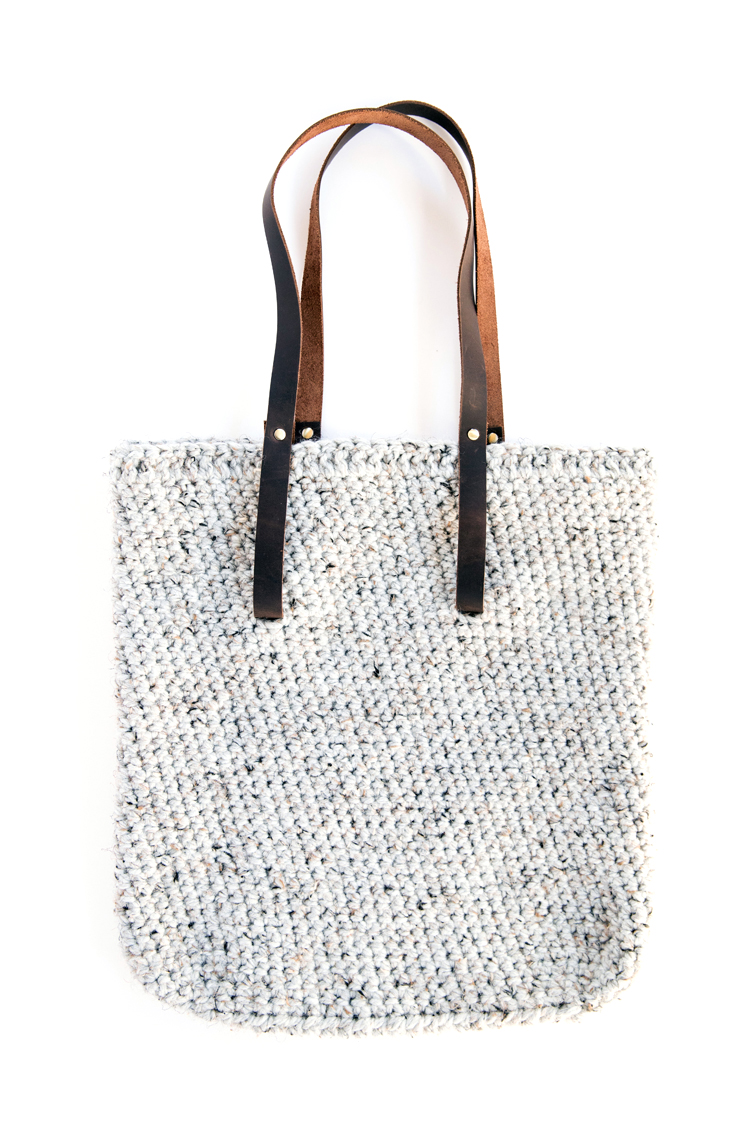
Approximately 16 inches wide x 17.5 inches tall (not including handles).
PATTERN
Note: I have included pictures to help you visualize the pattern. Scroll down for the written portion.
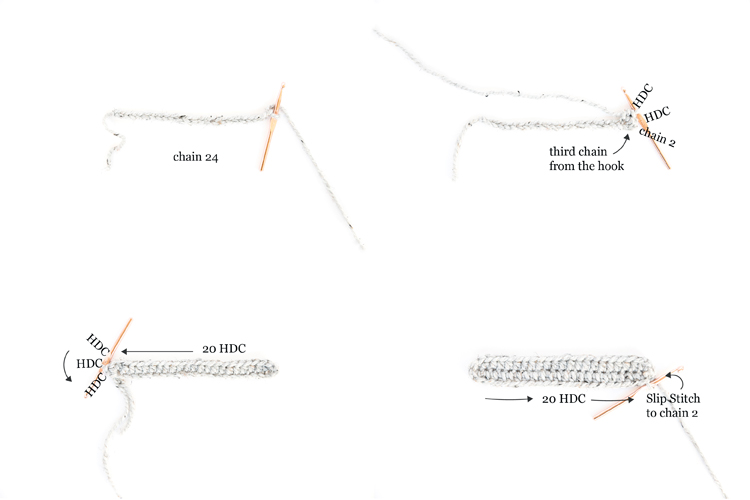
Foundation Row + Round 1: Ch 24. In third chain from hook (the skipped chains count as ch 2), hdc twice in in the same stitch. 20 hdc across the row. When you get to the last stitch, work 3 hdc in same stitch. This will turn your work around and turn the row into a round. Work 20 hdc along the bottom of the previously worked row (Optional: while encasing your tail into your work so you don’t have to weave it in later). Slip stitch to the top of the chain two from the beginning of the round. (Total stitch count for the round = 46, including the ch 2)
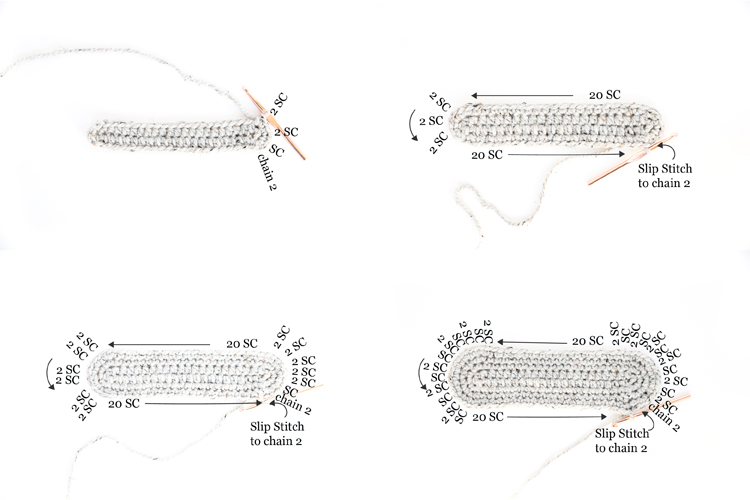
Round 2: Ch 2. Work sc in same stitch. Work 2 sc in the same stitch for the next two stitches. 20 sc across top of round. 2 sc in same stitch of the next three stitches (increasing stitches are worked on the curved side of each round). 20 sc across bottom of round. Slip stitch to the chain two from the beginning of the round. (52)
Round 3: Ch 2. Work sc in same stitch. Work 2 sc in same stitch for the next five stitches. 20 sc across top of round. 2 sc in same stitch of the next 6 stitches. 20 sc across bottom of round. Slip stitch to the chain two from the beginning of the round. (64)
Round 4: Ch 2. Work *2 sc in same stitch, sc.* Repeat from * to * five times, 2 sc in same stitch. 20 sc across top of round.*2 sc in same stitch, sc.* Repeat from * to * six times. 20 sc across bottom of round. Slip stitch to the chain two from the beginning of the round. (76)
Round 5 – 29: Ch 2. Sc in each stitch in round. Slip stitch to top of ch 2. (76)
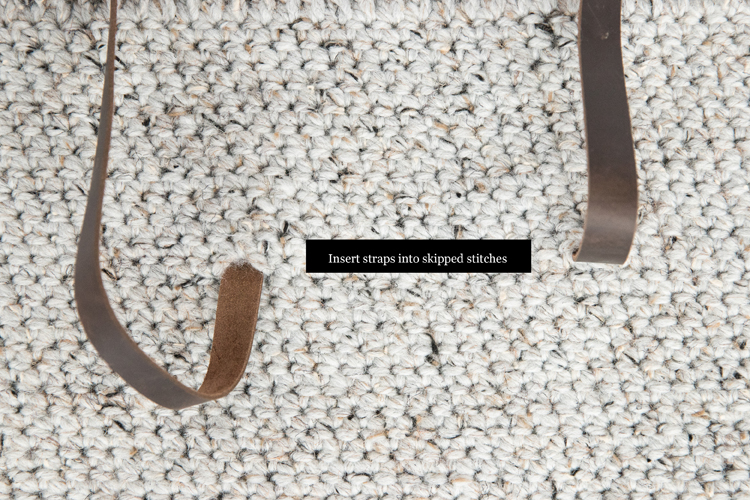
Round 30: Ch 2. 22 sc, ch 1, skip one stitch, 13 sc, ch 1, skip one stitch, 23 sc, ch 1, skip one stitch, 13 sc, ch 1, slip stitch to top of ch 2. (76, including chains over the skipped stitches)
Round 31-Round 41: Ch 2. Sc in each stitch in round. Slip stitch to top of ch 2. (76)
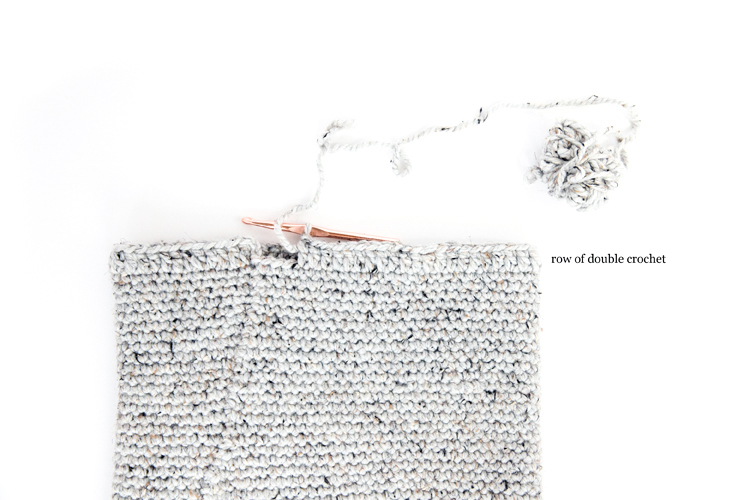
Round 42: Ch 3. Dc in each stitch in round. Slip Stitch to top of ch 3. (76)
Tie off end and weave into bag with yarn needle.
STRAPS TUTORIAL
1. Cut leather strap in half, width wise, so that you end up with 2 straps .75 inches wide and 42 inches long. A rotary cutter, mat, and quilting ruler is optional but makes this task much, much easier and more precise.
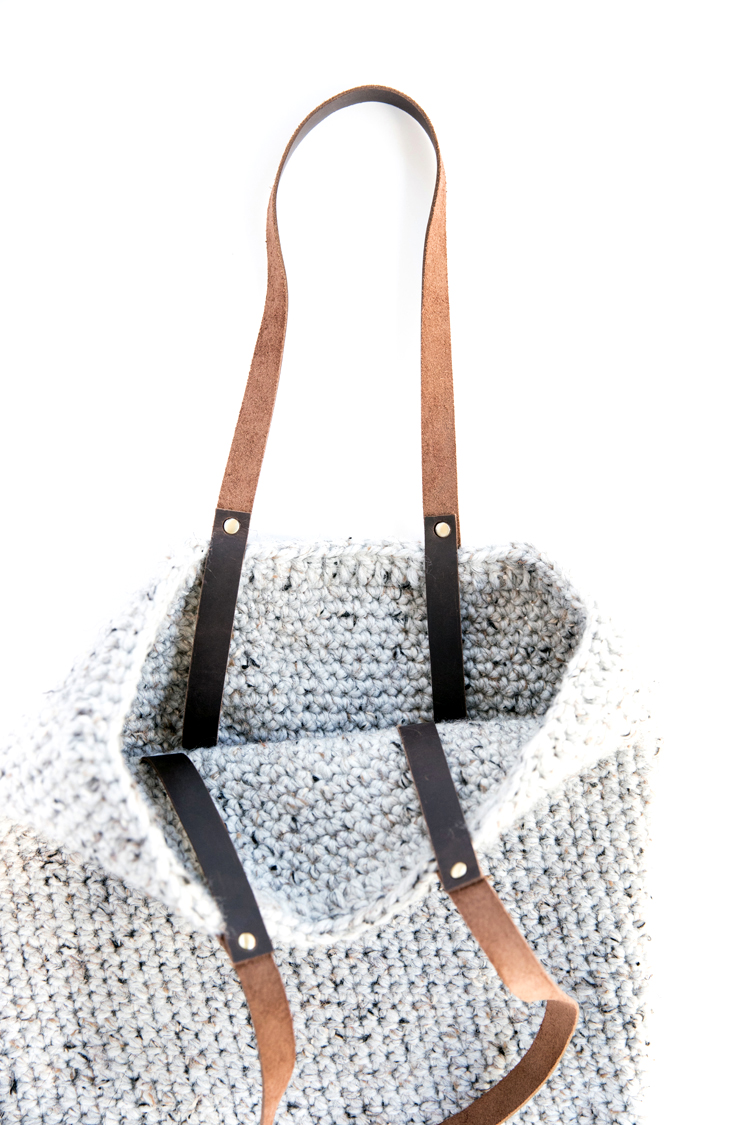
2. Take one of the straps and insert one end through one of the skipped stitches in the bag. Loop the strap end up through the inside of the bag until it meets the rest of the strap. Mark this intersection point with a pen. Repeat with the other side of the strap and the both sides of the remaining strap.
3. Using the rivet setting tool, punch a hole at the marked intersection points.
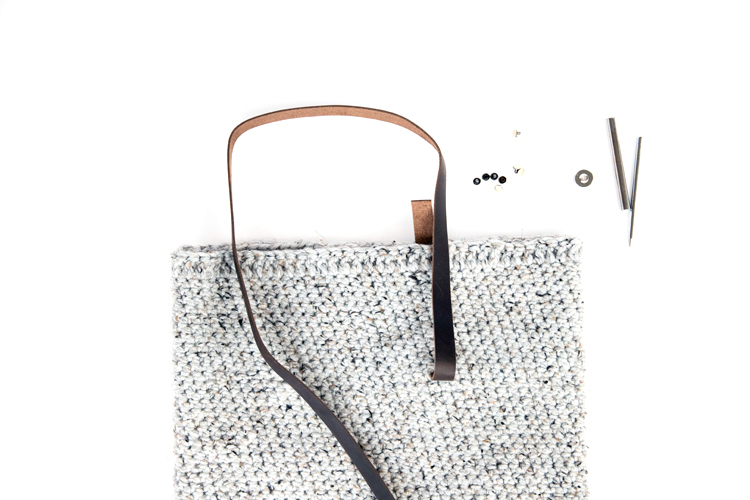 4. Thread the straps into bag again, line up the holes you just punched and set them together with rivets. The length of the pegs on the rivets should just barely fit the doubled up thickness of the leather straps, so be sure to give them a few nice solid taps to ensure they are properly installed.
All done!
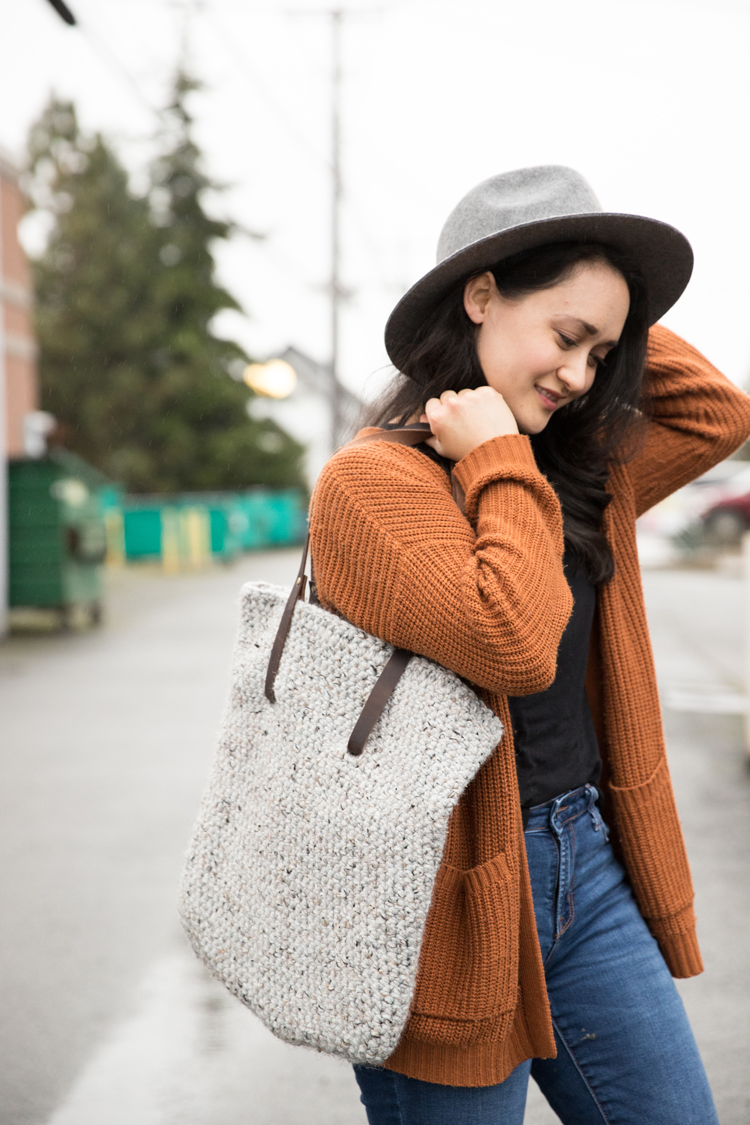
If you follow me on instagram (@deliacreates) you know that I love and use my crochet totes pretty often. I usually use them to tote books to the library but I also like to bring them when I fly. I can fold it up and stow it in my larger carry on when I don’t need it. And when I do, I slide my real purse inside with other items and count it as my personal item. 😉 😉 You’d be surprised how well the tightly crocheted texture holds up with jackets, snacks, books, and a purse shoved inside. ha!
If you make one I would love to see it! Please tag me on social media @deliacreates and I’ll stop by to see your handiwork! <3
For more free crochet patterns , click here for a full list!


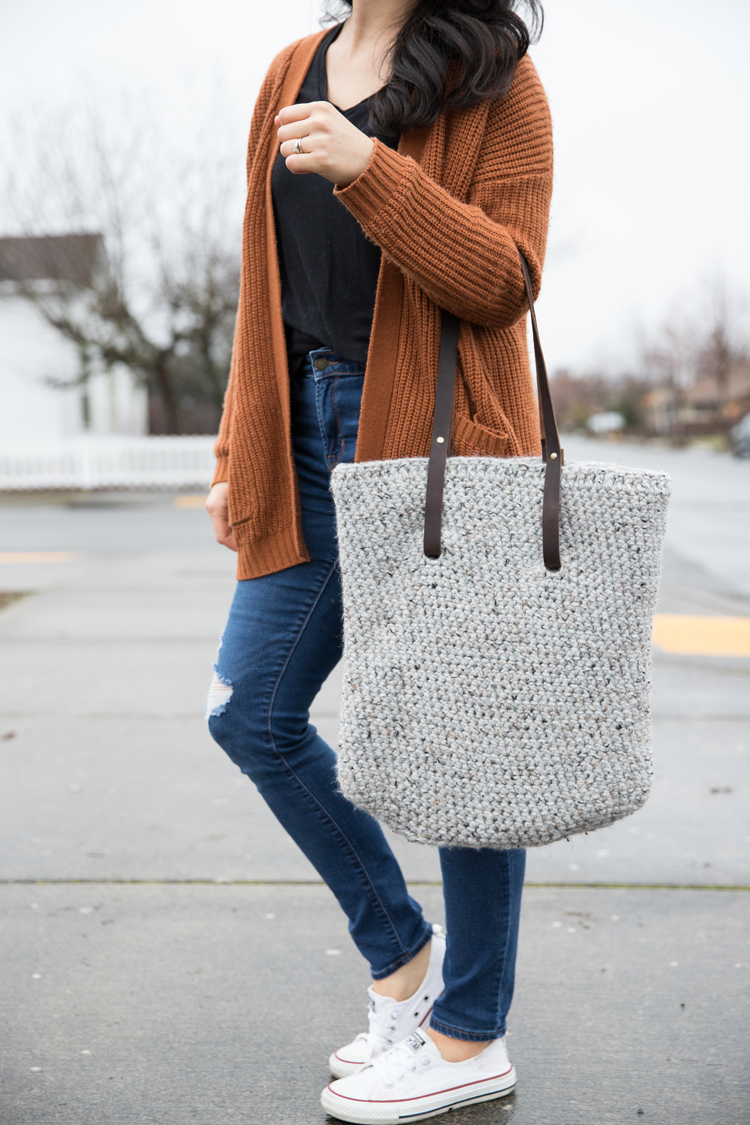


Ooh, I really like the strap attachment on this one!
Thanks Charity!
Hi Delia,
I love your pattern and I’ve started making bags for all my friends haha
Only thing is, as I’m not in the States I’m struggling to find the leather straps to complete them. Could you tell me the thickness of the leather by any chance? I see it’s 1.5 inches wide, but I just want to make sure that I don’t get leather too thin for the job…
Thank you 🙂
Martha
I am so happy that you like the pattern! My straps are about 11 mm thick and they are a stiffer vegetable tan leather. You totally could get away with something slightly thinner like 9 or 10 mm. I hope that helps! Happy making!
Fab! Thank you so much. I’ll send you pics once they are done 🙂
I am trying this tote with the leather handles. What seems to be difficult is after the 20 single crochets I don’t understand the slip stitch thru second chain then chain two. I get that this is somehow how it makes it a seamless bag but I keep ending up with extra stitches and a kind if ruffle looking curved end. Can you help? Please?!? 😉
So sorry for my delayed response! I think I understand what you mean. The starting chain 2, when worked loosely can affect the gauge in that spot and cause rippling. I suggest pulling those chains tightly or just working one chain instead of 2. The goal of working in a looped row is to simultaneously work the body of the bag and seam it together. I hope that helps. Please let me know if you have any more questions. If you want to get a hold of me faster, please feel free to email me and direct message me on IG. Or do both and comment! 😉 That way I’m sure to see your question asap so I can help you better.<3