Sewing a wallet with a free cut file?
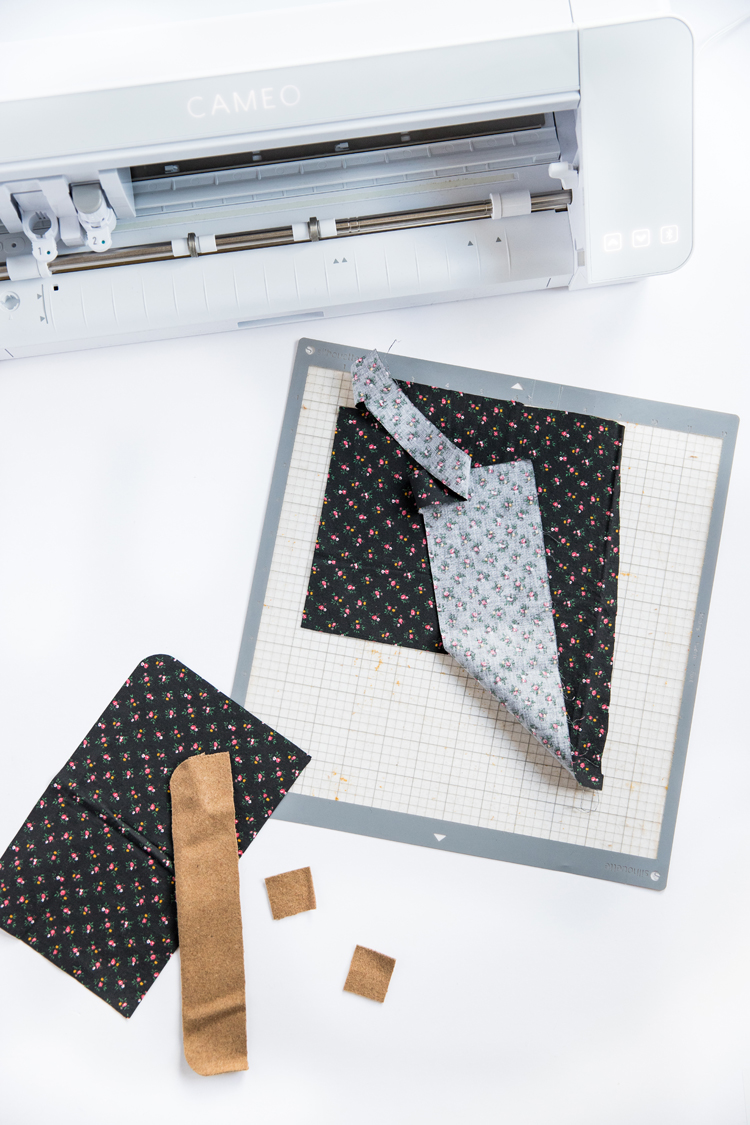
That’s not a typo. The new Silhouette Cameo 4 * cuts fabric! Whoo hoo!
*affiliate link. This will not affect your pricing. In fact, use the code 10off and you’ll get 10 percent off your regular priced purchase.
Disclaimer: This is part one of two posts created in partnership with Silhouette.
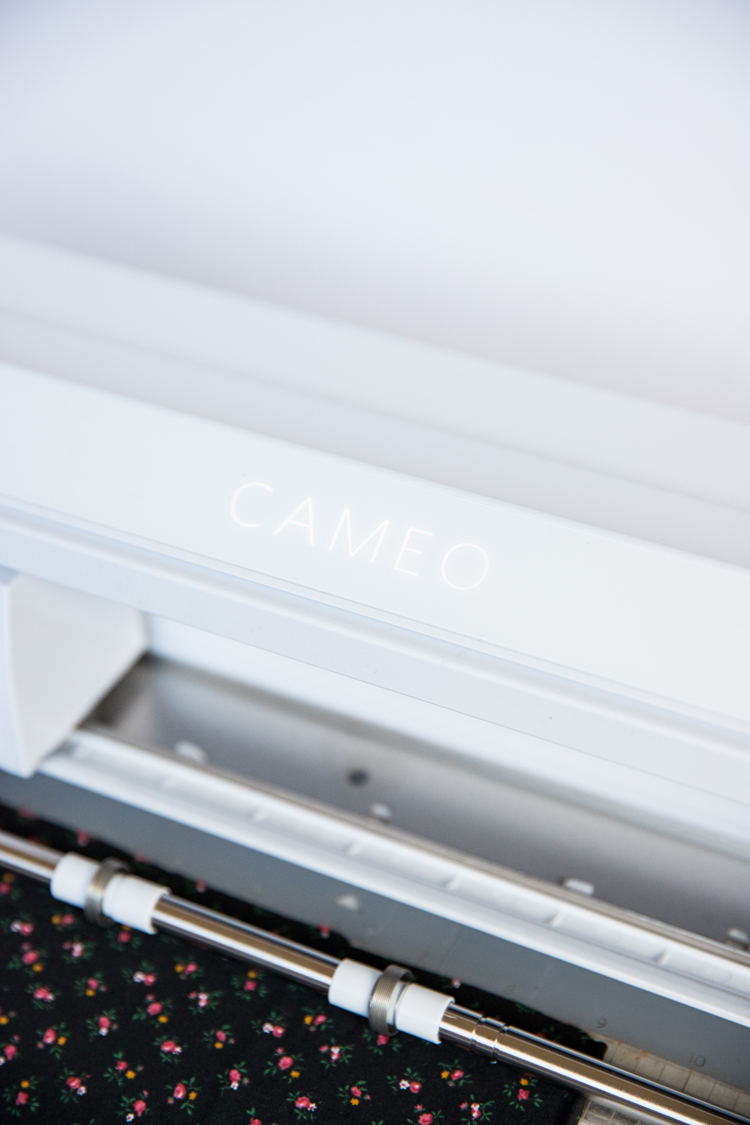
Not only that, but have you seen it? The Cameo 4 wins all the beauty contests.
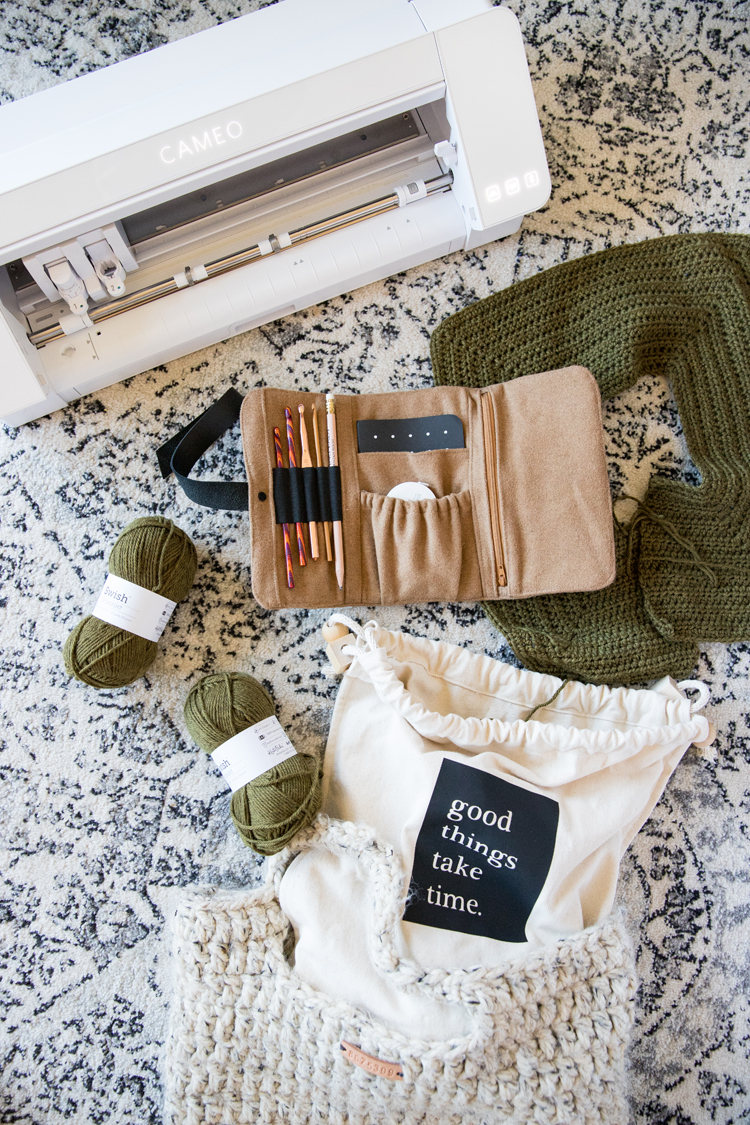
If you have an older cutting machine that doesn’t use a rotary blade, don’t fret. You can simply use my cut file with a marker and have your machine draw it on your fabric. You still have to cut it out by hand, but that way you can still have access to the pattern.
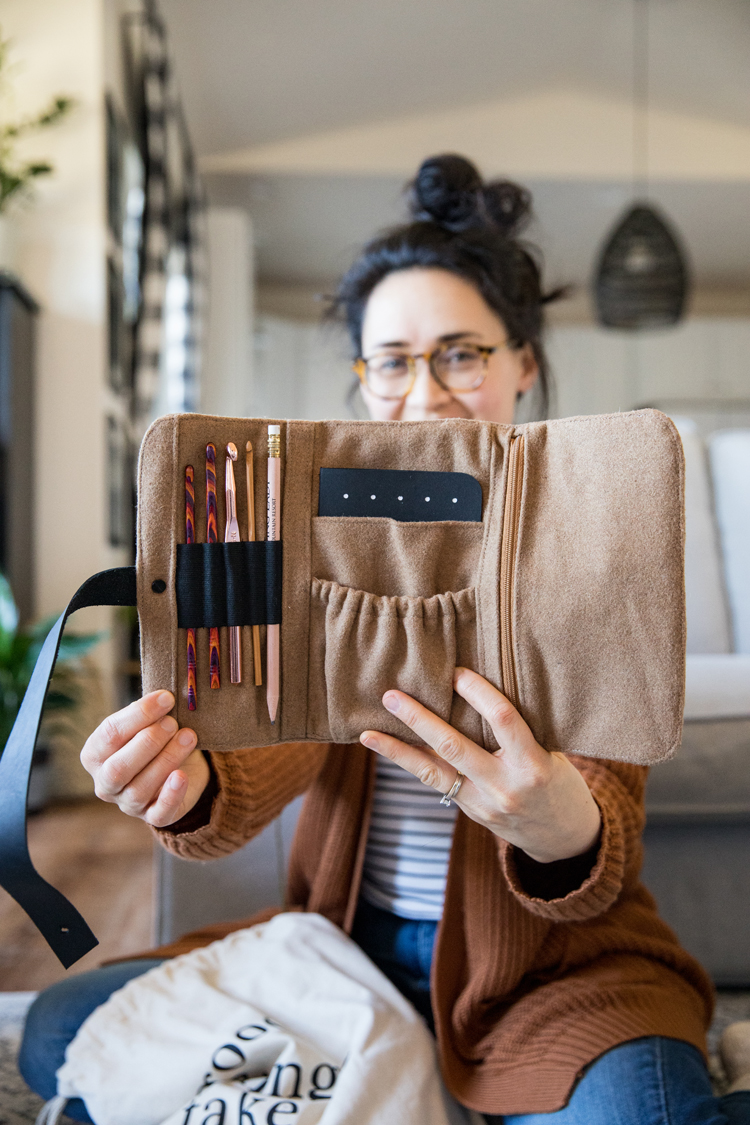
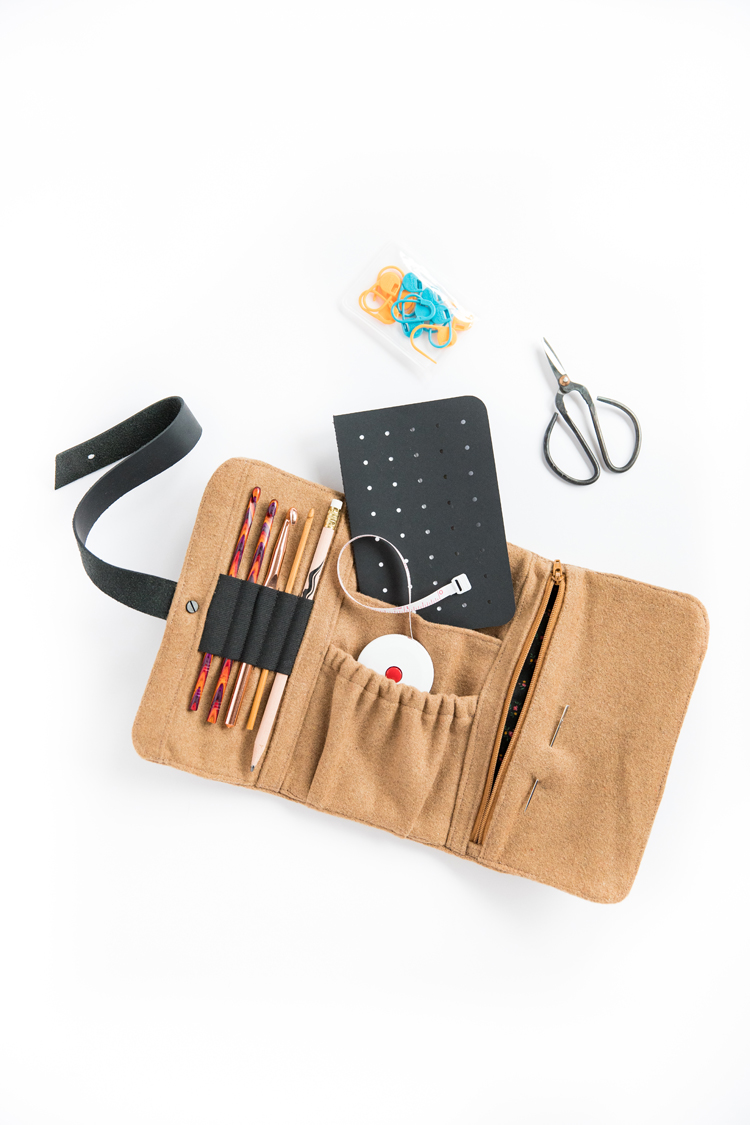
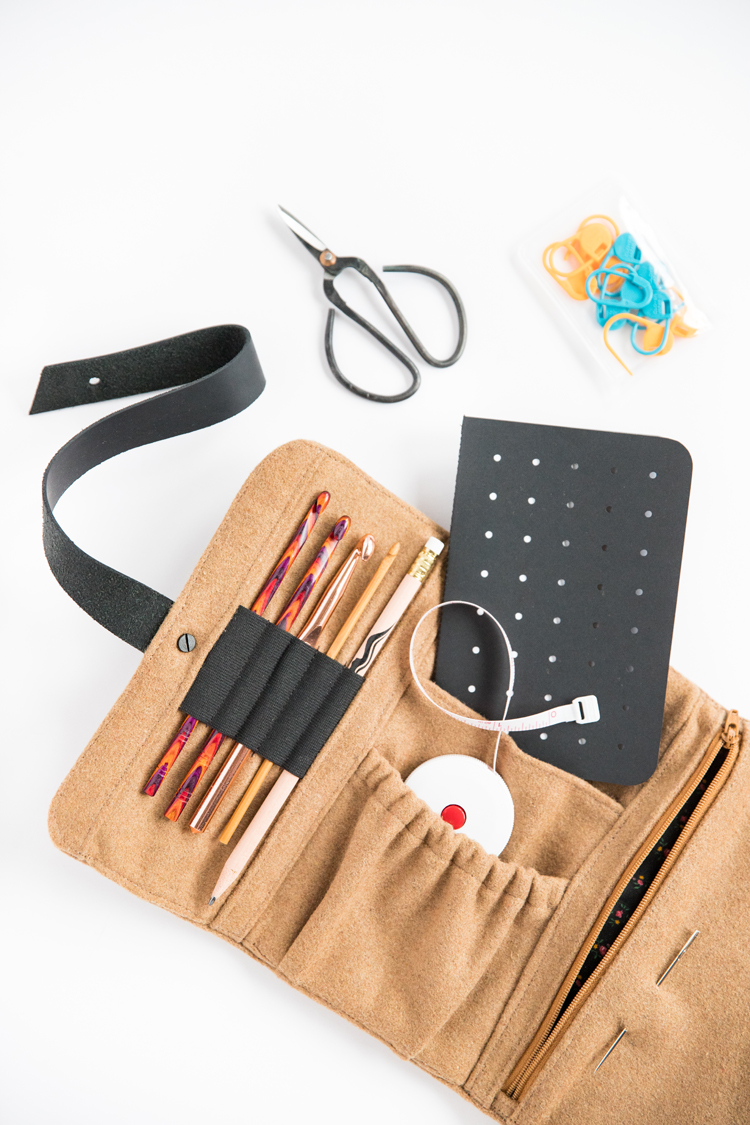
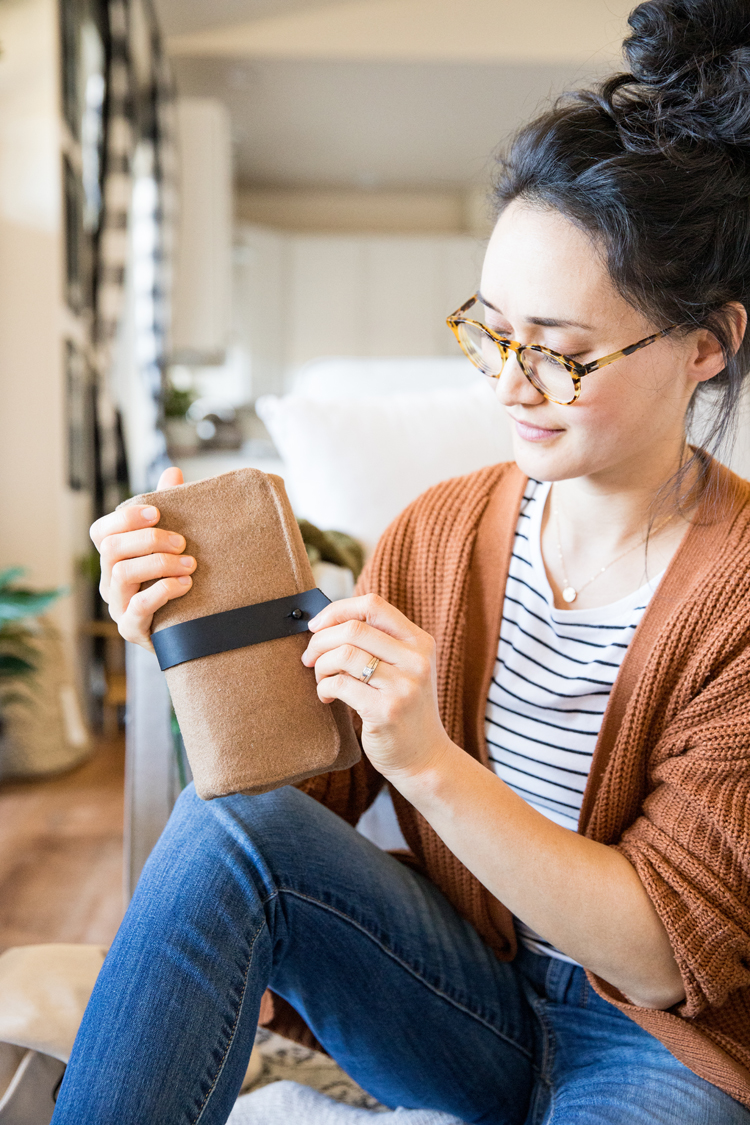
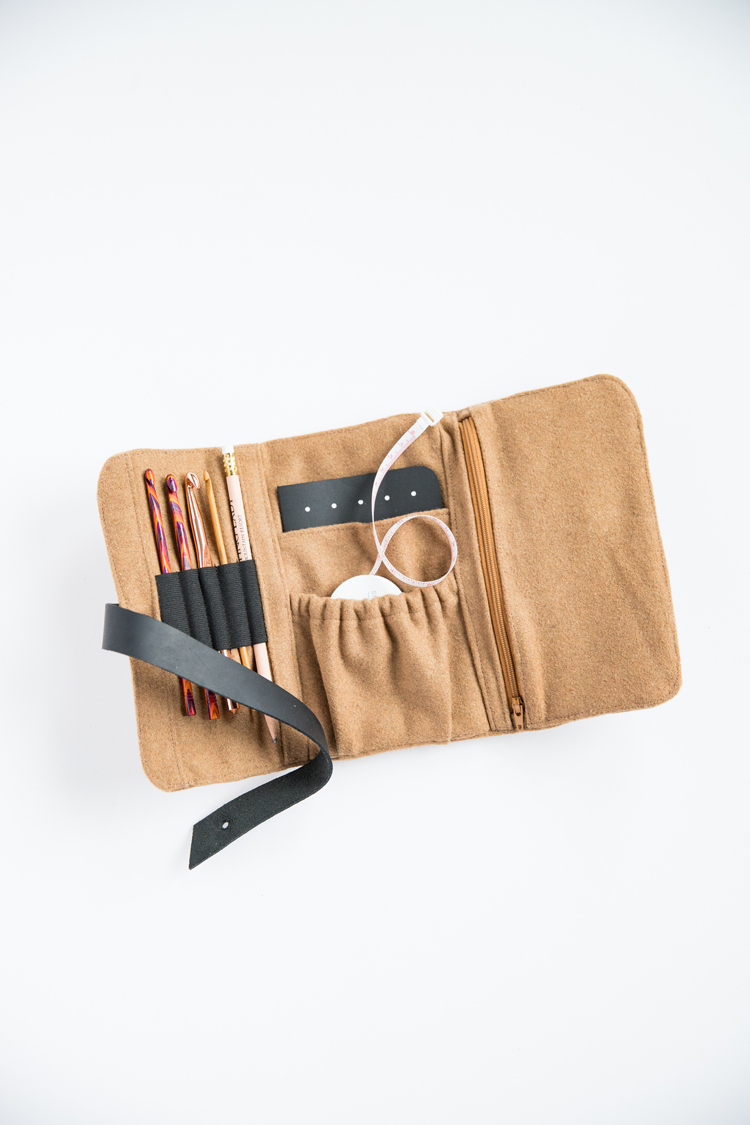
Why a maker’s wallet? To hold all your project supplies on the go! Crochet hooks, circular knitting needles, calligraphy pens, scissors, measuring tape…I even have a BONUS CUT FILE to sew your own notebook that fits in the middle pocket perfectly! (scroll to the bottom)
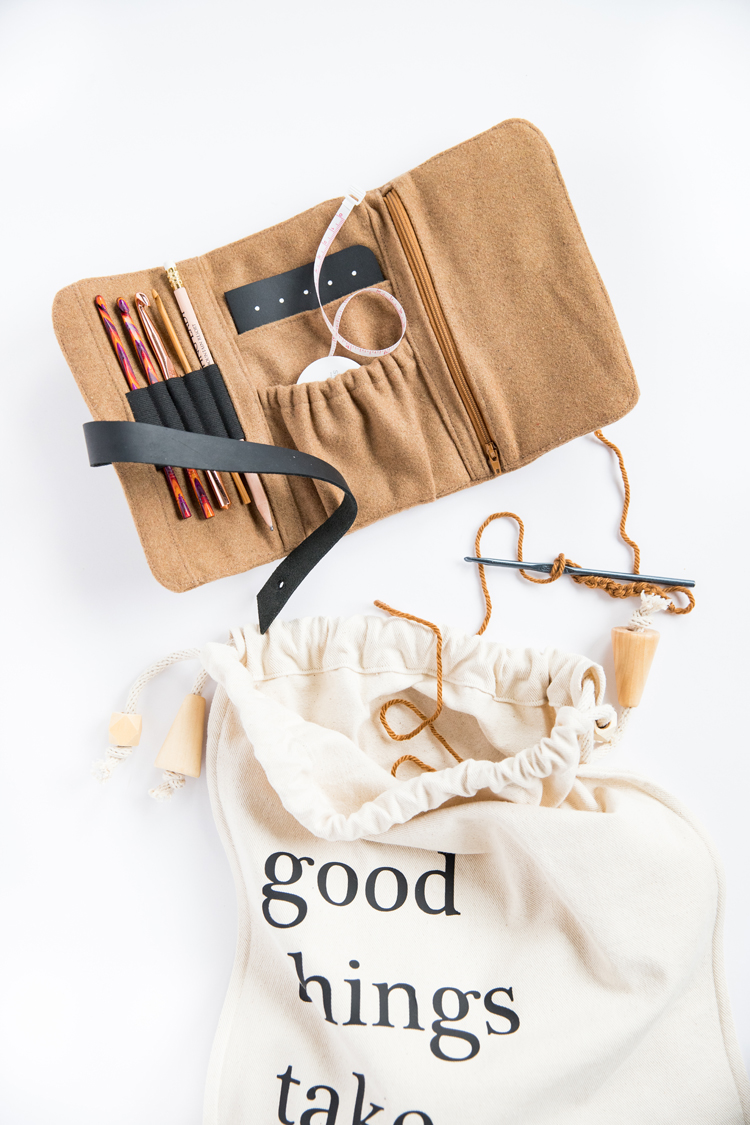
I made a similar crochet hook organizer many years ago. I still love it and use it all the time, but I don’t like lugging ALL my crochet hooks with me when I take my projects with me on the go, or even in a project bag around the house (speaking of project bags, CLICK HERE for that tutorial and free cut file).
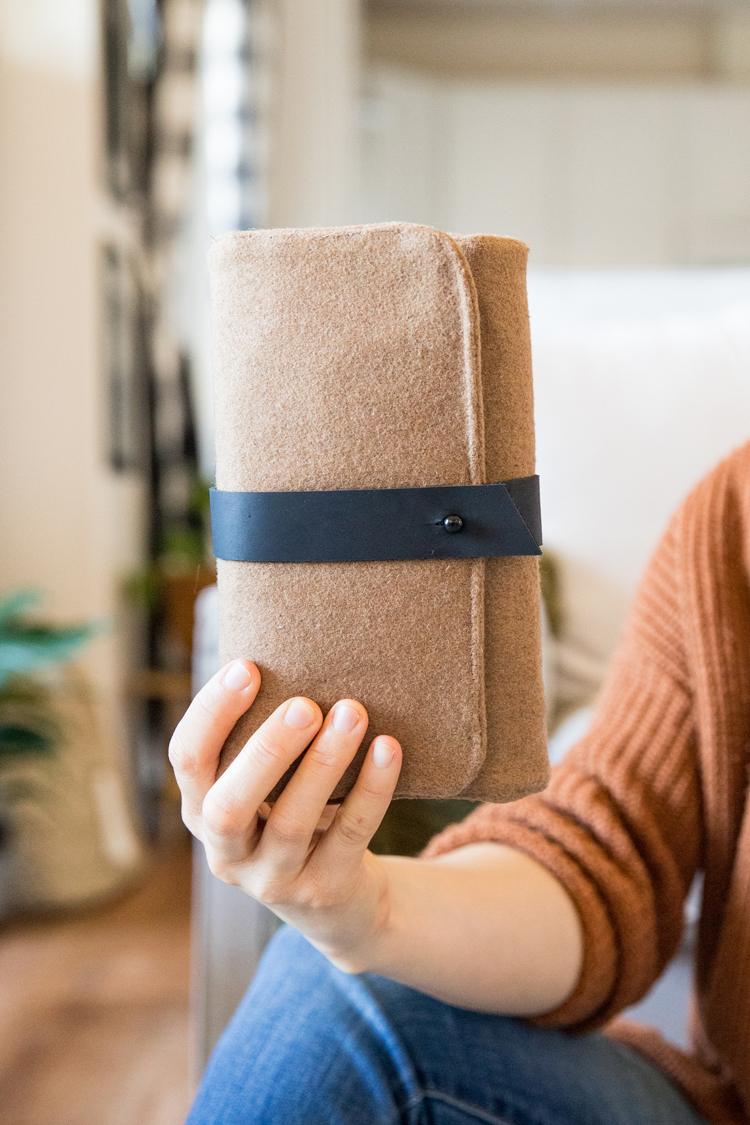
This wallet is a little slimmer and holds more of a variety of things to suit different kinds of makers.
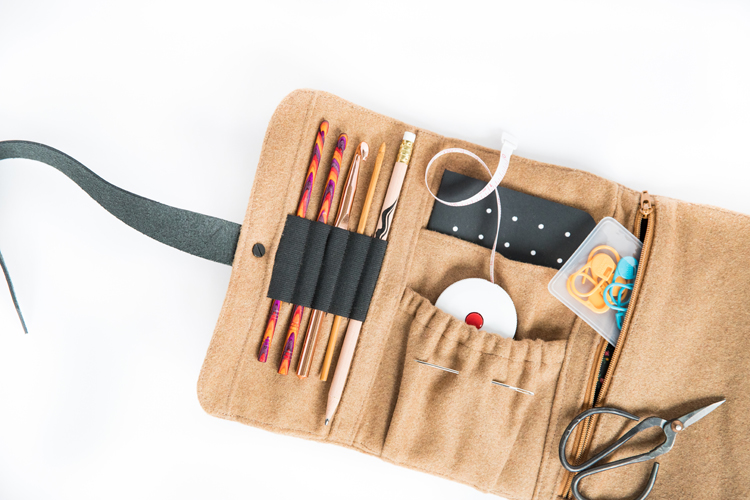
Of course, I’ve filled it up with some crochet hooks, a pencil, and all the crochet accessories.
Let’s get started!
MATERIALS
- 3/8 yard of fabric* (see notes)
- 1/3 yard heavyweight craft interfacing (either fusible or non-fusible, doesn’t matter)
- Spray adhesive
- Iron
- All-purpose thread and sewing supplies
- Pins and quilting clips (use small binder clips if you don’t have quilting clips)
- Sewing maker, chalk, or washable marker
- Standard sewing machine foot and zipper foot
- Leather strap or old belt (at least 13 inches long)**
- 1/2 inch wide elastic: 5-6 inch piece
- 2 inch wide elastic : 3.5 inch piece
- Zipper – 9 inches long
- Button stud***
- Leather punch and exacto knife ***
- Strong grip mat
- Silhouette Cameo 4 with rotary blade
Material Notes:
*Amounts for fabric can vary depending on whether you want a different material for the inside and outside of the wallet. I listed 3/8 of a yard, because that amount would be sufficient if you used one kind of fabric for every part.
I used a quilting cotton lining in the zipper pocket and the top middle pocket and then heavy wool fabric for everything else, which turned out beautifully but was a pain in the neck to sew and turn inside out, etc. It also makes seams a little less crisp because the fabric is very thick and hard to top stitch through evenly. When I made my crochet hook organizer which has a very similar design, I used a quilting cotton or similar for the whole thing and it was much easier to make. If you are new to sewing, I would definitely choose a thinner, less fussy fabric.
**I used leather belting strips from Michaels. They come about 1.5 inches wide, in a couple of different colors, and are about $9 a pack before coupon. I cut my strip to a width of 1 inch and I cut one end at a slant.
***You can use other types of closures, like kam snaps, heavy duty metal snaps, add cording instead to wrap and tie it, or sew on a button and sew in a length of elastic to wrap around the wallet and loop around the button… etc. If you don’t have leather making materials, this pattern is very adaptable to other closure options.
CUT FILES
Download these cut files. Remember, you can use your rotary blade for them, or have your machine draw the pattern out so you can cut them out by hand.
CLICK HERE TO ACCESS ALL MAKER’S WALLET CUT FILES including outer and inner wallet pieces, and the notebook cut files.
PLEASE NOTE: You will need Silhouette Studio Designer Edition to import and use these .svg files.
This is a google drive folder. If you have trouble accessing it, please contact me via email: [email protected] and allow at least 10 business days for me to respond.
I’ll explain the notebook cut files in full toward the end of the post.
If you have a rotary blade though, you’re going to love not cutting out every little piece! That’s my least favorite part of sewing and so it makes me so happy that the Cameo streamlines that bit for me.
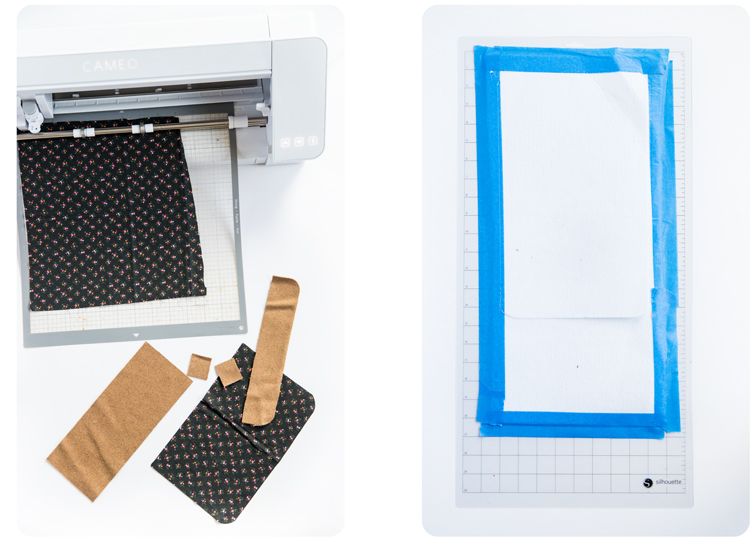
If you don’t have a 12 x 24 strong grip mat, you and tape your fabric or interfacing down on a regular grip mat with painter’s tape. Or you can simply sew the pieces for inside the wallet and then use that as a pattern to cut out the outside and interfacing (interfacing needs to be about 3/8 inch smaller than outer piece.
TUTORIAL
SEAM ALLOWANCE IS 3/8 INCH or 1 MM, unless otherwise noted.
Before we begin, cut all your pieces and make sure you have everything accounted for:
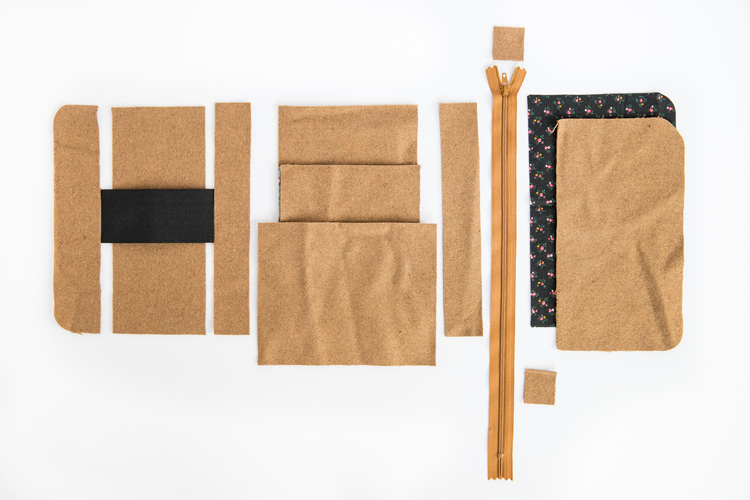
Let’s start with the zipper pocket:
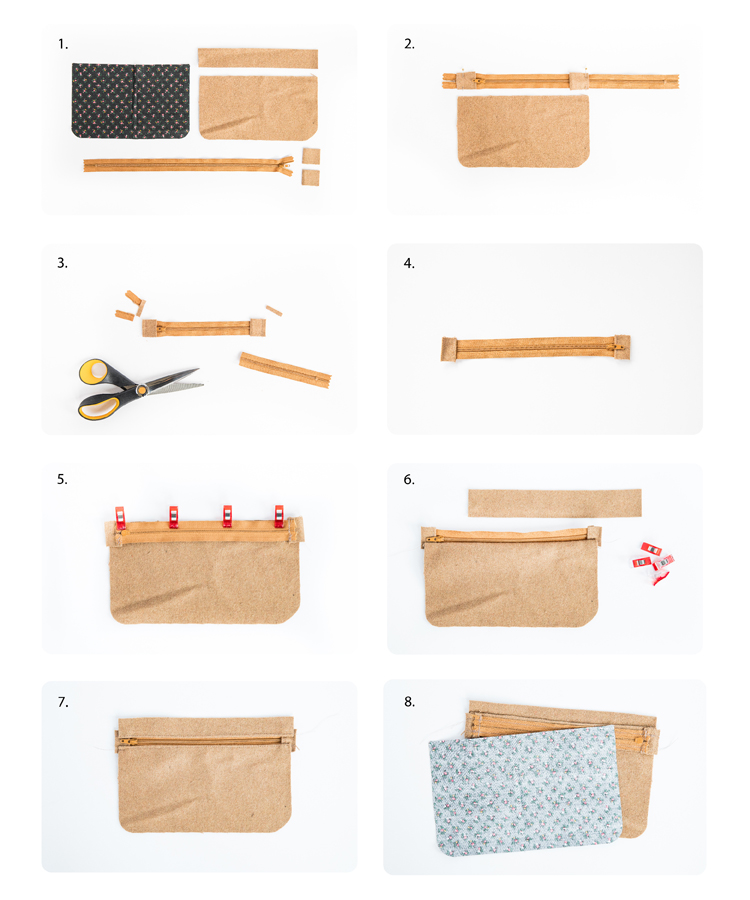
- Gather all zipper pocket pieces as shown.
- Sew the zipper tab pieces to the zipper. Use the pocket piece to determine spacing. Lay small tabs right side down on the zipper and sew with a 3/8 inch seam allowance.
- Trim excess zipper and seam allowance to about 1/4 inch. Fold tab pieces over, so they are right sides facing up.
- Top stitch near seams to help tabs lay flat.
- Attach zipper piece to pocket piece. Lay zipper piece face down and align with top of pocket piece. Using a zipper foot, sew zipper in place.
- Fold zipper right side facing up and attach the top rectangle pocket piece to the other unsewn side of the zipper. Clip in place and sew.
- Fold the top rectangle open, right sides facing up. Press seams with an iron, being careful to not let the iron touch the zipper teeth (it will ruin it). Top stitch close to edge of seams.
- Baste zipper pocket lining to the bottom curved edge of the zipper pocket with a 1/4 inch seam allowance.
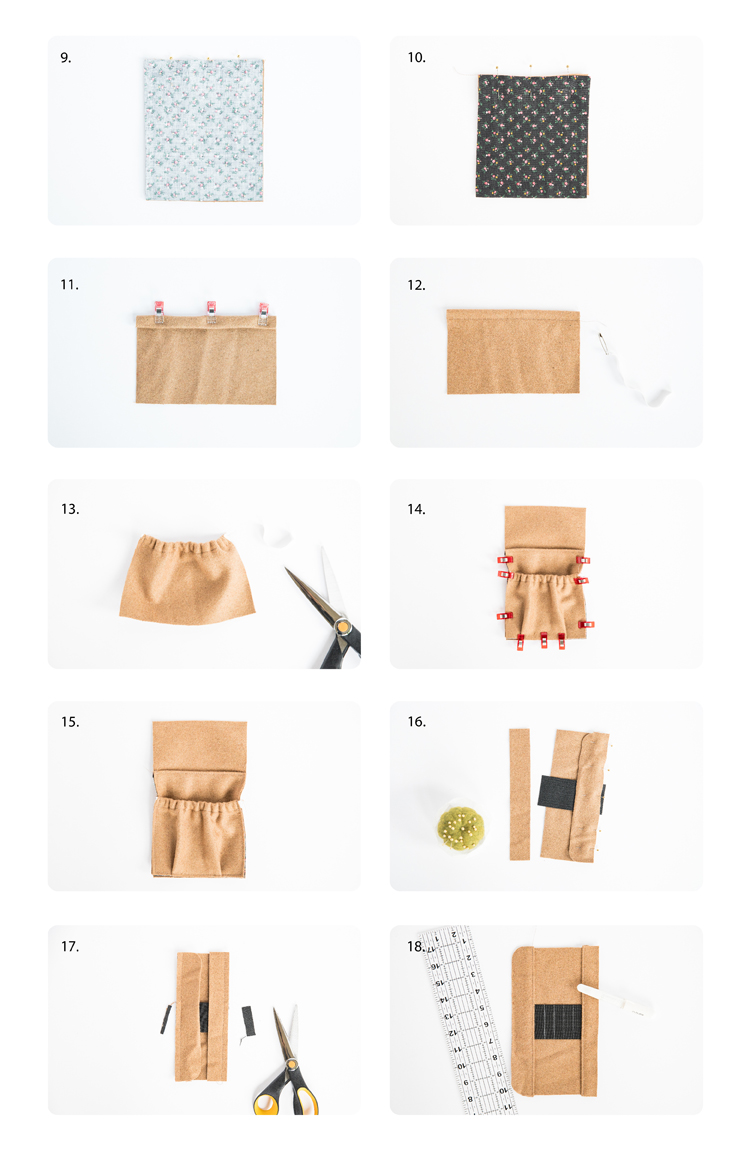
Prepare middle pockets:
9. Pin tall pocket lining and main fabric together along the top edge only, right sides facing. Sew.
10. Flip pocket right side out and press along seam. Top stitch close to edge of seam.
11. Fold down the top of the shorter gathered pocket piece about 1/4 inch twice, encasing the top raw edge.
12. Sew along the folded edge, creating a casing for the 1/2 inch elastic.
13. Attach a small safety pin to the piece of 1/2 inch elastic and thread it through the casing. Gather the pocket with the elastic until it is the little tighter/narrower than the width of the tall pocket.
14. Stack the gathered pocket onto the tall pocket and then both pockets onto the main middle piece.
15. Baste all pieces together with a 1/4 inch seam allowance.
Prepare hook/pencil holder side:
16. Center 2 inch wide elastic onto the middle rectangle piece, letting the ends of the elastic go over the sides (this will get trimmed away in a minute). Pin the curved rectangle to one side and sew.
17. Repeat with the smaller, but straight rectangle. Pin to the other side and sew. Trim away excess elastic. Fold the sides open, so right sides are all facing up.
18. Press and top stitch along the seams. Mark stitch lines for pencils or hooks. You can customize this to your preferences. I made mine about 5/8 inch apart.
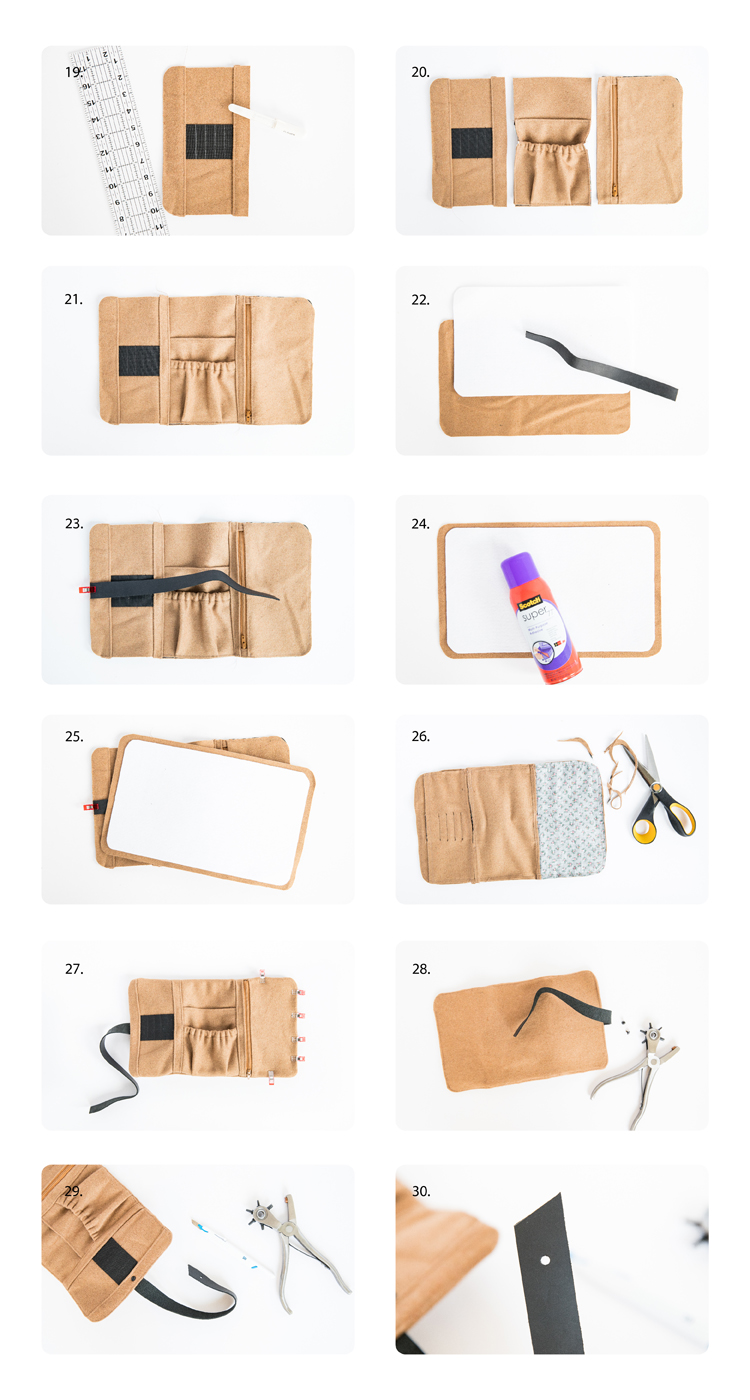
19. Sew along the stitch lines, taking care to front and back stitch at the start of each line several times to ensure they will be secure. Rub out or wash away stitch lines.
Completing inside of the wallet:
20. You should now have left (hook/pencil), middle (2 pockets), and right (zipper pocket) side pieces.
21. Lay the left side and then the right side pieces on the middle piece, with right sides facing. Sew along each side. Open everything, so it’s all right sides facing up. Press and top stitch along the seams.
Prepare outer wallet pieces:
22. Gather interfacing, outer wallet piece, and leather strap piece.
23. Center the leather strap to the left side of the inside wallet piece.
24. Attach craft weight interfacing to the outer wallet piece. Even if it’s fusible, I have found that you need something stronger to get it to fully adhere to fabric. I use spray adhesive and press in place very firmly, smoothing out any wrinkles I can.
Bring inner and outer wallet pieces together:
25. Place outer wallet piece onto inside wallet piece, right sides facing. Sew around perimeter of wallet (getting as close to the interfacing without sewing through it), leaving a 4-5 inch opening on the left side.
26. Trim seam allowance and turn the wallet right sides out. With the craft interfacing, this will be challenging. It won’t look pretty until you’re done. Smooth out all corners and sides from the side with a bone folder/blunt pencil/chopstick.
27. Press seams with an iron, taking care not to compromise the zipper. Clip seams in place and carefully top stitch around the perimeter of the wallet. You want this to look as clean as possible, so take your time. I unpicked and resewed my stitches in some areas several times, until I got the look I wanted.
Add a closure:
28. Add a button stud, or the closure of your choice. For the button stud, simply bore a small hole into the left side of the wallet, right by the leather strap. Insert the screw end of the button stud through it and screw the stud piece in place.
29. Punch a hole at the end of the strap. I used my biggest punch setting
30. Cut a very short slit at the top of the punched hole (away from the end of the strap so it doesn’t tear through) so that the hole can fit over the button stud.
Fill it up, wrap it up, and you’re done!

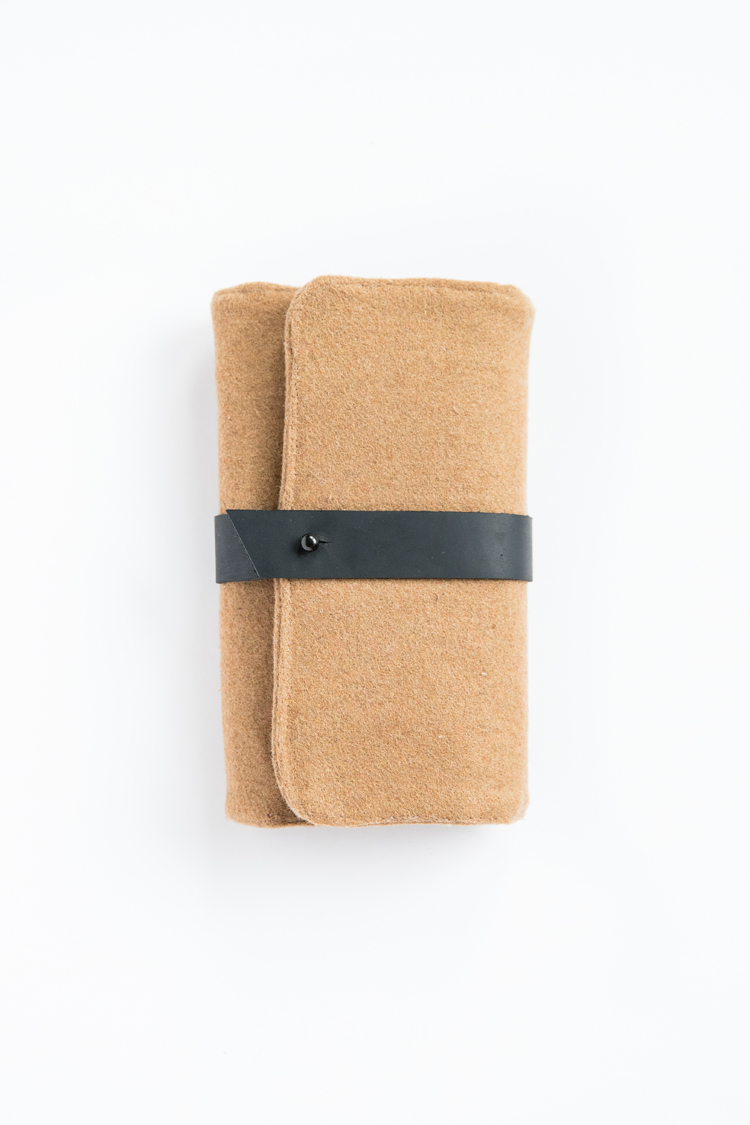
Now let’s make a notebook that will fit perfectly in your new maker’s wallet!
BONUS NOTEBOOK TUTORIAL
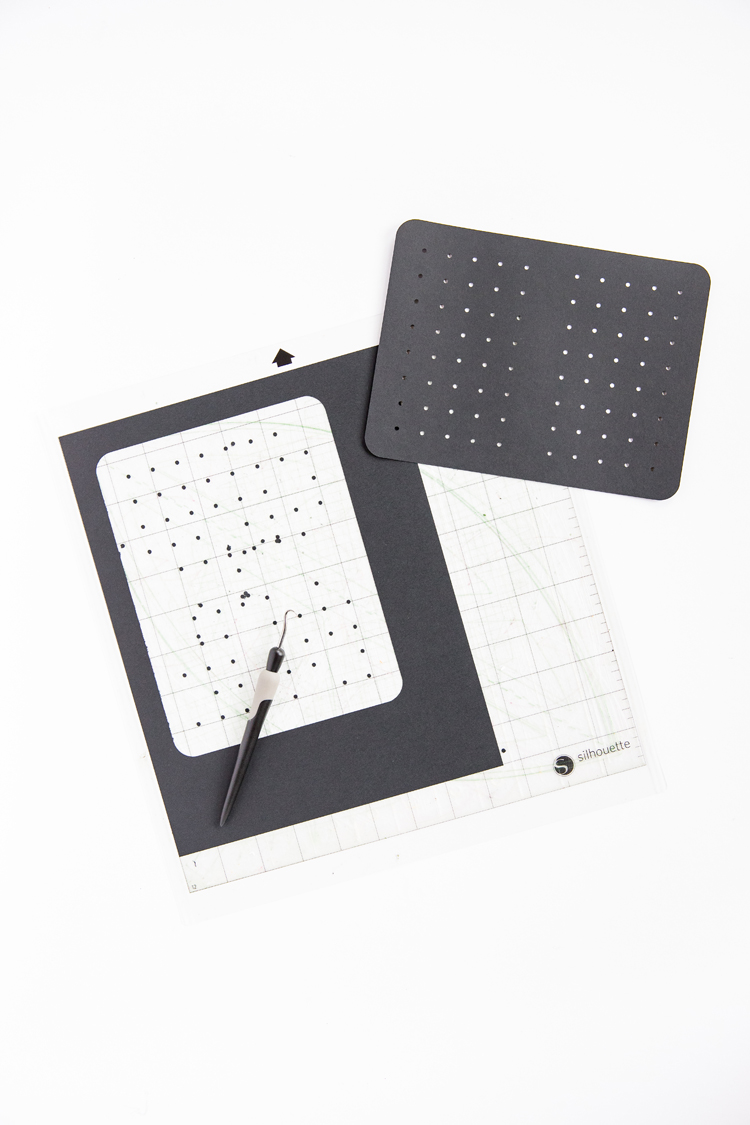
- Get the notebook cut files from THIS Google Drive Folder. There are two. One for the cover piece and one for the inside pages.
- Cut out one cover piece from cardstock. Cut as many inside pages as you desire, taking care not to make the booklet too thick for your sewing machine.
- Fold every piece in half.
- Center inside pages on the outer piece. Clip in place and sew along the center seam. Be sure to front and back stitch at the start and and stop of the seam to ensure it is secure.
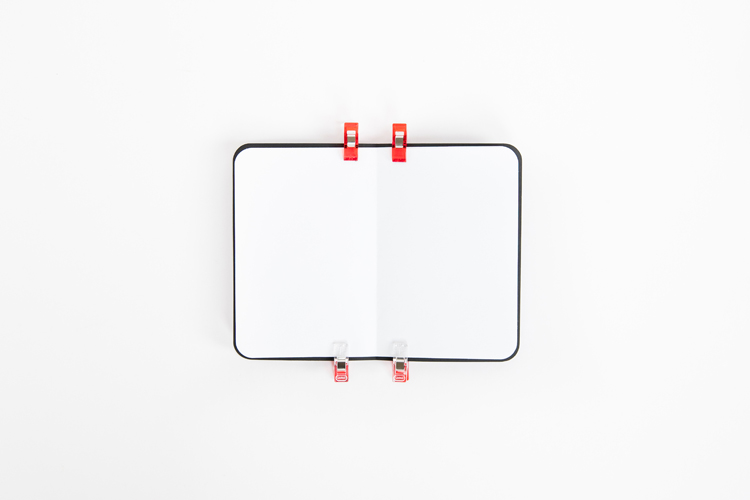
Easy peasy.
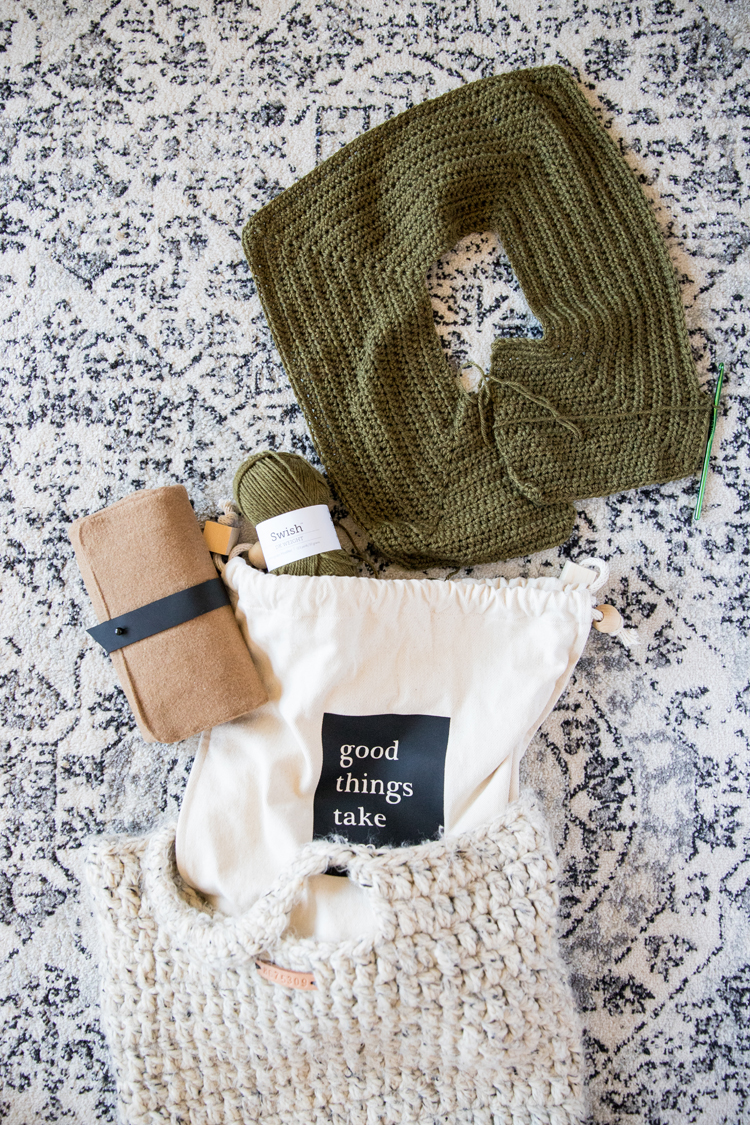
Now that you have a maker’s wallet, let’s make a project bag! It’s an easy sewing tutorial with a free vinyl decal cut file!


Leave a Reply