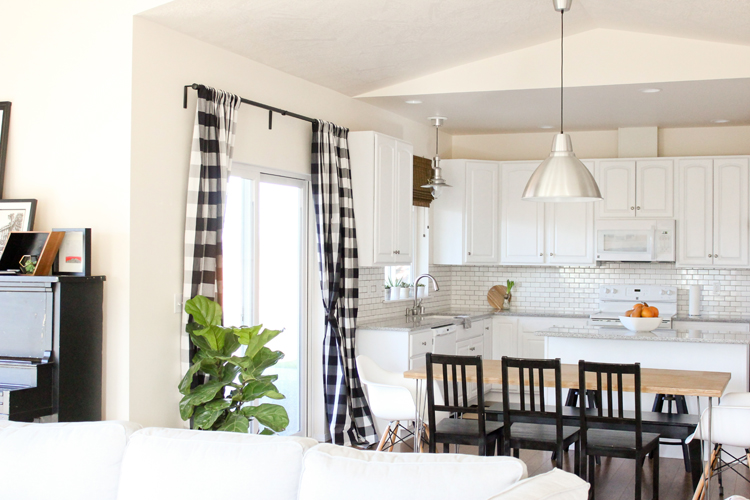
As I mentioned in our initial kitchen renovation reveal post, at first I didn’t really want to paint our cabinets white. I feel like everyone is doing it these days, so I was hesitant to just follow suit just because it’s popular.
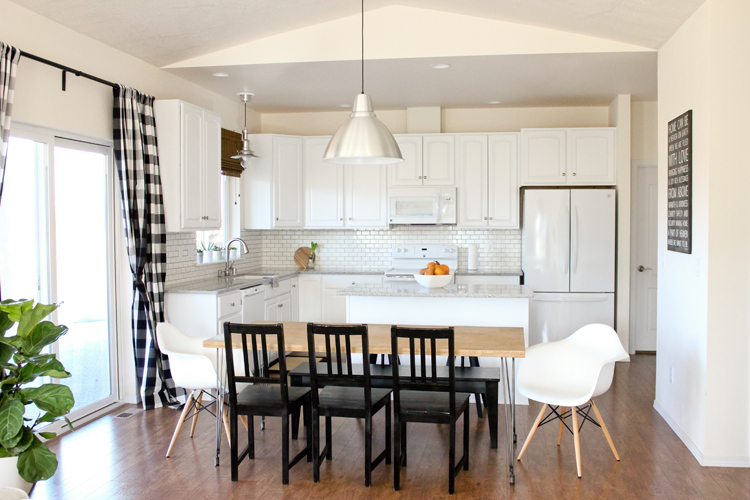
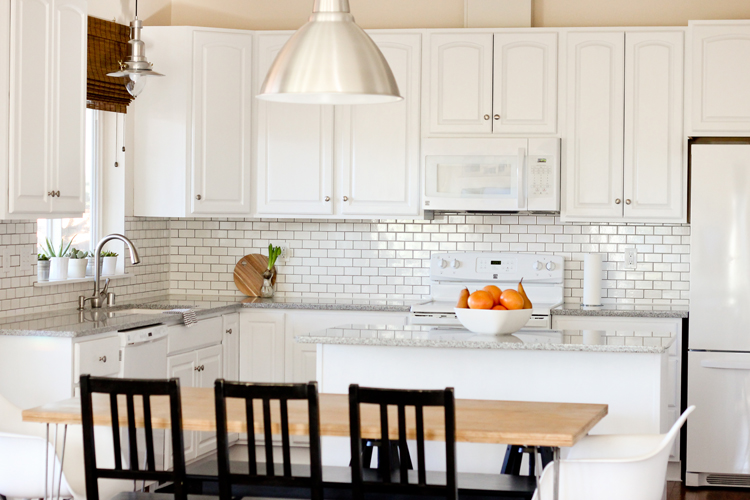
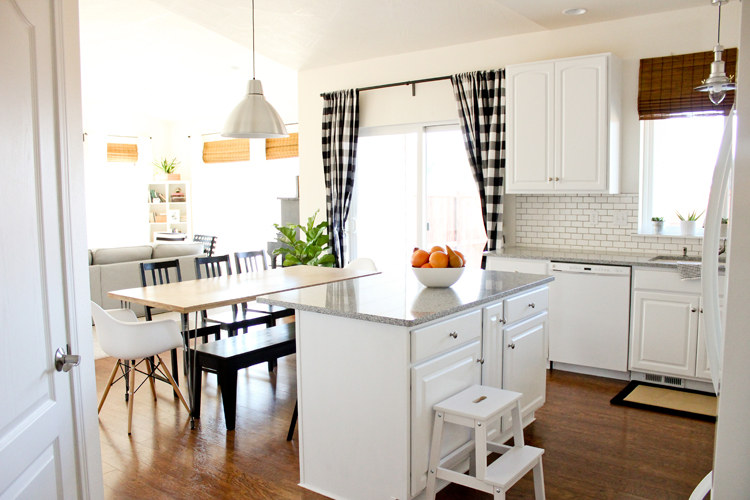
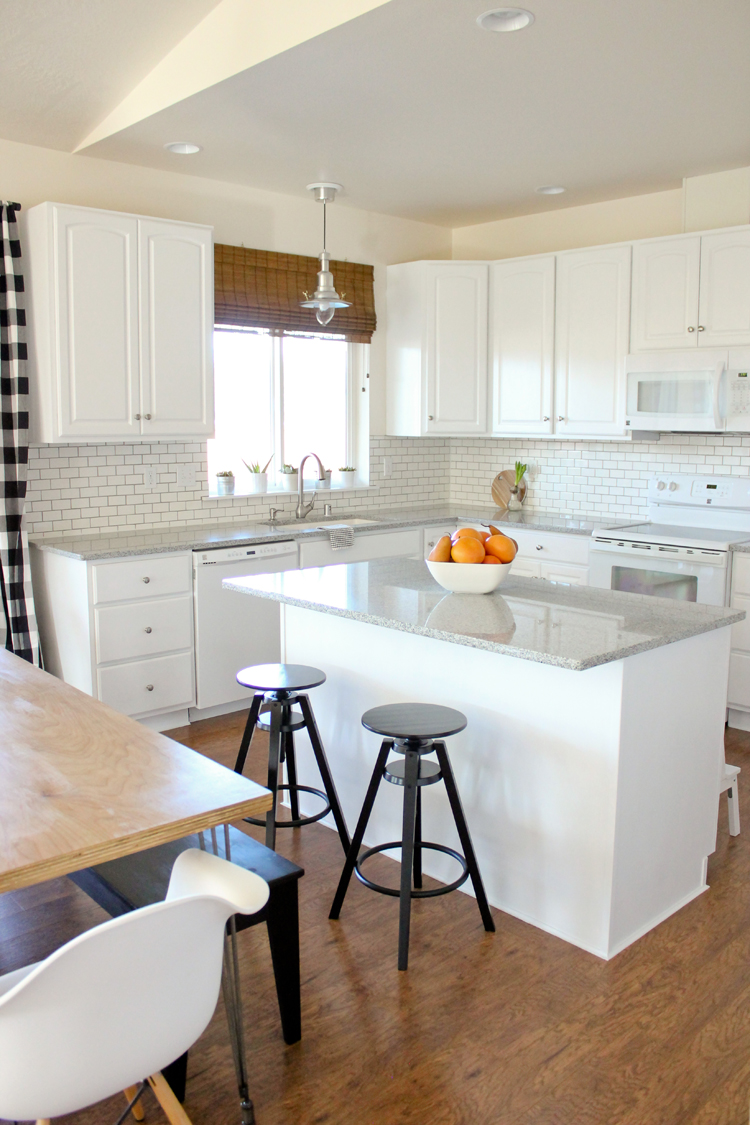
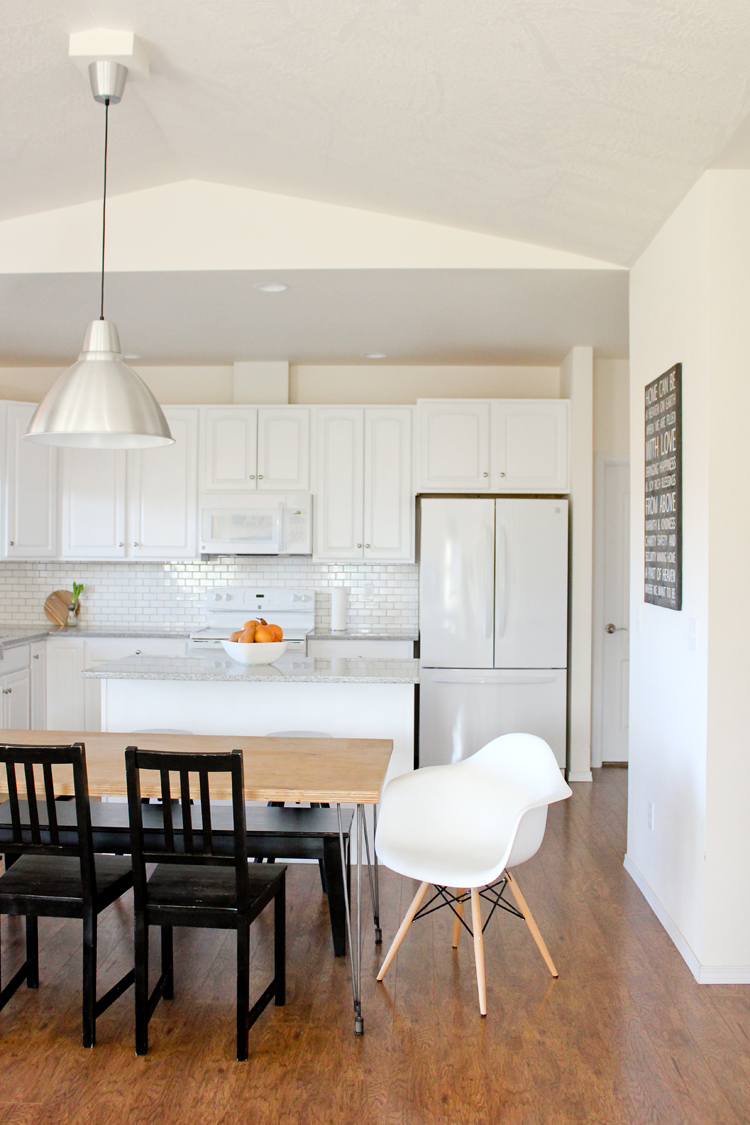
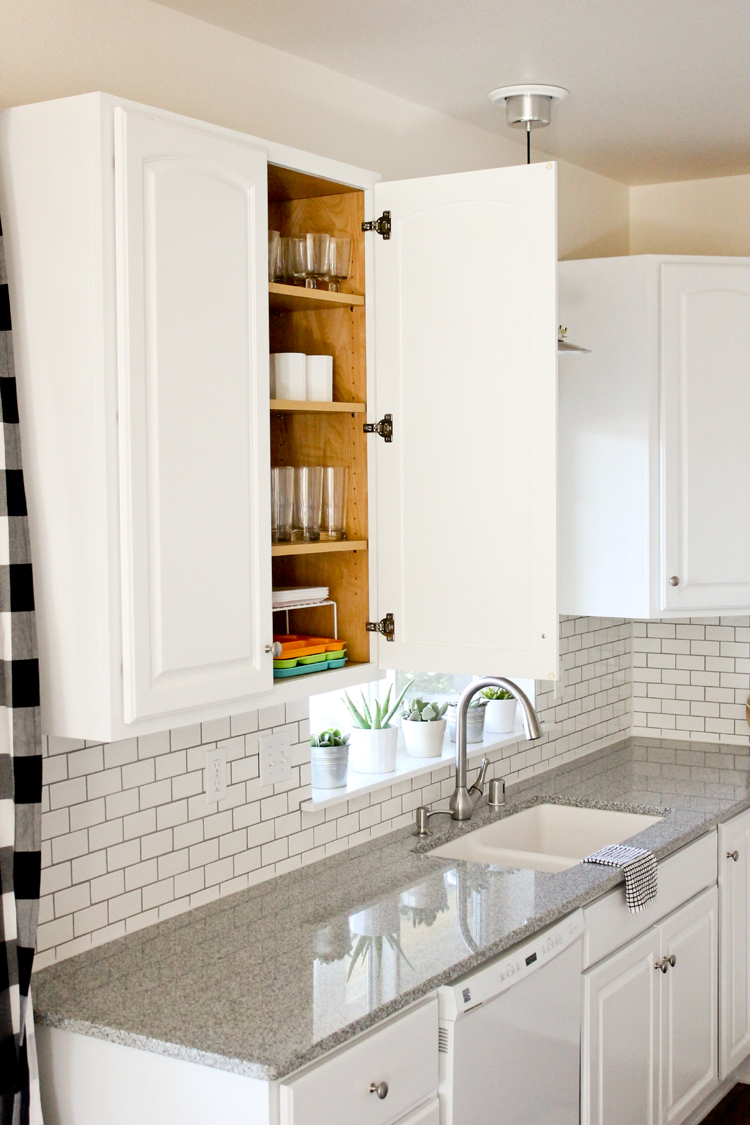
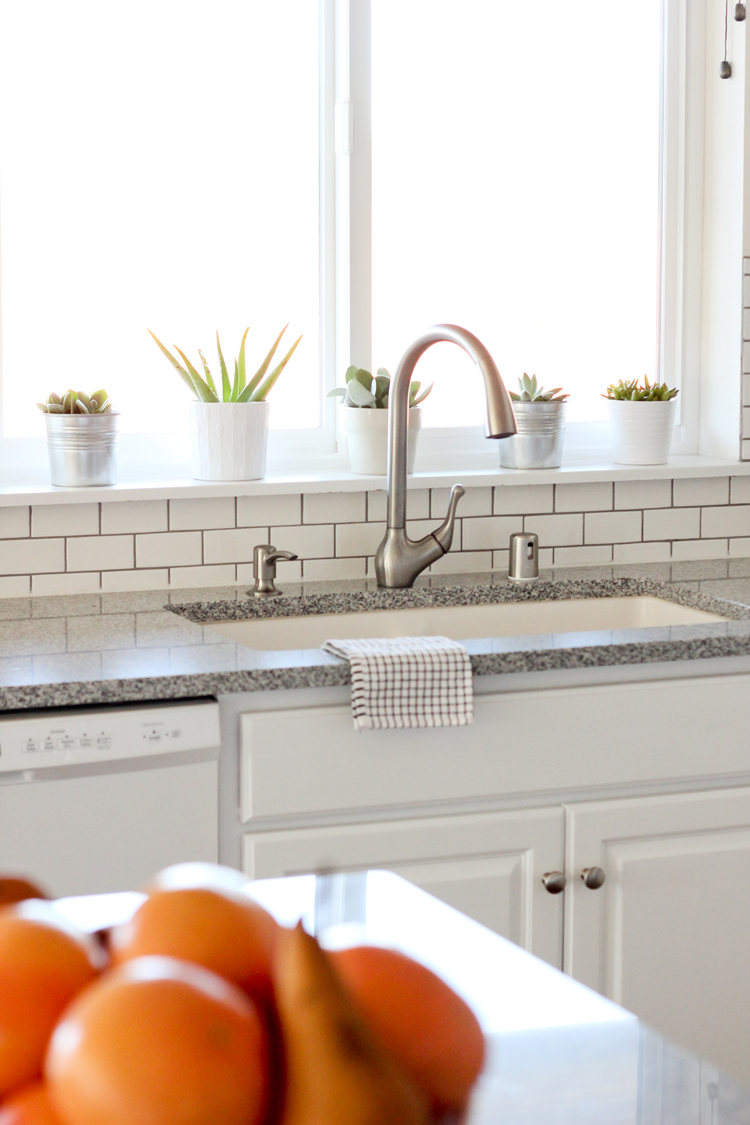
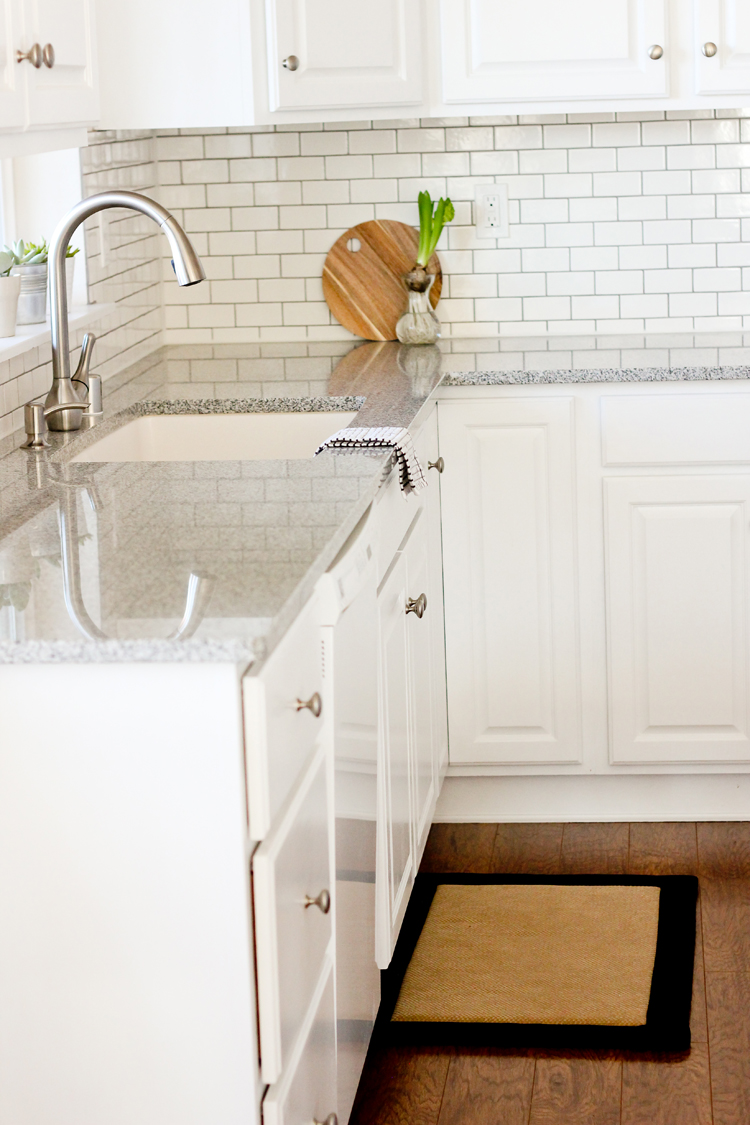
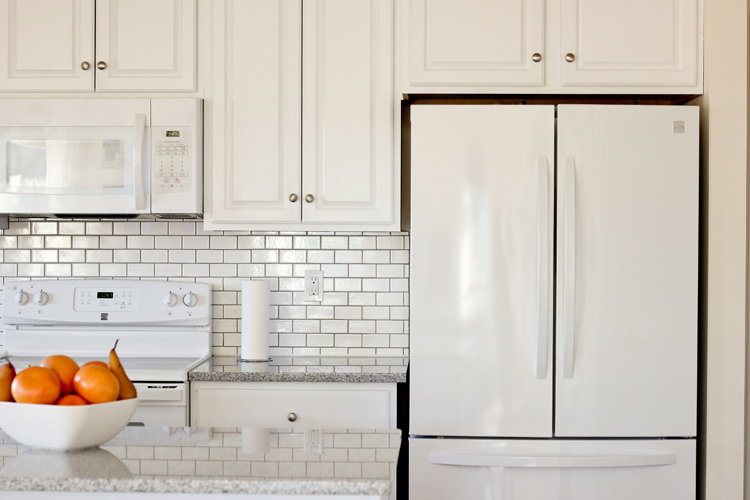
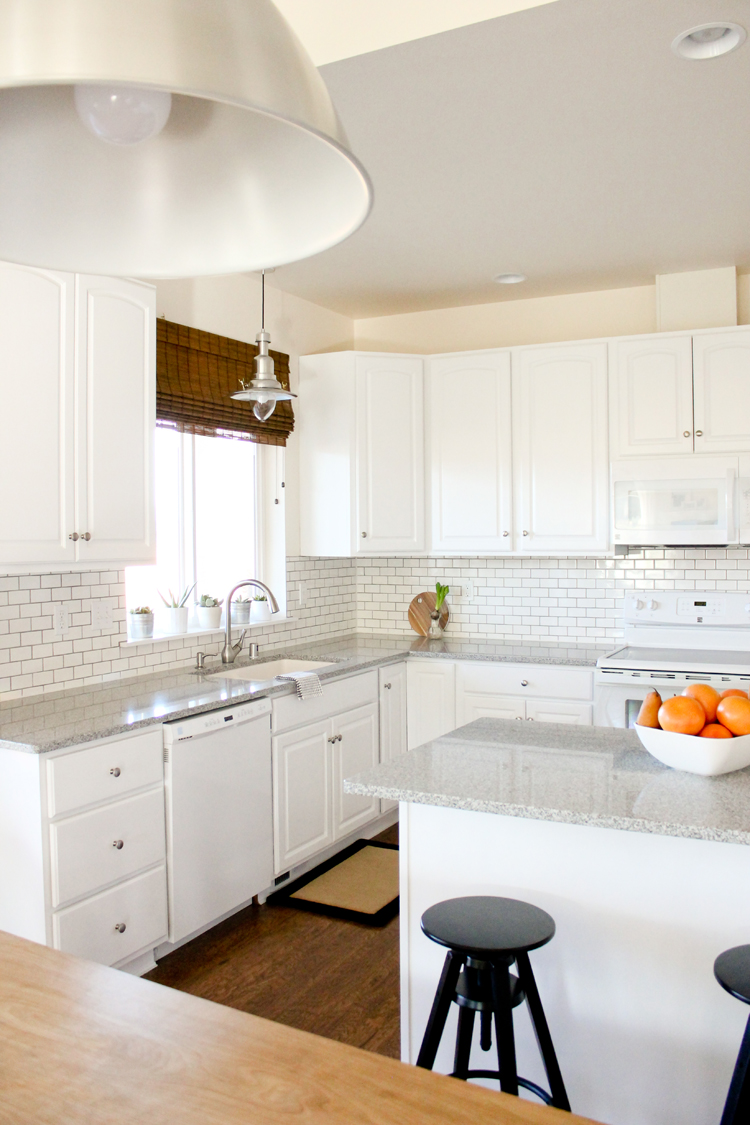
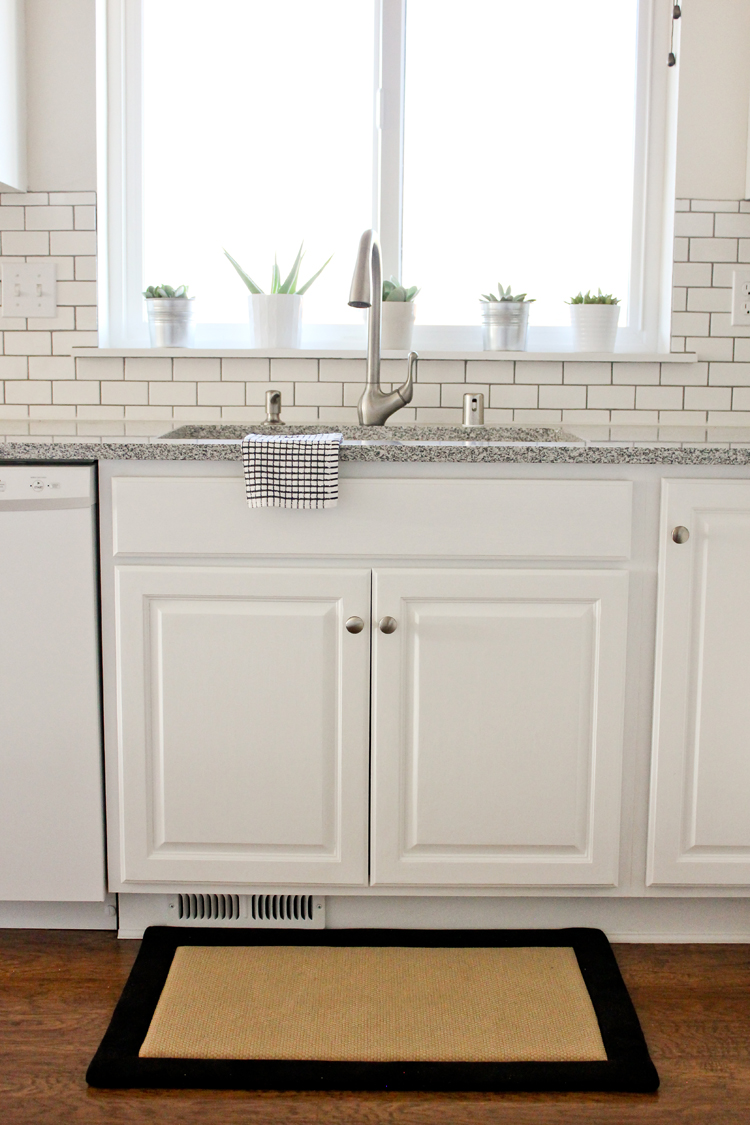
After weighing out all our paint options though, we discovered there’s good reason why it’s popular. With all the dark, cloudy weather we get here in the Pacific Northwest, the white not only makes our small space look bigger, but it really adds a much needed pop of brightness and light to our most lived in space.
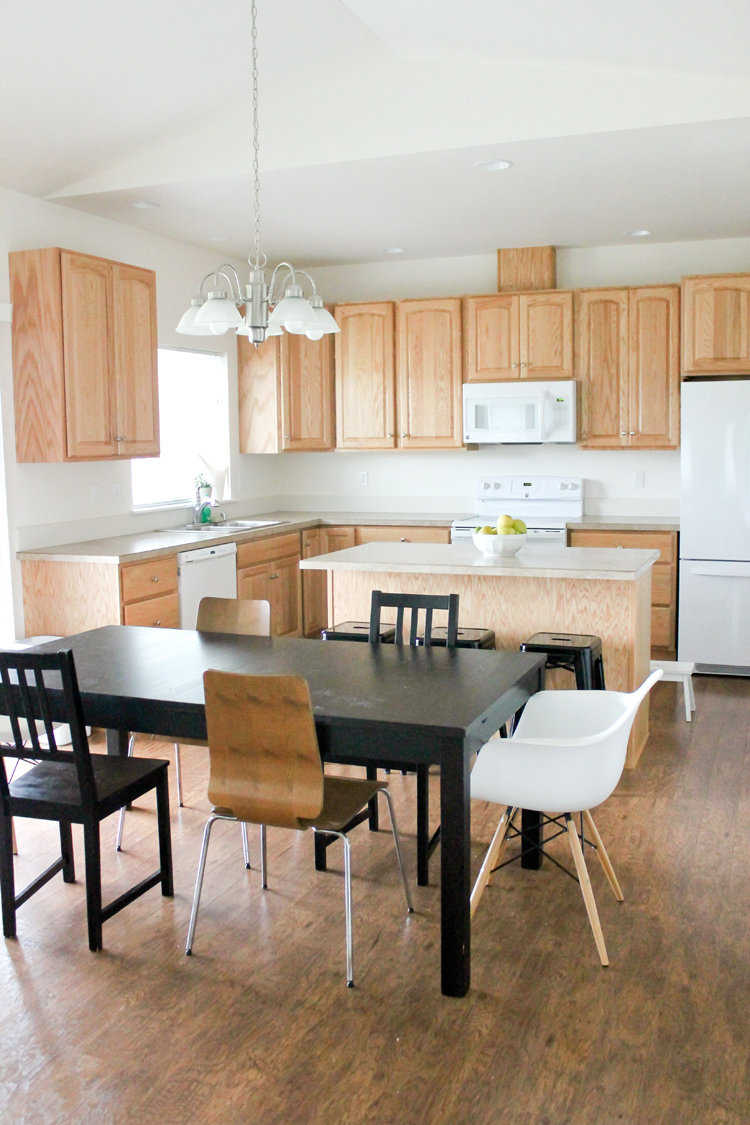
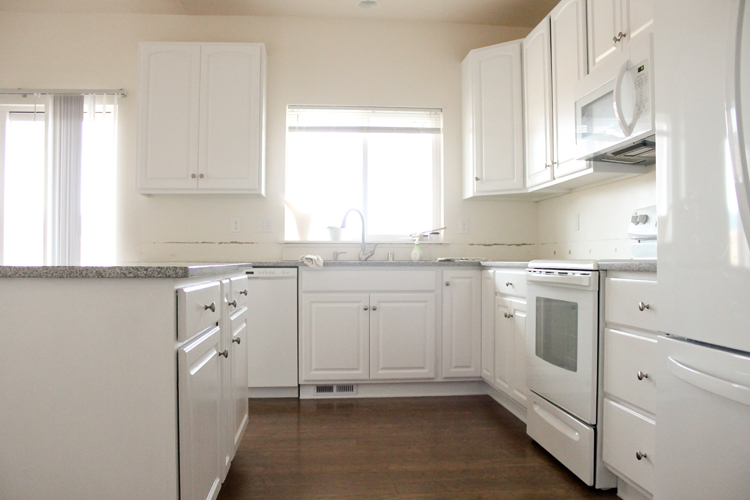
Remember…this is what it looked like before.
Same kitchen, but all the brown oak made everything feel smaller.
I also knew it would add more value to our small starter home to go with a neutral color, rather than a personalized custom color… and matching our already existing white appliances seemed like a no-brainer. So, white was the winner!
Contrary to what you might think, the white doesn’t show messes too much. Aside from obvious spills, I actually think the reflective white paint is deceiving in making my kitchen look cleaner than it really is half the time.
When deciding to go about how to paint them, I researched all my options: refacing, professional painters, and doing it myself.
The least expensive option being, of course, painting the cabinets myself. We already spent the bulk of our budget on the counter tops, so it was time to DIY!
We are total home renovation beginners, so our house painting experience is limited to say the least. What little experience I do have painting has confirmed to me that I really dislike home painting projects! Ha! It’s one of the reasons why all of our walls are still builder’s grade white (for the moment). So, I knew that stripping our cabinets, and painting with an oil based paint which takes like three days to dry in between coats, was definitely not for me.
With timing that couldn’t be more perfect, Linda from Craftiholics Anonymous posted about painting her kitchen cabinets with BB Frosch chalk paint. Chalk paint requires no sanding, little drying time between coats, and it’s self leveling… I was sold. Plus, the BB Frosch works with any paint color so your options are limitless. Even though we were painting our cabinets white, being able to choose which white paint was a big priority.
Painting with Chalk Paint
I basically followed what Linda did, so I won’t give you a full tutorial.
But here are some things I learned, and some things I did differently…
Paint
I bought the most expensive low-VOC latex at Home depot, Behr’s Premium Plus Ultra in Bakery Box. I originally bought the standard latex no-VOC paint in Dove white, which matched the walls. That was a mistake because instead of making the appliances blend in, it made them stand out. So, I started again with a bluer toned white that matched the appliances and that color worked much better. I also picked up the more expensive premium paint the second go around, just because I was curious if it was actually superior. Maybe it’s just me, but I felt like the more expensive paint set up much better. It seemed to go on smoother, and look better after drying. So for about $15 more than the standard paint, I think it’s totally worth it to splurge on the good stuff for cabinets.
As for the chalk powder, I about one 16 ounce (gallon sized) size container from BB Frosch.
Prep
I removed the drawer faces, cabinet doors, and all hardware before painting. This made the process so much easier. I could really get the inside lip of the frame of the cabinet bases and it was much easier to be able to paint the doors in the garage all at once.
I didn’t snap hardly any process pictures, because I honestly wasn’t sure if it was all going to work out! ha! Like I said…we were newbies and I was neeerrrvous! I posted this one to instagram though, and you can see the drawer face and cabinet door removed…to help give you an idea of what I did.
I also taped the walls and floors around the cabinets with painter’s tape. I started to lay down plastic for the floors as well, but because the project dragged out over a few weeks, I eventually left it off and found that I didn’t really need it anyway. Chalk paint cleans up really easily even after it dries, as long as you don’t wait too long so that it cures.
Wood filler warning…
Before I started painting (the second time) I decided to try to get some of the wood grain out of my cabinets using wood filler. The chalk paint is self leveling, making wood grain less noticeable, but it’s not completely effective. Long story short, I took some bad advice and tried Bondo wood filler. It was difficult to mix properly, especially after already mixing a previous batch, it was highly toxic, and it dried faster than I could work with it, even though I was mixing small quantities at a time. I was impatient to get to painting, so I pushed through and kept applying it to all the doors, thinking I could sand out the imperfections. Instead, even after giving it extra drying time, it gummed up my sander and splattered Bondo putty all over the place. I eventually resorted to stripping it off with the strongest stripping agent I could find at Home Depot, and it still came off unevenly. What wouldn’t fly off in chunks when I sanded it, wouldn’t come off even with five applications of stripping agents. It was a NIGHTMARE that added two weekends of time to the project. So, if you decide to use wood filler to get the wood grain out before you paint. I strongly, strongly caution you to not use Bondo. M’kay? Okay. 🙂
After all that, I decided I didn’t care that much about tiny hints of wood grain and just skipped that for the rest of the cabinets.
Brushes
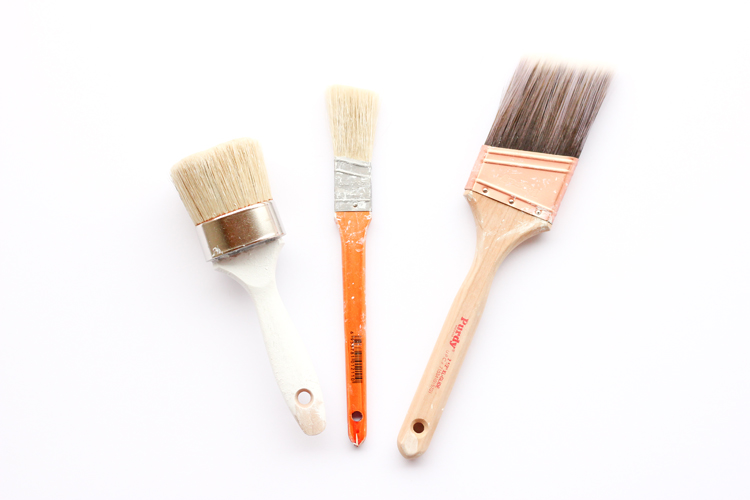
I switched off between using the large round brush that came with the BB Frosch chalk paint starter kit, and some regular paint brushes I picked up at Home Depot. I bought a nice quality 2.5 inch paint brush and a cheaper 1 inch $5 brush just in case. The 2.5 inch brush was great for covering large areas, but I used the 1 inch brush way more than I thought I would. Probably more than the other two. It was perfect for getting into grooves, smoothing out the sides, and for painting the base cabinet casings.
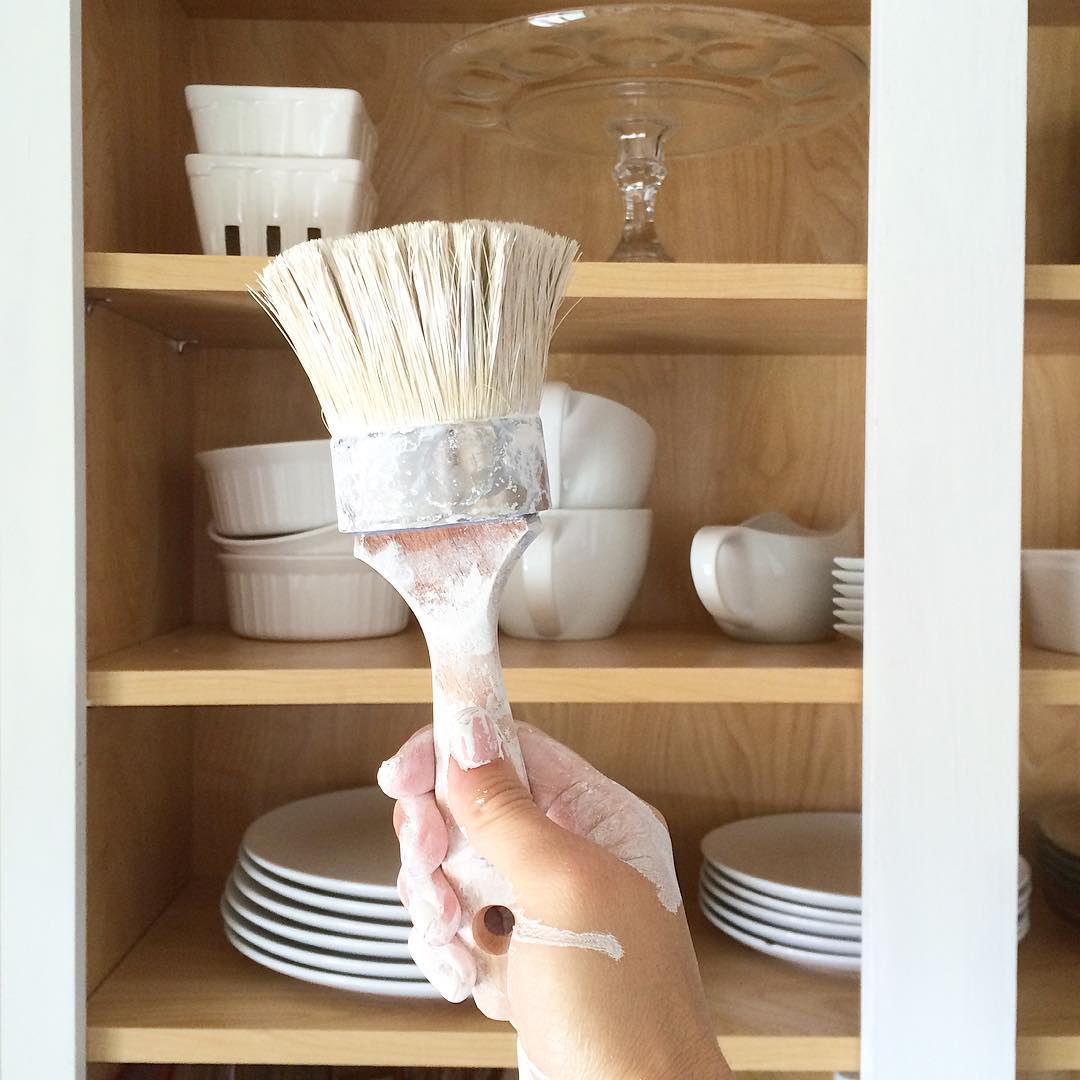
The BB Frosch brush was great at covering large areas and gave a really smooth application, but I found that it was harder to clean and, as you can see, it started to rust a little because I slacked on cleaning it as diligently as the project wore on. I also didn’t shake the loose bristles out enough before I started, so it shed all over my first few cabinet doors. Once I gave it a good whack or…twenty, it didn’t give me problems after that.
The nice, expensive Purdy brush painted like butta and was definitely worth the money. My only complaint is that it was a bit too wide for the chalk powder mixing containers. I used it more for with the Polycrylic than with the chalk paint.
Laminate
The wood portions of the cabinets only required three coats, but the laminate undersides of the cabinets required WAY more applications. Even though chalk paint claims it can stick to almost any surface without sanding, including laminate, it doesn’t always come easily. I had to dab a VERY thin layer of paint onto the surface of the laminate with a brush, let it dry, and then repeat the dabbing process a few more times to develop a layer of chalk paint for thicker coats to stick to. If I painted the initial layer on too thick, it would bead up and not accept subsequent layers of paint very well.
Clear Finish: Wax v.s. Polycrylic
Traditionally chalk paint projects call for a protective wax finish as the last step. I gave it a try and waxed part of one small cabinet. I just didn’t feel convinced that it would hold up to our busy, messy family, so I got a water based Minwax brand polycrylic clear coat in a satin finish. Two coats of that and our cabinets have held up great! It has made the cabinets look slightly shiny, because of, well…the satin finish, but every time I scrub away dried on sauce, juice, etc, etc., I can’t help but think about how worth it it is.
Finishing and Hardware
Once I let everything dry and cure for a few days (the recommended amount) I put all the doors and drawer faces back on.
We ending up keeping our original hardware for several reasons. The main one being that it already matches the rest of the hardware in the house. The existing hardware was also already in great condition and it was free! Our budget was a little spent at this point, so free sounded really good. 😉 Plus, we didn’t have to worry about filling in any of the holes or re-configuring how to place the new hardware.
Maintenance
For about a week after we finished painting, the paint seemed to still be a little fragile. I had to do a few more touch ups every couple days because it would chip or scratch easily. Once the paint had a full week or so to completely cure though, it has since held up marvelously. It has been banged, bonked, scratched, scrubbed, and splattered all over in the last five to six months and I’ve only noticed one small spot that needs a touch up because it got gouged with the sharp edge of a pot. There has been no staining, or chipping. I attribute this partly to the stain resistant premium paint, but mostly to the polycrylic finish. Of course, it also helps to stay away from harsh and abrasive sponges/cleaning pads.
I’m not sure, but I think the polycrylic has also helped minimize “sticky cabinets.” For about a month or so after we finished painting, we did have the classic sticky painted cabinets problem, and there is one cabinet we hardly ever open that will still stick a little. With repeated use though, we haven’t had that issue since. We haven’t had to deal with it for so long, I almost forgot to include it in this post, until someone commented about it (thanks Diana!).
We also added soft little silicone bumpers to the corners, to minimize slamming and snapping noises, which has helped reduced the “stickiness” as well. Just be sure to get the softer, high quality bumpers and not the basic, firm ones available at big box stores. These ones from Amazon are great and they are only $6 for 100: Sound Dampening Door Bumpers, 1/2″ Diameter, Sheet of 100 (affiliate link).
Cost
If you don’t count my Bondo mishap ($60 for product and then removal materials), or using the wrong paint the first go around ($25), this project came in about $260. For being responsible for such a huge part of our kitchen transformation, I feel like that’s a steal!
Here’s an approximate breakdown:
BB Frosch starter kit + 16 oz. powder – $167
Behr Premium Paint (gallon) – $40
Paint brushes and sandpaper – $35
Polycrylic (quart) – $18
Door bumpers – $6
Reuse old hardware – free!
Total: $266
*Plus, I still have some chalk powder leftover for smaller projects, the brushes are all reusable, there is half of the quart of polycrylic left for more projects (like our bathrooms), and there is some sandpaper left over.
Note about using BB Frosch:
This post is NOT sponsored at all, but I want to give my two cents about BB Frosch chalk powder. BB Frosch is one of the more expensive options for chalk paint. After having used it for this project, I will definitely use it again and here’s why:
- Paint color flexibility. It works with ANY color paint.
- Mixing is a cinch. There’s really no guesswork.
- Smooth application, level, consistent finish, and durability.
- I didn’t want to go “rustic” or “distressed” as is common with most chalk paint projects. BB Frosch is so smooth, I didn’t feel like I had to distress it to make it look right.
- You get what you pay for, plain and simple. For a project like kitchen cabinets, it’s definitely more than worth the splurge.
I ended up not really needing the full starter kit, because I didn’t use the wax. If I were to do it again, I think I would order the large jars of chalk powder and a brush set separately.
 That wraps up cabinet painting. Next week, I’ll go into detail about our tile back splash!
EDITED TO ADD: A reader alerted to me about “stain seeping” issues she had when painting older oak cabinets. If you think you might experience the same problem, I found this blog post really helpful. Applying a shellac, even between coats of chalk paint, are supposed to remedy the stain seeping problem. I hope it helps!


What a fresh look for your kitchen! I have one suggestion about cleaning your sink. Instead of chlorine bleach, try an oxygen based bleach powder…put in the plug, run some hot water and dissolve a few tablespoons. Give it time to work (event several hours) and your sink will glow!
I like the curtains, I like the shade over the kitchen window. When I see them both at the same time I wonder why there isn’t a shade under the curtains to give them some similarity.
Thank you for the oxi-clean tip! I will give that a go!
As for the curtains, that is a great question! I’m glad you asked! I have a lot of reasons why, actually. Because our living area is open concept, I left the bamboo shades off the sliding glass door to provide a visual divide between the living area and our kitchen. There are bamboo shades on all four of the living room windows. It almost felt like too much to have it over every single window. The lack of a bamboo shade also allows the darker drapes to really pop and it makes the dining sliding glass door a nice focal point. It’s hard to see in pictures, but it frames a nice view of our backyard. Finally, some more practical reasons, is that we would have either needed to order expensive custom shades to properly accommodate the height and width of the doors, or we could have had to use two shades that would have not been fully functional because they wouldn’t be long enough when unrolled. The bamboo shades would have also made opening and closing the drapes, which we do every night, a little more cumbersome. We decided to try leaving them off at first, knowing we could add a shade in later, and we ended up liking the variety.
Thank you so much for sharing! We painted our kitchen cabinets white several years ago. I just used regular latex paint (because I couldn’t stand the thought of oil paint either). We used many of the same steps you did, and it sounds like the sanding vs several thin coats of chalk paint probably evened out in the end.
BUT. The hi-gloss latex paint never really fully cures enough for a cabinet–it easily chips off, especially where the cabinet doors hit together a little bit. The doors also stick a little to the cabinet boxes (so we added felt pads to each corner). Wiping off fresh stains is easy, but tea or tomato stains can be a pain. Crayon is fairly permanent. 😉 (Also, I found out that they had slowly yellowed over time with all the cooking going on. A mix of baking soda, dawn, and hydrogen peroxide turned them sparkly white again. It was like magic 🙂 )
Anyway, I had decided I was never painting cabinets again. But knowing myself and my frugal tendencies, I will be painting cabinets again one day. 😉 I am so glad to know that there’s another option between latex and oil–this sounds like a great way to get the durability of oil with the ease of latex. And plus, yours look fabulous! It was worth the long, drawn out process, right?
Diana,
Thank you for your insight and tips! It’s only been about 6 months, so I will definitely keep an eye out for yellowing and try your recipe if I have that problem. Thank you!
As for doors sticking. Yes…I totally forgot about that! I felt like they made that sticking sound for the first month or so, but now…nothing. We also put little silicone dampers on the corners, but that’s just to prevent slapping and slamming noises. I’ll add that into the post. Thank you for reminding me!
And stains. We’ve had some gnarly stains and some that I missed getting to for long periods of time and they have all come off. We have not had any crayon incidents yet though…ha! At least not on the cabinets. 😉
And yes…totally worth it…when you ask me now. If you had asked me right after I had finished, I don’t know how I would have answered. haaaa!
This looks so gorgeous!
Excellent job and design and choices!
Love it.
Thank you Dana!
You did a beautiful job!! Oh man, am I impressed. I’ve been a homeowner for a while, but I’ve never attempted to paint my kitchen cabinets. It’s one of the more difficult projects to tackle. I also have no experience with chalk paint. This makes me think that maybe I should try this out. Especially since I just had a guy in to quote me on just replacing the doors on my cabinets. No painting or new cabinet boxes. Just take off old door and put on new ones. It was over $6000!!!!!!!! I could not believe it! And I have about half as many cabinets as you. Complete insanity. Thanks for sharing your experience! Definitely pinning this for future reference.
That IS insane! I got similar quotes and was floored at how much it cost to hire it out. Chalk paint really makes it so much more doable. It’s not easy! I’m not trying to fool you. 😉 ha! But it’s really doable, and the results are totally worth it. So worth it that, even though I hate painting stuff, I’m gearing up to paint our bathroom cabinets pretty soon here! 🙂
First, let me say that your kitchen looks really beautiful. It looks so fresh and was definitely an inspiration. I have been following your tutorial, and it has been a bit of a nightmare. We have oak cabinets from the 80s or 90s and have been experiencing “stain seeping” where even through the chalk paint and especially the polycrylic, we’re getting a yellowing and a seeping especially at the grain. We’ve done a couple of fixes including shellac on areas that didn’t already have several layers of chalk paint and poly. We ended up sanding through yellowed poly and just painting a layer of satin latex enamel from Sherwin Williams. I know this wasn’t an issue because your cabinets were new, but old oak cabinets are so prominent, you might consider putting an amendment to your post just to let your readers know. Thanks!
Thank you so much Cris! I am SO sorry to hear about your stain seeping issues. Thank you for letting me know and giving that insight into possible problems with older cabinets! I will add it now. I really appreciate you letting me know! I hope the rest of your experience has been better. I know how frustrating it can be when you run into time consuming road blocks.
Thank you for sharing the pros and cons of your project. The end result is fantastic and it looks like you did a very professional job! My question is about the application. Did BB Frosch recommend using their brush? I have seen similar posts that use a foam roller for a smooth finish. I have dark oak cabinets from the 1980s that I painted with semi-gloss antique white latex paint about 20 years ago — before anyone knew about chalk paint. We first lightly sanded, then applied an oil-based primer with a brush, then 2 coats of the latex paint applied with a 4″ roller. We also purchased the best stain resistant kitchen and bath paint that we could find, and it has held up wonderfully. I touched up the doors about 10 years ago, and will need to do it again soon. But next time I think I will try Behr and BB Frosch like you did and recoat everything. I’m just curious if the chalk paint goes on well with a roller because that could save a lot of time. Any comments would be appreciated. Thank you!
I think BB Frosch did recommend using their brush, but any good quality brush works great. I switched to my Purdy brush from time to time, and had the same results. The reason I didn’t use a roller is because I would have had to use a brush to get in the crevices anyway and I’m lazy when it comes to switching back and forth. You totally could though! I hope that helps? Good luck!
Hi Delia! Your kitchen transformation is INCREDIBLE! I have a smaller kitchen in a condo and the cabinets are one of the last things in my house that I have left do. I have been putting it off because it seems like such a tricky and daunting task. Were you able to cover your entire kitchen with one gallon of paint? I was thinking of just buying the 16oz chalk paint powder from BB Frosch and going with the Purdy paint brush and Polycrylic like you did. Do you think that will work? What kind/color of Behr paint did you use? Thank you in advance!
Thank you Jane! That is so kind of you to say. I only needed a gallon and I didn’t even use it all (but a quart wouldn’t have been enough). Most reviews I read say that you can use the entry level basic paint. I actually started painting my cabinets a warmer white color, before I switched. I used basic/least inexpensive paint at first and it was fine. When I switched to a different white color I decided to try the highest tier/premium plus ultra (the most expensive) and I noticed a difference. It spread better, went on smoother, dried nicer…etc. I highly recommend splurging on the paint since you are only getting a gallon. It’s totally worth it. Oh and it’s called Bakery Box. It’s a bluer white, but it matches our white appliances, so it blends well with them. I hope that helps! Let me know if that answers your questions or if you have any more. I’ll try to answer quicker next time! 😉 It sounds like you have a good plan so far!
I thank you so much for this post! We just bought our first home and the previous home owners went with black quartz countertops, dark grey walls and grey painted cabinets. The space is already pretty small but all the dark colors make it feel like a closet. You may have said, but did you use a flat paint like the bb frosh recommends? You’re cabinets are gorgeous so whatever you did Id like to try!
Thank you! The idea of painting the walls dark always appeals to me, but I fear the very thing you described. I did use flat paint. The sheen comes from the poly-crylic satin finish. I hope that helps!
Just wondering how these are holding up now. I’m gearing up to paint mine and exploring options.
They are holding up great! I have touched them up once a couple of years ago, but it was a quick touch up of scuffs and things. We have been living with them for 5.5 years and I have no complaints. We painted our bathroom cabinets black with BB Frosch chalk powder too and it’s been mostly good too. I didn’t let it cure as long before we started using the cabinets as I did with the kitchen and I think that has really made a big difference. So don’t skip the max curing time your polycrylic calls for if you can.