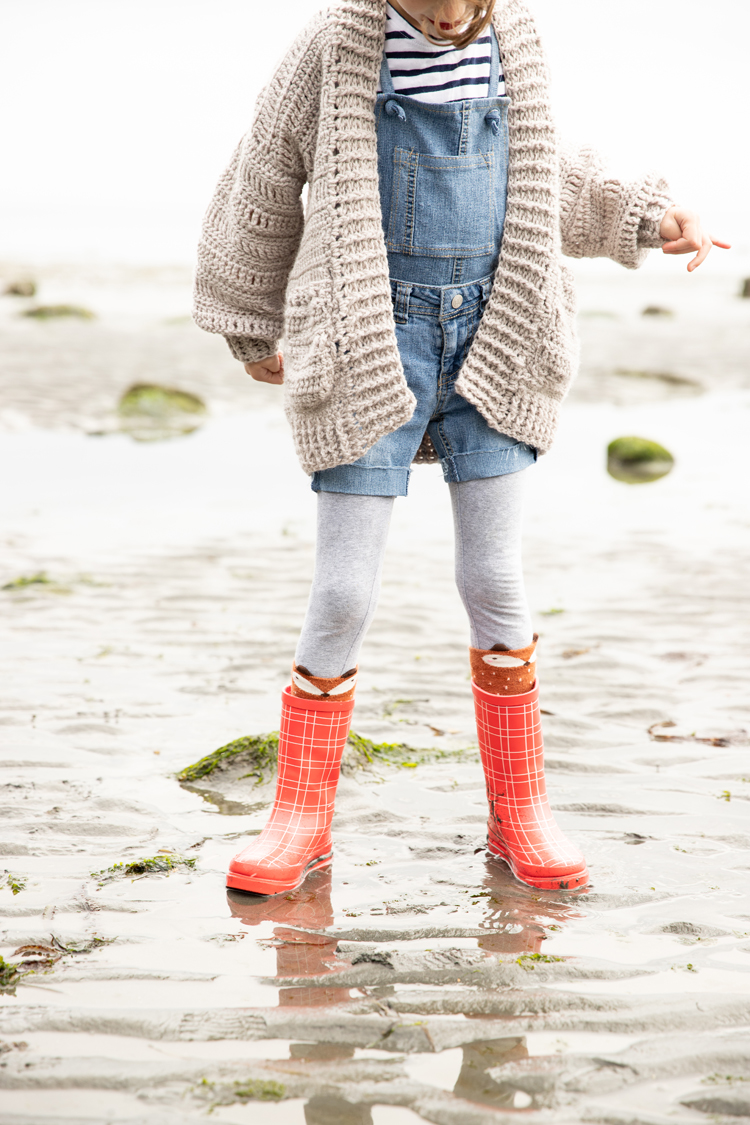
I crocheted my first sweater this last spring! Whoo hoo! And it was not as hard as I thought it would be. As a seamstress and crocheter, I don’t know why I had never combined the two mediums and crocheted clothing. Now that I’ve tried it…I’m hooked! (cough, crochet joke ;)). 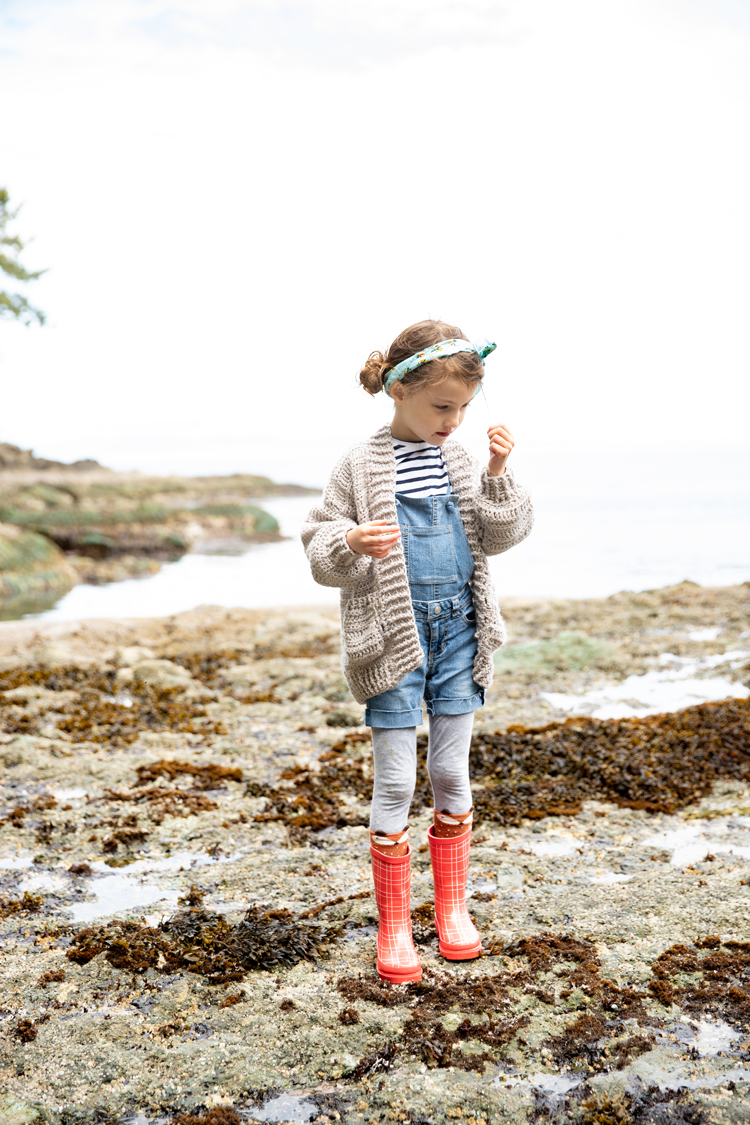
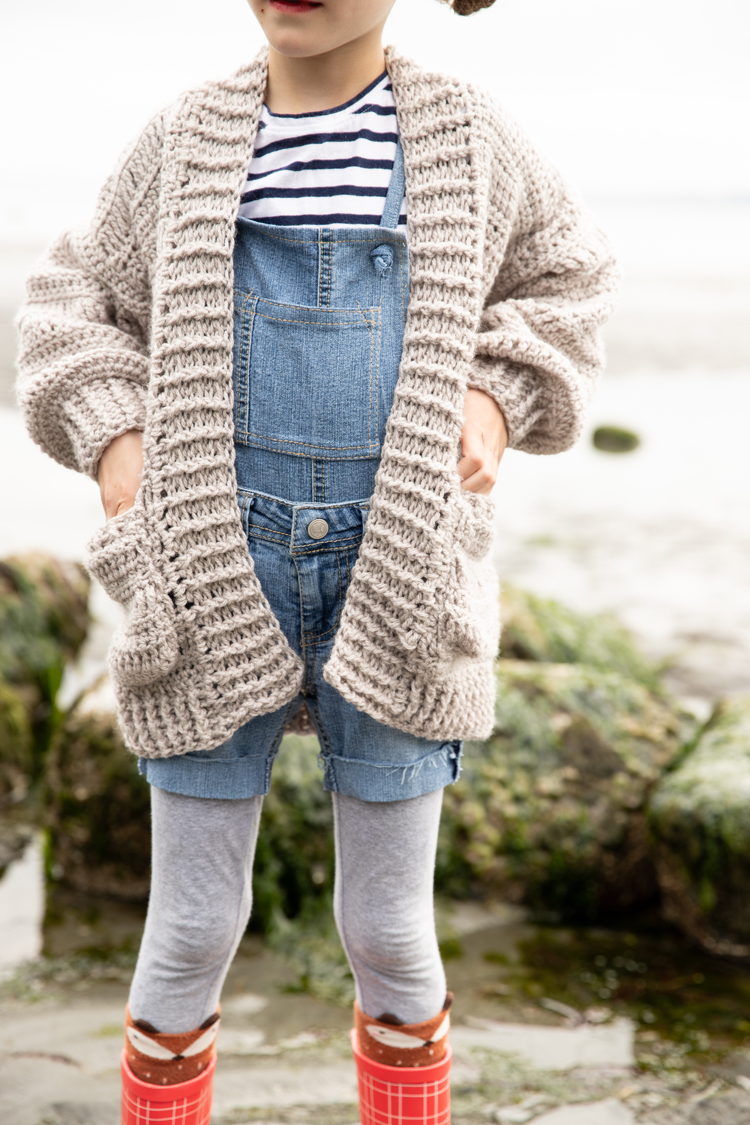
 I basically crocheted my “fabric” and then seamed everything together pretty much like I would with a sewn garment. I wanted to start with something simple for my first crocheted garment, so I made an oversized cardigan that comes together with just simple rectangles and basic stitches.
 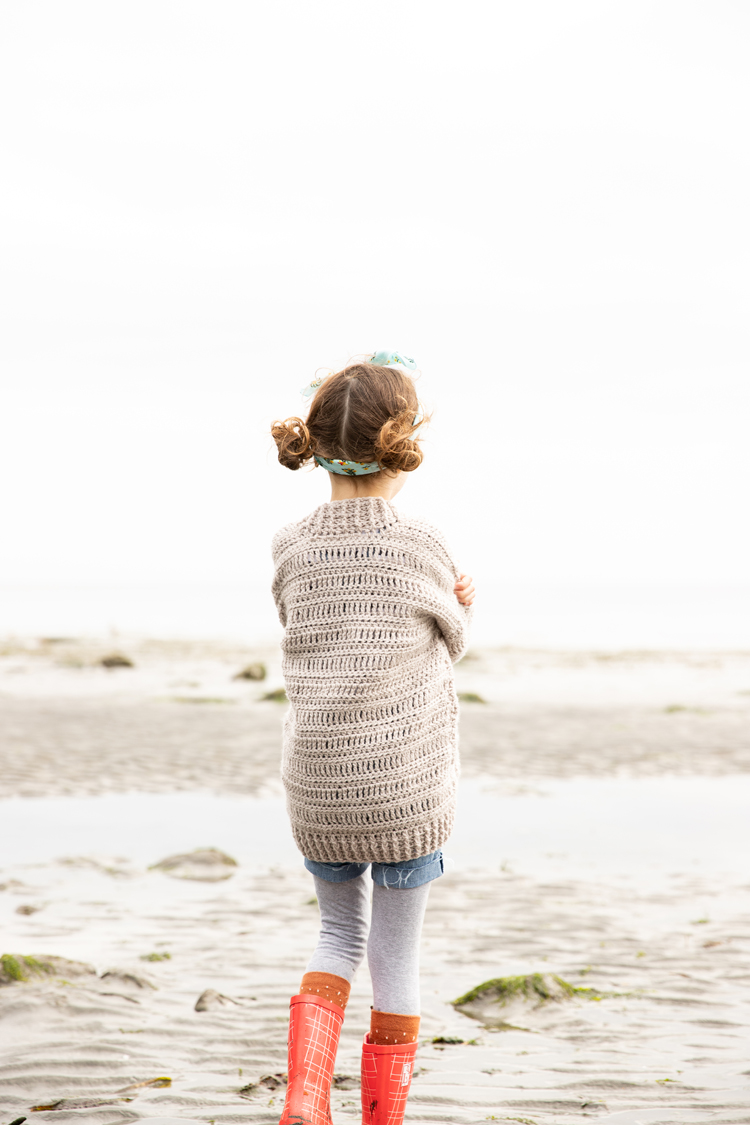 Even if you’re fairly new to crochet and you’re not a seamstress, this method is easy. If you can crochet a pot holder or a basic scarf, those are pretty much the building blocks for this sweater!
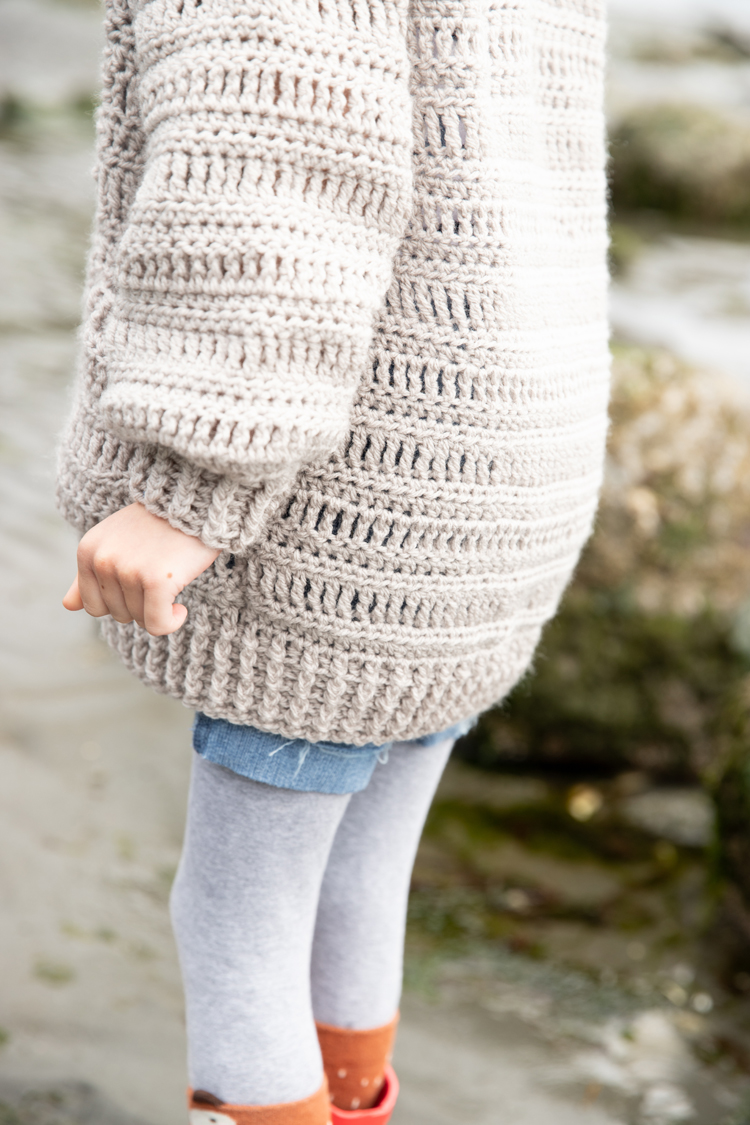
 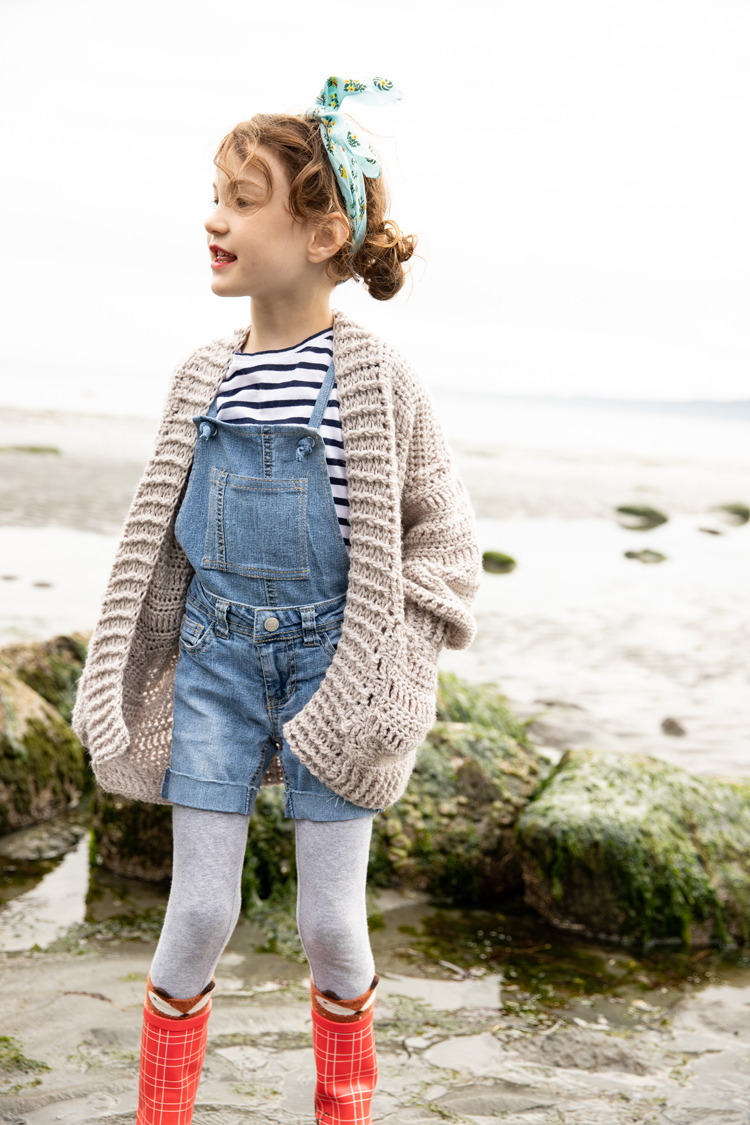 I used a light weight, DK yarn (size 3), instead of the more common worsted weight (size 4), because it makes for a less bulky sweater, and it seems to give it more movement. It can be a little trickier to find DK yarn in the color you want, but I have found some nice gray tones in the baby yarn section, like the one I used for this sweater.
And don’t let the thinner yarn scare you into thinking this project will take forever. I used a slightly mesh-like pattern using hdc and tc that works up very quickly. It makes it super easy to keep track of what row you are on as well. It makes for great mindless crocheting while you catch up on your Netflix queue! 😉 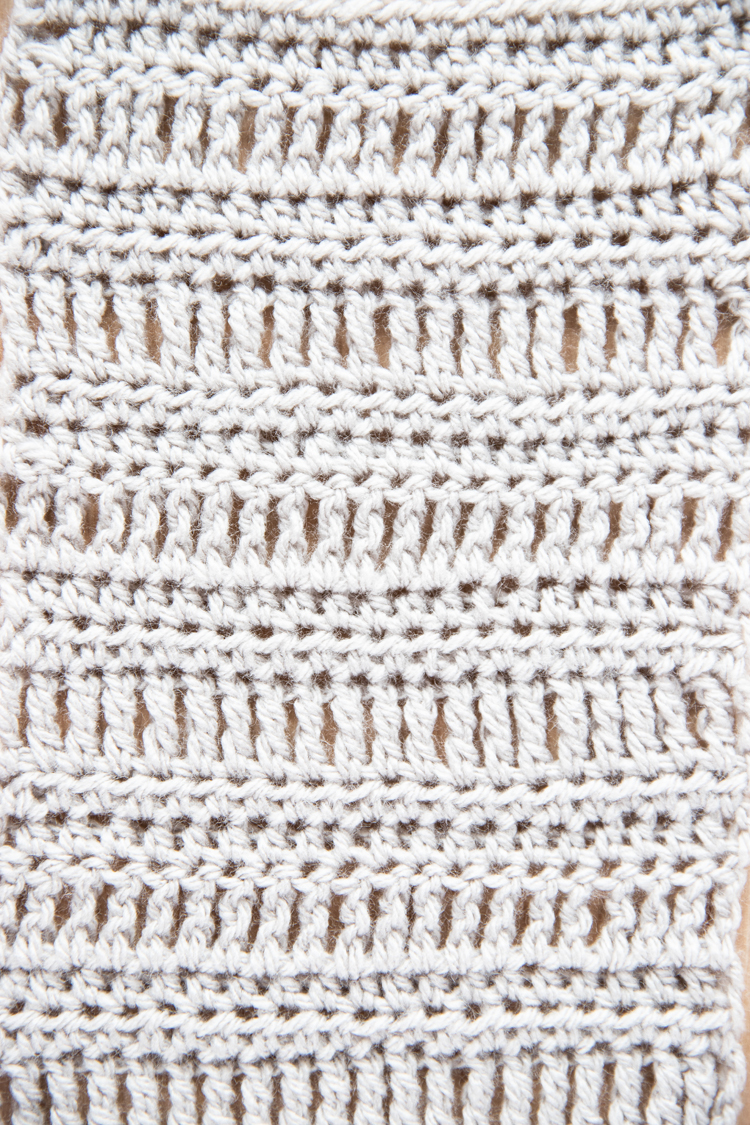 This sweater is over-sized for my daughter who wears an XS in kids (4-5). I imagine this should fit her up to a size medium (8). You could easily adjust the number of stitches and rows to size up or down as you need to as well.
MATERIALS
- 10 oz. or about 880 yards of soft, size 3 yarn (DK or light weight)*
- H/8 or 5.0 mm hook
- yarn needle
*I used 2 skeins of Snuggly Wuggly by Loops and Threads in Soft Gray, found at Michaels in the baby yarn section.
SKILL LEVEL
Adventurous Beginner, Beginner/Intermediate
GAUGE
4 x 4 inch square = 14 stitches x 9 rows (3 groups of repeating pattern: 2 rows hdc, 1 row tc)
ABBREVIATIONS**
- ch = chain
- sl st = slip stitch
- sc = single crochet
- hdc = half double crochet
- tc = triple or treble crochet
- fphdc = front post half double crochet
- bphdc = back post half double crochet
** This pattern uses U.S. crochet terms
PATTERN NOTES: (please read before you begin)
+ First, the patterns needed to make each piece of the sweater will be listed. Then a tutorial will show you how to seam those pieces together. When you have the sweater assembled, there is a pattern/tutorial for adding the bottom band, the collar, and sleeve cuffs.
+ Please note, that I prefer to add shorter starting chains than traditional patterns. For example, before a row of triple crochet stitches, it is typically acceptable to chain 4 before the row. I chain 3. Depending on your preferences, be mindful of this when following my patterns and adjust things if it suits you. 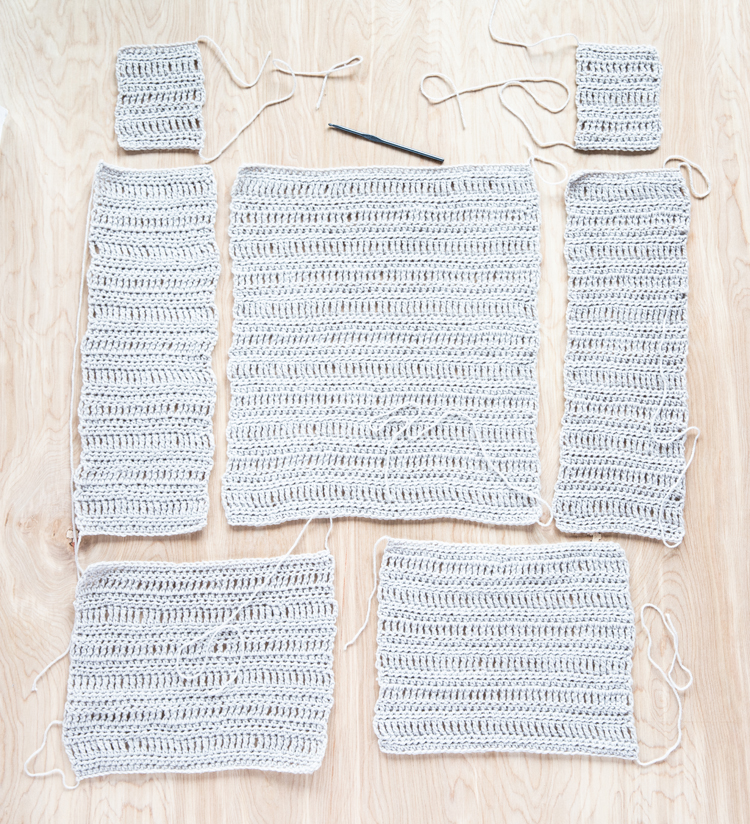
PATTERNS
** This pattern uses U.S. crochet terms
Sweater Back – create 1
Ch 50.
Row 1: Working in third chain from the hook, hdc. Hdc across the row 47 times. (49 stitches, including 2 chains at the start of the row).
Row 2: Turn, ch 2, hdc 48 times across the row. (49)
Row 3: Turn, ch. 3, tc 48 times across the row. (49)
Row 4 – 5: Turn, ch 2, hdc 48 times across the row. (49)
Row 6: Turn, ch. 3, tc 48 times across the row. (49)
Repeat the alternating pattern of 2 rows of hdc and 1 row of tc as listed in rows 4-6, nine times. You should end up with a total of 11 rows of tc.
Row 34 – 35: Turn, ch 2, hdc 48 times across the row. (49)
Tie off end, leaving a 10 inch tail.
Sweater Front – create 2
Ch 22.
Row 1: Working in third chain from the hook, hdc. Hdc across the row 19 times. (21 stitches, including 2 chains at the start of the row).
Row 2: Turn, ch 2, hdc 20 times across the row. (21)
Row 3: Turn, ch. 3, tc 20 times across the row. (21)
Row 4 – 5: Turn, ch 2, hdc 20 times across the row. (21)
Row 6: Turn, ch. 3, tc 20 times across the row. (21)
Repeat the alternating pattern of 2 rows of hdc and 1 row of tc as listed in rows 4-6, nine times. You should end up with a total of 11 rows of tc.
Row 34 – 35: Turn, ch 2, hdc 20 times across the row. (21)
Tie off end, leaving a 10 inch tail.
Sleeves – create 2
Ch 40.
Row 1: Working in third chain from the hook, hdc. Hdc across the row 37 times. (39 stitches, including 2 chains at the start of the row).
Row 2: Turn, ch 2, hdc 38 times across the row. (39)
Row 3: Turn, ch. 3, tc 38 times across the row. (39)
Row 4 – 5: Turn, ch 2, hdc 38 times across the row. (39)
Row 6: Turn, ch. 3, tc 38 times across the row. (39)
Repeat the alternating pattern of 2 rows of hdc and 1 row of tc as listed in rows 4-6, four times. You should end up with a total of 6 rows of tc. Row 19-20: Turn, ch 2, hdc 38 times across the row. (39)
Tie off end, leaving a 10 inch tail.
Pockets – create 2, optional
Ch 15.
Row 1: Working in third chain from the hook, hdc. Hdc across the row 12 times. (14 stitches, including 2 chains at the start of the row).
Row 2: Turn, ch 2, hdc 13 times across the row. (14)
Row 3: Turn, ch. 3, tc 13 times across the row. (14)
Rows 4 – 5: Turn, ch 2, hdc 13 times across the row. (14)
Row 6: Turn, ch. 3, tc 13 times across the row. (14)
Rows 7-8: Turn, ch 2, hdc 13 times across the row. (14)
Row 9: Turn, ch. 3, tc 13 times across the row. (14)
Row 10 – 11: Turn, ch 2, hdc 13 times across the row. (14)
Row 12 – 13: Turn, ch 2, fphdc, *bphdc, fphdc*, repeat from *to * five times. (14)
Tie off end, leaving a 10 inch tail.
TUTORIAL
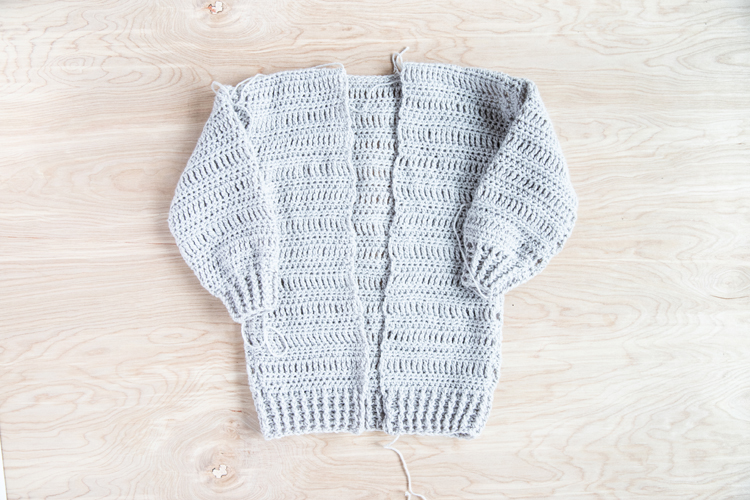
Now, we’re ready to seam the sweater together. 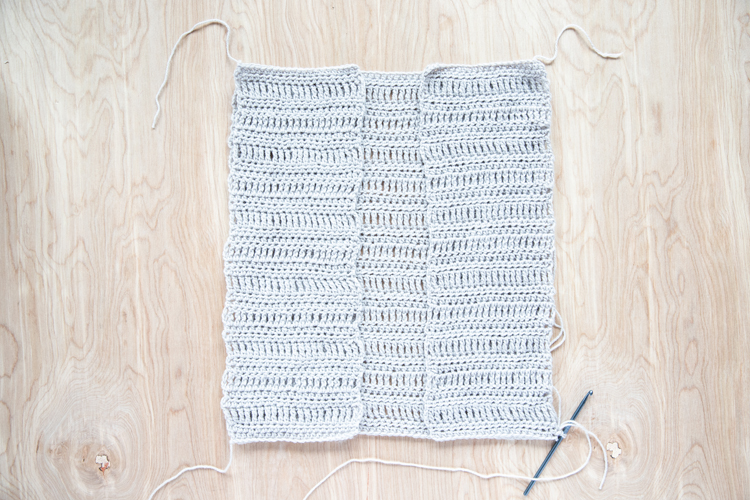
Step One: Attach front pieces to back piece.
Lay the front pieces on top of the back piece. Starting at a bottom right corner, insert your hook through the front and back piece. Start by chaining 1. Seam up the side of the sweater with sc stitches until you get about six inches from the top. Work 1 sc in each space, except when working in the tc spaces, then work 2 sc.
Repeat for the other side.
You should now have the main shell of the sweater constructed with two open sleeve holes on the sides. 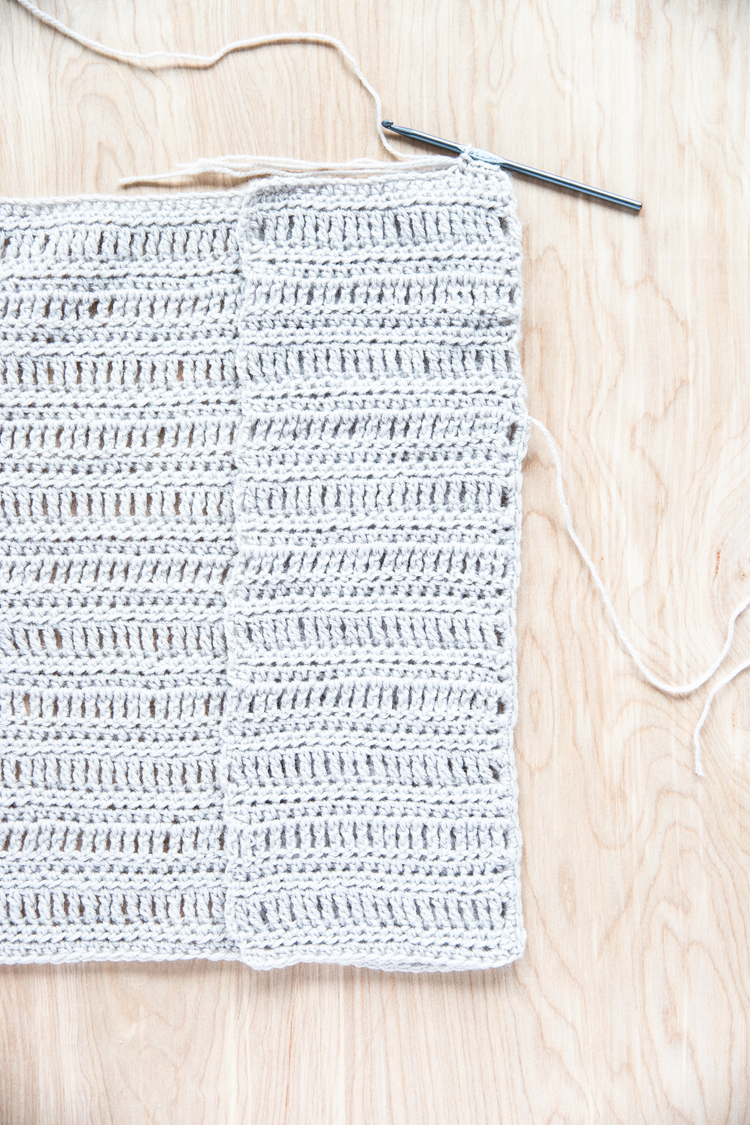 Seam the tops of the front pieces to the back piece.
Step 2: Seam together sleeves.
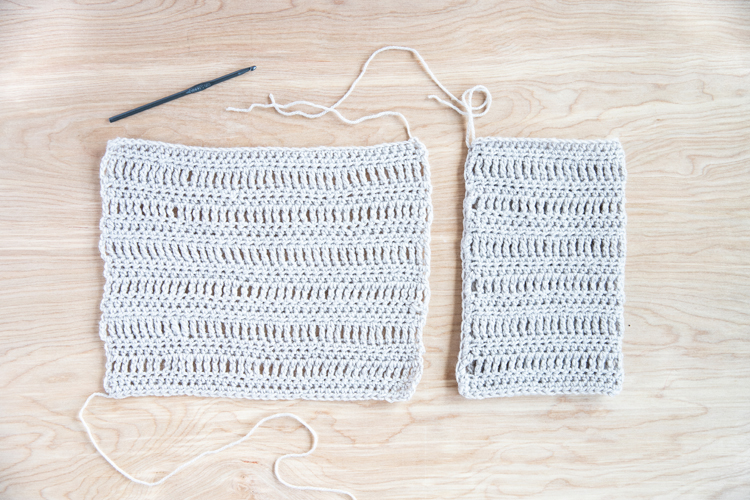 Fold the sleeves in half. Seam them into a tube in the same manner as you did with the front and back pieces.
Step 3: Attach sleeves.
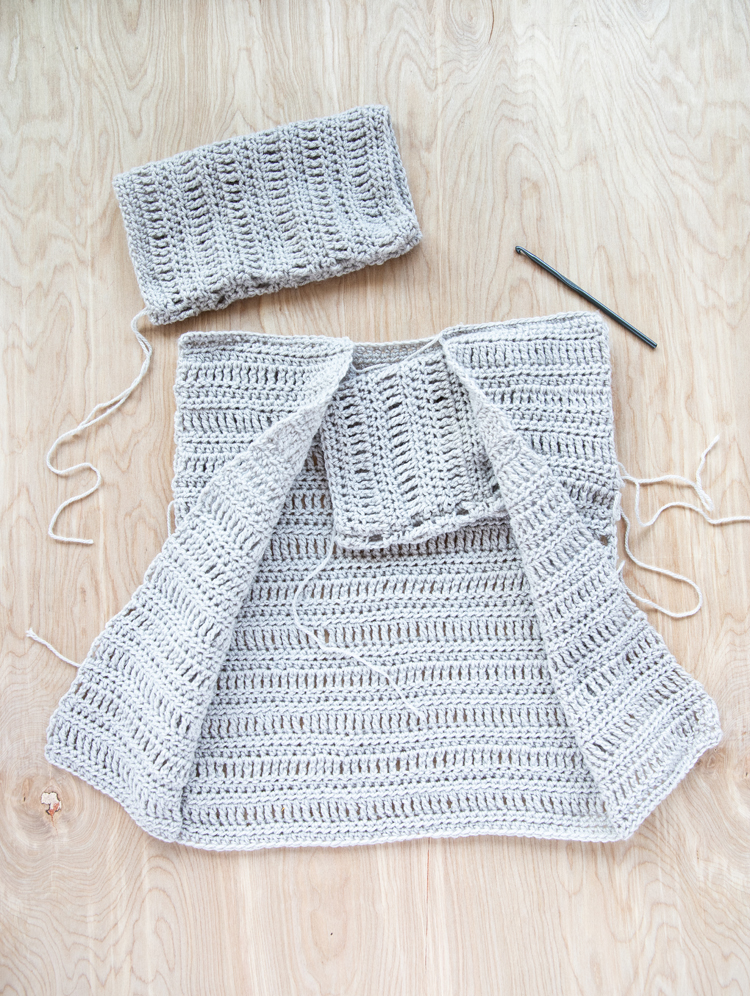 Turn the sleeves right side out (with the seams hidden on the inside). Slip the sleeve into the main shell of the sweater which is still turned inside (wrong side) out. Align one end of the sleeve with a sleeve opening. Ensure that the sleeve’s seam is aligned with the side seam of the sweater (not the top shoulder of the sweater). Single crochet the sleeve to the sleeve opening.
Repeat for the other side. 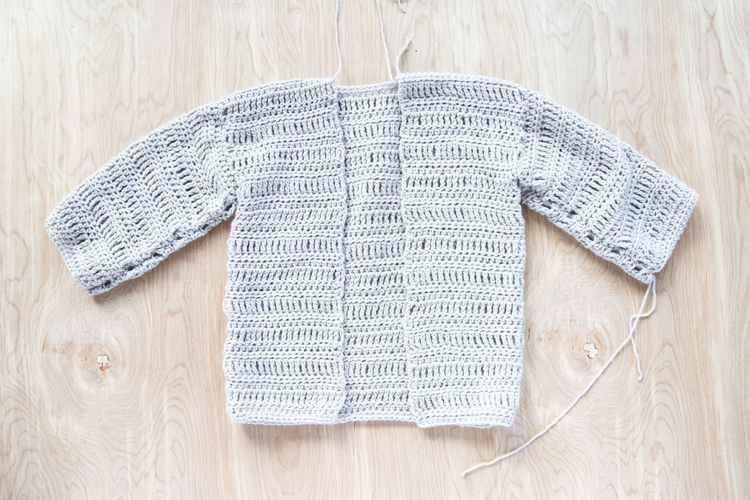 Now you’re ready to add the finishing details!
Crochet Sleeve Cuffs
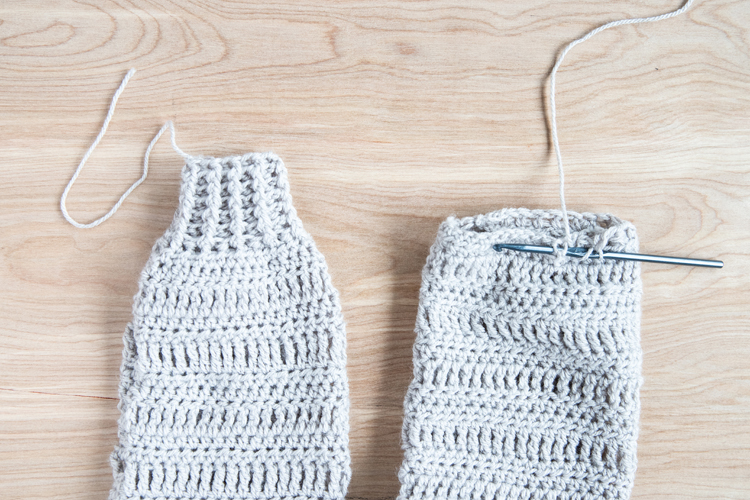 Starting at the seam line, sl st into the sleeve.
Row 1: Ch 2. hdc evenly around until you get to the ch 2. Sl st into the ch 2 creating a looped row. (20, including the ch 2).*
Row 2: Ch 2, fphdc, *bphdc, fphdc*. Repeat from * to * 8 times. Sl st into ch 2. (20)
Row 3-6: Repeat Row 2.
Tie off end, leaving a 10 inch tail. Repeat for other sleeve.
*Note: You will be working some stitches together to decrease or cinch the cuff into the right width. The cuff should be narrower than the sleeve width.
Crochet Bottom Band
 Sl st into one side of the bottom of the sweater.
Row 1: Ch 2. hdc around until you get to the the other side of end of the cardigan or end of the row. (86, including the ch 2).
Row 2: Ch 2, fphdc, *bphdc, fphdc*. Repeat from * to * 41 times. (86)
Row 3: Ch 2, bphdc, *fphdc, bphdc* Repeat from * to * 41 times. (86)
Row 4: Repeat Row 2
Row 5: Repeat Row 3
Row 6: Repeat Row 2
Tie off end, leaving a 10 inch tail. 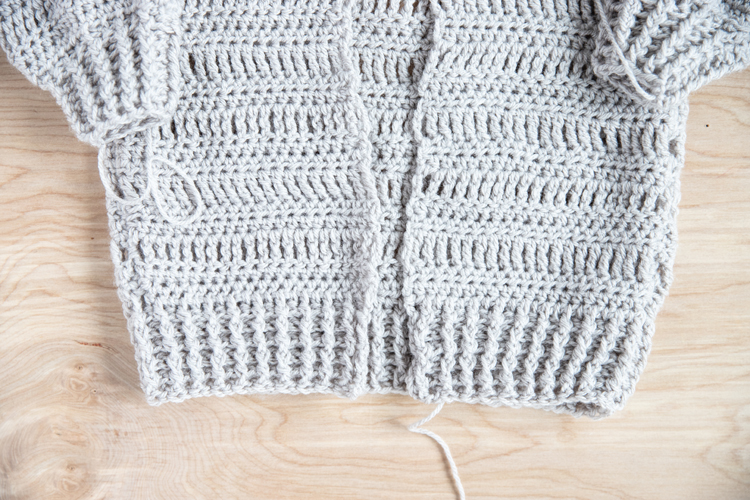
Crochet Collar
Sl st into one side of the bottom band you just worked. Working perpendicular to the bottom band, work the collar up and around the front piece, back neck, and the other front piece.
Row 1: Ch 2. hdc up to the neck opening, around, and then down the other side until you get the end. (116, including the ch 2).
Row 2: Ch 2, fphdc, *bphdc, fphdc*. Repeat from * to * 56 times. (116)
Row 3: Ch 2, bphdc, *fphdc, bphdc* Repeat from * to * 56 times. (116)
Row 4: Repeat Row 2
Row 5: Repeat Row 3
Row 6: Repeat Row 2
Row 7: Repeat Row 3
Row 8: Repeat Row 2
Tie off end, leaving a 10 inch tail.
Add Pockets (optional)
Using your yarn needle, sew the pockets in place. 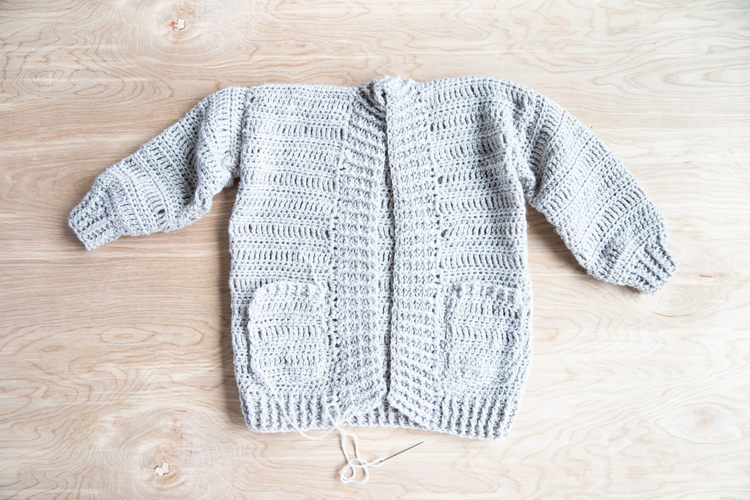
Weave in the ends.
Have a little weaving party and weave in alllll those ends and you’re done! 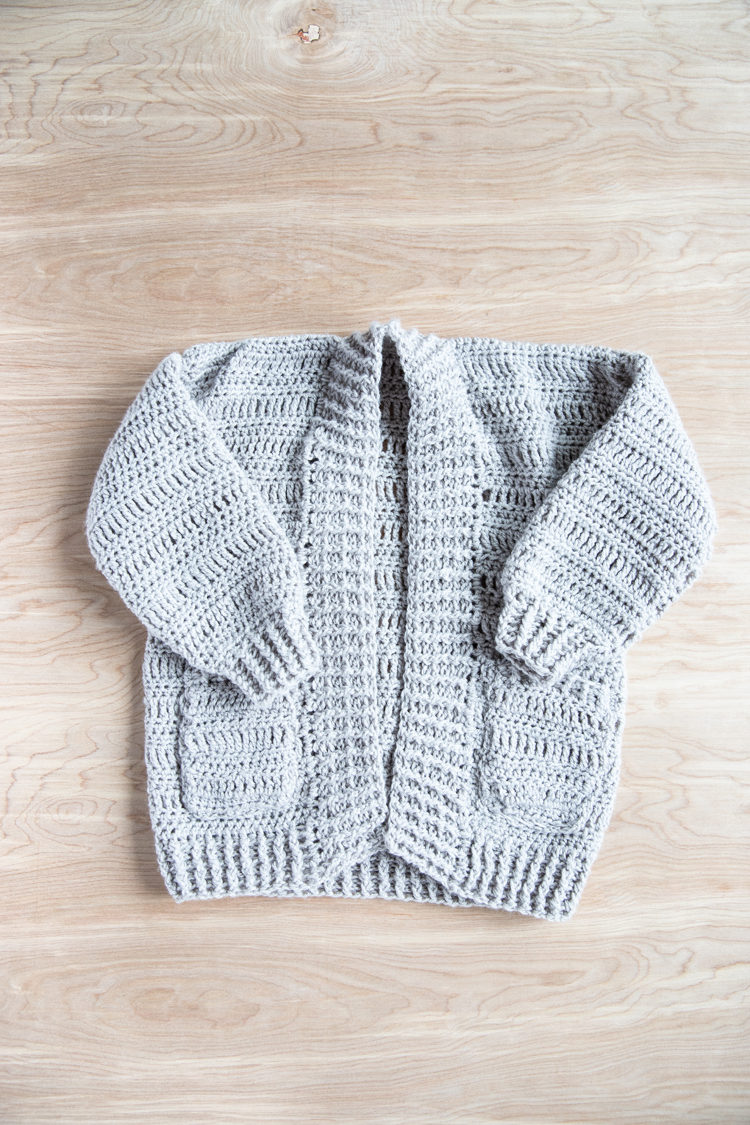
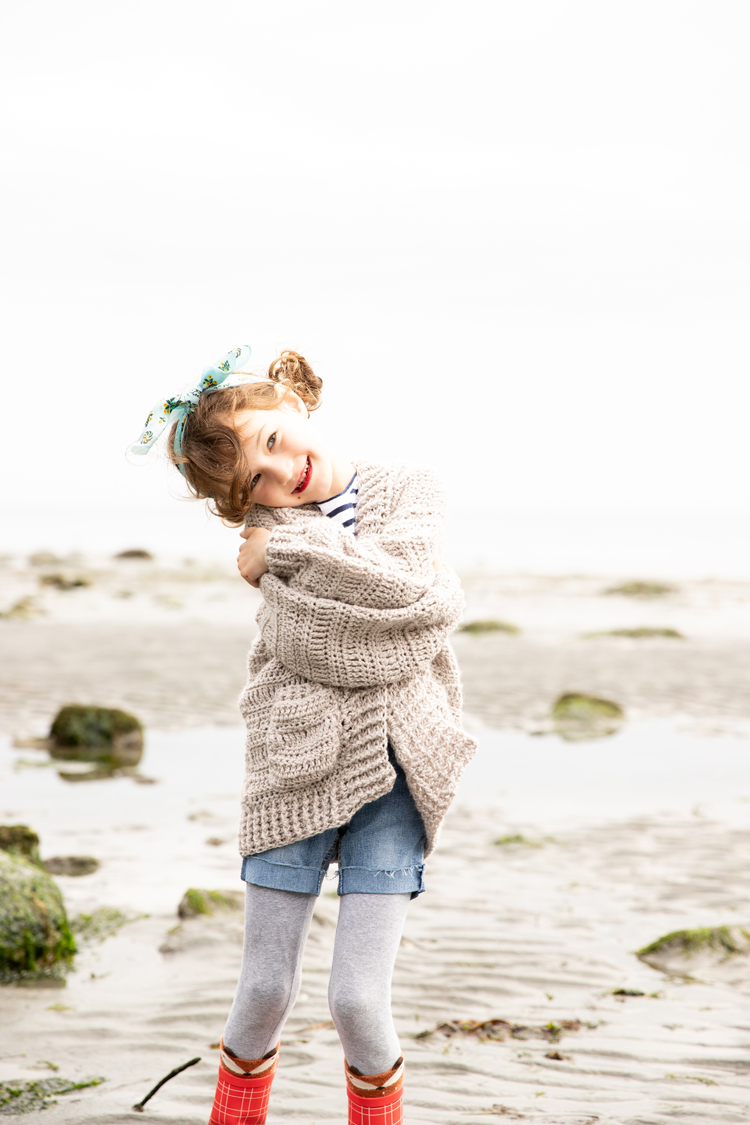 And pat yourself on the back you sweater maker you! 🙂
  I’m so excited to make another sweater for me. Maybe with some cables? Yessss. Stay tuned.
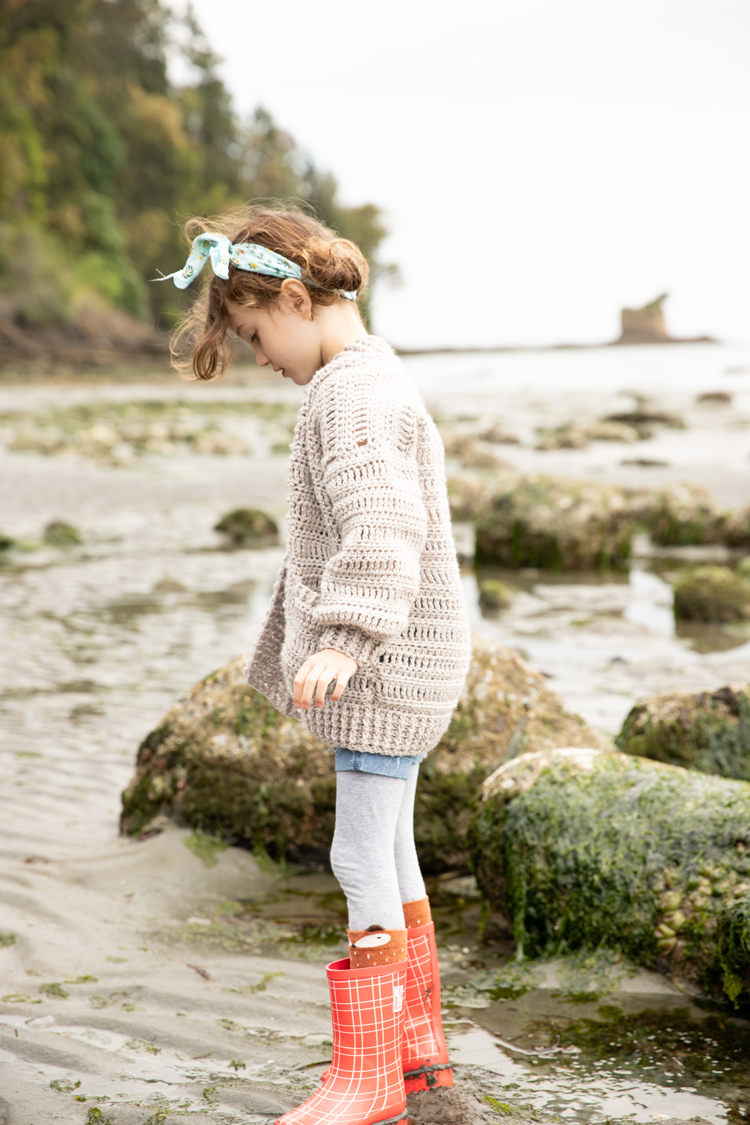
  If sewing is also your thing, I have a this post I shared for London Littles that I shared a few months ago. All it takes is a pair of jeans and a few easy to find notions! Annnd, I’ve got more tide pool pictures in this post I shared for London Littles. If you love tide pools as much as us, I have even more videos of our tide pool trip from this photoshoot saved in my highlights on Instagram as well. I’m @deliacreates over there. Come say hi! 🙂



This is so cute! And the basic shapes make it seem so do-able!
Thanks Charity! A cardigan makes sizing so forgiving and simple!
I see you have this for your daughter, smaller size, I am looking for a size 8 for my grandson, would this pattern work for that as is?,I am not very good on adding on. Also wanted to use my Caron yarn, knowing the size is also different, would that affect it too much?
These are very good questions. My daughter has been able to wear this cardigan until now and she is about to turn 10. That said, she has always been a bit petite. As for yarn brand, that doesn’t matter as much as size and fiber content. If you use a size 4 yarn, that will surely make the cardigan bigger, but it could also affect the proportions. You can always crochet the front piece, hold it up to him and make adjustments as needed. Then replicate it for the other front piece. Then you should know how big to make the back piece. Repeat for the sleeves before attaching them. It may take some trial and error.
Hello and thank you for sharing this pattern.. would it look ok if I did regular ribbing , a single stitch ribbing? ? Would it look ok?? By the way, this is my first actual wearable for grand daughter. Moving on from scarves and hats! Thank you!!
Hi Eva! I am so sorry that I didn’t see your comment before now. You can use a sc ribbing for sure! I would make the ribbing separate and them seam it to the sleeve. It’s probably too late now for this advice but I hope it worked out. <3
You are amazing thank you for this fantastic pattern!
How could I size this for an adult s/m? Would LOVE to make this for myself!!
I would get out a sweater that you like from your closet, then make the rectangles roughly the same size as those. Err on the side of slightly larger because you’ll lose some “fabric” when you seam them together. Hope that helps! 🙂
Can this pattern be downsized for a 1 year old if so how do I do that please
It could. You would have to determine how large you want each rectangle and then reduce the number of rows and stitches. Expect to do a bit of frogging as you guess the sizing. If I were to write the pattern for a smaller size, that is what I would do. I hope that helps.
Hi, dont know if I’m being thick but about to do the cuffs and ut says 8dc round the edge for row 1 and end up with 20 but my sleeves are 38 as that was the circumference of the sleeve? Should I be hdc2tog around?
Great question. You want to evenly space the number of stitches listed in the pattern around the opening of the sleeve and not worry about working a stitch in every loop or space. So yes, some stitches will get worked together. The cuff should be a decrease from the sleeve, and cinch it in. I will add that wording to the post to help others who may have the same question. Thank you for asking it! <3
Hi! I was hoping I could get your help here. I don’t understand the bottom band. It says :
Row 1: Ch 2. hdc around until you get to the ch 2. Sl st into the ch 2 creating a looped row. (86, including the ch 2).
If you’re starting at the start of either side and hdc to the chain 2, won’t you be joining the two sides? Sorry but I don’t understand what a looked row means so any help is appreciated!
Thank you!
You’re absolutely right! I must have copied the wording from the sleeve bands and increased the stitch count but didn’t adjust the looped row wording. I’ll adjust that now. Thank you for catching that! For the patterns I sell, I have testers, but not for my free patterns. I try to catch all the errors, but sometimes I miss something. I appreciate you saying something! 🙂
Hello, I am making this cardigan for my daughter and she loves it so far!
When making the bottom band, should I be reducing the stitch count?
Thanks
Hi! Good question. Do you mean reducing the stitch count for the length? If so, the reason I don’t reduce the number of stitches to “cinch” up the hem or the cuffs is because the front post and back post stitches naturally cinch things up on their own. If I didn’t understand your question correctly or if you have more questions, feel free to email me: [email protected] and I’d be happy to troubleshoot with you.
Thanks for the reply and I appreciate the clarification!
Hello
Are these US or UK terms?
Thank you
US terms. My apologies for not listing that. I’ll add it now.