One of the very first things I couldn’t WAIT to do when we bought our first house, was renovate the kitchen.
 We live in a small, single-story home with an open concept living area. That means the kitchen is pretty much front and center wherever you go. It’s the first thing that draws your eye when you walk in the front door, and is basically the hub to the rest of the house.
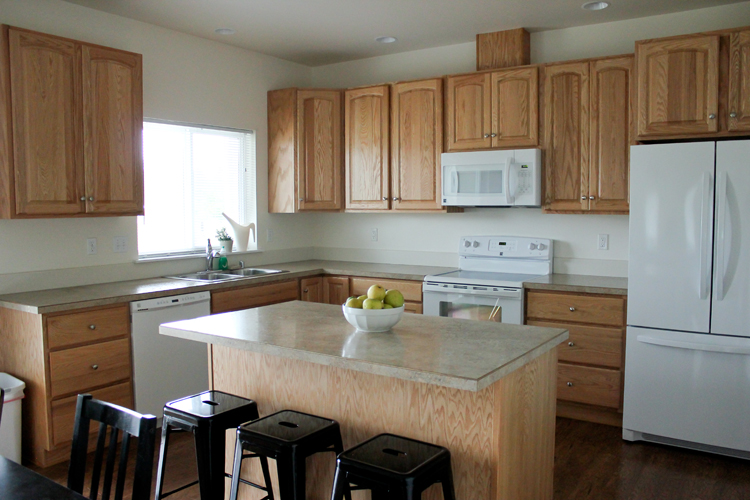
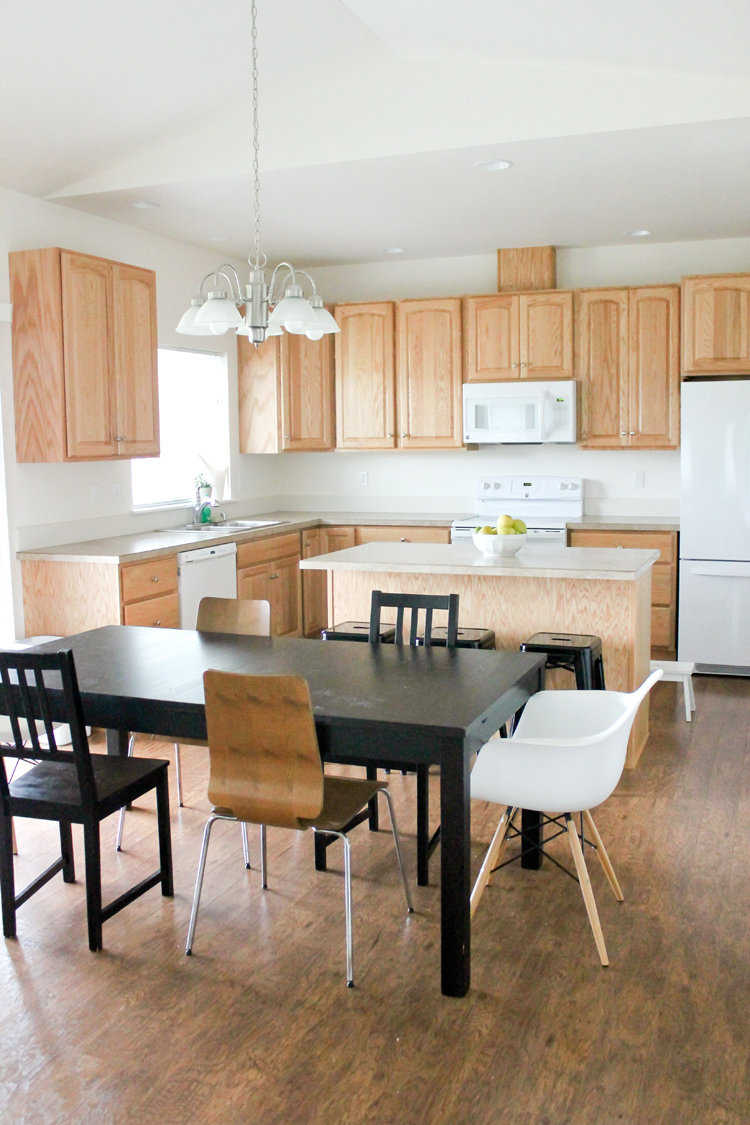
The oak cabinets, beige laminate counters, and brown flooring felt like brown overload. I was on a mission to ban as much of the brown right away. Our budget was limited and we had some other big expenses already accounted for, so we settled on painting our cabinets. This turned out to be both easier and harder than we thought it would be…but I’ll be sharing more on that later.
I have a TON of pictures and information to share, so I’m going to break this kitchen reveal up into several parts:
Kitchen Reveal Tour: That’s this post! I’m going to show you what our kitchen looked like before, and then give you a little tour of what it looks like now.
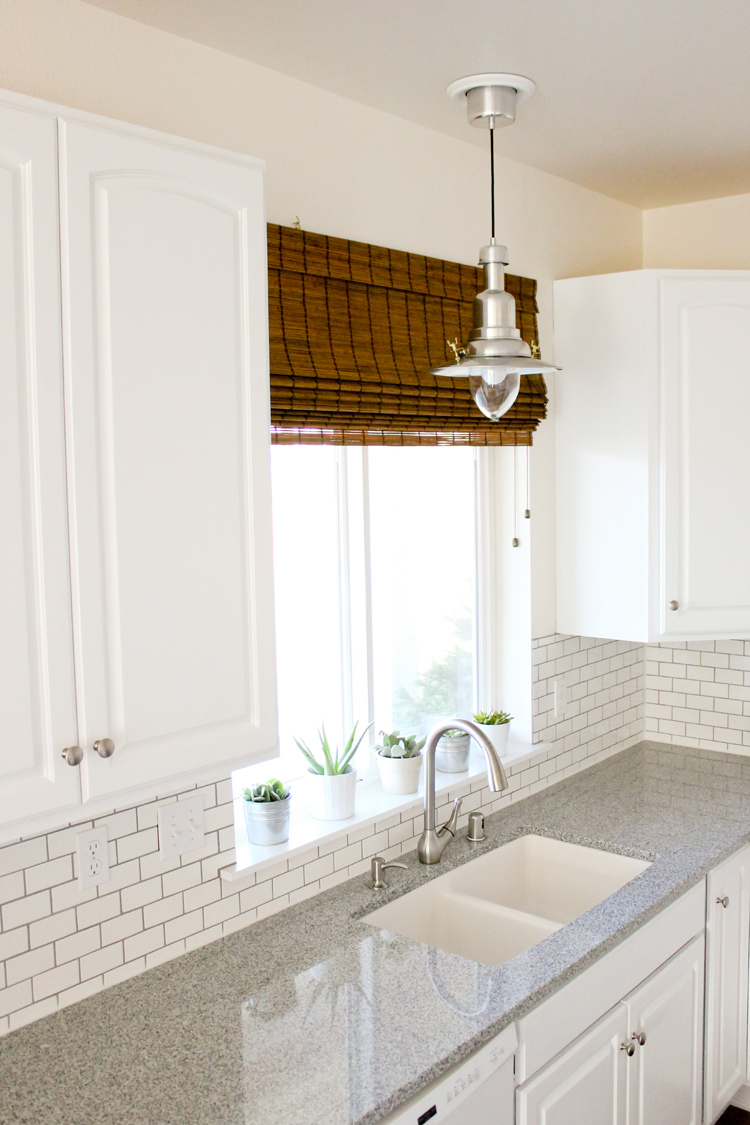
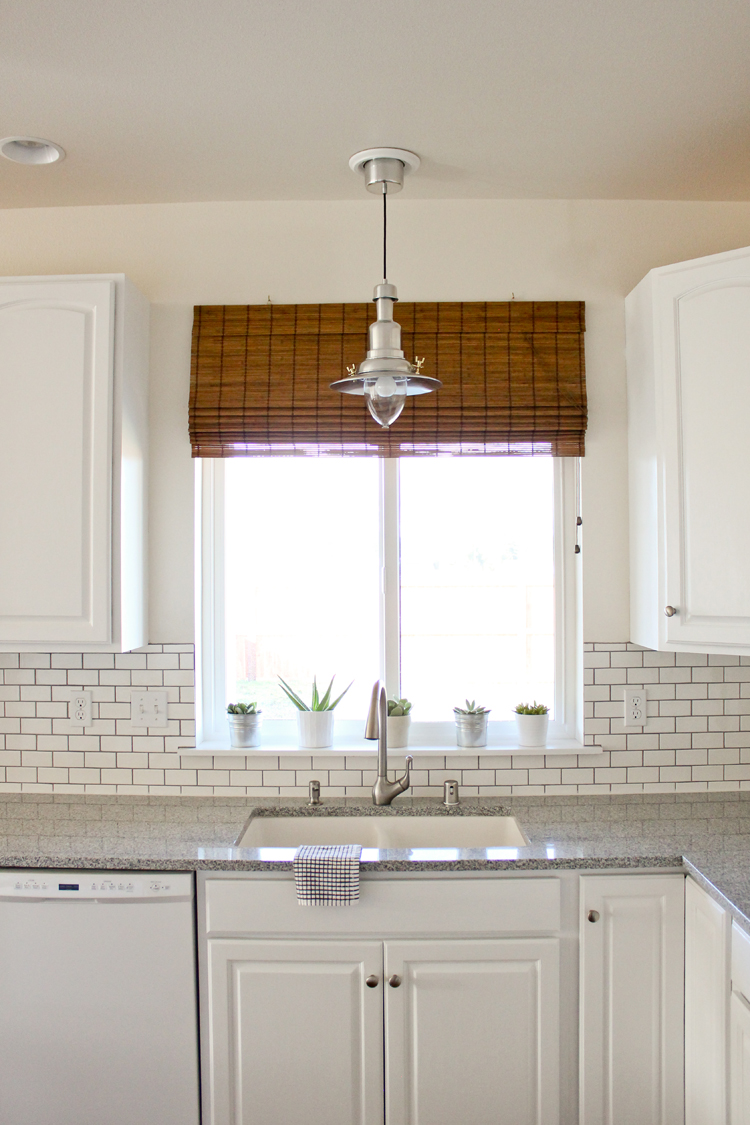
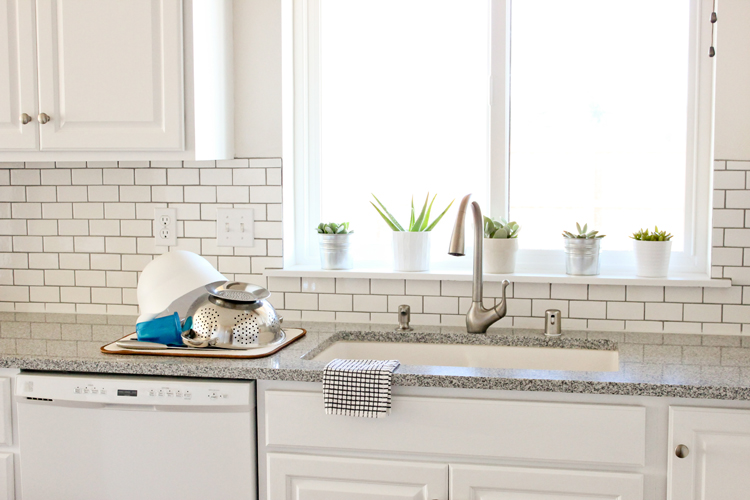
Counter Tops: I’m going to share our experience buying granite counter tops from Home Depot, as well as more information about our sink, faucet, lighting, and window treatments.
Painting Kitchen Cabinets: We painted our cabinets ourselves with chalk paint! I’ll give you all the do’s and don’ts we learned along the way.
Tile Back Splash: I won’t be sharing a tutorial, but I’ll give the details of what materials we used, and some tips and tricks we found useful.
Kitchen Table: I’ll share the details of our DIY plywood table.
All the links to the other posts will be added here and at the end of the post, as they go live.
Now, let’s get to the reveal!
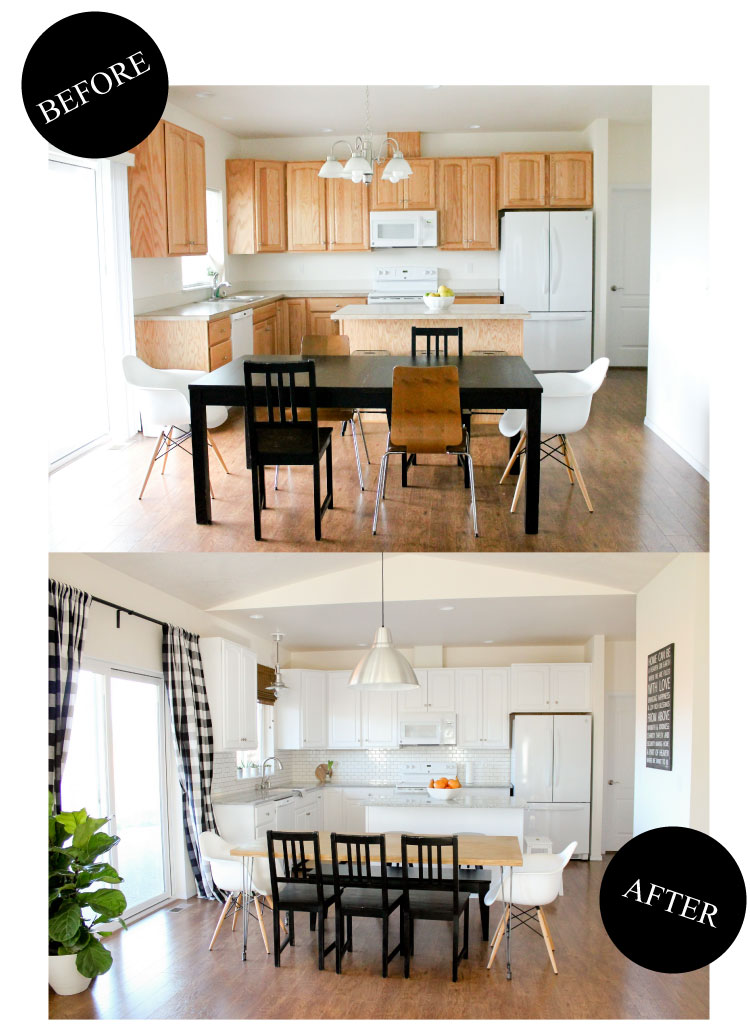
This is what our kitchen/dining area looked like before…
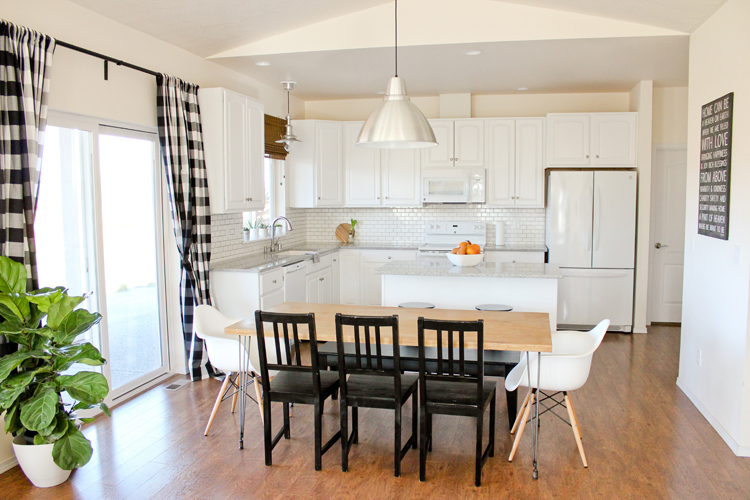
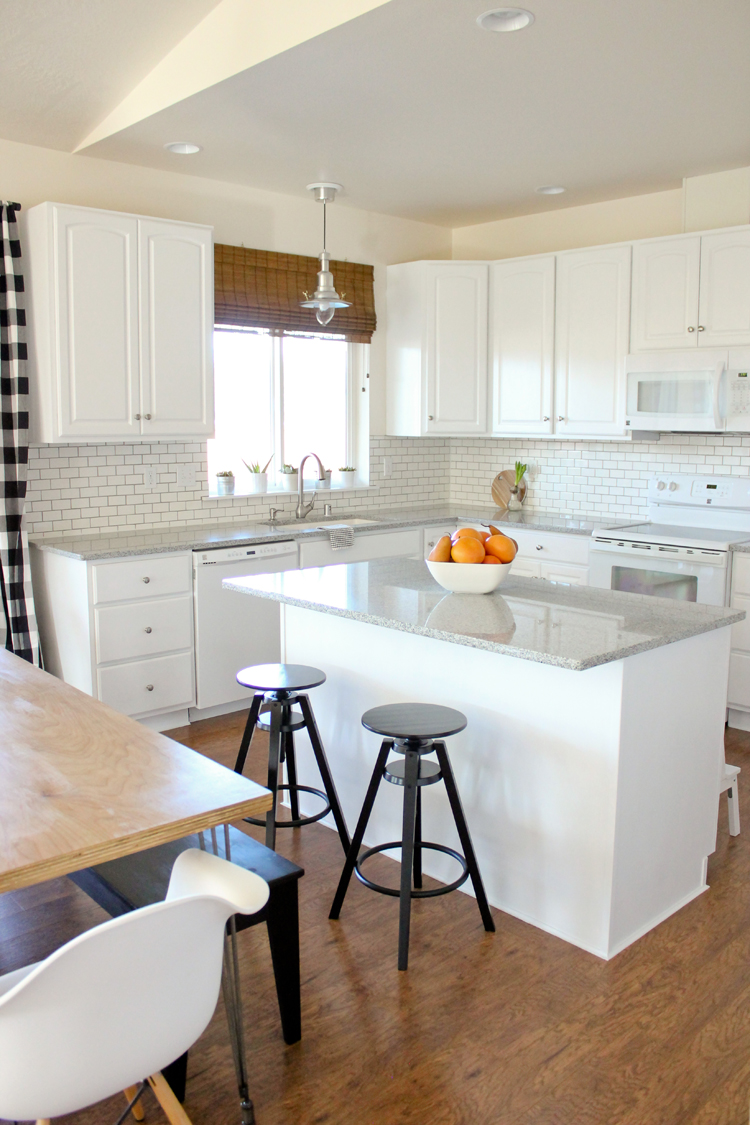
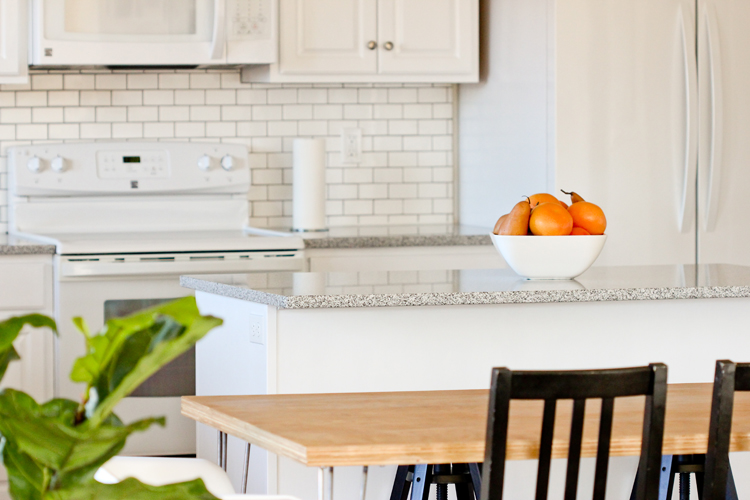
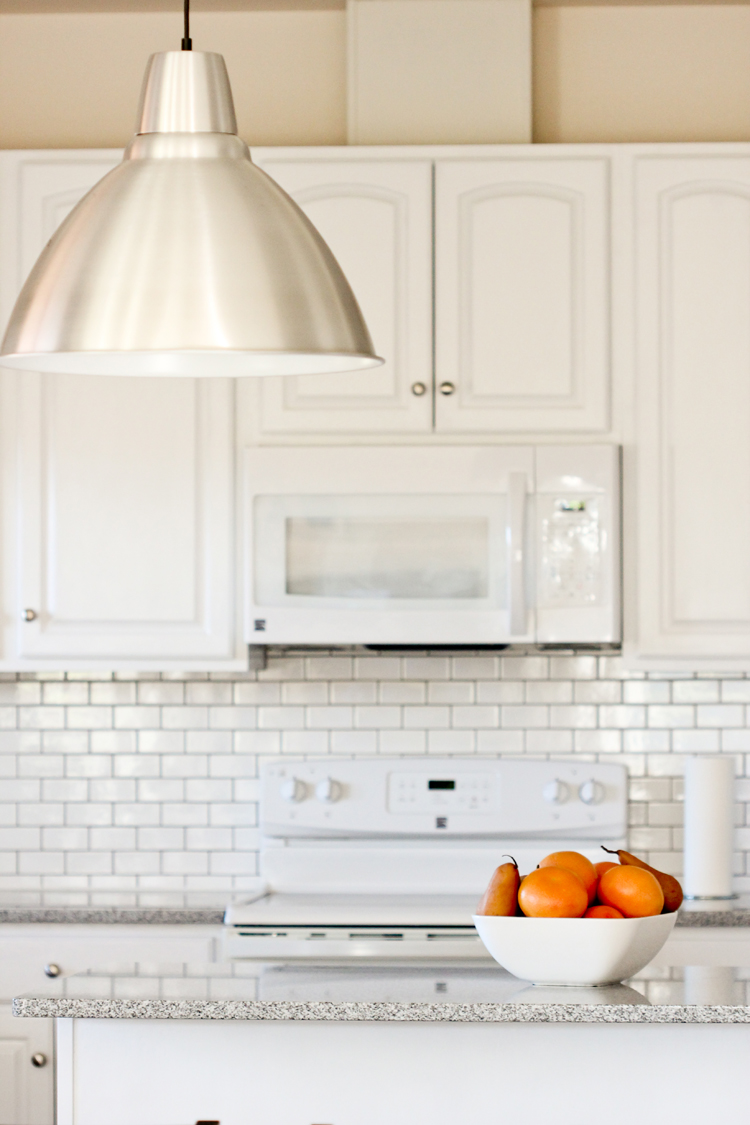
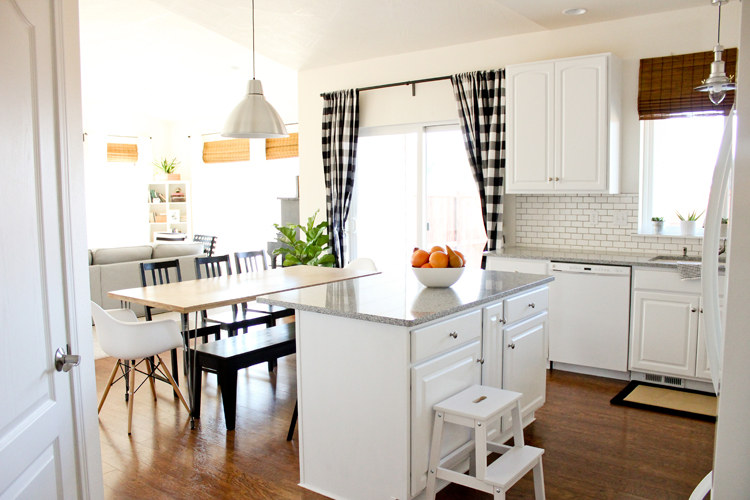
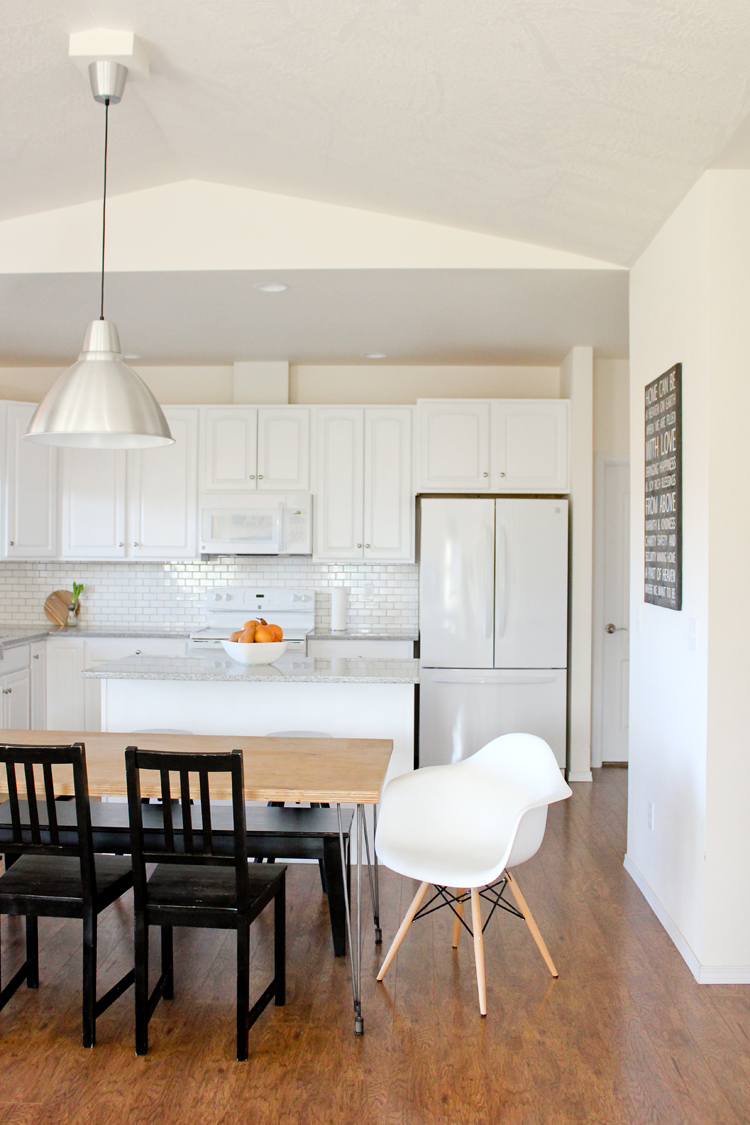
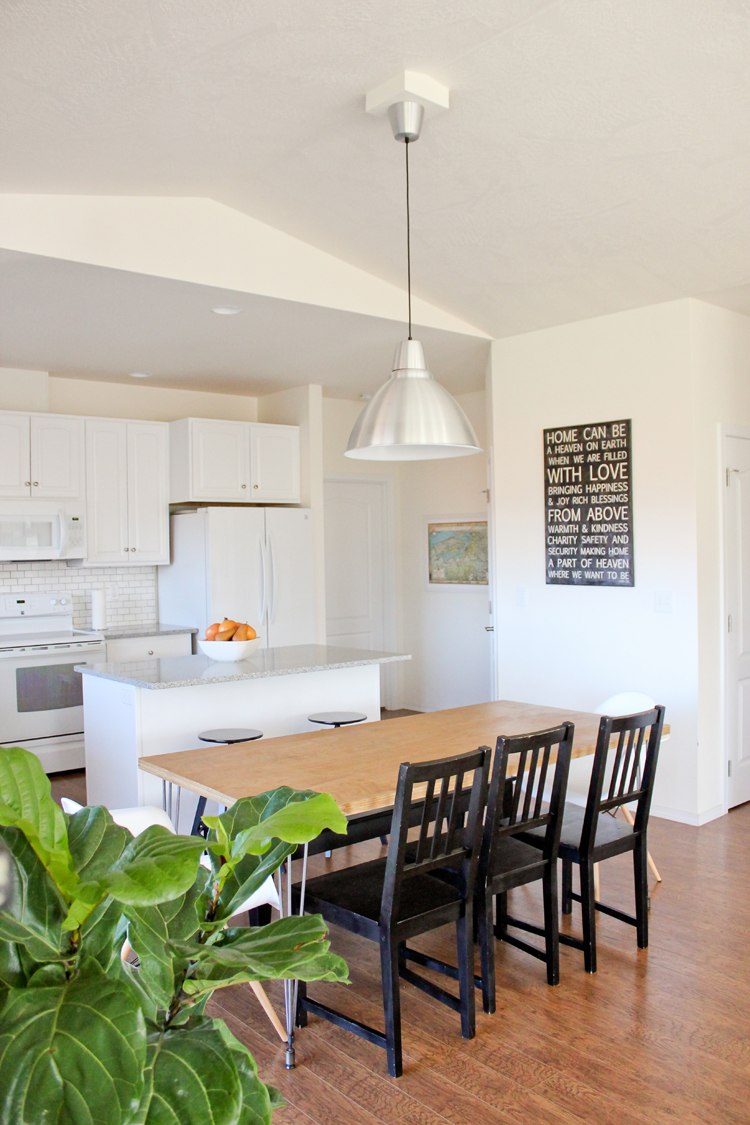
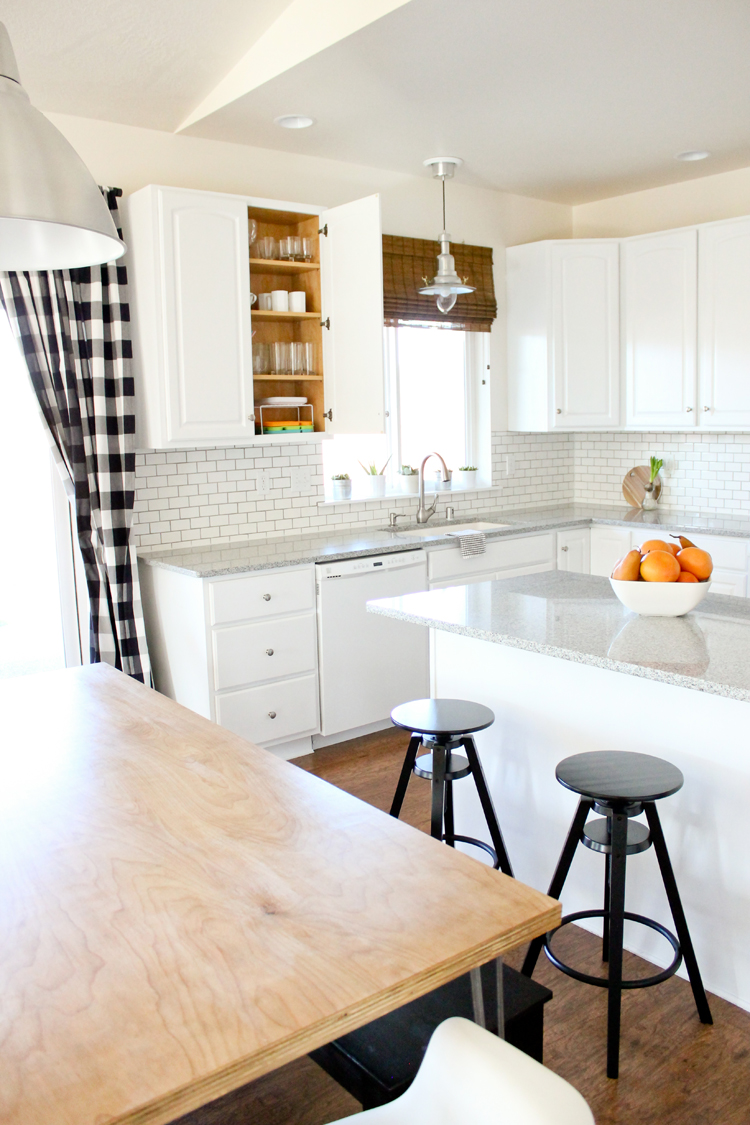
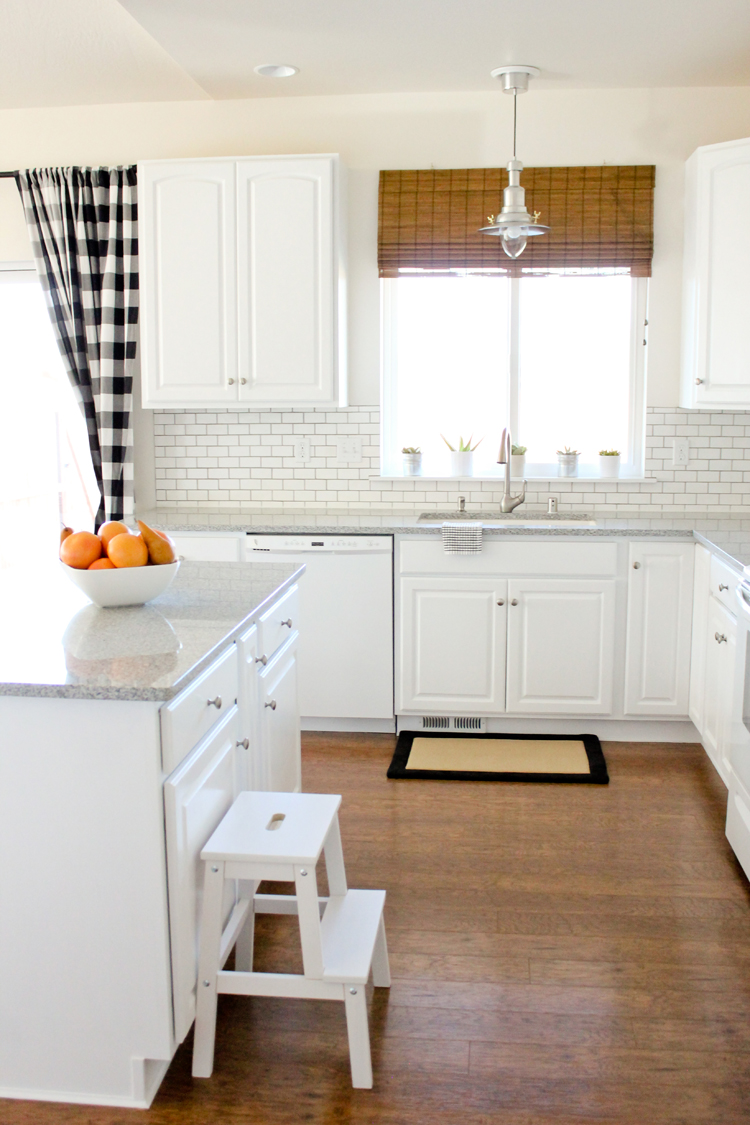
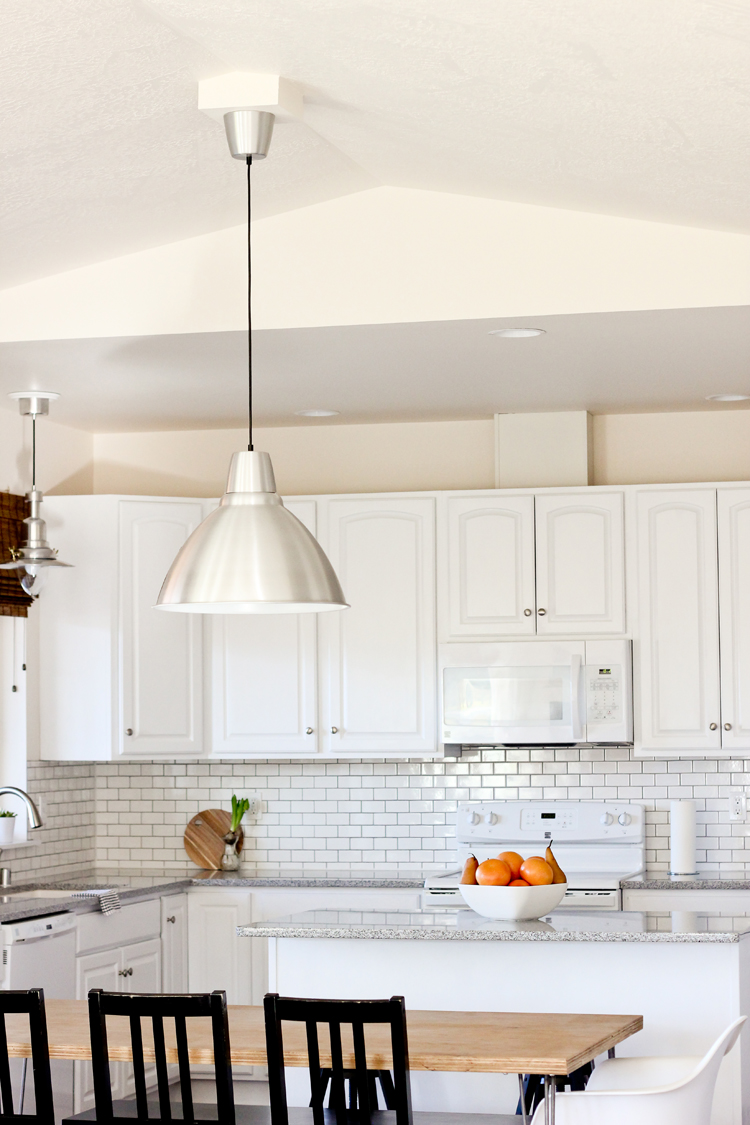
and this is what it looks like now!
What a difference white makes!
At first, I didn’t want to go soooo white, and was actually considering painting the cabinets gray. In the end though, taking into consideration our appliances, which were already white, our flooring, and the dark, cloudy weather we get here in the Pacific Northwest, white won out.
We may end up painting the walls to break up the “white out,” but for now, it suits us.
Speaking of appliances… When we moved in, all the appliances were already fairly new, and we weren’t in the position to replace them except for the fridge. The previous owner left a small fridge they used for their renters that was much too small for our family of five. At first, it was tempting to want to buy our first stainless steel appliance because that is pretty much what dominates the market now a days. The white version of certain fridges I liked were actually more than the stainless steel versions (!), but we finally found a sleek, white Kenmore fridge we liked from Sears. Having all matching white appliances and white matching cabinets turned out to be the best decision we could have made. I think the uniformity makes the kitchen look and even feel bigger than it really is.
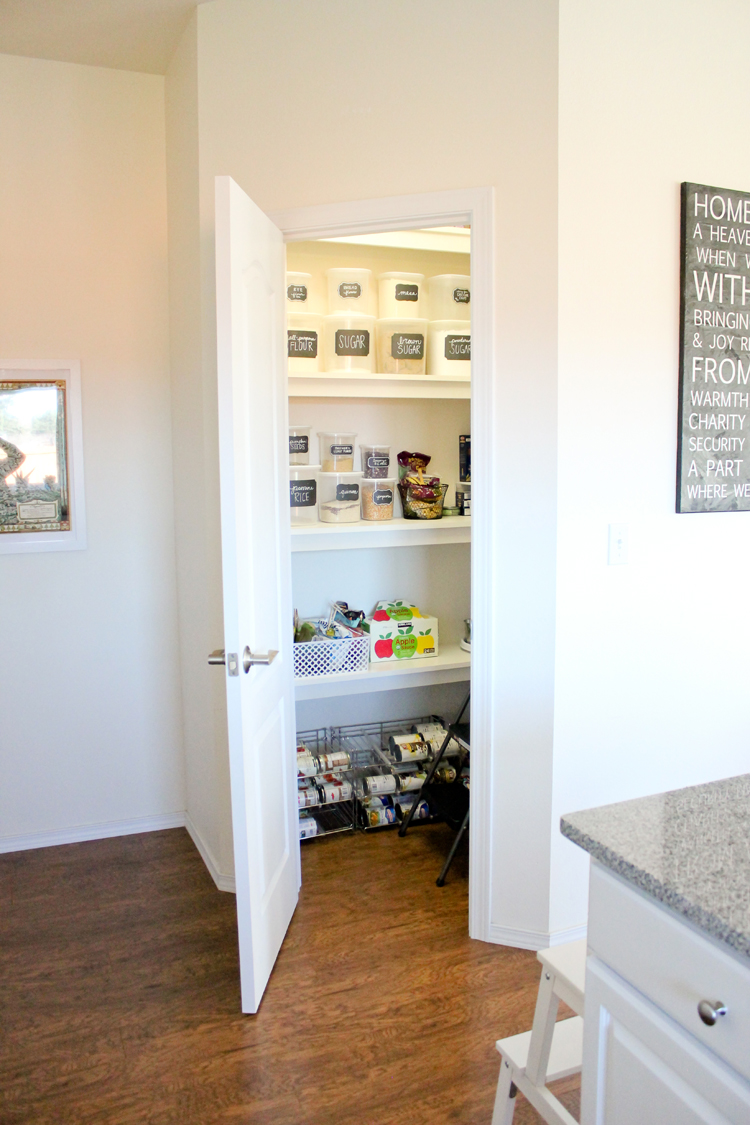
 Off to the side of our kitchen is the pantry and then the hallway to the kids’ rooms.
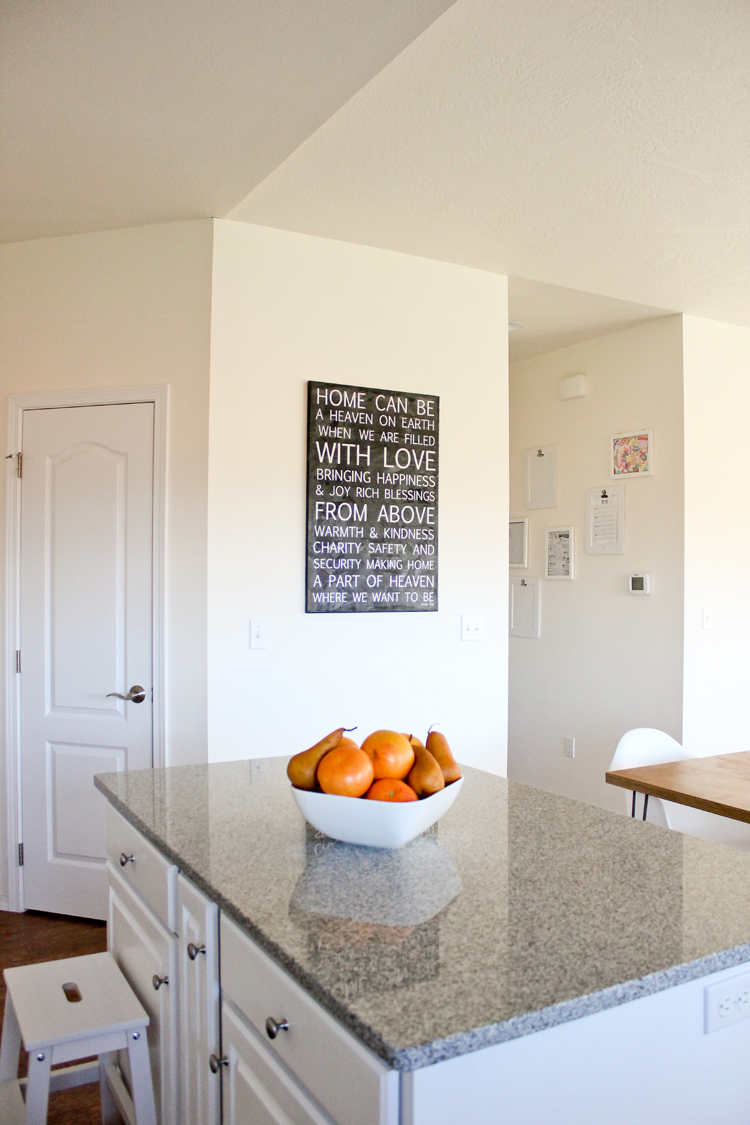
I created a little gallery wall for their art in that hallway. It’s my favorite view from the island while I’m cooking dinner or packing lunch boxes. It also makes a great welcome into the kids’ part of the house. The frames are from IKEA and they all have clips or magnetic faces to make it easier for me to rotate through the constant flow of art the kids crank out almost daily. (Source links: magnetic face frame and the clip frames – I removed the art and spray painted them white)
That black and white family hymn art has followed us from rental to rental and I still love it. You can read my original post about it here. It also comes with a free printable.
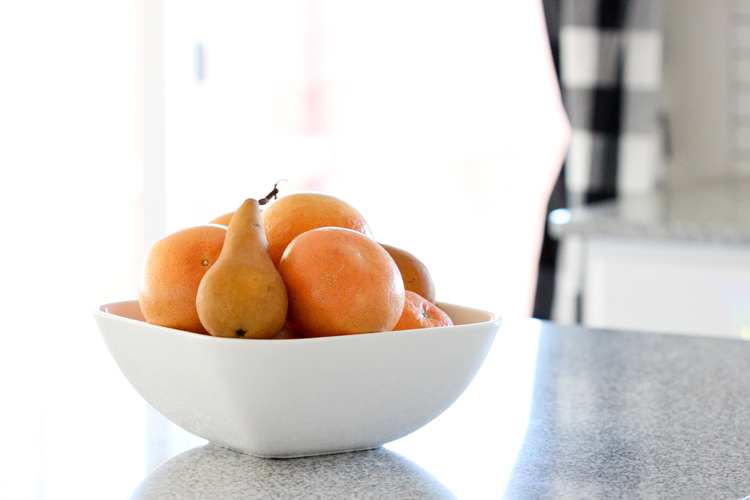
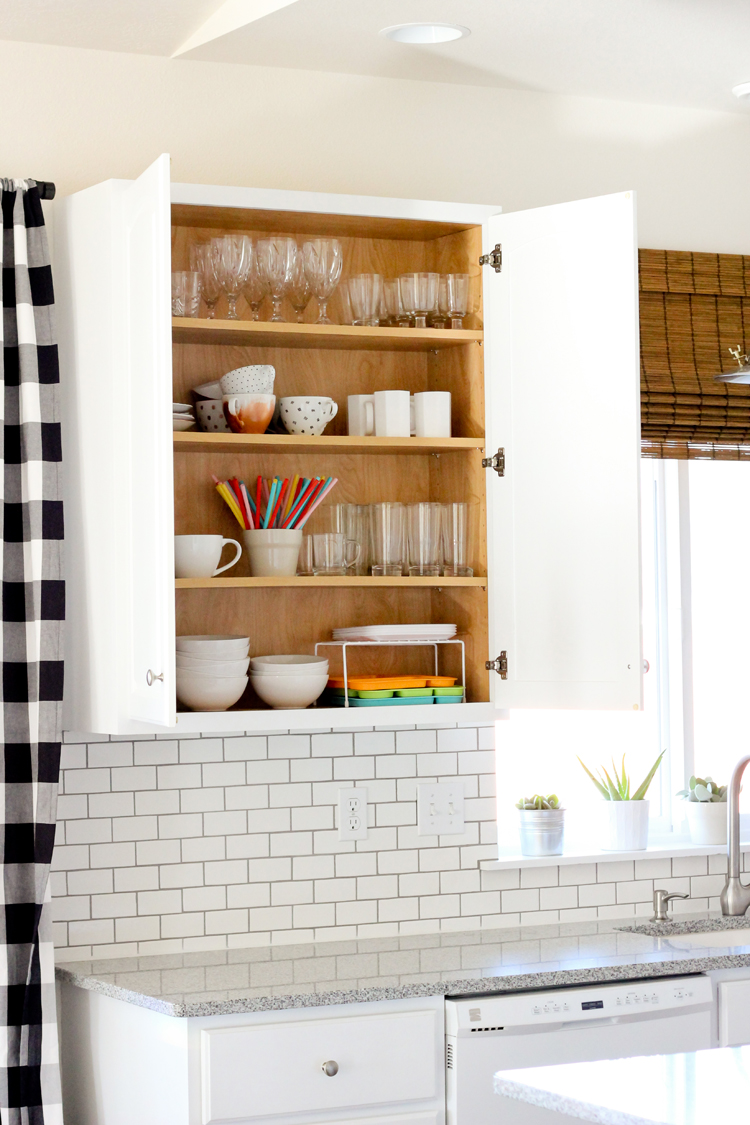 I am pretty adamant about keeping the counter tops bare because I neeeeed the open space. By the time the kids bring home their lunch boxes, as papers and stuff piles up on the kitchen island, and as extra pans get set out to dry on extra towels after a big dinner, I just can’t stand anymore clutter than real life throws at me.
I scrubbed the counters clean for this photoshoot, so if you want to see what our counter really looks like most of the time, I posted a pic on instagram last week. 😉 I’m @deliacreates.
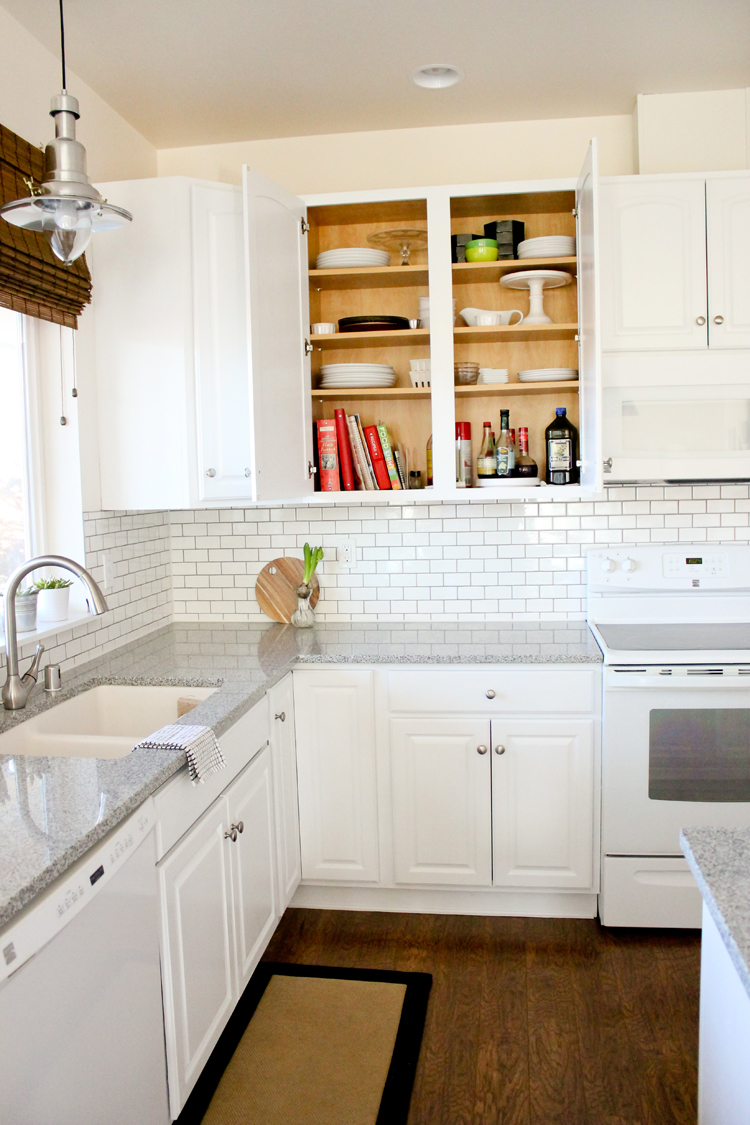
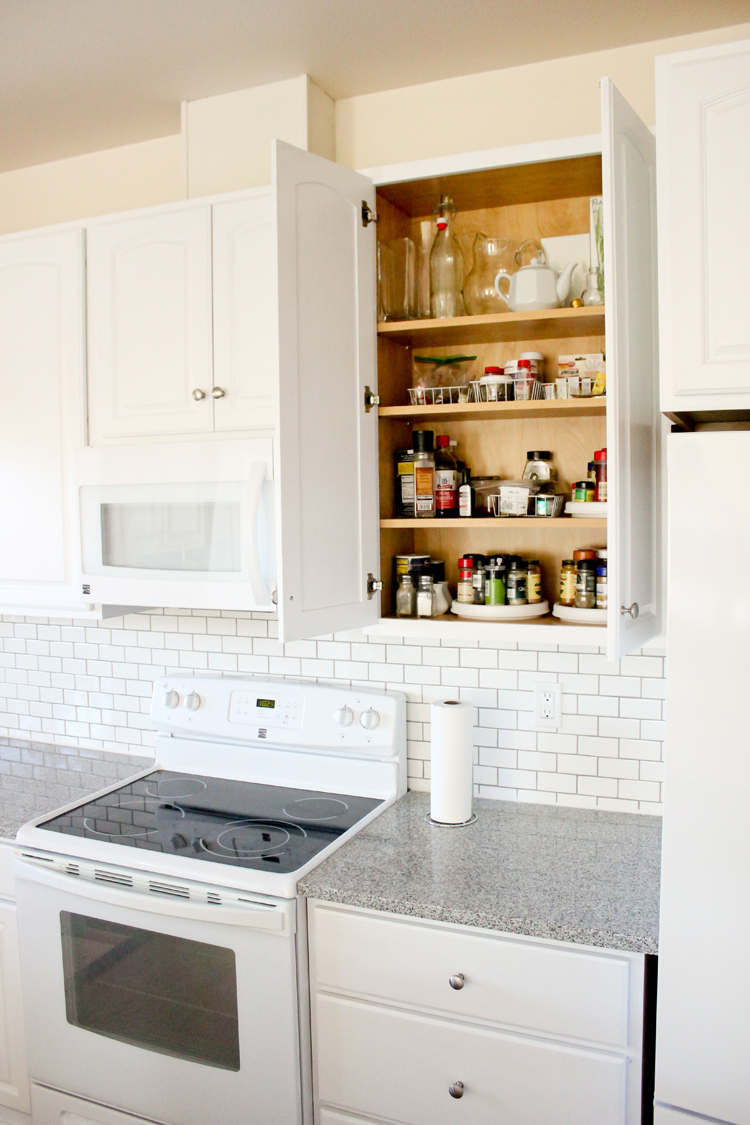
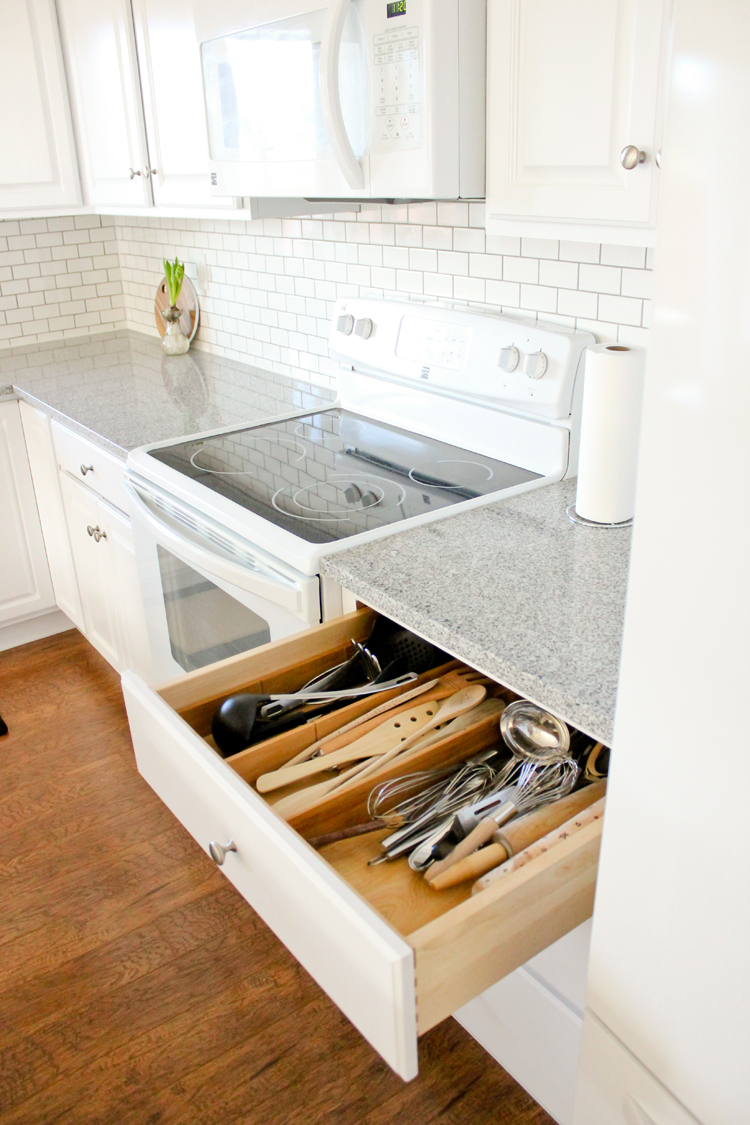
We are lucky enough to have lots of cabinet space, which helps cut down the clutter tremendously. Everything has a place. The toaster and BlendTec go in the easy to access drawer/cabinet combo. Knives and cooking utensils go into drawers. Even my cook books go in one of the cabinets. Having an organized place where I can put things away and out of sight, makes a huge difference in our small home. If anything, it definitely reduces my own stress level!
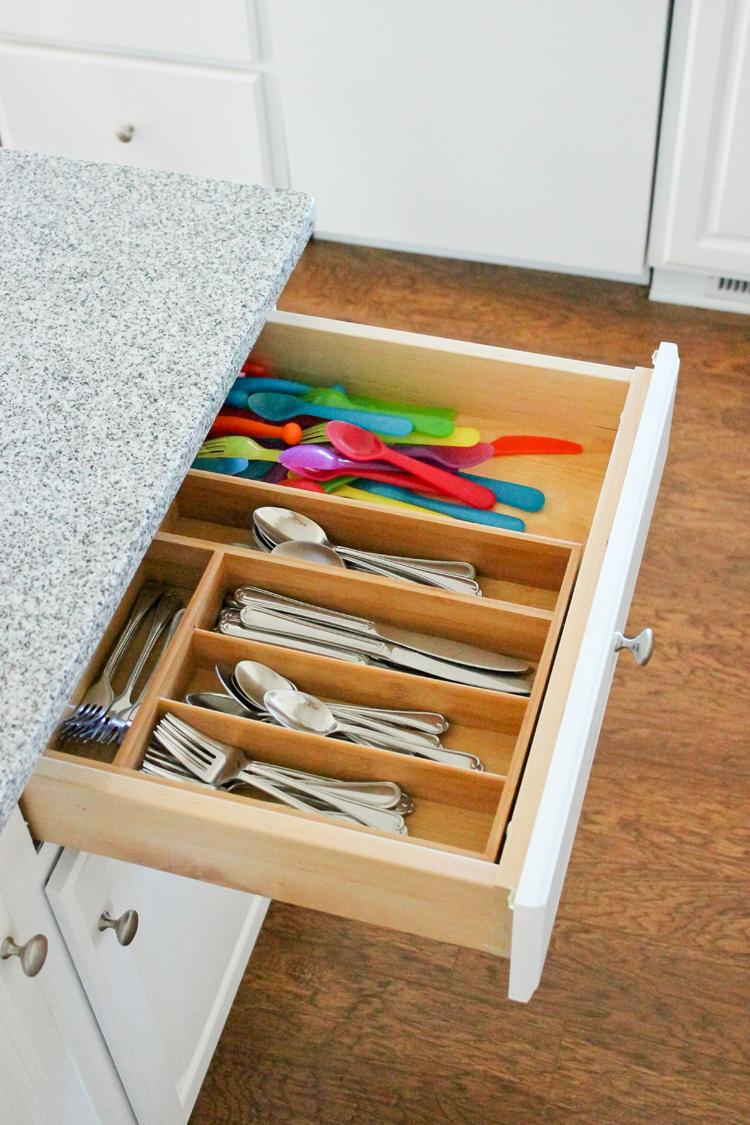 I bought a few of these bamboo drawer organizers from Costco last summer for about $15 per two organizers (but last I checked they still carry them). I love that I can move some of the dividers around to fit the needs of each drawer.
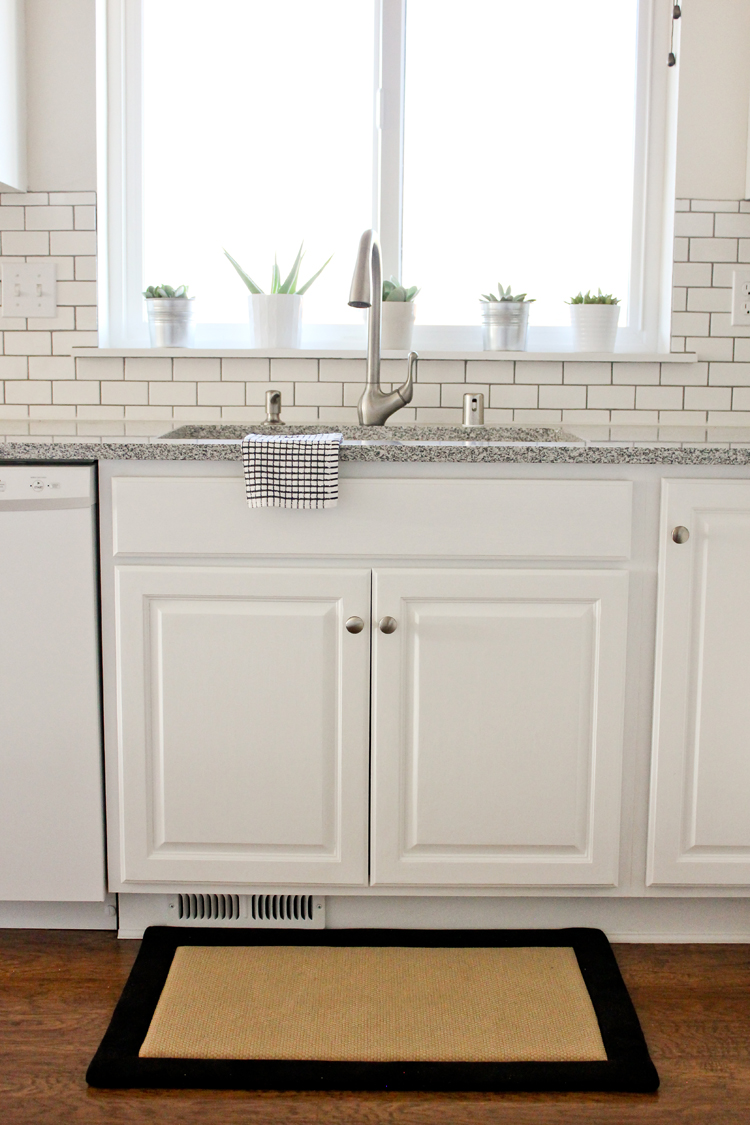
I have been searching for a runner to go in this stretch of the kitchen for a long time. Then, a few weeks ago I bought my first memory foam kitchen mat from Target, for around $20. It is heav-en-ly to stand on while I do dishes. I don’t know if I can go back to just a regular rug. It’s totally spoiled me!
That about wraps up the reveal. Tomorrow, we’ll talk counter tops, sink + faucet, lighting, and window treatments!
If you have any questions, please ask them in the comments and I’ll do my best to answer them there.
Links to other posts in this series:
Counter Tops, Window treatments, Fixtures


Gorgeous! Bright and happy 🙂
Thank you Tori!
I love it! Simple, clean, bright and beautiful!!! I bet you’re loving it!
Thank you Amber! 🙂
I love the light above the sink! Is that just plugged into what use to be a recessed light?
Lindsay,
Thanks! Yes, that’s exactly right. I talk more about it in this post: http://www.deliacreates.com/kitchen-renovation-series-countertops/.
I used a can light converter kit and then installed the light into that.
Delia
Lovely kitchen. Can you link to the artwork frames with magnetic or clippy things? I think I need them too for my little one’s art.
Thanks! Sure. I’ll add the links to the post right now.
Great job, it looks fantastic!
Thank you Sydnie! <3
Love the final results. So clean and classic. It is awesome
Thank you Michele!
I love how bright it is! Question, where did the fabric for the curtails come from, or if you bought them pre-made, where did you get them? Thanks!
Thank you Heather! I made the curtains using Berta Ruta fabric from Ikea. I plan on doing a post on it in a few weeks or so, but it’s really straightforward. I just hemmed the sides and bottom and made a casing for the top. Super simple.
This is so so pretty Delia! Your kitchen is like a breath of fresh air, what an amazing transformation!
Thank you Abby! It took us about five to six months to get it all complete, so it feels really good to have it done!
Wonderful!!!!
Thank you!
Curious about your bulk storage food containers…your pantry is beautiful. Where did you find your containers? Thanks and I’m excited to read about the plywood table you guys created!
Thank you Kelly! The containers are actually just the Walmart brand nesting bulk containers (I think they are $8-10 per four?) and then I added chalkboard labels. We’ve had a few of these containers for years. We looked into investing in nicer ones, but they were either too pricey, too colorful (we wanted clear/white/simple) or they didn’t stack as well, etc. etc. We finally decided to just get more of these for now, and they’ve been great. The plywood table has been my favorite, favorite home project yet. I’ll probably share more next week-ish!
I have kitchen envy! Enjoy it 🙂 xx
Beautiful transformation!
Random question: where did you get the can organizers in your pantry?
Thank you!
Sure thing. I got my can organizers from Amazon: https://www.amazon.com/gp/product/B00DTONATC/ref=oh_aui_search_detailpage?ie=UTF8&psc=1
I hope that helps!
I know this is a VERY long-ago post, but I’m just wondering how your kitchen and bathroom cabinets have held up all this time. Thinking about painting ours, but scared about how well they will hold up. (We have oak, as well). Thanks in advance for your response.
Great question! I understand your apprehension. I was worried too before we painted ours. They have held up wonderfully. Our bathroom has black paint and those have scuffed up a little more than our kitchen has (which has scuffed up hardly at all) and they get dirtier easier. I don’t know if it’s just the darker color or just the nature of how we use each, or both. My kids jacket zippers (I think??) and their little stool gets smooshed up against the cabinet doors many times a day so there are scuffs there, but everywhere else has been problem free in the bathrooms. I don’t use a steam cleaner on them which I’ve heard has given some people problems. I did a touch up in our kitchen after about three years. I just sanded down a few small scuffs and stains, repainted, and re-clear coated those touch ups and they are holding up great two years plus later…so a total of five…almost 6 years. If you have any more worries or questions, I am happy to help in any way that I can. <3
Like the above poster, I’m here years later! Could you tell me what the dimensions of your kitchen is? We have a space that’s about 13×18 ft and I’m wondering if your cabinets/island/table layout fits nicely in that size room.
Hi Devon,
Sorry for my delayed response. Our kitchen/dining area is just slightly bigger than that…like 19×13.5. It’s not clearly defined from the living room though too, since all the common areas are open concept. I hope that helps.
Delia