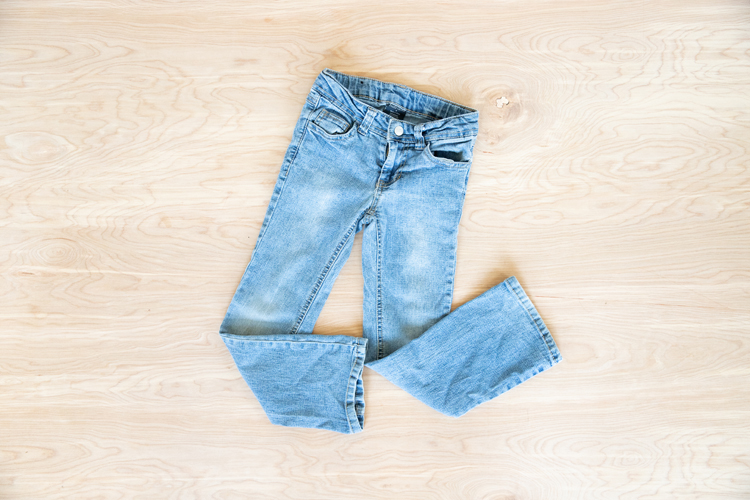
As the weather warms up and my kids’ pants start to look like they’re waiting for a flood, I usually cut them off into shorts. 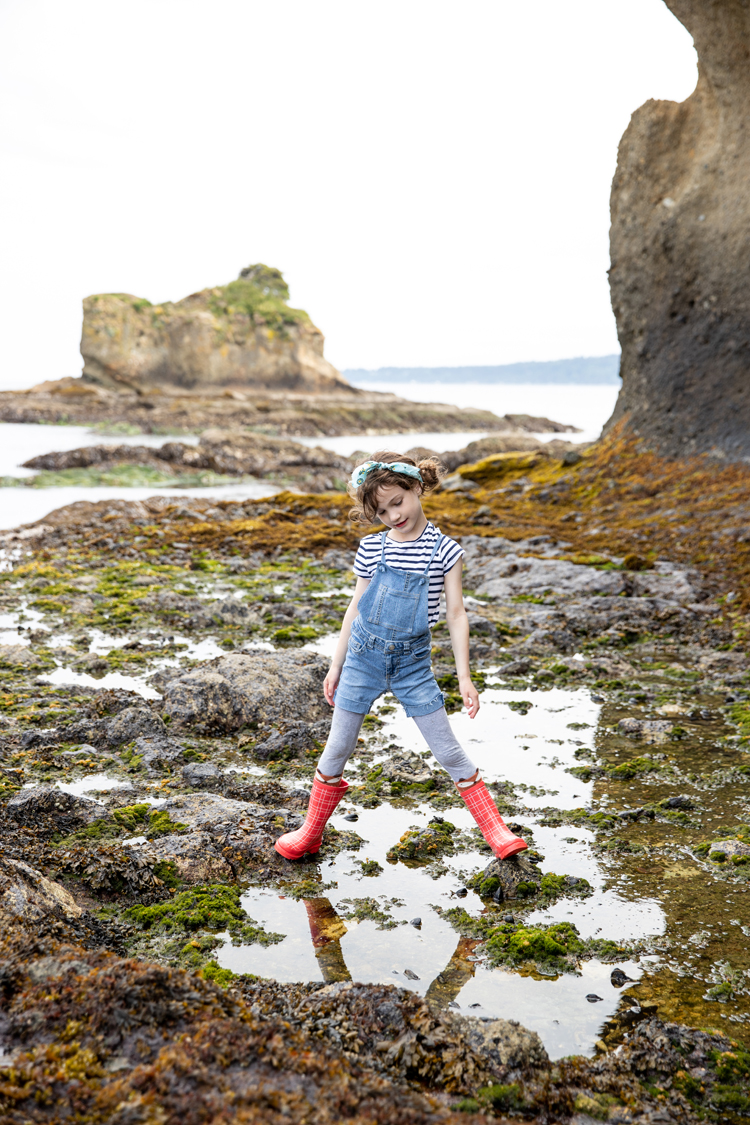
This time, I thought I would hang onto the pant legs and turn those shorts into overalls!
Er…overshorts…overall shorts. You get the picture. 😉
It was so easy and fun to do, and cost me just a couple of eyelets.
I decided to not go with traditional overall buckles. Instead, I used scraps of denim to make a tie that loops through the back belt loops and then knots in the front through eyelets. It saves on costs and I think it looks adorable!
Before we dive into the how to (scroll down for the video tutorial) I have to emphasize the MOST important aspect of this project…the thread.
The color thread you use, can make or break your overalls. It will be the difference between loving them or always looking at them sideways and asking everyone you know, “Does this look too homemade to you?” 😉 Don’t do that! Get the right thread and you’ll be proud that it’s handmade. Well…semi-handmade, I should say.
You need two kinds of thread:
- one that matches the denim jeans
- one that matches the contrasting thread on your jeans (or as close as you can)
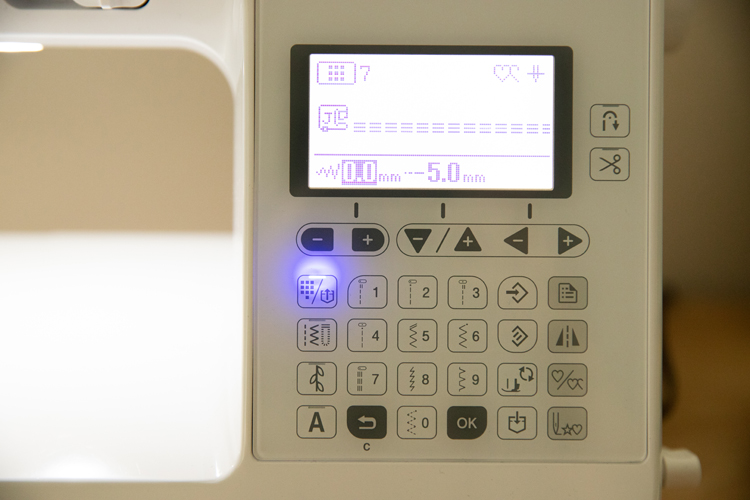
It is highly likely that the contrasting thread on your ready to wear denim is a thicker jean thread. You can use this as well, but I find that it often trips up the tension in my sewing machine (and I hate fiddling with it constantly). My hack for that is to use good ole all-purpose thread with a triple stitch that has been lengthened to 5 mm. A triple stitch, does as its name implies. It stitches over the same spot three times, leaving behind a darker, thicker line of stitching that mimics thicker jean thread. I believe it is on most basic sewing machines as well. (It is button number 7 in the picture below.)
In the video tutorial below, I don’t cover when to use contrasting and matching thread, so here is a guide for when to use which type of thread.
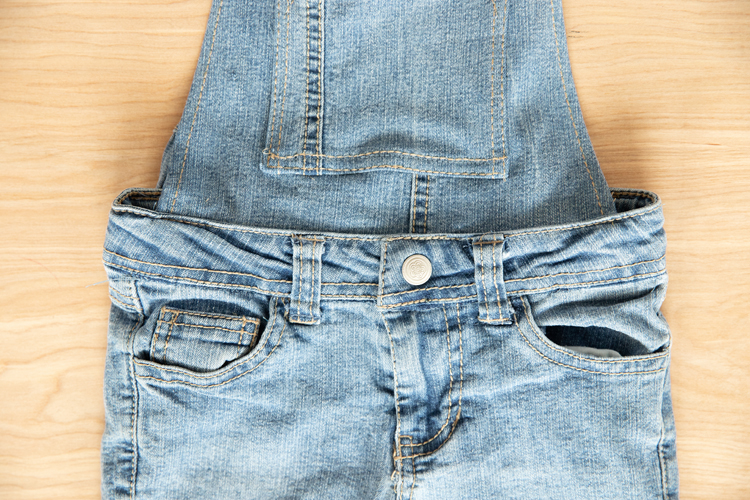
Contrasting – hemming sides and top of the bib (a.k.a the part that covers the chest area), hemming the top of the front pocket with two parallel lines of top stitching, hemming the sides of and bottom of the pocket along the inner fold before attaching, attaching the pocket along the outer folded edge parallel to the hem stitching. top stitching overall ties.
Matching – attaching the bib to the shorts’ waistband, adding a second line of stitching when attaching the pocket (adds strength).
Now that we’ve talked thread, let’s get to it!
 MATERIALS:
- Pair of jeans
- Matching thread
- Contrasting thread
- Universal needle (works for most thinner denims, if it’s thicker you’ll need a denim needle)
- Two large eyelets and tools to install them*
- Fabric scissors
- Basic sewing machine and supplies
Optional:
- Denim needle
- Rotary cutter, mat and ruler for cutting straps
- Small, sharp pointed embroidery scissors for creating holes for the eyelets
*Eyelets (also called grommets in the video) are sold at pretty much every craft store and even at Walmart. The one time tool kit purchase to install them is about $2, plus a hammer.
TUTORIAL
That’s it! Make one pair and you’ll want to make more!
Like…this elastic and buckles version I made HERE. 😉
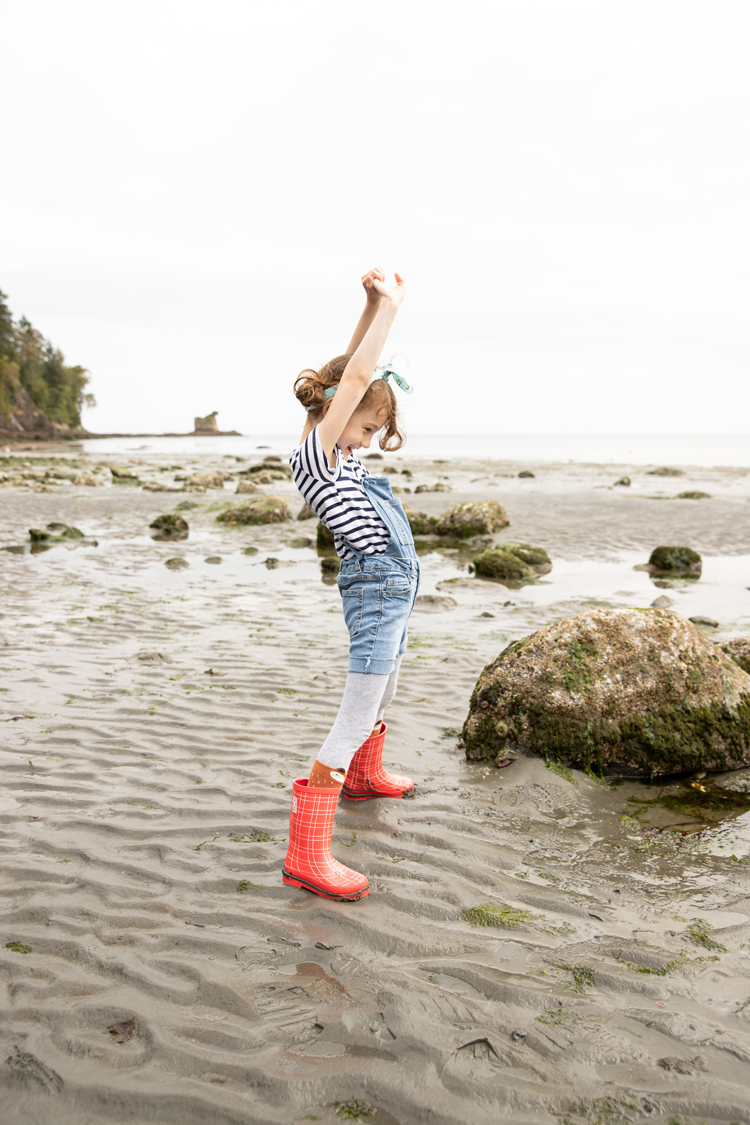
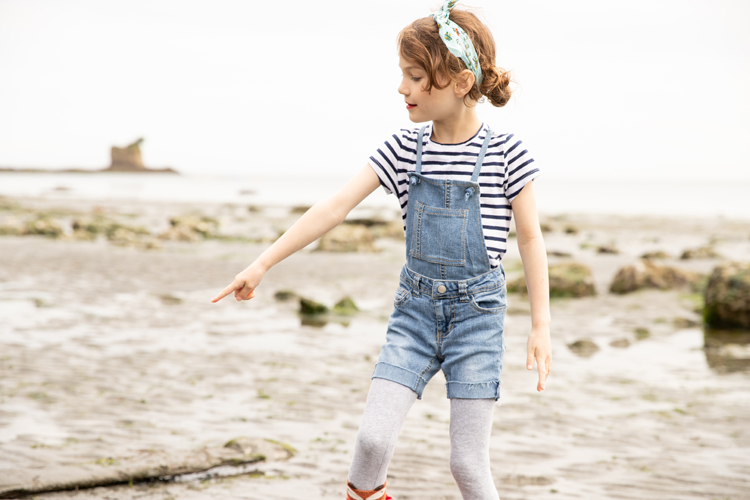
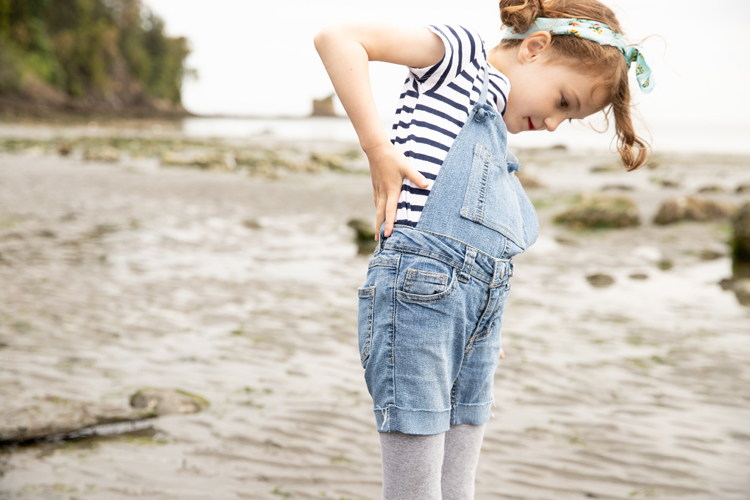
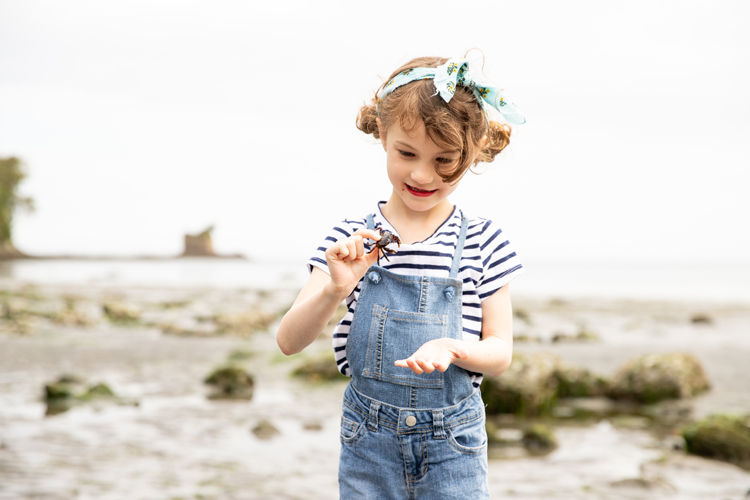
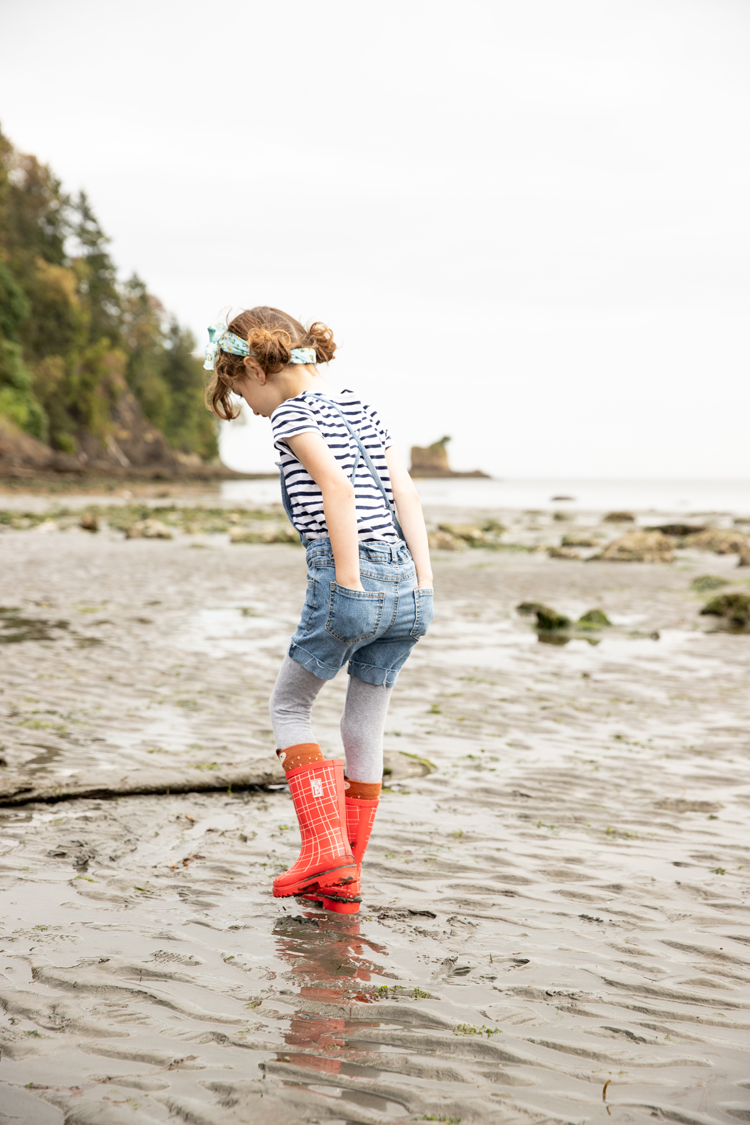
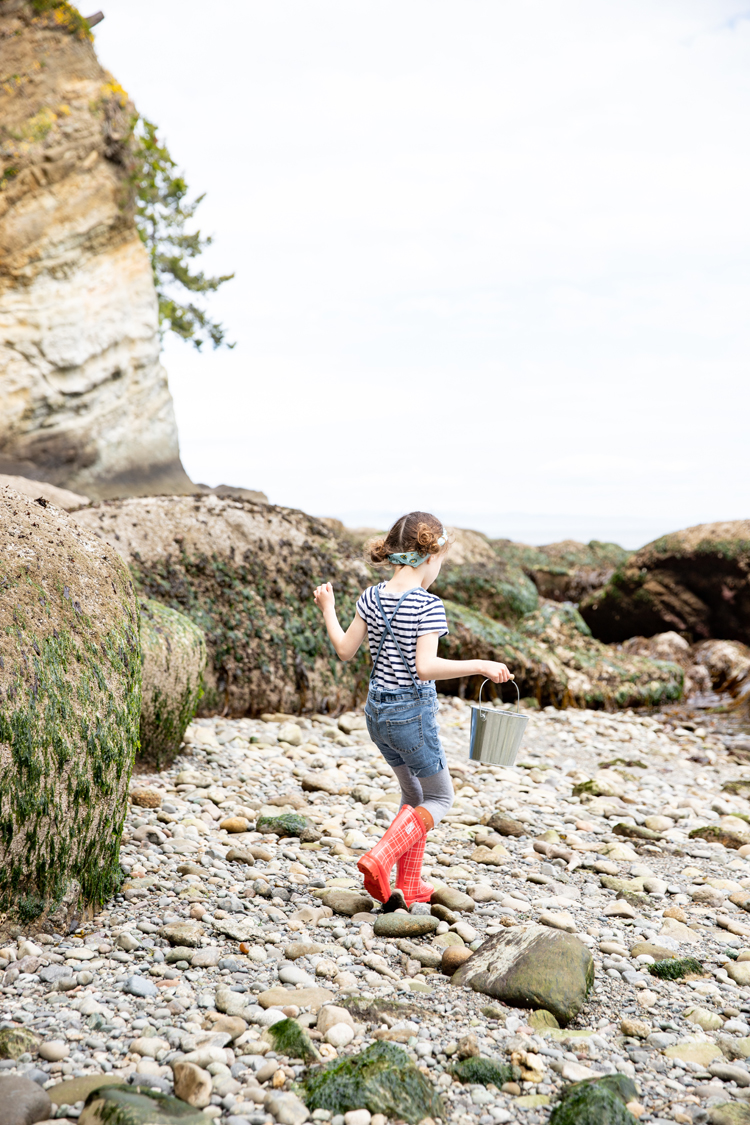
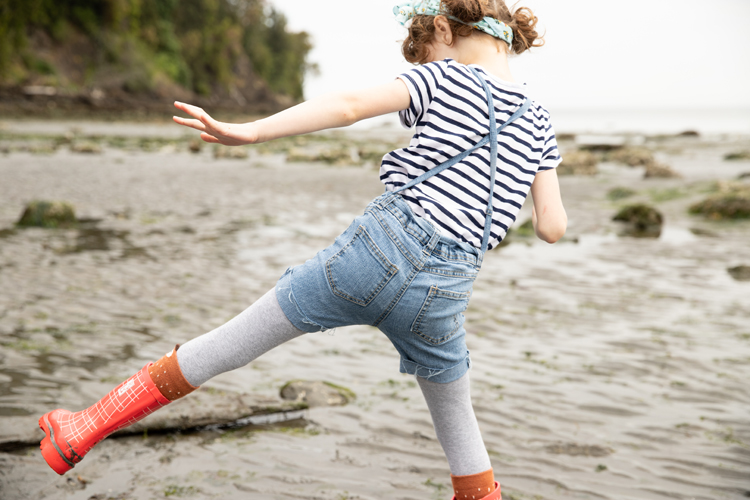
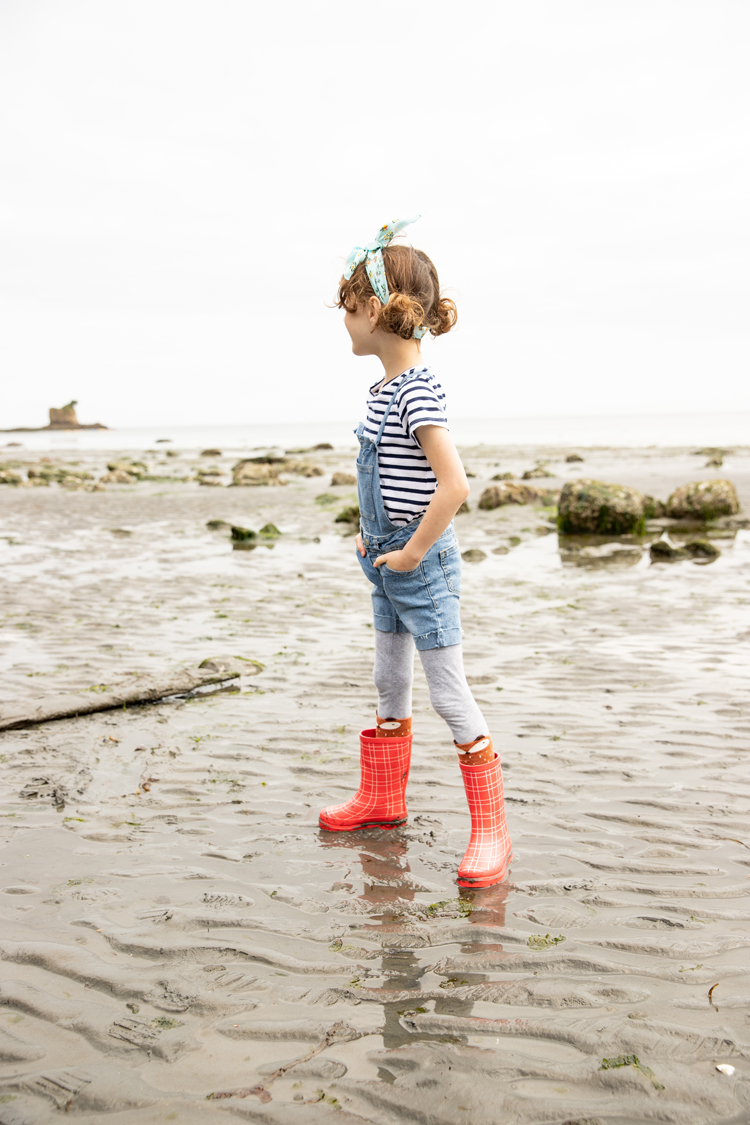
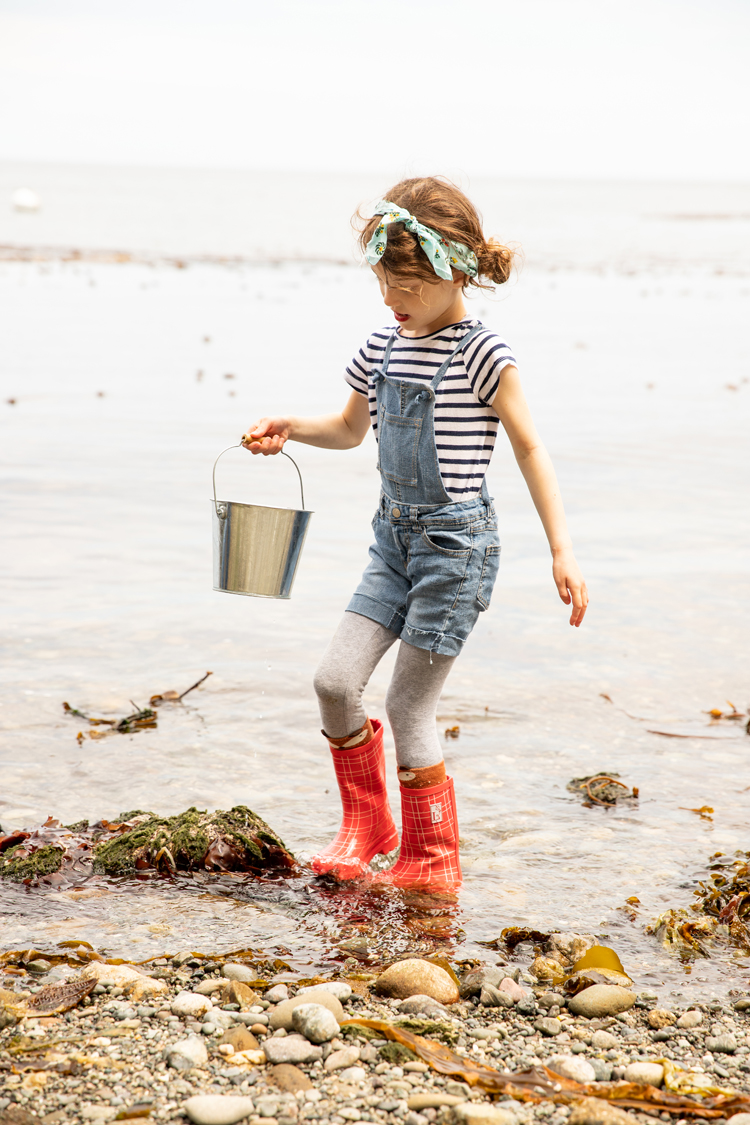
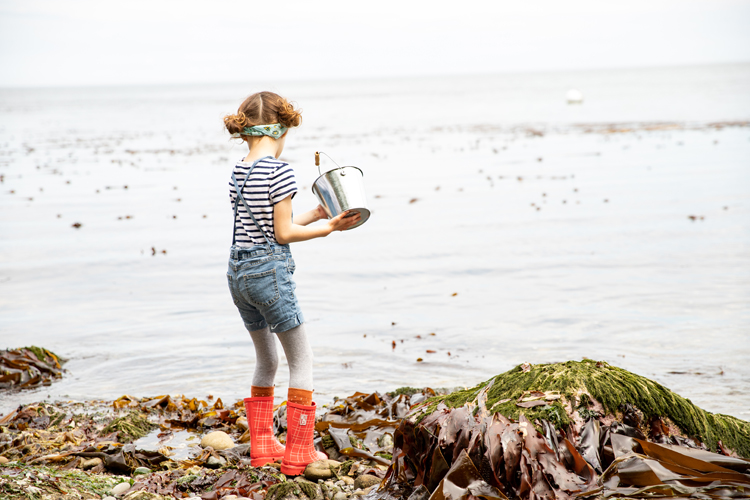
I took the finished shots of these overalls during our last tide pool trip. If you want to see more of that, you can check out this post here. I also have a cute little video with Natalie splashing around in these cute red boots from London Littles.




Hello. This looks amazing but I was wondering if sewing the bib to the waistband across the zipper and button does not make the overalls too hard to put on for the kid?
Thanks.
Cam.
That’s a good question. If the pants don’t slide on without opening the button and zipper, they wouldn’t be a good pair to use for these overalls. It’s important to find the right pair for this project. Most kids don’t have hips yet, so they don’t really need the closures that much. Some skinny jeans are really tight though! I let out the adjustable elastic all the way and that seems to help too.