This crazy Christmas card idea might seem familiar if you’ve been here awhile.
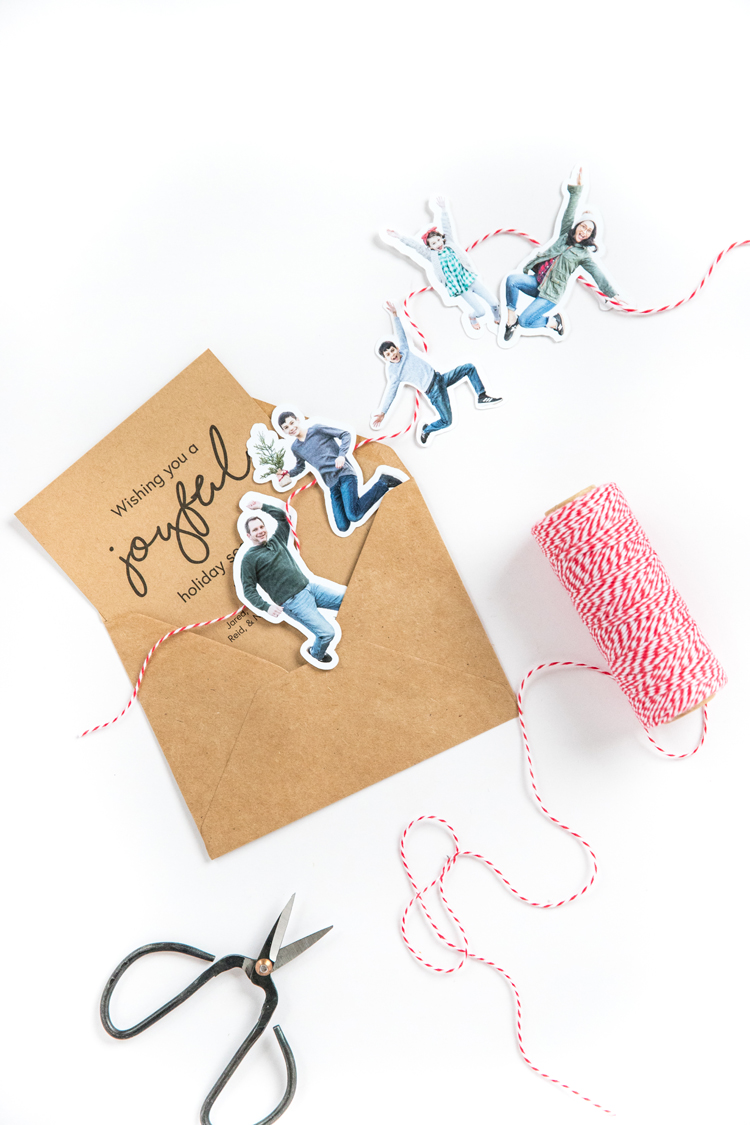
Five years ago, I made this same paper doll family bunting with ittier bittier kids, no trampoline, and no cutting machine! Can you say hand cramp?
I seriously don’t know how I managed it without my Silhouette and photoshop.
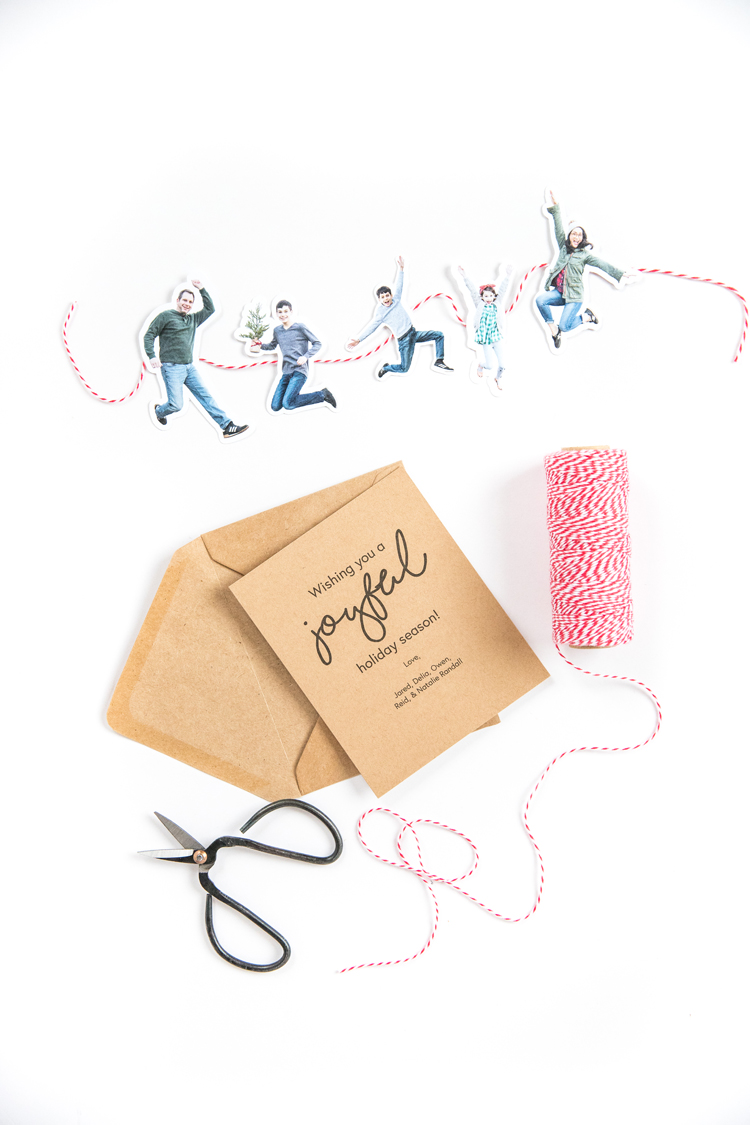
I actually was going to put us into a snowflake shape this year, early 2000’s Gap ad style, but it didn’t pan out. So we made another bunting and now I’m thinking this should be an every five year tradition. Possibly?
Another reason I went with this bunting is I didn’t want to spend a lot of money. To make 60 buntings and cards it cost around $35. If I didn’t have some of the materials on hand, it would be maybe $40. I can’t order that many nice cards for even close to that amount.
Sure, this does take a bit more work, but the effect is sure to live up to the message on the card insert.
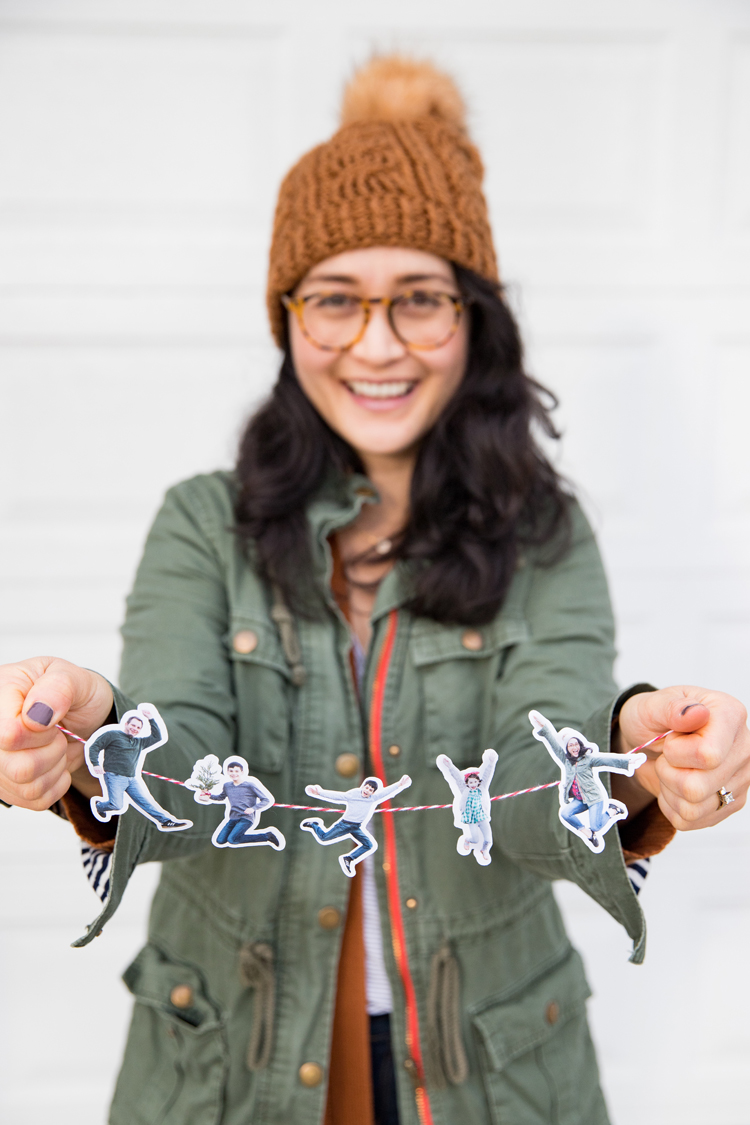
…Which is my goal. I figure, if I’m going to actually send some cards this year (I’ve been really uncommitted the past few years), why not go crazy!? Ha! If people want a more legit picture of us, they can just hop on Facebook. 😉
Taking Jumping Pictures
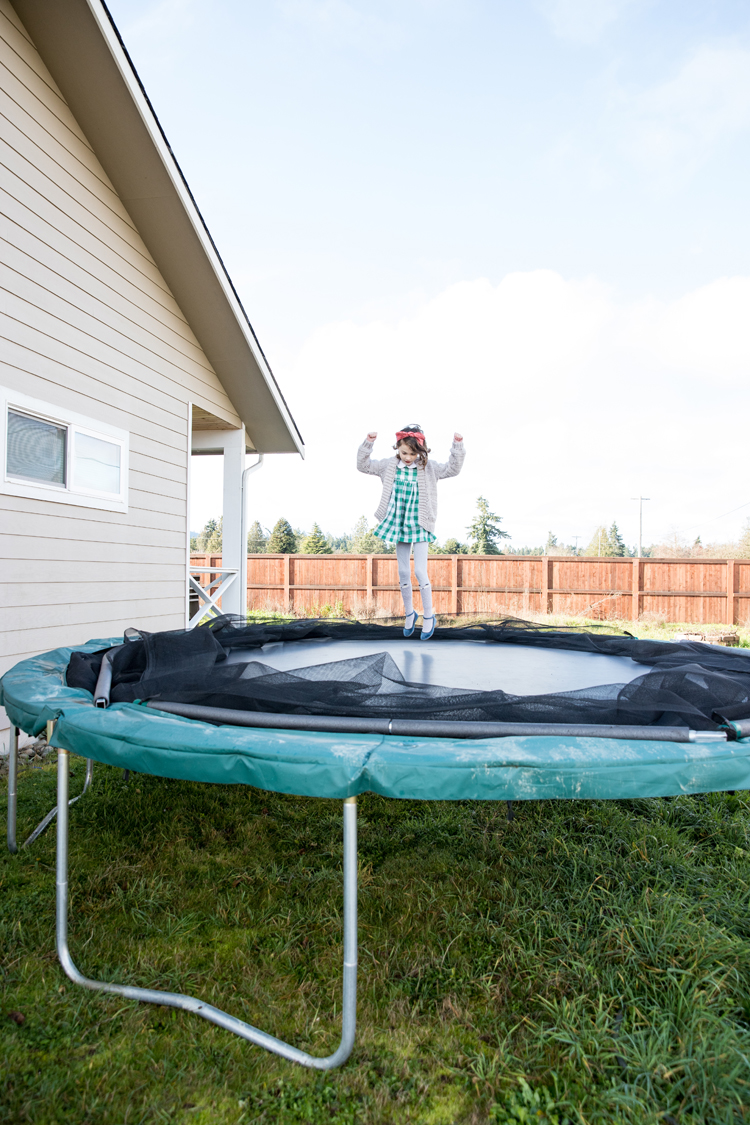
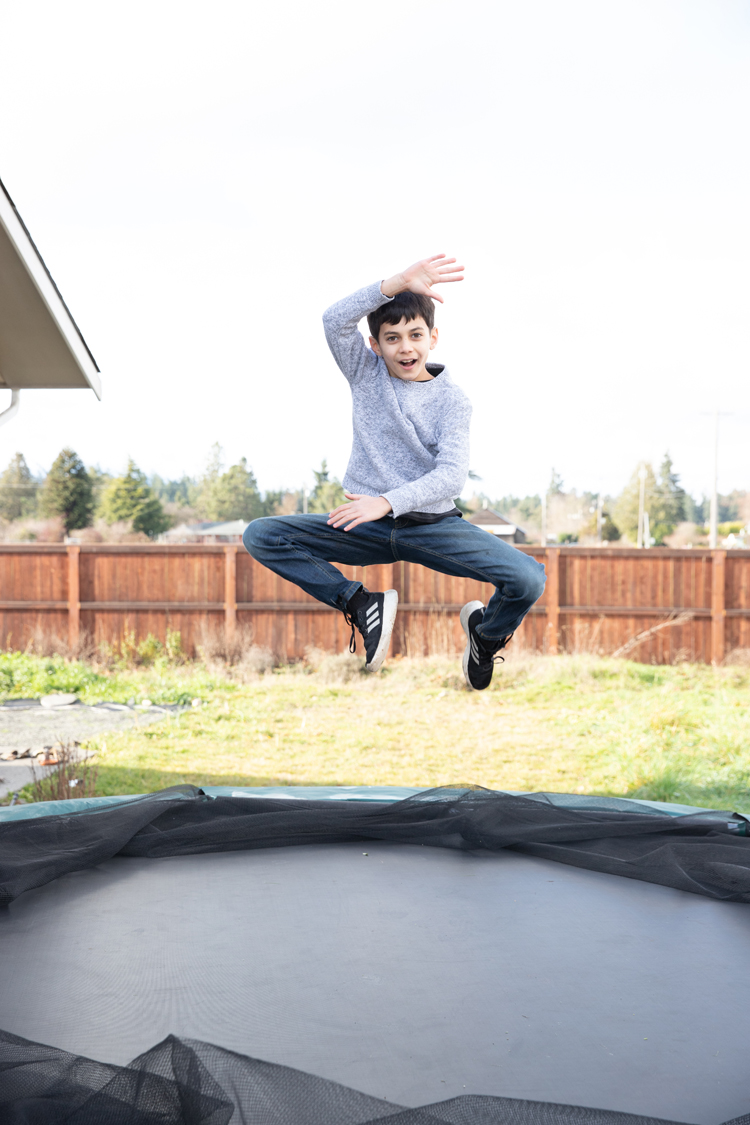
We took down the nets on our trampoline and took pictures of each person, one at a time. We also set up a ladder to stand on, so the camera would be eye level with the jumpers.
We got a lot of crazy ones, but it was fun getting to the right shots.

Editing
I cut everyone out in photoshop with the quick selection tool.
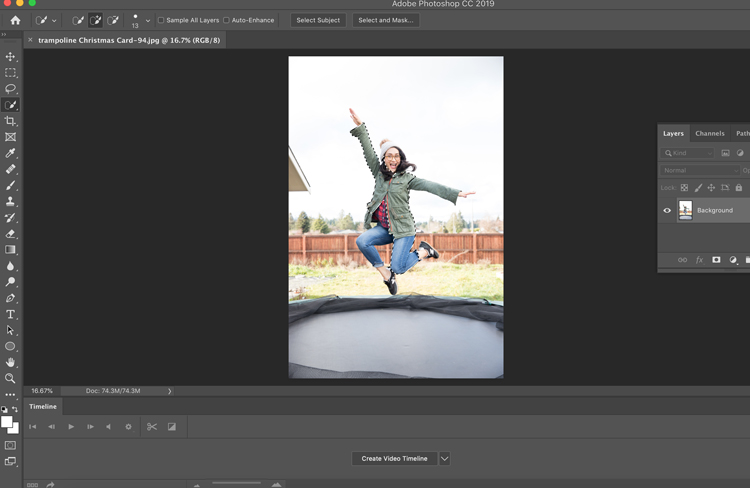
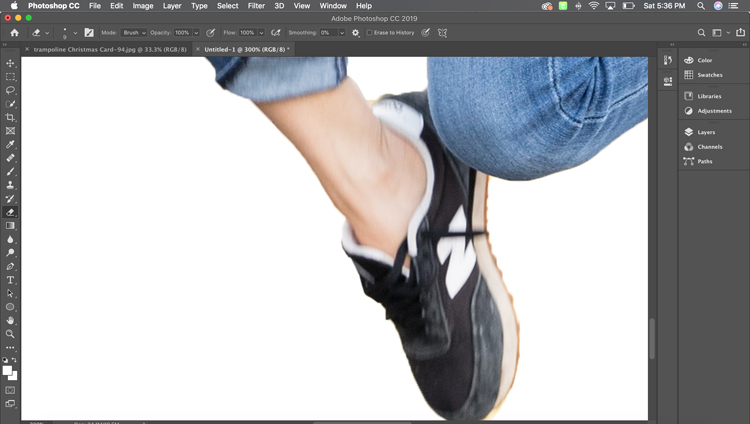
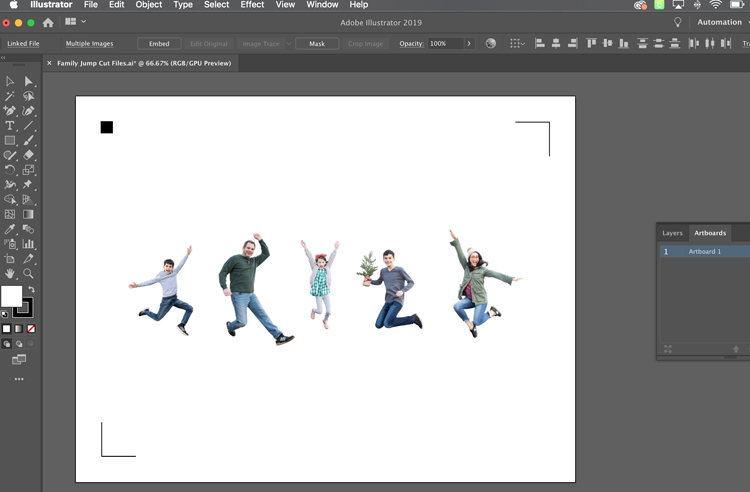
Then I put us in the same file in Illustrator so I could make sure we were the right size and proportionate to each other. My oldest is actually several inches taller than me, but he’s scrunched up so we look about the same size.
Cutting the Figures
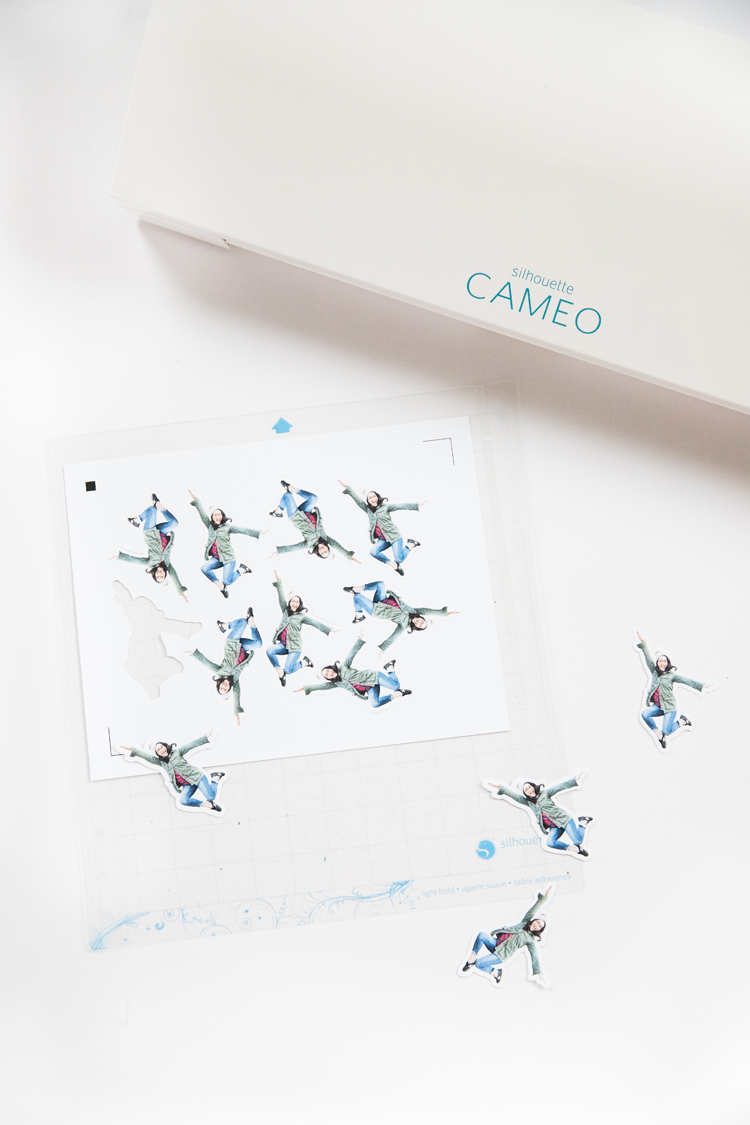
I was going to print and cut everything from the Silhouette Studio software, but the quality of prints from my home printer is lacking. So, I recreated the registration marks in Adobe Illustrator and printed them on card stock at Office Depot.
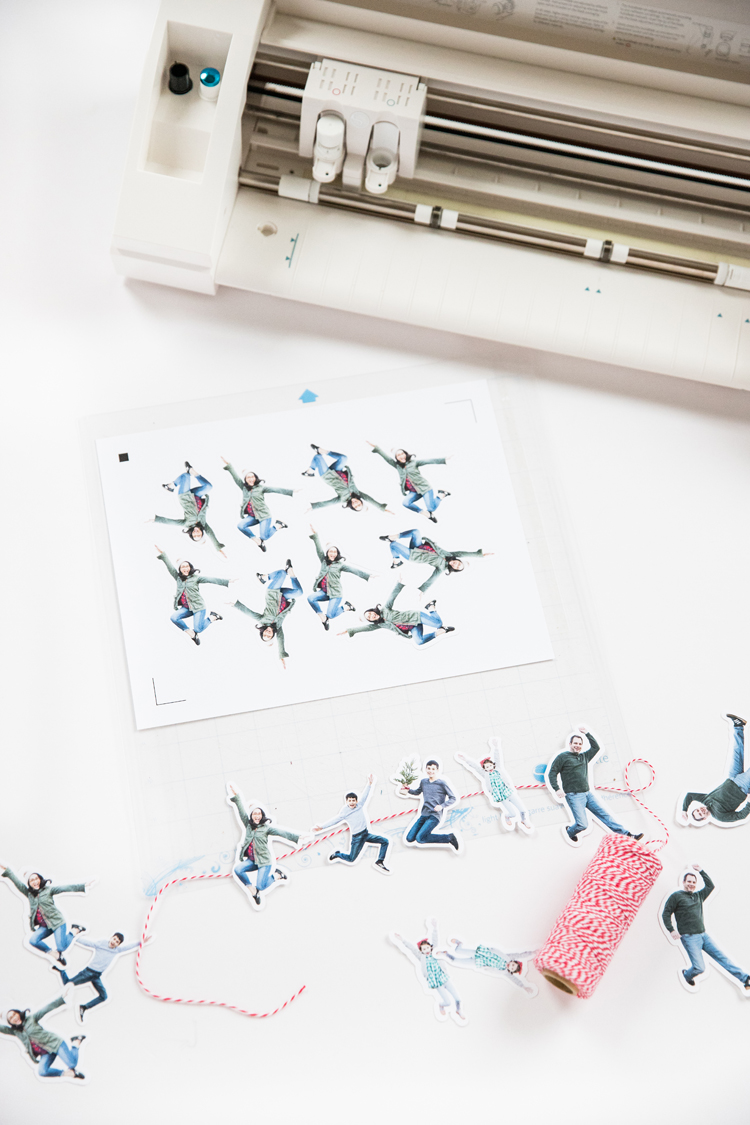
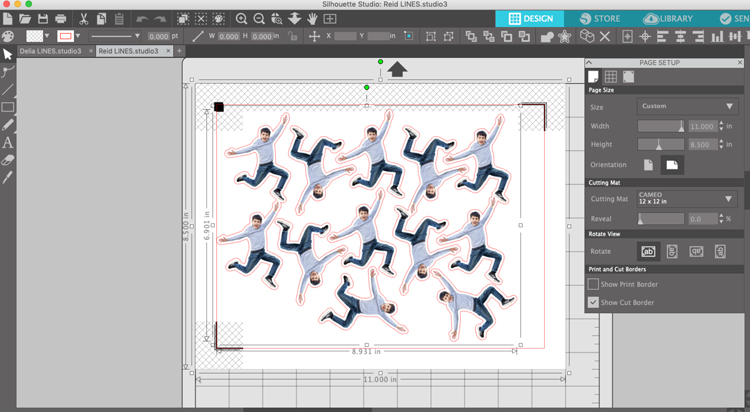
When I went to cut, I added the registration marks to the digital document, so that the machine would read the ones I had made. Then I traced the images and offset the trace so there would be a thin outline of white space around them.
I didn’t anticipate the offset borders well enough, so some of them run into each other. I just trimmed those with scissors. Next time, I’ll definitely test the borders before I print.
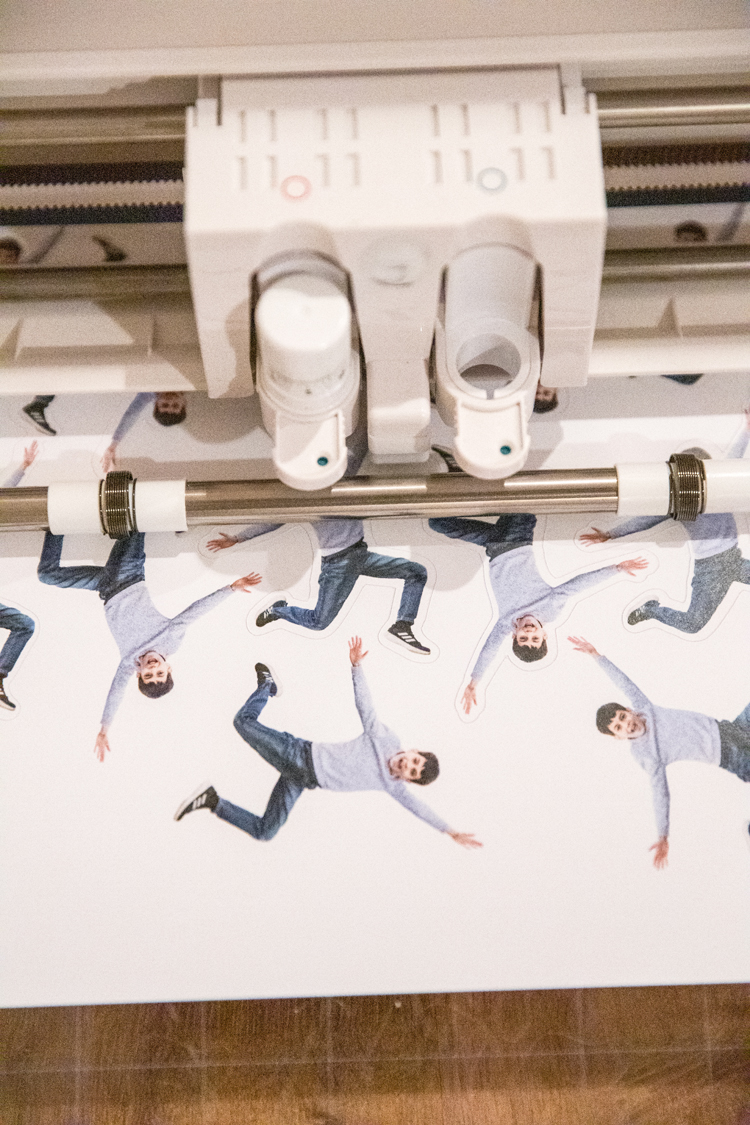
All in all, it worked like a charm!
My Silhouette read my fake registration marks just fine. Phew!
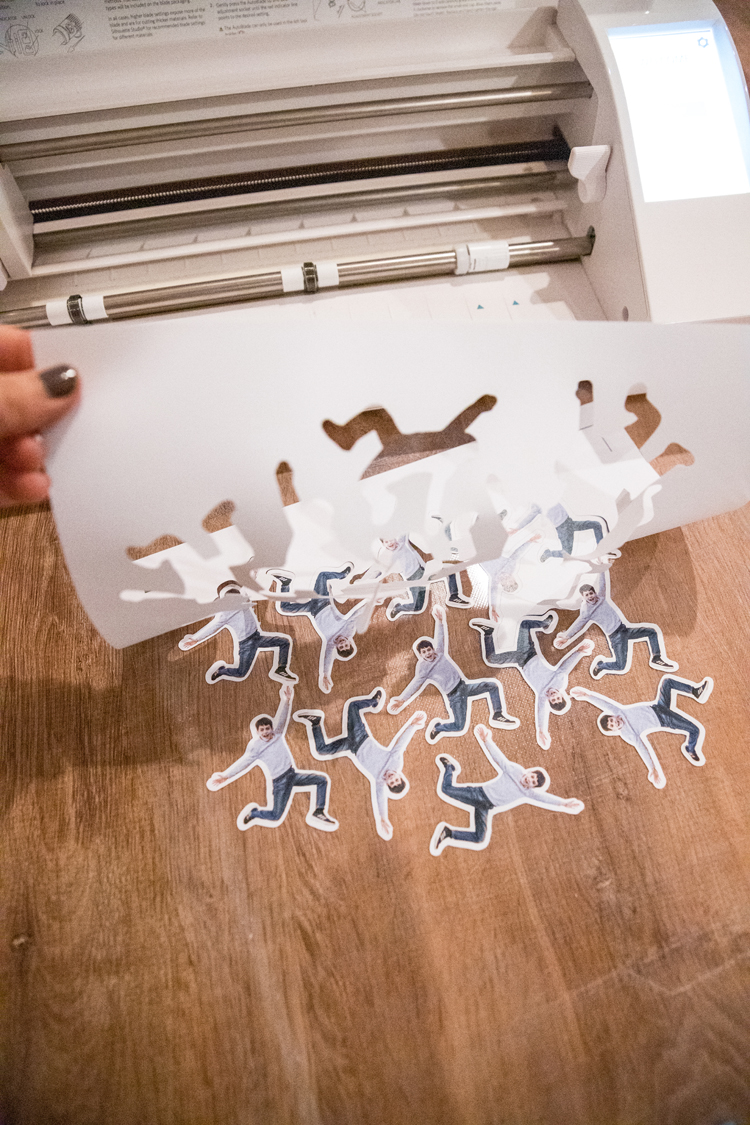
And it was soooo much faster than cutting them out by hand, like I did five years ago. 🙂
By the way, if you’re in the market for a Silhouette, you can get 10% any regular priced items, any time of year, with THIS LINK and the code: 10off.
(This is an affiliate link, but doesn’t affect your pricing).
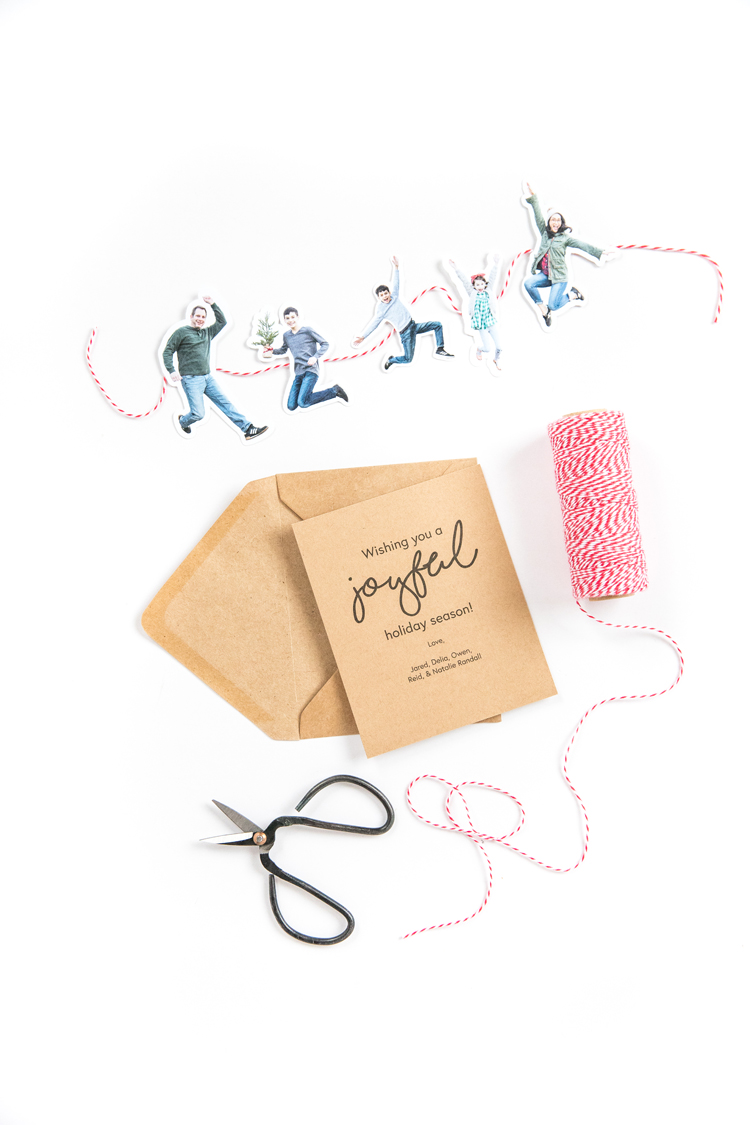
To create the bunting, we got an assembly line going and just taped them to the back.
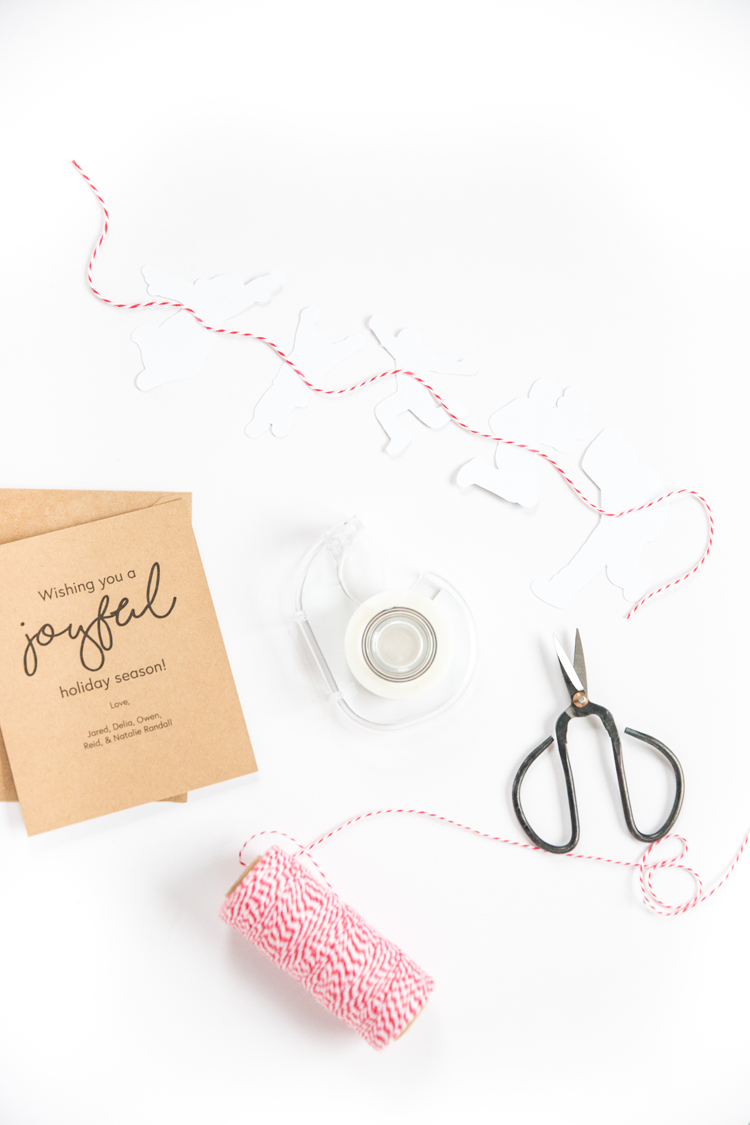
I added a “joyful” message and news update (on the back) to include with our bunting.
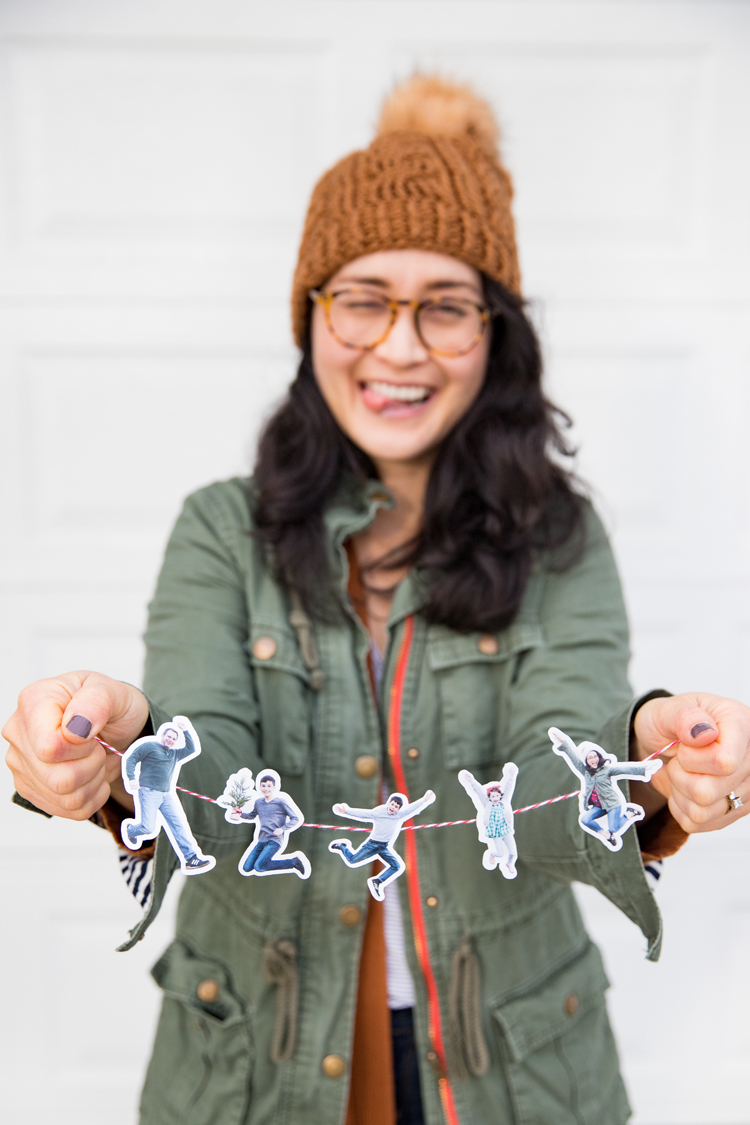
Now, I just need to finish addressing the envelopes. That part always takes me the longest!


Too bad I am just seeing this now. This paper doll family Christmas card is for real the coolest most unique card idea I have seen! I must try this next year if I can get myself together early enough! So cute!
Thanks! It makes getting our family picture done so much easier too, because I only have to take them of one of us at a time. Ha!
Any chance you take orders?
I’m sorry. I don’t. There are some etsy sellers who create finished items using my patterns. My terms of use state that they are supposed to credit my pattern in their online listings. I would imagine that if you do a search on etsy for my site name that may help you find some sellers. I hope that helps!