If you’ve been here awhile, you know I love little paper houses. This year I couldn’t resist making another version of my gingerbread house gift boxes.
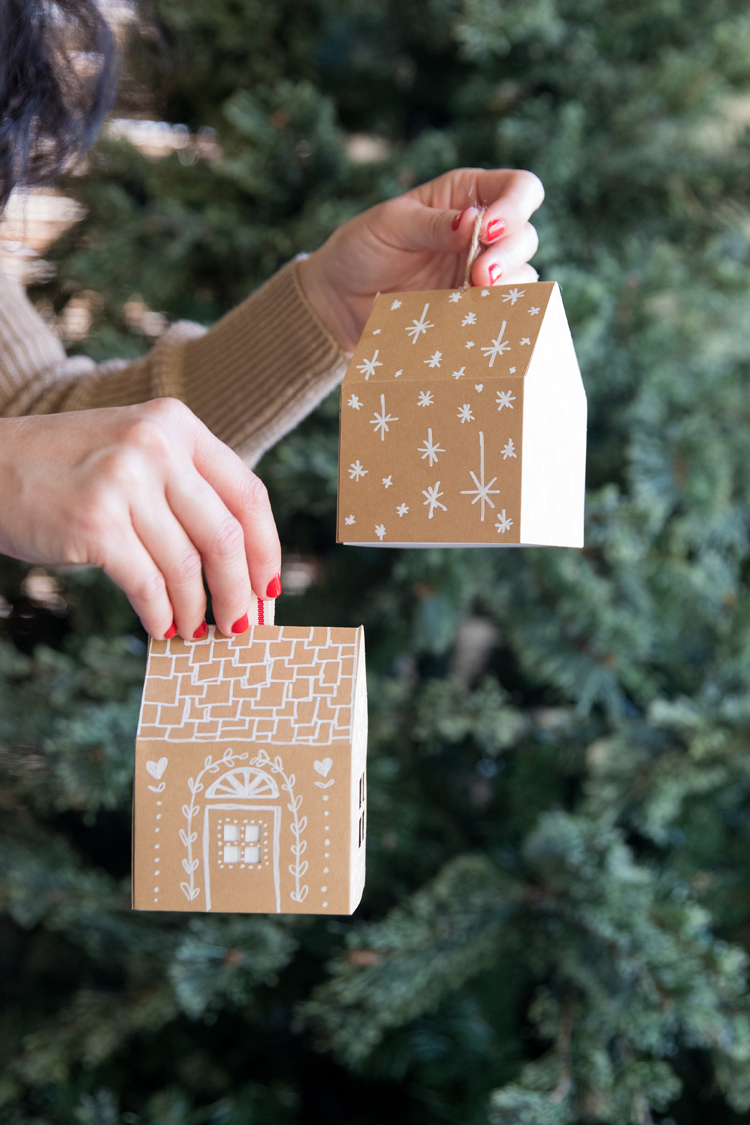
This version comes in two pieces, the bottom box, and the house shaped lid with optional window cut outs.
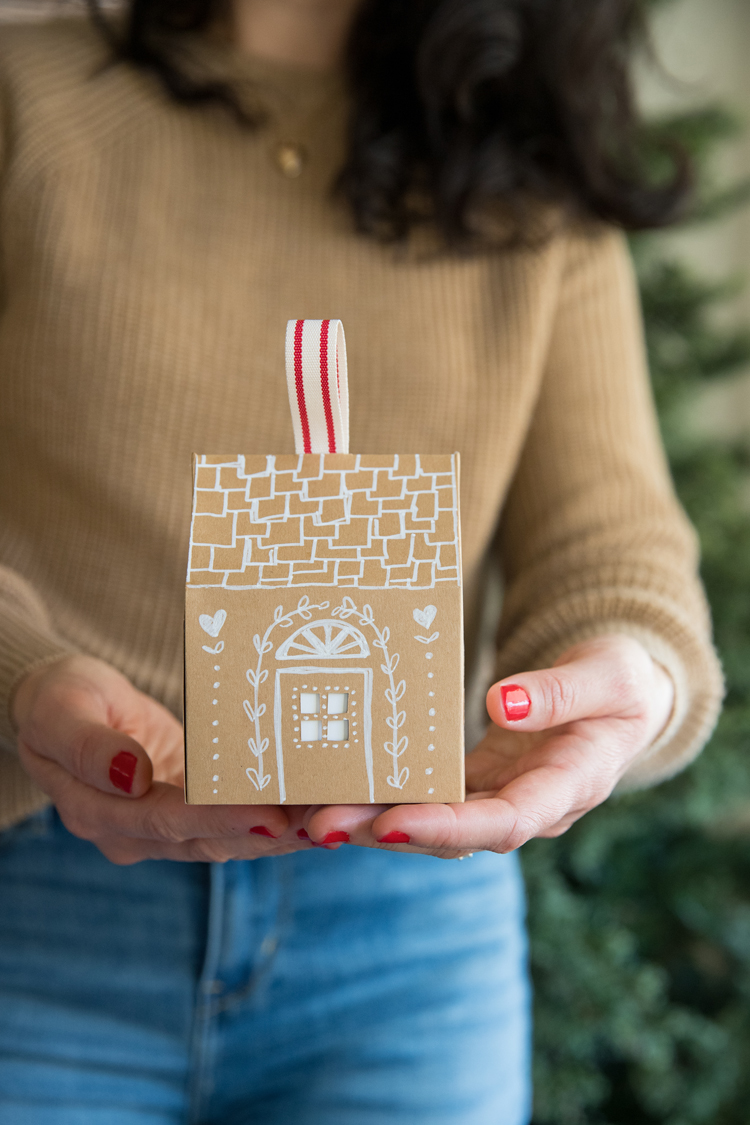
It’s designed to be simple enough so that you can print it out and cut it out by hand, but I included cut files for cutting machines as well.
Part craft project, part gift.
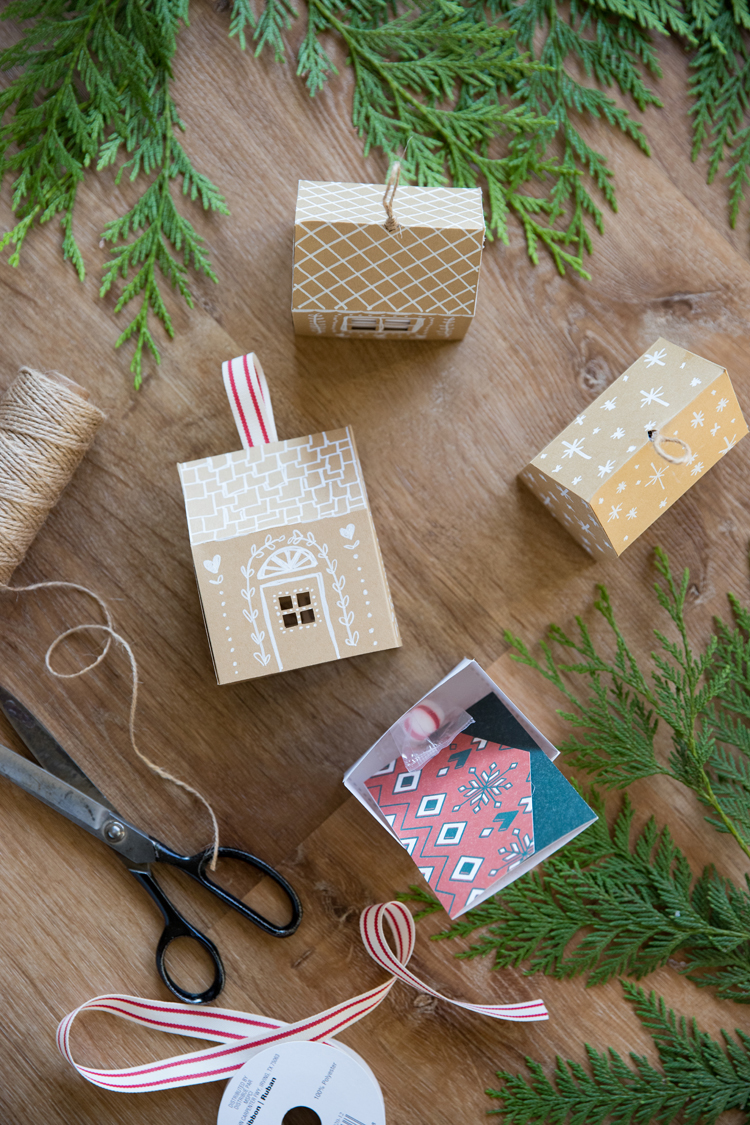
It makes for a fun way to add a personal, festive touch when giving gift cards. Speaking of which…It’s made to fit a gift card perfectly, whether it’s just the card itself, or an envelope…at least it fits this Amazon gift card envelope if you prop it up to line up with the roof line. (I’ll show you what I mean in the video below.)
My daughter is excited to decorate some boxes for her teacher gifts.
Let’s make some!
MATERIALS
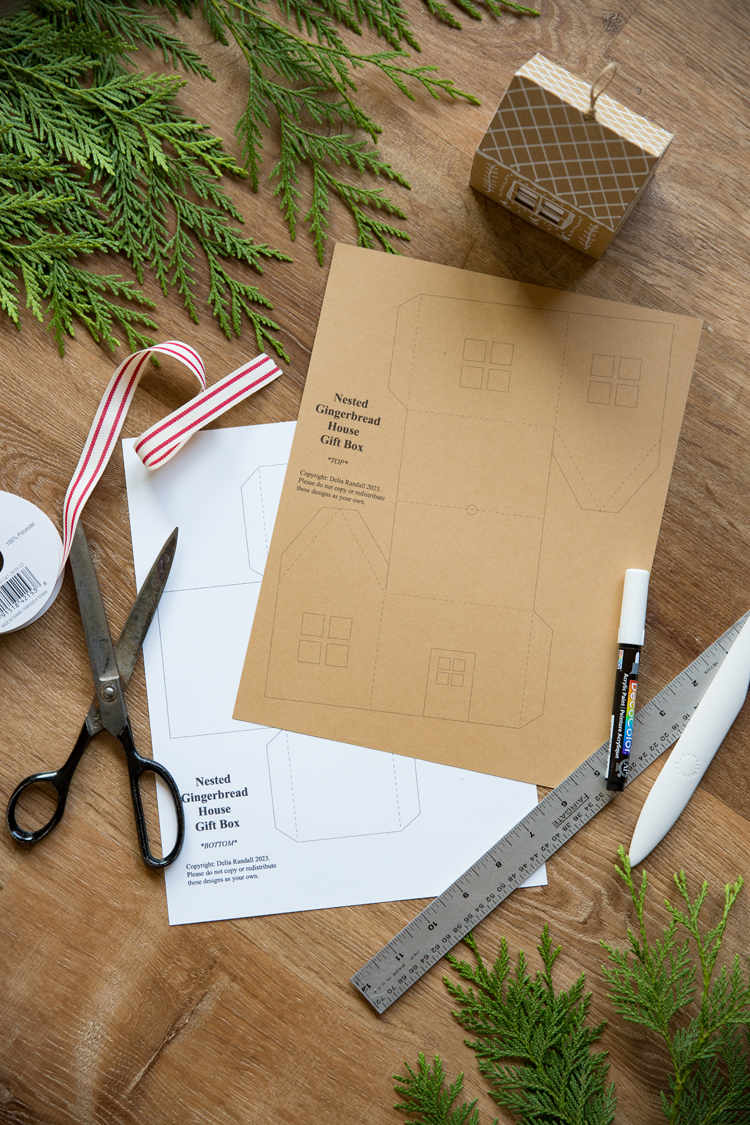
- Printables (see below)
- Cardstock* (2 – 8.5 x 11 inch pieces per box)
- Scissors
- Ruler
- Hot glue and glue fun or other adhesive**
- Acrylic or chalk paint marker***
- Ribbon or twine – about 4-6 inches per box
- Optional: Bone folder, x-acto knife and self healing mat
Material Notes
*I used Recollections cardstock from Michael’s in “kraft” for the outside and “white” for this bottom box. You can use any kind or color of cardstock as long as it’s 65 lbs or more. If you are going to cut out the windows, it can be fun to have bottom box a different color so that it peeks through.
** I prefer to use hot glue to assemble my boxes because they create a strong, secure box very quickly, but other tapes and adhesives work fine as well.
***You can use any kind of paint marker. I prefer acrylic paint marker or chalk markers. You can even use a small paintbrush and acrylic paint.
BOX SIZE
The assembled house boxes are 4 3/8 inches tall at the tallest point, 2 3/8 inches deep, 3 3/8 inches wide, and 2 11/16 inches tall to the start of the roof.
PRINTABLES AND CUT FILES
Printable – 2 pages
Download the zip file, expand them, and then print at 100% or actual size. Do not let it shrink to fit the page. I have designed the file to push all the way to the margin boundaries.
Cut Files
If you are using Cricut software, follow these steps: Upload file and add to canvas, select all, right click and “ungroup,” select the interior lines which should be fold lines (see the PDF for reference), change them from “cut” to “score,” select all again, right click and “group” them, and then select “attach” on the bottom right hand side of the screen before selecting “make.”
Silhouette software should automatically recognize the cut and score lines without any additional steps.
VIDEO
This project is pretty straightforward, but sometimes it helps to see the process for best results. If the video hasn’t already popped to the top or side of your screen, it should display here. Please note: Ads will play at the start of the video.
BOX ASSEMBLY
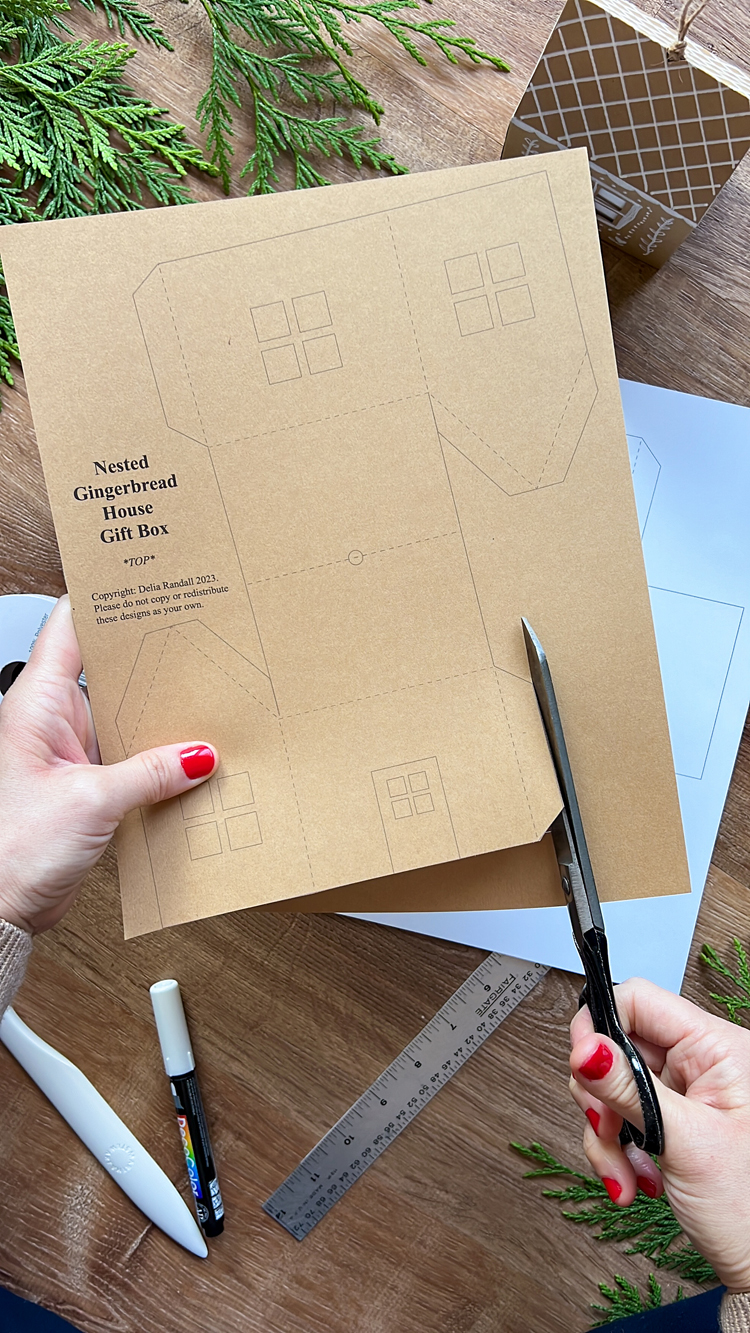
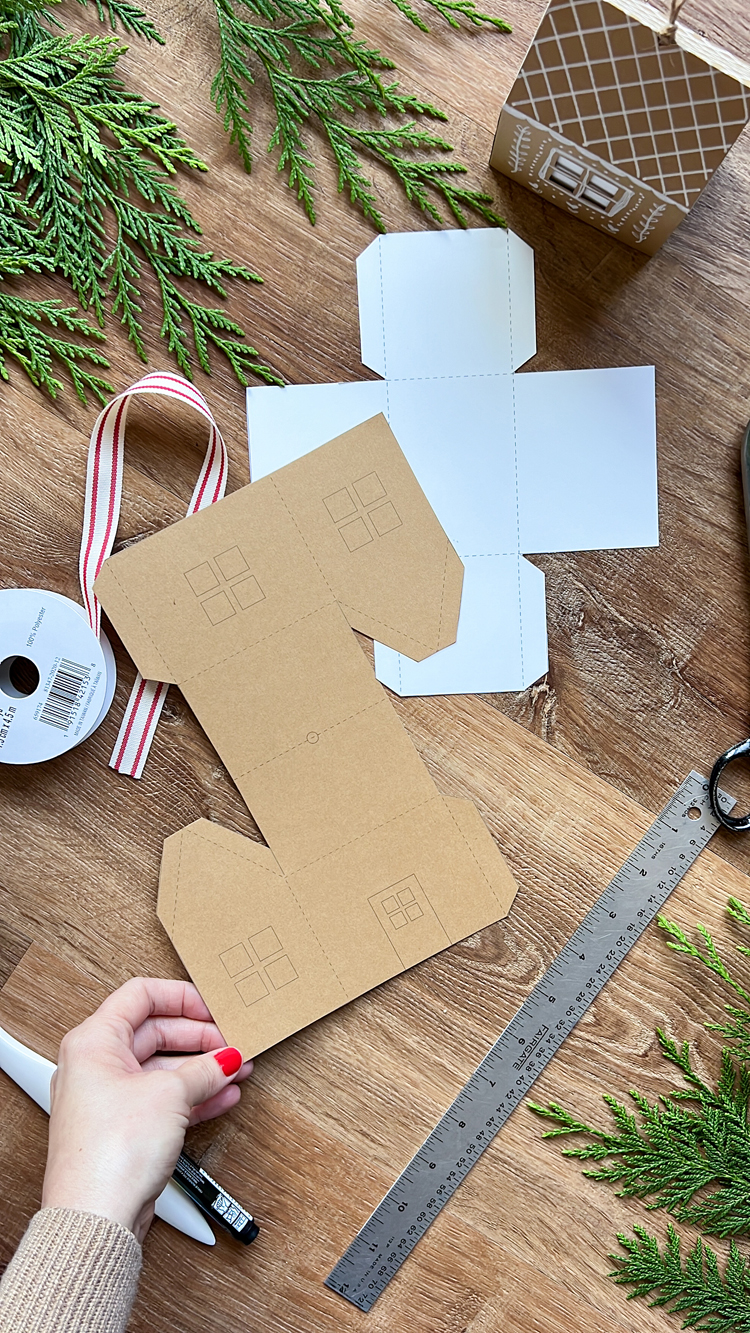
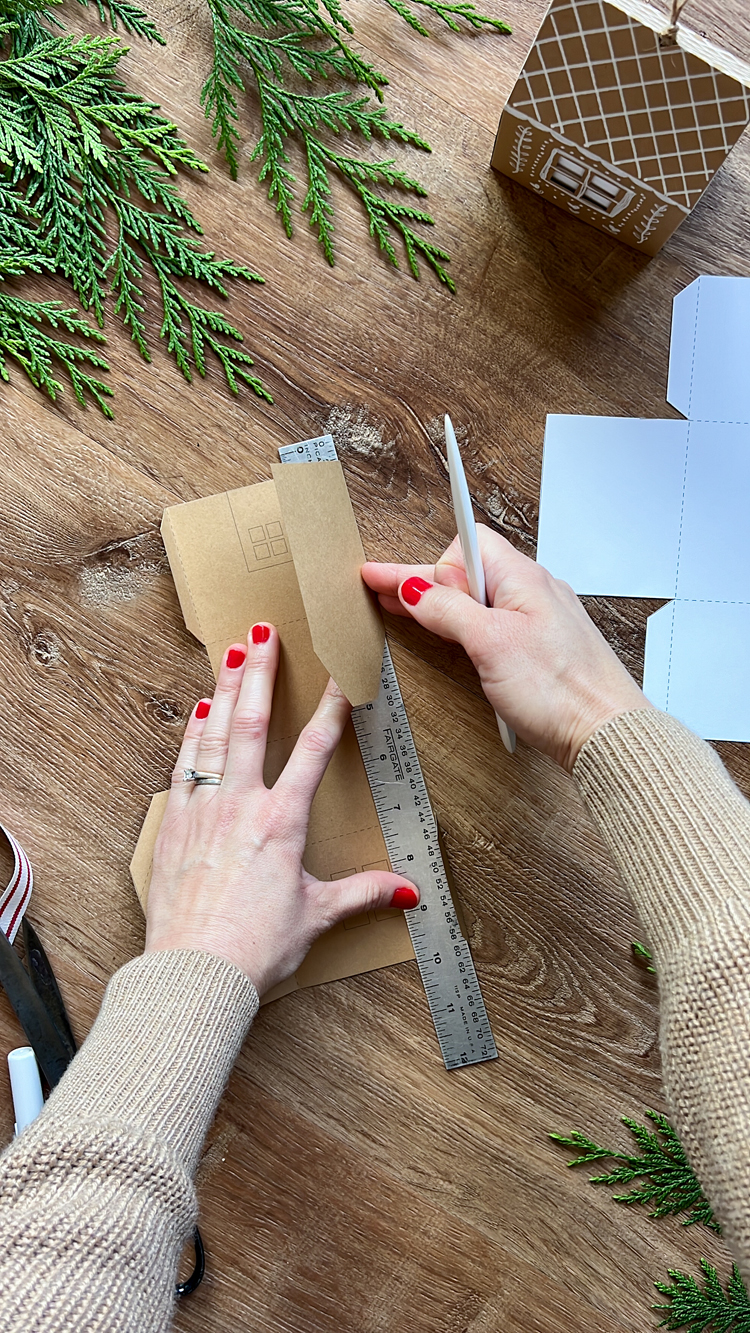
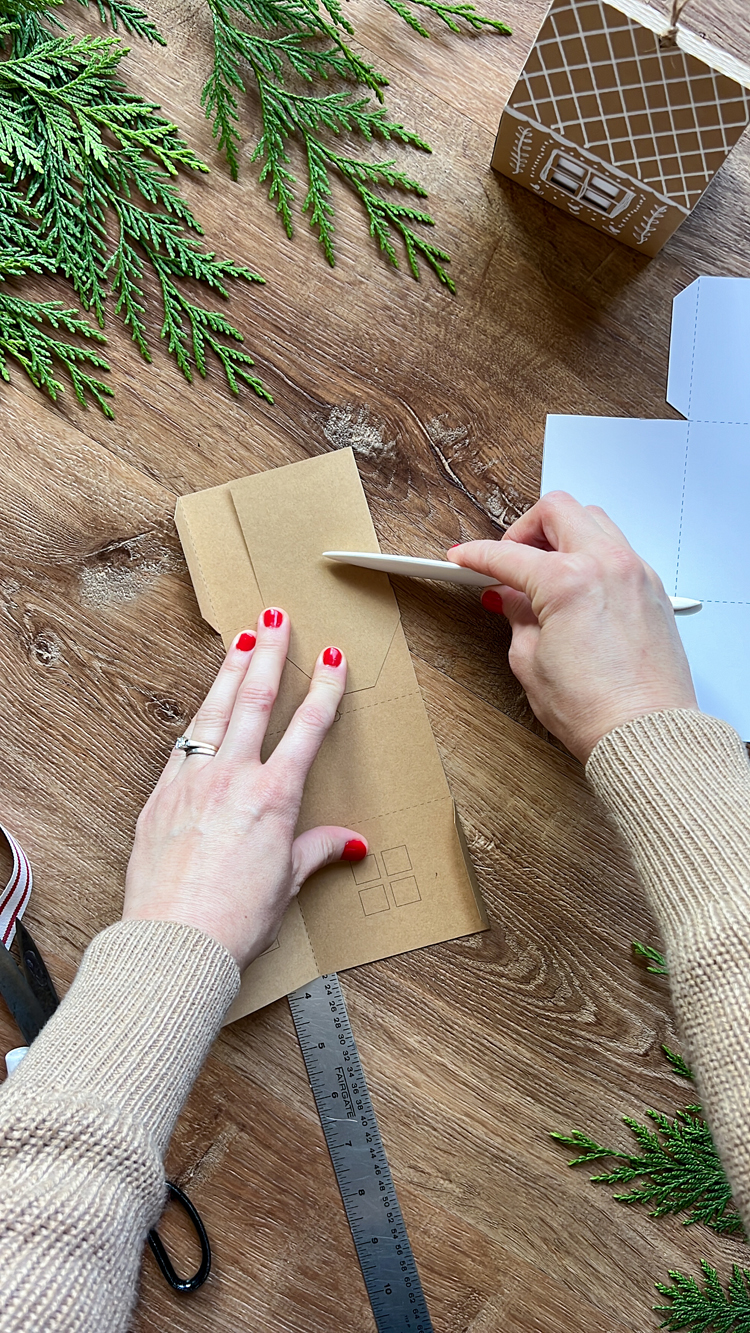
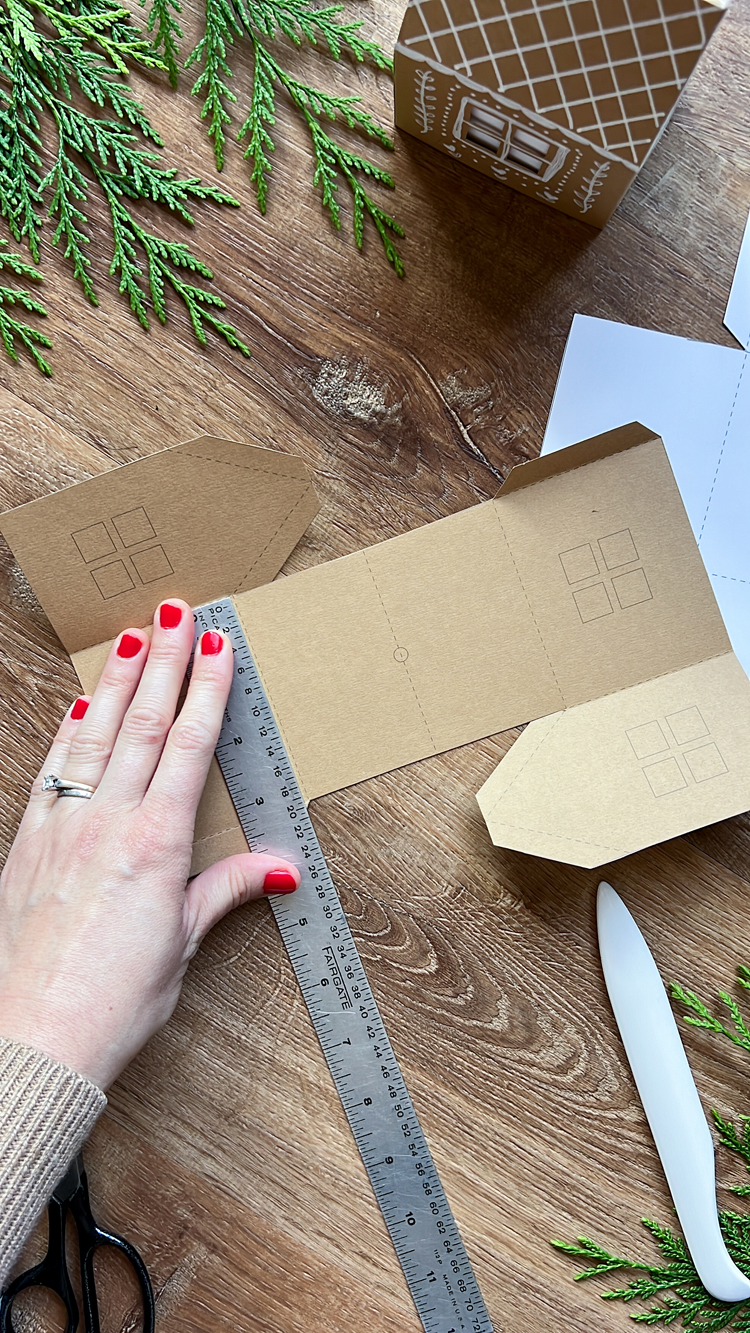
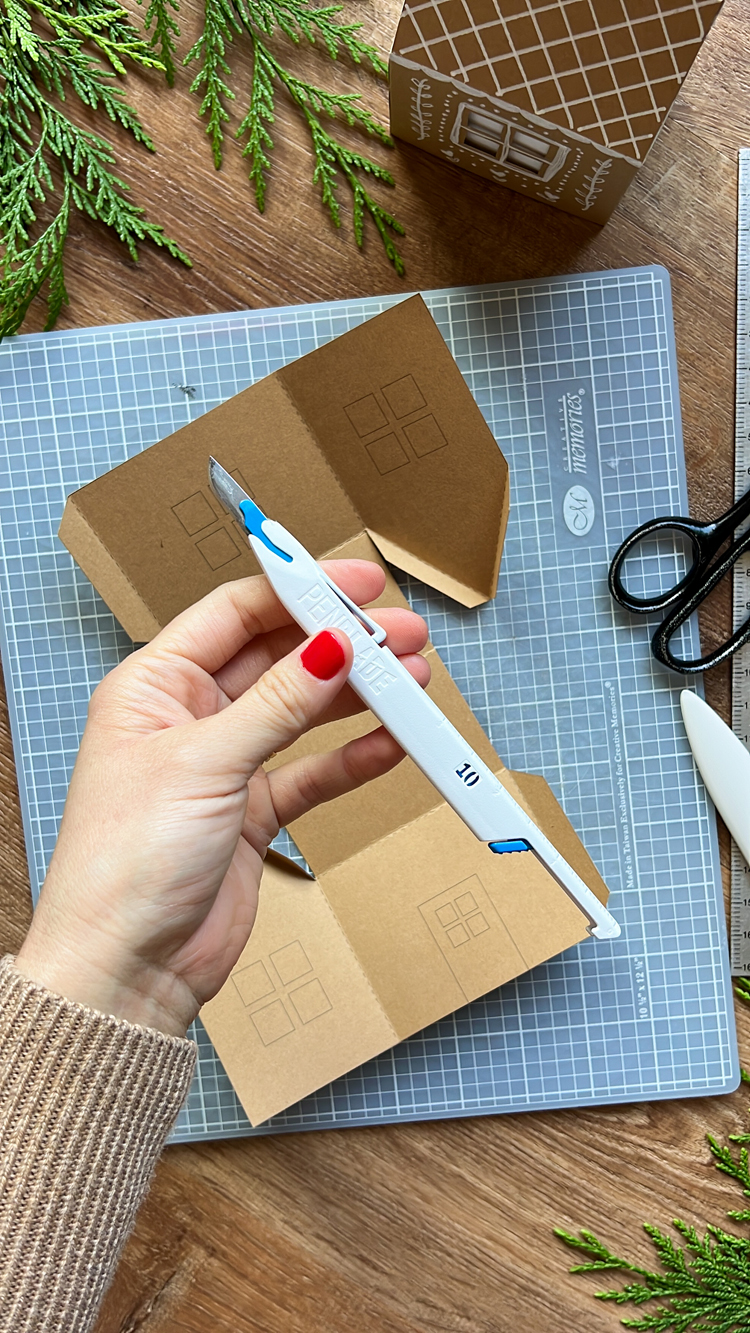
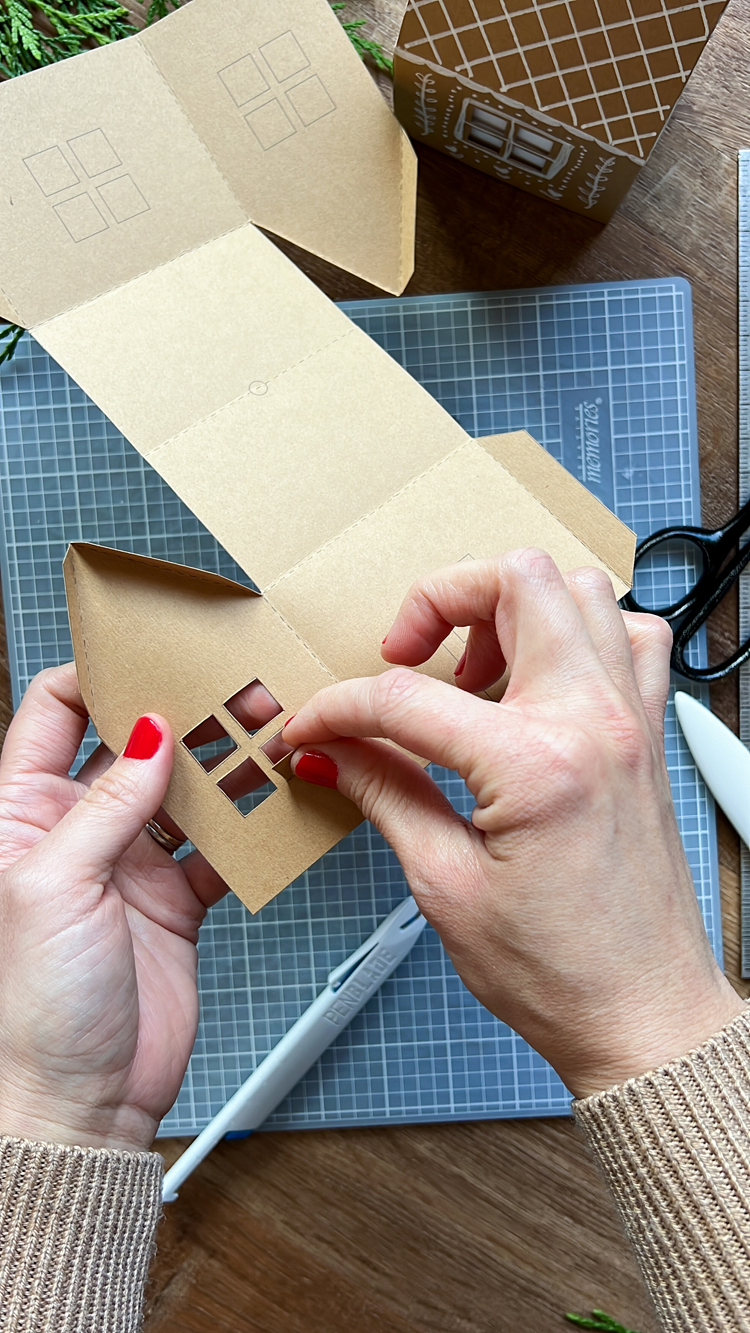
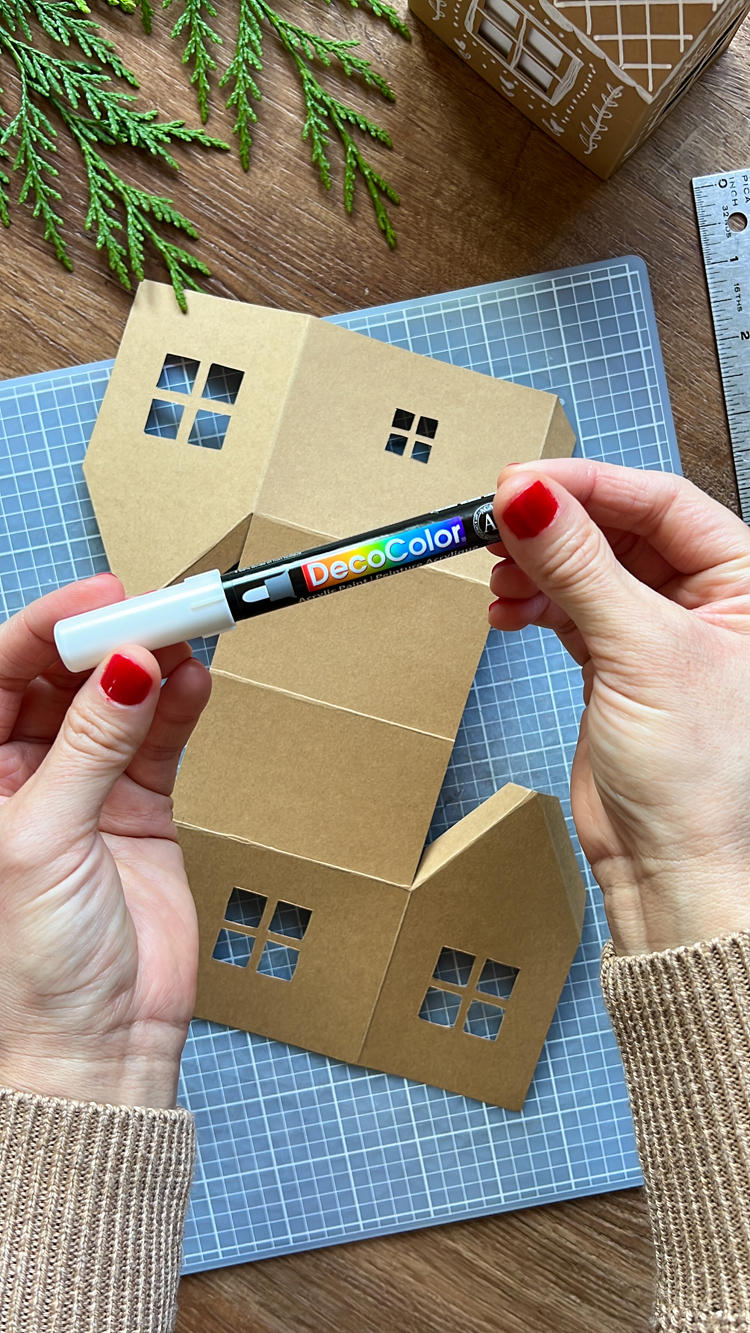
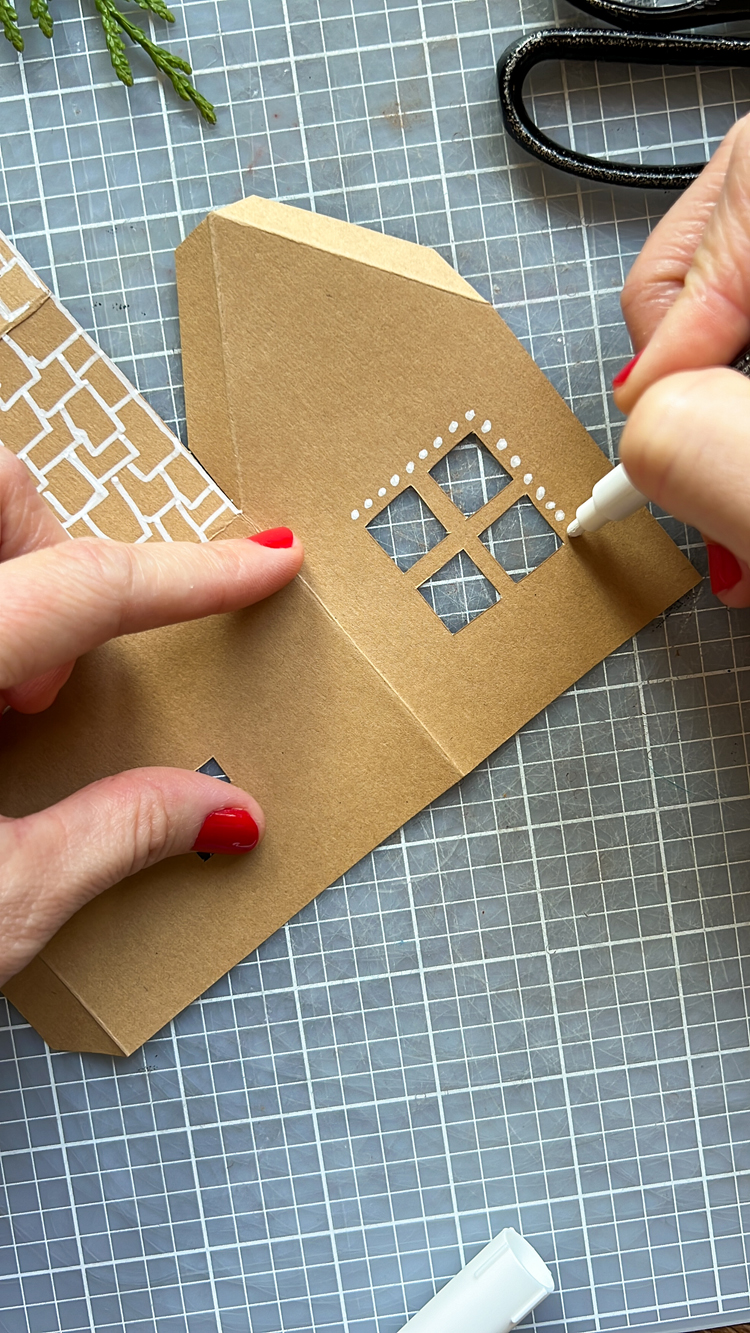
- Print the printable at “Actual Size” or 100% on cardstock.
- Cut all solid lines with scissors. Optional: Cut the window panes with an x-acto knife.
- Line the ruler up with the dotted lines and fold. Optional: Use the bone folder to make a crisp fold.
- Using the fold lines as a guide, decorate your house with paint markers while your house is still flat. It is much easier this way.
- Cut a line or a hole for the twine or ribbon at the top of the house. Insert the twine or ribbon. Tie it if needed, and secure with some hot glue. This will act as a pull tab to help you open your box lid.
- Glue box together. TIP: I like to start at the roof line, and finish by attaching the sides. Work with one side at a time.
- Assemble the box bottom in similar fashion.
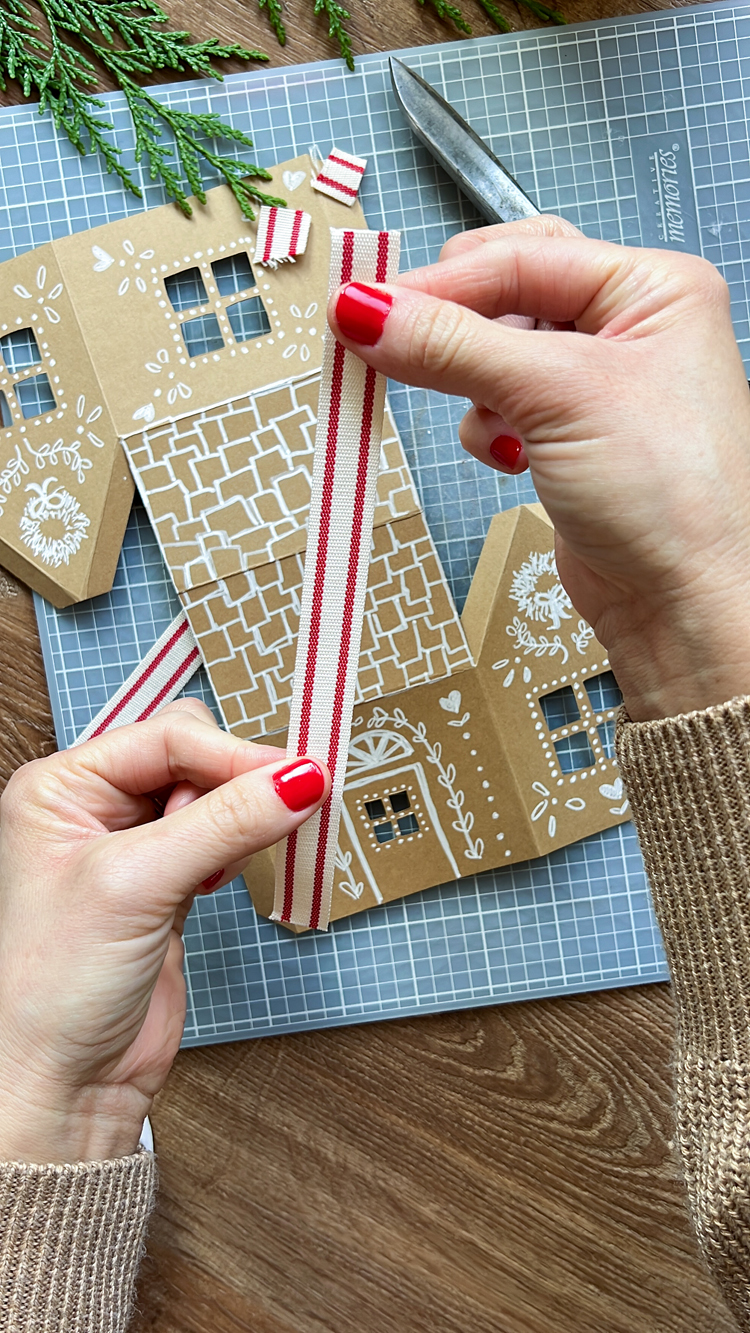
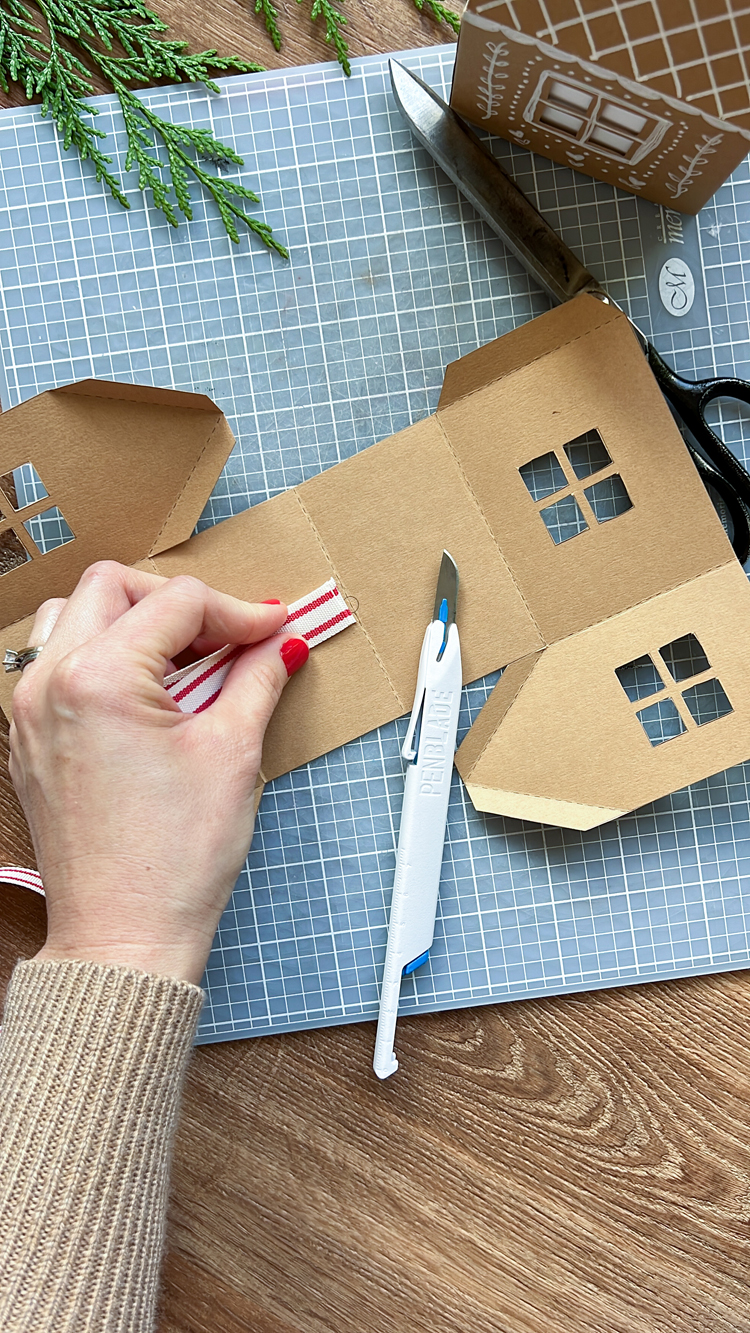
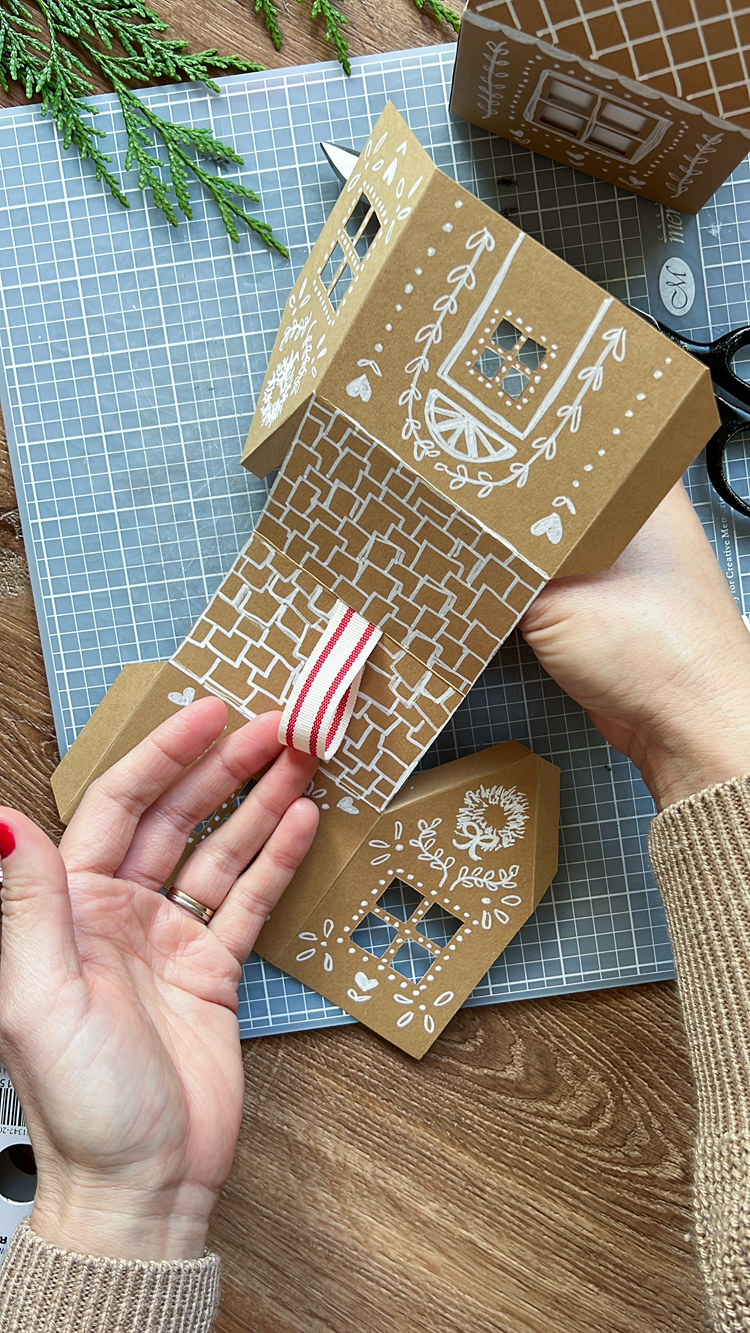
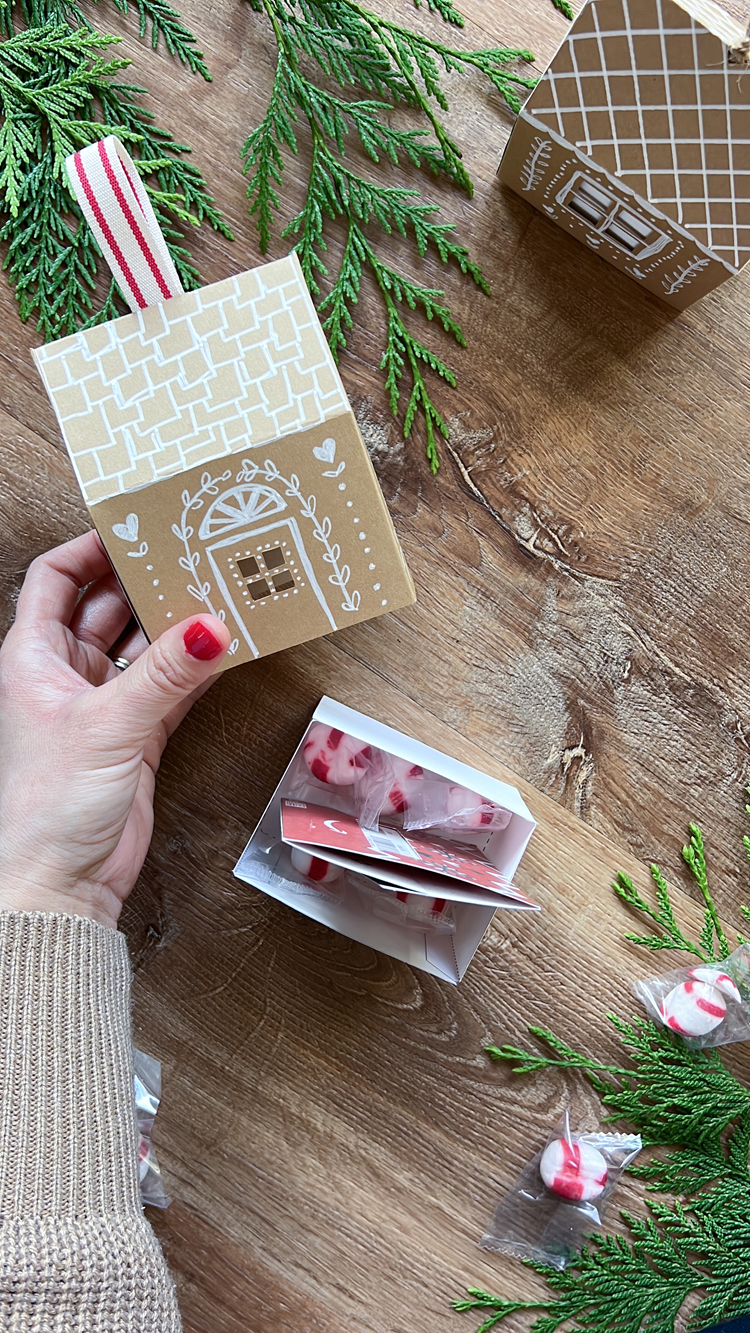
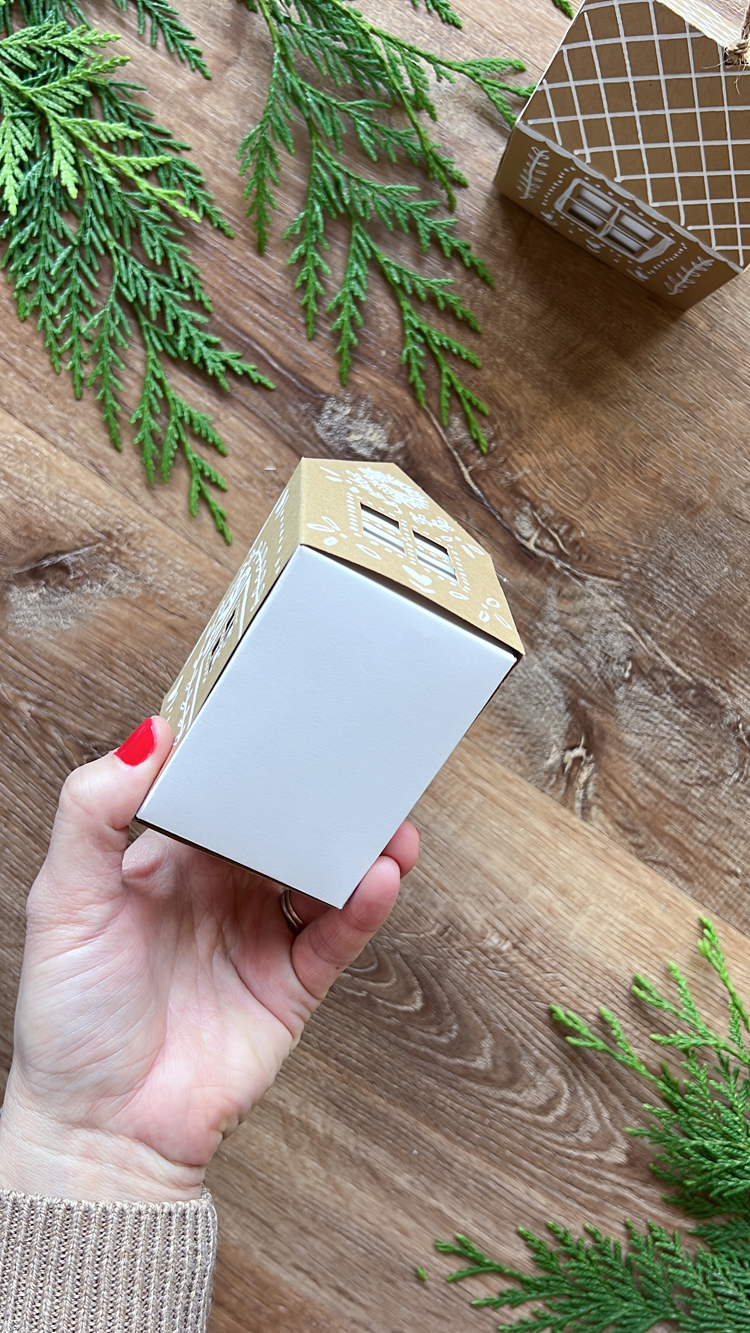
You’re all done!
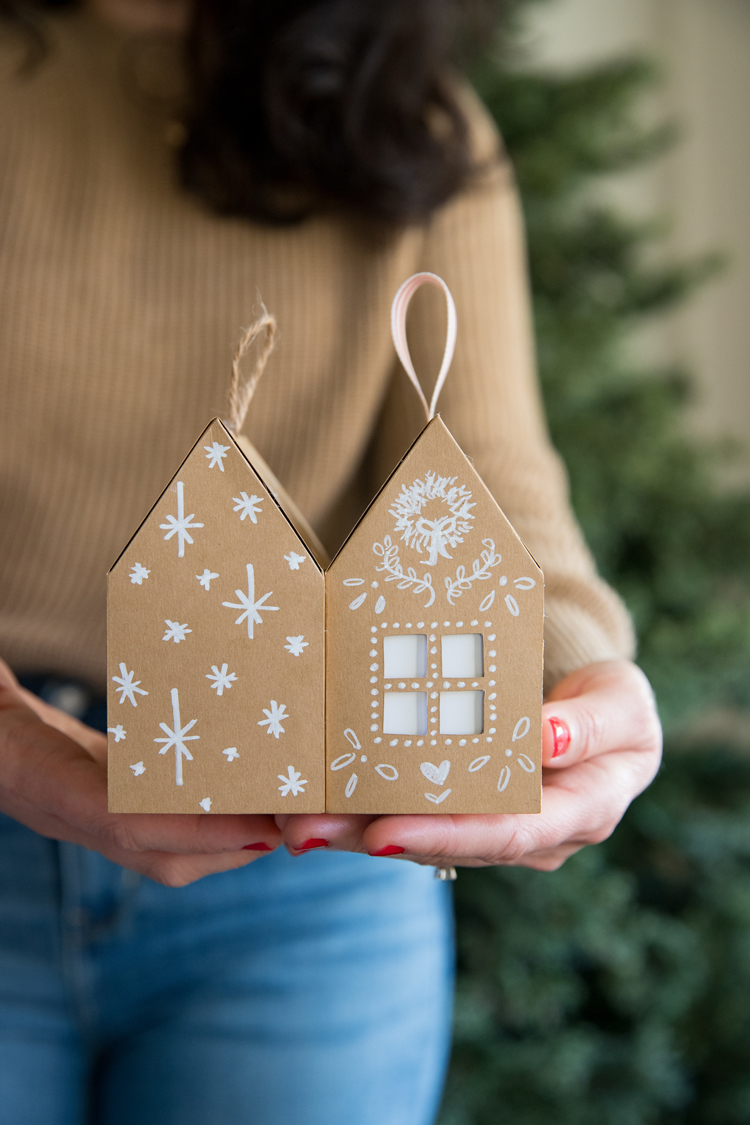
I made one with traditional gingerbread house features and one with just stars and no window cut outs.
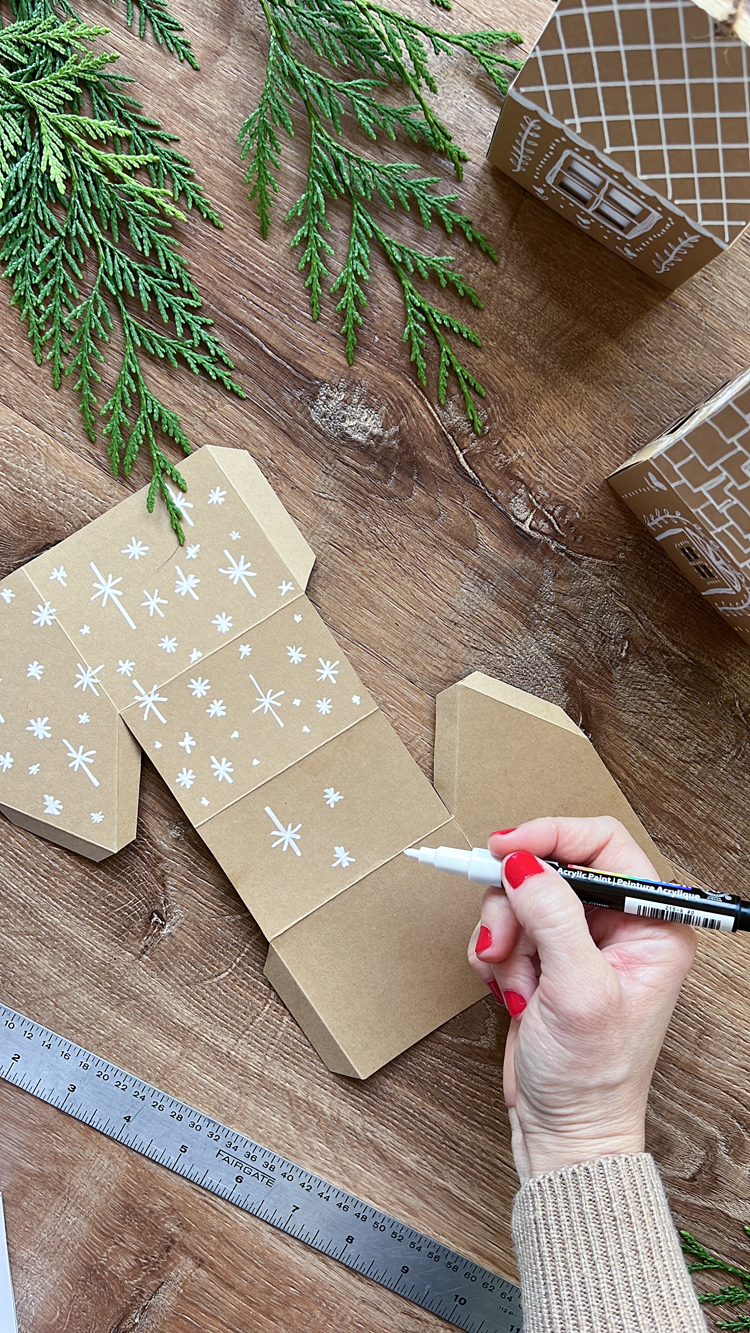
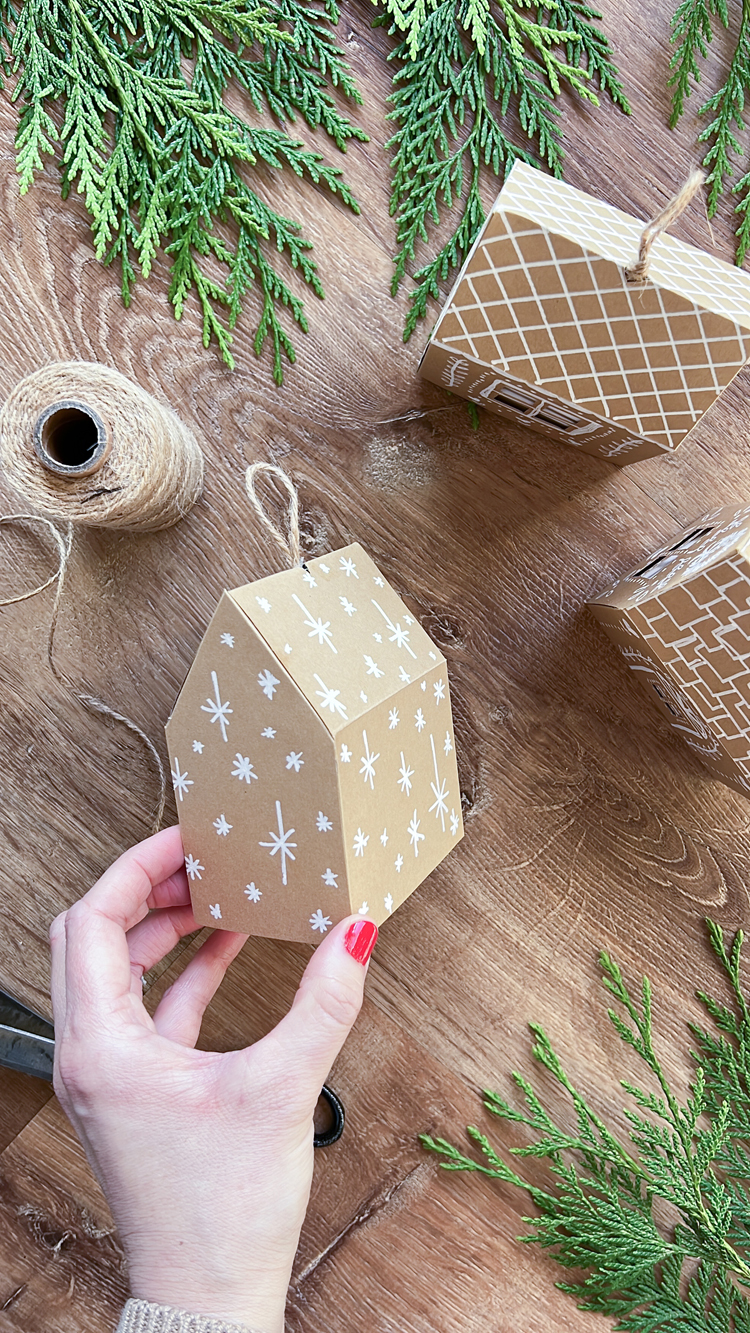
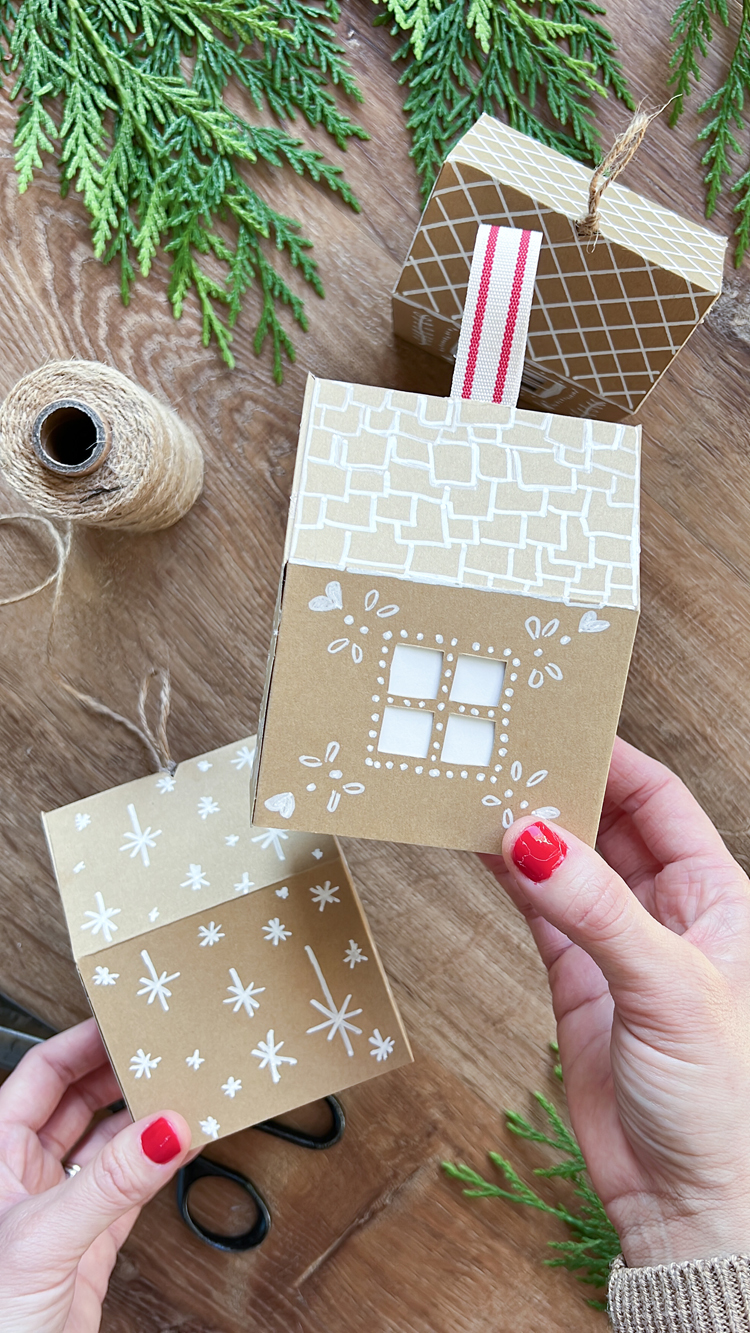
I can’t decide which one I like better!
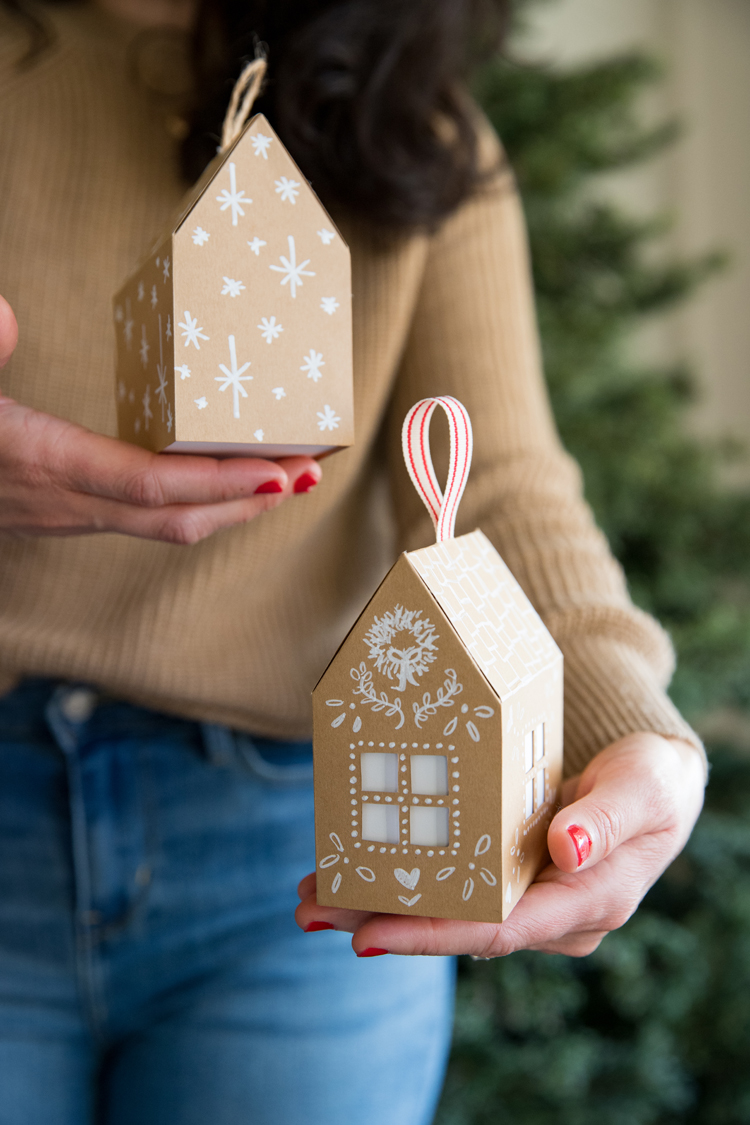


Thank you so much for sharing these designs! I’m excited to make and use them as little gift boxes this year!