Today Kojodesigns and I are blog swapping like we did last year!
I have felt SO lucky to play co-host to Kirstin and Jordan for Color Your Summer two years in a row. These girls are uber talented. From their rockin’ parties, to their fabulous sewing projects…these girls can do it all. But most important they are also incredibly sincere and friendly. I love getting an email from Kirstin, because it’s always uplifting and encouraging. She truly has a talent for kindness. Her sisters are so lucky to have her as apart of their family. 🙂
Today, Kirstin is pampering us today with a summer must…a pedicure. Have you noticed our feet popping up around blog land for Color Your Summer? This post is so perfect for CYS this year.
Here’s Kojo…
Hello Delia Creates friends! I’m Kirstin, half of the sister team that blogs at kojodesigns, and I’m so glad to be here today. My sister, Jordan, and I just love Delia. Like LO-OVE her. And we love this series (color + summer = awesome projects). What a great mix! Today’s project is a little outside my realm of normal (mostly sewing and party projects with a knock-off or two thrown in for kicks)- a DIY spa pedicure. It’s too summer-y not to share, though, and I do give a mean pedicure (skills acquired during my time working as a receptionist at a salon in college), so here we go- Gather- -coarse sea salt -olive oil -the juice of one lemon -cuticle cream -a pumice stone -essential oil (optional) -a nail file -nail polish, base coat and top coat (or any combination of the three)
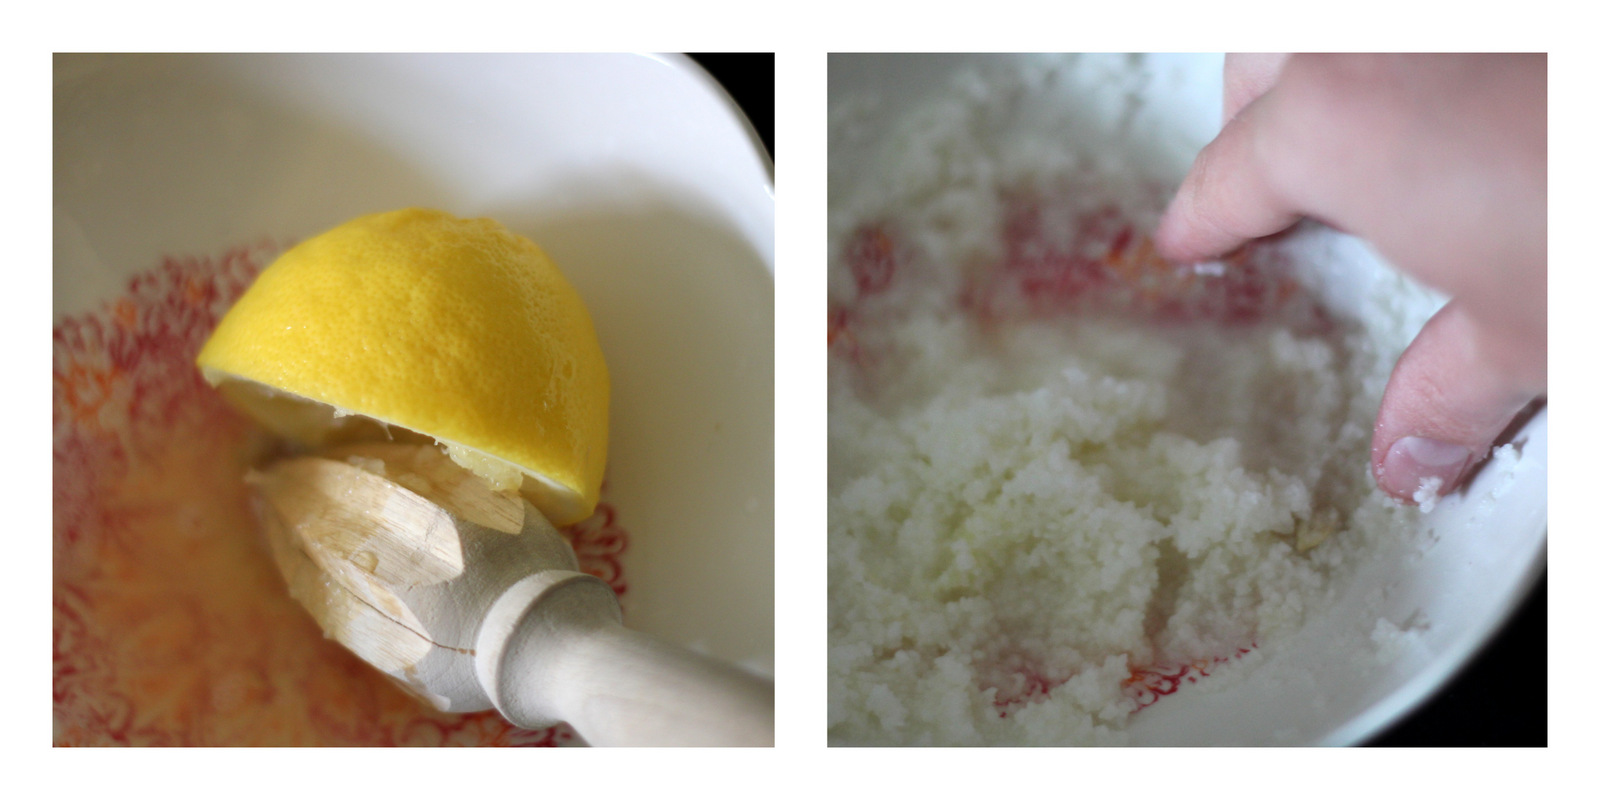
Make yourself a foot scrub with the juice of one lemon, a drizzle of olive oil, coarse salt and a couple drops of essential oil (just mix with your fingers).
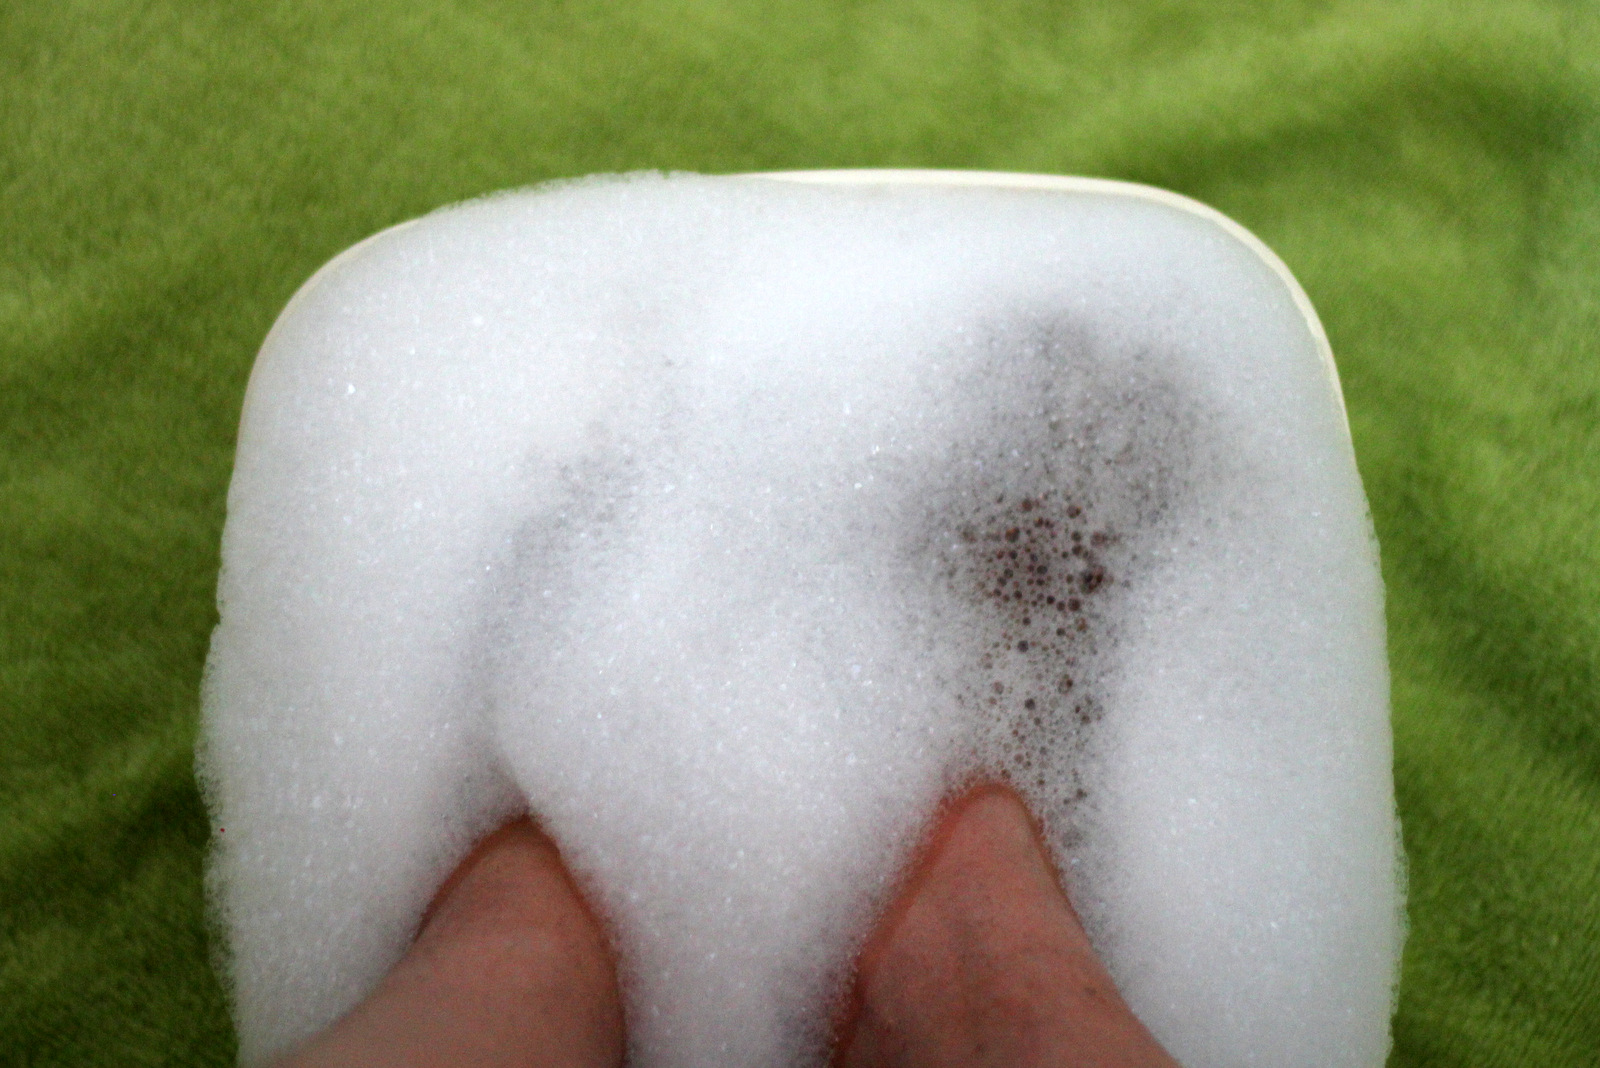
Soak your feet in a basin of bubble bath (if you have foot soak on hand, even better). Take your current polish off of your toes first if needed.
Massage the scrub into each foot. Smooth a pumice stone over the scrub, roughing off callouses and rough patches. Rinse.
Add a line of cuticle oil to the base of each toe nail. Push your cuticles back once they’re softened.
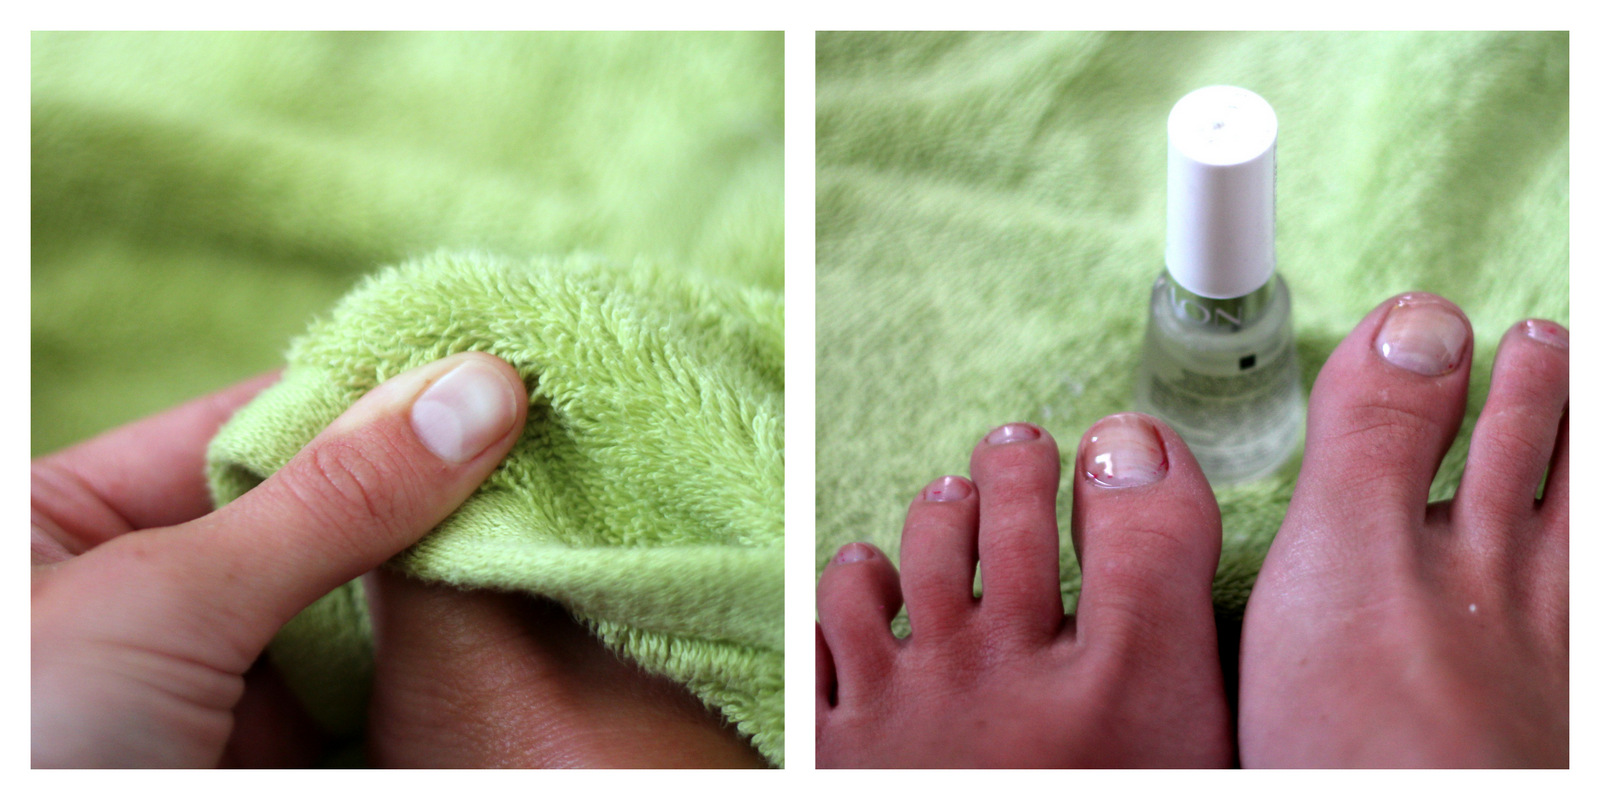
Dry off your nail (remove any traces of oil). Add a layer of base coat to each toe.
After the base coat dries completely, add a coat of polish. Let dry and add another coat of polish. Then (after it’s completely dry) add a top coat.
Your perfectly pink, oh-so-summer-y pedicure is FINISHED! Thanks for having us, Delia. We’re loving having you as a co-hostess for this fabulously colorful, summer-y series!


Super fun! I've started doing my own pedi's cuz it is hard to get one w/ 3 little kids! Every few weeks, I set up my foot spa in front of the TV and watch a movie and do my toes. The one thing I add before the top coat are some cute flower stickers. Got a pkg at Wal-Mart for like $2 in the nail section. They will last forever, and add a touch a fun. They stay on longer than the
Ahh, that looks refreshing and the polish looks so pretty. I really need to pamper myself a little and try this. Thanks for the info.
I want to color your summer too!!!!
http://lacianfrusaglieria.blogspot.it/2012/06/color-my-summer.html
These are great tips, and your toes look great!
geat tips thank you and a cheap foot scrub 🙂
I have summer feet right now that are totally in need of a pedicure! Thanks for the tips.