Note: This is part two of the projects I have created with the new Cameo 4 in partnership with Silhouette. Check out the maker’s wallet tutorial and cut files post for part one.
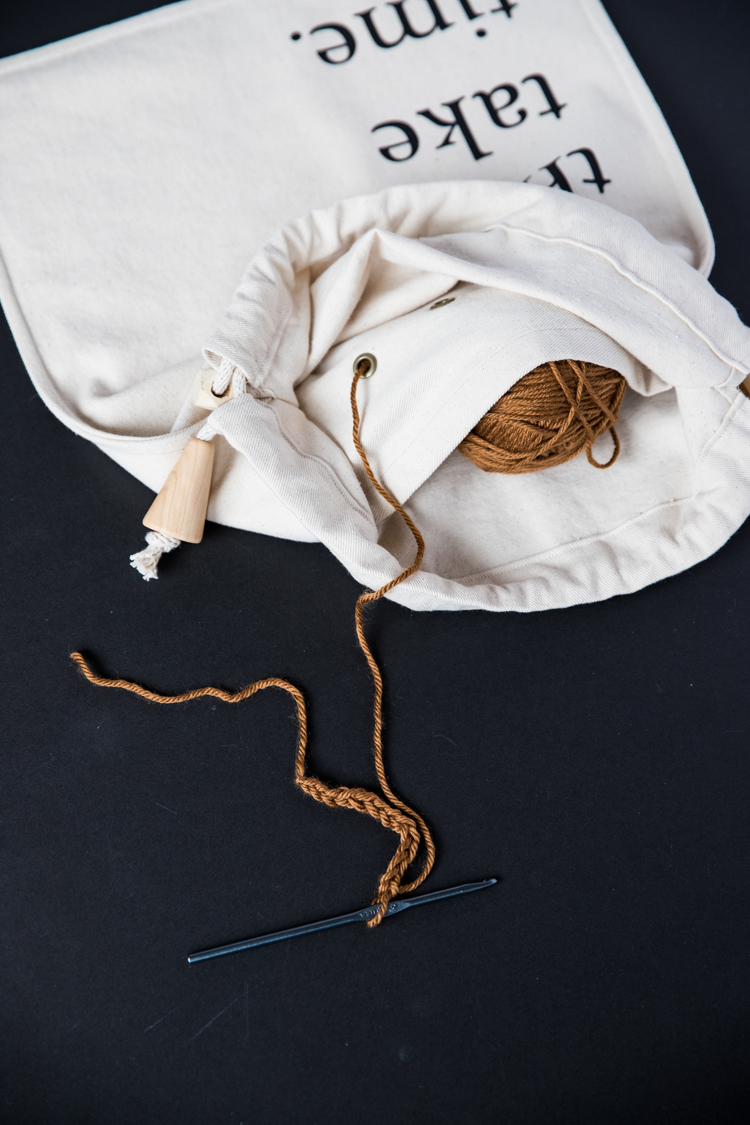
One of the reasons I love crocheting so much, is because it’s portable! I can bring it anywhere and get some stitches in whenever I have a free minute, so that even during the busiest day, I can still feel like I got some “me” time in.

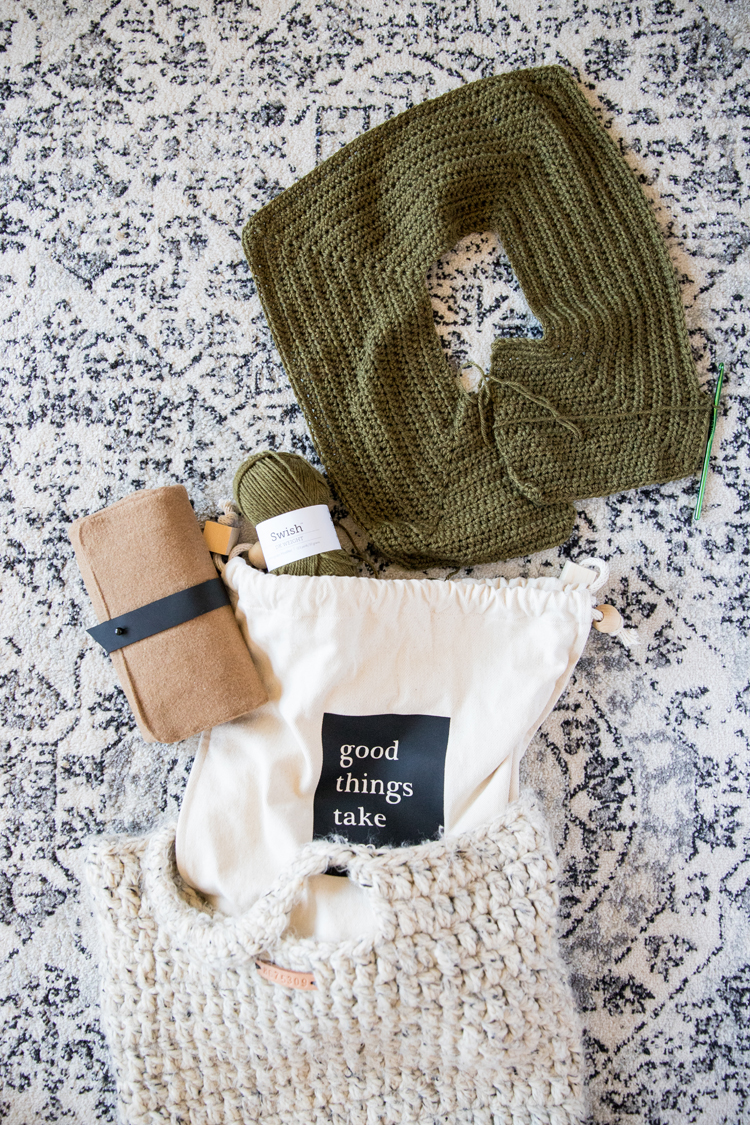
I have been wanting to make a project bag for a while to help me keep my many crochet works in progress organized. There are a lot of great styles out there, but the one I settled on was a draw string bag with a divider and yarn hole grommets inside.
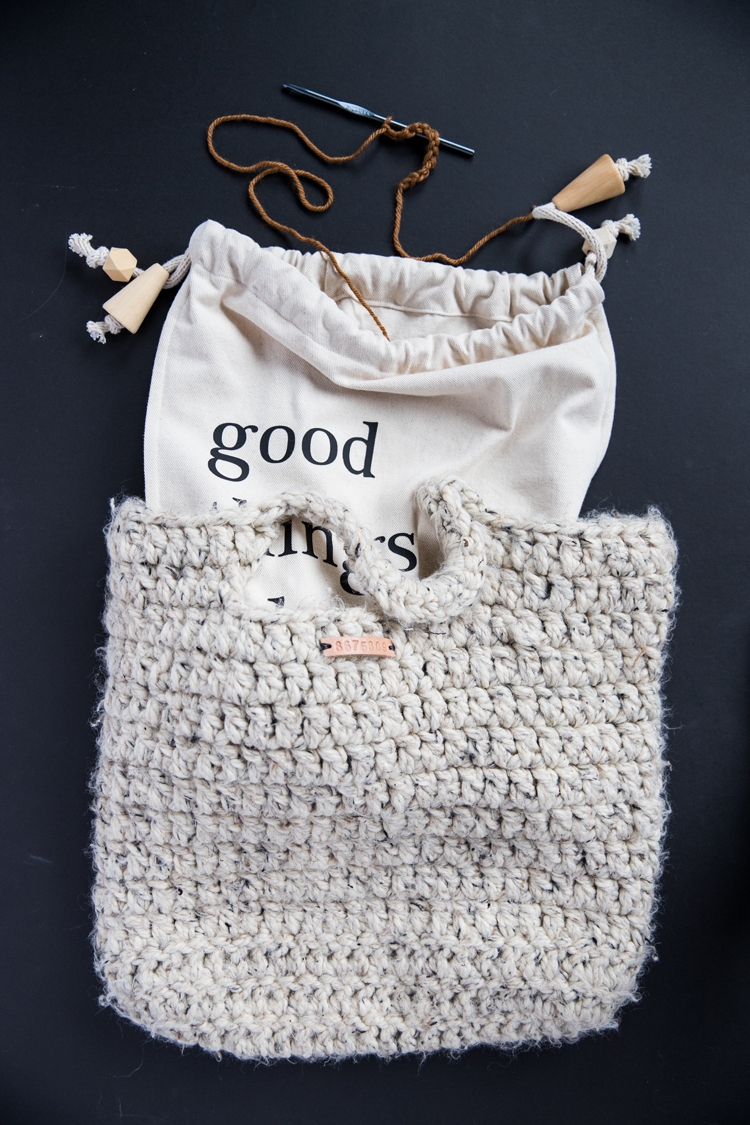
That way I can either have two projects in one bag at a time, or I can keep the finished portion separated and untangled from my skeins. It can also easily fit in other totes or bags so I can keep all my stuff consolidated when I’m out and about.
I couldn’t leave my bag unadorned of course, so I broke in my beautiful new Silhouette Cameo 4*with some vinyl decals.
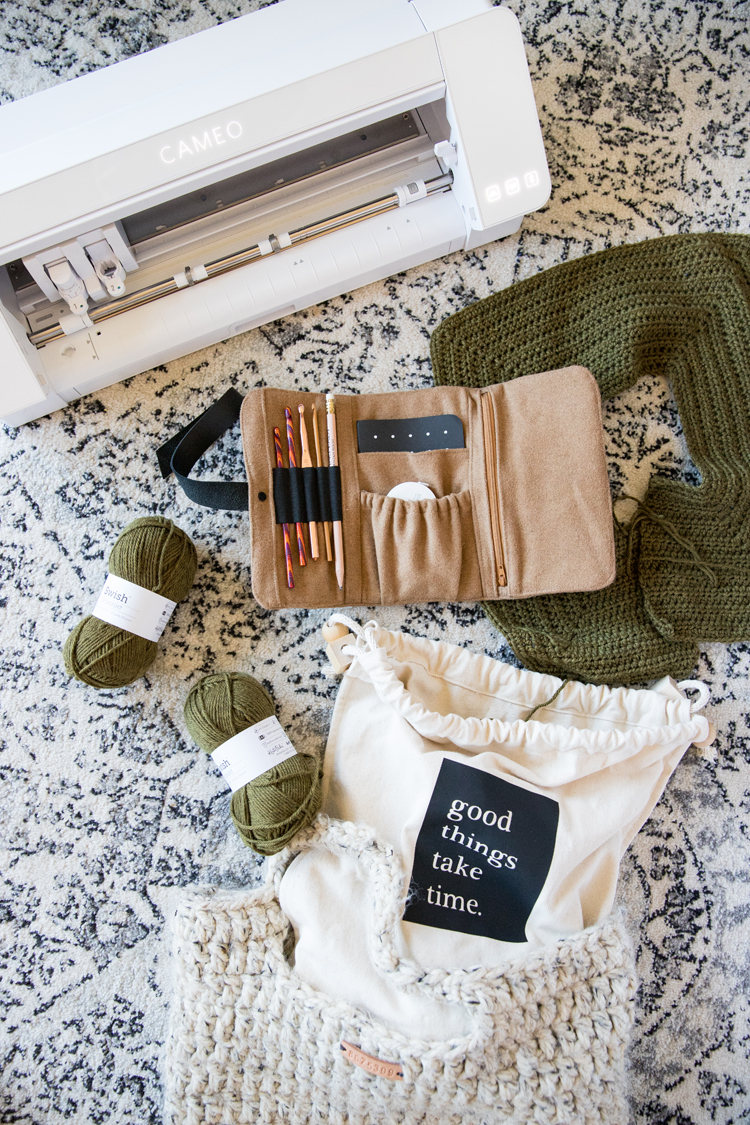
*affiliate link. This will not affect your pricing. In fact, use the code 10off and you’ll get 10 percent off your regular priced purchase.
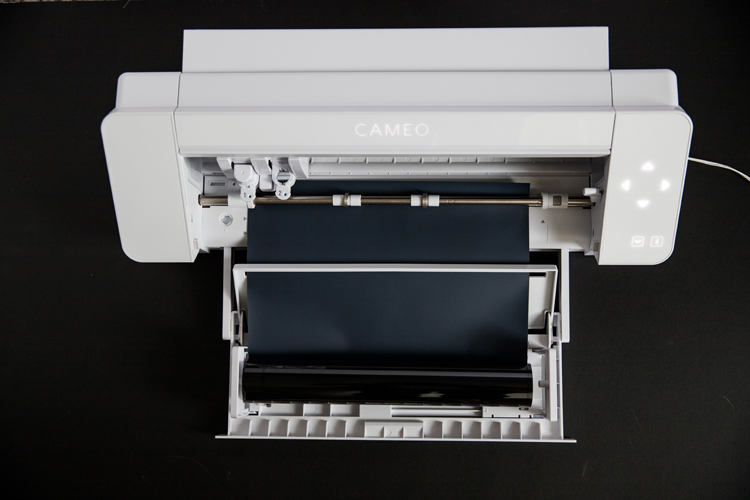
Sihouette’s new Cameo 4 has a holder for rolls of vinyl to make cutting without a mat even easier. Brilliant!
I chose the phrase “good things take time” because it’s very true for crochet. It’s a craft that has taught me patience and has become such a calming, and at times meditative, practice for me. It feels good to make beautiful things, but it also feels good to savor the making process.

MATERIALS
- 1 yard of cotton canvas material
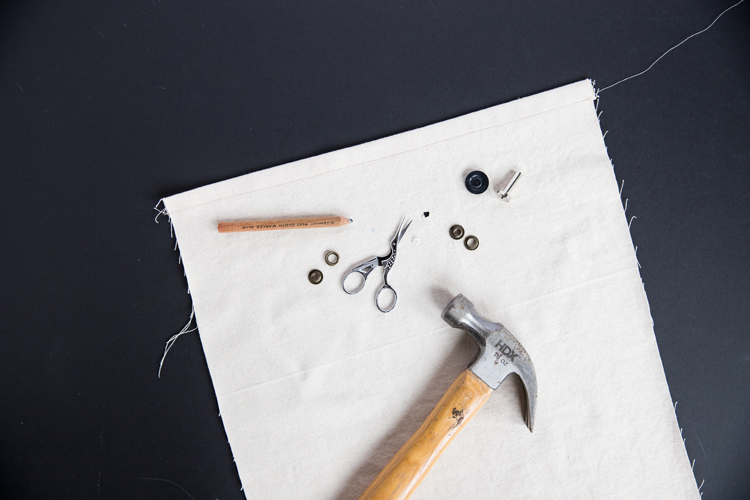
- 2 grommets, hammer, and grommet tools (often comes in a kit at Jo-Ann)
- Matching thread
- Sewing machine and supplies
- 2 yards of cotton rope
- 4 wooden beads (optional)
- Heat Transfer Vinyl
- Silhouette Cameo 4
CUT FILES
Click HERE to get the “Good Things Take Time” cut file.
PLEASE NOTE: You will need Silhouette Studio Designer Edition to import and use this .svg file.
This is a Google Drive file. If you cannot access it, please email me at [email protected] and please allow at least 10 business days for me to respond.
TUTORIAL
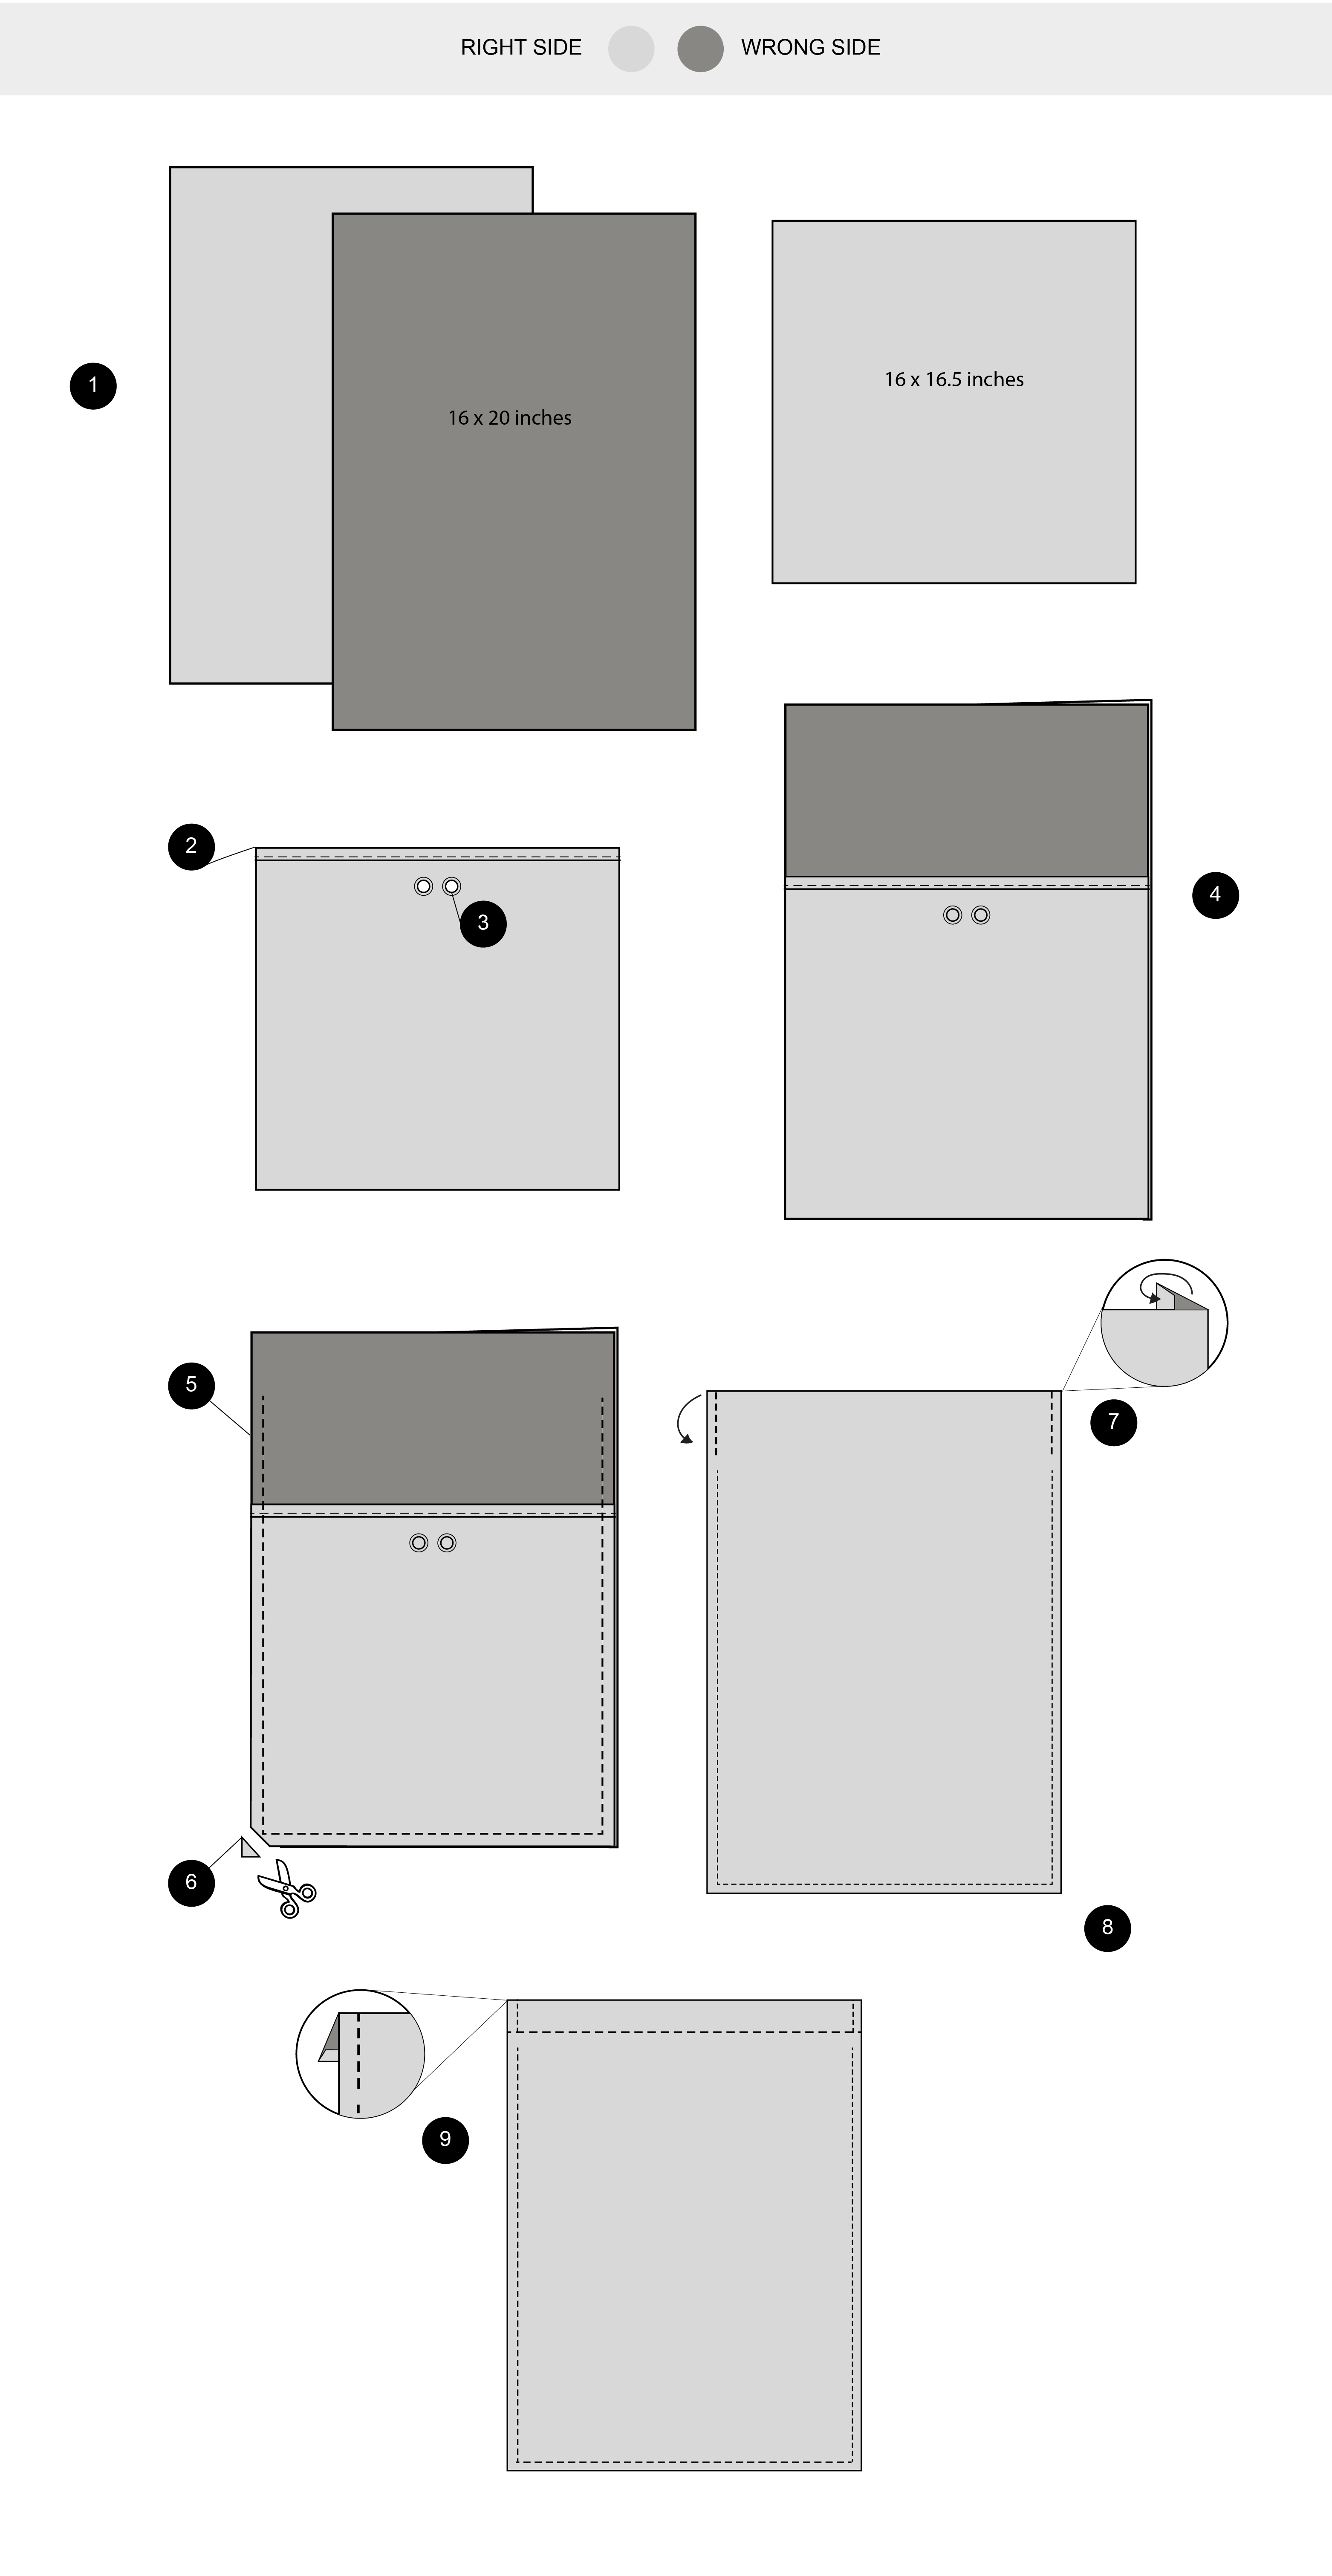
- Cut: two pieces 16 x 20 inches and one piece 16 x 16.5 inches.
- Fold the top of the divider piece under 1/4 inch, twice. Make sure the divider piece is oriented with 16 inches as the width and 16.5 inches at the height.
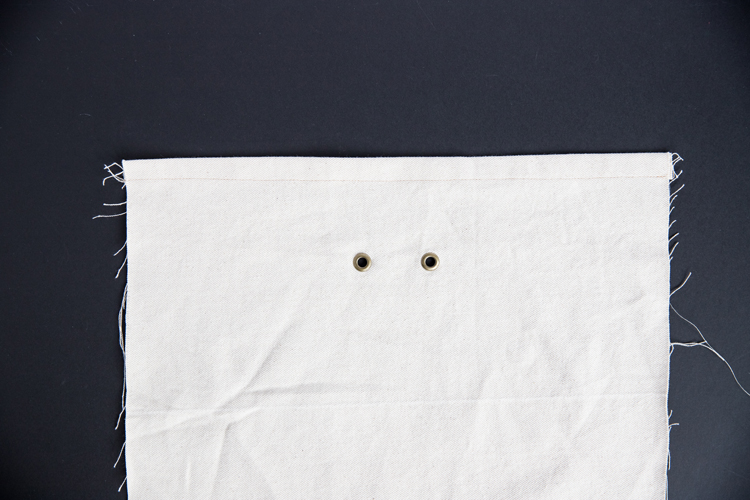
- Install two grommets at the center top of the divider, about 1-3 inches from the top (according to your preference).
4. Bring the two 16 x 20 bag pieces together with right sides facing. Lay the divider piece on top against the wrong side of one of the bag pieces.
5. Sew along the sides and bottom with a 3/8 inch seam allowance, leaving about 3.5 inches at the top of each side un-sewn.
6. Trim the bottom corners of the bag to reduce bulk. Take care not to cut through any stitches.
7. Fold sides of the un-sewn portion of the top of the bag inward twice and sew close to the first fold to conceal any raw edges. The sides will want to turn inward anyway to follow the sew sides.
8. Turn the bag right sides out, ensuring that the divider pocket ends up on the inside. Sew around the sides and bottom with a 1/2 inch seam allowance encasing the raw edges inside the bag, creating a French seam.
9. Fold the top edge of each layer toward the inside 1/4 inch and fold them again about 1.5 inches. Sew along the folded edge.
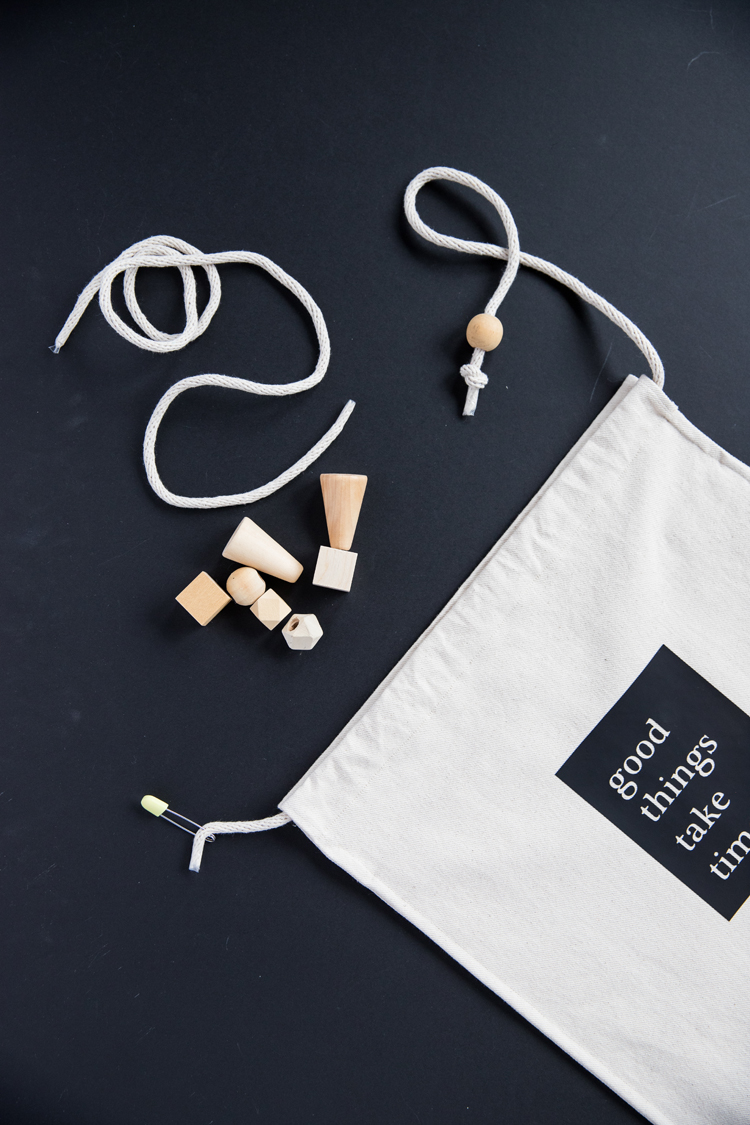
10. Cut rope into two 1 yard pieces. Thread one through the first casing from the left around and through the second casing and then exiting left. Repeat with the other rope entering from the right, going through both casings, and then existing on the right. Knot the ends to prevent them from getting pulled out, or knot a wooden bead at each end.
11. Cut vinyl decal. Weed and iron in place.
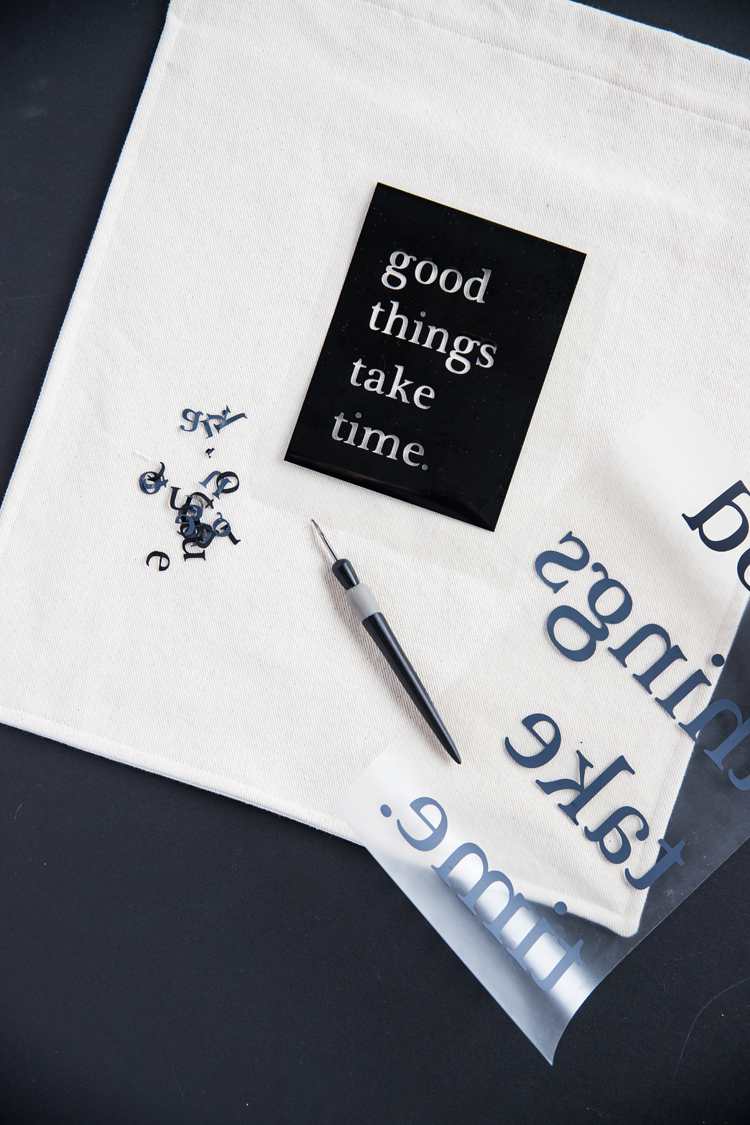
That’s it! It’s all done and ready to corral your projects that aren’t. Ha! 😉
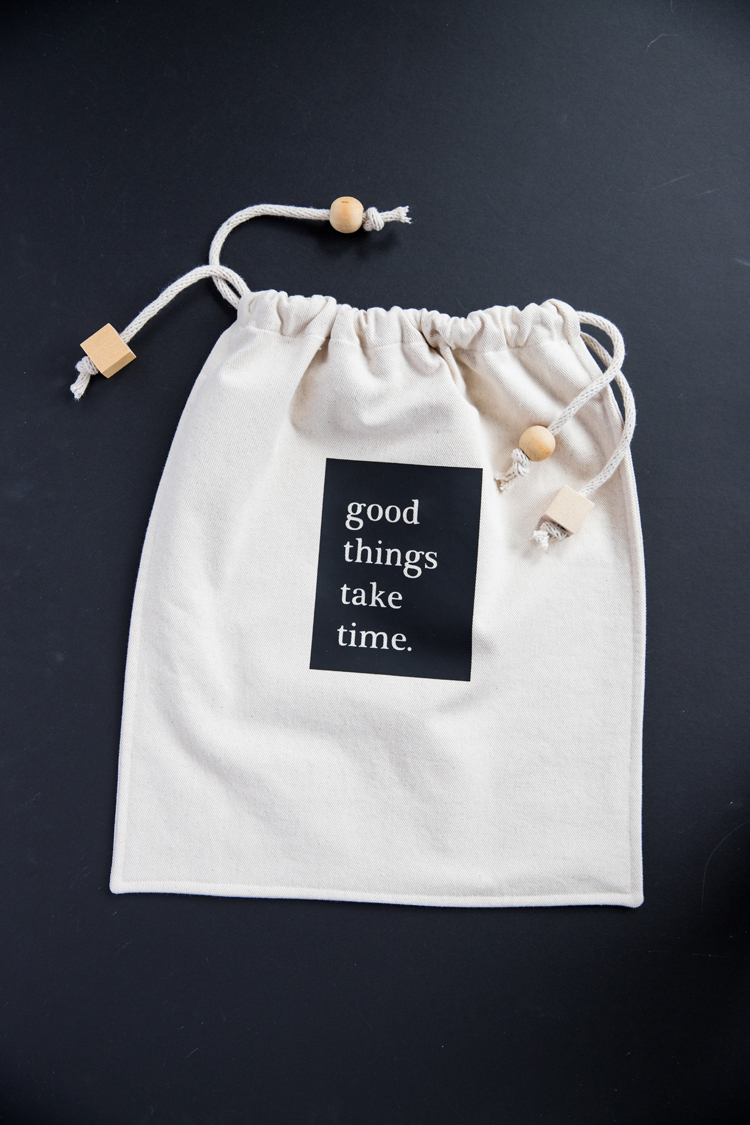
I made two versions of the HTV decal. There’s the block of words and then just large words:
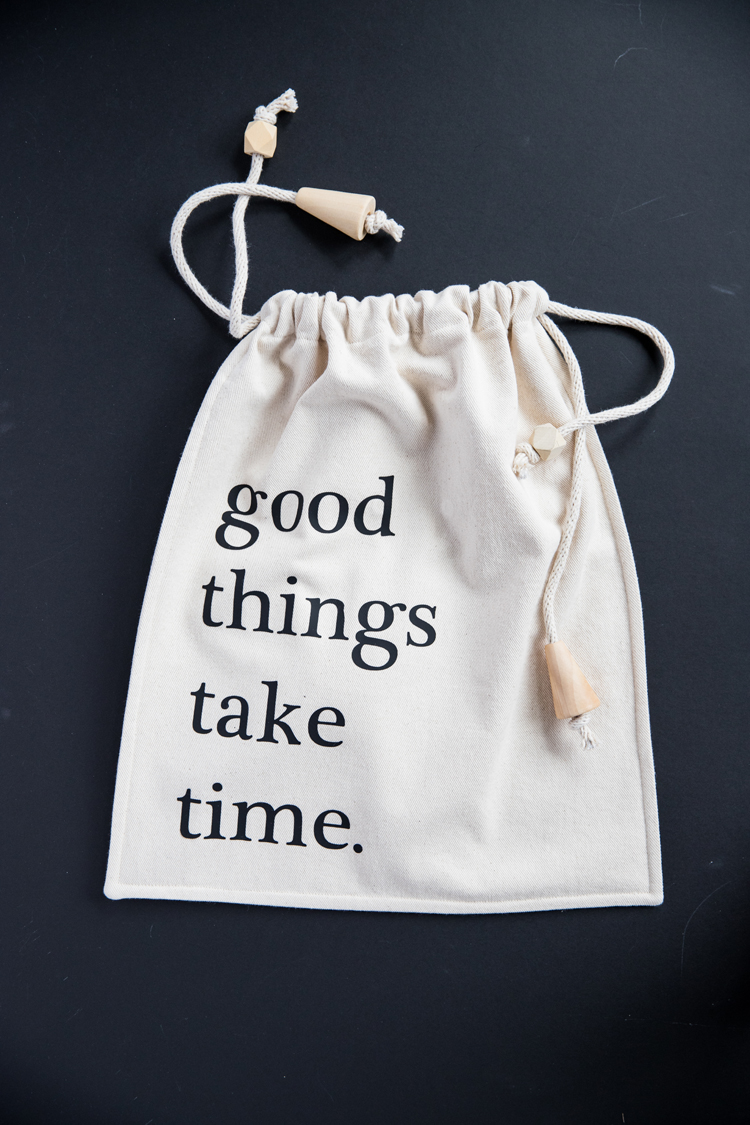
So, pick your favorite, or make two bags if you just can’t choose! …or if you have a tendency to collect WIPs like me and you need two anyway. haha.
To get the free cut files and tutorial for that maker’s wallet, check out THIS post.


Leave a Reply