Crocheting a raffia bucket hat is pretty much the only thing I can bring myself to crochet this summer. 😉 After a record breaking heat wave, not only is it practical, but the raffia doesn’t heat you up as you crochet it.
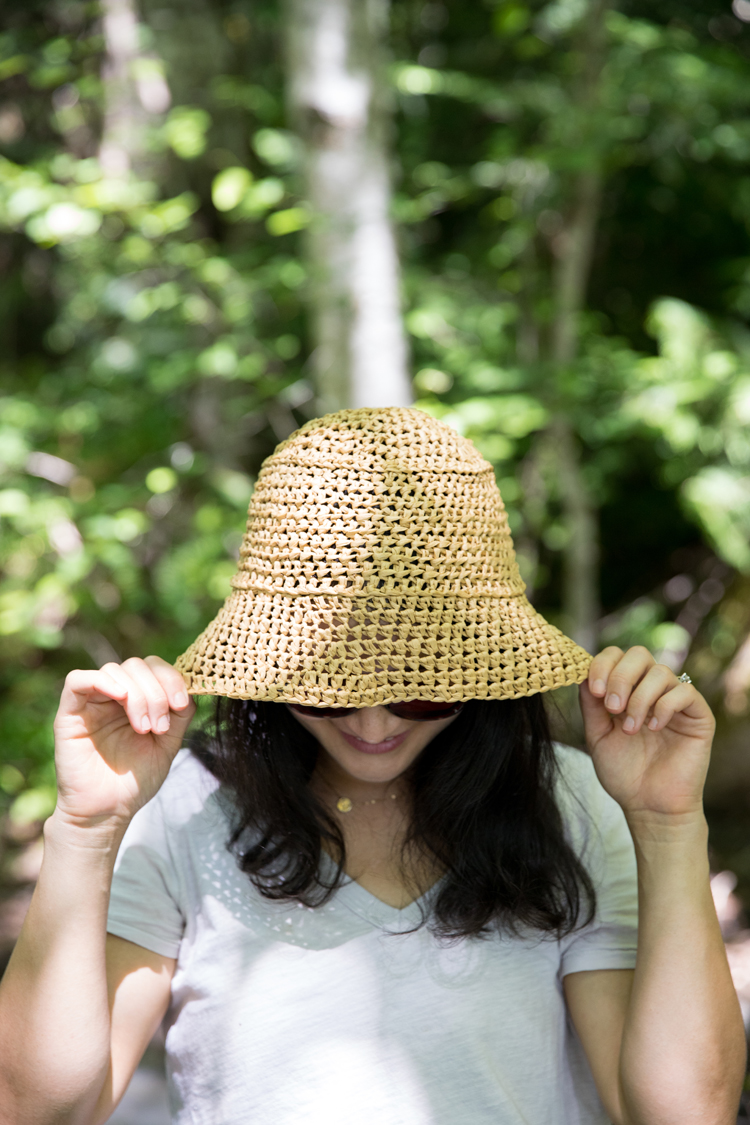
If you’re wondering if this is the same stuff used in craft projects in the 90’s and early 2000’s (that’s how I knew of it at first), the answer is yes…and no. Instead of shorter cuts of what looks like straw, this raffia is technically paper or wood pulp “yarn.”
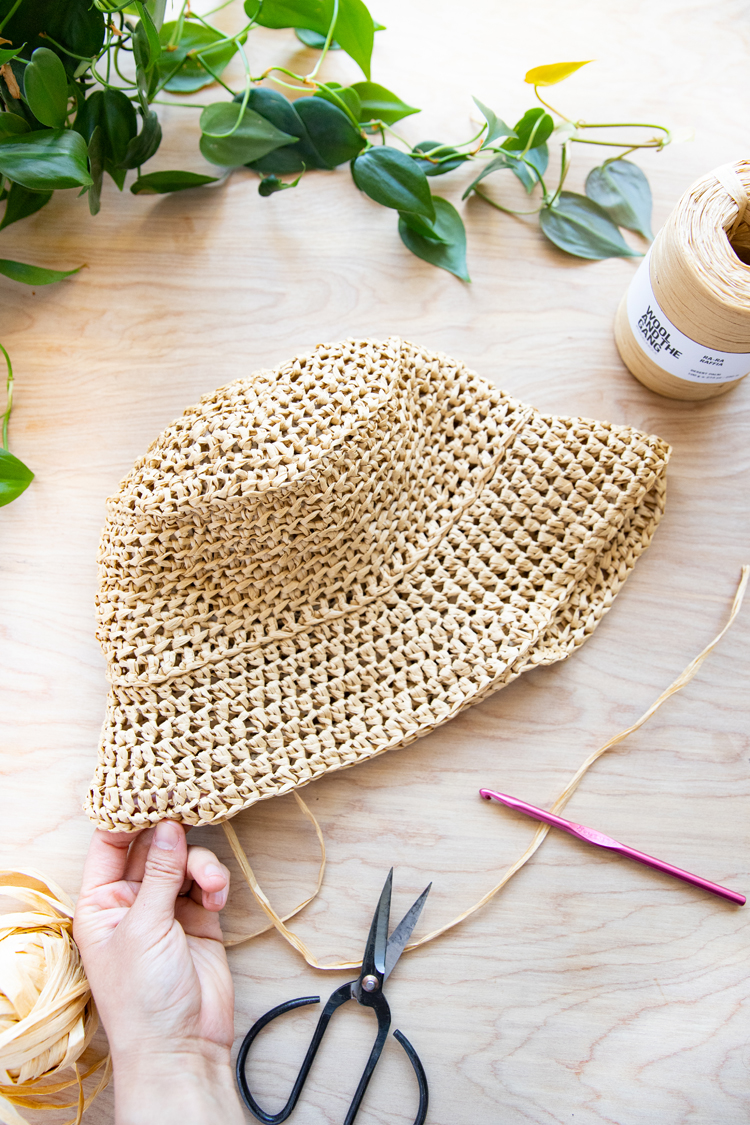

Despite it being made of paper, it is water resistant and fast drying… Just perfect for summer projects! It can also be on the fragile side when in strand form, but once you crochet it, it becomes surprisingly very durable. For that reason, it can take some practice to get used to. If you tug too hard it can snap or tear but I have a section below with tips for how to prevent that.

And bucket hats…yep. They’re baaaack! At first I wasn’t so sure about the trend coming back. But now that I’ve seen more iterations of it, like…I don’t know…a raffia version 😉 ;)…I’m here for it.
Skill Level: Adventurous Beginner
I’ve designed this free pattern with beginners in mind. Only hdc and sc are used throughout, with some slight modifications to the sc stitch that I explain in the pattern and video.
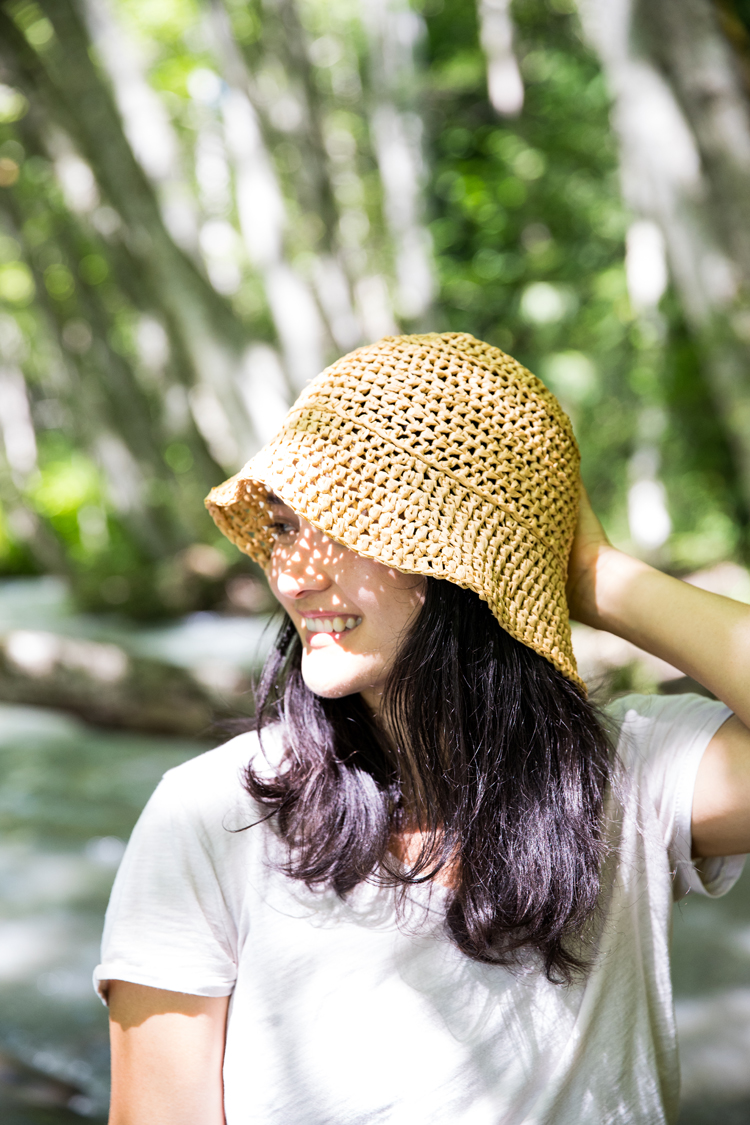
The bulk of the hat uses hdc not only to give it a breezy, open weave look, but also to make it a quick and easy project. If you are an experienced crocheter, you could easily make this in an afternoon; and if you’re not, hopefully you’ll feel more empowered to finish this hat instead of getting drowned in teeny tiny stitches. 😉
The only reason I add the qualifier “adventurous” is that raffia takes getting used to. It’s not like typical wool, acrylic, or cotton yarn. If you have never used it, I definitely recommend working up a swatch until you get the hang of it. See the section below with tension tips.
If you are new to crochet, I recommend checking out my Crochet Basics series. I walk you through how to crochet the most basic stitches, including the ones I use to make this hat.
Materials
- About 70 g or 200 yards of raffia yarn*
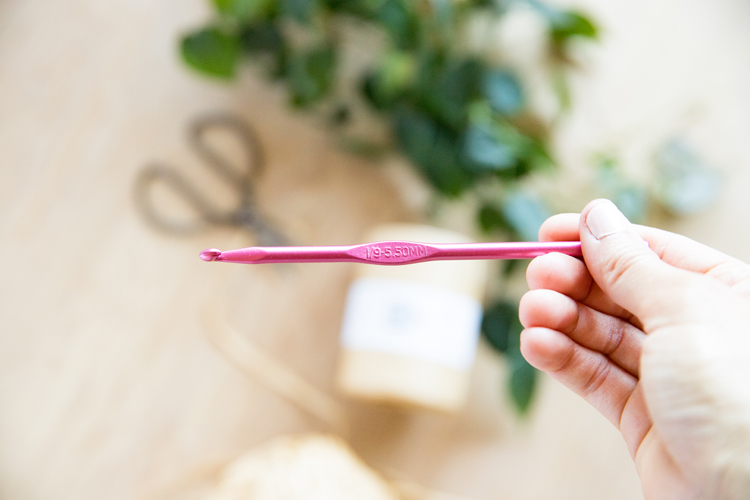
- I/9 or 5.5 mm hook
- yarn needle
- scissors
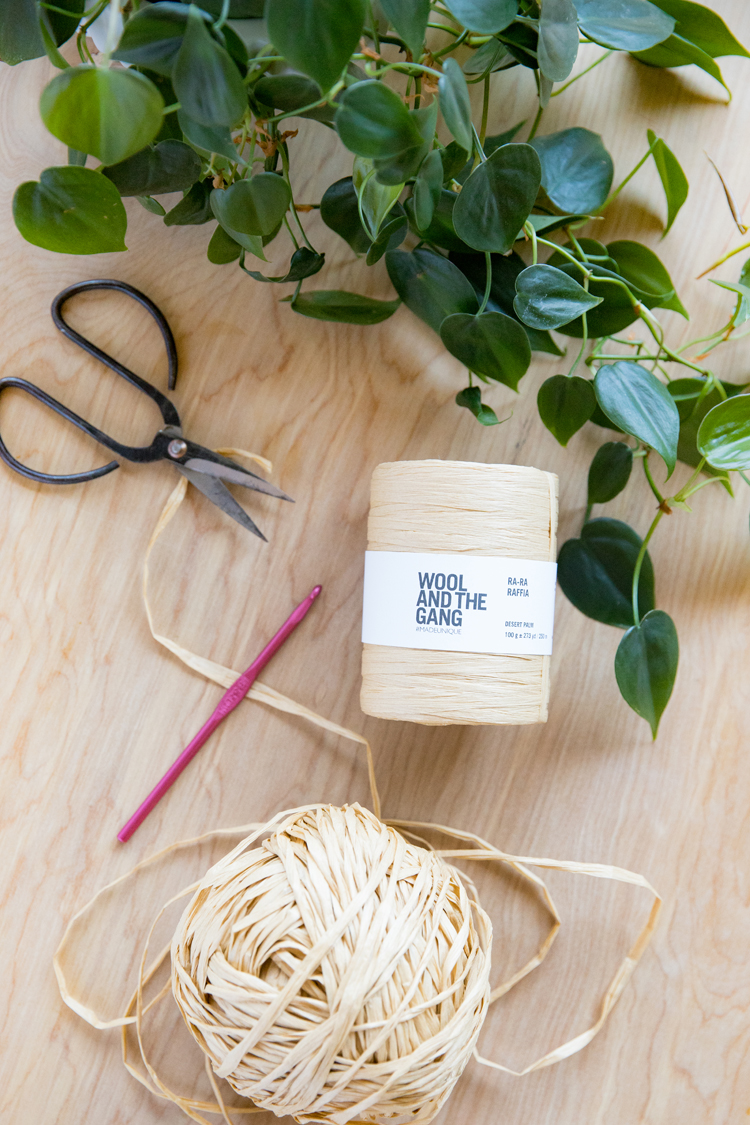
Material Notes:
*I am using raffia yarn from Wool And The Gang, but you can also get it on Amazon or Etsy.
Sizing: Adult Medium (ish)
This should comfortably fit head circumferences that are 22-23 inches. I say adult medium(ish) because sizing is a bit flexible. The open weave makes it a little stretchy. You can always try going up (larger) or down (smaller) a hook size to tweak the sizing if needed.
*Please note. Because this is a free pattern, I will not be grading the sizing to other sizes.
Abbrevations
- ch = chain
- sc = single crochet
- hdc = half double crochet
Gauge
3 x 3 inch square = 8 hdc x 7 rows
Tips for Crocheting With Raffia
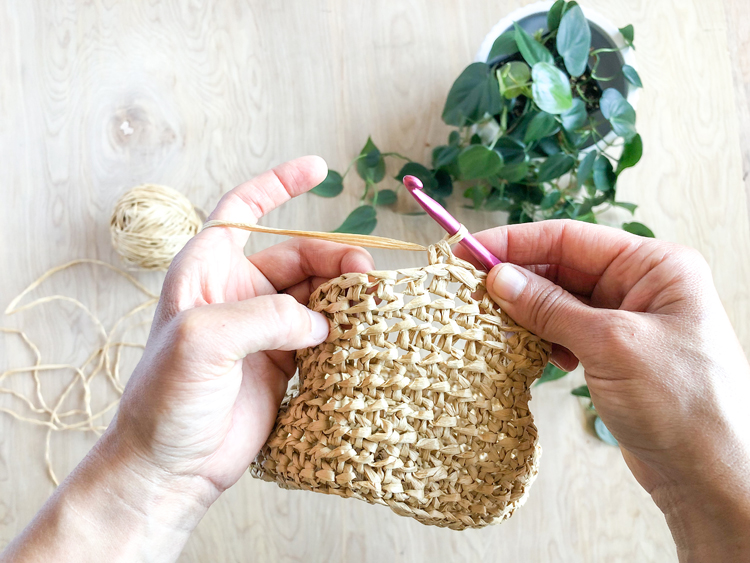
- Wrap it into a somewhat loose ball before you begin. It is much easier to work with this way.
- Raffia can tear if you pull on it too hard or too quickly. I have found releasing the raffia and reestablishing my tension every so often as I work helps me not pull on it too hard.
- I have found that it can feel sticky, especially if my hands are wet or if I’ve just put lotion on. Wait until your hands are dry to work with it. This is true for most yarns, but especially raffia as the stickiness and can cause you to pull too hard and tear it.
- When I work a stitch, I try to keep it loose and then pull the stitch tighter after I’ve worked it…just a little bit.
- Work a little slower than you normally would, especially at first.
- Practice on a gauge swatch. It’s something that you just need to practice and get a feel for. Make sure to create a swatch before you start your hat.
- If you have to frog (pull out) raffia, unravel it *carefully.* Sometimes if it gets stuck when I try to pull stitches out, I find tugging on other loops and parts of the stitch will help it get unstuck. Don’t just pull harder. It will likely break.
- The raffia yarn will look compressed after frogging it. It will not really ever bounce back. However once you re-crochet it, it should look fine. I have found that after 1-2 froggings it looks okay, but the quality declines after that.
- Despite how fussy this makes raffia sound (ha!) it is really a fun material to use, and is much much sturdier after it’s crocheted.
VIDEO TUTORIAL
If you scroll past the video it will pop to the top or side of your screen so that you can watch while you read.
CORRECTION NOTICE: TYPO! I labeled the I/9 hook as 3.5 mm. That is wrong. It is an I/9 or 5.5 mm hook.
I mention in the video that my crochet basics series shows in more detail how to do a few things:
- This hdc lesson teaches you the main stitch for this lesson and how to find the top and back loops.
- The sc lesson can refresh you on how to complete that stitch.
- This beginner beanie lesson will teach you how to crochet in the round and increase.
- Or you can check out this post for a round up of all the lessons in one place, including lesson one which gives you the very basics, like how to hold your hook and yarn.
Also…I slip and say row a couple of times. We are working in rounds for this video. If I say row, I mean round. 😉
FREE BUCKET HAT PATTERN
Round 1: Create a magic ring. This is essentially an open slip knot that you crochet into. (See the video above or the beanie video for more explanation.)
Chain 2. Work 7 hdc into magic ring. Pull tail of magic ring (slip knot) to close into a circle. Slip stitch to the top of chain 2 from the beginning of the round. (Chain 2 counts as one stitch always + 7 hdc = 8 total stitch count for this round)
Round 2: Ch 2. Work two hdc in each stitch. Work hdc into the base of chain 2 when you make it around the circle. Slip stitch to the top of ch 2. (16)
Round 3: Ch 2. Work 2 hdc in next stitch. *Work 1 hdc and then 2 hdc in the next.* Repeat pattern from * to * six more times. Slip stitch to the top of ch 2. (24)
Round 4: Ch 2. Work hdc in next stitch and then 2 hdc in the next stitch. *Work hdc, hdc, and then 2 hdc in the next.* Repeat pattern from * to * six more times. Slip stitch to the top of ch 2. (32)
Round 5: Ch 2. Work hdc in next stitch, hdc, and then 2 hdc in the next stitch. *Work hdc, hdc, hdc and then 2 hdc in the next.* Repeat pattern from * to * six more times. Slip stitch to the top of ch 2. (40)
Round 6: Ch 2. Work hdc in next stitch, hdc, hdc, and then 2 hdc in the next stitch. *Work hdc, hdc, hdc, hdc and then 2 hdc in the next.* Repeat pattern from * to * six more times. Slip stitch to the top of ch 2. (48)
Round 7: Ch 2. Work hdc in next stitch, hdc, hdc, hdc and then 2 hdc in the next stitch. *Work hdc, hdc, hdc, hdc, hdc, and then 2 hdc in the next.* Repeat pattern from * to * six more times. Slip stitch to the top of ch 2. (56)
Round 8: Ch 2. Work hdc in next stitch, hdc, hdc, hdc, hdc, and then 2 hdc in the next stitch. *Work hdc, hdc, hdc, hdc, hdc, hdc, and then 2 hdc in the next.* Repeat pattern from * to * six more times. Slip stitch to the top of ch 2. (64)
Round 9: Ch 1. Sc in each stitch in round in FRONT loops only. Slip stitch to the top of ch 1. (64)
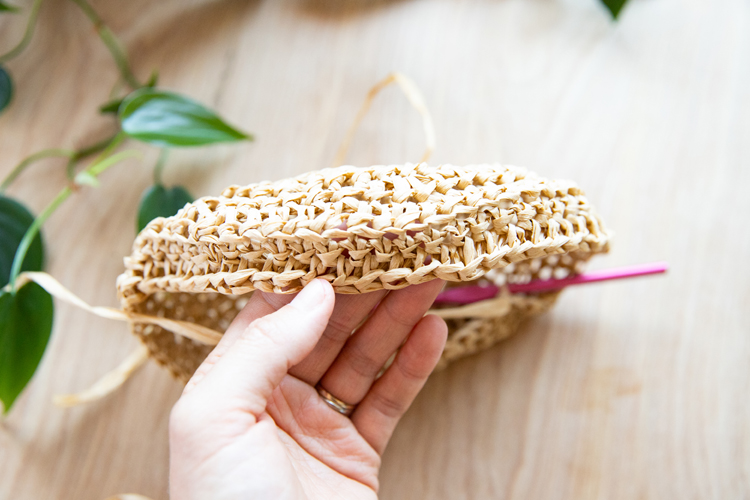
Round 10: Ch 2. Hdc in each stitch in the round. Slip stich to the top of ch 2. (64)
Round 11-17: REPEAT ROW 10.
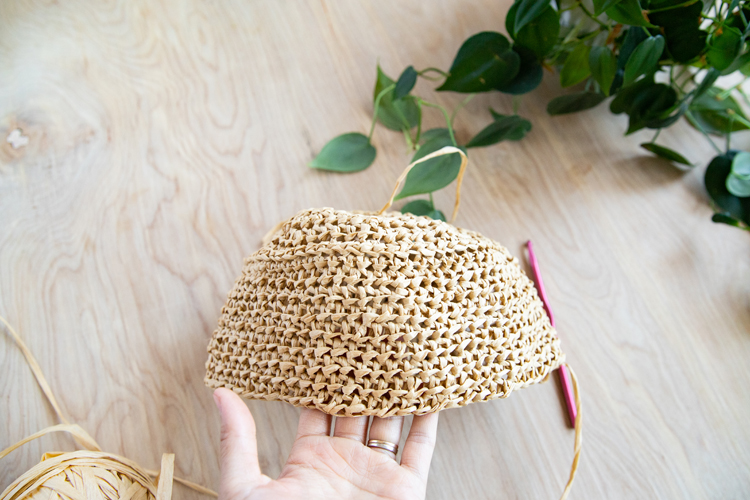
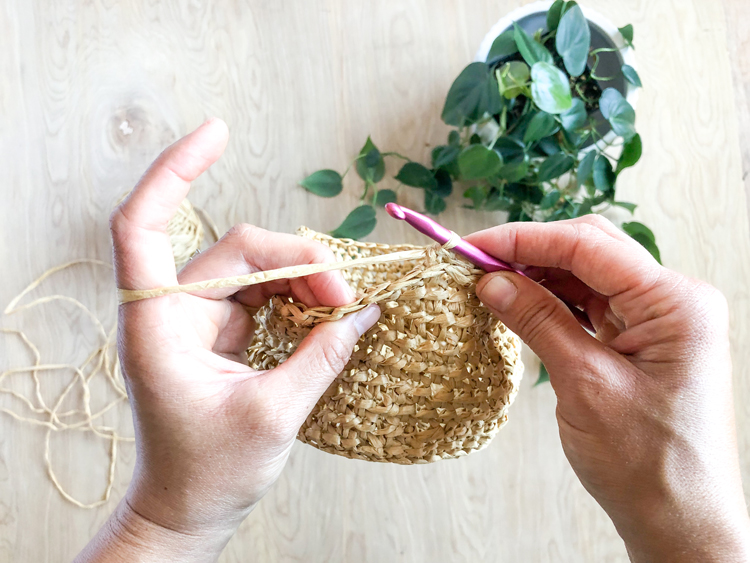
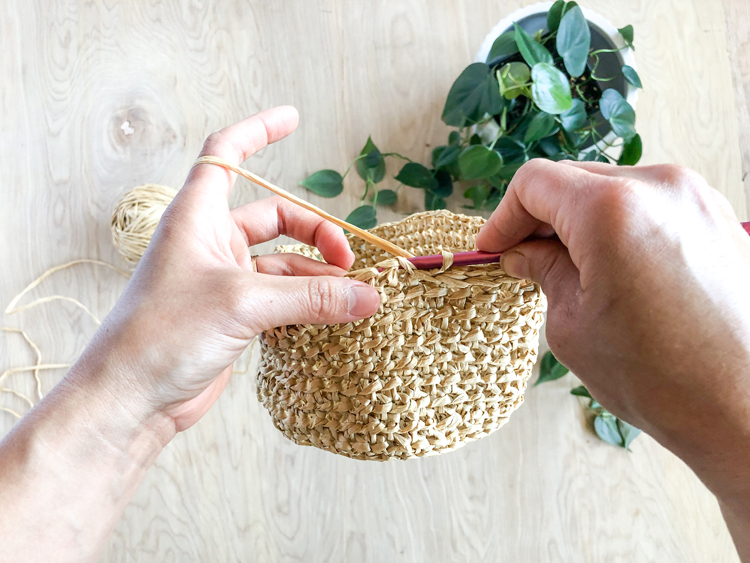
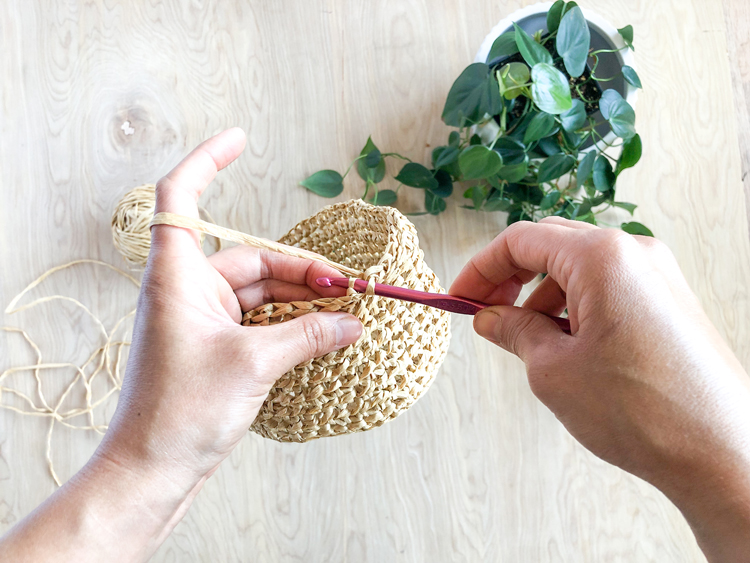
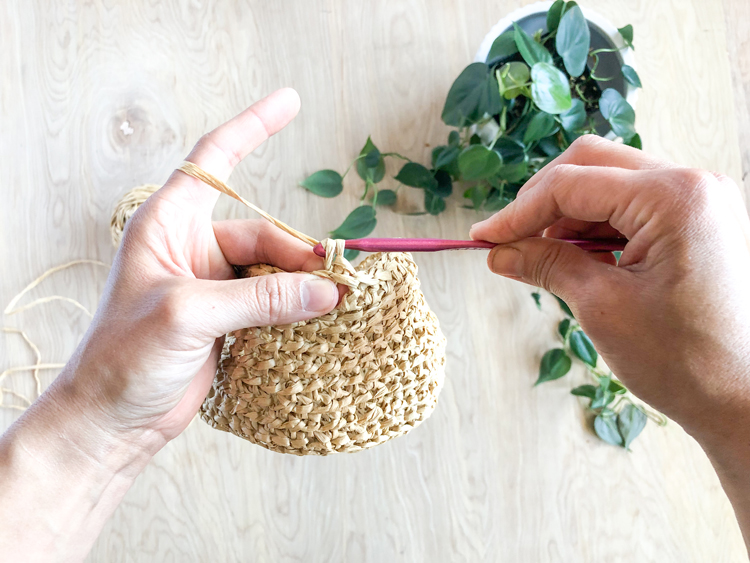
Round 18: Ch 1. Sc in each stitch in the round in THIRD LOOPS only from the BACK (see video for clarification). This will create what looks like two parallel rounds of top loops. Slip stitch to the top of ch 1. (64)
Round 19: (start brim increasing) Ch 2. Work 6 hdc, then 2 hdc in same stitch. *Work 15 hdc, then 2 hdc in same stitch.* Repeat from * to * two more times. Work remaining 8 hdc. Slip stitch to the top of ch 2. (68)
Round 20: Ch 2. Work 7 hdc, then 2 hdc in same stitch. *Work 16 hdc, then 2 hdc in same stitch.* Repeat from * to * two more times. Work remaining 8 hdc. Slip stitch to the top of ch 2. (72)
Round 21: Ch 2. Work 9 hdc, then 2 hdc in same stitch. *Work 17 hdc, then 2 hdc in same stitch.* Repeat from * to * two more times. Work remaining 8 hdc. Slip stitch to the top of ch 2. (76)
Round 22: Ch 2. Work 10 hdc, then 2 hdc in same stitch. *Work 18 hdc, then 2 hdc in same stitch.* Repeat from * to * two more times. Work remaining 8 hdc. Slip stitch to the top of ch 2. (80)
Round 23: Ch 2. Work 11 hdc, then 2 hdc in same stitch. *Work 19 hdc, then 2 hdc in same stitch.* Repeat from * to * two more times. Work remaining 8 hdc. Slip stitch to the top of ch 2. (84)
Round 24: Ch 2. Work 12 hdc, then 2 hdc in same stitch. *Work 20 hdc, then 2 hdc in same stitch.* Repeat from * to * two more times. Work remaining 8 hdc. Slip stitch to the top of ch 2. (88)
Round 25: Ch 2. Work 13 hdc, then 2 hdc in same stitch. *Work 21 hdc, then 2 hdc in same stitch.* Repeat from * to * two more times. Work remaining 8 hdc. Slip stitch to the top of ch 2. (92)
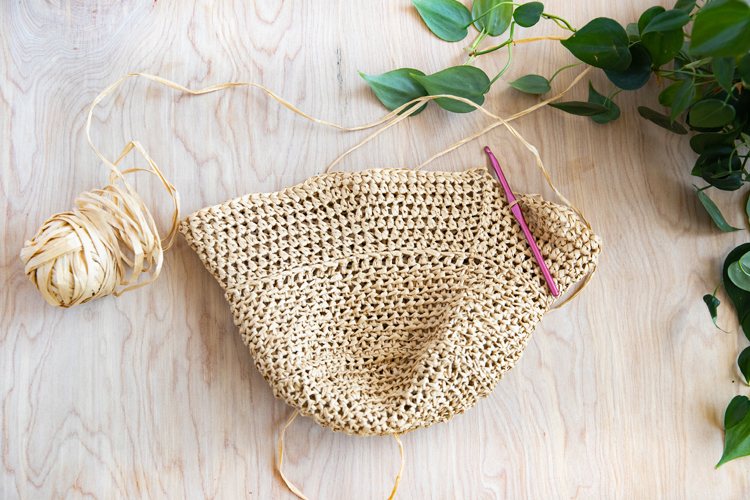
Tie of your end and weave in all tails/ends.
Blocking
I highly recommend not skipping this step. Raffia can be funky. Blocking allows you to shape the hat so it looks how you want it to and so the brim flops the right way.
- Wet it down with a spray bottle or briefly soak it.
- Lay it out on a towel or absorbent surface and shape it with your hands. DO NOT PIN IT. This will puncture the raffia and can weaken it or cause tearing.
- Turn it a few times and reshape as it dries (which is fairly quickly compared to other yarns but can vary depending on how humid your climate is).
- Re-wet it and reshape as needed.
Allllll done!!!
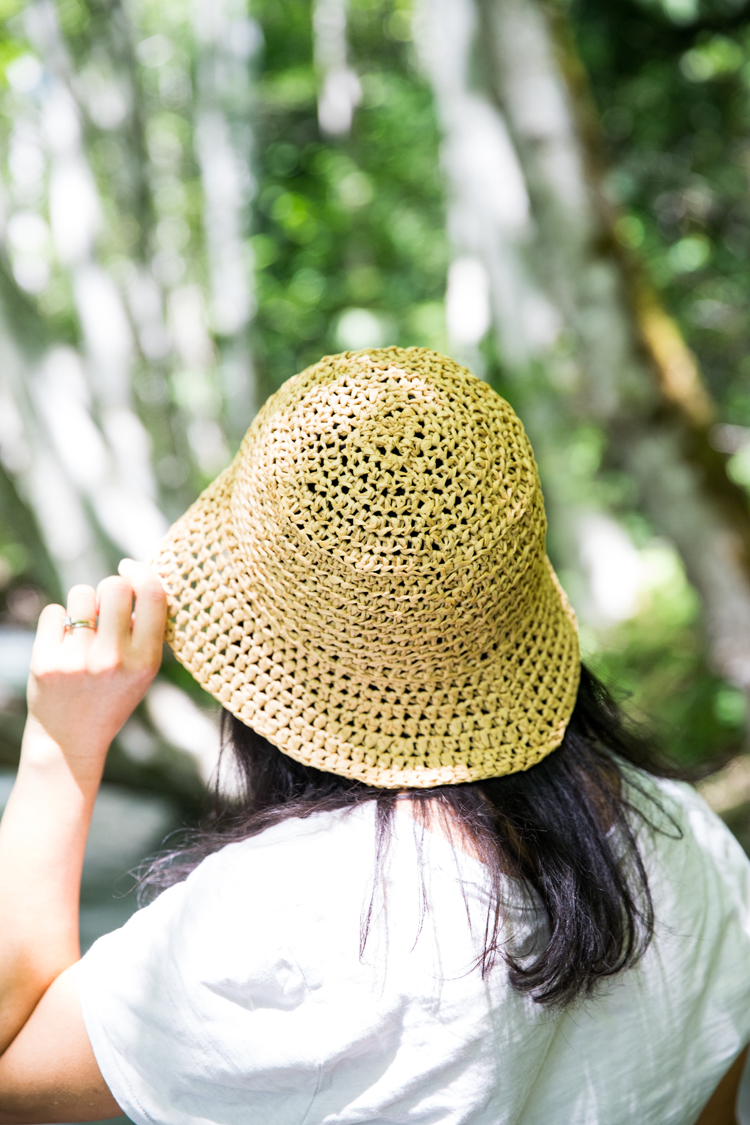
Then take it for a spin and soak up the sun in the new hat you made with your own two hands!
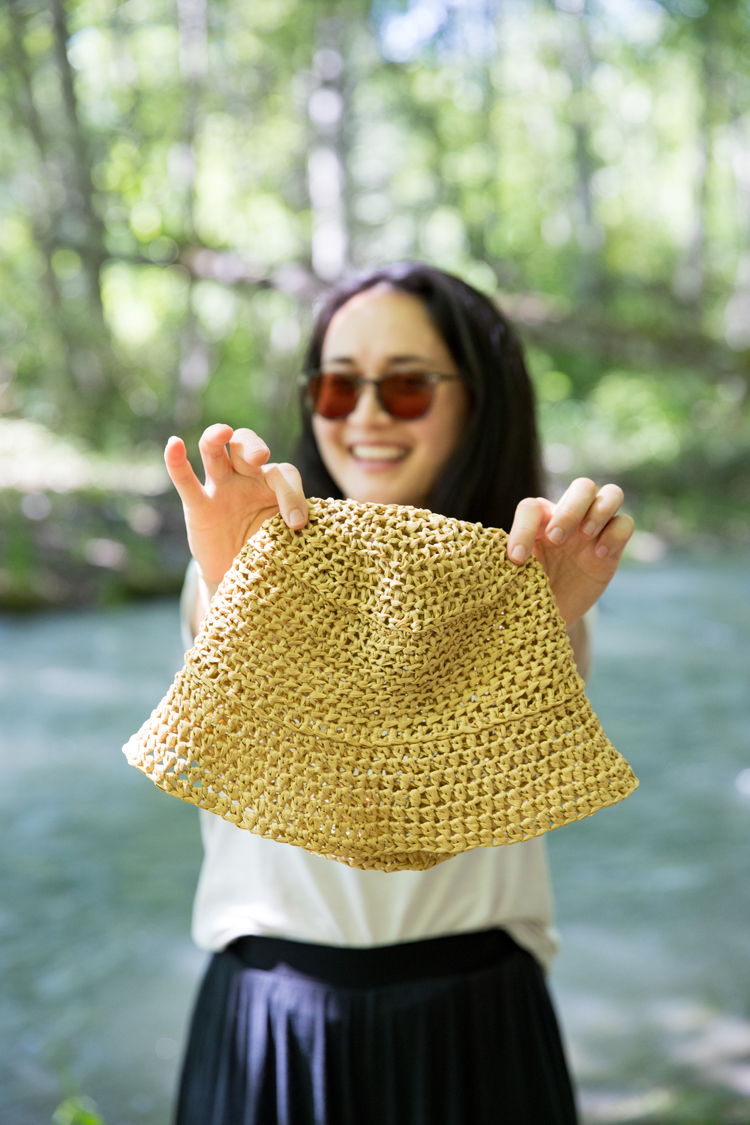

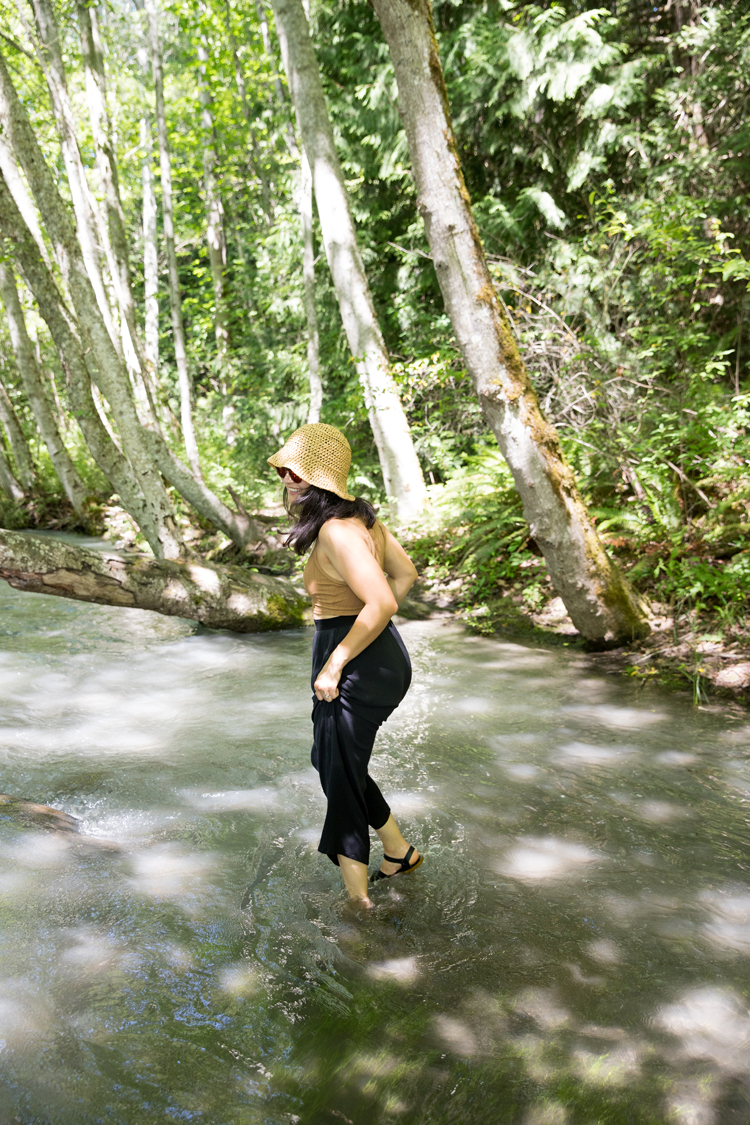
And if you’re looking to sew up some lightweight, wide leg pants. I have a tutorial for the ones I’m wearing HERE.


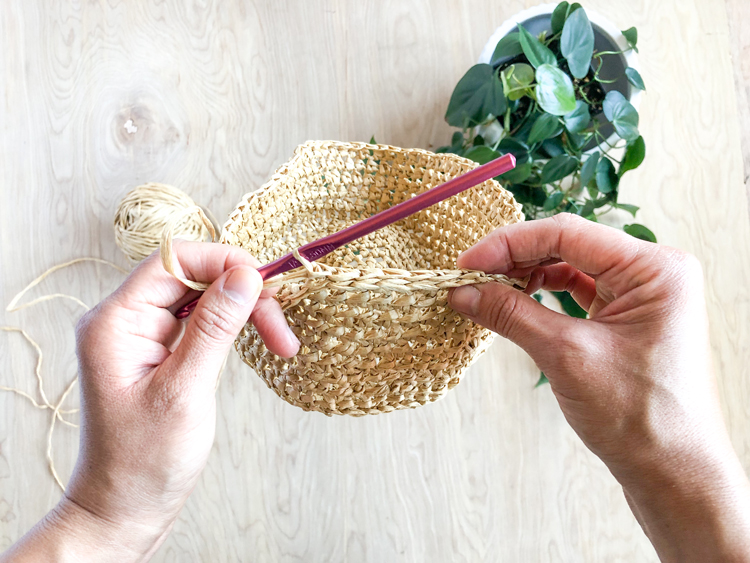
hi! thanks for posting this free pattern and video – looking forward to finishing my own bucket hat! i read through your pattern and saw the video several times and noticed you may have a typo – an I/9 crochet hook is not 3.5mm but 5.5mm. i had to zoom in on the picture you posted of your hook to confirm that is indeed a 5.5mm not 3.5mm.
Ah! Thank you so much for catching that typo. I will fix it in the post. I appreciate the heads up.
There’s no video? 🙁 But thank you for the free pattern. I’ve bought the paper yarn in the shade hotpink!! 🙂
Hot pink will be so fun! There is video, but if you use an ad blocker then it will not show up. I hope that helps. Let me know if you have any other questions.
Delia, I just love this cute hat. Where did you get the Riffa ribbon or yarn?
Our local Michael, Joanne’s and Hobby Lobby do not sell it.
Thank you!
Thanks Susan! I got it from Wool and the Gang. It’s called Ra-Ra Raffia. I think you can order some online from Amazon too.
Sorry’ but there is no video for the bucket hat.
There are lots of ads and videos for many other projects, but not for this one. Thanks.
The video plays after an opening ad. It’s there. But…I have noticed that there is something wrong with the quality…I’m going to try to fix that right now.
Thanks, Black one for my daughter, she loves it
Oooh…black raffia. I bet it’s so cute! So glad you both like the pattern. 🙂 <3
Hi! Love this pattern, my hat is coming along so cute. I’m kindof a beginner so I wanted to clarify – are you crocheting into the bottom of the slip stitch for each round as well as the top of the chain 2? Or skipping the slip stitch? Thanks in advance!
So sorry for my delayed response (I’m faster to reach on instagram. I’m @deliacreates there). I actually address this situation in my last Easter basket project, which is also worked in the round. When you slip stitch, if you work into the first stitch, rather actually the top of the chain 2, it will make the chain two look like a dc. The chains will be the post of the stitch, and the slip stitch doesn’t overtake the first stitch, but links into it to create the top two loop like a dc has. TLDR: slip stitch into the next top two loops that you can see, which happens to actually be the first stitch. This will create the cleanest finish to the round.
I apologize for not being more clear about this before. Teaching beginners has been really great at helping me clarify things that are often taken for granted, that I took for granted. I’ve also altered some traditional ways of crocheting to get a neater finish to things, but still kept some of the language which I’ve had to rethink.
Is there a .pdf one can download? The pattern is lovely but hard to follow with many pages, pop-up ads, etc. Thank you.
Hi Nancy! So sorry for my super delayed response. Your comment erroneously got lumped in with the spam comments, which I’m trying to clear out right now.
I do not have an ad free pdf for this pattern yet, but have plans to release many of my free patterns as ad free pdfs for purchase later this year. You can copy and paste the pattern into a word document for personal use in the meantime. Sorry I don’t have a better answer for you yet.
Hi, nice hat! I made one for myself and the brim was very straight and sturdy at the beginning. Now it startet to geht wavy/ sloppy. Is there a way to get it back the way it was in the beginning?
Thx for ideas 🙂
So sorry I just saw your comment. You could try starching the hat brim. Mine gets wavy too though, especially if it’s humid.