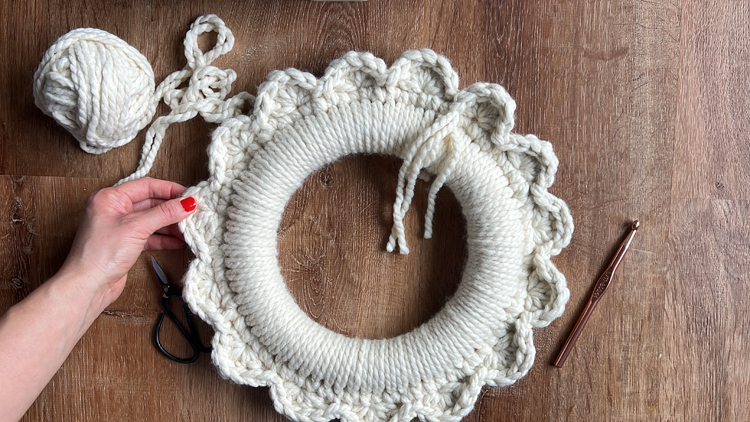
One of the reasons I love crochet, is it can be so versatile. You can make clothes or you can make crafts, with the same medium! Today, we’re making a craft…or crafts I should say, because this is a scalloped crochet wreath you can make two ways.
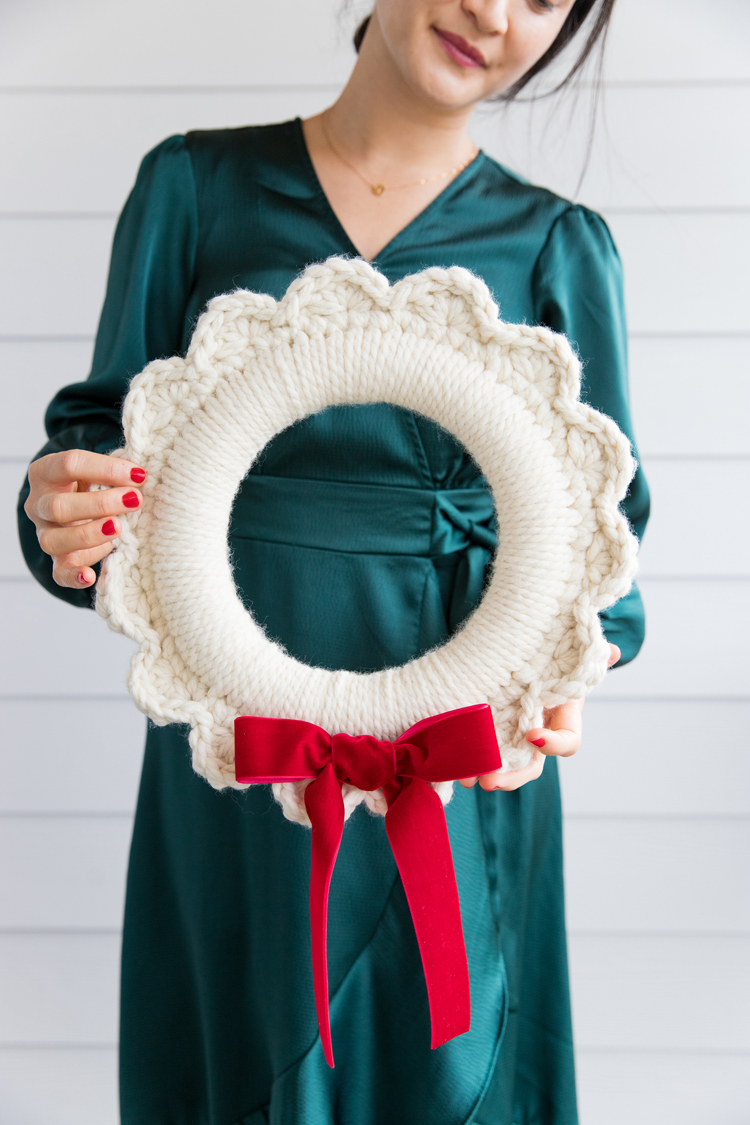
A full scallop using double crochet (easy).
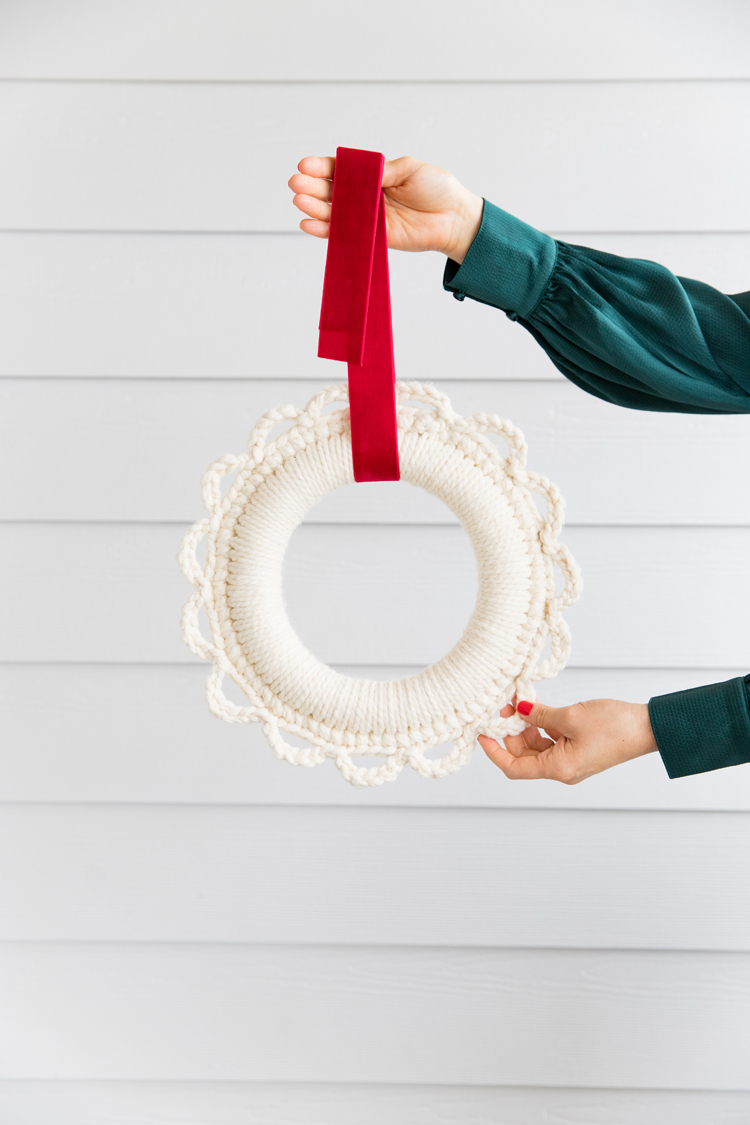
Or an open scallop using chains (even easier!).
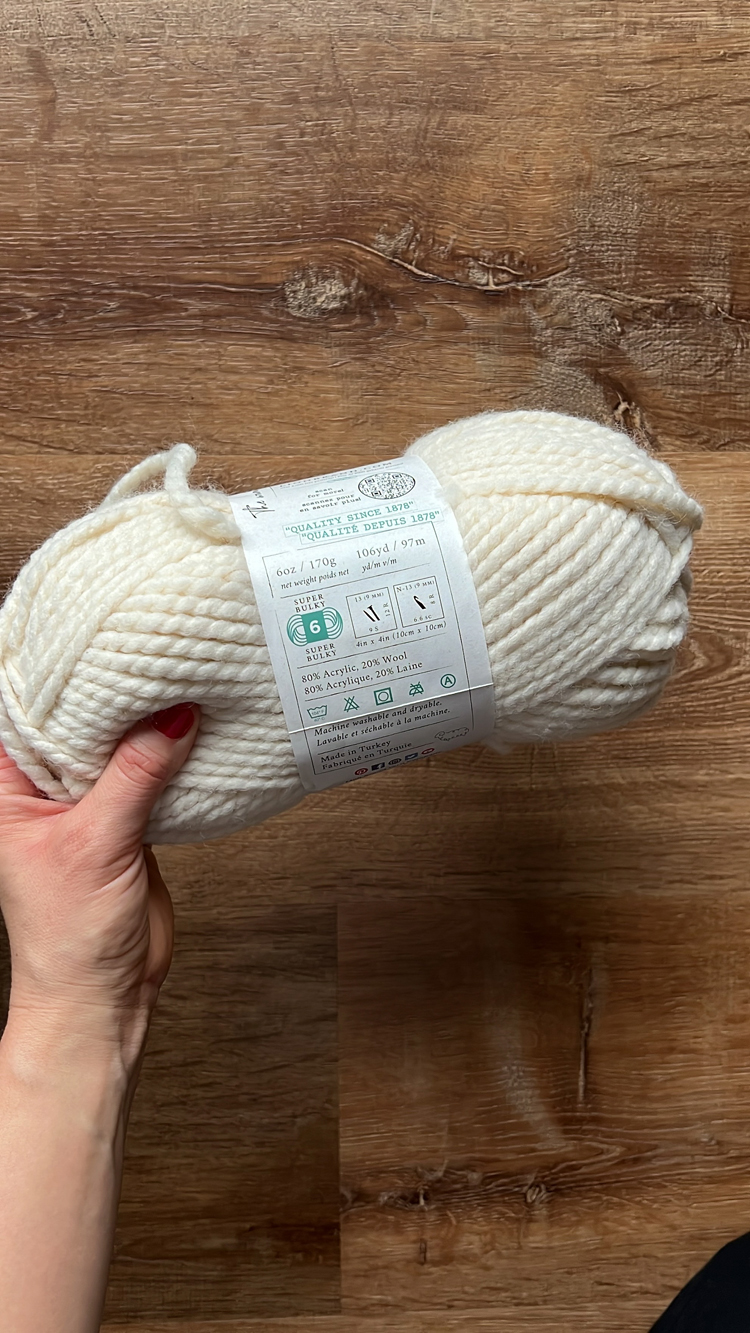
If this wreath looks familiar to you, it’s because I have another very similar tutorial that uses jumbo or category 7 yarn. The yarn industry has taken a turn away from wool or wool looking jumbo yarns lately and the yarn I used in that original tutorial has been discontinued. So, I decided to update this tutorial with a more reliable to source yarn: good ole super bulky, Wool Ease Thick & Quick from Lion Brand – any wool blend super bulky yarn works though.
I doubled up the strands, which is nowhere near as squishy as Jumbo yarn, but it still makes it fairly quick to work up and it helps add some nice texture and definition.
MATERIALS
- 10 inch foam wreath form*
- acrylic paint to match yarn
- paint brush
- 95-140 g of super bulky wool blend yarn**
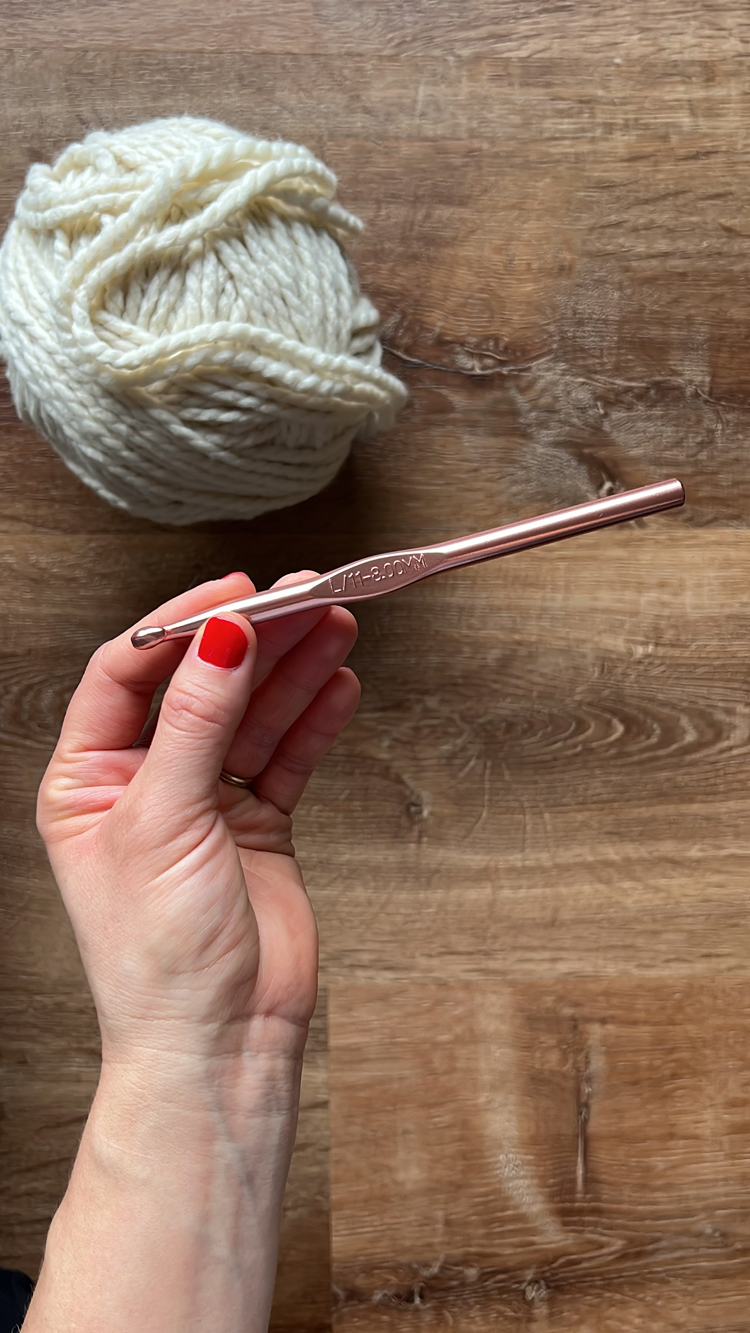
- 8.00 mm hook
- scissors
- yarn needle
Material Notes
*I used a 10 inch wreath form from The Dollar Tree. You can find similar sized wreath forms from most craft stores. If you want make a larger wreath, increase your yarn amount and see the sizing section for more instruction.
**I used Wool Ease Thick & Quick in “Fisherman.” One skein of Thick & Quick is 170 g, which is more than you’ll need for either version. The filled in scallop version uses about 140 g of yarn, and the open scallop uses about 95 g.
SIZING
There is no gauge for this project. This pattern is designed for a 10 inch wreath that ends up being about 13.5 inches in width after you’re done.
If you want to use a larger wreath form, increase the stitch count by groups of 5 until it fills the wreath form. You’ll need 5 stitches per scallop, for either version.
ABBREVIATIONS
This pattern uses U.S. crochet terms.
- ch = chain
- sl st = slip stitch
- sc = single crochet
- dc = double crochet
VIDEO TUTORIAL
The video should have already popped to the top or side of your screen. It will play after some initial ads. If you “x” out of the video, you need to refresh the page to get it back.
Music is by Pleasant Pictures Music Club.
WRITTEN TUTORIAL & FREE PATTERN
PREPARATION
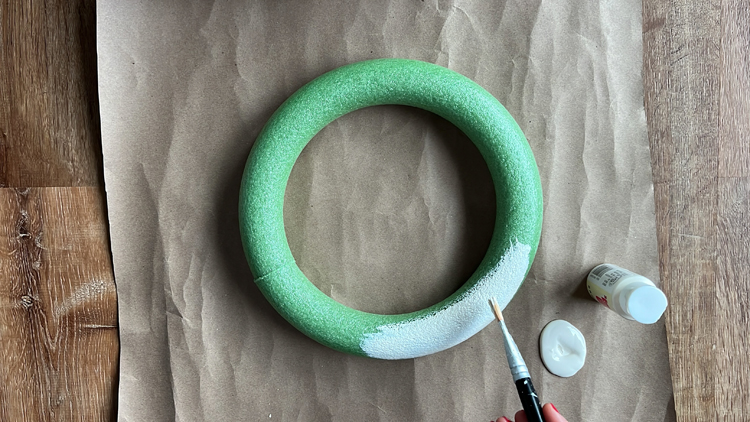
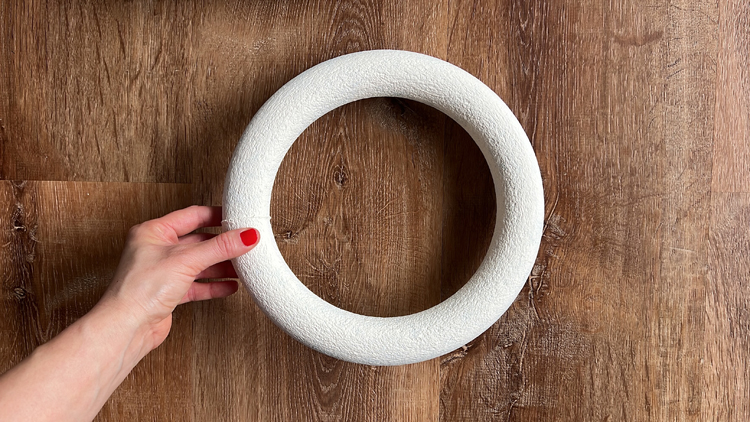
- Paint the wreath to match the yarn color. It doesn’t have to be perfect as it will mostly be covered up, but some slivers peek through, and it looks best if it blends in.
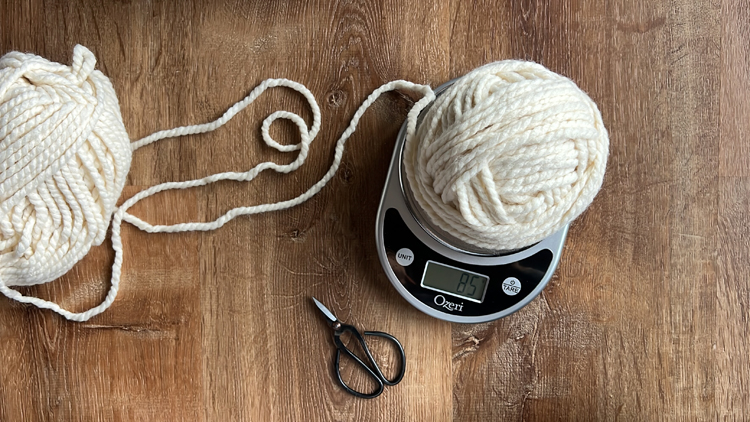
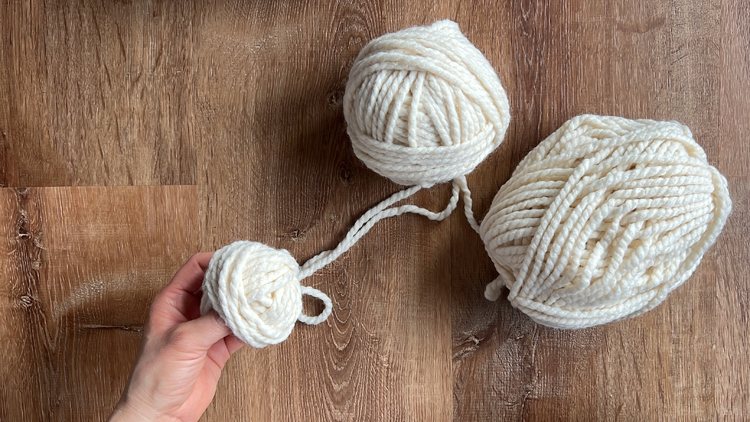
- Prepare the yarn by dividing it in half, and then balling the two halves together into one big ball.
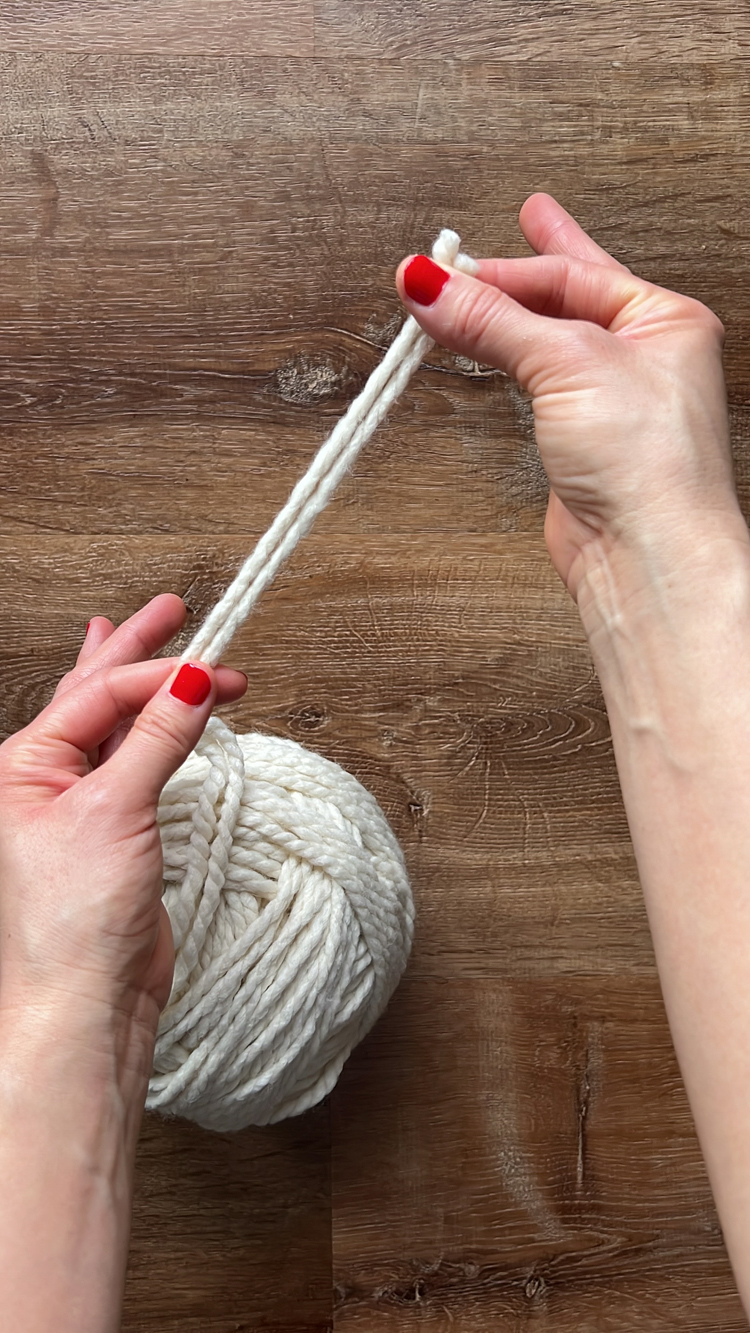
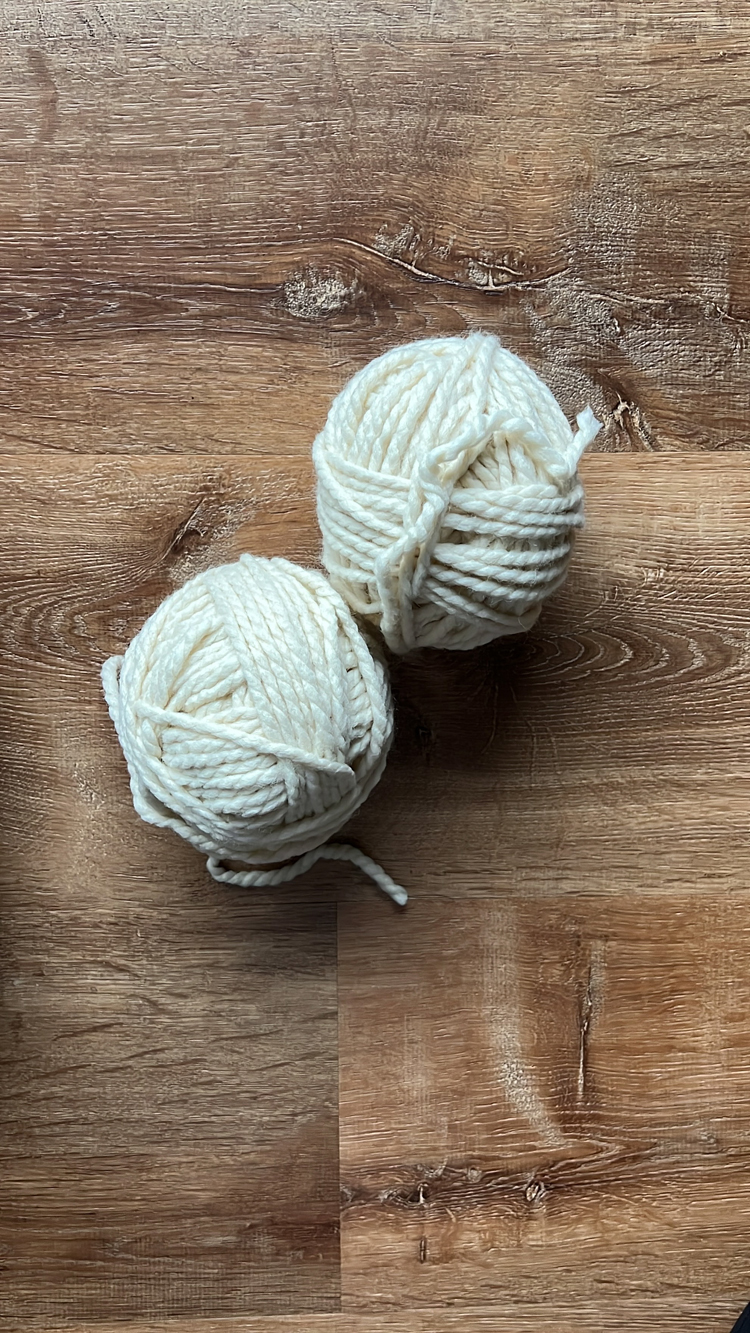
Step 2 is technically optional, but I highly recommend it, as it makes future steps much less frustrating. You can divide by weight, or divide it as close to half as you can by eyeballing it. If it’s not exact, that’s fine. One skein is more than enough for one wreath so a close guess should be sufficient.
WREATH BASE
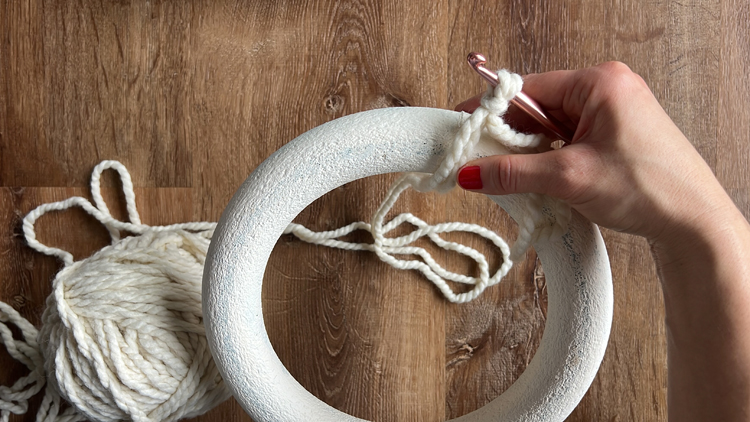
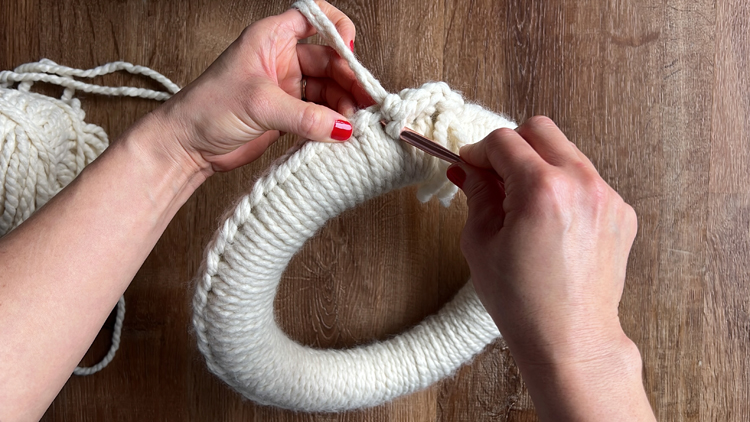
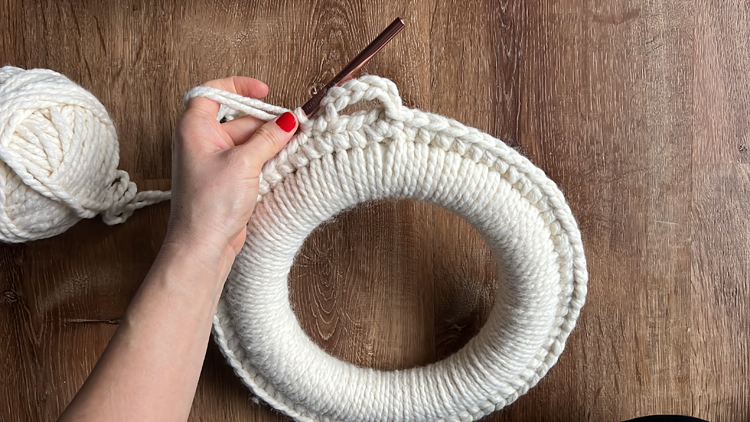
ROUND 1: Using two strands at a time, tie a slip knot and insert your hook. Lay it on the top edge of your wreath with the yarn draped over the front. Reach from behind the wreath form to pull the yarn up and around, wrap it around your hook, then pull through. You are essentially chaining around the wreath form.
You want the stitches to be snug but not too tight so that you can work the next round of stitches comfortably.
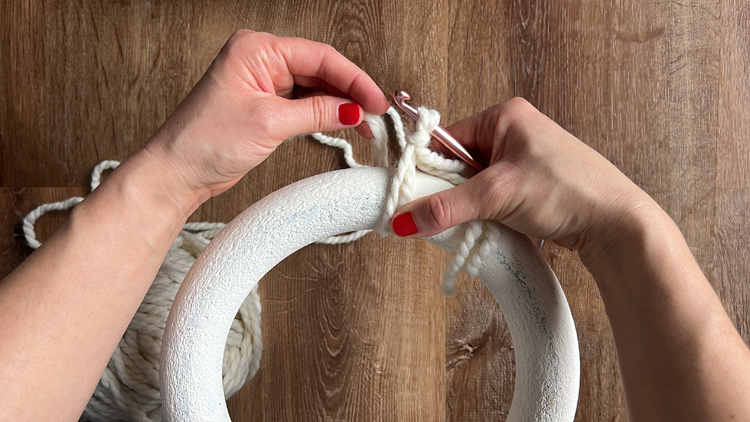
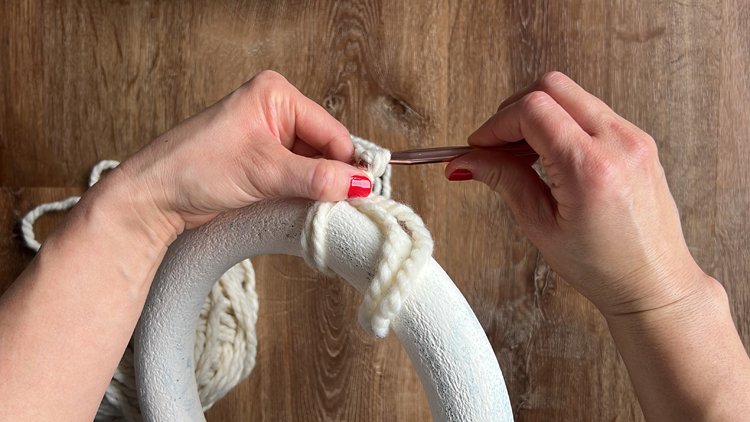
Put your ball of yarn through the wreath form to the other side. You will have to do this after each stitch in this first round (which is why the preparation step was important).
NOTE: The strands of yarn will naturally start to twist the more stitches you work. In the video, I show you how I anchor the hook into the last stitch and then pull the strands apart while the wreath dangles and spins as the strands untwist. You’ll likely have to do this a handful of times, but you’ll only need to do it for the first round.
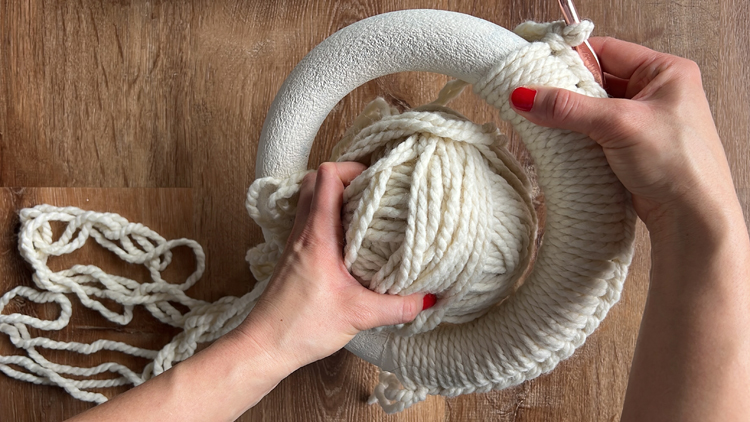
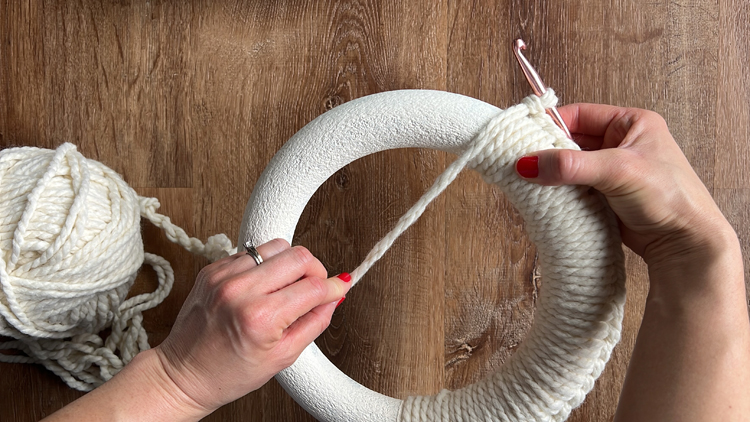
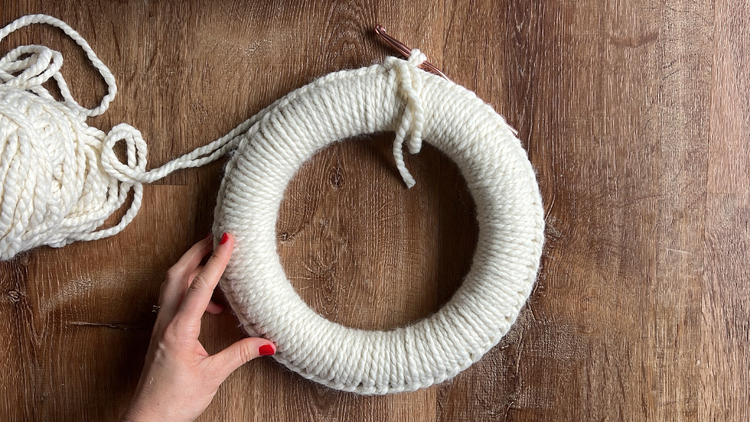
Keeping the strands of yarn from twisting or tangling, continue to work chains around the wreath form for a total of 75 stitches. Then sl st to the first chain to complete the round.
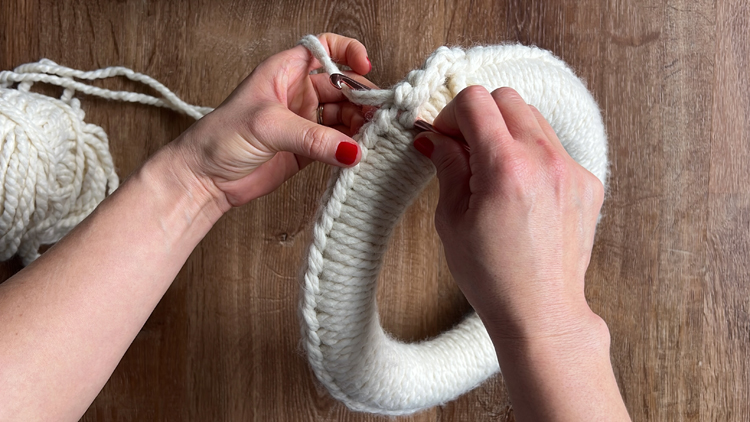
ROUND 2: Ch 1. Work 1 sc into each stitch from the previous round. Sl St to the first sc. Total = 75 stitches.
FULL SCALLOP VERSION
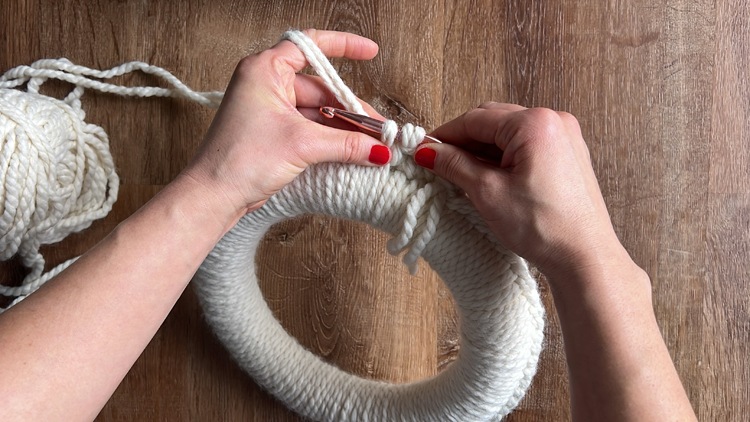
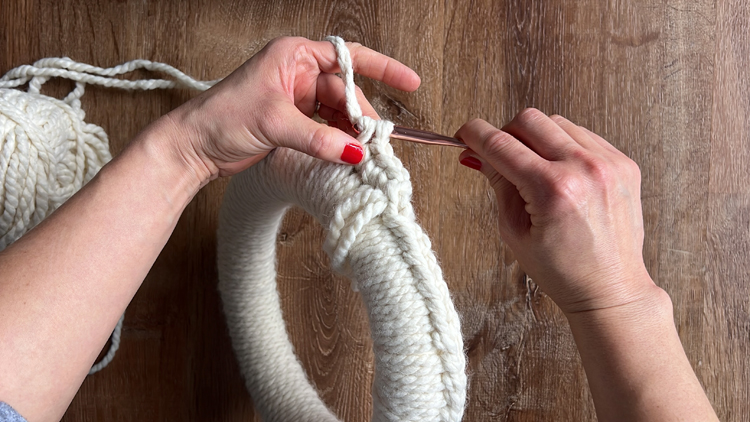
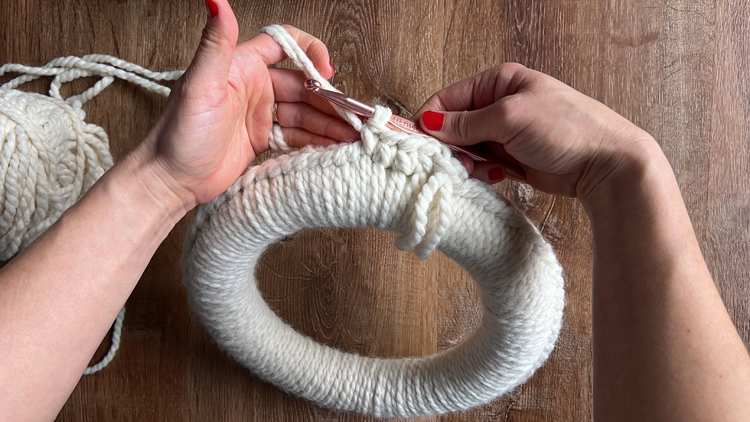
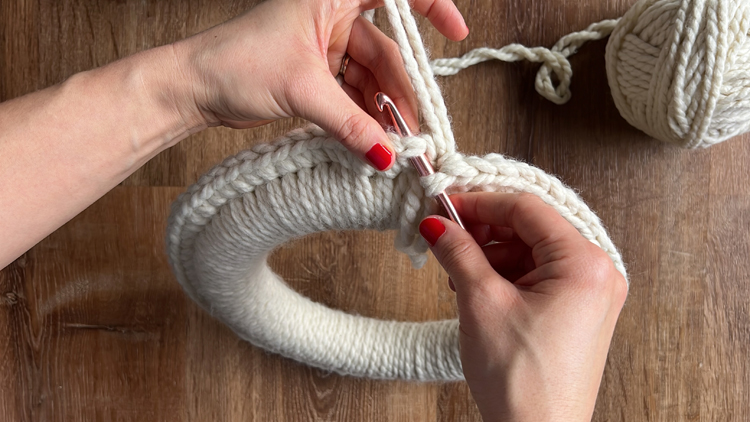
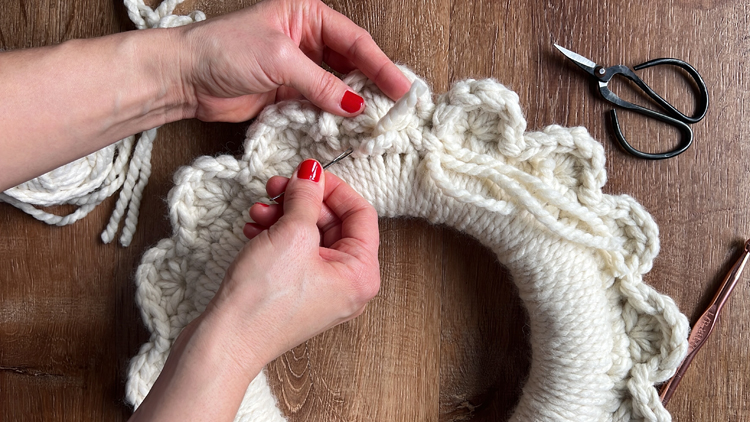
Without chaining to start, skip one, and dc into the next stitch 5 times. Skip 1, and sl st to the BASE of the next stitch (not the top two loops, but the base or post of the stitch. See the video for more clarification). *Sl st into the next, skip 1, dc 5 times into the next, skip 1, sl st to the base of the next stitch* Repeat from * to * 13 more times. Total = 15 scallops
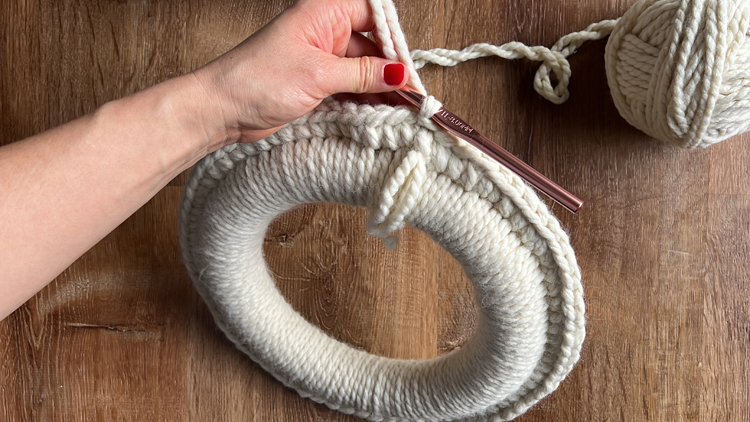
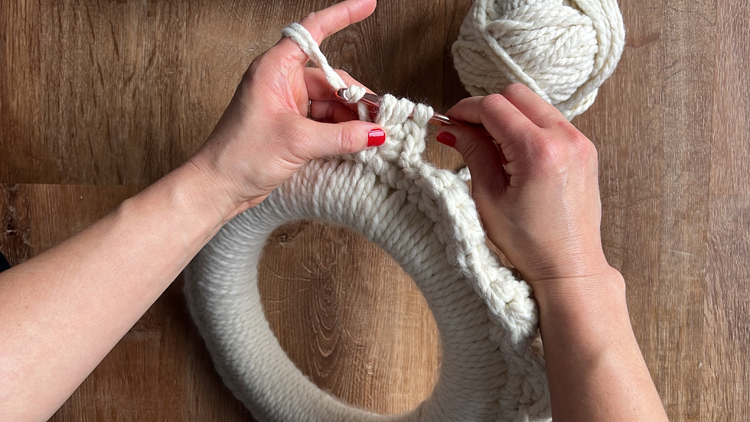
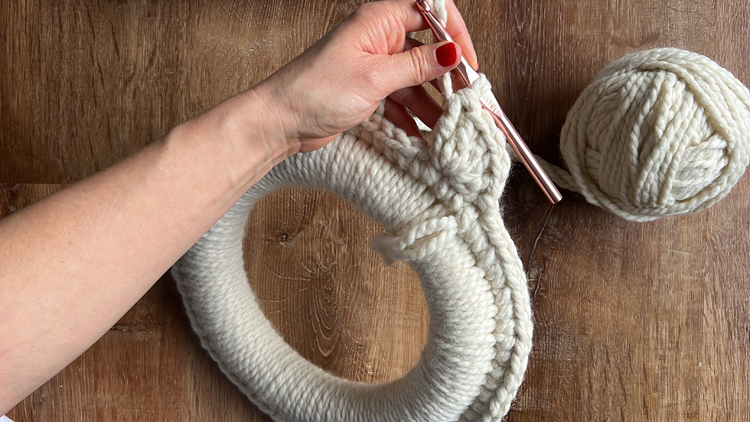
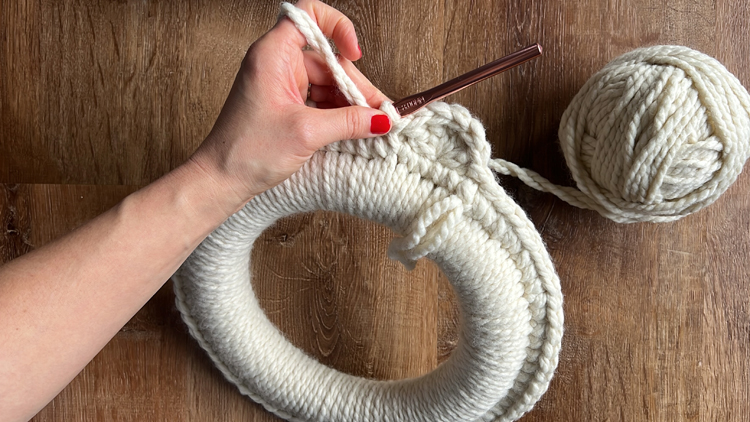
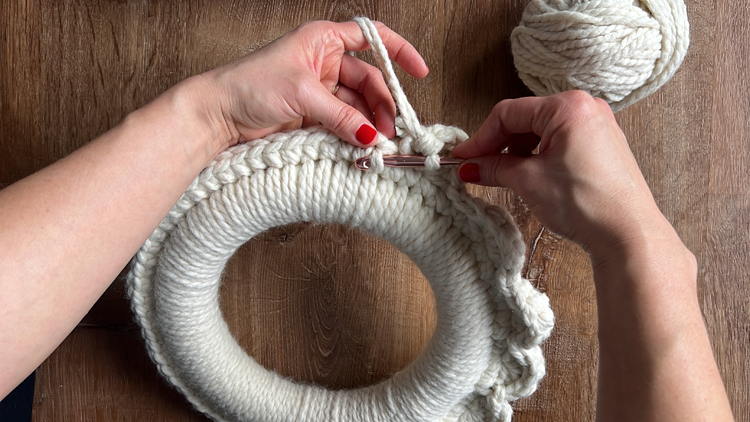
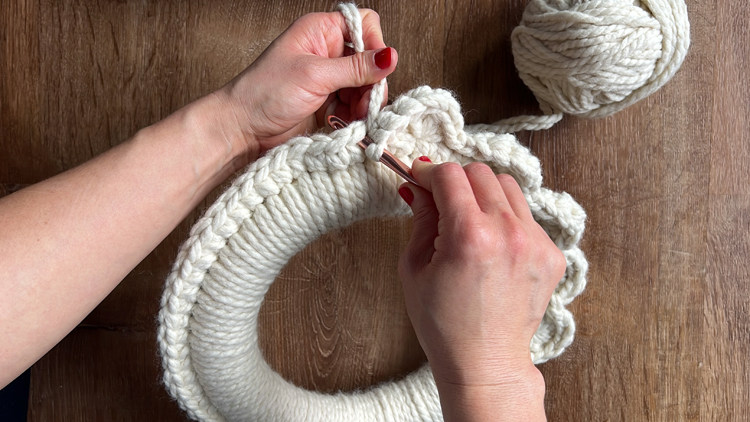
Tie off the end, leaving a 4 inch tail. Weave in each strand of the starting and ending tails into the wreath, using them to help tighten and clean up any stitches.
OPEN SCALLOP VERSION
Chain 6, skip 3 stitches, sl st into the top two loops of the next. *Slip stitch (again), chain 6, skip 3 stitches, sl st into the next.* Repeat from * to * 13 more times. Total = 15 scallops
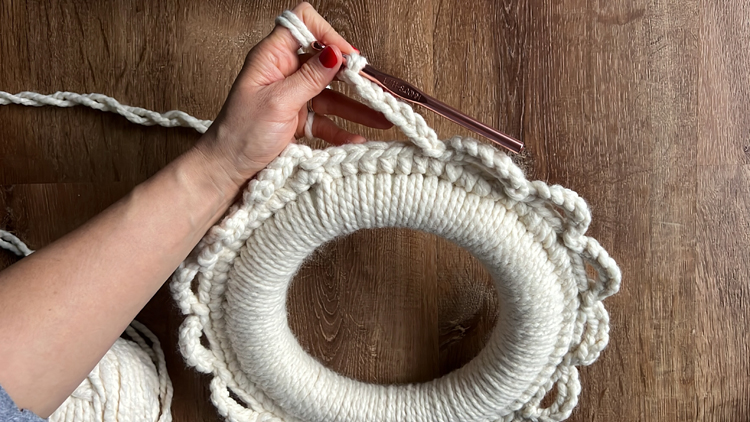
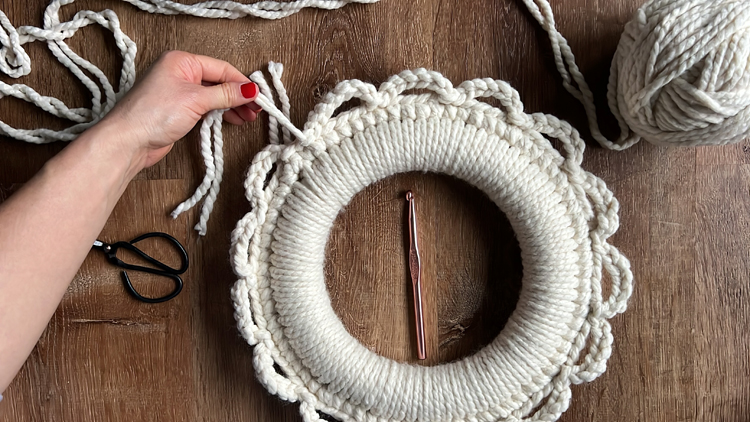
Tie off the end, leaving a 4 inch tail. Weave in each strand of the starting and ending tails into the wreath, using them to help tighten and clean up any stitches.
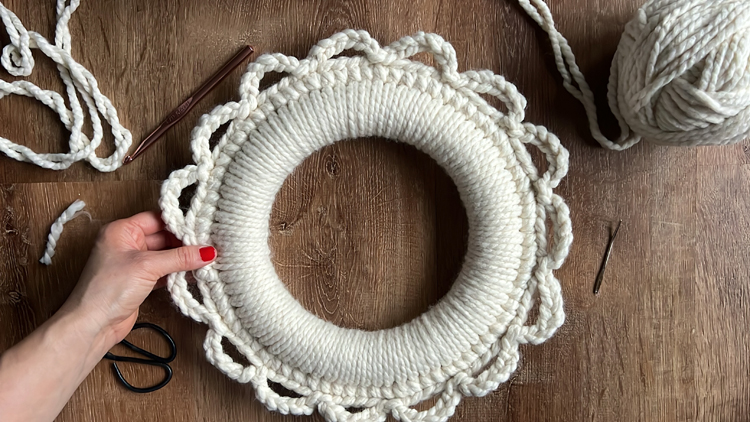
All done!
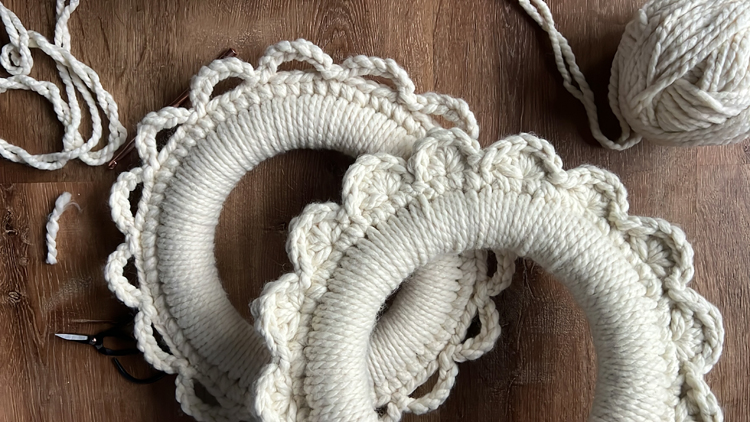
Now you have wreaths that can last you through the holidays and into all the cold, cozy months.
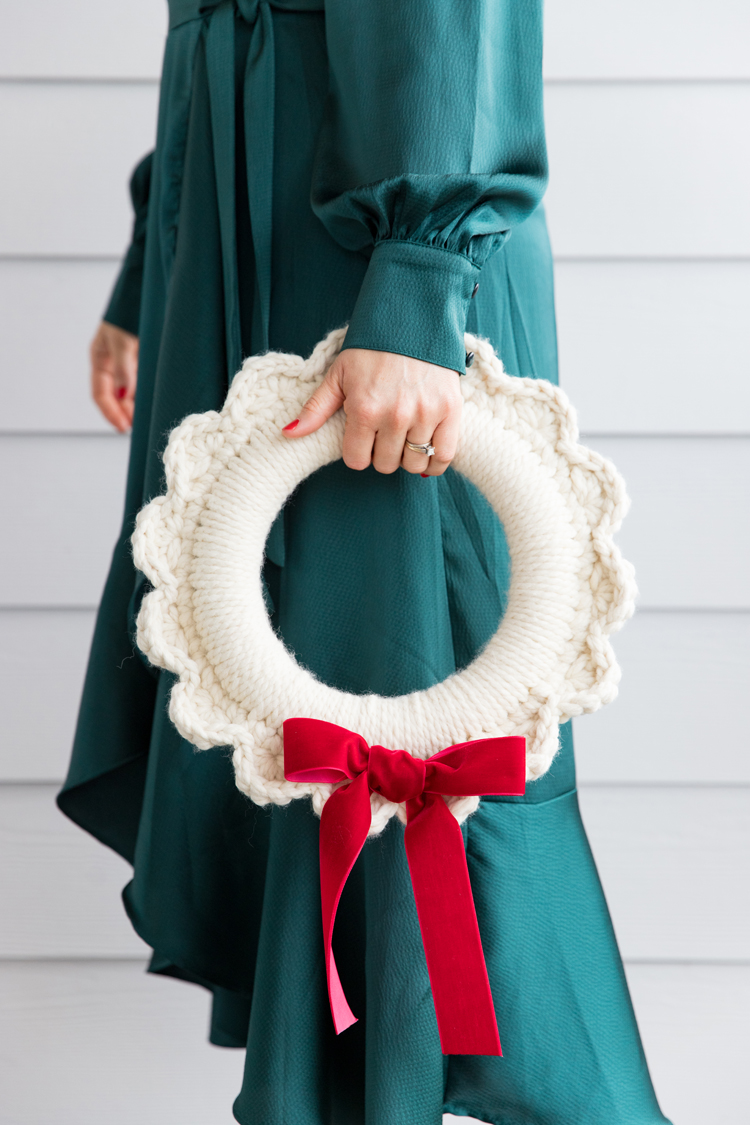
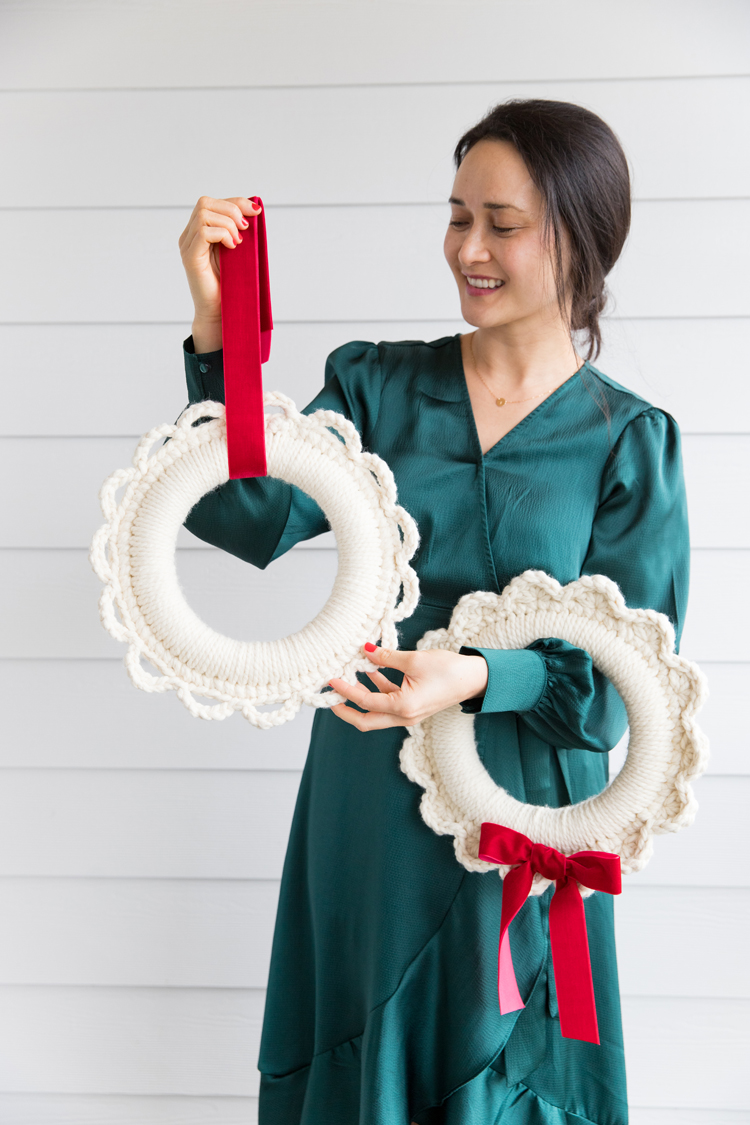
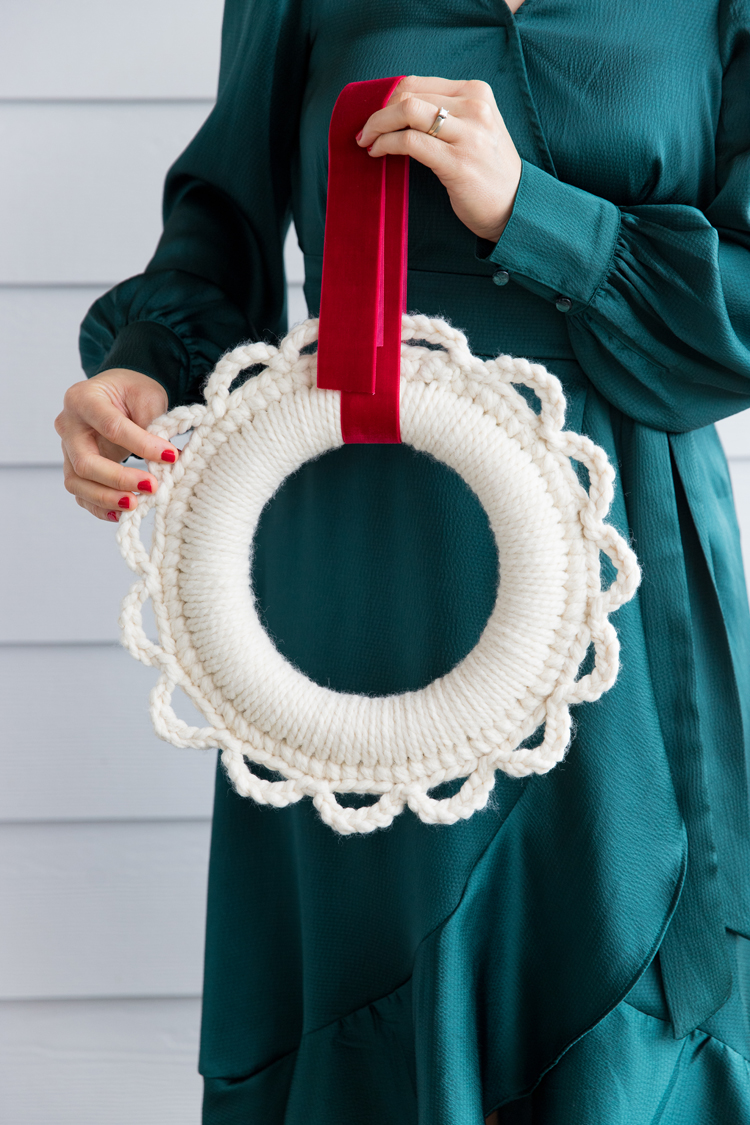
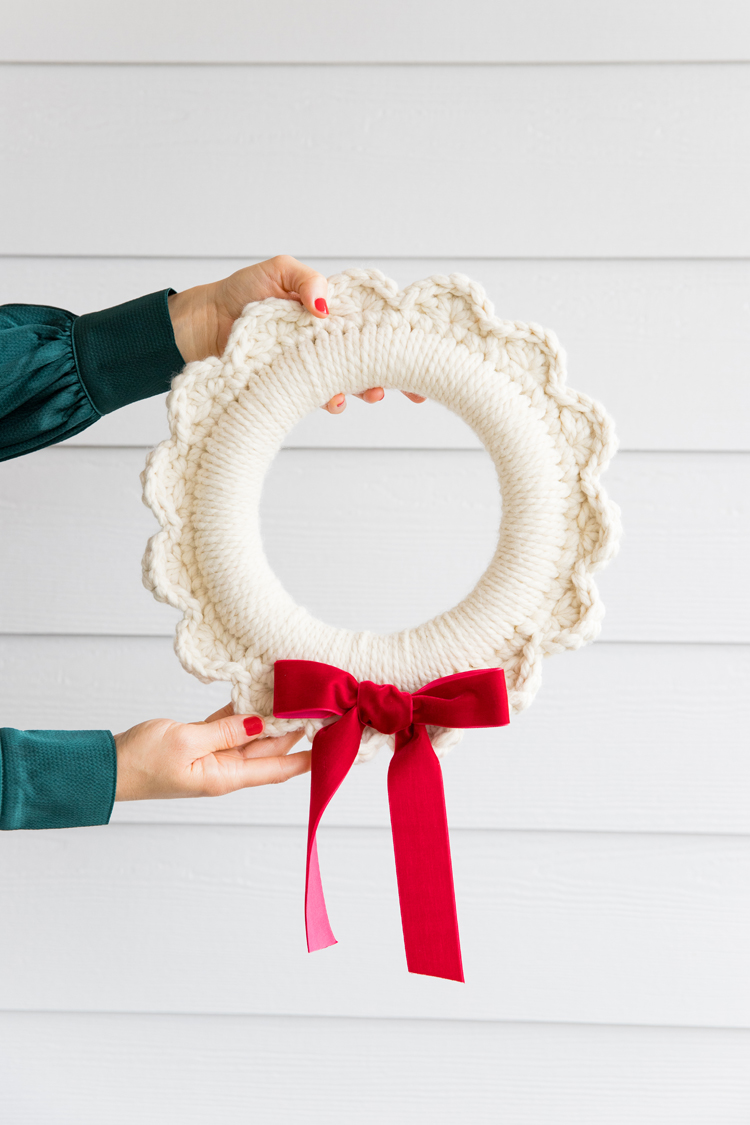
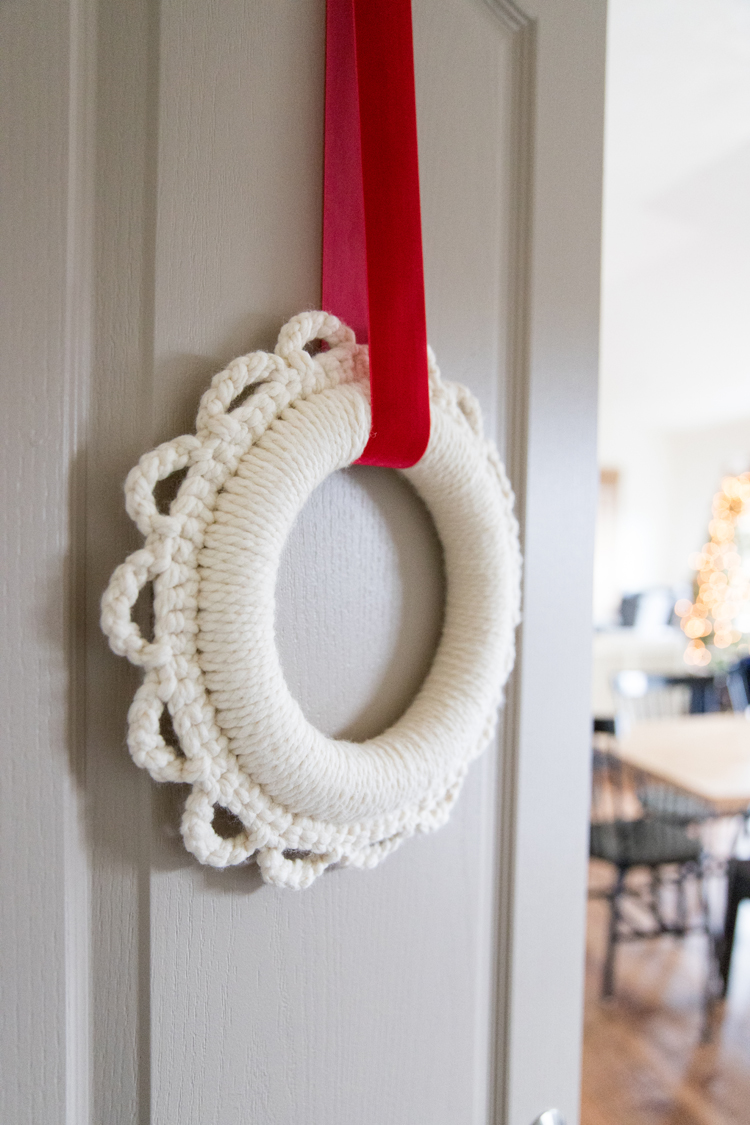
My favorite spot to put mine is hung over interior doors. They aren’t so big that they steal the show, but they still add a festive touch.


Leave a Reply