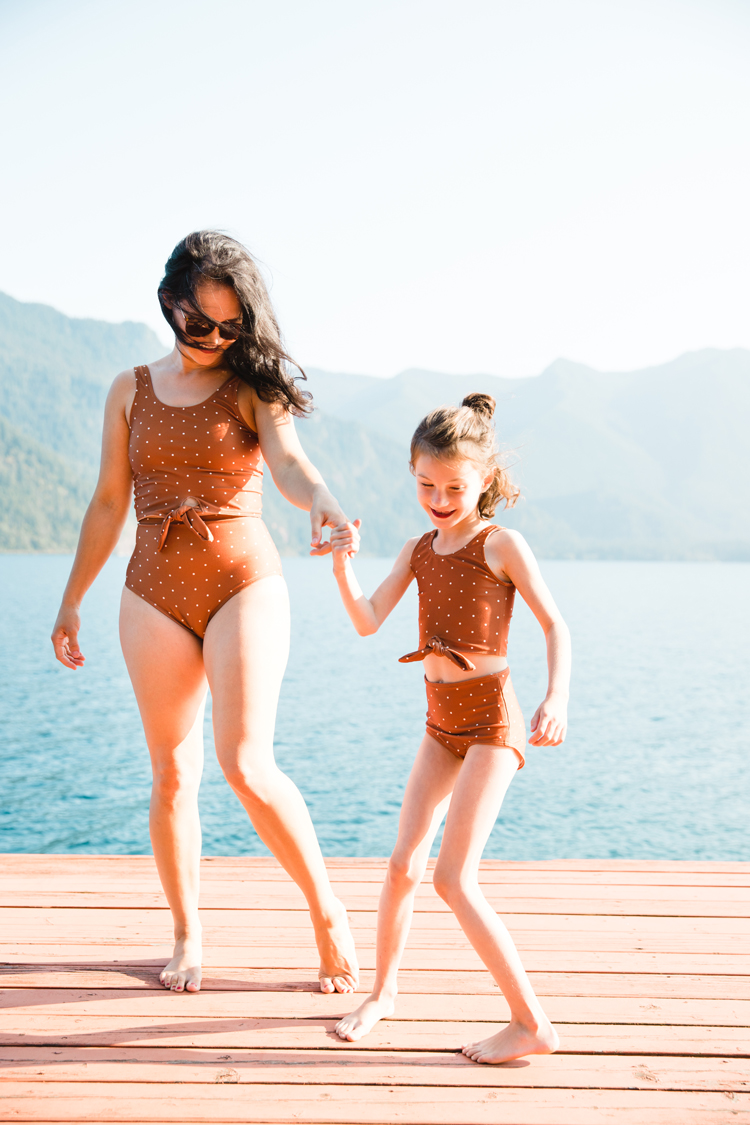
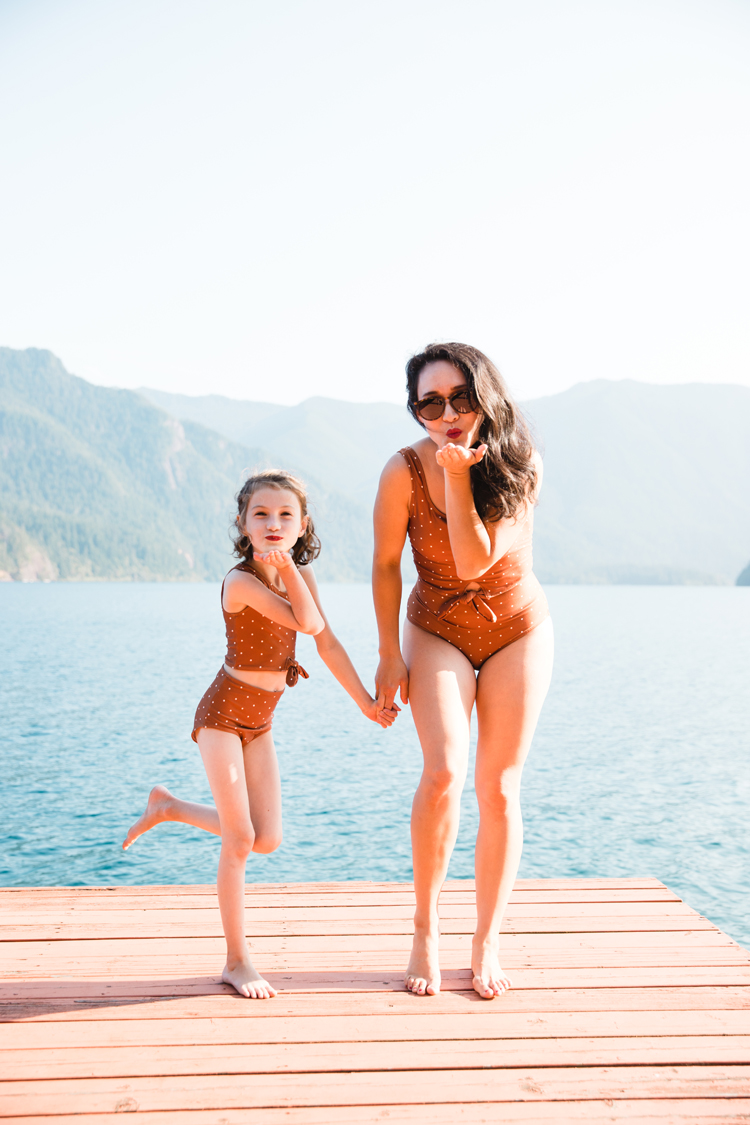
At the beginning of the summer, I set a goal to conquer my fears and sew my own swim suit. After a couple months of procrastination, and inspiring encouragement from others (Katie Kortman, I’m looking at you!), I did it!
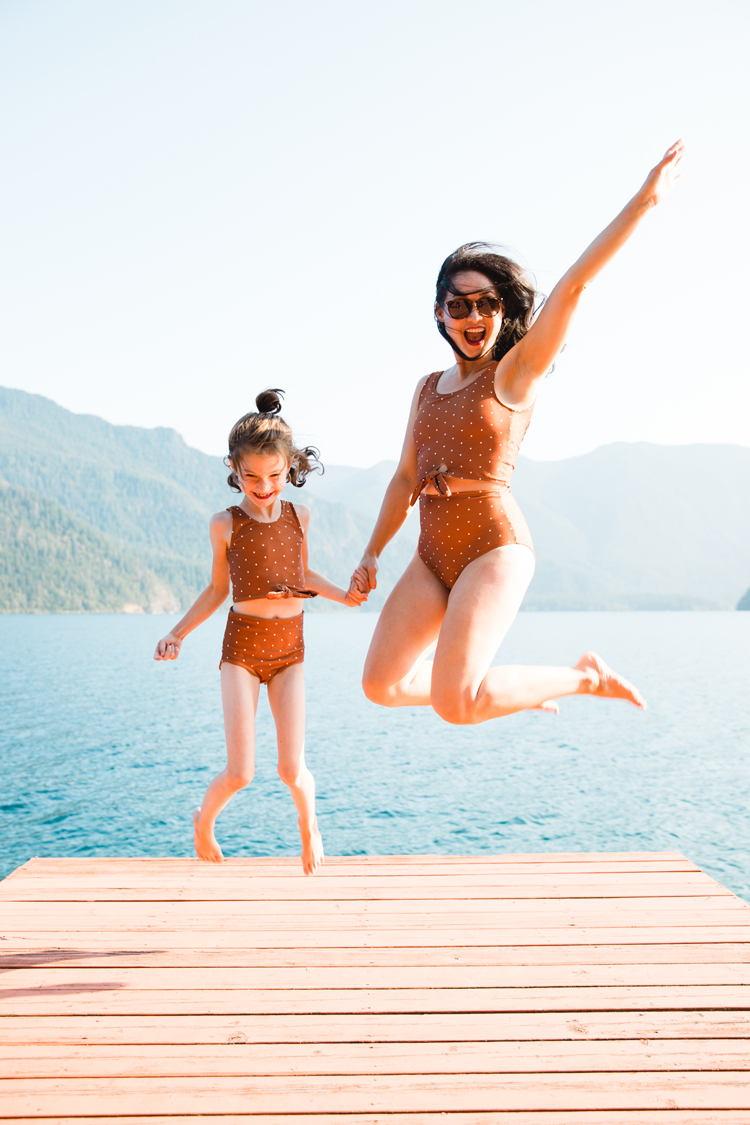
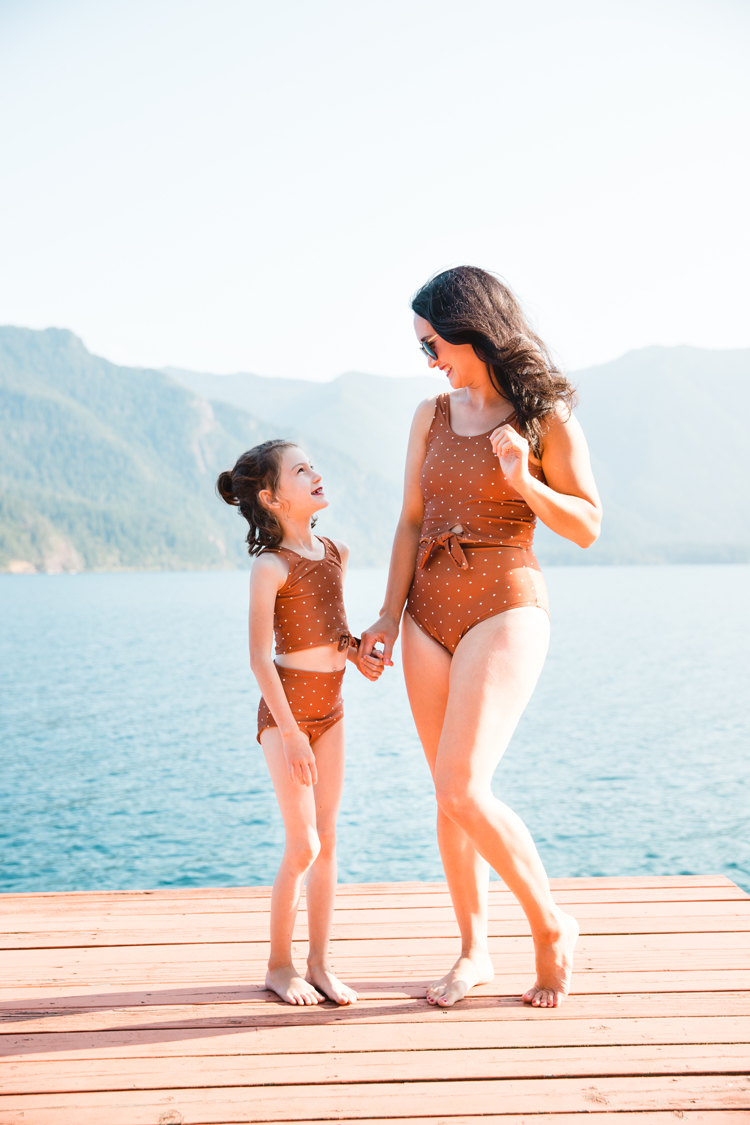
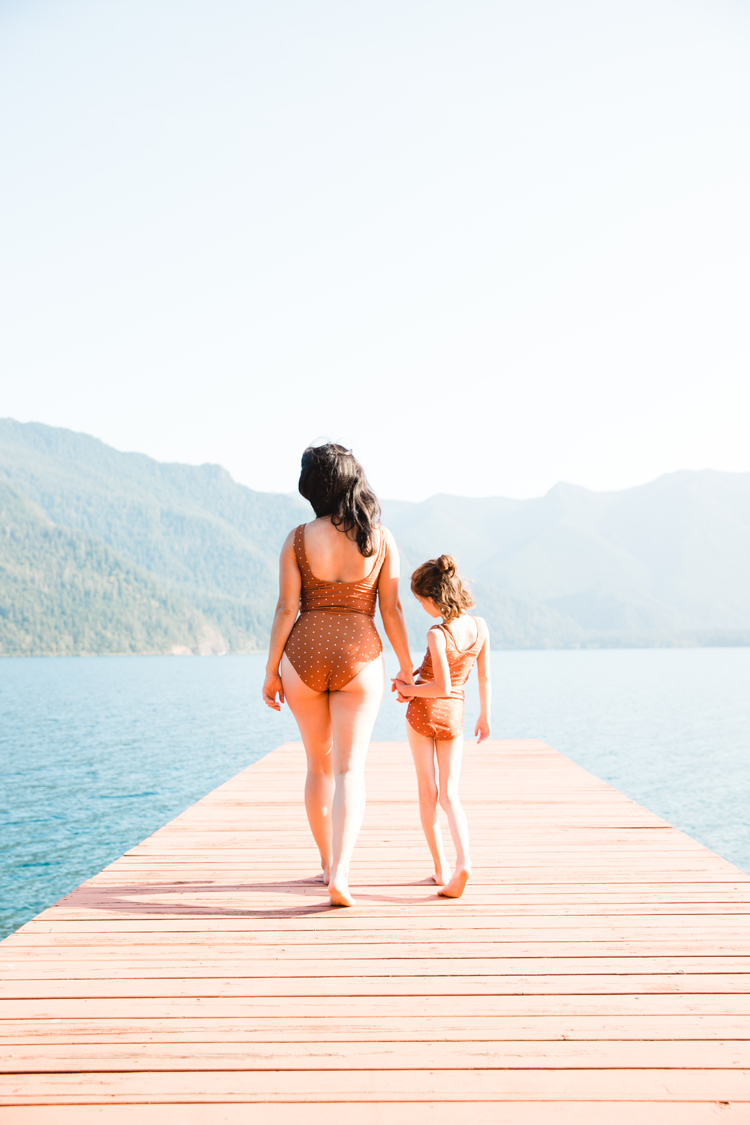
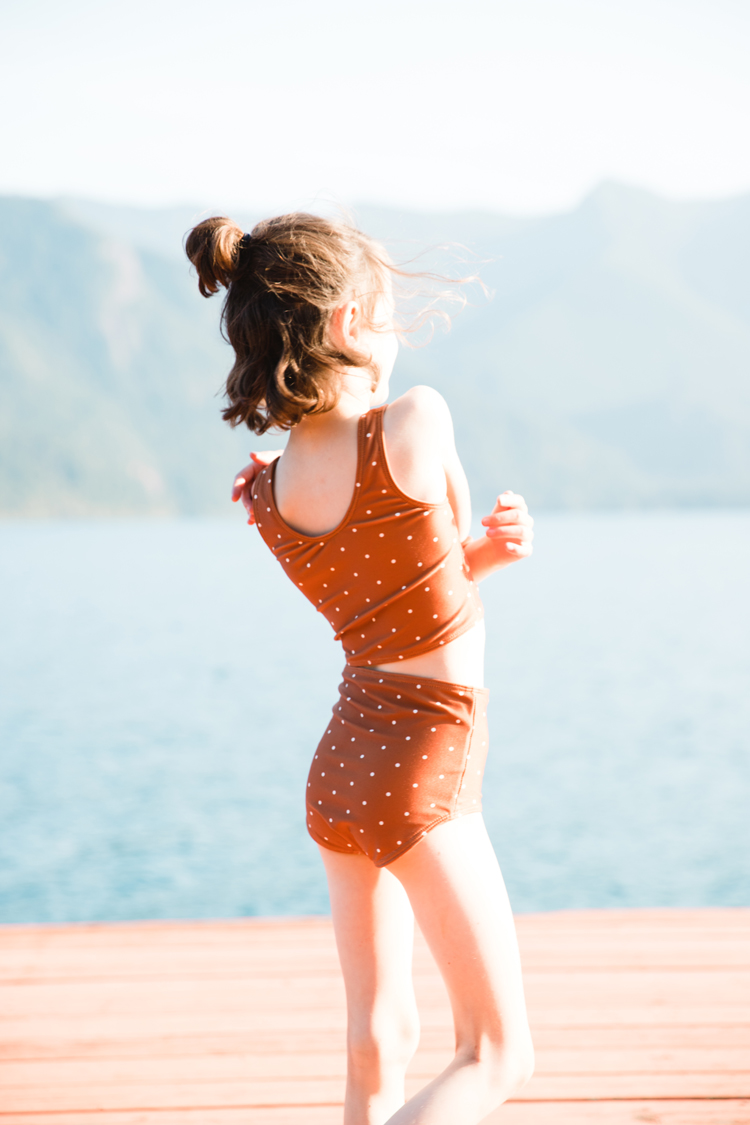
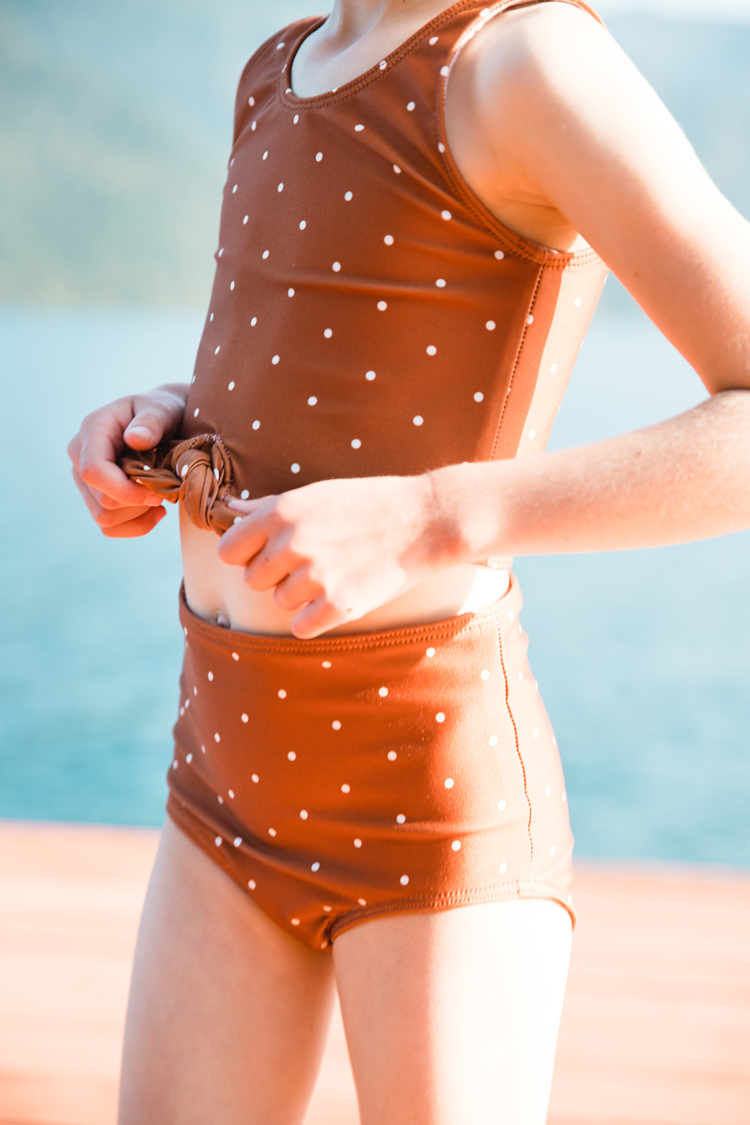
And I made a mini version for Nat…because how could I resist?!
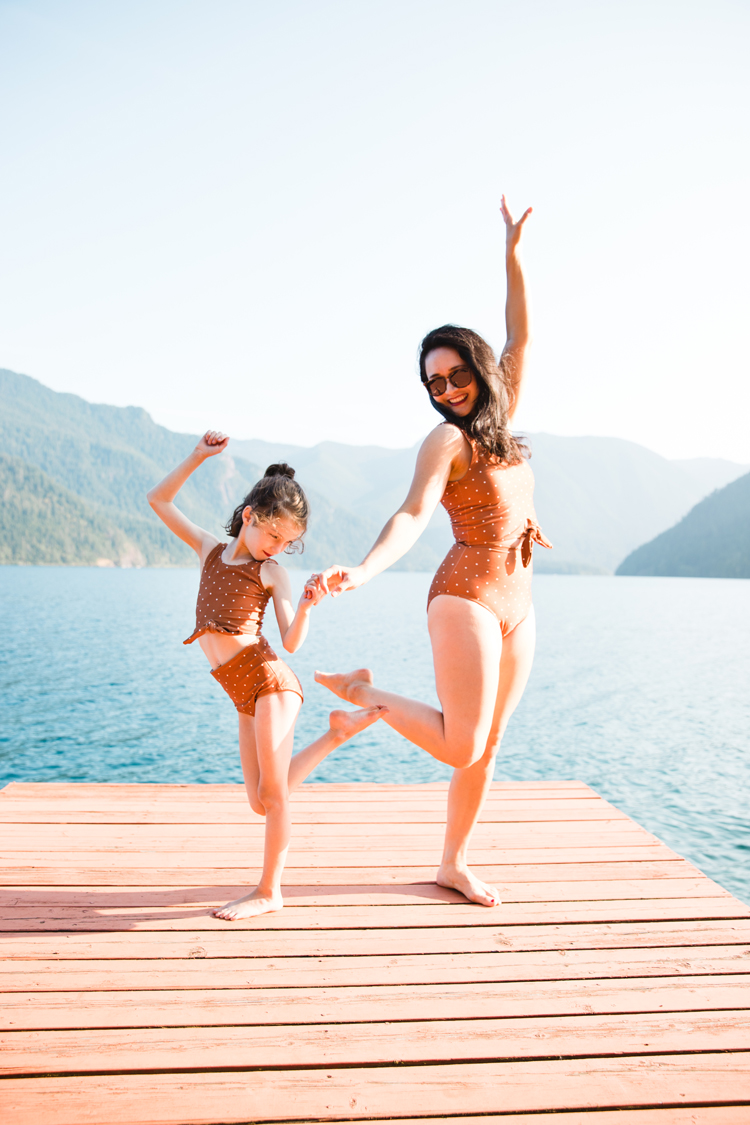
I don’t think sewing a swim suit is any harder than sewing a dress or pants. At least for me, it just seemed too hard to start because I was so hard on myself and my body image. All the frustration I experience when swim suit shopping somehow translated into my expectations for swim suit sewing. Once I started though, my attitude shifted and it became less about feeling like there is something wrong with my body because it doesn’t fit in the suit, and all about making the suit fit my body just as it is. It became such an empowering exercise of self love!
Pattern
Both of our suits are made from the Mairin Swim suit pattern from Sew A Little Seam; which I love because not only does it have a TON of options, it also comes in a women’s version and a children’s version.
Design
When setting out to design how I wanted my suit to look, I was dead set on having a two piece…because bathroom convenience! 😉
It drives me crazy that it’s so tricky to find a modest two piece (that fits), because I just want to go to the bathroom without having to practically strip to nothing each time…especially if my suit is wet. Sticky!
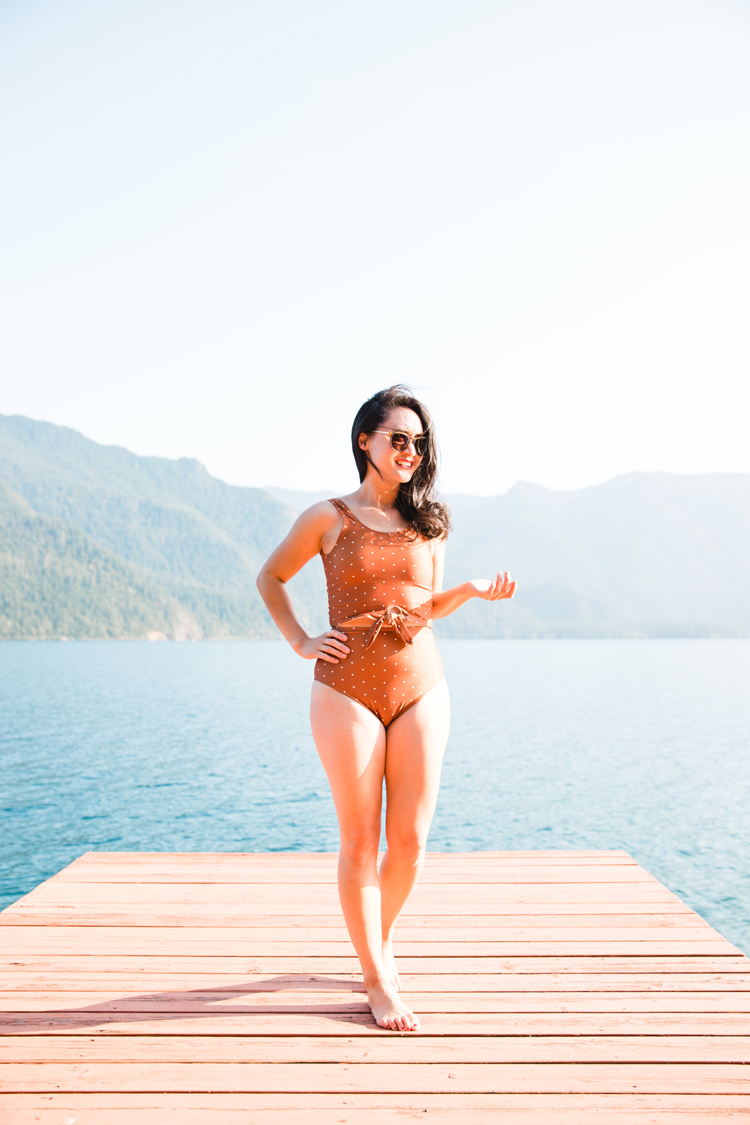
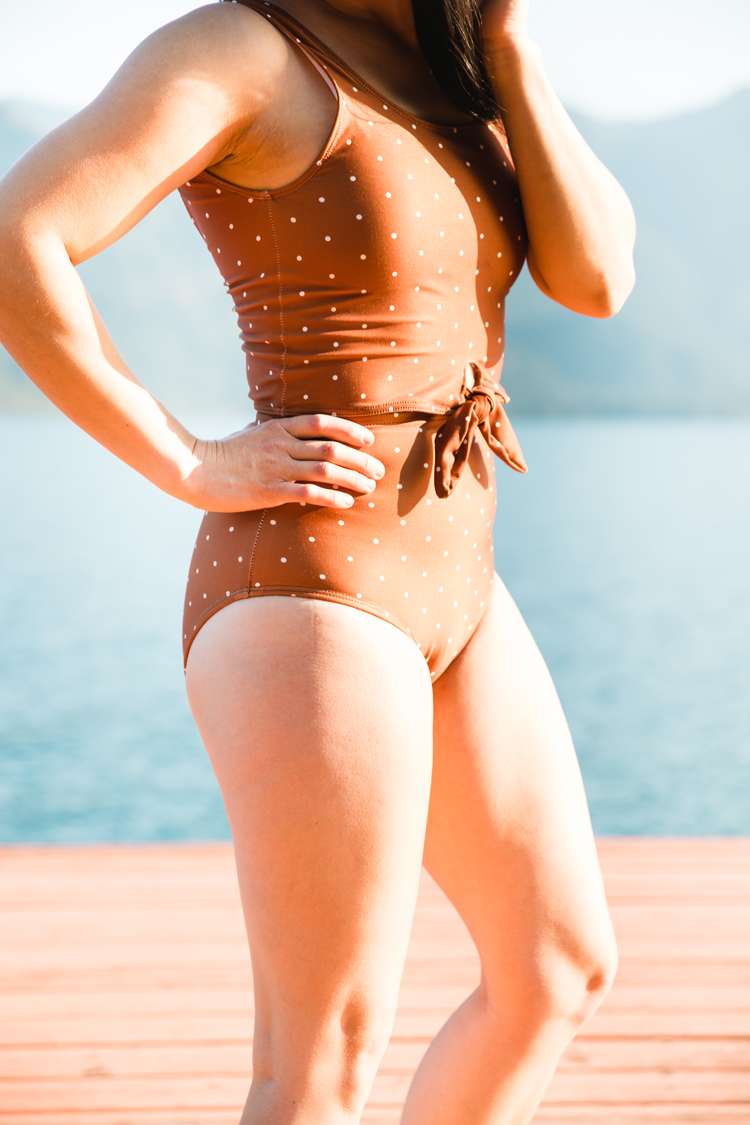
I also wanted to design something that would best suit my body. That meant a high waist to help bring in the belly ;), and high cut legs, because I have short legs. The higher cut is much more flattering (I think on everyone actually), and helps to lengthen the leg. I was hoping the high cut on this would be a little higher, but it’s already an improvement over the more typical store bought, high waist bottoms that cut you right at the thickest part of the leg (whyyyy?).
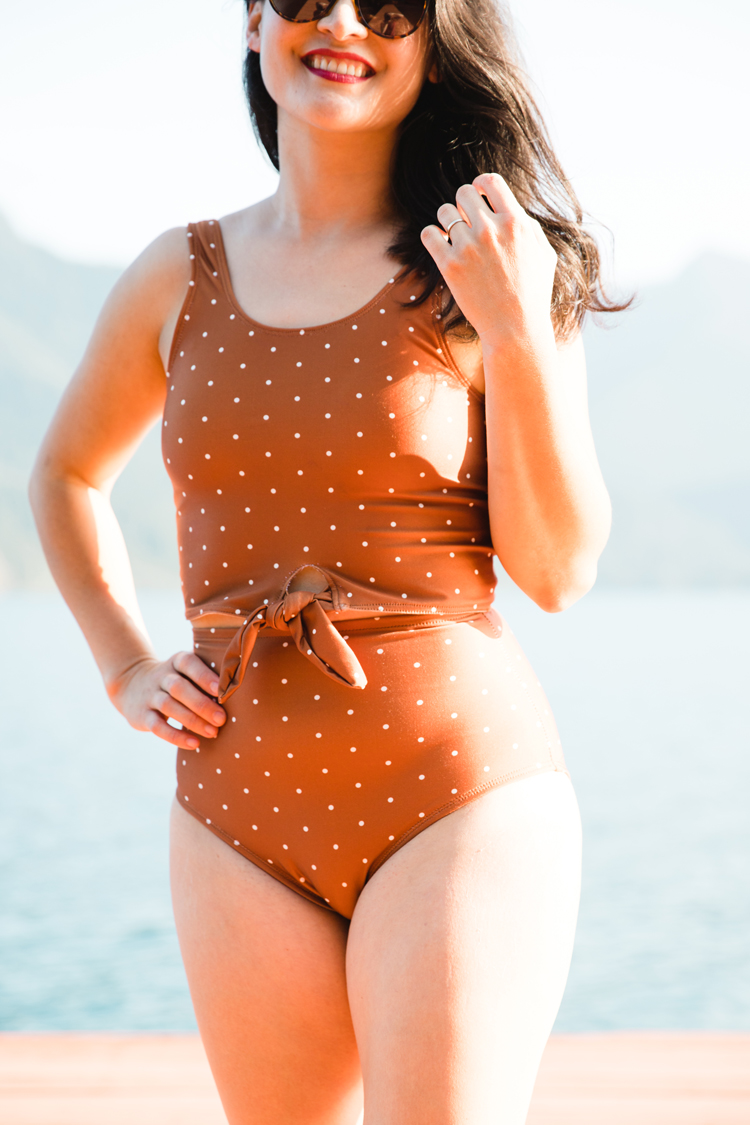
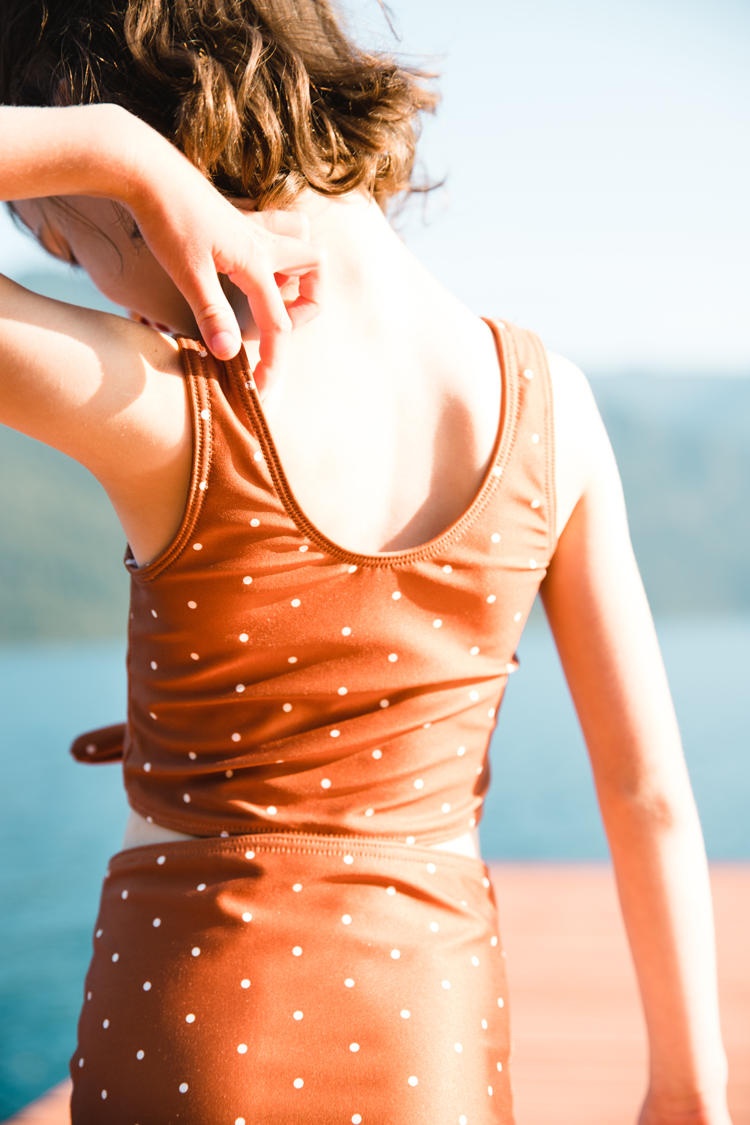
I chose a cropped top, because I thought that would be cute with the front tie I wanted to add, the mid scoop back, and the thicker strap option. I have always had beefier arms, no matter my size, and I’ve learned that thicker straps are more flattering and look more proportional to bigger arms.
I originally wanted to have a baggier top with a built in shelf bra, that I could tie in a knot like a regular tank top…maybe one that would look flattering even when I have a food baby going on. Ha! After a few muslins, I still haven’t quite figured that one out. Maybe for my next suit…fingers crossed!
Construction
I sewed everything with a stretch stitch (lightning bolt) or zig zag stitch, finished seam allowances with my serger, and then hemmed all openings with two rows of stretch stitching. I do not have a cover stitch machine, and am notorious for breaking double needles, so I faked the two parallel lines. I did this, not only for looks but also to help the hems lie flat. One line of zig zag stitching would have done the same thing, but I think the two lines of stretch stitching looks nicer.
Despite using a great pattern as a basis for my suit, I still had to do many fit alterations for the bottoms. Alternate title for this post should be: Just sew a muslin first, dang it! 😉 Because all bodies are not shaped the same…of course.
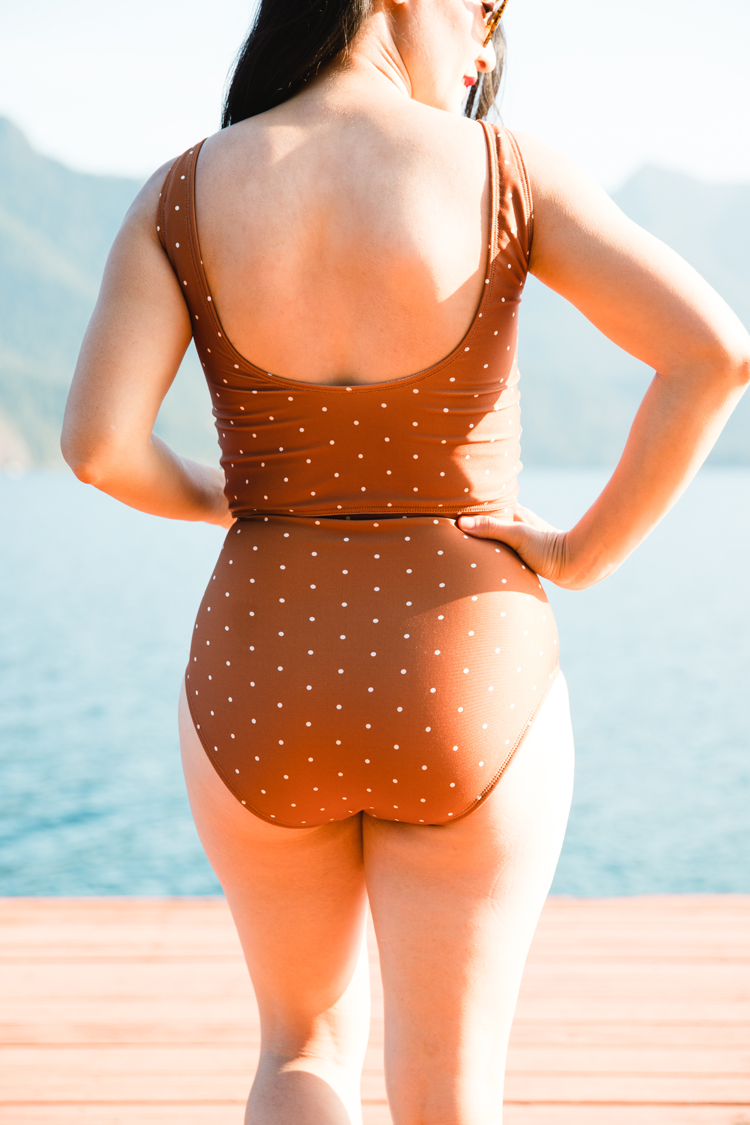
The bottoms were a little saggy at the back on me, so I shortened the panty liner portion and slimmed the bottom curve a little bit. It worked great, and it felt so good to not have to sacrifice fit because it’s all that I could find, like I would with ready to wear bottoms.
With one of the test versions I also tried to cut the leg even higher, but then ended up with a very cheeky back. Whoops! I have to wonder if this is why some store bought suits are so cheeky. Does a super high cut leg with decent butt coverage defy the laws of physics? I may try to fiddle with this a little more for my next suit, just to see.
(I can’t believe I just talked about my butt for three paragraphs and then showed you a close up. Ha….)
And by next suit…I mean next summer suit! Ha! After sewing so many versions, mess ups, and finally muslins with many alterations, I had sewn 3+? suits before I landed on my final suit. I’m feeling pretty done with suit sewing for now. 😉
But I hope that doesn’t scare you off from ever sewing one yourself! If I could do it again, I would sew muslins from the start to save time and frustration. Have I said sew a muslin enough in this post?
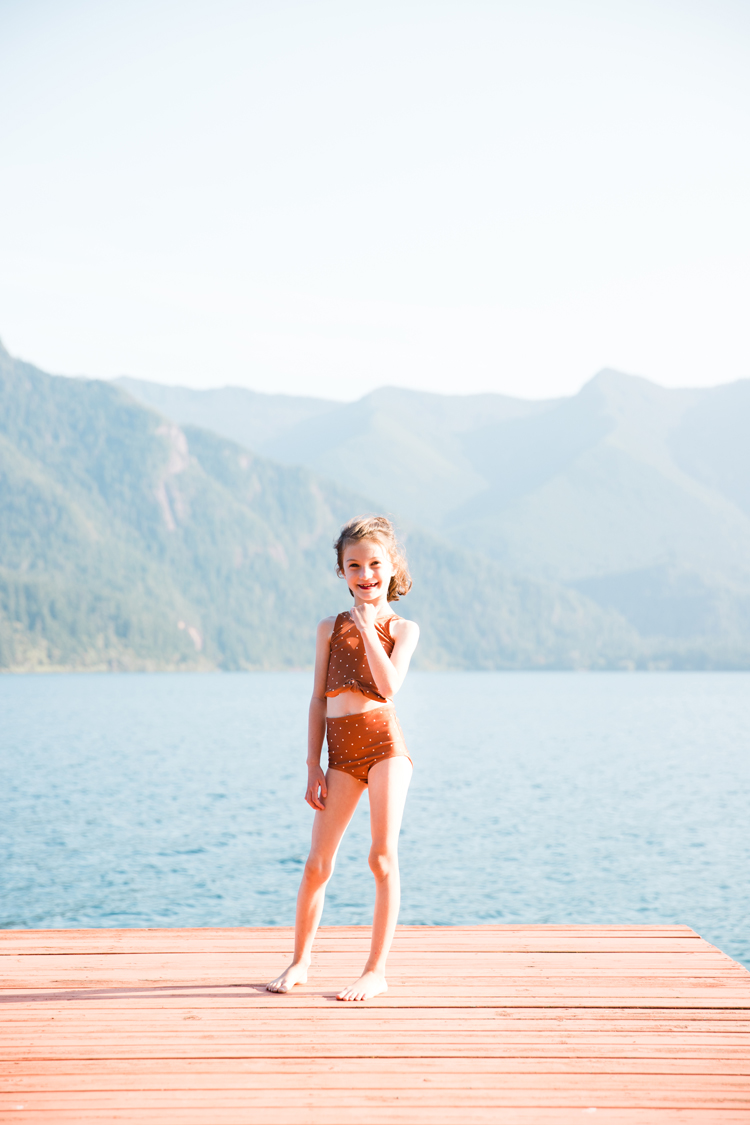
I didn’t spend any time custom fitting Nat’s suit and I ran out of fabric to do anything about it after all my different versions (oops!), so it fits a little baggier on her than I would like. Thankfully, she’s seven and can grow into it.
Notions
I used swim elastic and wooly nylon thread in my bobbin (100% polyester thread otherwise). I found the 1/4″ Dritz cotton swim elastic at Jo-ann, but could only find the 3/8″ through Amazon. The pattern really calls for 1/2″ but I couldn’t find it. Even when I have to wiggle out of my suit when it’s wet and sticks to me, the seams hold up beautifully, I think, in large part to the proper notions and thread.
I looked to Jo-ann for swim cups as well, but was a little disappointed with the selection available for small chested women. I didn’t want a push up bra style cup (which they don’t carry for smaller sizes anyway) and the thinner liner style cup had a weird shape and less reliable looking foam. I got these liners from Amazon instead and they work great. They’re a good fit for smaller girls, high quality foam, not too thick or bulky, and provides good modesty coverage. I just sewed them right into the lining.
Fabric
My fabric is a sport lycra I designed through Spoonflower. Rust is one of my favorite colors, so I created a rust and ivory dot pattern and have listed it HERE, in case you want some too.
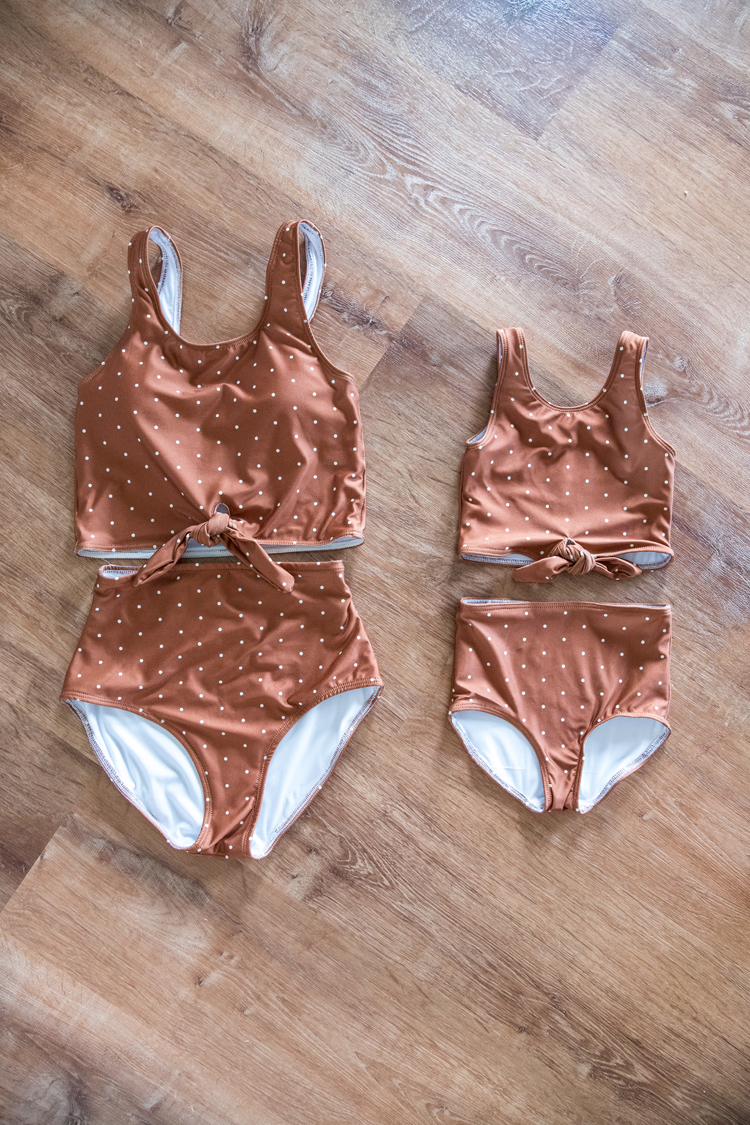
Here is what it looks like indoors without evening light shining on it.
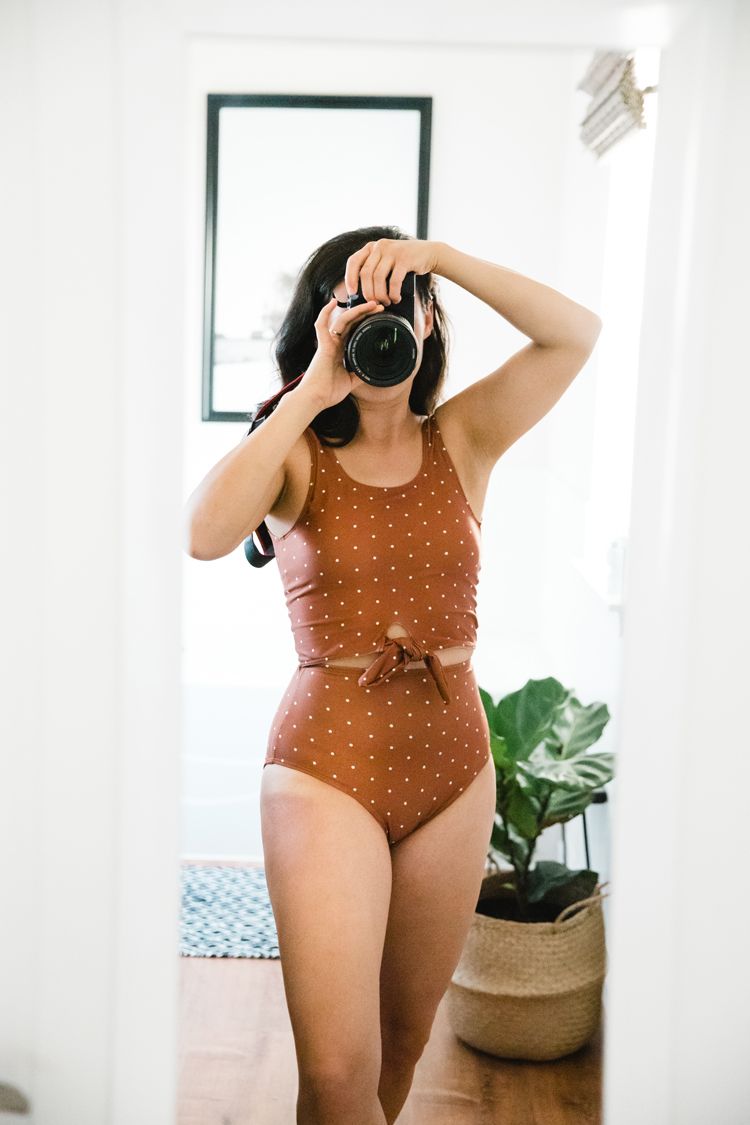
You can see it really looks more brown than orange.
You can also see the tan line from my store bought high waisted bottoms better in this light. As you can see it’s only about a 2 inch difference between the low cut and high cut bottoms. Oh yeah…and you can see the spot I missed reapplying sunscreen. Ha!
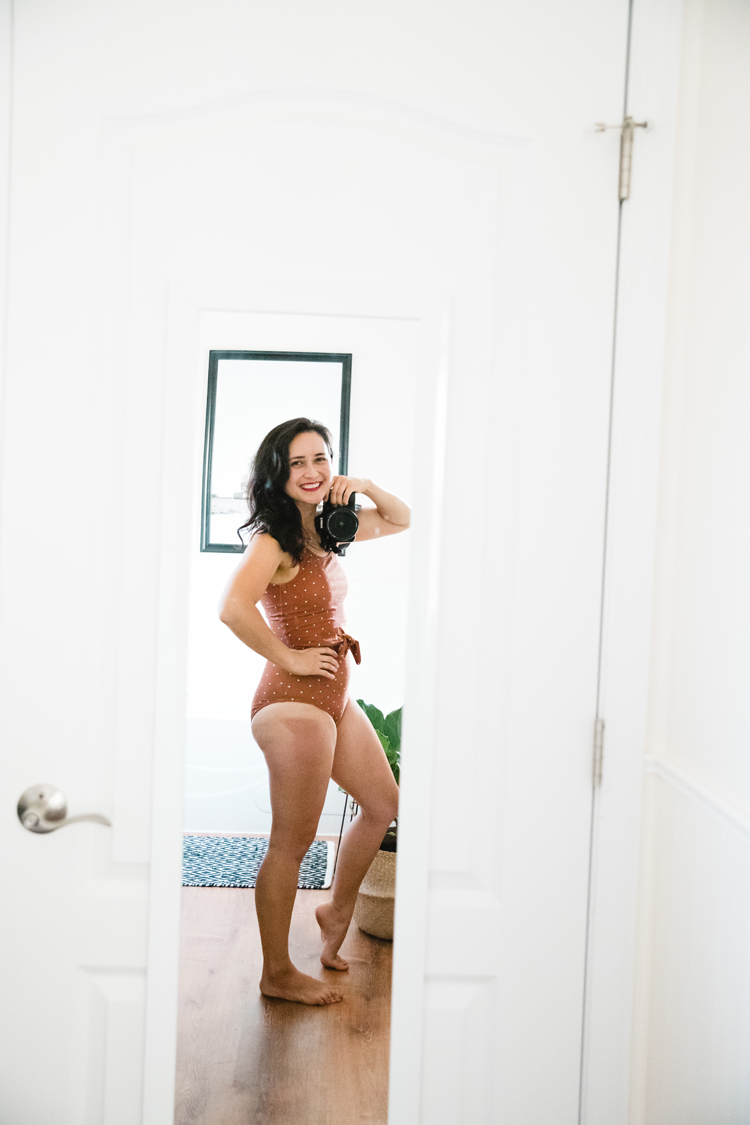
Overall, I am really happy I went for it and made my own suit. I think I will always sew my own bottoms when I can. These are the best fitting bottoms I think I have ever owned! Being able to make everything fully lined, quality, and made to fit me has been a really rewarding adventure.
Sources
Fabric: Rust and Ivory Dot from Spoonflower
Lining: Jo-Ann
Thread: Polyester and Wooly Nylon (bobbin)
Elastic: 1/4 inch swim elastic is from Jo-Ann, 3/8 inch is from Amazon
Cups: Amazon


Great job!
Thank you Kathleen!
Your swimsuit turned out really flattering on you!! ❤️ and Nat’s is so cute too!
Thank you LeeAnne! She loves matching with her mom. I hope that lasts! 😉
Amazing! The sewing and your modeling. So glad to get that trick about thicker straps!
Thanks Kelli! I picked it up in a fashion article or magazine…wish I could remember where!… and it was like a light bulb moment. I could never quite put my finger on why thin straps didn’t suit me that well. The same goes for some short sleeves, depending on where it ends on my arm. Now I know why I have always loved elbow length sleeves. They are very flattering on bulkier arms!
Both of these are so fabulous!!! I enjoyed reading your thoughts and experiences. It’s so true about rtw for me too. Lovely pics too!
Thank you Emily! Yes. RTW is designed to fit most people and I don’t fit that shape. Ha!
You’re gorgeous! xo
Thanks Jessica! You are so kind!
Just goes to show we are our own worst critic… like when you mentioned your “beefier arms”, I had to scroll up and double-check, because by all means, your arms look completely average & proportional to me! But it’s good to know what makes one feel best.
The end result is so cute, I’m a complete sewing beginner trying to inspire myself to learn more, and this might have become one of my long-term goals to make. Thank you for sharing it!
Well, thank you! Shirt sleeves sometimes fit me tightly at my biceps so sometimes it’s a practical issue and not just a vanity one. 😉 I am excited for you embarking on your sewing journey!
Just made my first swimsuit using the mairin pattern, and was looking for other variations to make. Love this knotted crop tank option that you made. It looks so lovely on you, and came out beautifully! Curious how you made the front tie? (It’s not shown on the pattern, and I assume you’re experienced enough to know how to make that hack). Any tips would be appreciated!
So sorry I am just now seeing this comment. I cut the ties, sewed them right sides together, and turned them right side out. Then I cut a slit at the center hem of front of the swim suit top (not a U shape, just a slit). I serged the ties to the sides of the slit and then folded the seams under. Then I top stitched the seams down and over the top of the slit (which creates a U shape). I hope that helps.
If you have any more questions (and if it isn’t too late -sorry!) please email me: [email protected]