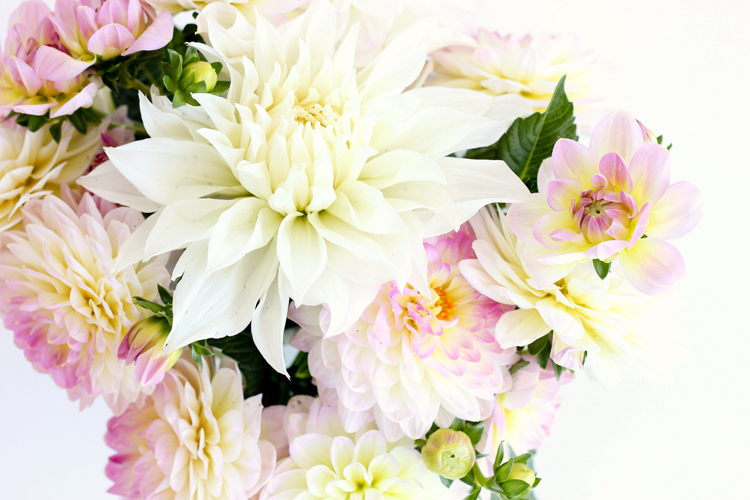
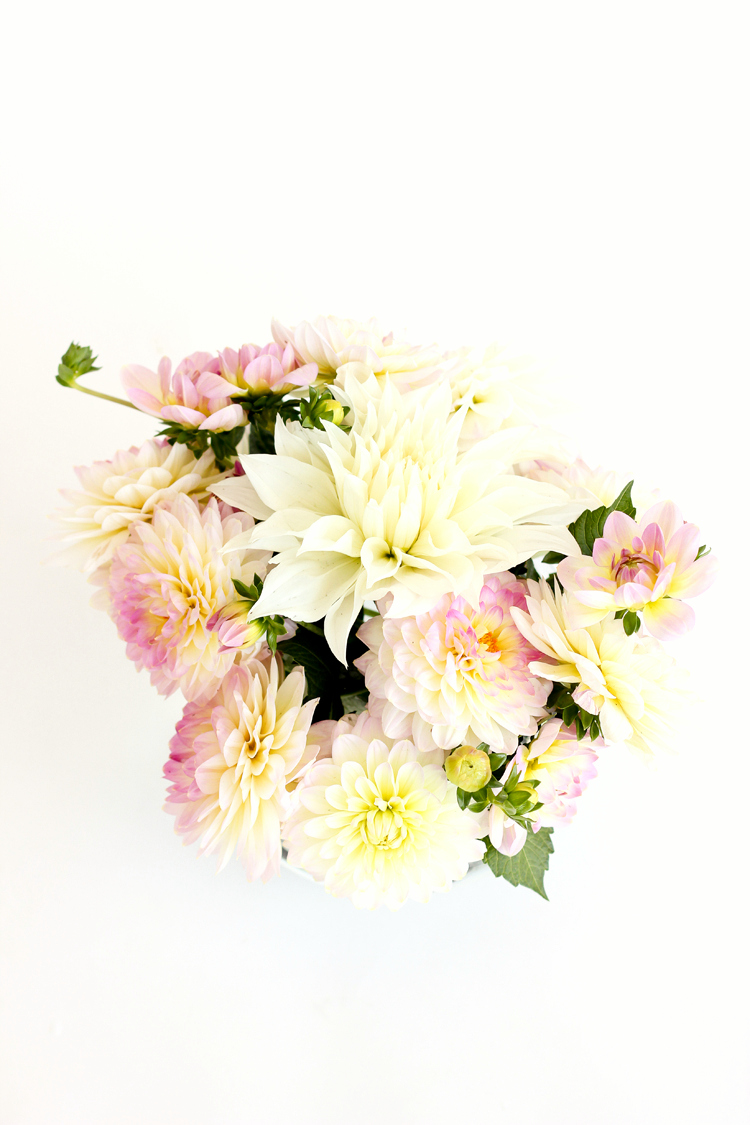
Since moving to the Pacific Northwest, Fall has taken on a whole new feel for me. Instead of being a fleeting season of crunchy leaves and pumpkins, it’s more like four months of wonderfully foggy, crisp as an apple weather that blends almost seamlessly with the end of summer and the start of Christmas…and it all begins with dahlias.
When the dahlias start blooming, you know it’s time to slowly ease into autumn.
My favorite way to welcome in the season is to go to the local dahlia u-pick. I posted about it on Snapchat this last weekend. You can come say hi at deliacreates! 🙂 I can guarantee you I will be snapping LOTS more dahlia pics from here until Thanksgiving.
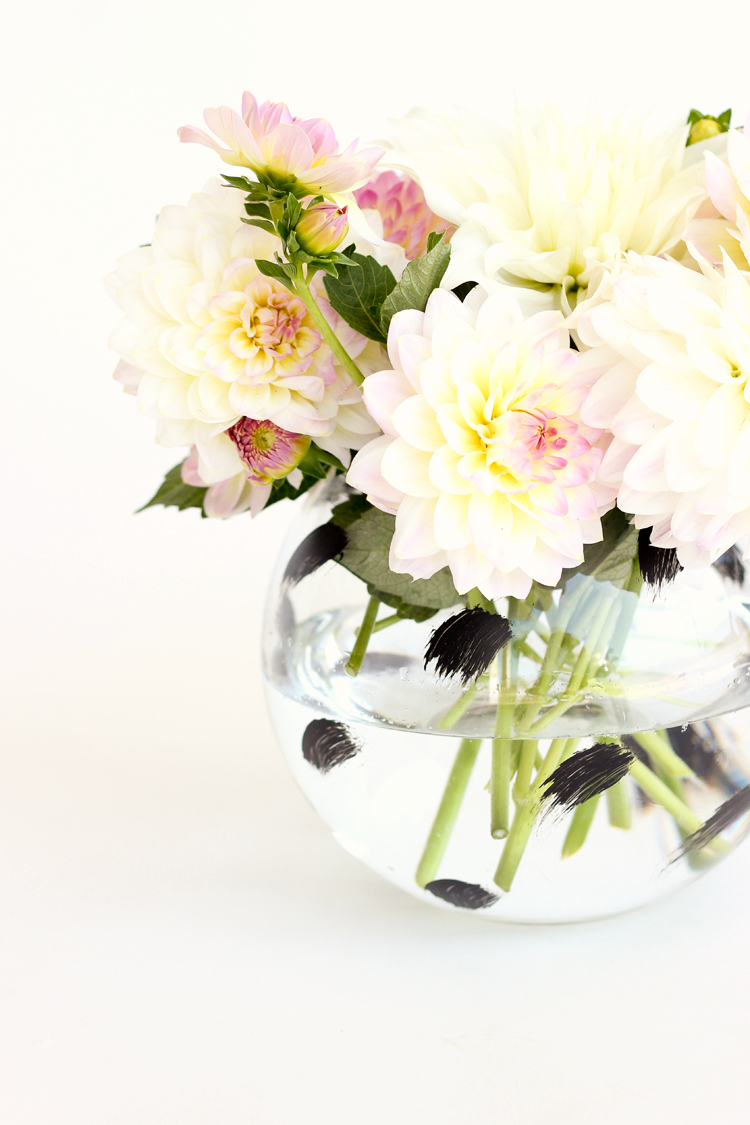
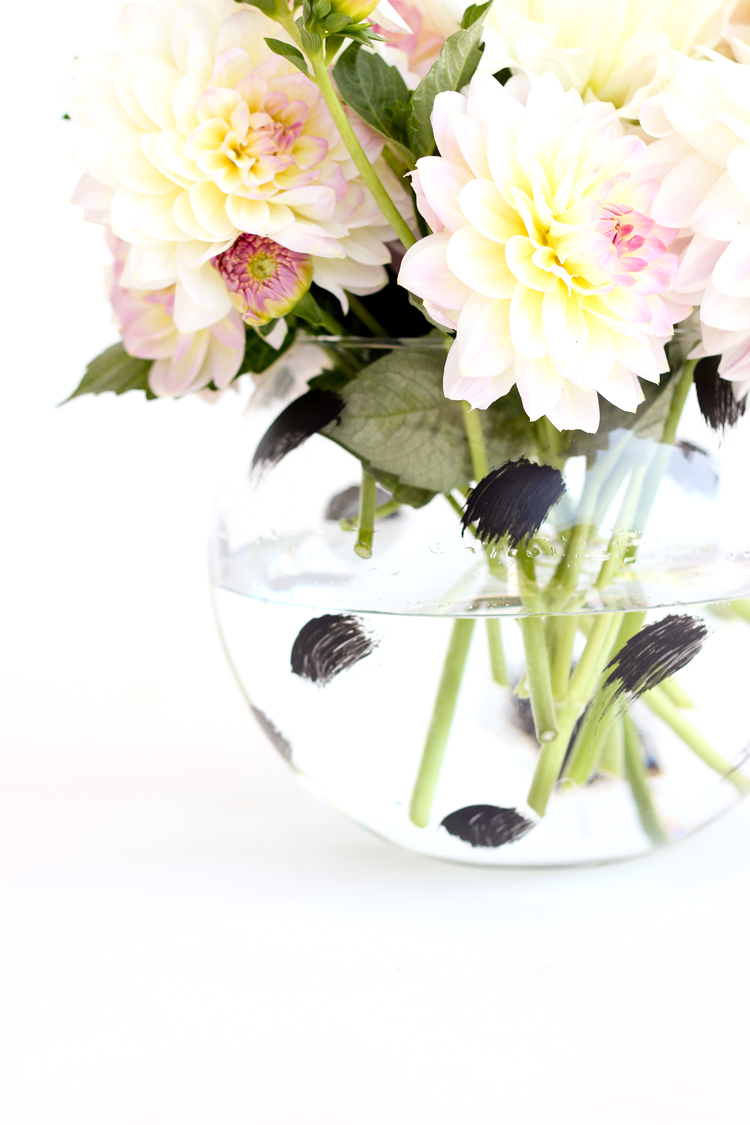
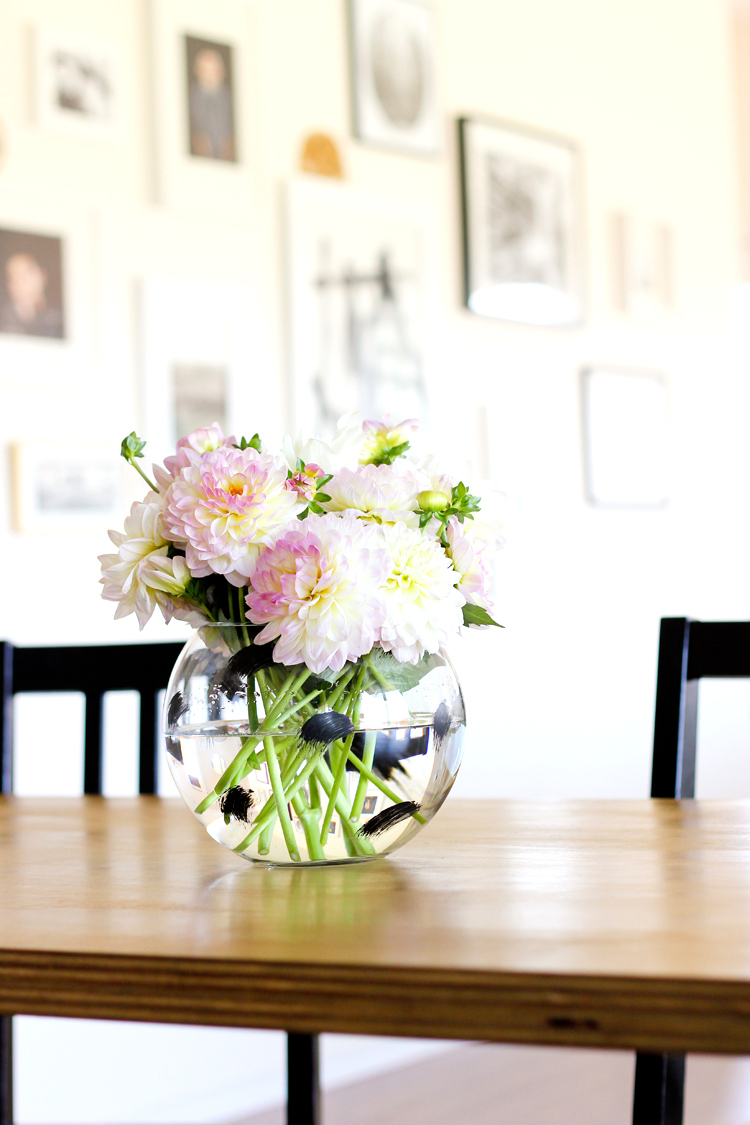
To house my dahlia picking obsession all season long, I thought I would DIY a vase to hold them all!
Plus, who can resist a five minute DIY?
This project is as easy as it looks, 😉 but there are few things to keep in mind that I think are important.
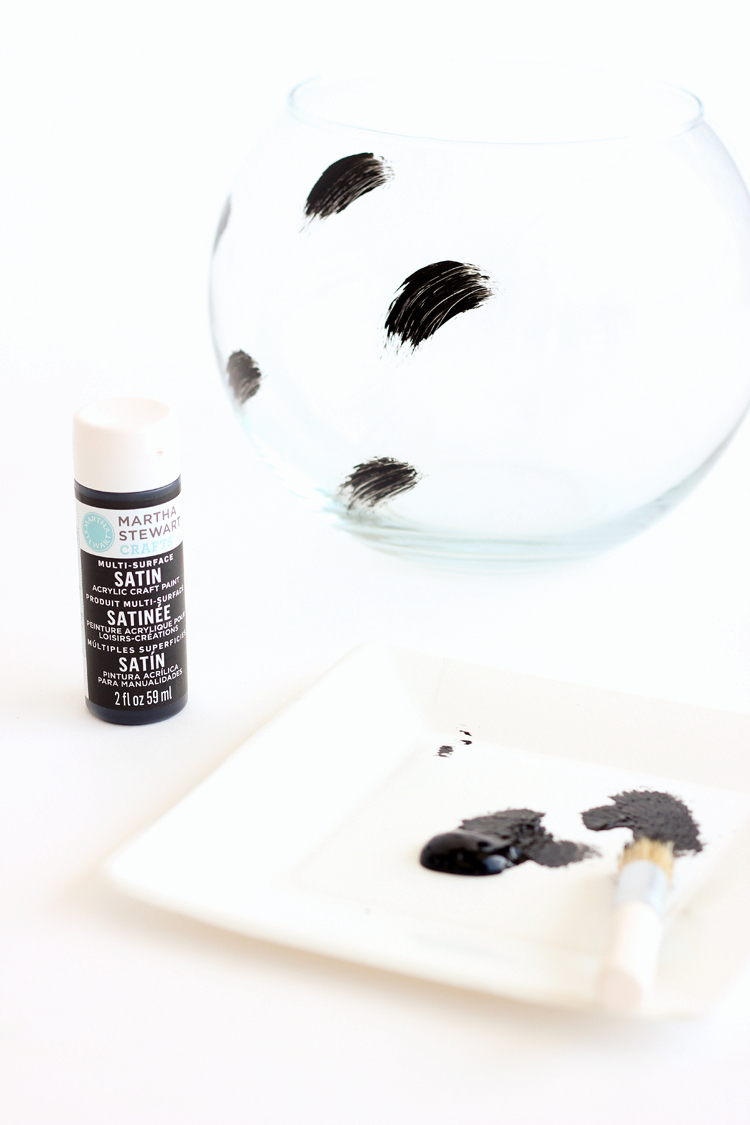
You have got to use the right paint. Don’t get out just any old craft paint. Choose a craft paint that is appropriate for glass. I love, love this Martha Stewart multi-surface paint. It paints on better and wears better than any other craft paint I have used for glass, for wood, for metal…almost everything! It even cures to weather resistant and dishwasher safe after 21 days. That’s a long time to wait, I know. But for 20 days you can just gently hand wash your vase at first and then not worry about it as much after that. It costs about twice as much as other brands, but even being the penny pincer that I am. I think it’s worth it.
MATERIALS
Wide or fat bristle brush (for ideal texture)
All-surface craft paint
Glass vase
Note: You can find all these supplies at any Michaels.
HOW TO
Practice your swooshes on a piece of paper beforehand, so you can get a feel for how you want your design to look. You can even practice on the vase and then wash it off before it dries.
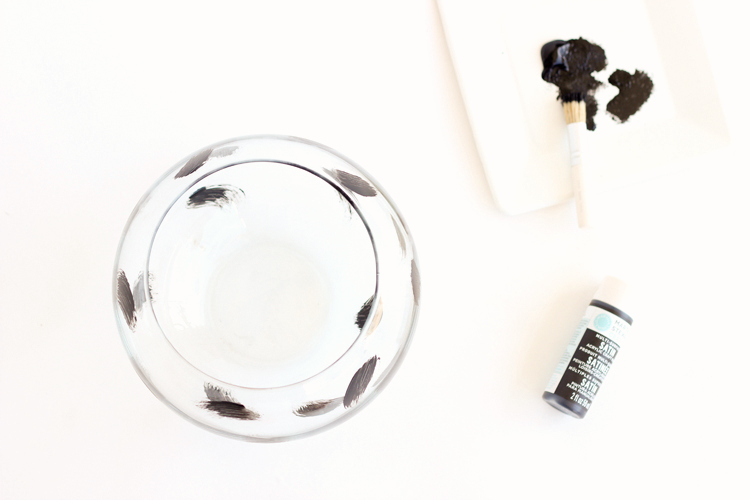
Paint on your swooshes and paint them in an almost even pattern. It looks best to stagger the swooshes into rows so that it looks semi organized. You want it to look organic and artistically messy, but not awkwardly spaced. If you mess up, you can just wipe it away and try again.
Let it dry and enjoy!
I’ve got some tips for keeping your cut flowers fresher longer in THIS floral arranging post for beginners.
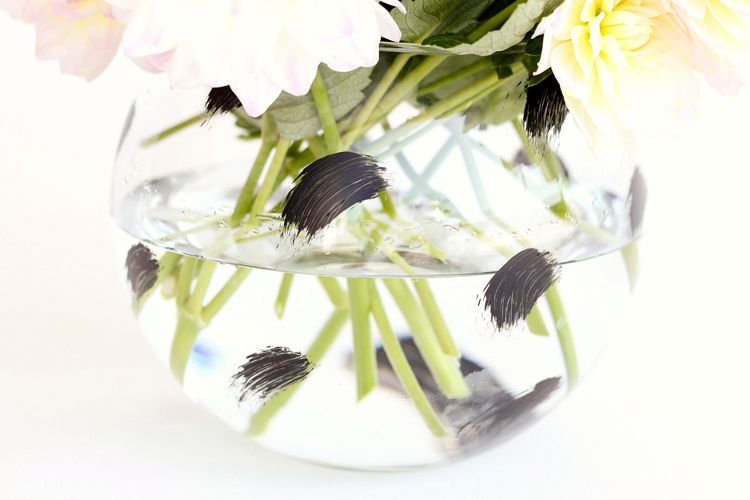
It adds texture and interest without being too fussy. And I love that it’s an unconventional hint to Fall, before we dive into pumpkin mania.
Disclaimer: This post is sponsored by Michaels Makers are welcoming Fall Thank you supporting brands who support this blog! 🙂
Check out how other Michaels Makers are welcoming Fall!


What a fun idea for a vase! I’ve used some of that brand of paint on mugs before, but they weren’t for me so I don’t know how well they wore. Those dahlias are gorgeous! It’ll still feel like summer here (Arizona) for about 2 more months, but I love seeing peeks of fall elsewhere!
Thank you Charity! It’s really my favorite craft paint. I forget that it’s summer in AZ for so long. It’s been too long since I’ve visited and, oh my goodness, 13? years since I’ve lived there. It’s funny to think about what I’ve forgotten in that time, even though I grew up there.