I don’t know about you, but I think suspenders are one of the cutest accessories on a kid.
I wish I could pull them off…and sometimes I try anyway when I wear my wide leg pants ;)(see the tutorial for those HERE).
When you make them with elastic they are a super simple, really fast sew too. There’s no hemming, or turning, or pressing. The elastic does most of the work and makes the suspenders more comfortable to boot!
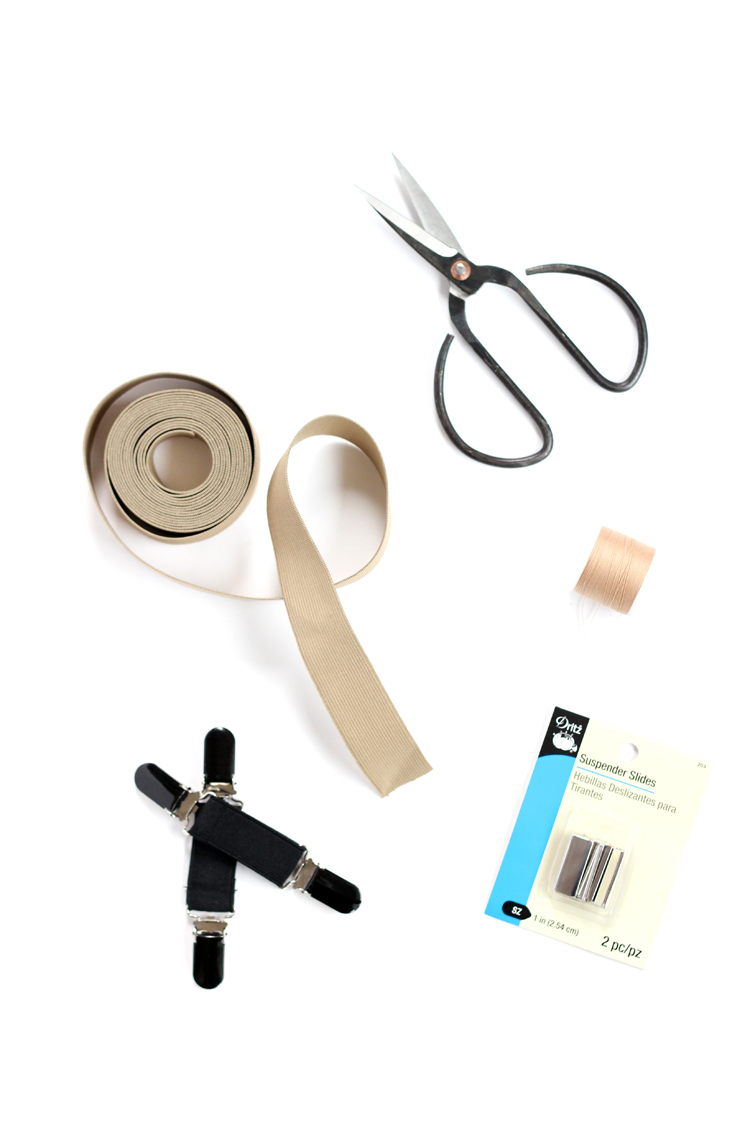
Materials
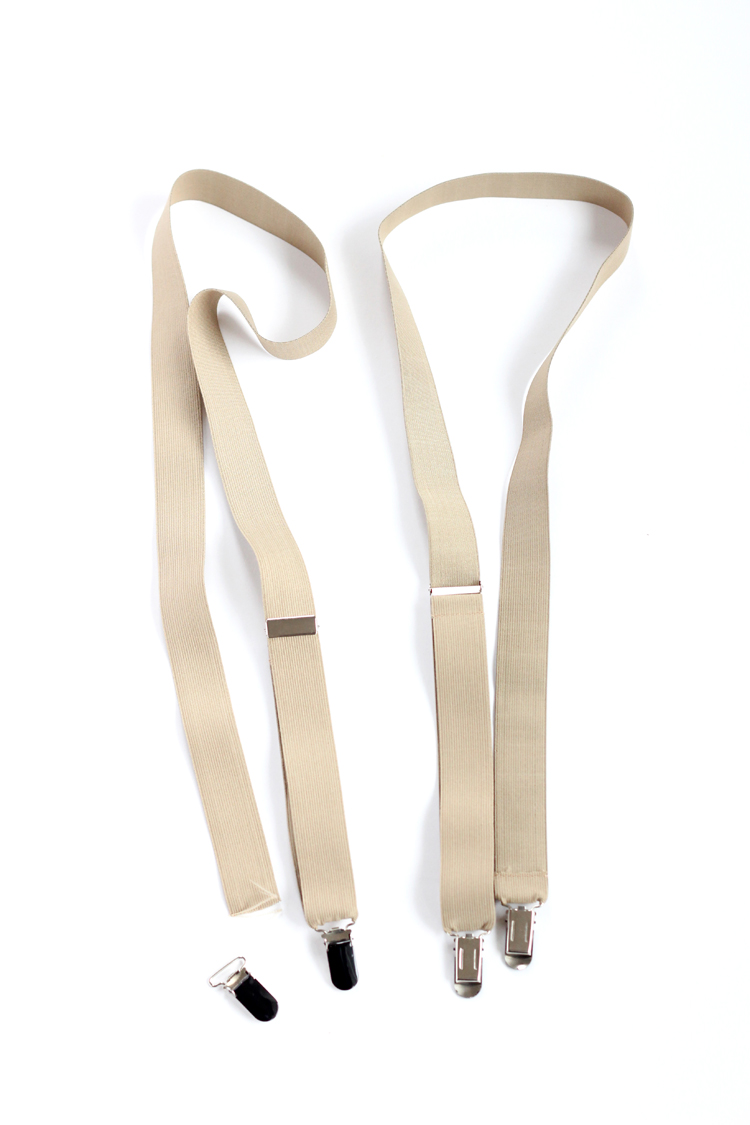
- 1 inch wide woven elastic, about 1-2 yards
- two suspender slides
- four suspender clips
- matching thread
- sewing needle, preferably a jersey knit needle
- optional: fray check
Material Notes:
– Elastic – Be sure to use woven elastic. Fold over elastic is too flimsy. Jo-Ann has a lot of great solid colors. I found my gold and striped elastic in an Etsy shop called Strap Crafts.
– Suspender slides and suspender clips can be found at Jo-Ann. For this tutorial, I used recycled clips from mitten clips that I found on clearance at Walmart for less than a $1.
– You can use a universal sewing needle, but if you have a jersey knit sewing needle on hand, you will likely end up with a cleaner line of stitching and fewer skipped stitches, since elastic is a stretchy material.
– Fray check is not necessary but will give the suspenders a cleaner look as it seals off the raw edges of the elastic. Alternatively, you may decide to finish raw edges with a zig zag stitch instead.
Tutorial
Step 1: Measure your recipient from back waistline to front waistline.
Use that measurement and then add about 8-10 inches so that your suspenders will be adjustable. If you cut them 18-24 inches long that should suit most children.
Cut two pieces of elastic.
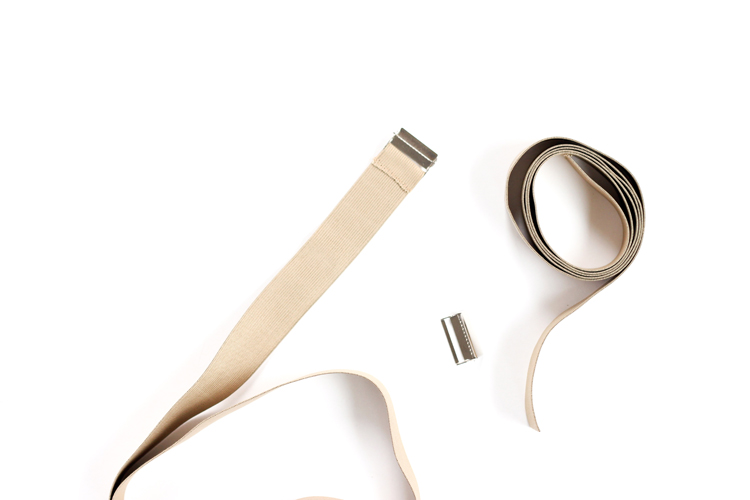
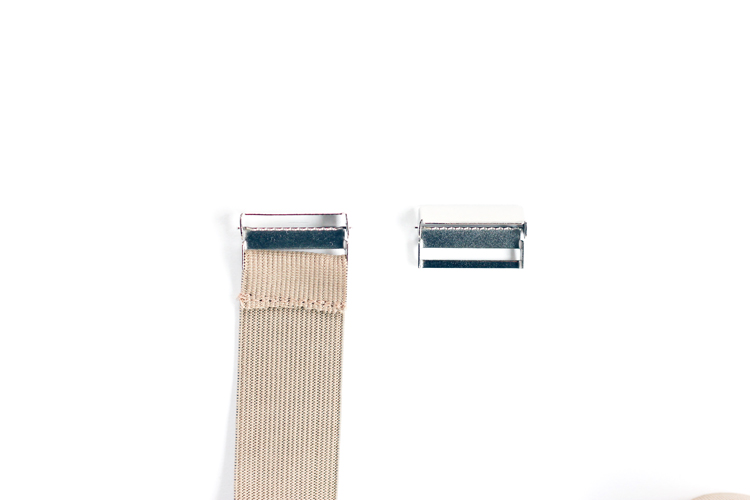
Step 2: Insert one raw end into the suspender slide, fold it over about 3/4 of an inch, and sew in place. Be sure to backstitch at the start and stop of each line of stitching. Repeat for the both pieces of elastic. Finish the raw edges with Fray Check.
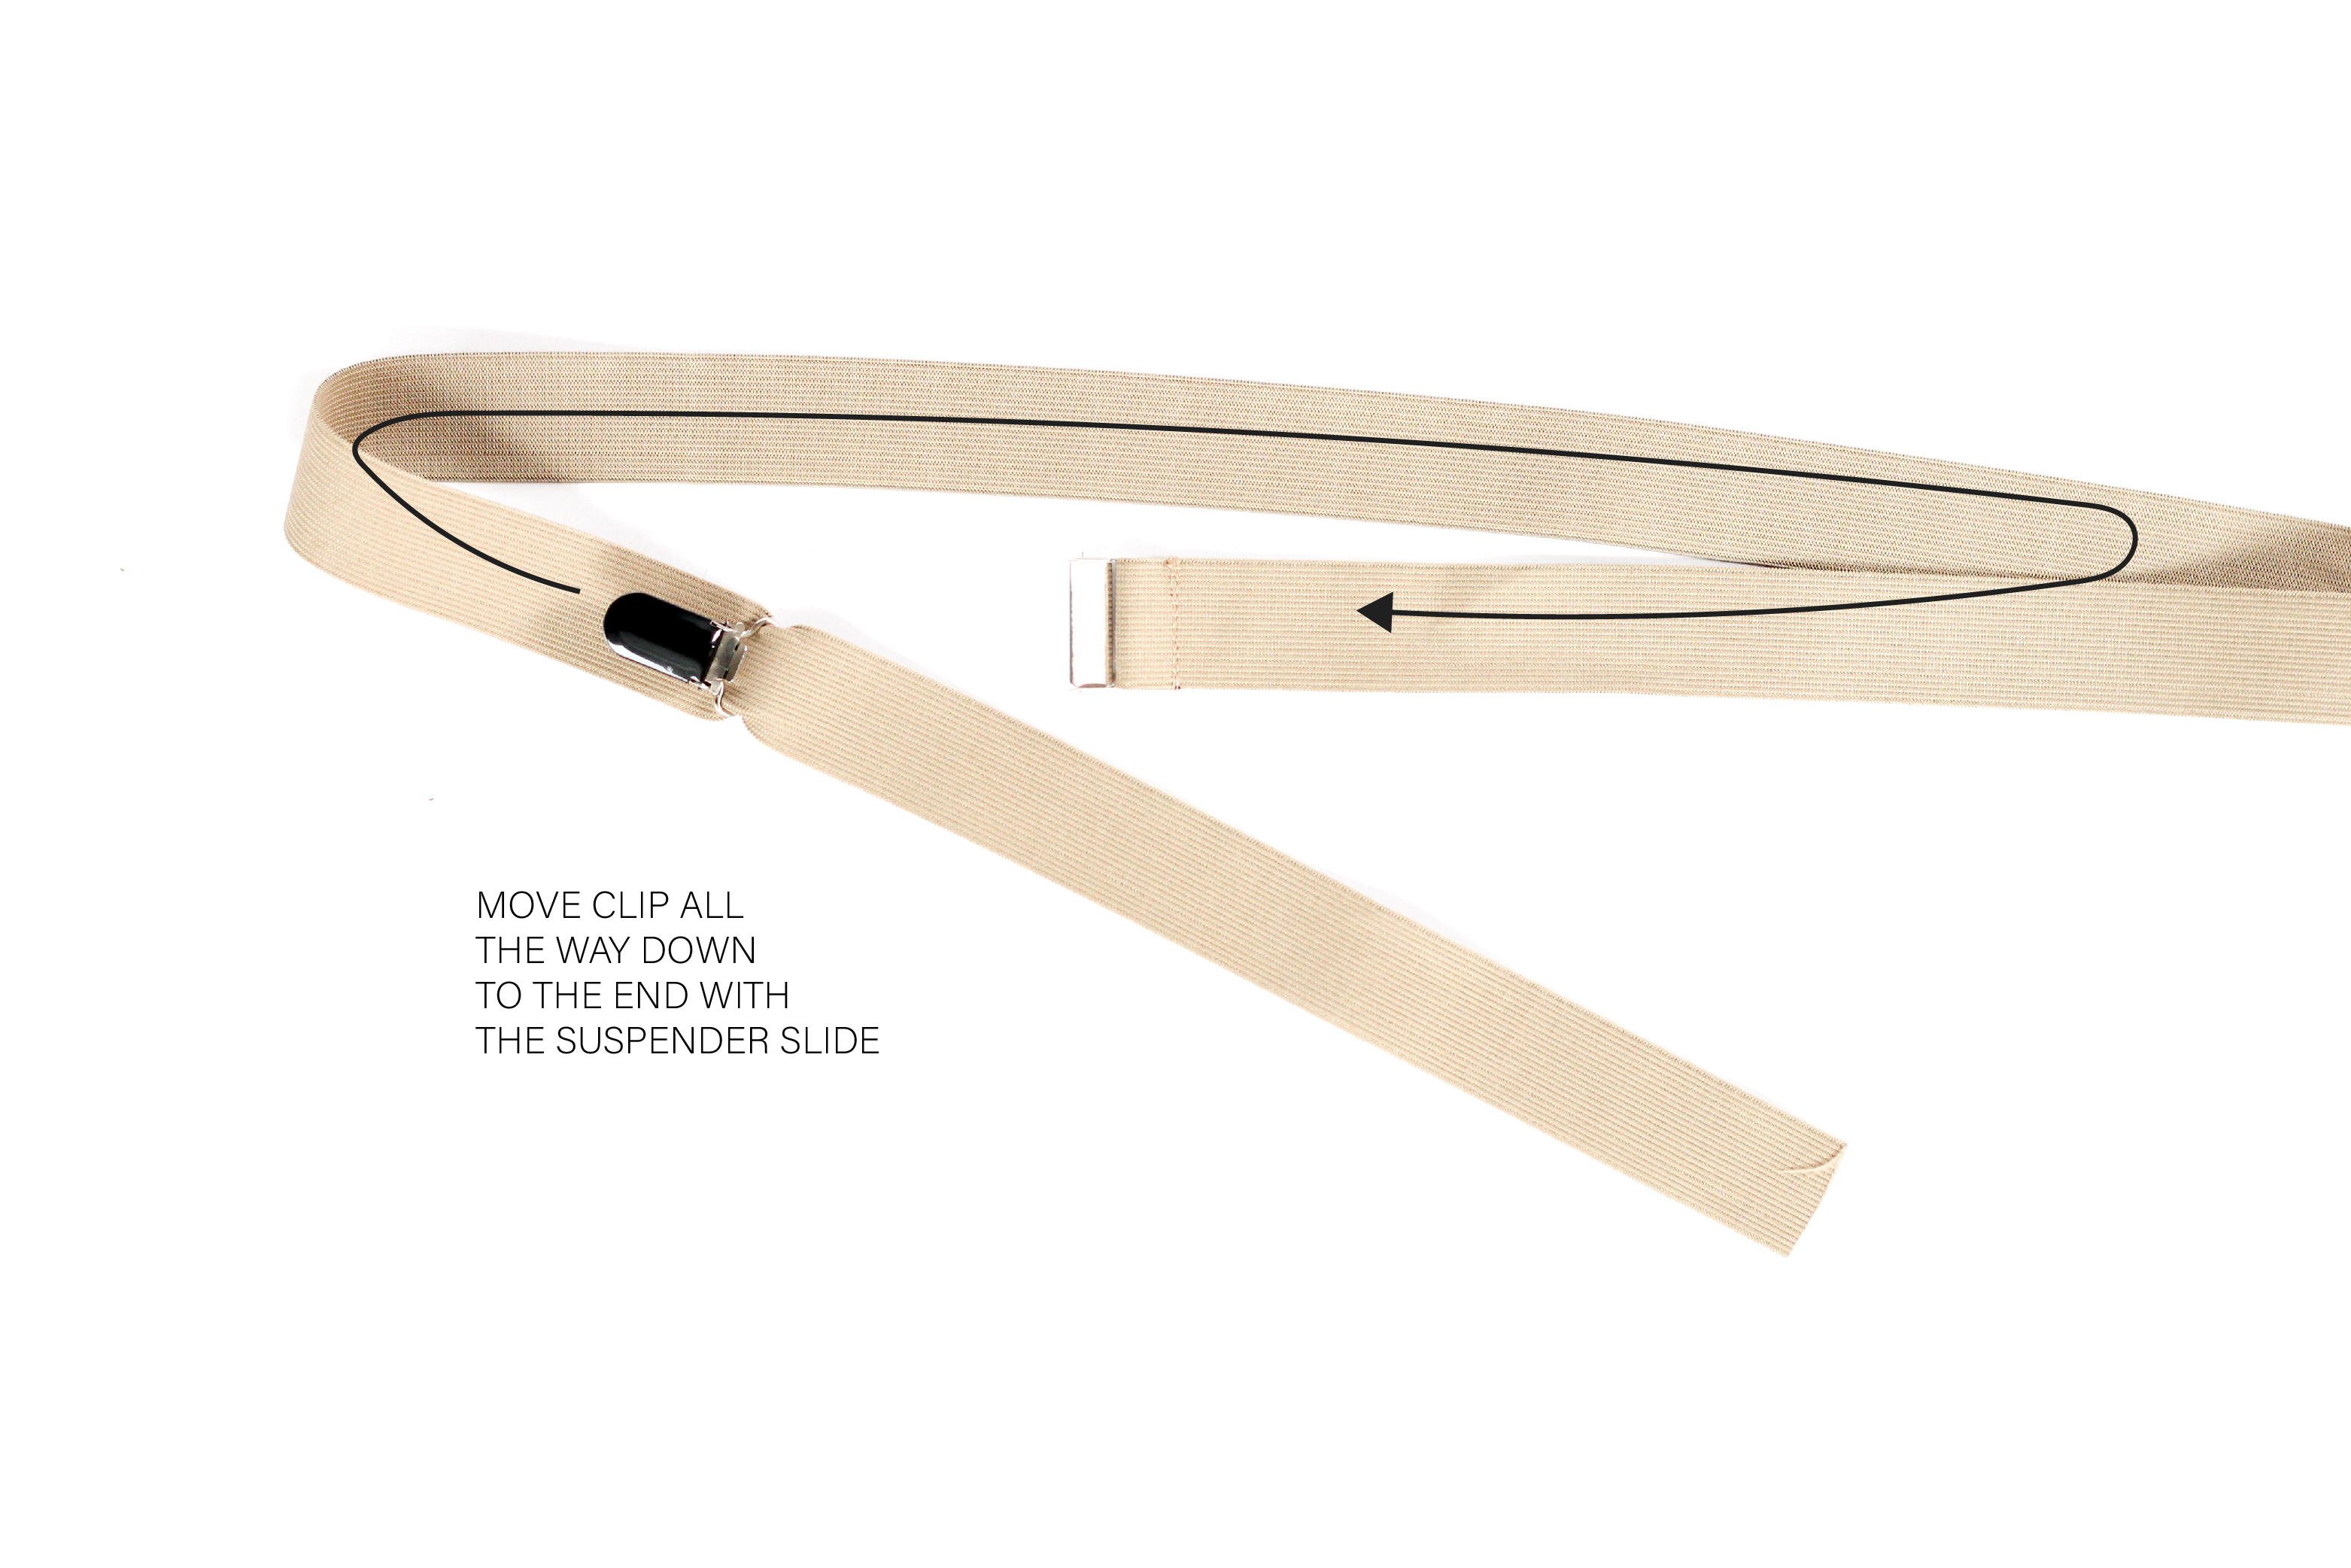
Step 3: Thread suspender clip onto elastic from remaining raw end, almost all the way to the slide end.
Leave a few inches between the clip and the slide so that you can thread the raw end through the slide.
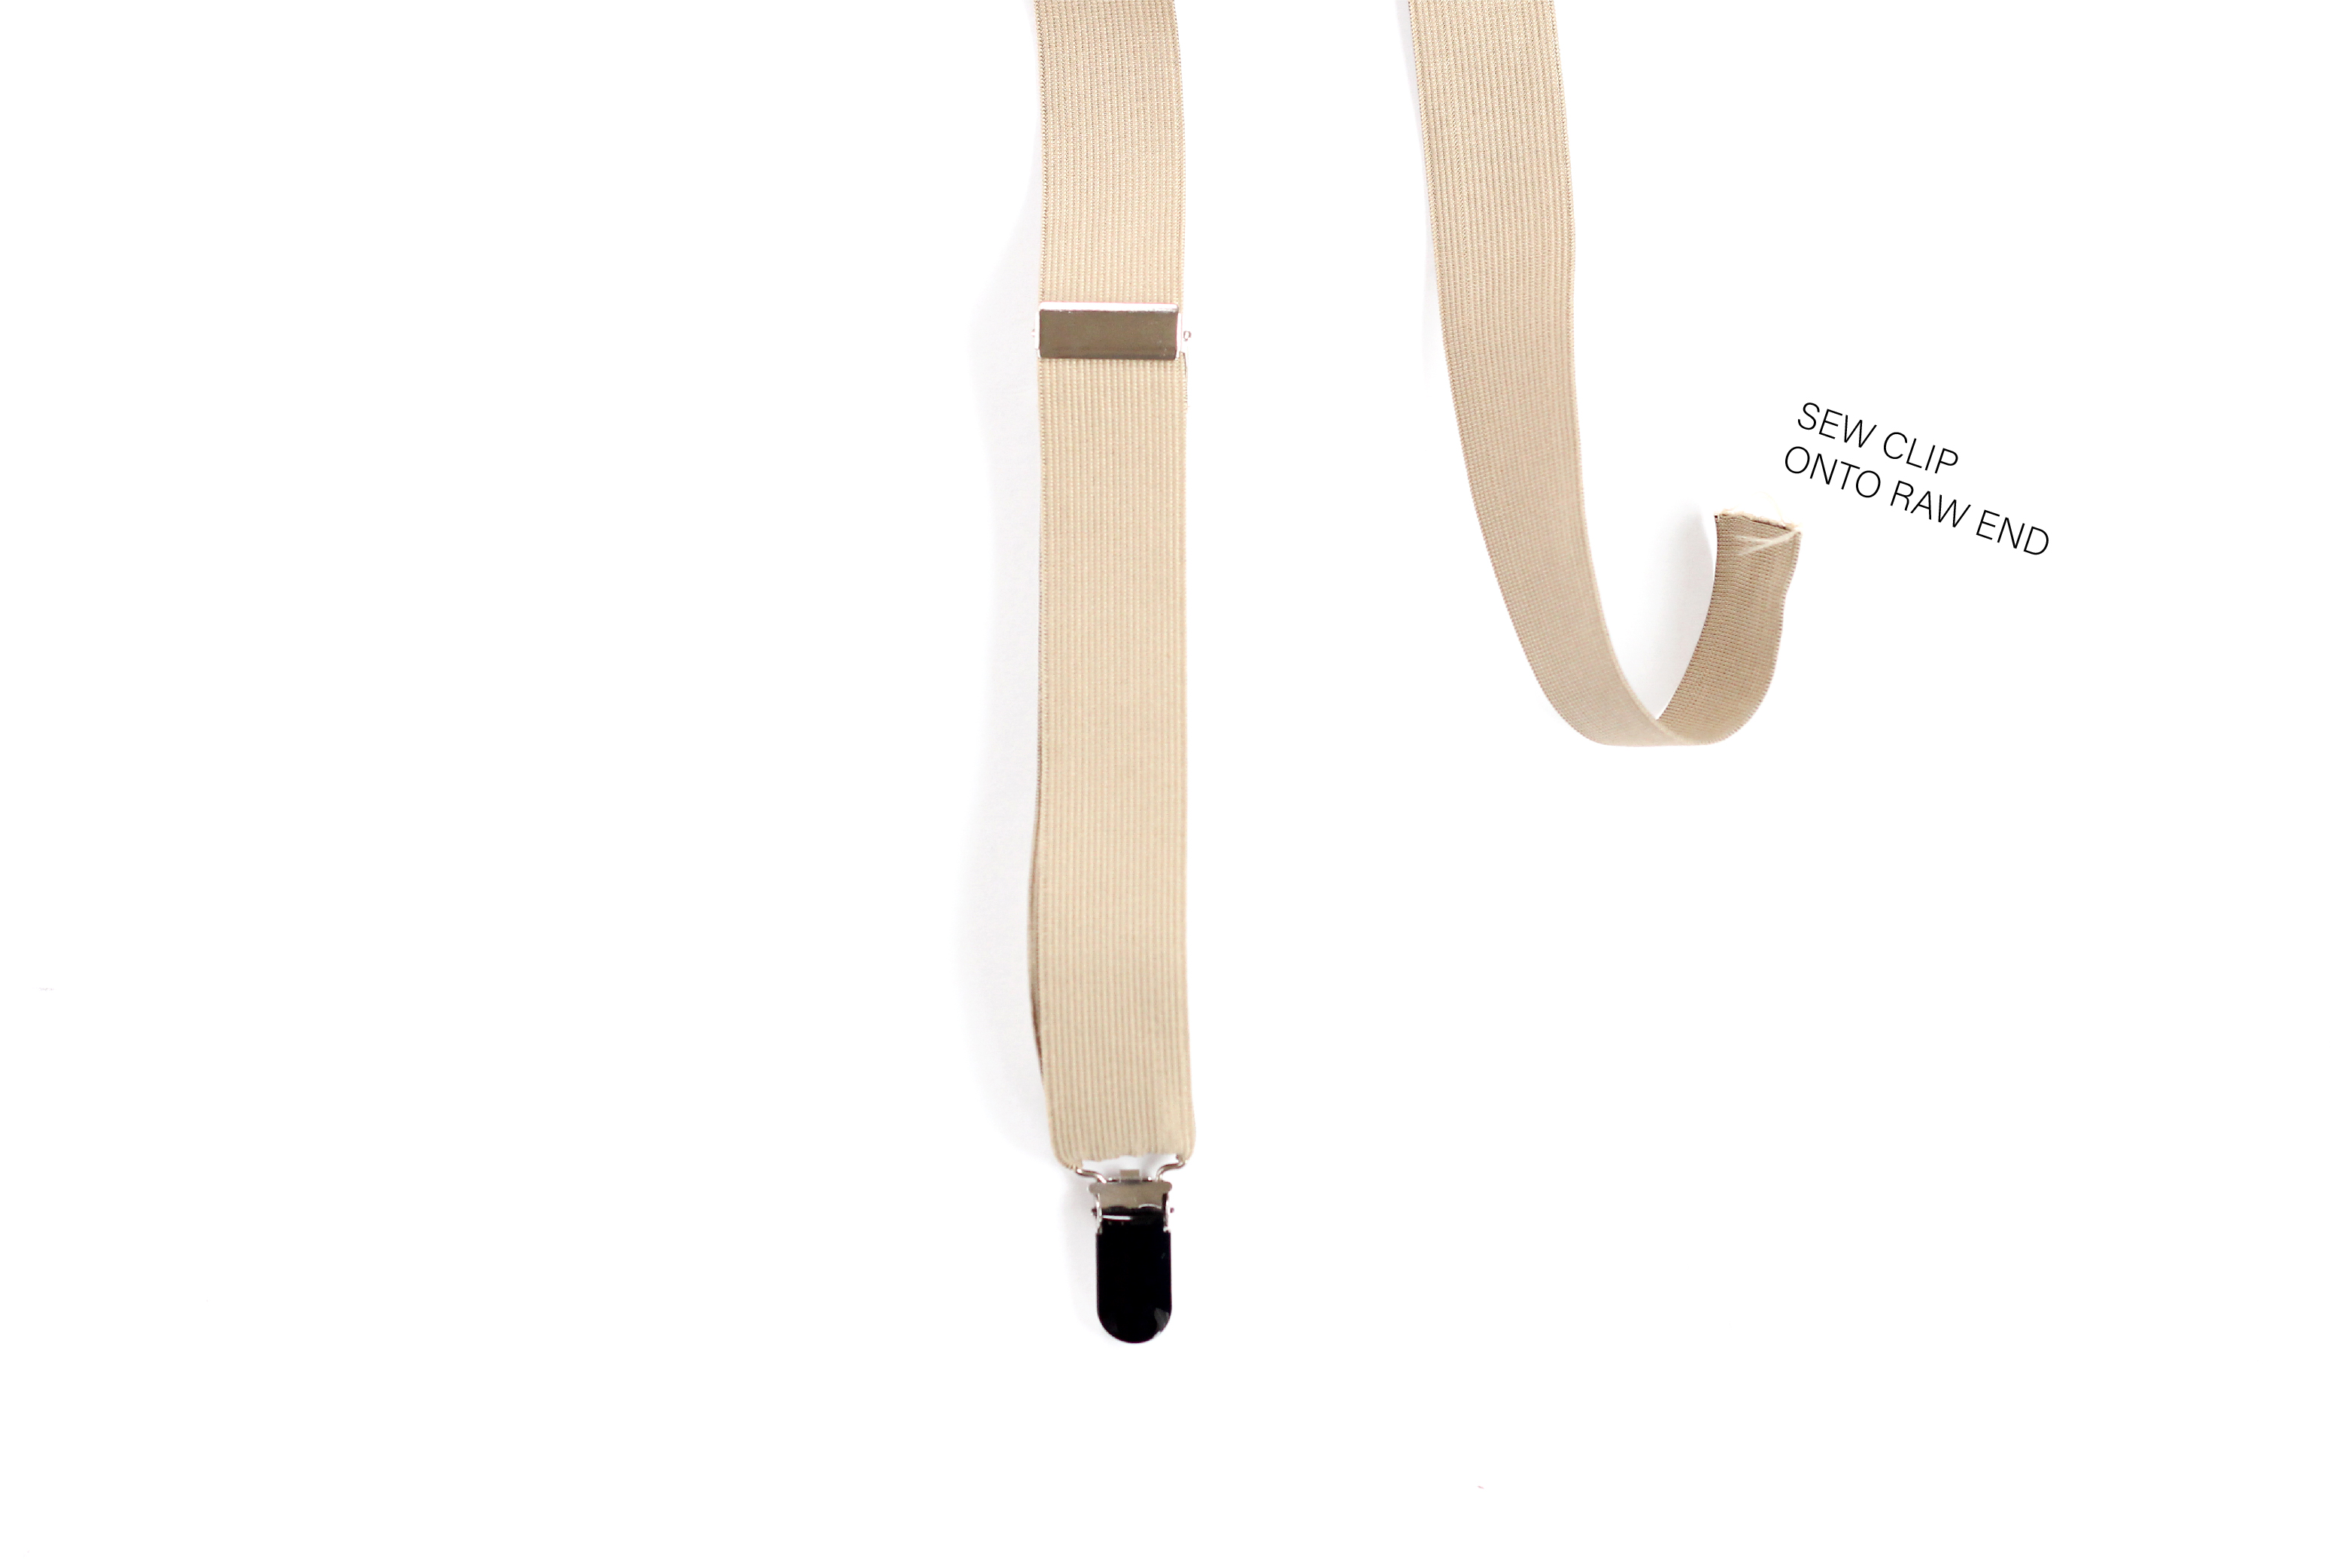
Step 4: Now that the front of the straps are set, finish the back of the straps.
Thread the second set of clips onto the remaining raw end, fold over the end, and sew in place. Finish the raw edge with Fray Check.
Make sure the clips both face the same direction.
Repeat for both straps.
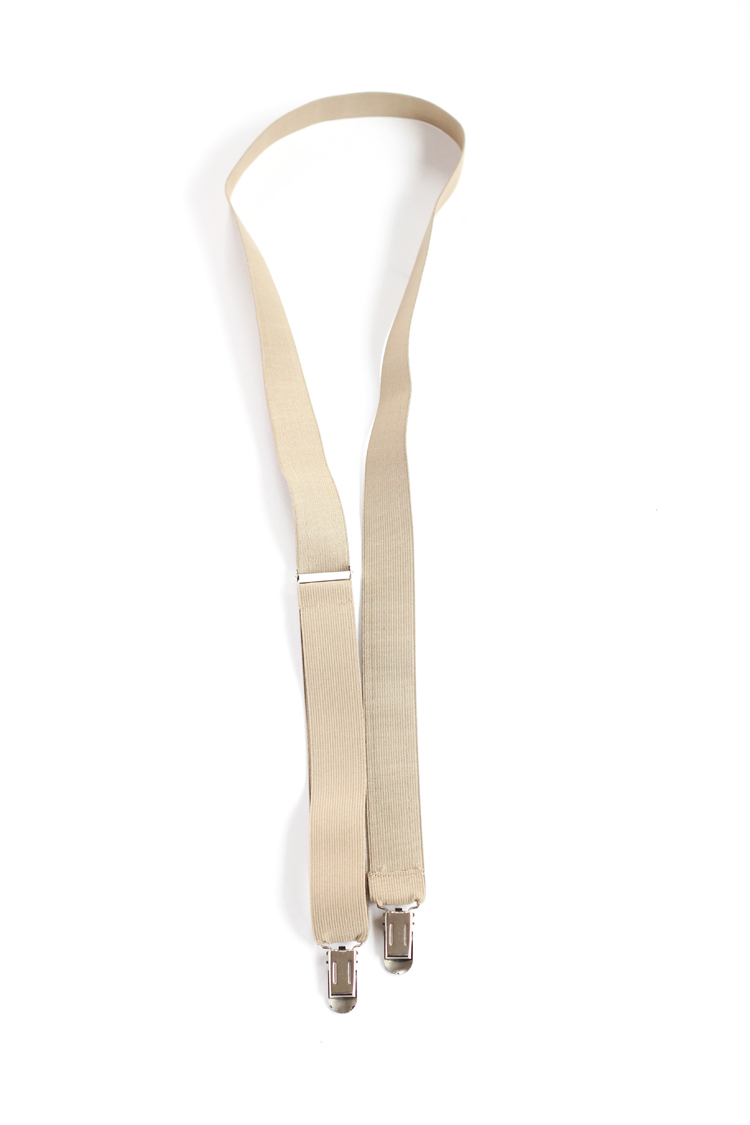
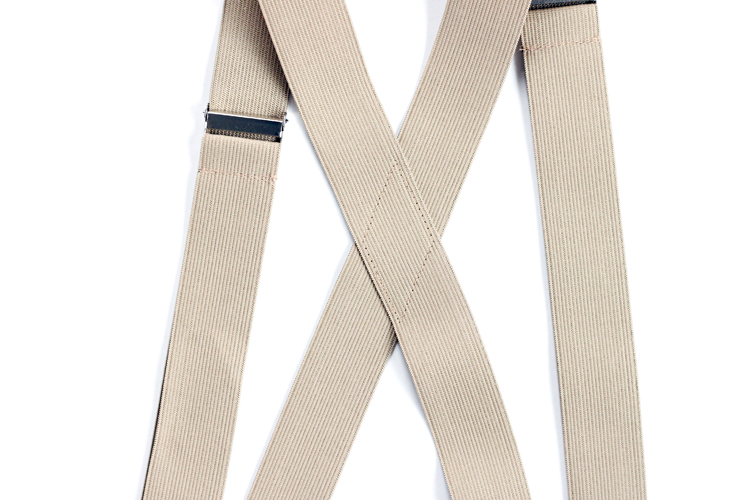
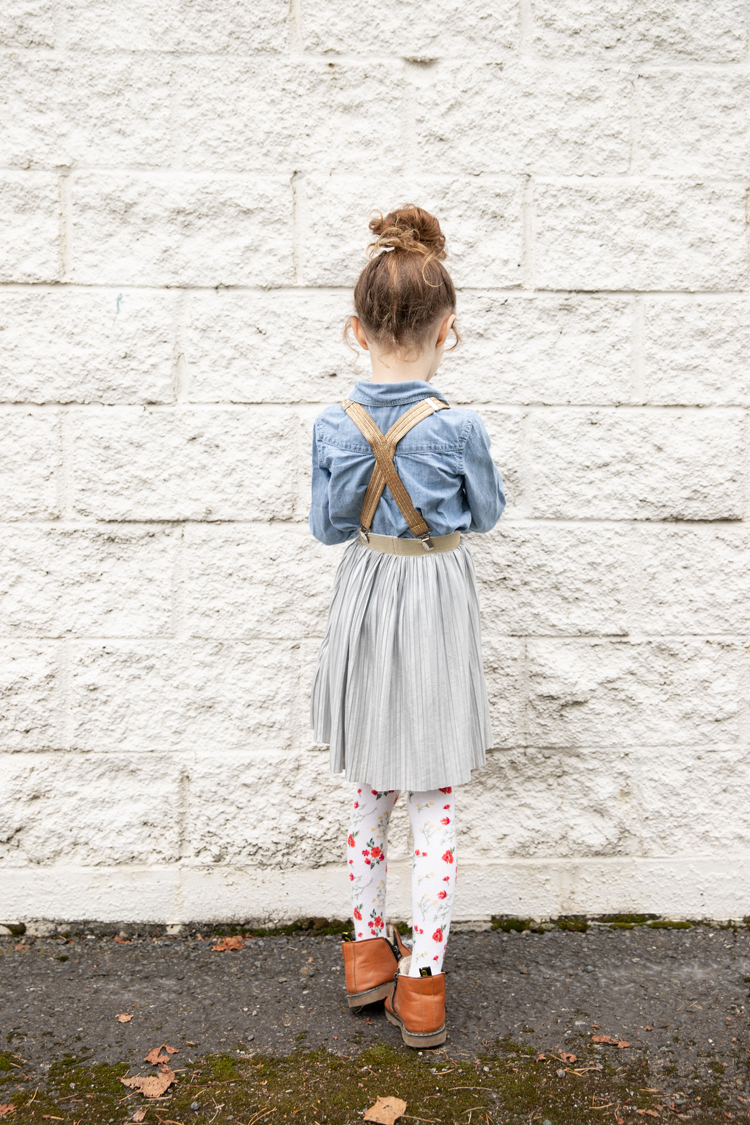
With both straps right sides facing up, cross them at the back. Measure your recipient about 1/2-3/4 of the way up the back and use that measurement to determine where to cross the straps.
Pin in place, and sew the straps together along all the overlapping edges, creating a diamond.
TIP: Be sure to sew slowly. You will have much cleaner lines if you take your time.
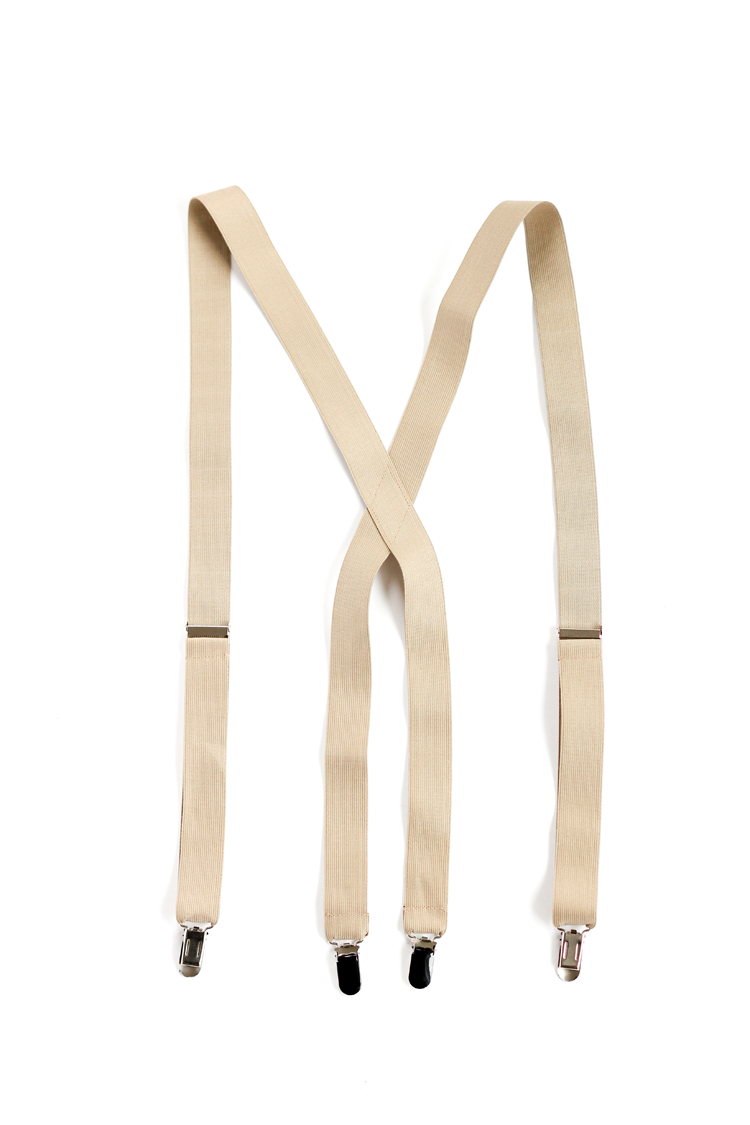
That’s it! Your suspenders are ready to rock!
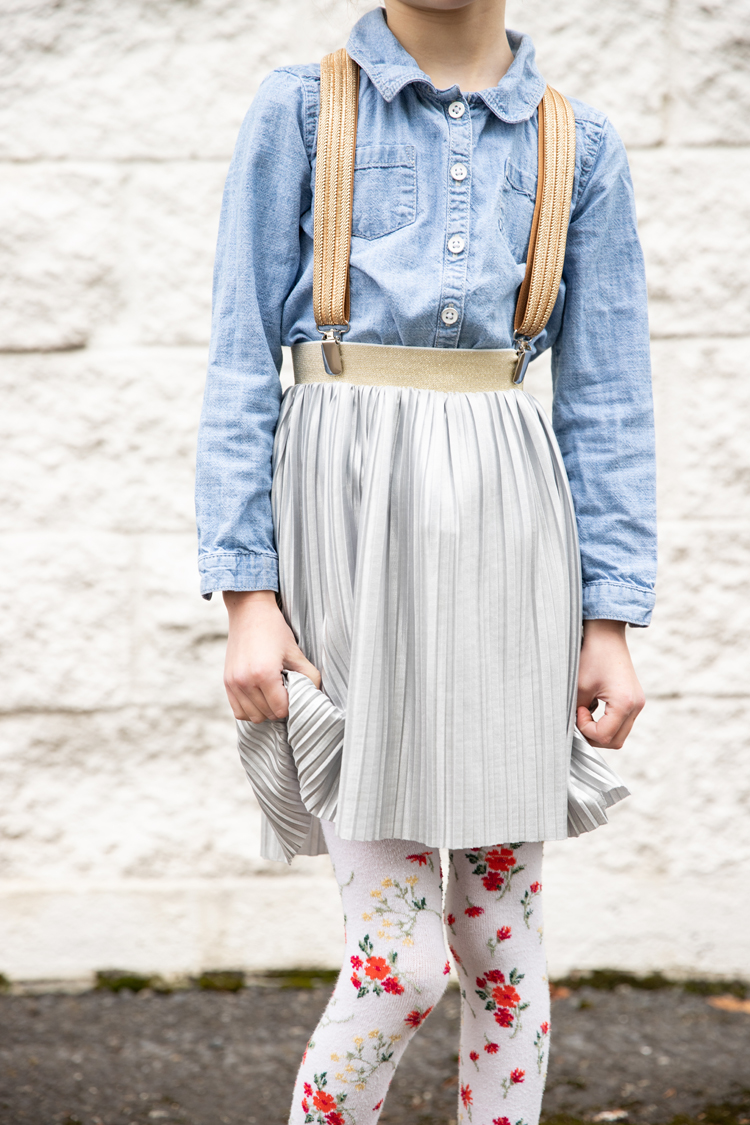
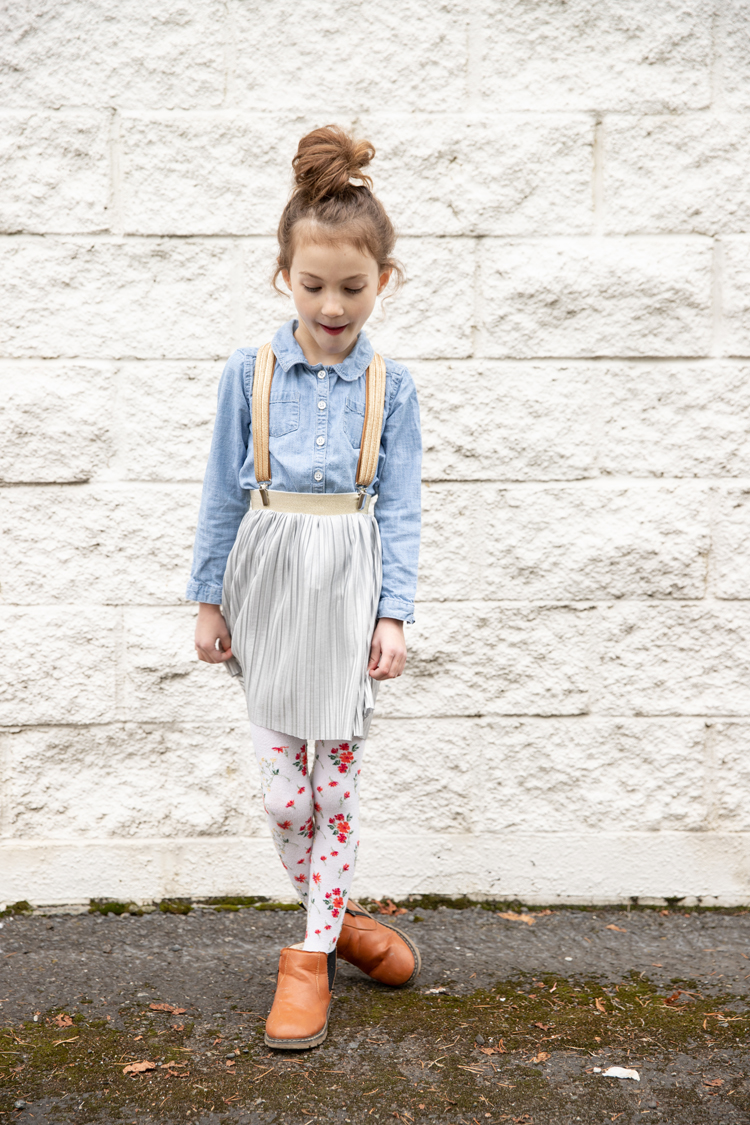
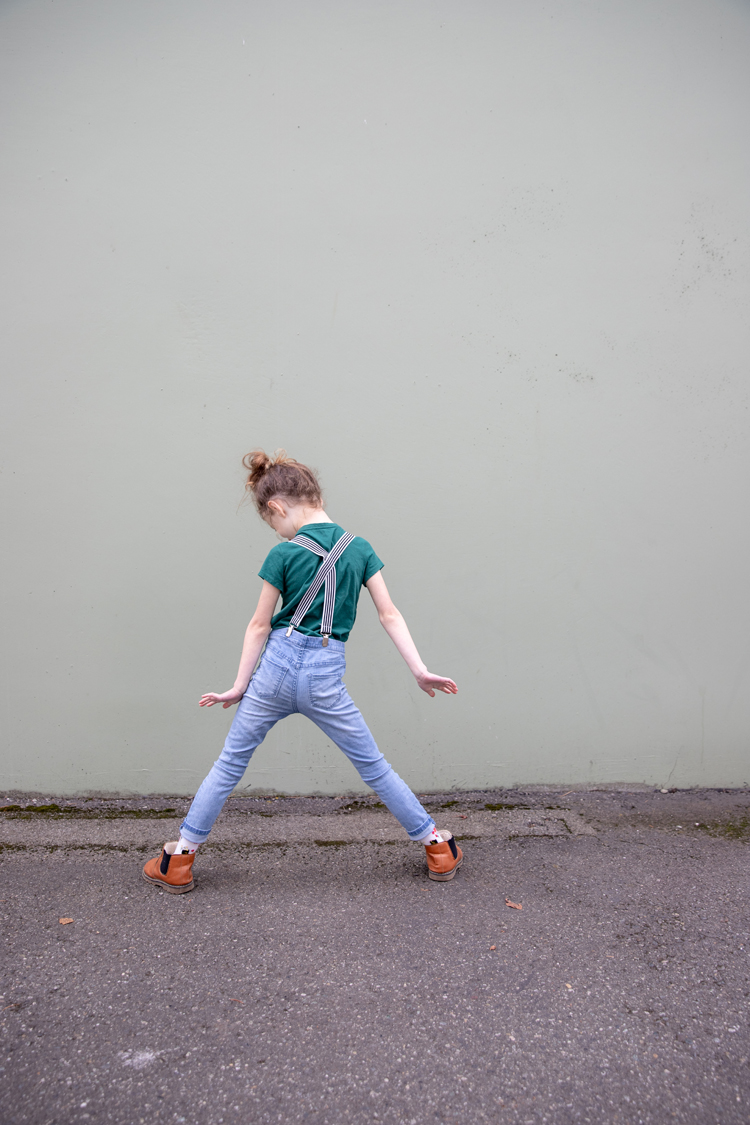
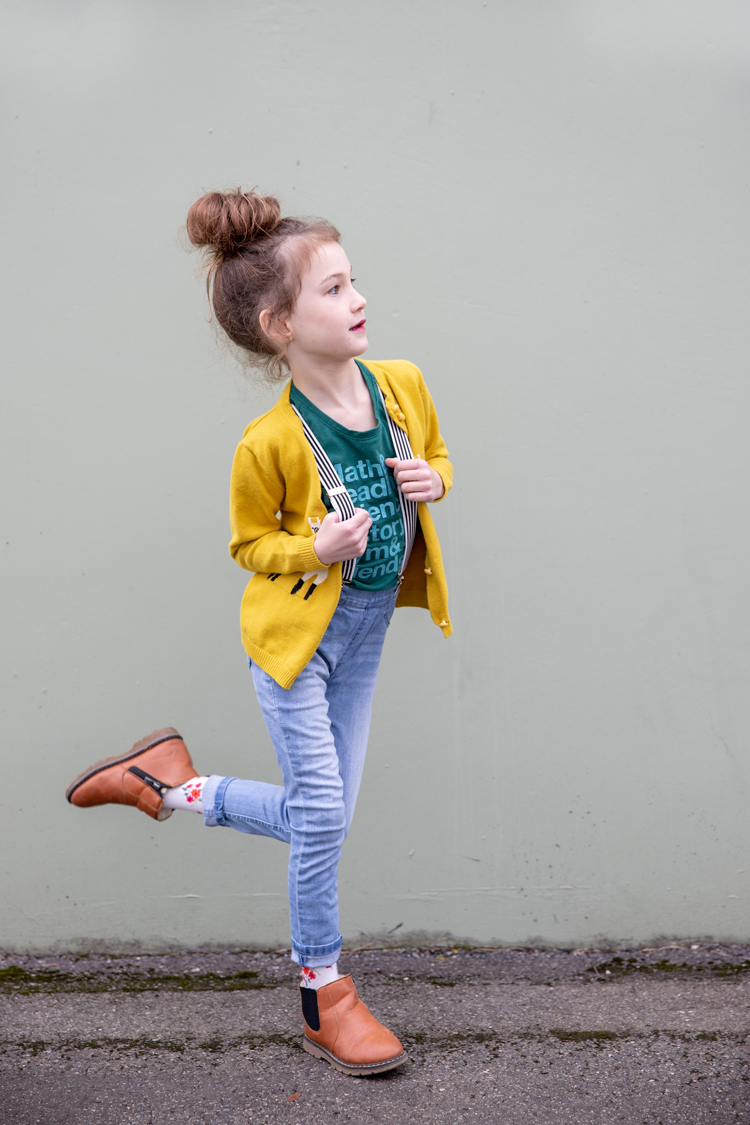
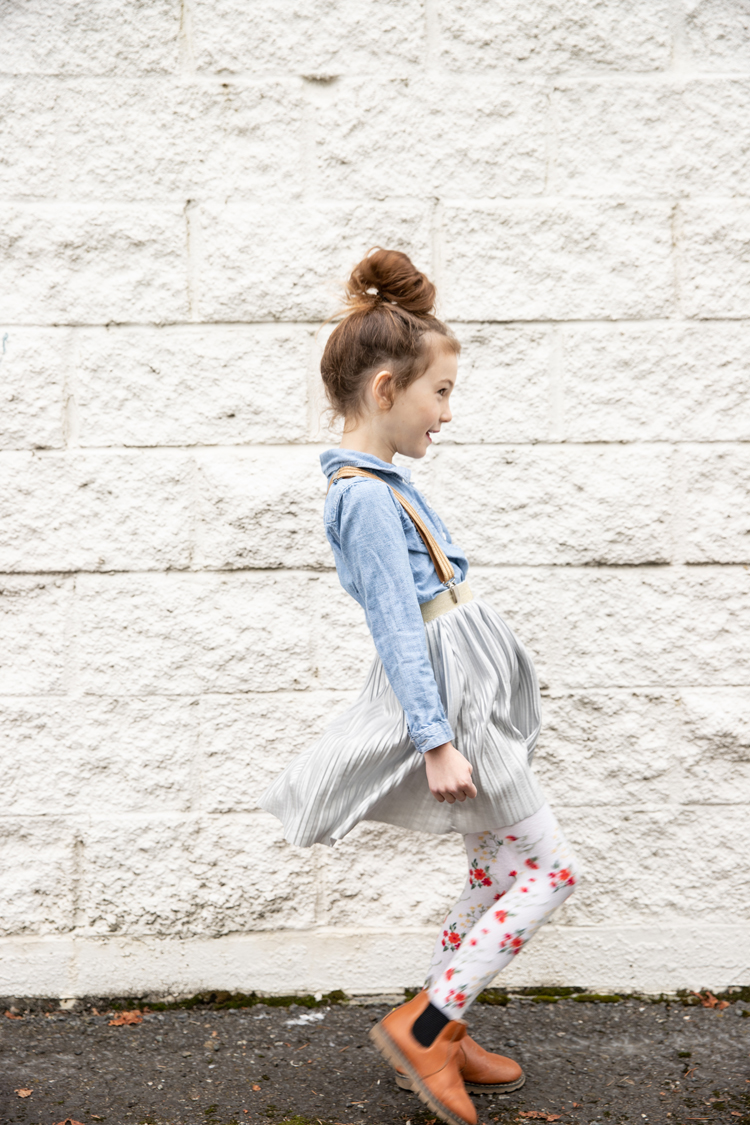
If you can’t tell, she loved the striped ones best. She couldn’t stop dancing in them. She even busted out some Napoleon Dynamite like moves. Ha! She cracks me up.
If you ask her though, she would say the gold ones are her favorite.
Can you blame her? I wish I had gotten enough gold elastic for me. 😉
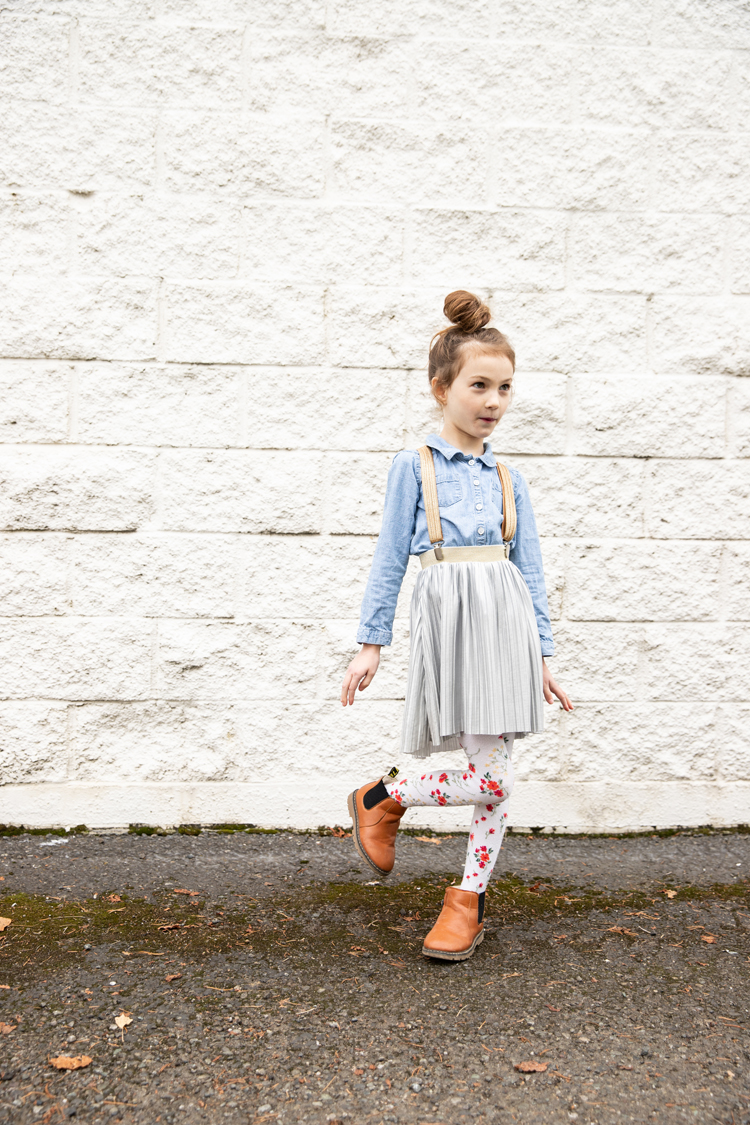
Jo-ann’s does carry a lighter gold elastic too, that you can see in her skirt. Speaking of, I made her skirt using THIS tutorial that shows you how to make a flexible waist skirt in any size. The material is a silver tank top from H+M that I cut the straps off of.
I actually first shared the idea of these elastic suspenders when I shared my kids’ Easter outfits over a year and a half ago (talk about slow blogger! Ha!). If you want to see them on my oldest son, who was then 12, check out the post HERE.
And if you want to see them on me, check out this post HERE.
Of course, they would also be super adorable on a little boy for the holidays too!


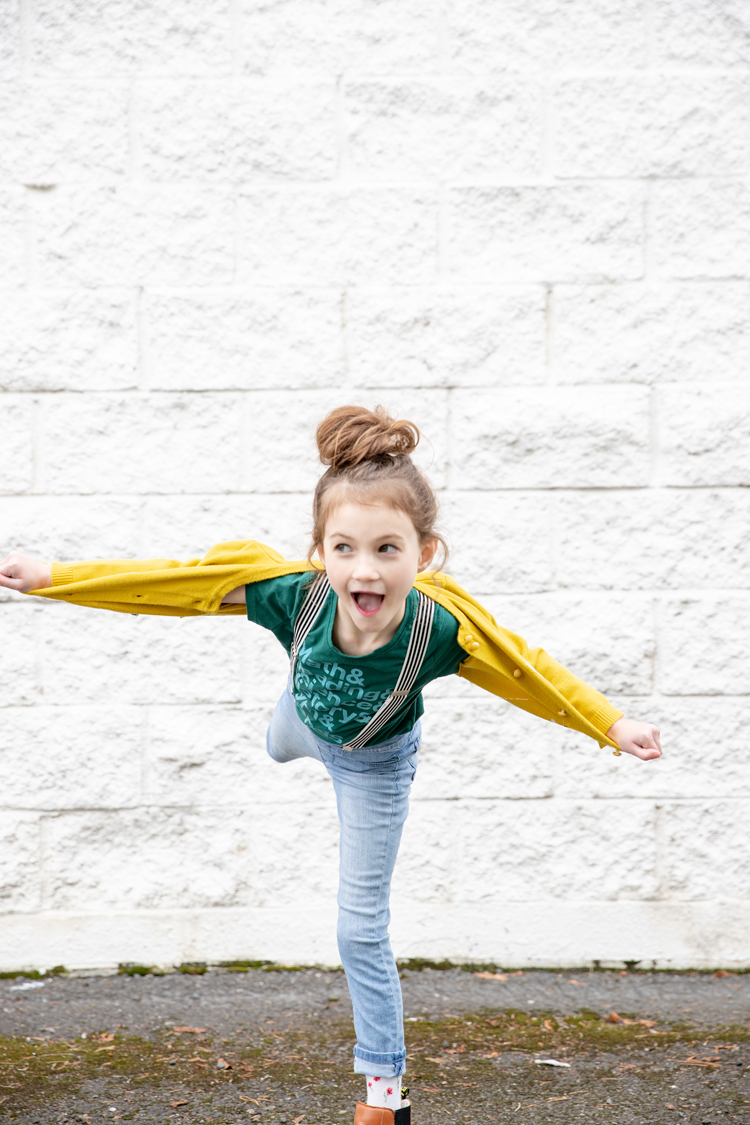
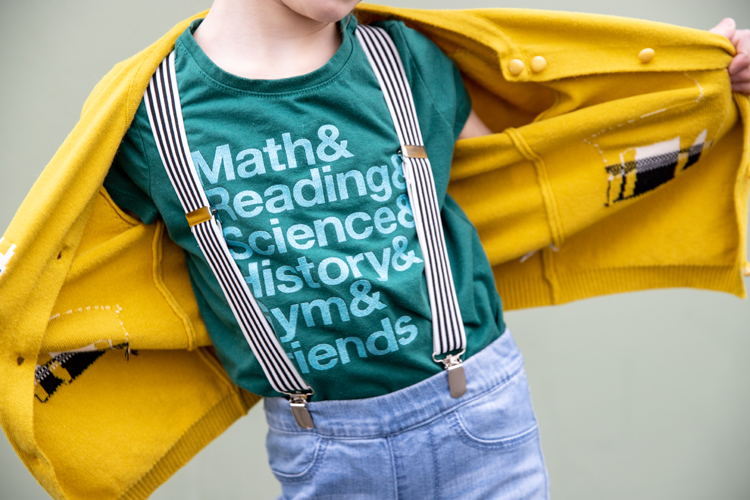

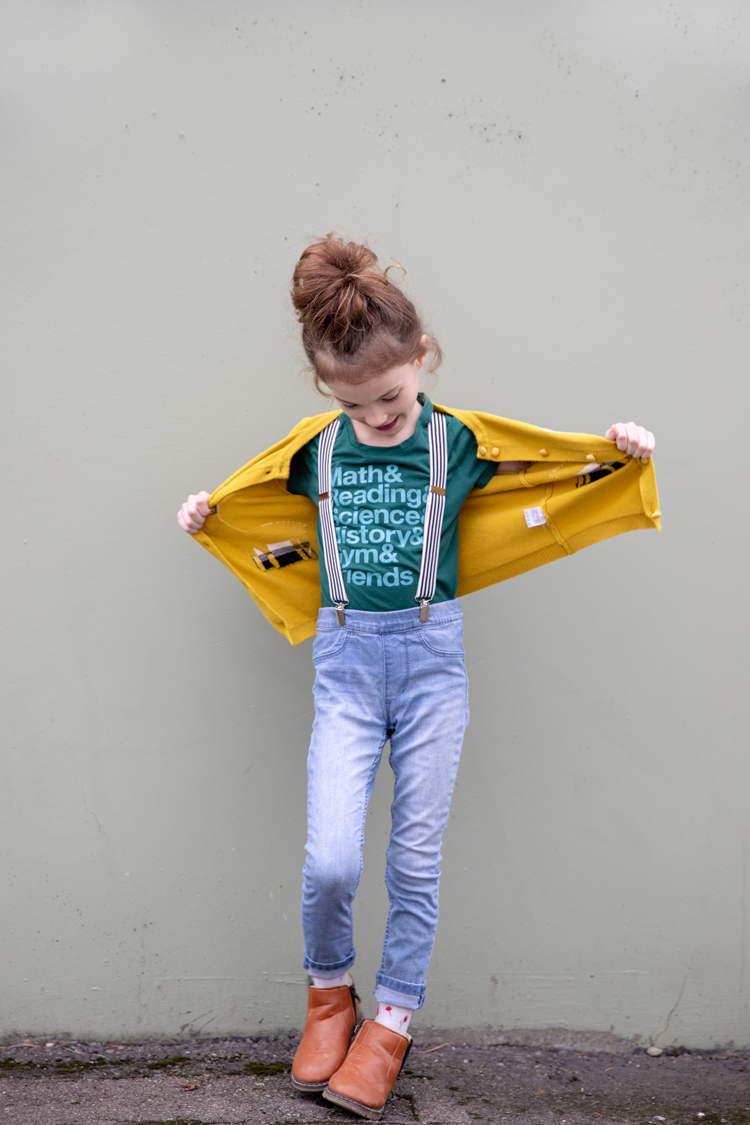
I’m wondering where did you get that t-shirt? I need that for my kids!
I got it at Target this past Fall! Isn’t it fun?