I’ve always wanted those trendy wood block candle holders.
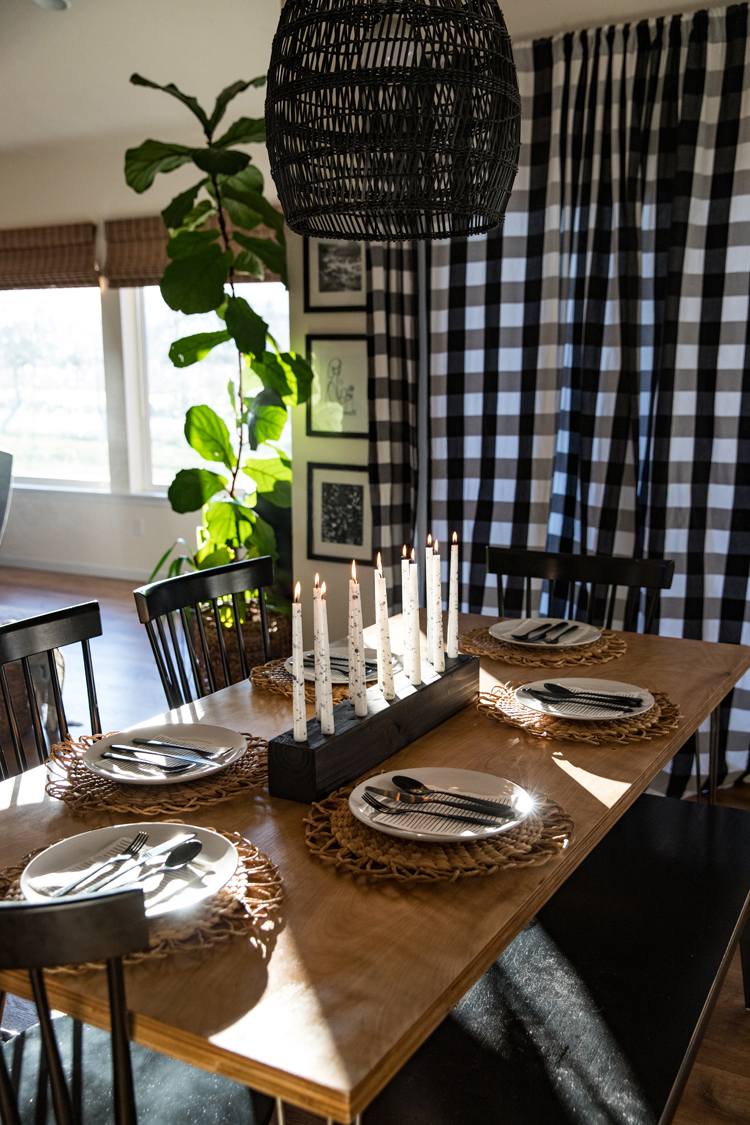
What’s a DIY-er to do, but make one! 😉
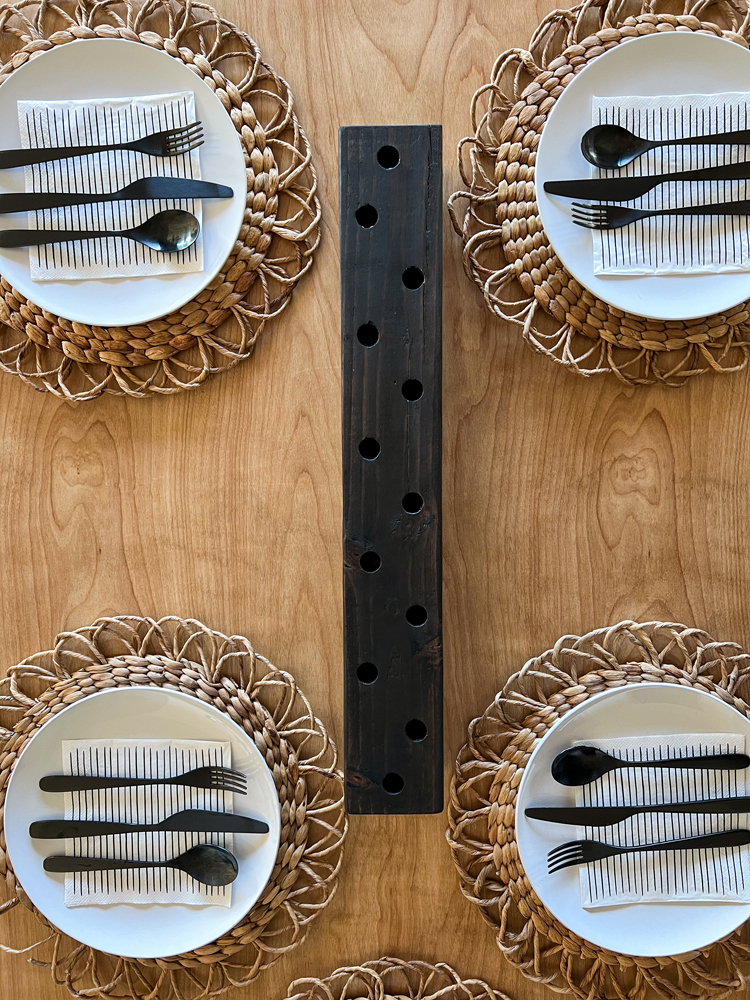
I was able to configure the candle placement just how I like it too. Most of these wood block candle holders can hold dozens of candles really close together. The effect is stunning, but a little overpowering for our small space. Plus, I can get away with buying less candles.

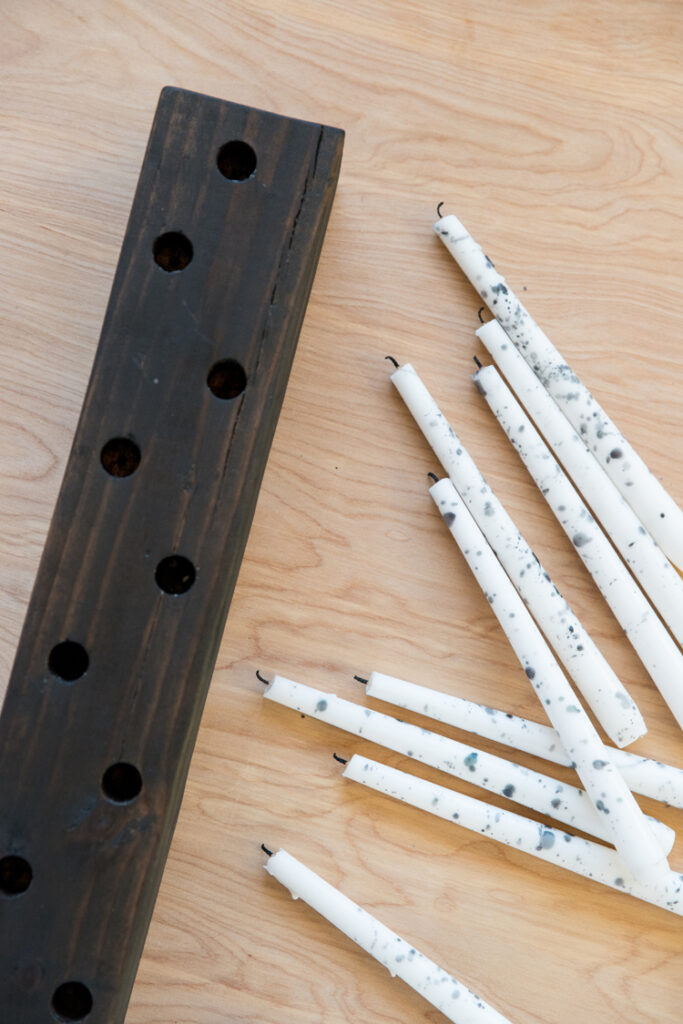
Of course, for your own candle holder you can make it as big or small as you like and configure yours however you want! If you want to follow mine as a template, my candle holder is 24 inches long and holds 12 candles.
If you already have the tools and some leftover stain, then each candle holder only costs a couple of bucks. WOOT!
MATERIALS
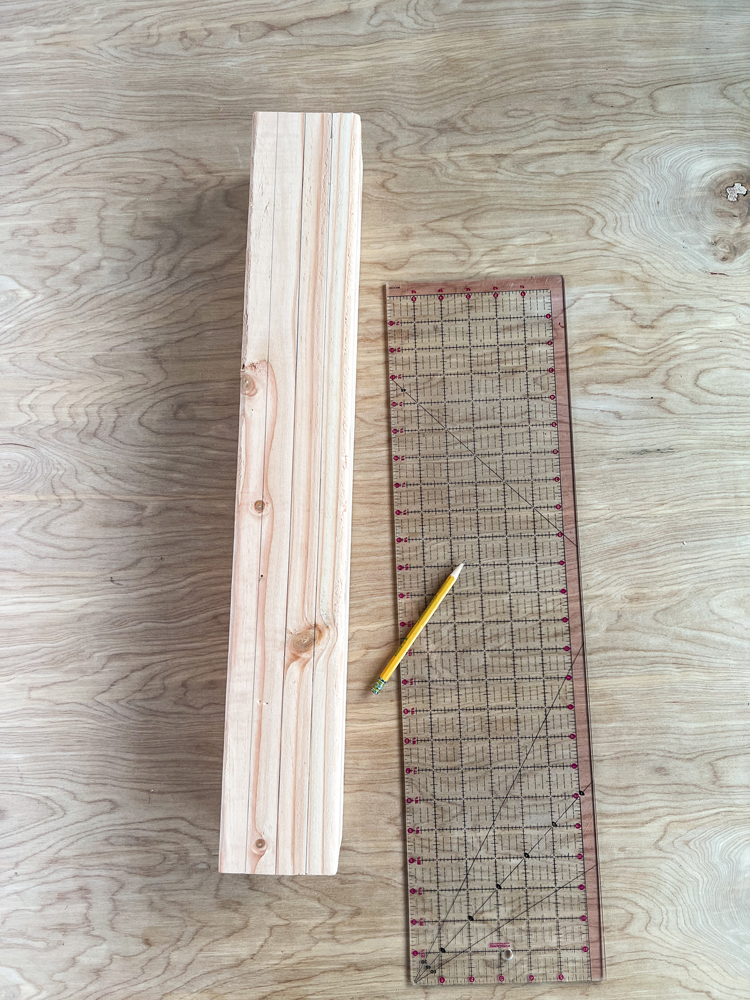
- 4×4 inch fir wood post*
- Power drill
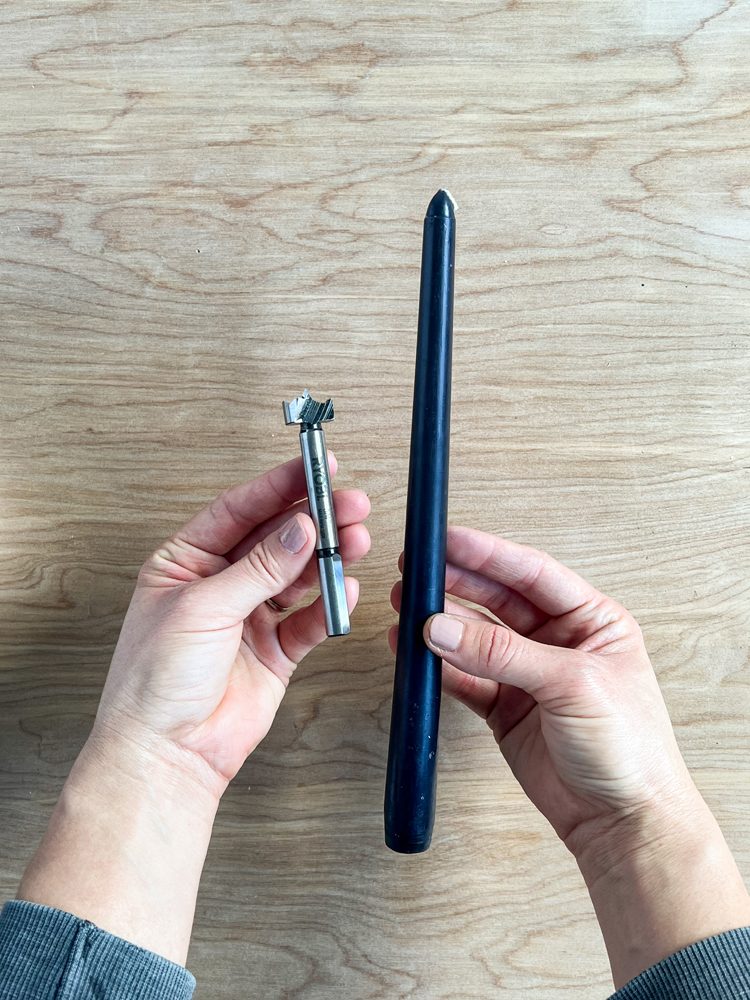
- Forstner bit – I used a 3/4″ bit**
- Sandpaper/sander
- Ruler/measuring tape and pencil***
- Optional: Stain and clear coat
Materials Notes:
*I found an untreated fir 8 foot long 4×4 at Home Depot for $11.65. This would be a great project to make with friends or as gifts! Just be sure that the amount of wood you get leaves room for errors and flaws in the wood.
If you don’t have a miter saw or table saw, Home Depot can do these types of cuts for you for free. If you don’t have a vehicle large enough for an 8 ft. post, you will for sure want to take them up on that offering. Also…remember that the 4×4 inch wood beam actually comes out to 3.5×3.5 inches.
**I used a 3/4 inch Forstner bit. This creates a tight fit for these taper candles I got at Michael’s. You can go up to 7/8″ but I found that to be a little too big and caused the candles to flop over. To make sure the candles fit in the 3/4″ hole, I have to twist them in place and put a little muscle into it, but once they’re set up, they’re secure.
I know IKEA candles are more like 1 inch in diameter. You can adjust your hole sizes to fit whichever kind of taper candles you use most, or shave down the sides of the bottoms to fit.
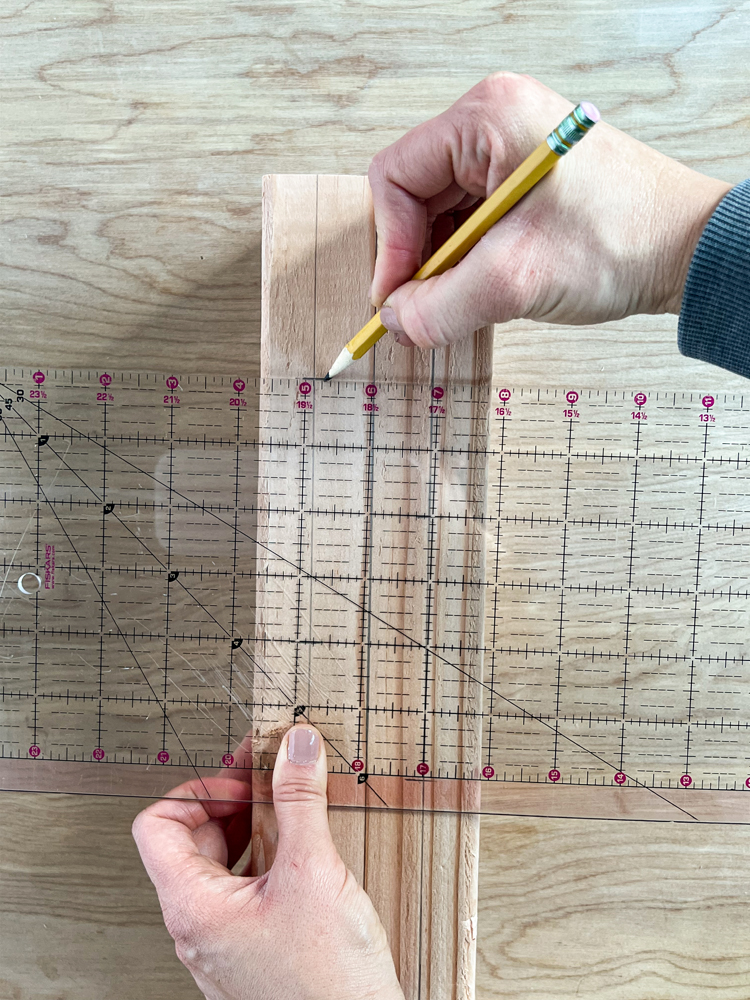
***If you have a quilter’s ruler they make measuring for this project a cinch!
VIDEO TUTORIAL
If the video hasn’t already popped to the side or top of your screen, it should after this section.
TUTORIAL
- Cut your wood block. Make it is as long or short as you want. I made mine about 24 inches long. If you use a miter saw, you may have to turn it over and cut it from three different sides because it’s so thick.
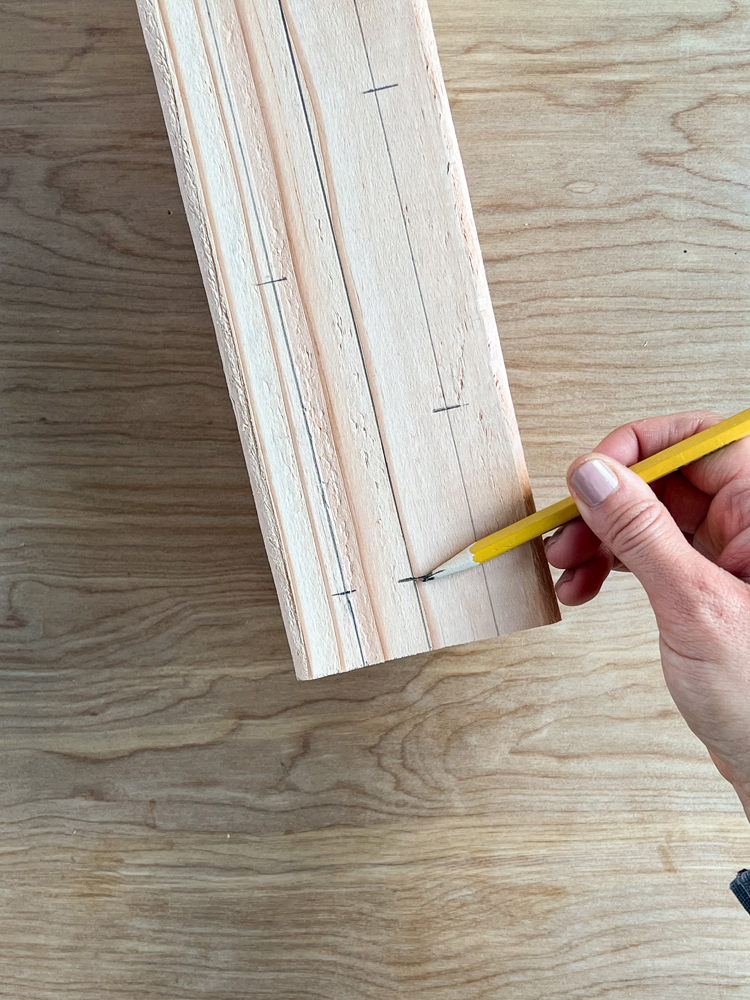
- Choose the nicest side for the top of your candle holder. Divide it into four even sections, lengthwise and mark it out with three lines.
- About 1.25 inches from one end, mark the placement of your first candle. Then mark each remaining candle placement just under 2 inches apart, staggering them from side to side. You *should* end with the last candle about an inch away from the other short end, but you may need to make adjustments to get the spacing even. I also decided to move the two end candles to the center of the block rather than the sides. Or…space them however you want! It’s your candle holder. 😉
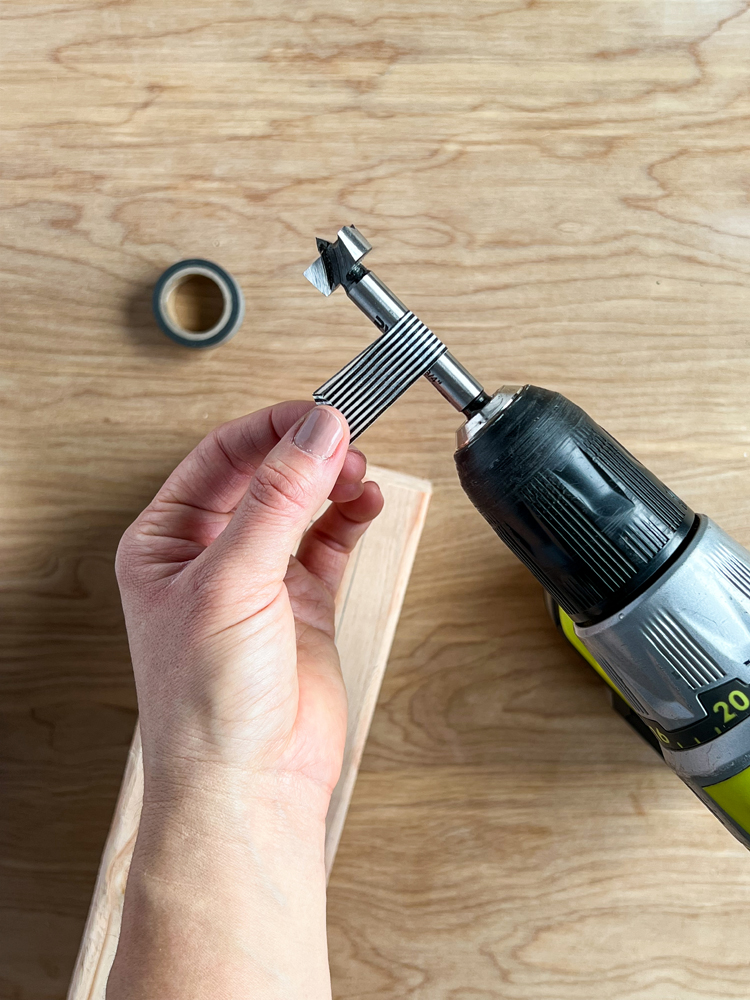
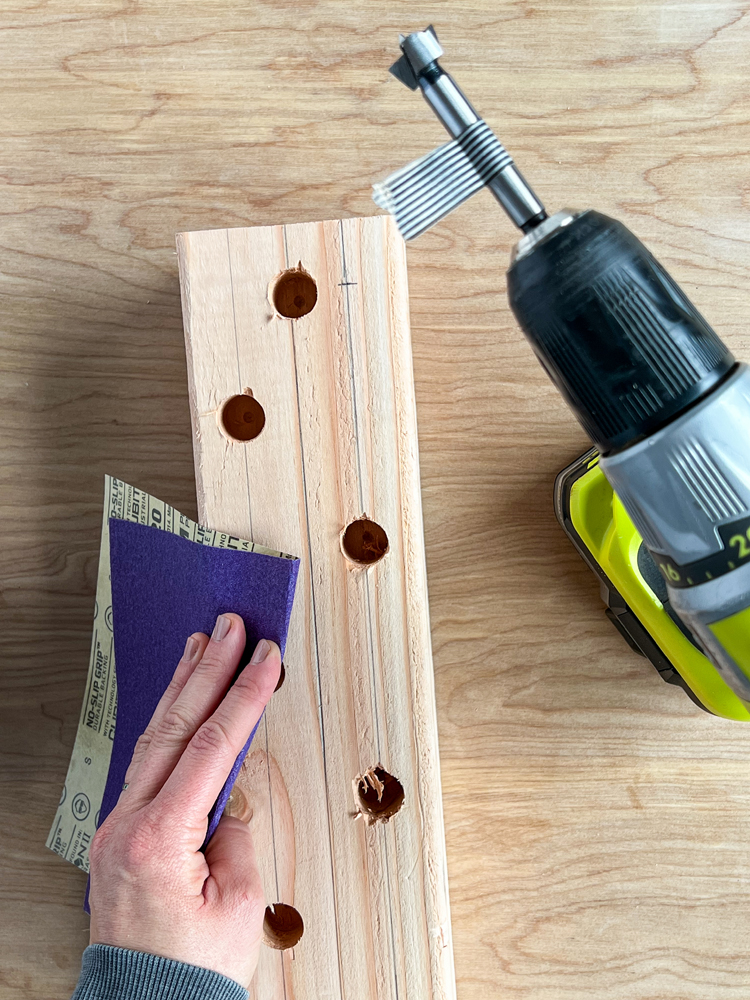
- If you want consistent candle hole depths, place some tape on your Forstner bit so you know when to stop drilling. I made mine about 1 inch deep.
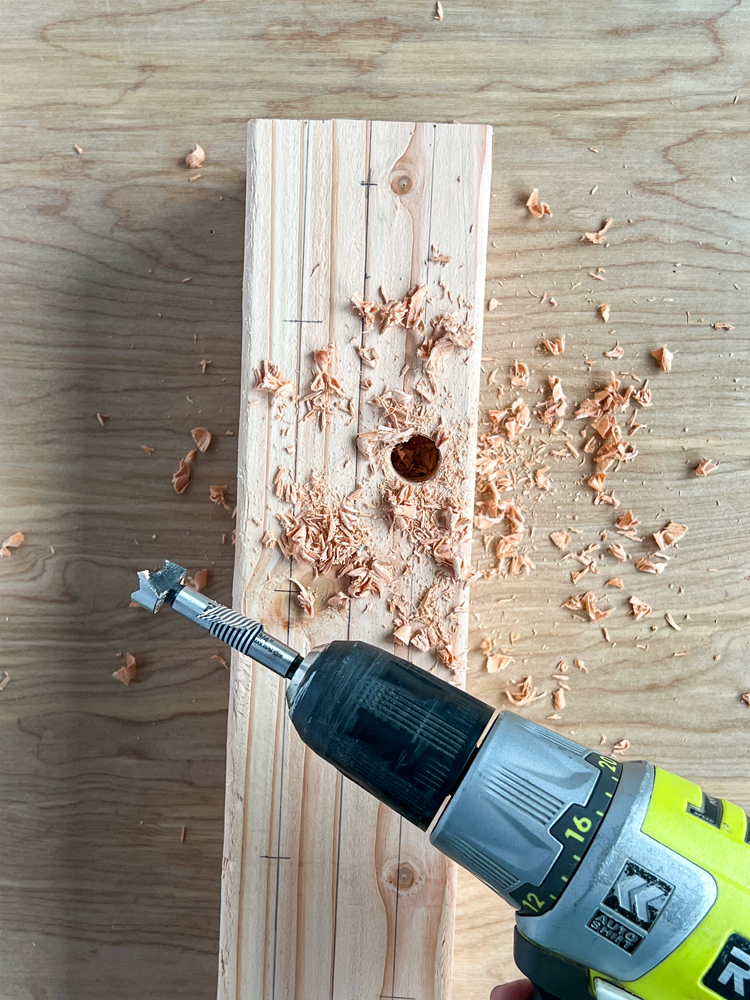
- Carefully drill each hole as marked. TIP:To get clean cuts, apply very gentle pressure when you first starting drilling. This allows the bit to cut the top of the wood without much resistance and without splintering. THEN you can increase the downward pressure and finish drilling the hole. And trust me…be patient at this step. Just look at the pictures. 😉 The one with the sand paper was my first try and some of the cuts were a mess! I had to make a second block to get cleaner cuts. ANOTHER TIP: Once you start, don’t stop. You have to commit to the cut. If you try to come back to the hole later to make it deeper, it’s much harder to keep it straight and clean.
- Sand all the rough edges and wipe it clean.
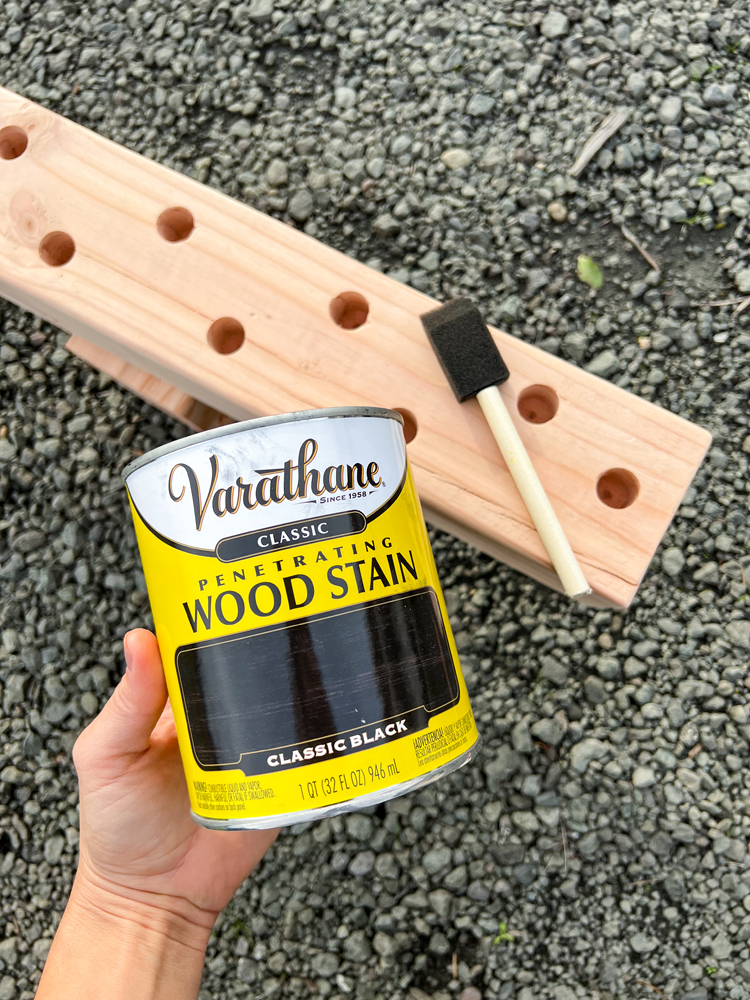
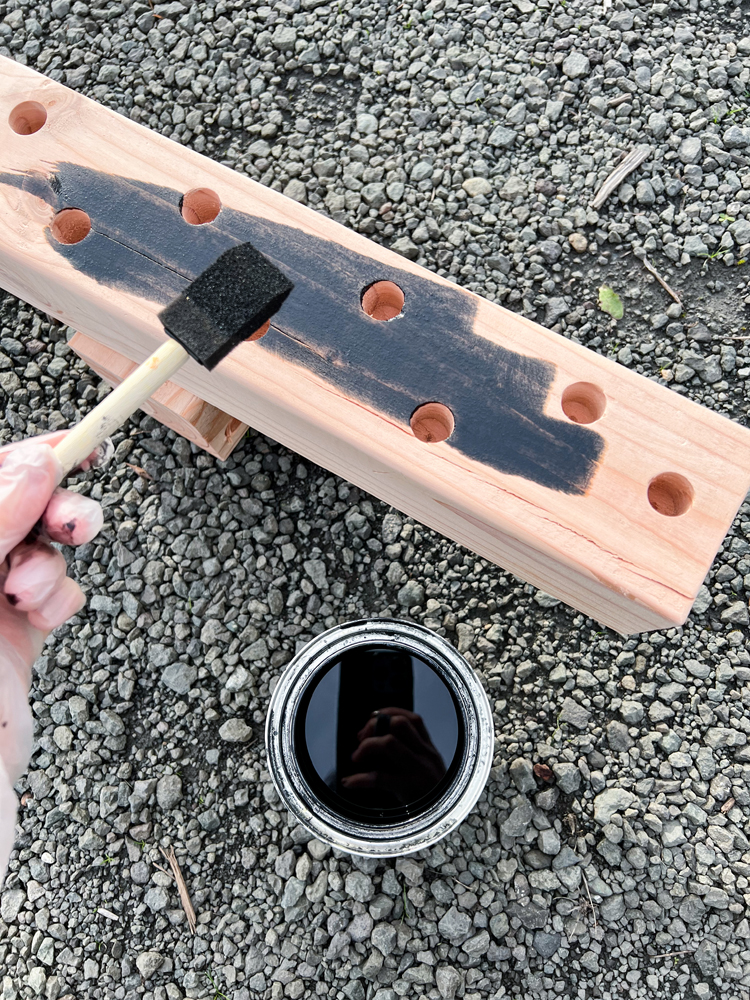
- OPTIONAL: Stain it or paint it, and then seal it with a clear water-based sealant. Let it cure.
- Light it up!
Simple. Inexpensive. Flexibly festive.
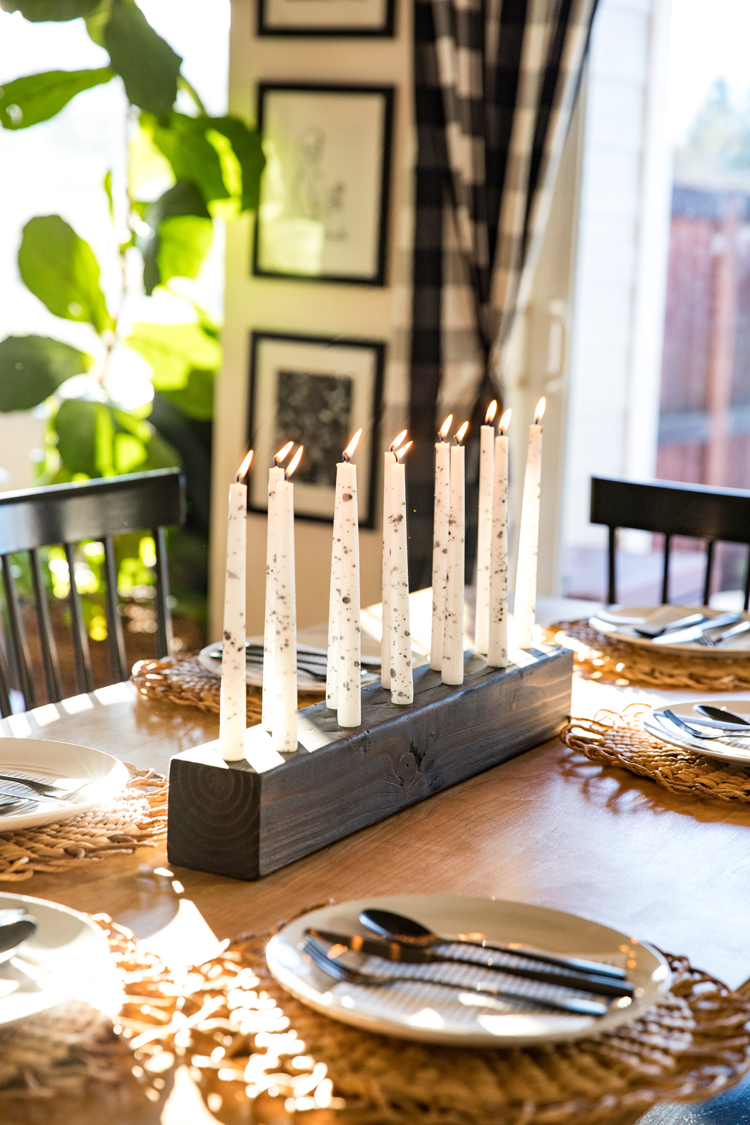
Check. Check. Check.
If you want a quick tutorial on how to make these splattered candles. Go here!



Leave a Reply