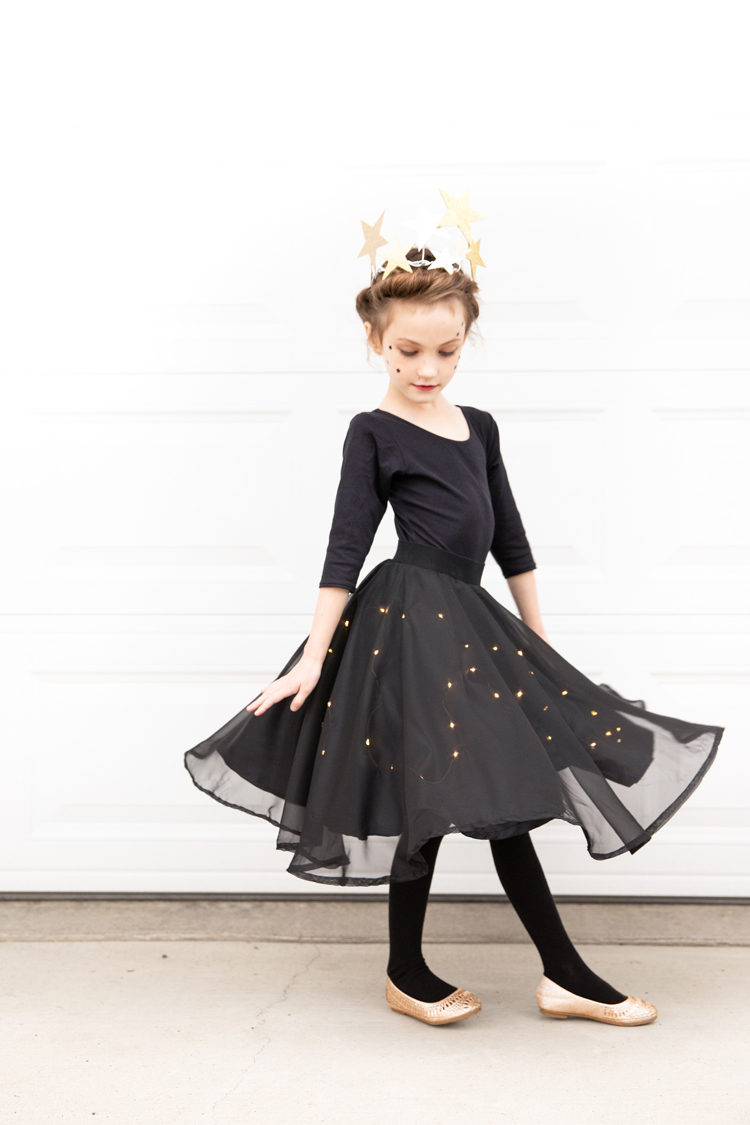
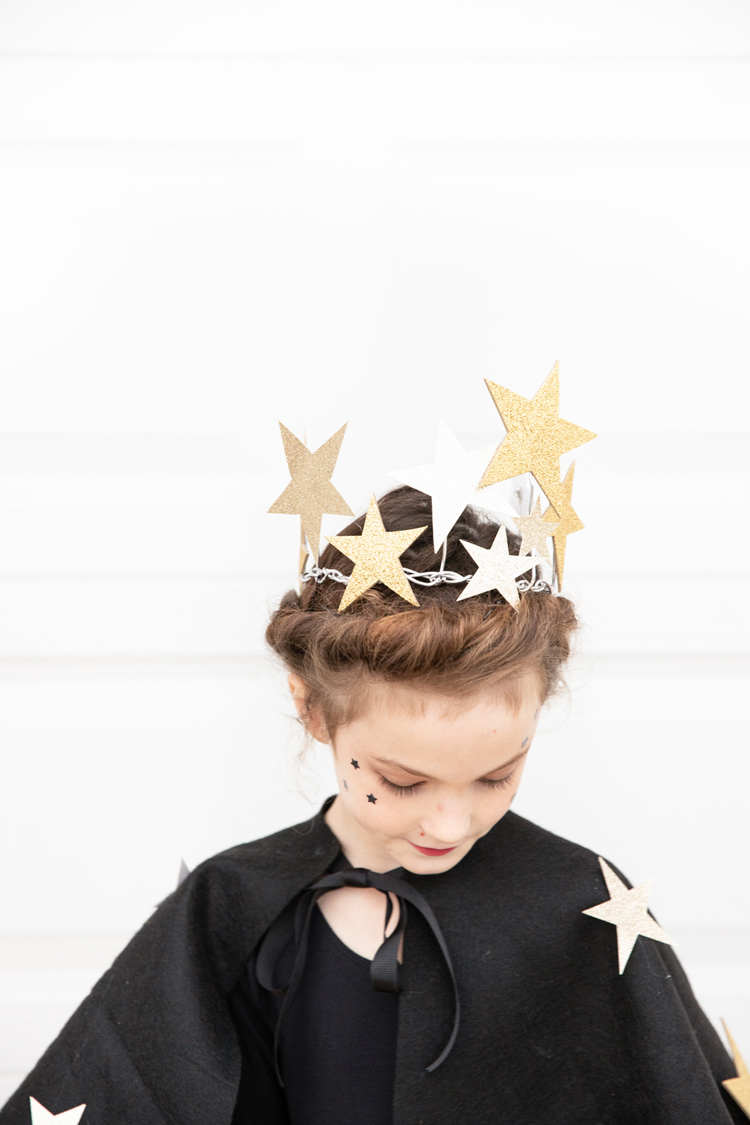
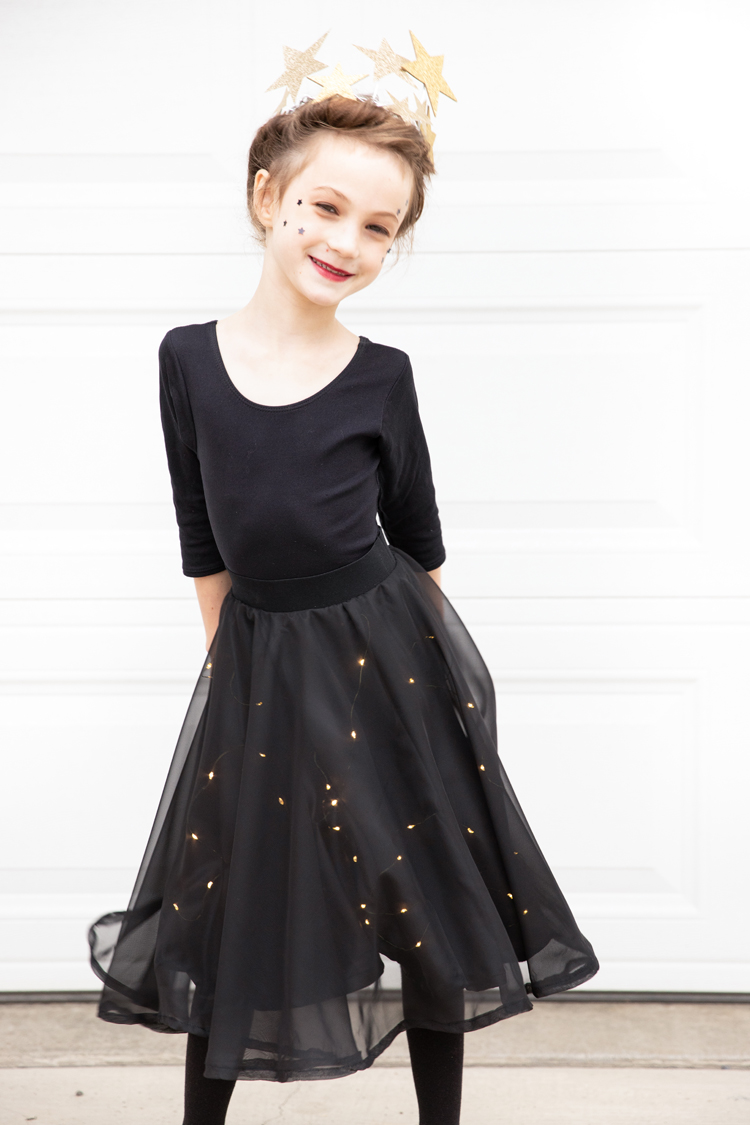
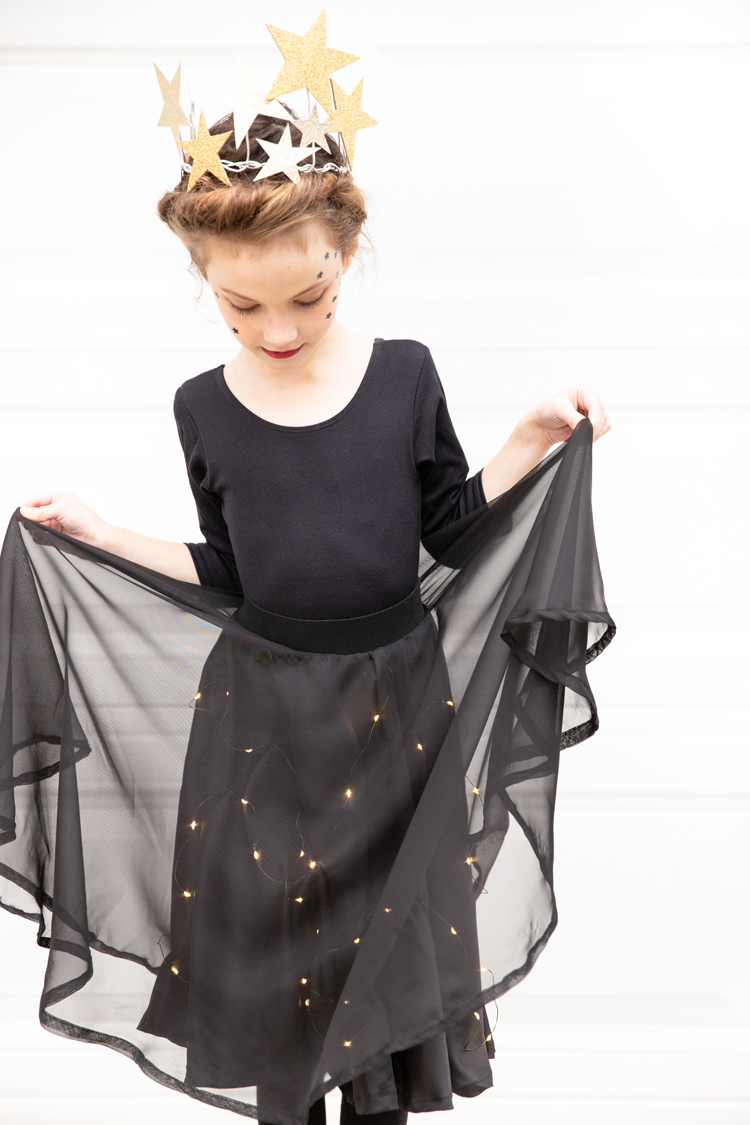
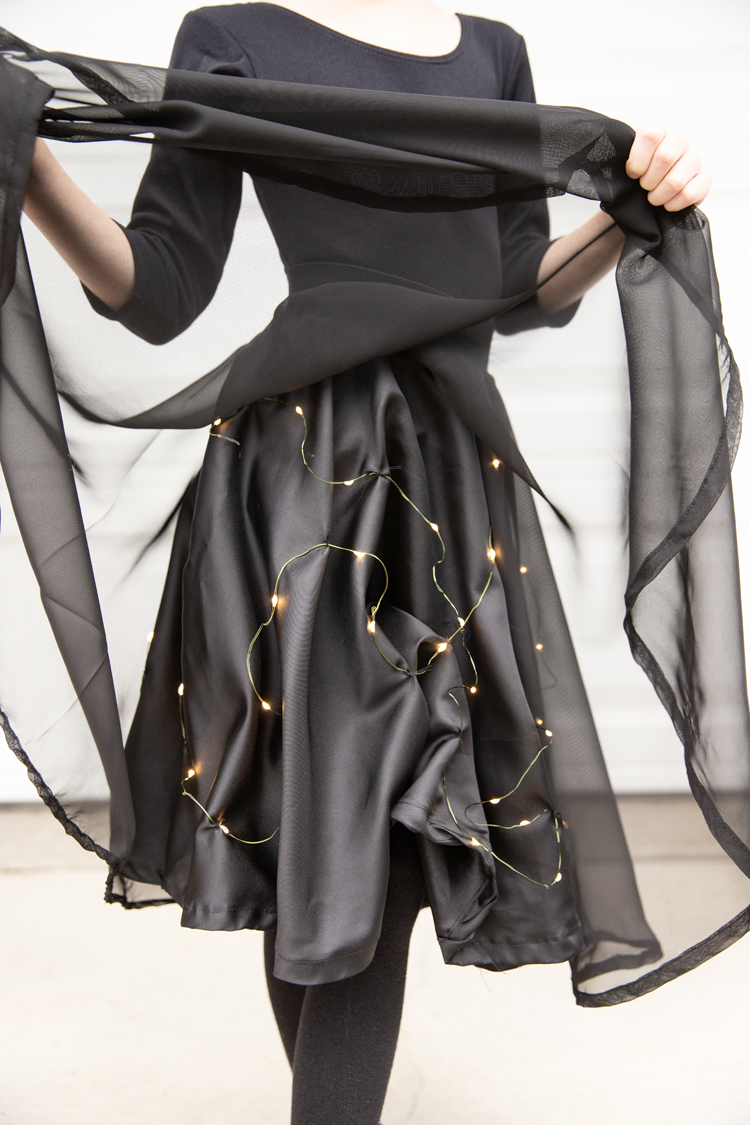
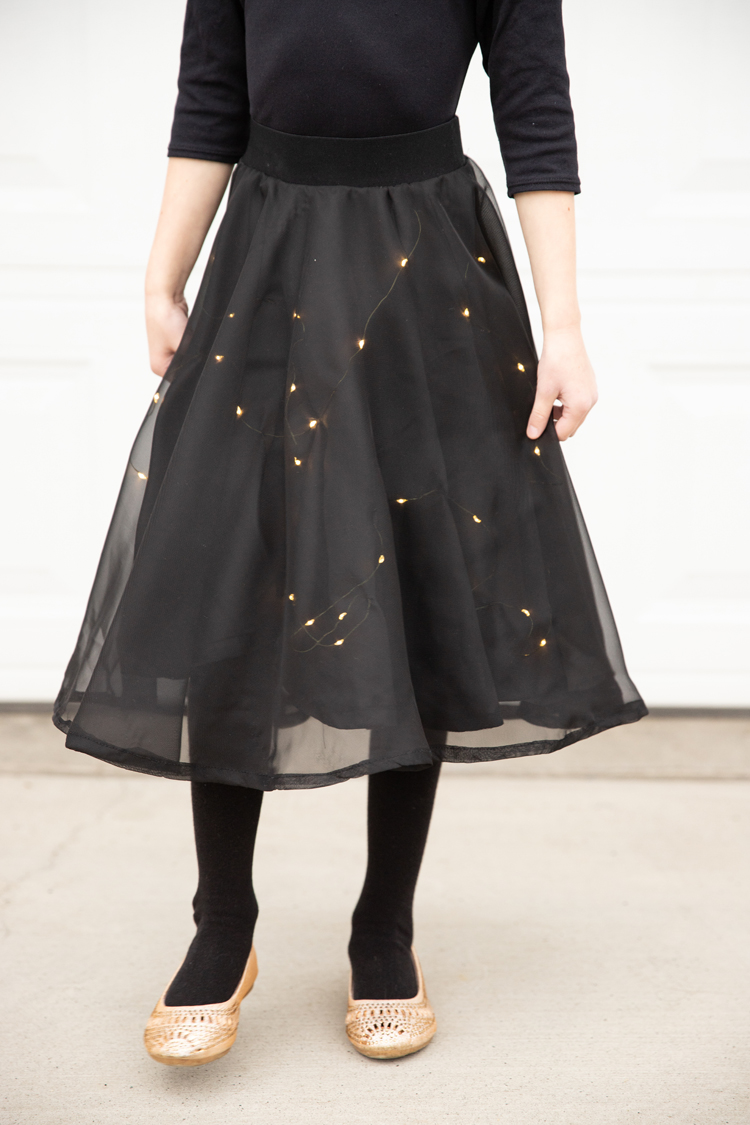
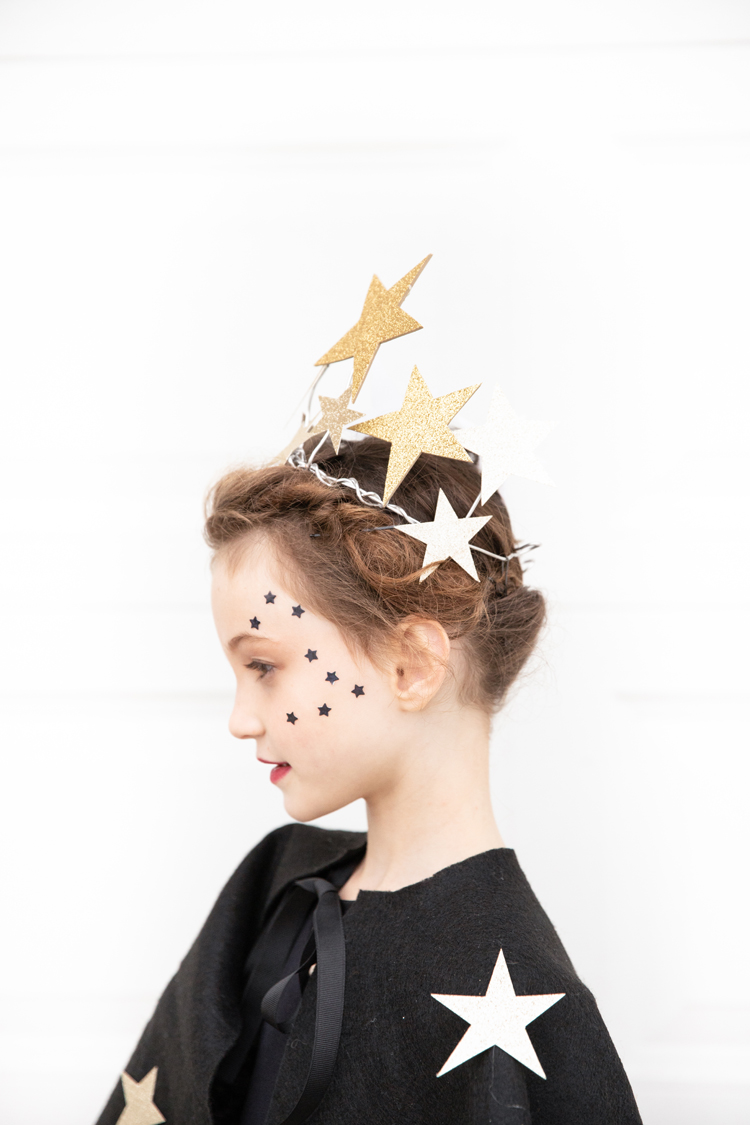
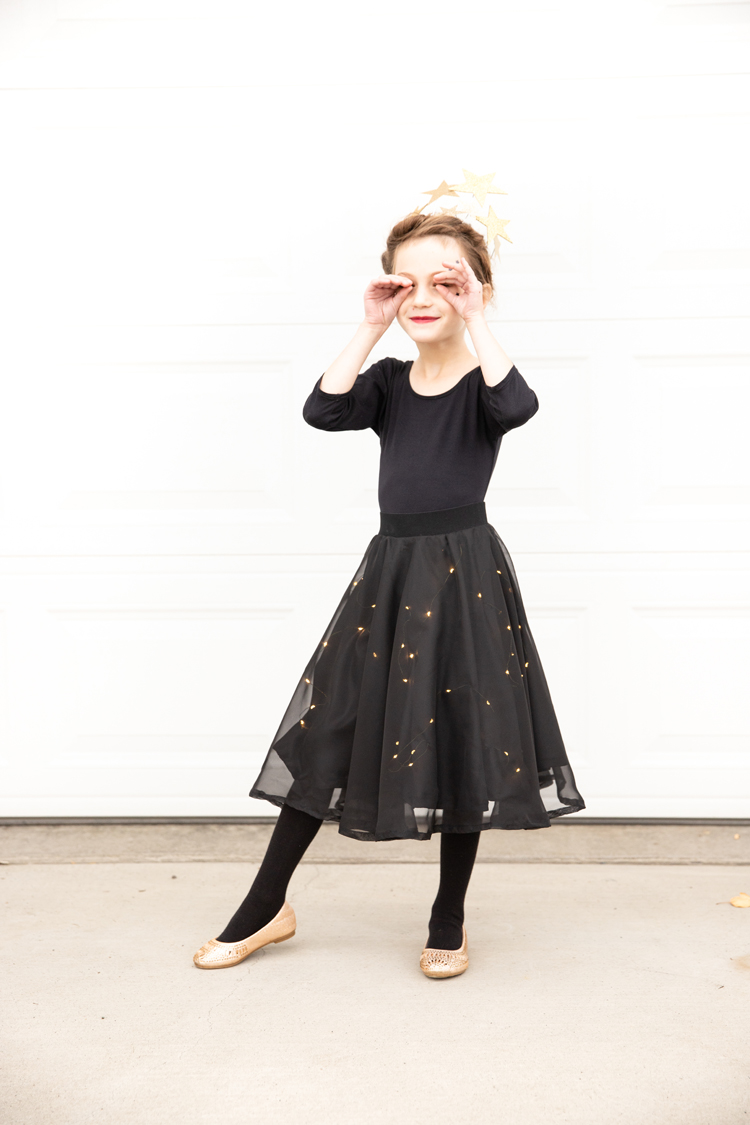
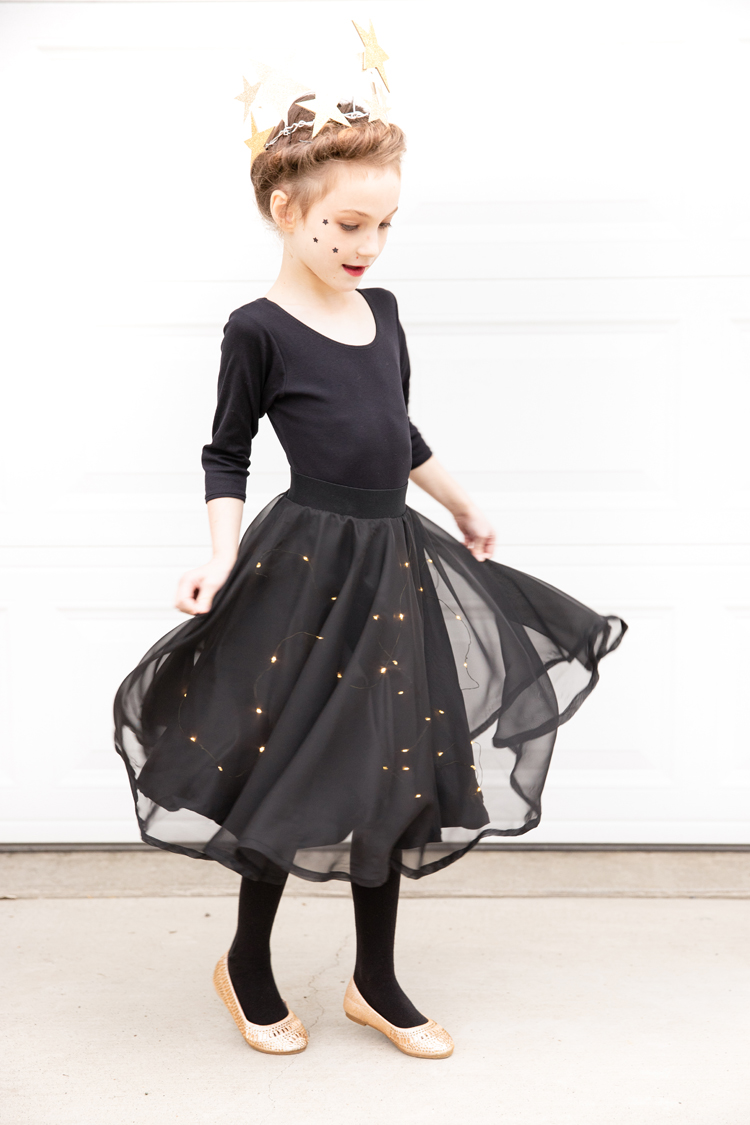
Sparkly gold crown, check. A twirly skirt, check. All lit up, check.
My daughter couldn’t decide on what she wanted to be for Halloween this year, but she knew she wanted those three things.
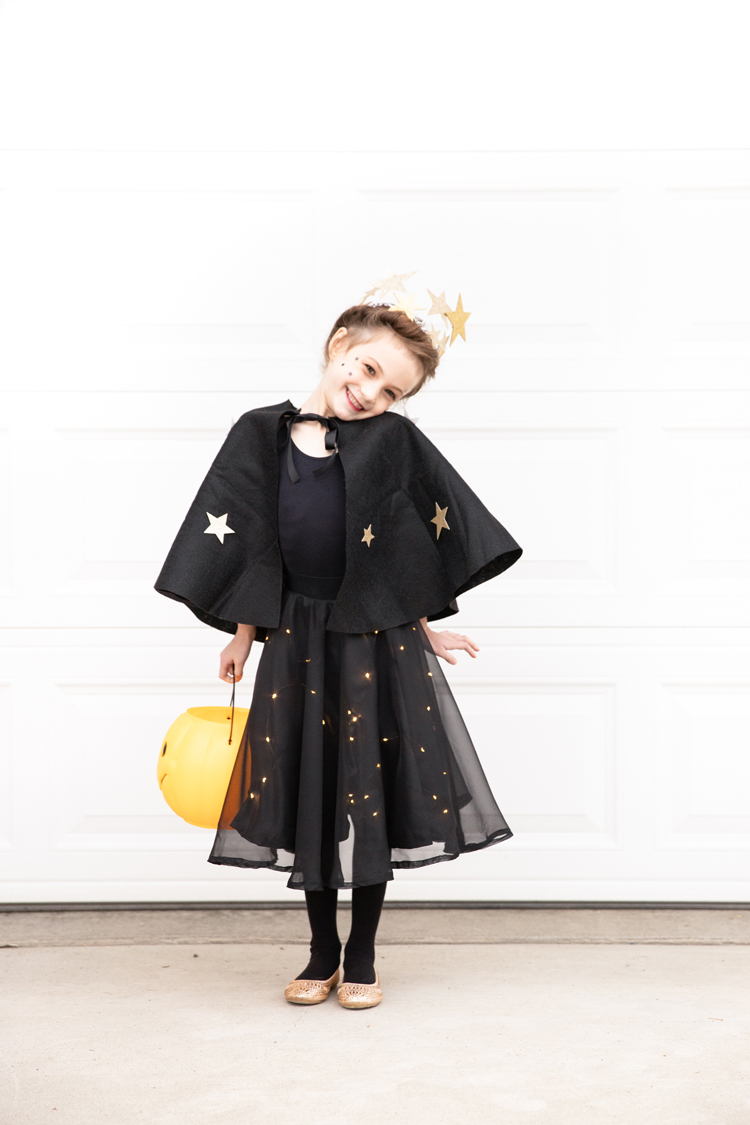
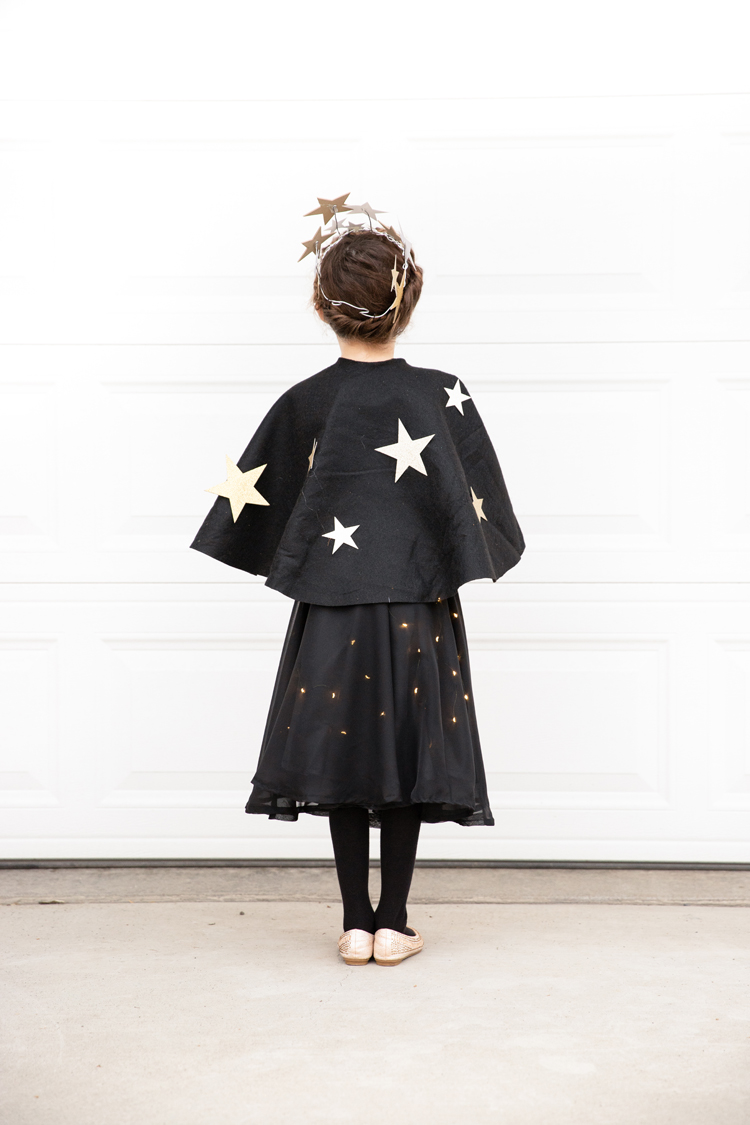
This starry night sky costume was just the ticket!…and it’s probably my most favorite costume I’ve made to date.
I made this costume last minute…what’s new!? ;)…so I don’t have step by step photos, but it’s easy to see how it was accomplished from the finished photos.
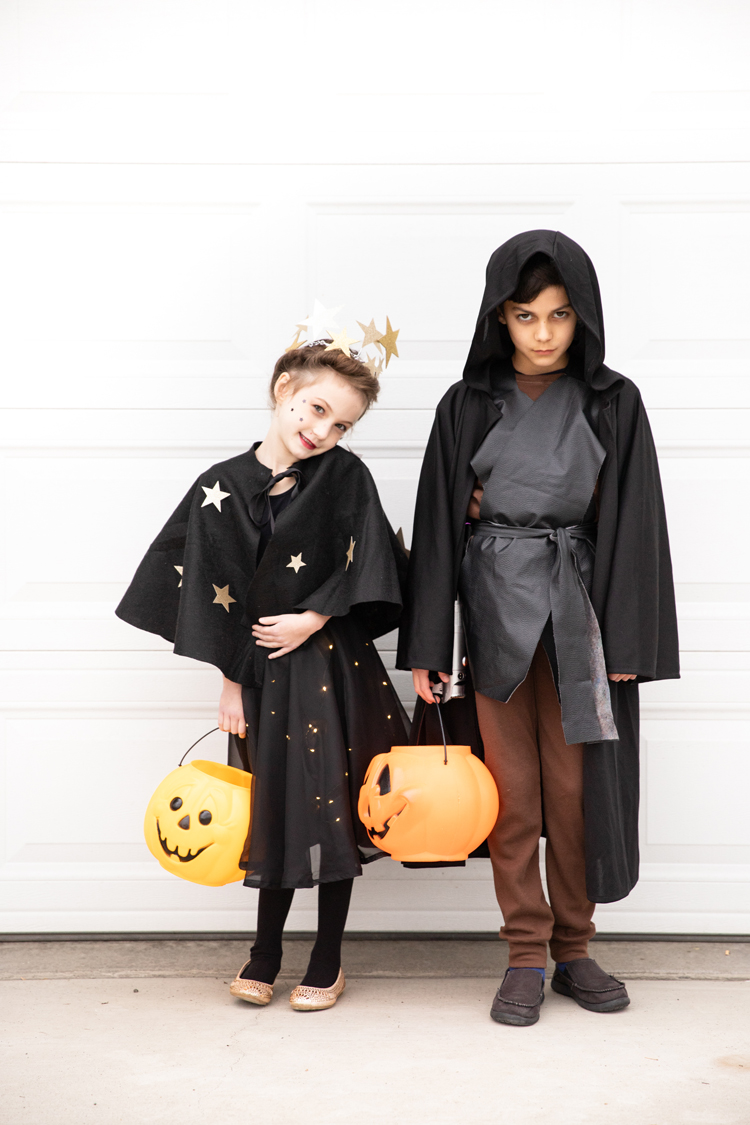
If you want a tutorial for the felt cape she is wearing, check out this five minute felt cape tutorial. I just added glitter paper stars with some hot glue.
Skirt Tutorial
MATERIALS
- Two-layered circle skirt*
- 2 packs of LED battery operated string lights**
- Matching thread
- Hand sewing needle
- Scissors
*Two layered circle skirt: I used THIS tutorial from Made Everyday, to make a circle skirt with an elastic waist. There are two skirt layers, the bottom layer is a polyester satin material, and the top layer is a sheer polyester fabric, both from Jo-Ann. I made the top layer about 1.5 inches longer than the bottom/under layer. You can also use a store bought skirt.
**LED String Lights: I used some lights I got several years ago from Home Depot, but I found these string lights on Amazon that are much more affordable and have a much lighter/smaller battery pack! Here’s an affiliate link.
DIRECTIONS
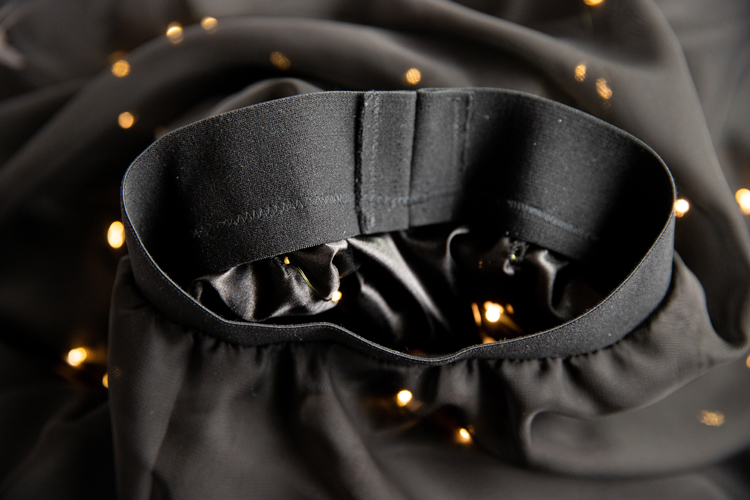
- Cut two tiny 1/4 inch slits about 1-2 inches down and to the side of the back center of the skirt.
- Sew around the inside of the slits to reinforce the slits into permanent openings. As you sew around the slit, it should turn into a circular opening.
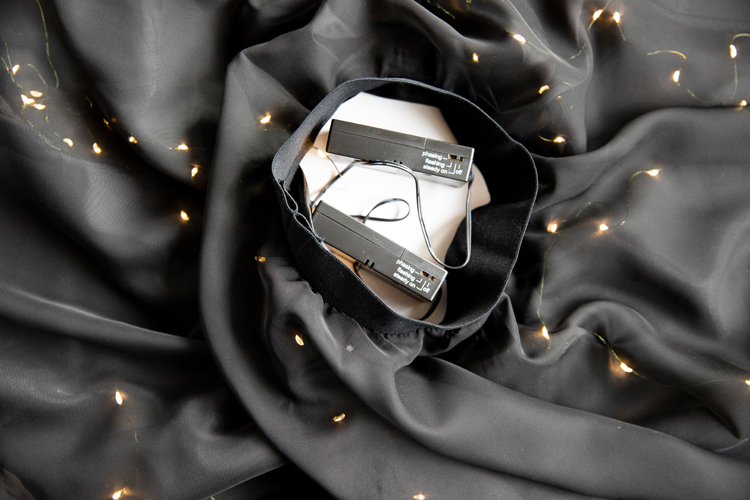
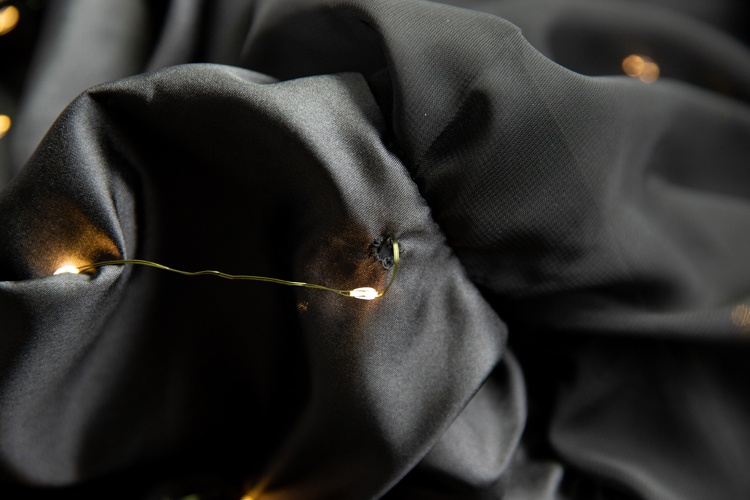
- Position the battery packs inside the skirt and feed each strand of lights through the reinforced openings out to the top of the under skirt. The lights will be sandwiched between the under skirt and the top sheer skirt.
- Hand stitch the strand of lights to the under skirt. I snaked the lights around the skirt in a random pattern and secured the lights about every 5-8 inches with several passes of a simple whip stitch.
- To wear the skirt, wear a fanny pack or a leotard that will hold the battery packs under the skirt and keep them in place. You can also remove the stitching and the lights so that you can wash it or wear it unlit in the future.
Note: The LED lights on a wire so it can bend the skirt and wrinkle the skirt (see picture). With the sheer overskirt on top, you can’t really tell though.
Crown Tutorial
MATERIALS
- 18 gauge jewelry wire (about 1 yard)
- Pliers/wire cutter
- Glitter paper
- Hot glue gun
- Scissors
- Pencil
DIRECTIONS
- Measure around the head. Cut a piece of wire to form the crown. Be sure to add about 5 extra inches so that you can twist ends together to secure the circle. Note: I made my crown while she was at school, so I made it too large. I sized it down by twisting the wire in the back of the crown.
- Cut various lengths of wire, 6-10 inches in length, to create vertical lines sticking up from the crown. Twist them into the crown, and curl the top, exposed end of the wire (that’s sticking up), so that it doesn’t snag or poke anyone.
- Draw about a dozen 1-3 inch stars on the back of the glitter paper and cut them out. I freehanded them, but you can easily print up templates from google.
- Glue stars on the spikes of the crown and onto the front of the base of the crown.
- Use bobby pins to secure it to your hair.
My middle son decided to resurrect his Anakin costume complete with authentic Anakin scowl (I love it when kids recycle costumes!;)) I have a tutorial for the vest (and Obi-Wan version) HERE, and a link to the hooded robe on e-How toward the top of that post.
Find Nat’s felt cape tutorial HERE. It is super simple and takes 5 minutes tops!



This is such a great costume idea! I really love that skirt!
Thank you Charity!