Stove top potpourri is one of my favorite things to make and give around the holidays.

All it is is some seasonal produce and spices simmered in a pan of water but it does wonder to fill your home with holiday cheer!
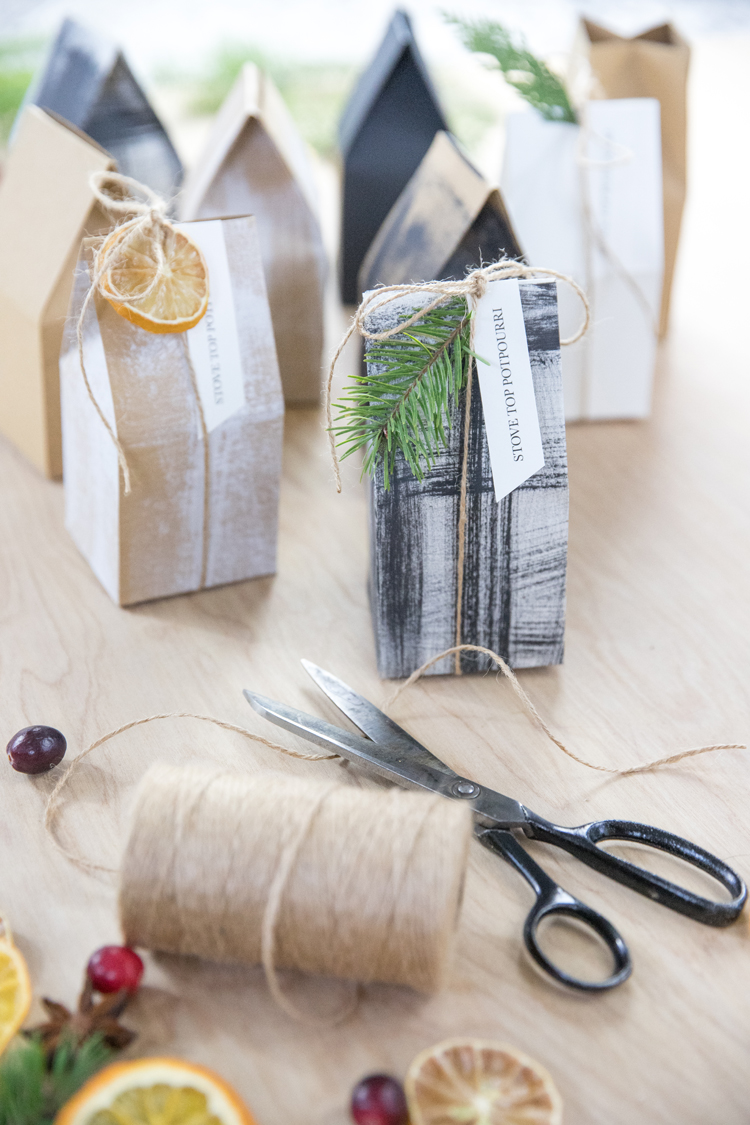
To make it gift worthy I’ve created a printable gift box template that you can assemble with no special equipment. I also have a free label printable and lots of stove top potpourri recipe ideas in THIS post, but it uses mason jars which have been in short supply this year!
This little house box is an easier, less expensive, and I think cuter solution!
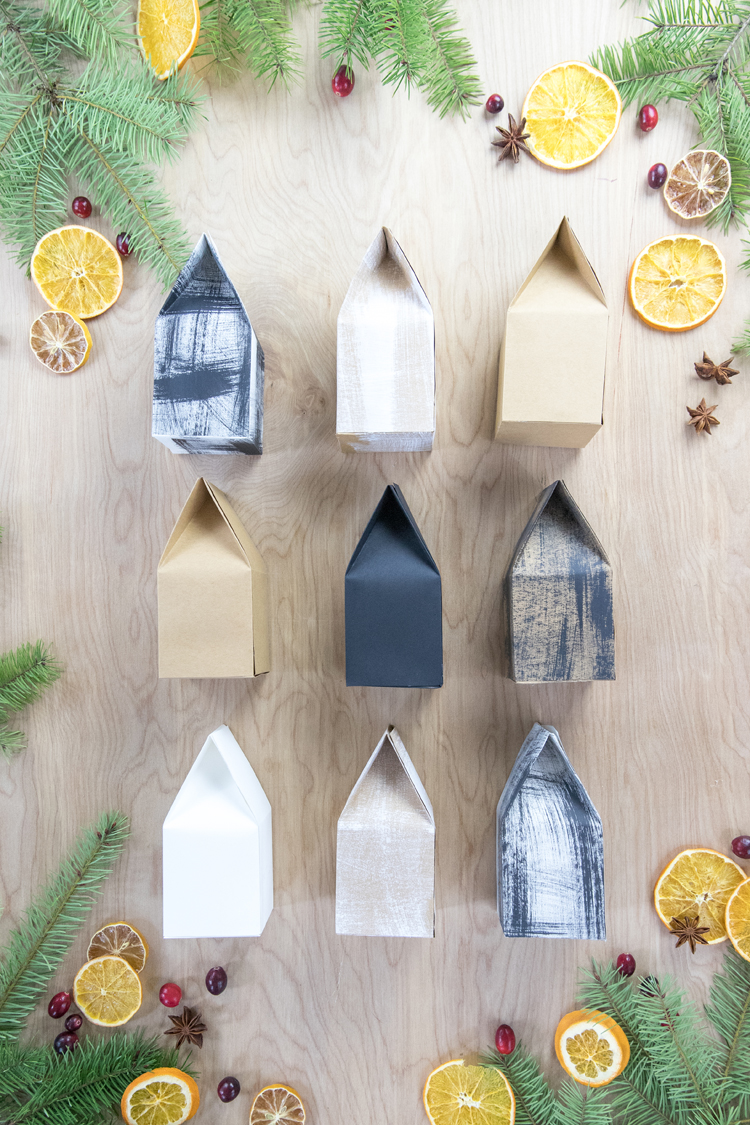
I have created a lot of little house crafts, including this gift box, in the form of cut files for my Silhouette and Cricut but I know that not everyone has a cutting machine. So this year, I made my templates more analog friendly. All you need is essentially paper, scissors and glue! Here’s the full materials list:
MATERIALS
- 8.5×11 inches card stock paper, 2 sheet per house box and 1 sheet for labels
- black and white printer
- scissors
- glue or tape – I highly recommend using hot glue
- ruler or straight edge (it also helps to have a bone folder but it’s not necessary)
- optional: paint, markers, and twine to decorate the boxes
- house box downloads (see next section)
GIFT BOX DOWNLOADS
Print and Cut File:
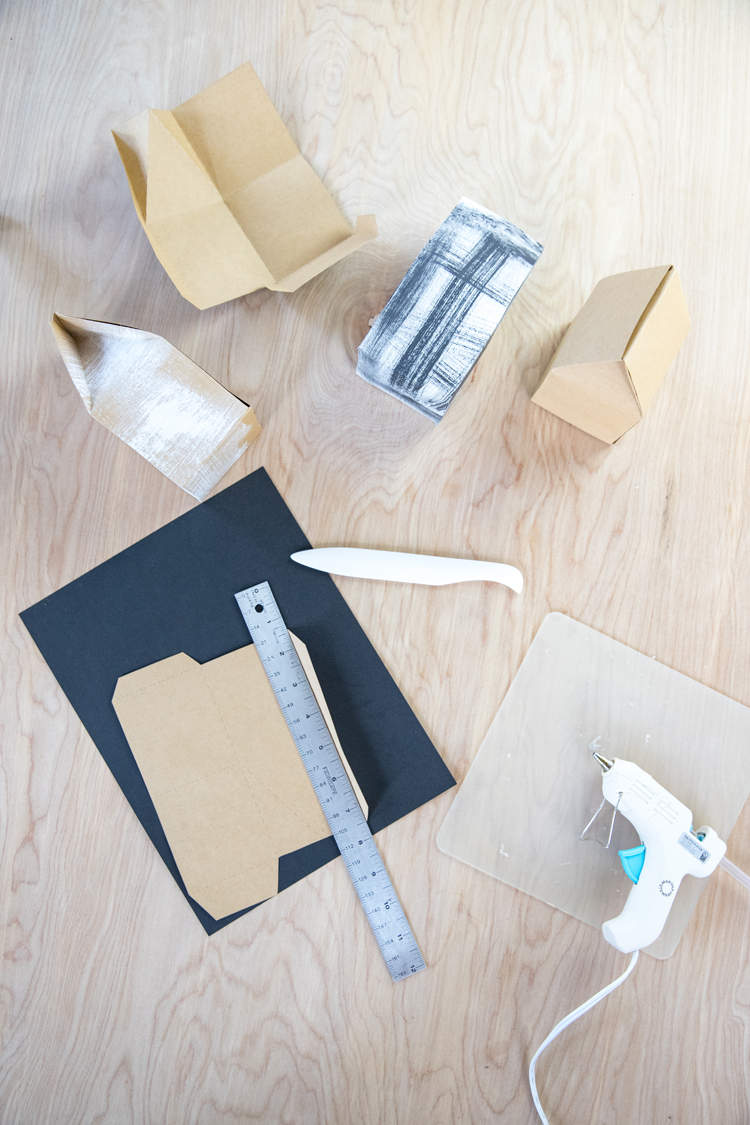
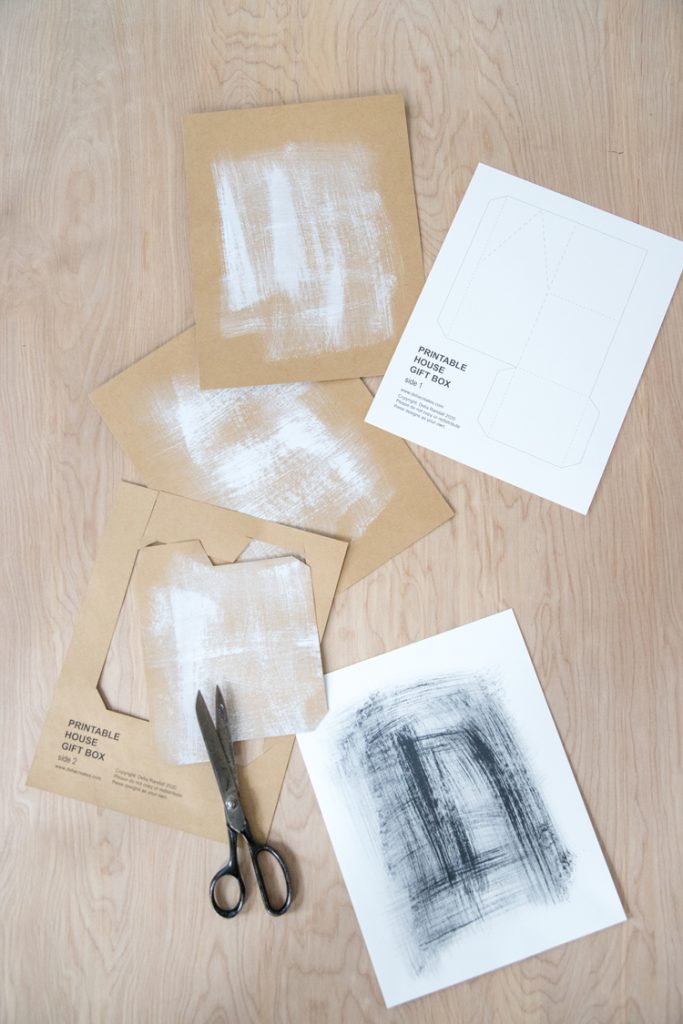
Print out this file on the 8.5×11 inch card stock you plan on creating the box out of. You can also use it as a template to trace more boxes, but it’s easiest to print it directly out of the card stock you want to use so you know where you fold it.
SVG:
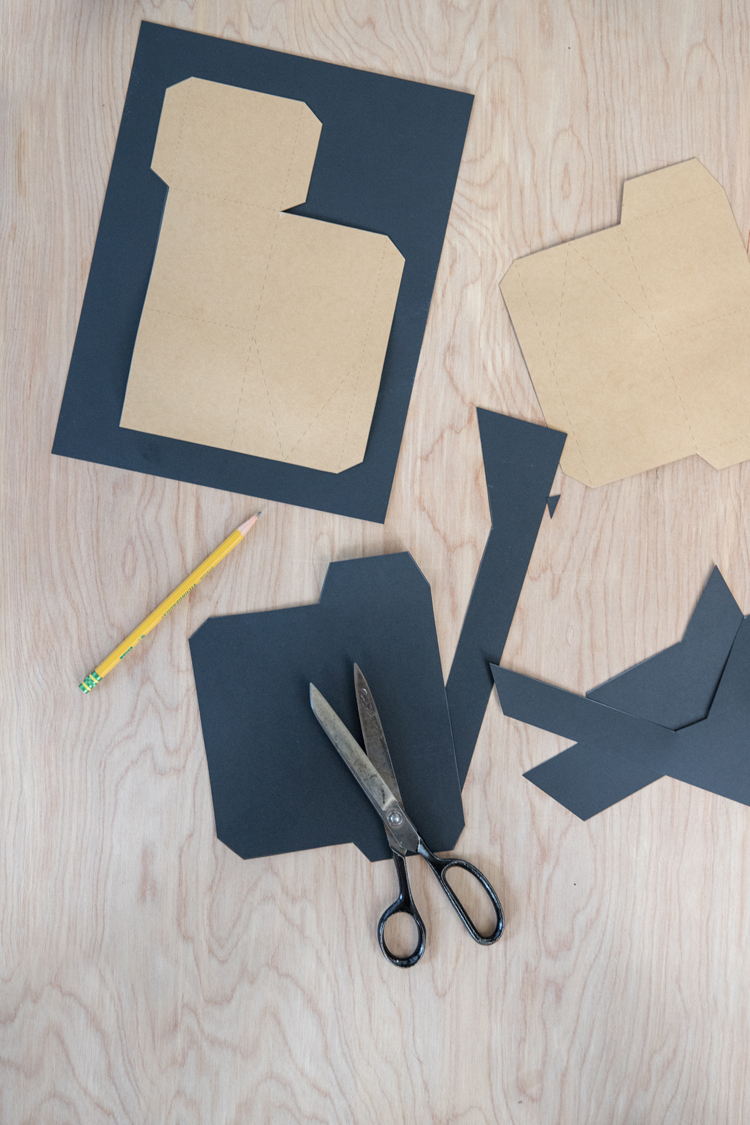
Some may have a cutting machine, so I recommend going to THIS post to download the .svg file. It’s the same design and close to the same size, but can be cut out on one 12×12 inch piece of paper.
You can also try downloading these files designed for 8.5×11 inch paper. There is an .svg file, and a .dxf file which I find works better with the software that comes with the Silhouette. The only catch is that you need to size the .dxf files to the fit the art board (be sure it is 8.5 x 11 inches). They should fit on two different art boards, with one side of the house on each board.
SVG: https://drive.google.com/file/d/1hdlZyhClg9KP28idMIhQcEHiXo9EKUQM/view?usp=sharing
DXF: https://drive.google.com/file/d/1NdAMyJVoWczcs5BvekPinQ1St3pTSnIV/view?usp=sharing
Label:
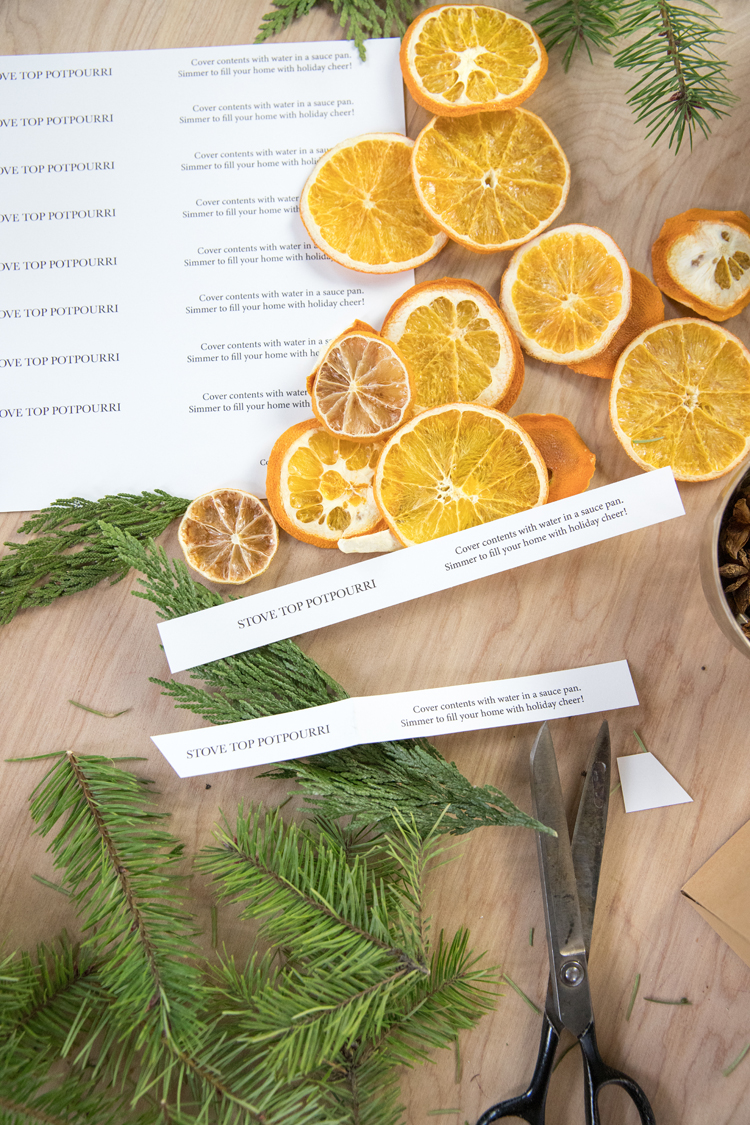
This provides simple instructions for how to use the stove top potpourri.
VIDEO TUTORIAL
It’s very simple to assemble the boxes. If you want written instructions, keep scrolling. The video will pop to the side and allow you to read as you view.
INSTRUCTIONS
- Print house box template downloads. Each box has a side 1 and side 2.
- Decorate the BACK of the printed box template if you want to add some designs to it. The back of the paper will be the side of the box that you see when the box is assembled. I painted mine with a dry paintbrush to add texture.
- Cut the box out along the solid lines with scissors.
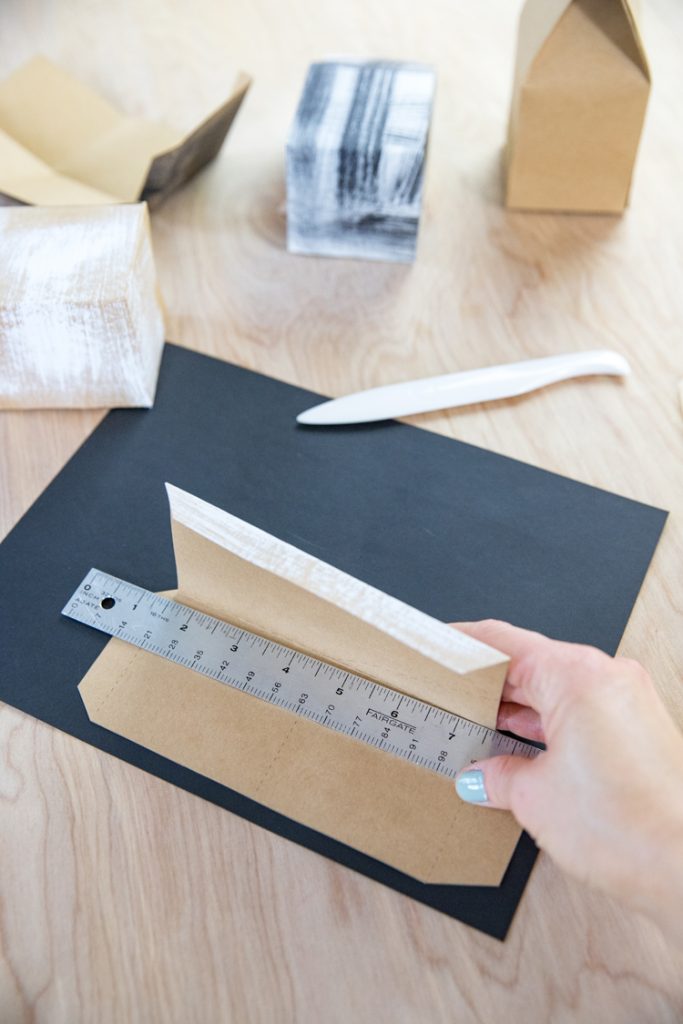
- Using a ruler, fold along the dotted lines. For dotted lines in the middle of the box, do your best to just fold on the dotted lines. The video is helpful in seeing how this is done. For the angled roof pitch lines, fold them along the dotted lines, and then fold them the opposite way so that it will fold inward when the box is assembled.
- Using the trapezoidal tabs, glue the house together. Leave the top of the box open.
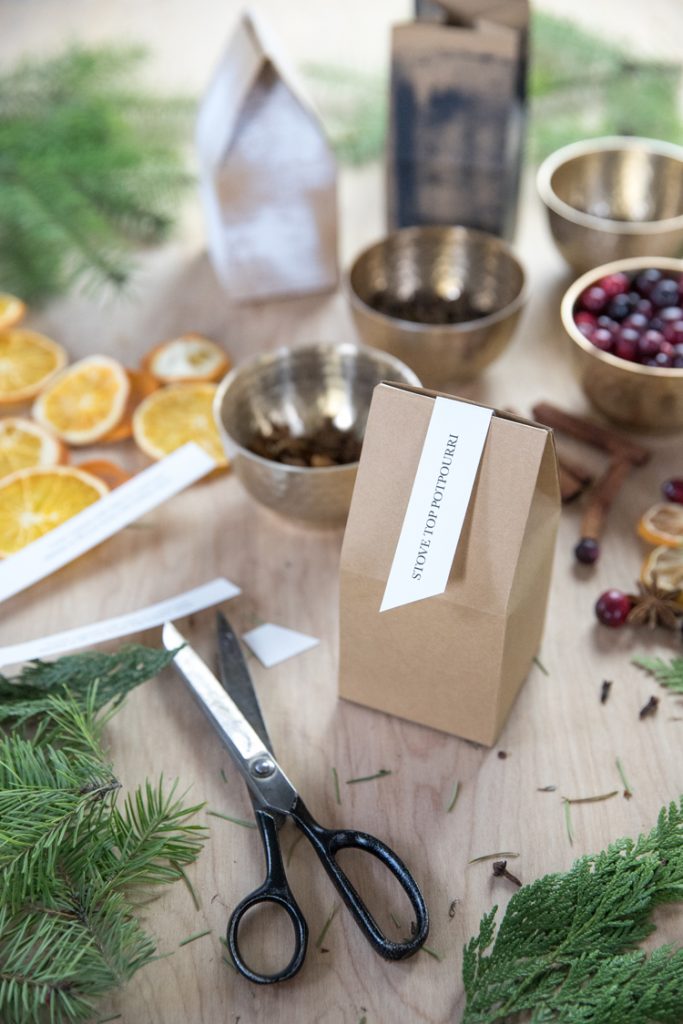
- Fill with potpourri ingredients*, close the top by inserting the tab, tape if desired or tie it with string to secure it.
- Cut labels into strips, fold at the gap between words, and insert it into the top of the roof.
*Need ideas for potpourri ingredients? See below.

STOVE TOP POTPOURRI RECIPES
Go to THIS post with lots of stove top potpourri recipe ideas, but here’s a quick list of inexpensive ingredients:
- foraged pine trimmings
- oranges slices (dry them in the oven at 200 F until crispy or include a whole mandarin orange they can peel)
- cranberries (you just need a dozen or so per gift)
- cloves
- peppermint candies

Tips for finding inexpensive spices:
I have found the best quality and prices for cinnamon sticks, whole all spice, and star anise at local markets or Asian markets, so check there if you have one. I would stay away from the spice aisle at the grocery store, as they are usually very expensive for how much you get.
If you include cloves or peppermint candies, you should be fine not to include the spices if you can’t find them. Even just some citrus, pine needles, and cloves smells amazing!


Delia, Thank you for this perfectly timed tutorial. I’ve been wanting to gift a non-food item this year and this little paper house is adorable.
One question. I just finished with my first house, and it seems like it needs a fold line below the triangle top to make it more like a milk carton. Is that right? I seems to just be pulling in instead of folding nicely. Or possibly I am doing something wrong?
Kathleen,
Good question. When I fold the line next to it (the roof line), the bend often extends past the line just enough to give it a memory to bend outward. If it isn’t, then I push it out with my finger. I hope that helps? Of course…you can totally add a fold there if you prefer and if it makes assembly easier.
Delia
Thanks for the tip! And thanks for making my neighbor gifts extra cute this year 🙂
I hope it helps! I am so happy you asked. Being the only one to “test” these printable templates out before I release them means I just do it the way I do it and I don’t consider how it may work out differently for someone else. I hope this comment thread helps any one else who may run into the same issue. Thank YOU! <3 Happy holidays! <3
Love this idea, thank you for sharing!! I uploaded the SVG file to my cricut explore machine. When I went to make it, all the lines were scattered and not where they should be for cutting. I tried to weld the design, but that didn’t help. Do you have any suggestions? Now I wish I had printed them off at work…I just thought cutting on the cricut would be quicker and simpler.
Oh dear! I’m not sure why. Let me look into it and see if I can help.
Okay…So, I can’t figure out why it’s doing that. I created a new .svg file in illustrator and made sure to group the lines before saving it as an .svg. I hope that does the trick for you. I also included a .dxf file version which may work if the .svg file does not. The only catch is that the .dxf file doesn’t often maintain the scale it was designed to be cut at, so you will need to split the file into two art boards and size it to fit 8.5 x 11 inch art boards. (I am using the term art board because that is what I use in Illustrator and in the Silhouette software, so sorry if it’s called something else in Cricut software. I am admittedly less experienced with Cricut software) Let me know if that doesn’t work and I’ll see what I can do. I hope this helps!