My favorite garden crop is easily strawberries. There is not much better than a sweet strawberry, freshly picked and still warm from the sun. Mmmm mmm!
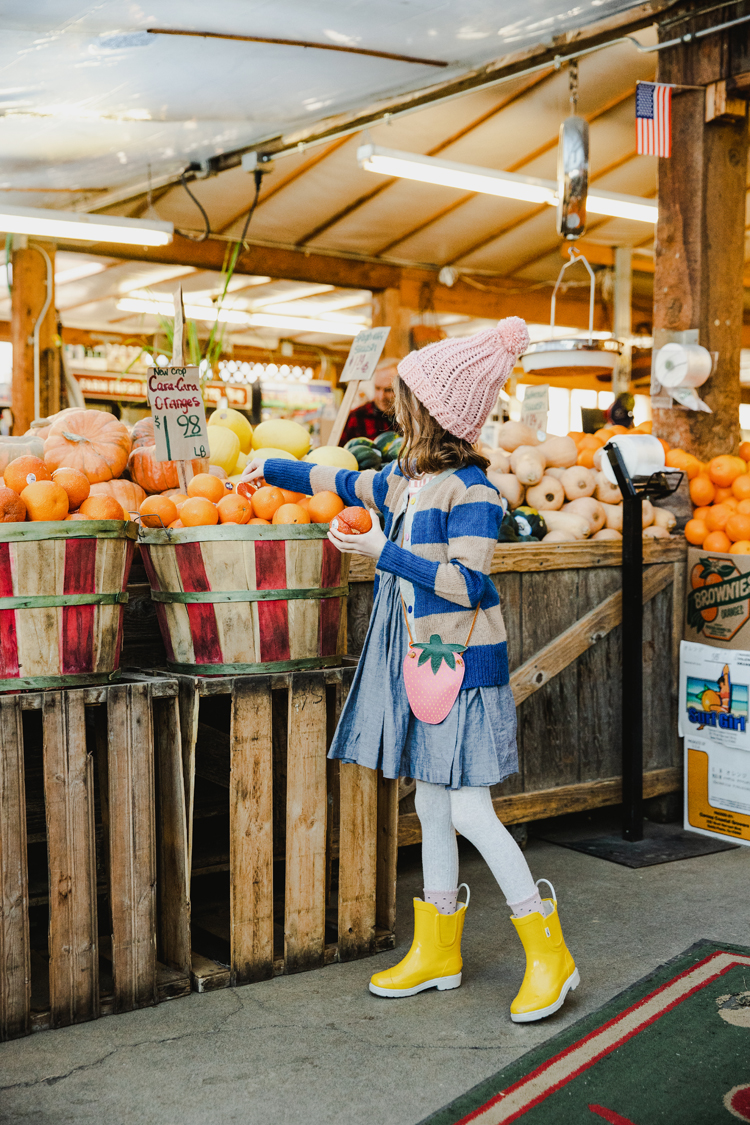
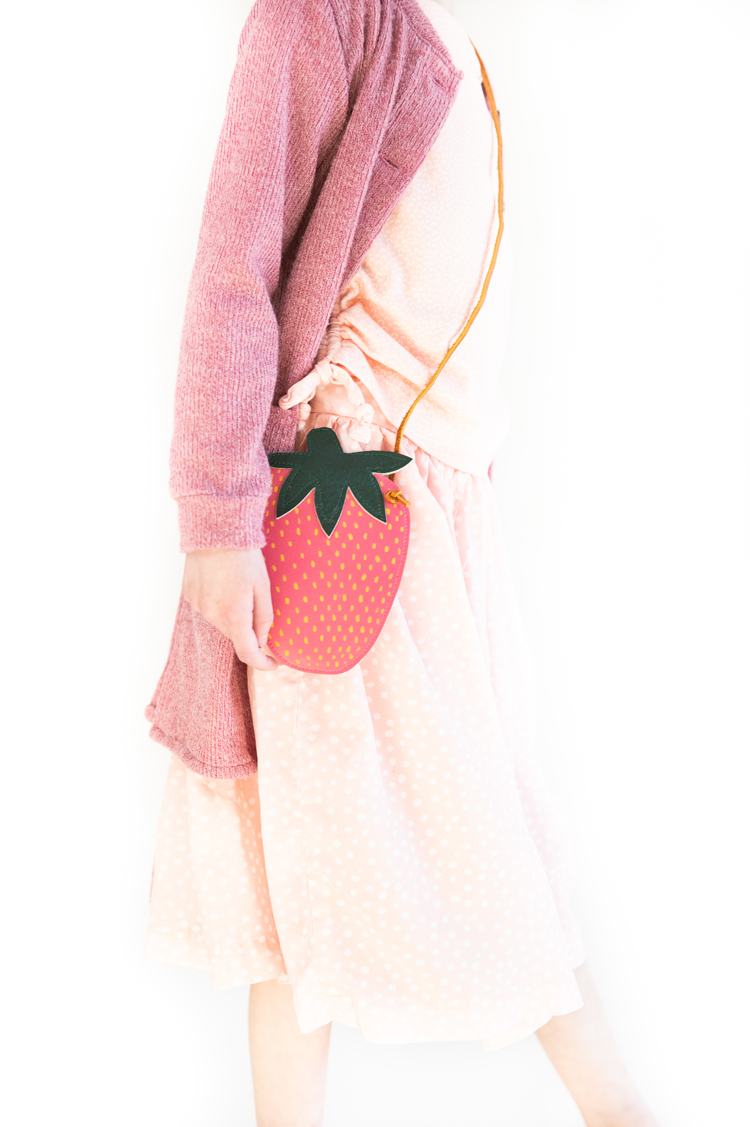
They’re super cute as a purse too! 😉
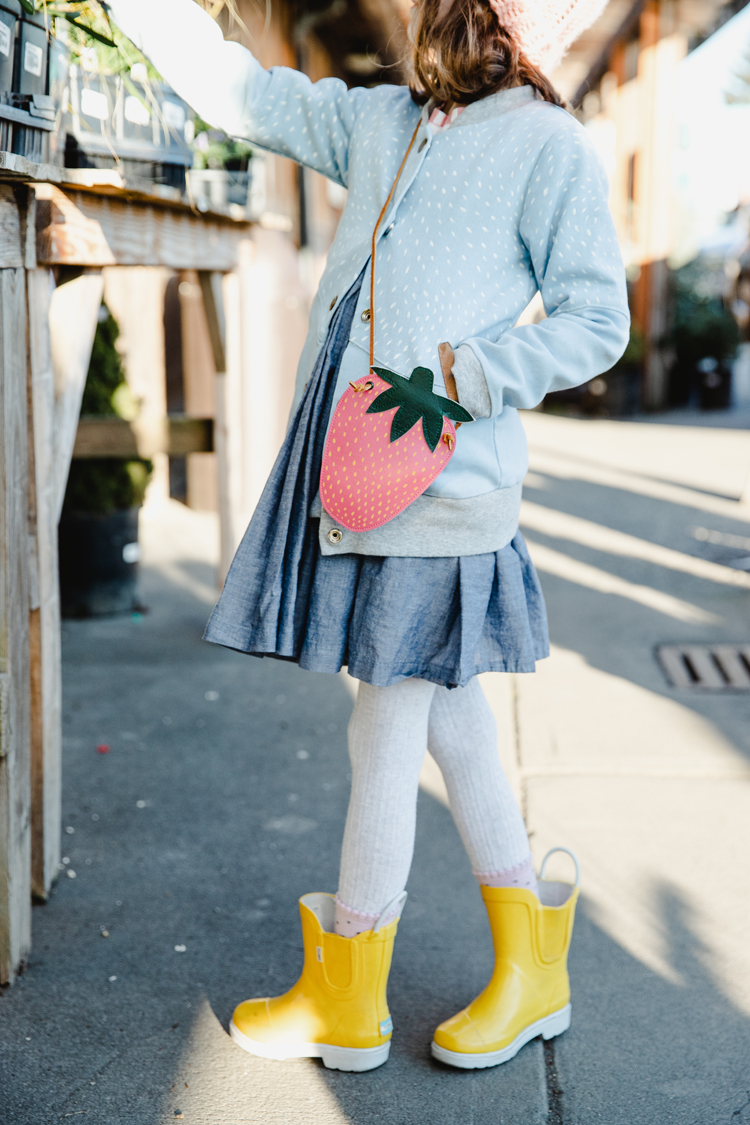
Which I created to complement the new Project Farmer’s Market pattern collection. If you haven’t yet checked it out at Project Run and Play, a peek at the look book is a must! The pattern bundles are all on sale just this week at 25-30% off (until Sunday, March 17, 2019)! You can get the whole collection or one of the mini bundles. My Caraway Cardigan pattern is in the girl’s bundle that includes a skirt, top, dress, and jumpsuit pattern. But it’s also a unisex pattern, so that’s a nice bonus!
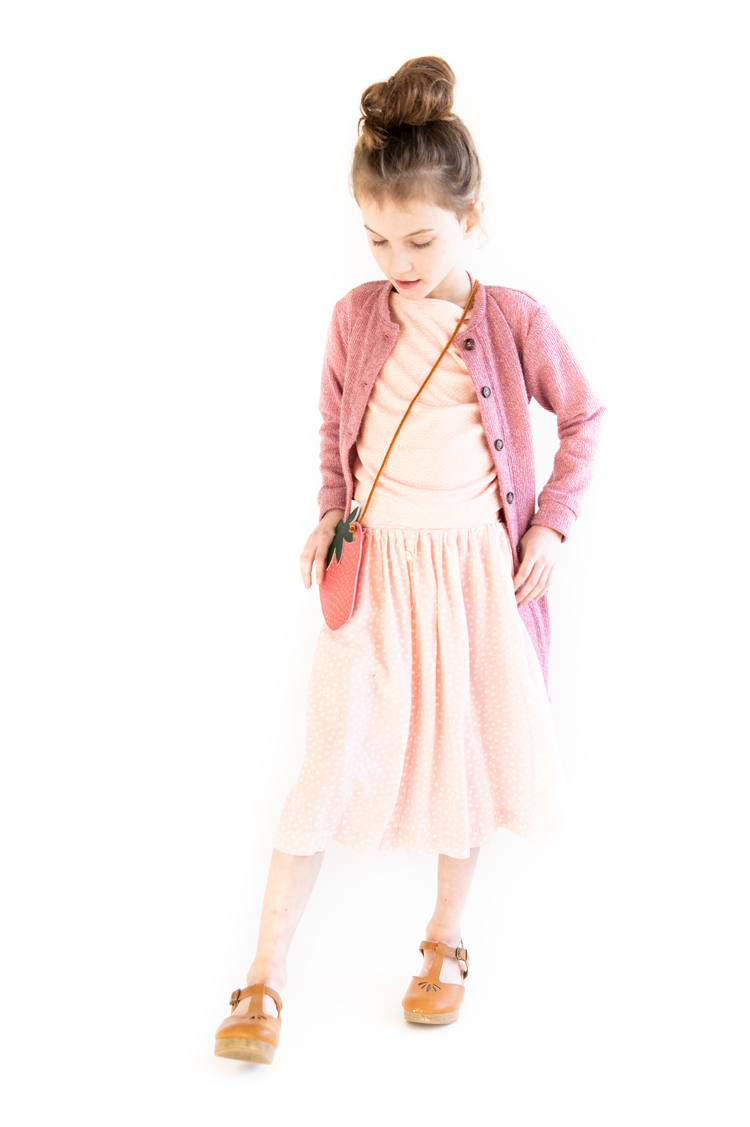
Speaking of bonuses, all the designers from the collection are sharing free patterns over the next couple of weeks and this purse is one of them.
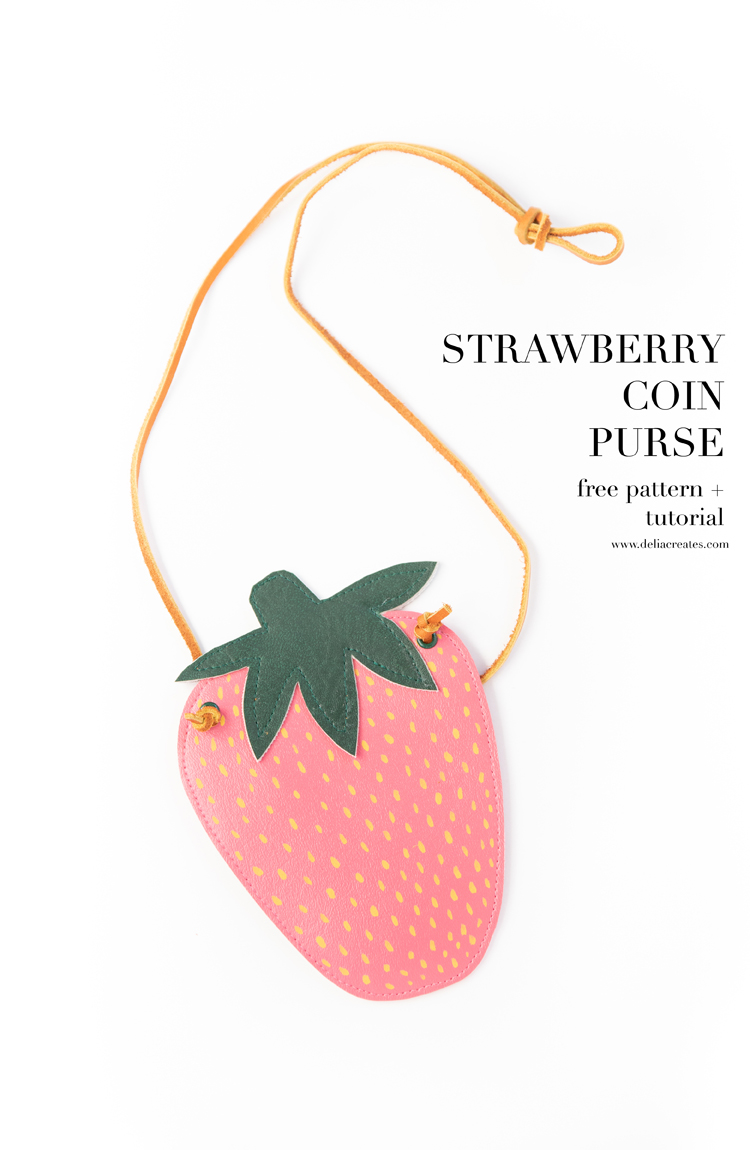
It’s a large coin purse that easily converts to a little purse with an optional strap addition.
Let’s make one!
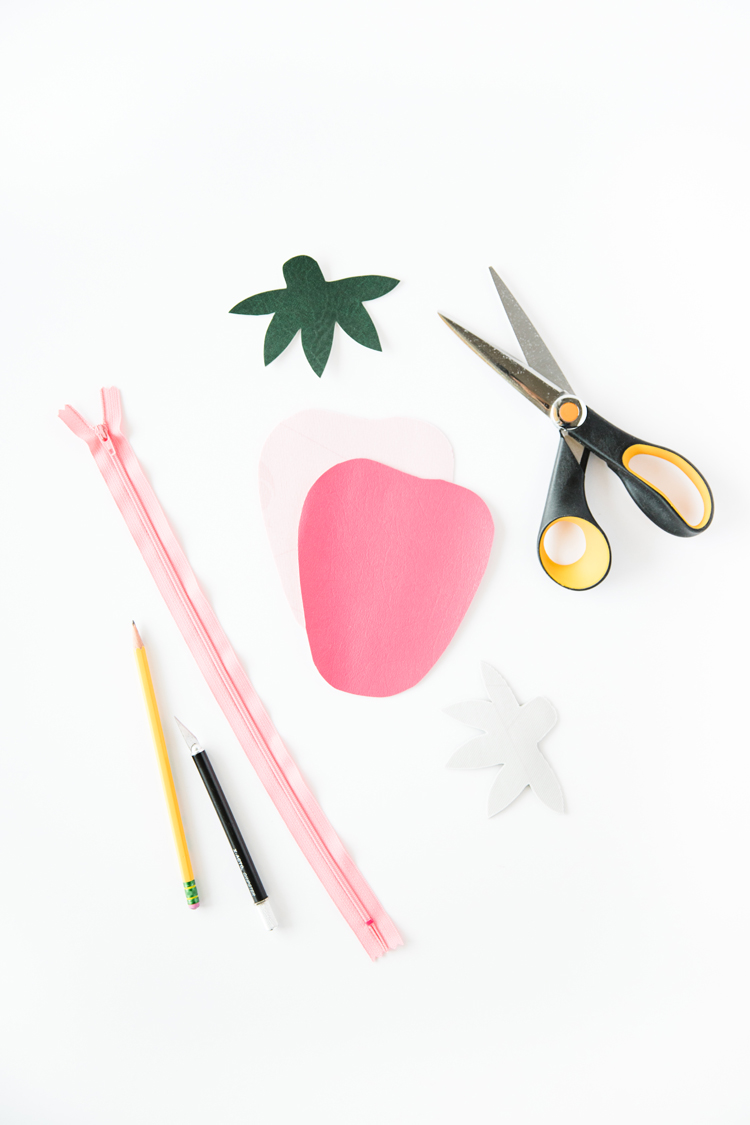
MATERIALS
- 1/4 yard of pink and 1/8 yard of green vinyl or pleather*
- matching zipper, at least 5 inches long
- matching thread for each color of vinyl
- zipper foot and standard foot
- leather needle
- scotch tape
- pencil
- quilting clips (or small binder clips)
- utility knife and sharp, heavy duty scissors
- optional: yellow acrylic craft paint, paintbrush
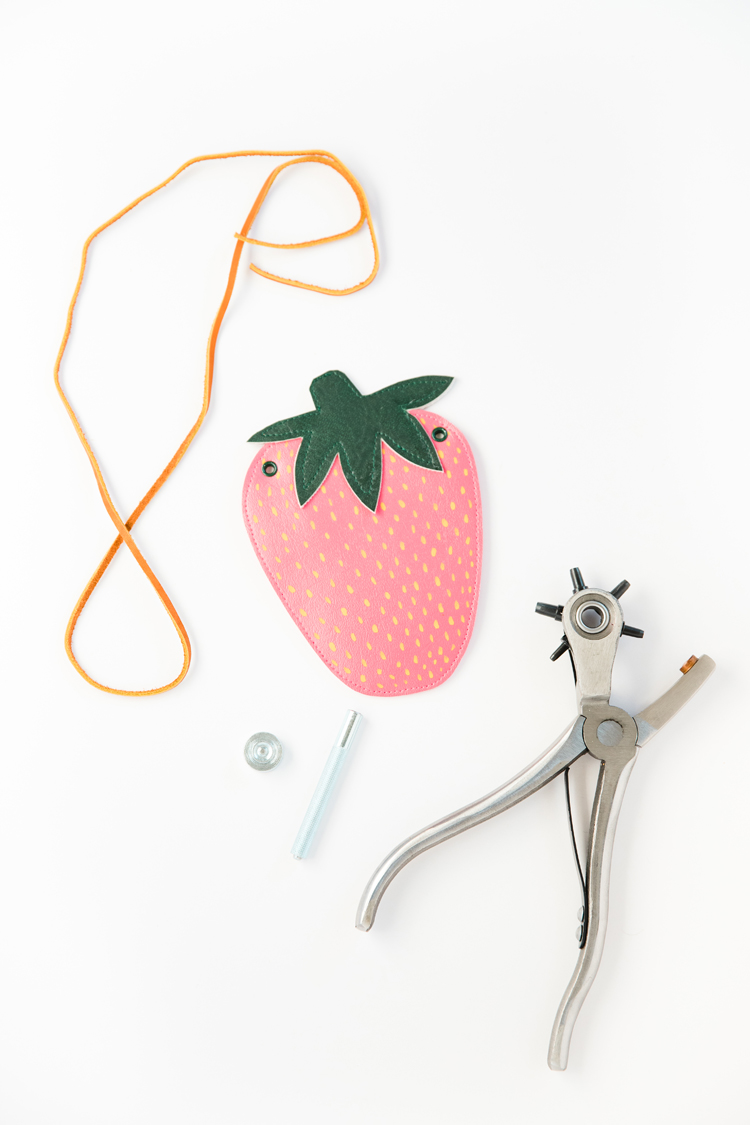
- optional strap: leather cording, 2 eyelets, eyelet setting tool, hammer, leather punch
- Strawberry Coin Purse Pattern (see next section)
*I purchased my vinyl from Jo-Ann. In the back of their fabric section they have long rolls of vinyl in an assortment of colors. The suggested yardage amounts will give you more than you need. You can save *a little bit* by ordering the pink by the inch. You need about 6 inches.
FREE STRAWBERRY COIN PURSE PATTERN
- Download the pattern linked above.
- Open the file as a pdf on your computer. Do not print from the print preview screen, as the dimensions will be off. In print settings, select print “actual size” or size it to 100%.
- Print. It is designed to print on standard A4 or 8.5 x 11 inch paper.
- Measure the 1 x 1 inch test square to ensure it printed to scale.
- Cut the leaves and strawberry patterns out.
TIPS FOR SEWING WITH VINYL AND PLEATHER
Before we jump into the tutorial, these tips will help make sewing vinyl and pleather much easier:
- Sew slowly. It sounds so simple, but most issues that come with sewing with vinyl can be fixed with this one little change. Once you sew through vinyl, the needle leaves behind permanent holes. Sewing slowly helps keep the vinyl from slipping and bunching, and it helps prevent irreversible mistakes.
- Lengthen your stitch. Using a 4.0 mm stitch length helps prevent skipped stitches and it looks prettier and cleaner.
- Use a leather needle. The thicker needle makes sewing vinyl fun instead of frustrating.
- Walking foot, teflon foot, or just lift your presser foot often. Your presser foot will have a tendency to stick to the vinyl which can cause it to shift, bunch, or stretch. You can remedy this by using a walking foot or a teflon foot (or a regular presser foot with tape on the bottom). I personally prefer to use a regular presser foot and lift my presser foot every few stitches. Combine that with sewing slowly and you will feel like you are sewing in slow motion, but it’s all worth it and you will end up with a nice, clean finish!
Tutorial
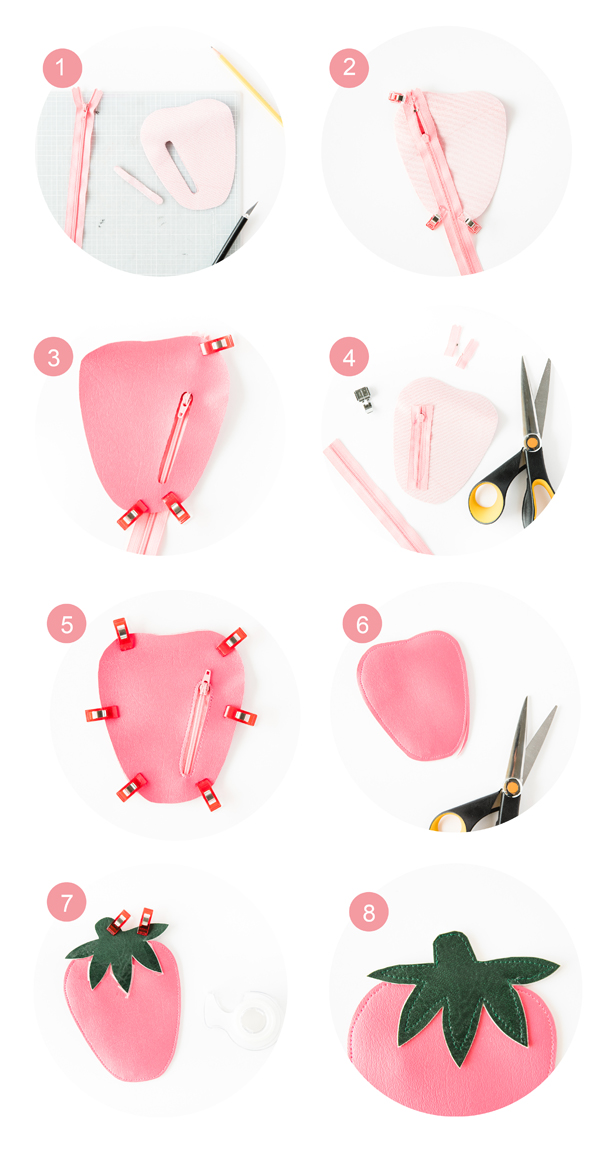
Step 1: Cut out your vinyl. You need two leaf pieces cut as mirror images so that they match up. Cut two strawberry pieces as mirror images as well. Cut the zipper slot out of only one of those pieces.
Step 2: Lay the zipper face down onto the wrong side of the strawberry piece, over the zipper slot.
Step 3: Ensure that the zipper pull is pulled to the end of the zipper slot. Tape in place with scotch tape to make sure the zipper doesn’t shift as you sew.
Step 4: Sew around the perimeter of the zipper slot, securing the zipper in place, using a zipper foot. The zipper foot will allow you to get close to the edge of the zipper slot without being obstructed by the zipper pull. Pull away the tape and trip the zipper ends down from the back.
Step 5: Place both strawberry pieces together with wrong sides facing. Clip around the perimeter to ensure it doesn’t shift as you sew. Sew around the strawberry with a 3/8 inch (1 cm) seam allowance.
Step 6: Check both sides of the strawberry to ensure the stitches caught both sides. Clean up the edges by trimming down the seam allowance to about 1/8 of an inch.
Step 7: Sandwich the pointed ends of the leaves over the strawberry and wrong sides facing. To ensure the leaves are aligned on either side of the strawberry, carefully feel the placement with your fingers. Tape everything in place with scotch tape. Sew around the perimeter of the leaves, taking care not to sew too closely to the edge to allow yourself a margin for alignment error. Remove the tape (this may take some doing, but it’s worth it to get the leaves lined up just right).
Alternatively, you can sew the leaves together at the top only and then sew some bar tacks scattered throughout the bottom of the leaves to secure it to the strawberry. This makes it a little easier so that you don’t have to line up the leaves blindly.
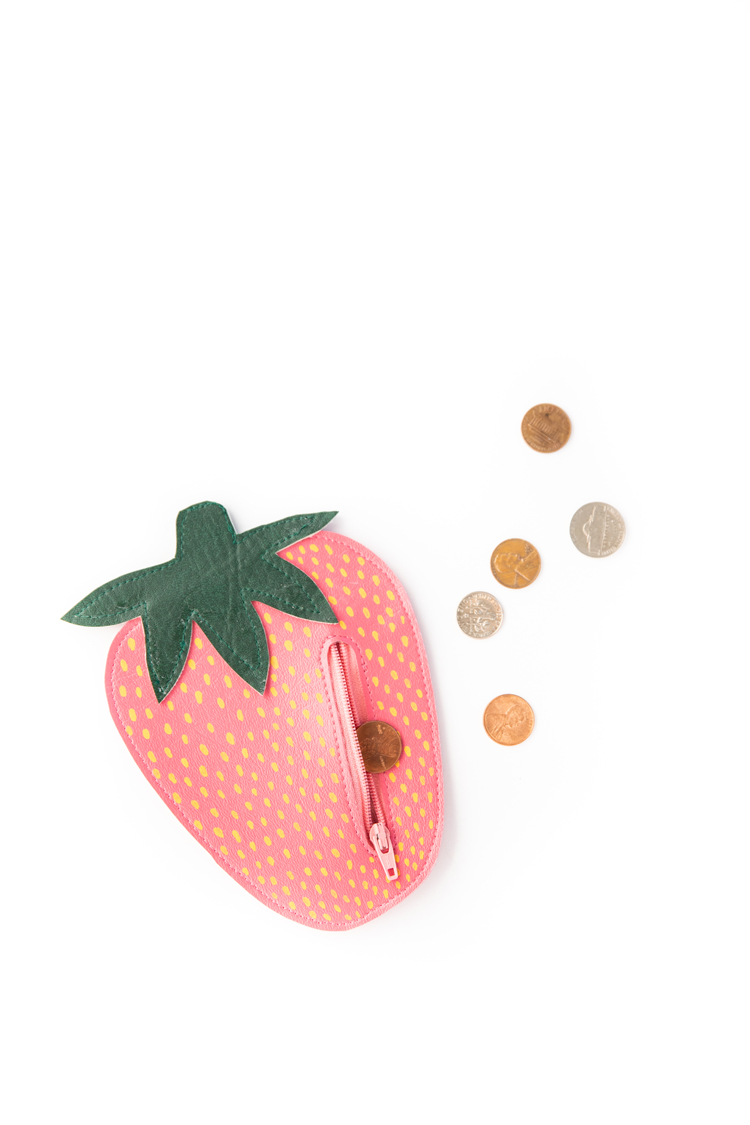
Optional Additions:
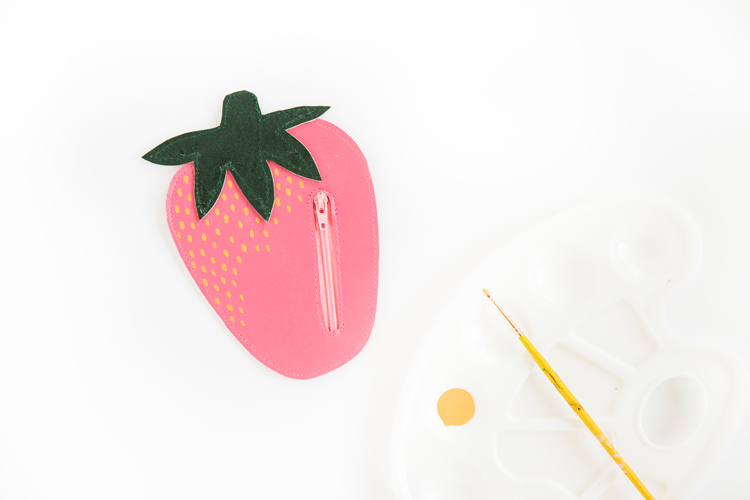
1- Paint on seeds using a small paint brush and yellow acrylic craft paint.
2. Add purse straps. Punch or cut two small holes at the top of the coin purse. Hammer in eyelets. String leather cording from the back to the front. Knot the ends of the leather cording to secure it to the purse.
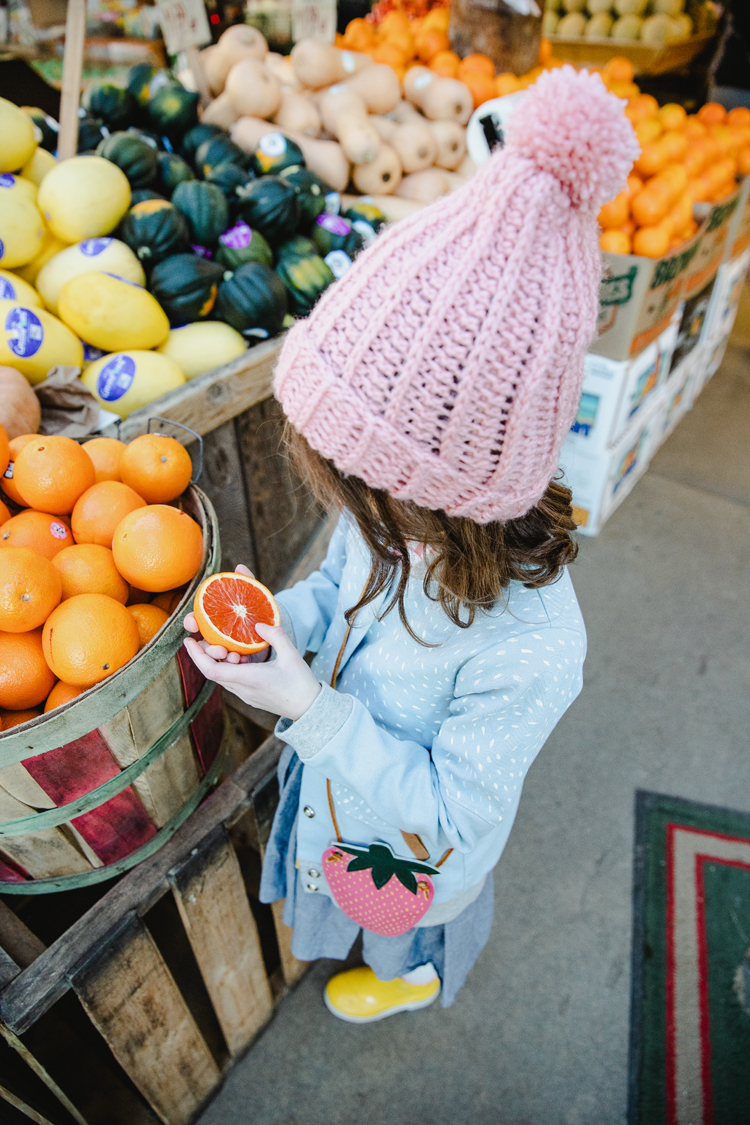
SOURCES: Ichigo Bomber Jacket pattern (stretch denim from Jo-Ann, hand painted with seed pattern by me), D’Anjou Dress pattern (chambray from Jo-Ann), Caraway Cardigan pattern (mine! 😉 pink fabric from Fabric.com, blue stripe salvaged from thrifted sweater), Banana Boat Tee pattern (Hawthorne Supply & Co.), Soleil Skirt pattern (Hawthorne Supply & Co), Upbeet Tee pattern (Hawthorne Supply & Co) – all from the Project Run and Play Farmer’s Market collection. Rowan crochet beanie pattern (my pattern, yarn is Lion Brand Vanna’s Choice in pink).


Thanks for the great DIY and very useful tips ! I’m very into craft but less an expert when it comes to sewing but you make the whole thing quite easy !
Will definitely try soon for my little boy, maybe with a banana design and shape though (he is obsessed with bananas….). There is no reason a little boy can’t have a sling bag right ?
Totally! A banana bag for your boy sounds adorable!
Absolutely precious! It’s such a perfect addition to her outfit! I want to try this one out for sure someday!!!!! ?
Thank you Kataryna! <3
so beautiful and cute, love this idea and its the perfect size!!!
Thank you Jen!