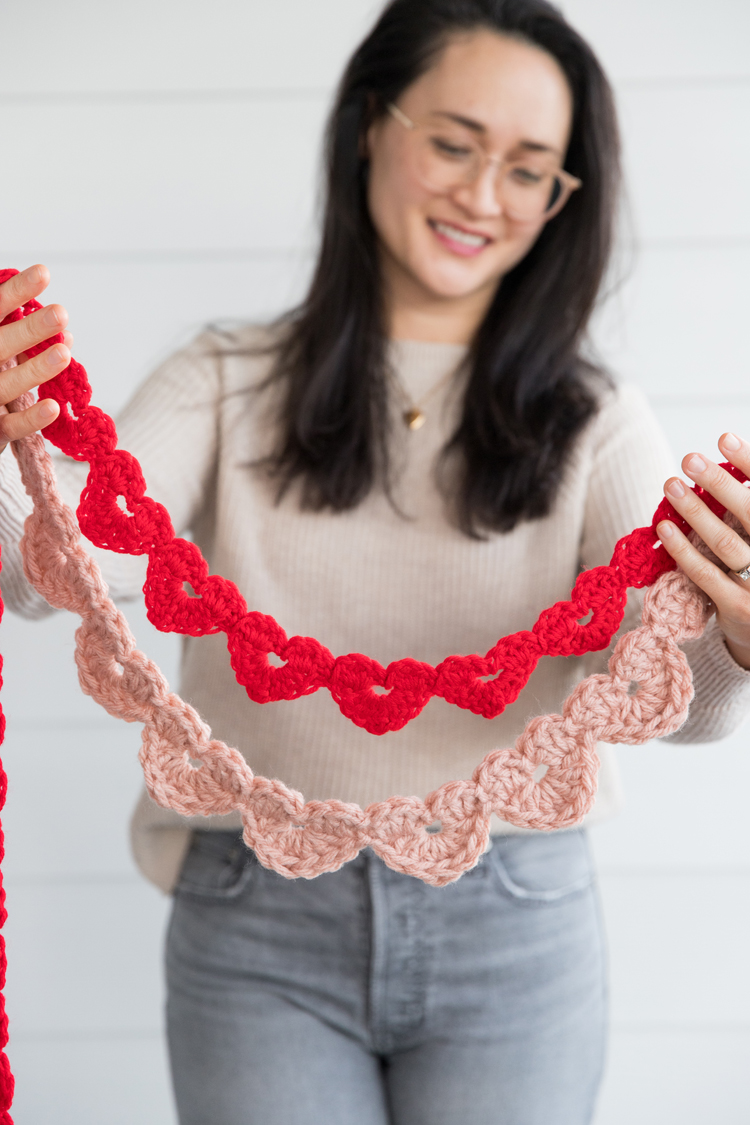
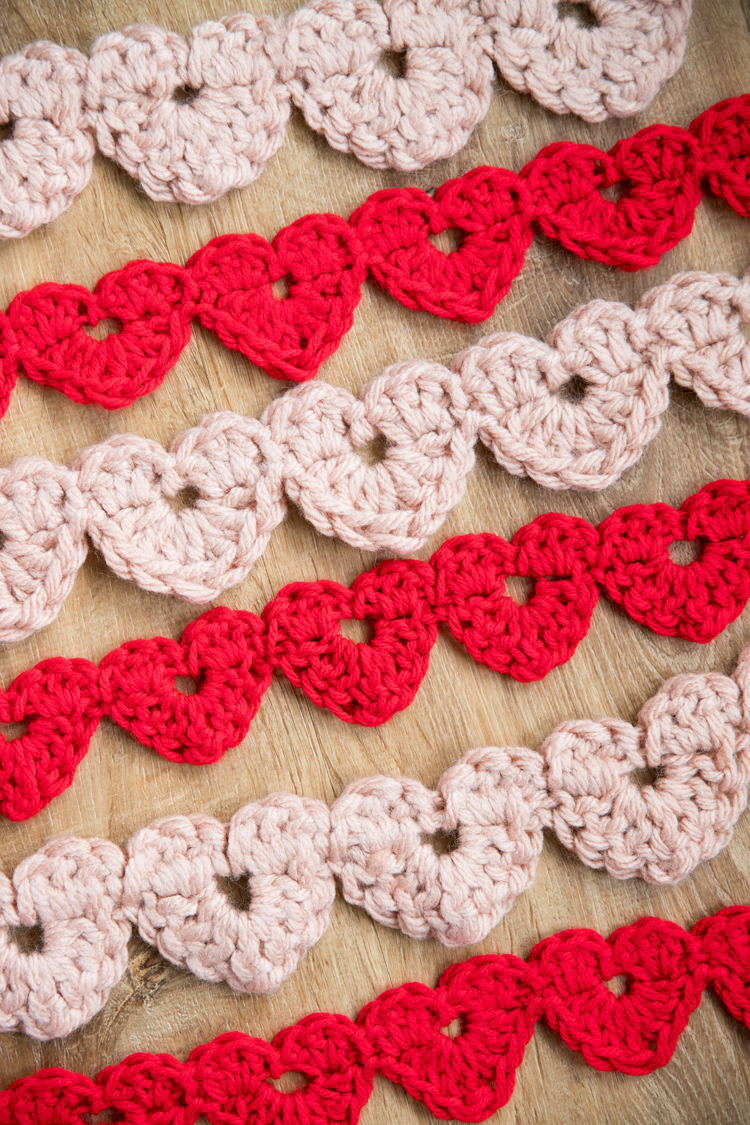
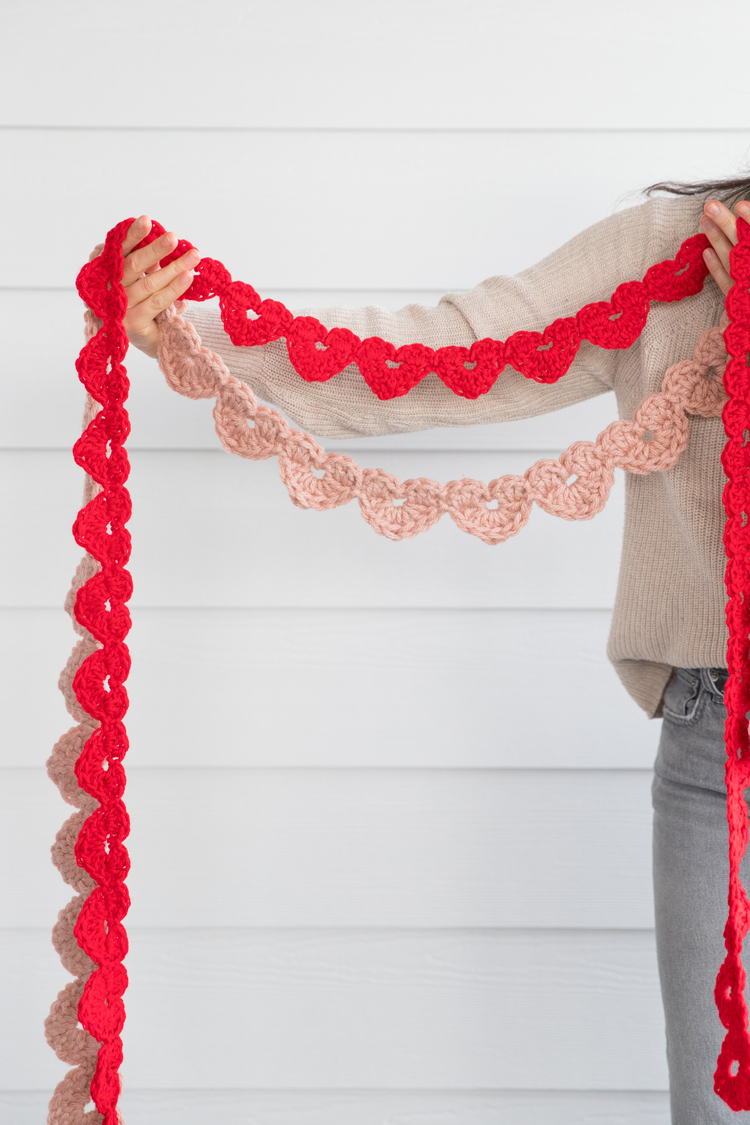
Beginner friendly, a yarn stash buster, a fun project to sneak in before Valentine’s Day = this String of Hearts Garland!
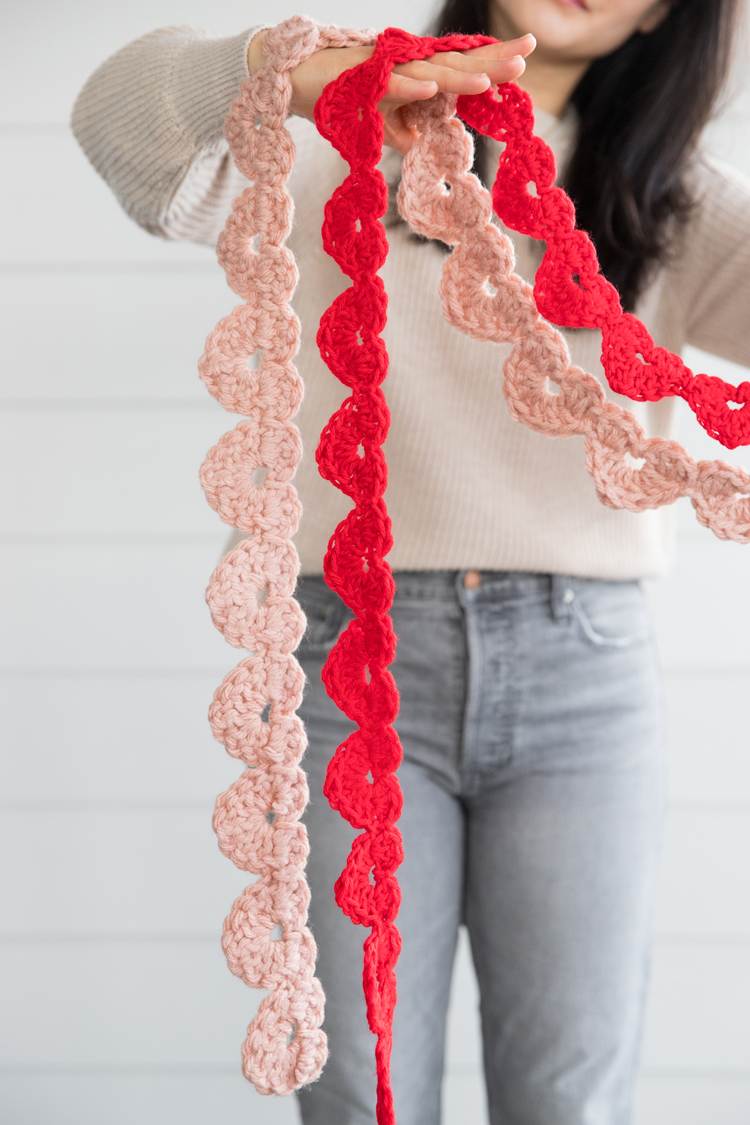
I figured out how to crochet these hearts side by side while noodling around with another garland pattern I’m working on and I think I like it better! Hence why I’m sharing it first. 😉
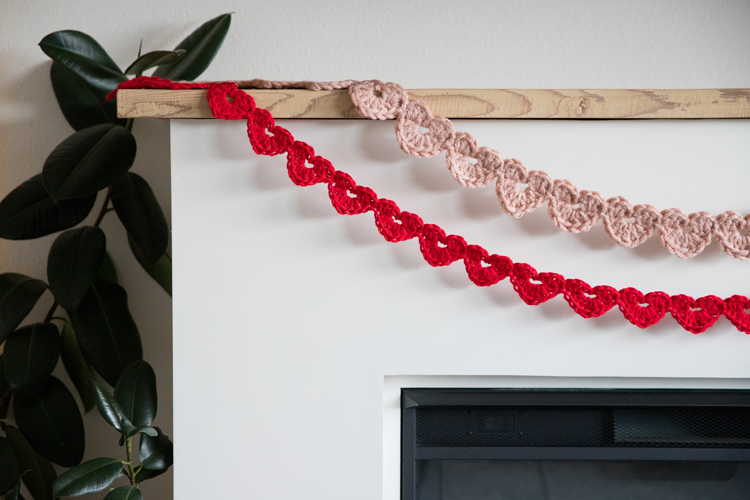
If you missed my other Valentine-y garland from last year, I have a puffy heart version as well.
This garland uses slip stitch, double crochet, and even triple crochet! I don’t use triple crochet (tc) that often so I made sure to give a quick tc tutorial in the video (don’t worry, it’s as easy as a double crochet). I also give a brief refresher on how to slip stitch and double crochet. If you need more detailed instruction, check out my Crochet Basics Series.
Let’s get started!
MATERIALS
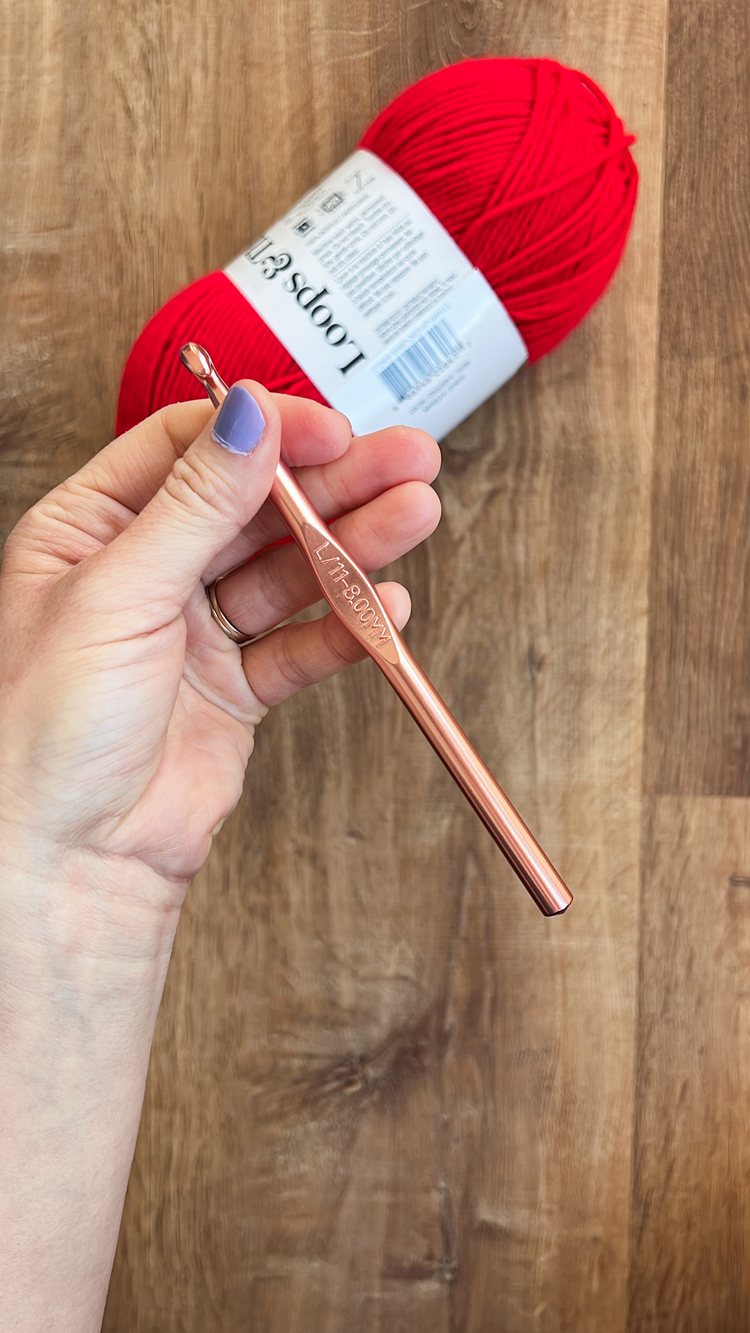
- Yarn – size 4 or 5*
- Hook – 8.00 mm hook for size 4 yarn, 10.00 mm hook for size 5 yarn
- Scissors
- Spray starch, thin cotton cloth, iron
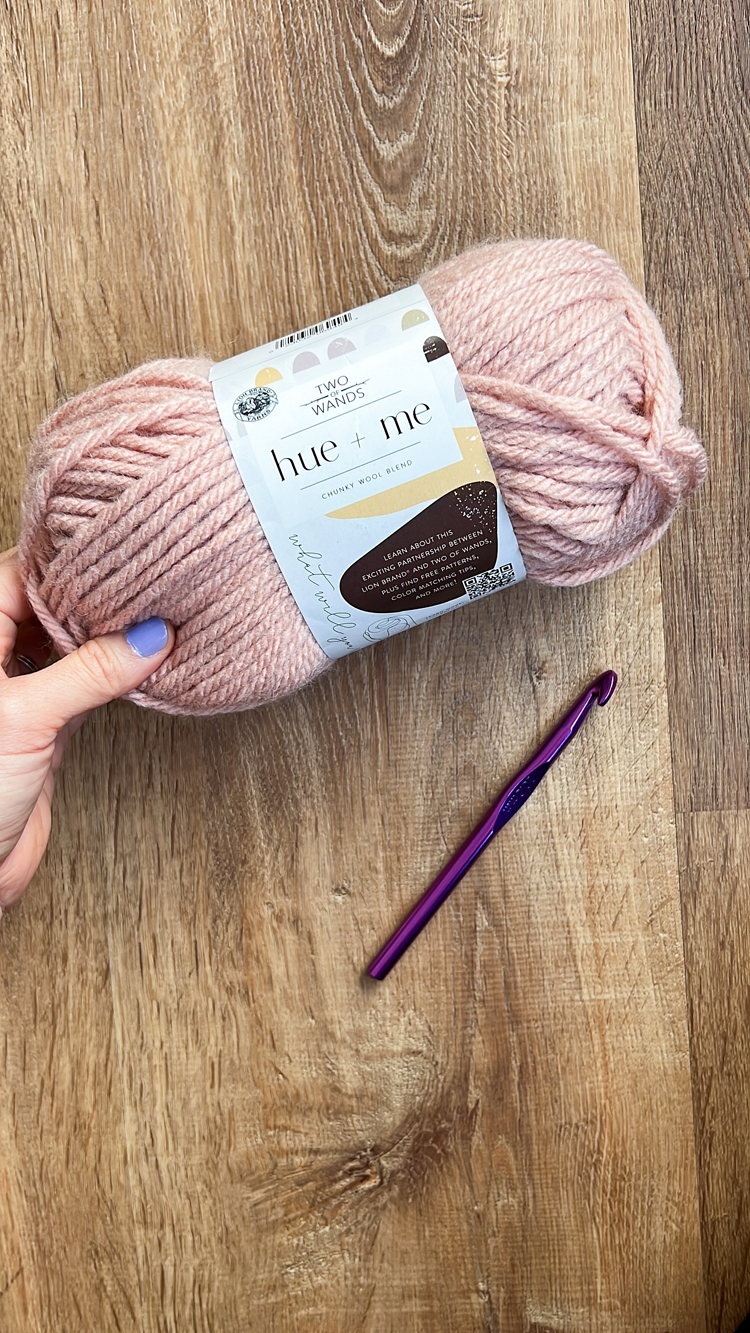
Material Notes:
* You can use any type of yarn. I used size 4, acrylic, Loops and Thread Impeccable yarn in “red hot” from Michaels and size 5, wool and acrylic, Hue + Me yarn in “rose water” from Lion Brand. Wool yarn looks the best for this project, but less expensive acrylic yarn comes in a close second, plus it makes more sense for seasonal decor. If you use cotton yarn, I recommend using a stiffer cotton, not mercerized (shiny). You may also need to go down a hook size if the heart looks too open and misshapen.
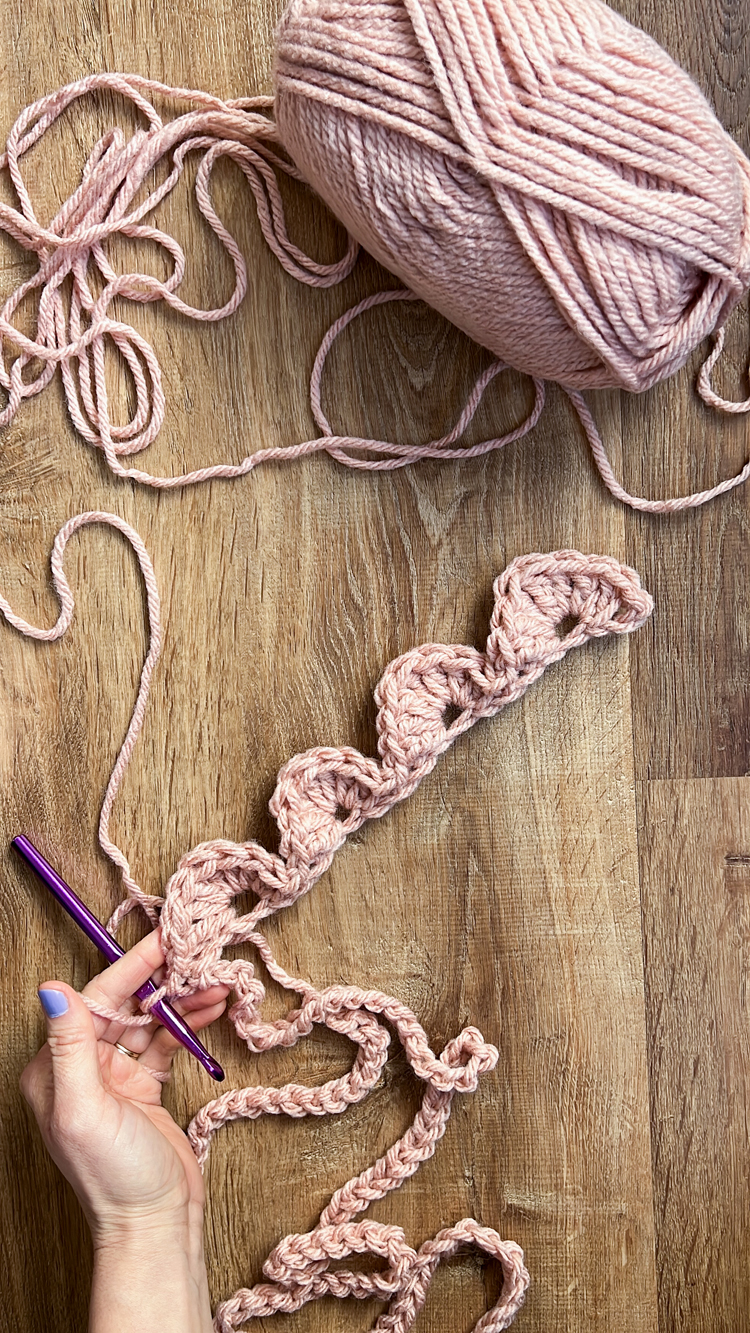
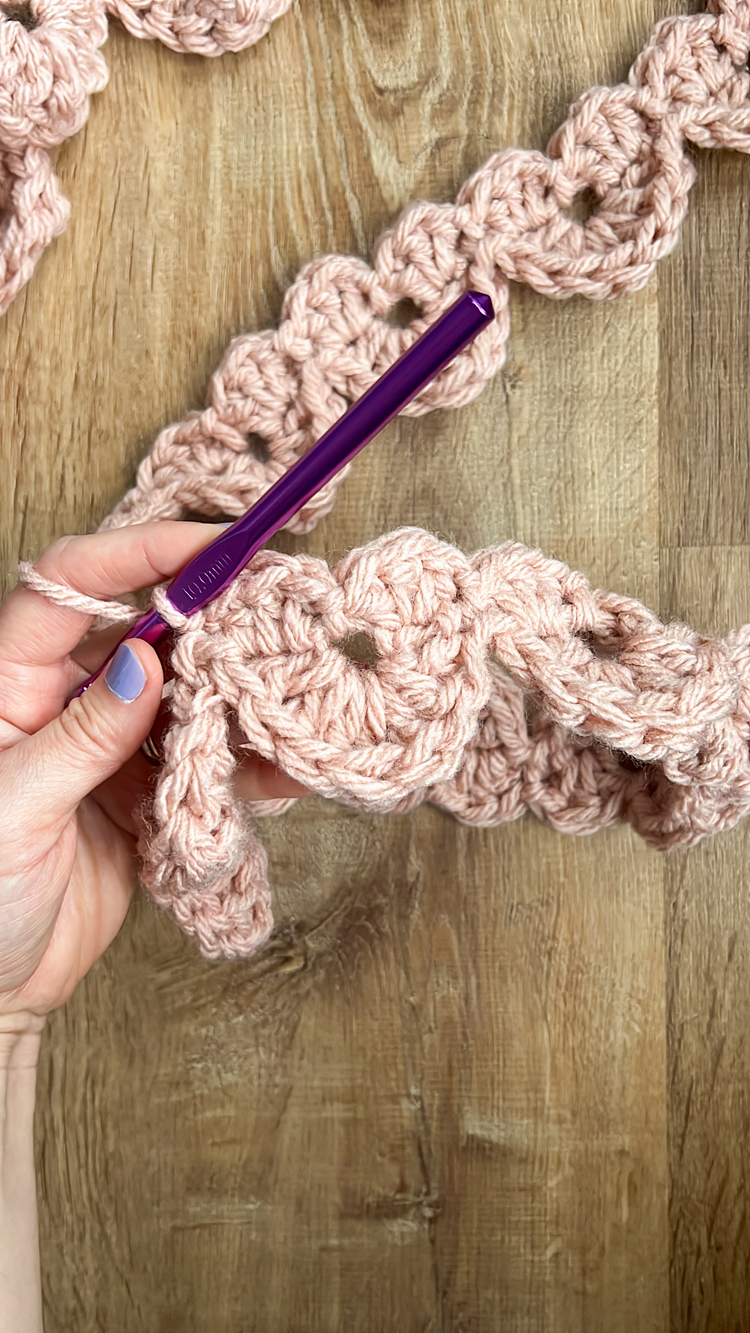
NOTE: I do not recommend using a super bulky or size 6 yarn or larger because the hearts get too puffy and misshapen. Of course do what you want. If you do go up that large, I recommend using a 12 mm hook. You can also use a size 2 or 3 yarn for itty bitty hearts. You’ll have to experiment to see which hook will work best.
SIZING
Because you have to crochet a base of chains to start, you have to decide ahead of time how long you want your garland to be.
The hearts tend to stretch out a little when pressed and hung, so I have listed an approximate range for the width of each heart. The weight stays the same though, so I listed the weight of each heart to help you determine how many hearts you can make with the amount of yarn you have. This project makes for a great stash buster!
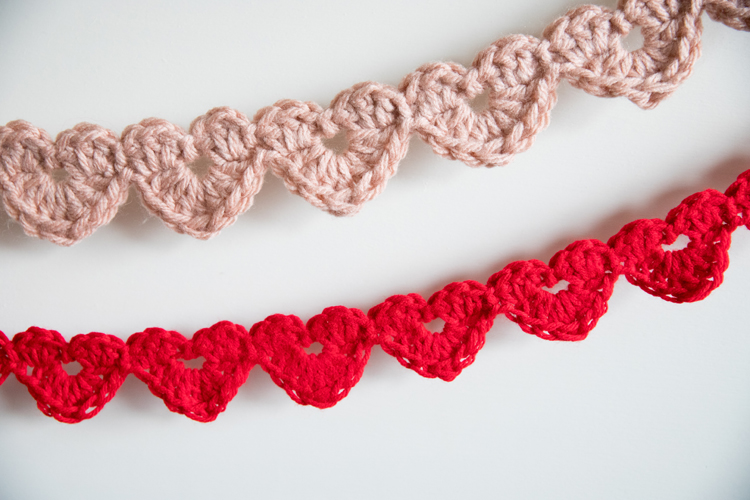
Size 4 Yarn
- 1 heart = approx. 1 g
- 1 heart = approx. 2.25 to 2.75 inches wide (5.72 – 6.99 cm)*
- 6 ft. garland = approx. 29 hearts
Size 5 Yarn
- 1 heart = approx. 3 g
- 1 heart = approx. 3.0 – 3.125 inches (7.62 – 7.94 cm)*
- 6 ft. garland = approx. 25 hearts
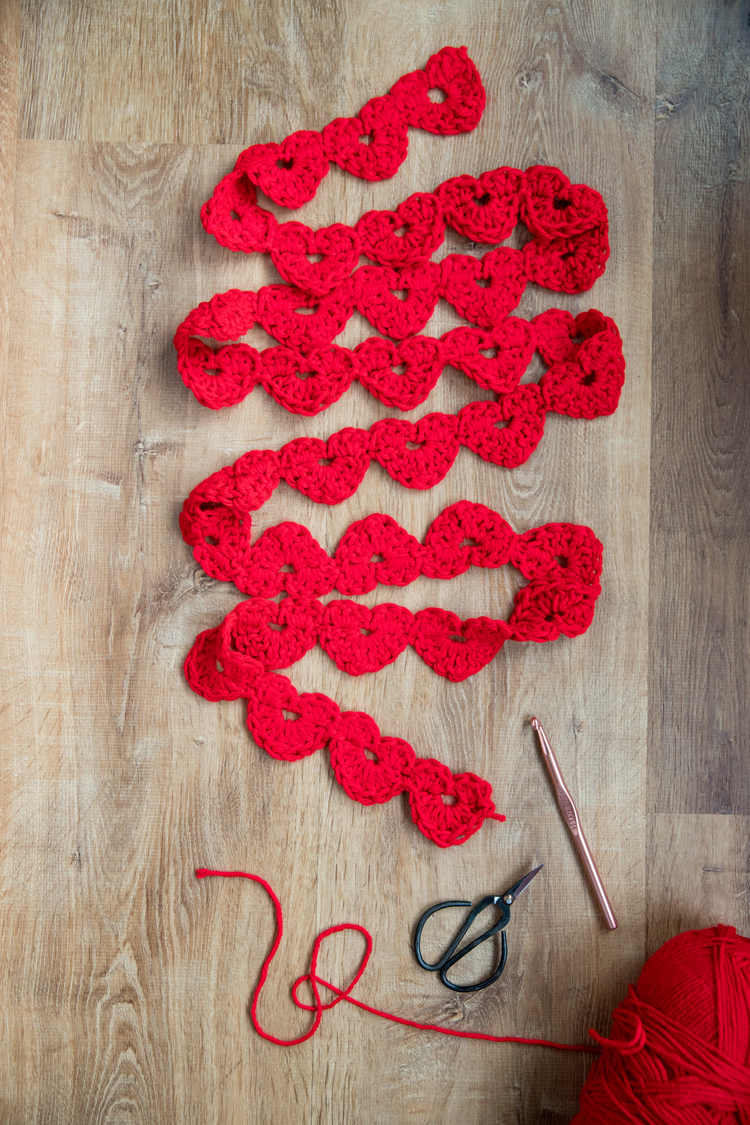
*Note: My size 5 garland was less stretchy than the size 4 yarn one. This may be due to the wool in the yarn or sometimes yarn is just stretchier than others. The Loops and Threads Impeccable yarn seems to (maybe it’s my imagination) have gotten softer and stretchier than it used to be.
GAUGE
There is no gauge, but be aware that if you crochet looser or tighter than the heart sizes I listed above, this may affect how long your garland is and how much yarn you’ll need to complete it.
ABBREVIATIONS
(American Terms)
- chain = ch
- slip stitch = sl st
- double crochet = dc
- triple crochet = tc
VIDEO TUTORIAL
The video should have already popped to the top or to the side of your screen. An ad will play first and then the tutorial. Do not “x” out of it or the video will be gone. If you do, refresh the page and the video reload.
PATTERN & WRITTEN TUTORIAL
LENGTH
Decide how long you want your garland to be. Chain 5 for every heart, plus 2 chains at the end.
For example, if you want to make a garland of 20 hearts, that would be 5 chains x 20 = 100. Then add 2 chains for a total of 102 chains.
For a 6 foot garland (29 hearts) and category 4 or worsted weight yarn: Chain 147.
For a 6 foot garland (25 hearts) and category 5 or bulky weight yarn: Chain 127.
We will begin by working pointed scallops which will the bottoms of the hearts.
HEART BOTTOMS
Ch amount you decide (see above).
Sl st in the 2nd ch from the hook.
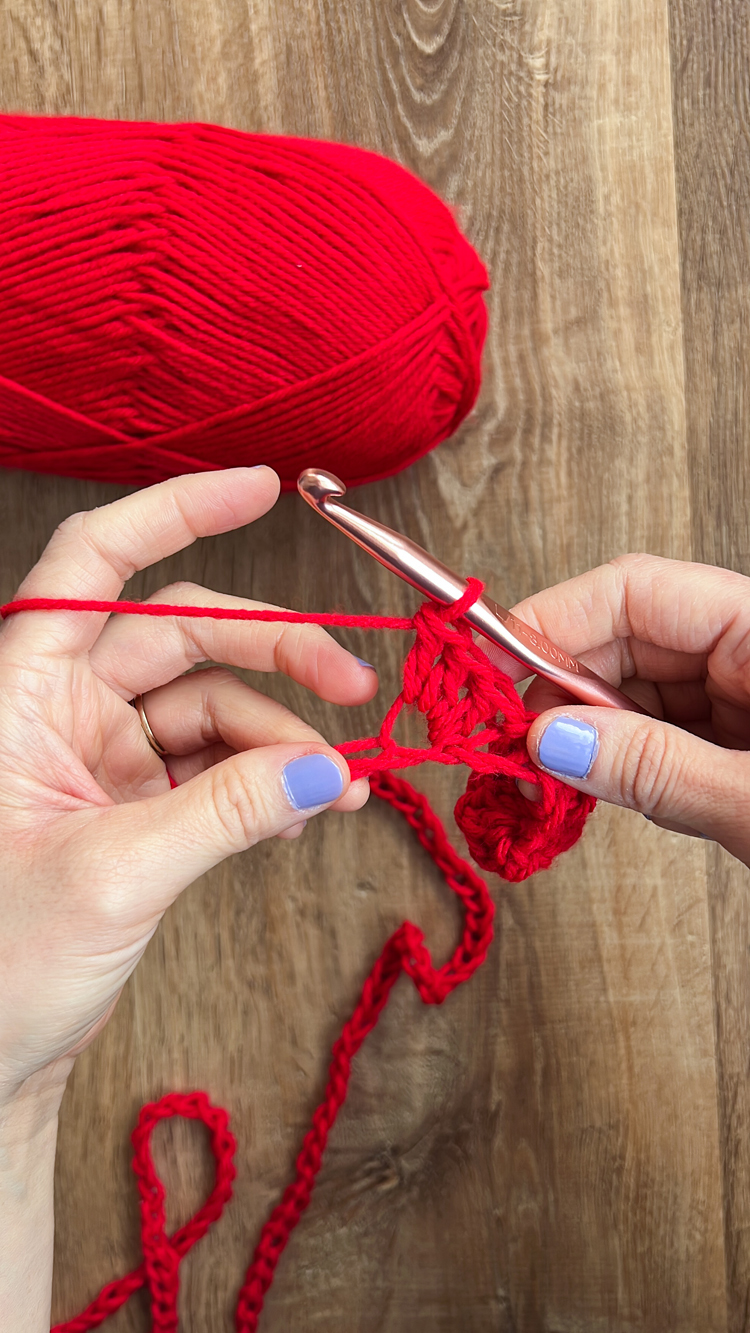
Skip a ch, and then work 3 dc into the next, work tc into the same ch, then work 3 more dc into the same ch. Skip a ch, and sl st into the next.
*Slip stitch again. Skip a ch, and then work 3 dc into the next, work tc into the same ch, then work 3 more dc into the same ch. Skip a ch, and sl st into the next.*
Repeat from * to * again and again until you reach the end of your chains.
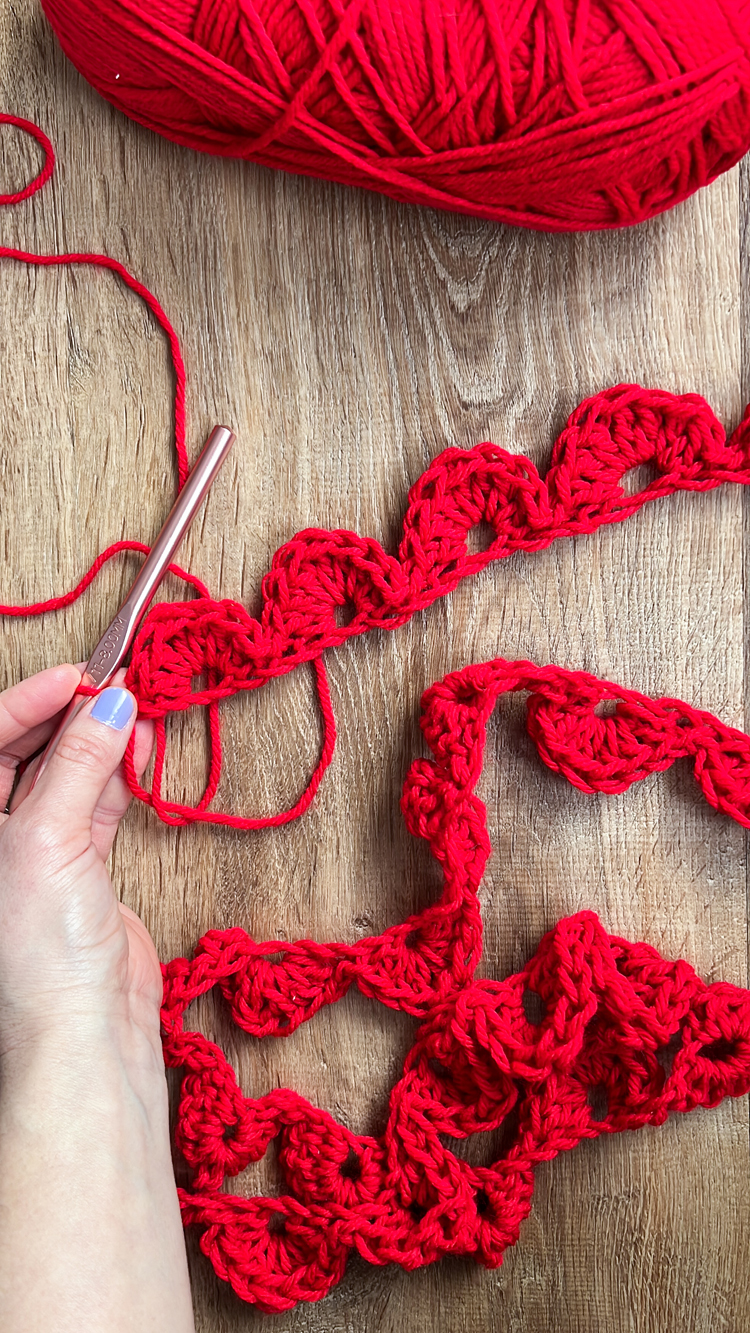
TIP: You should not have any leftover chains, but if you accidentally miscounted and don’t want to rip out your work, simply slip stitch to the end.
HEART TOPS
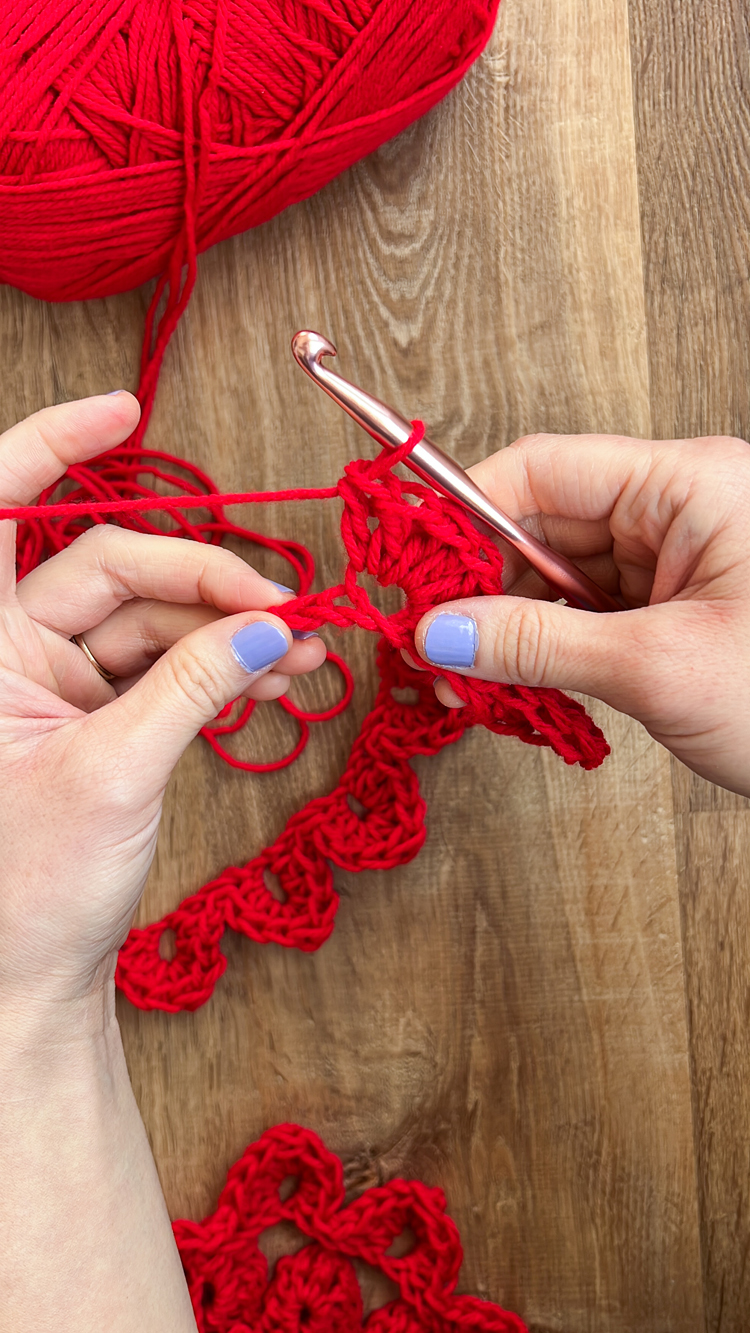
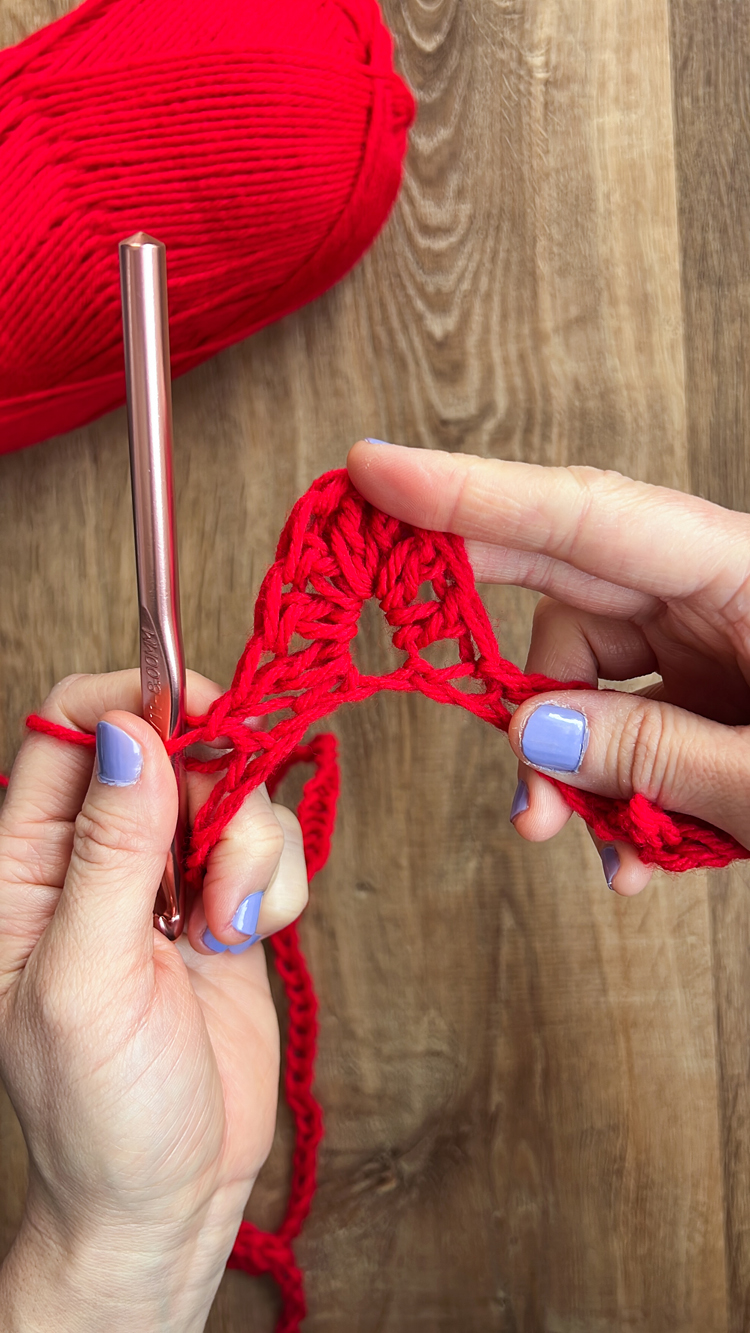
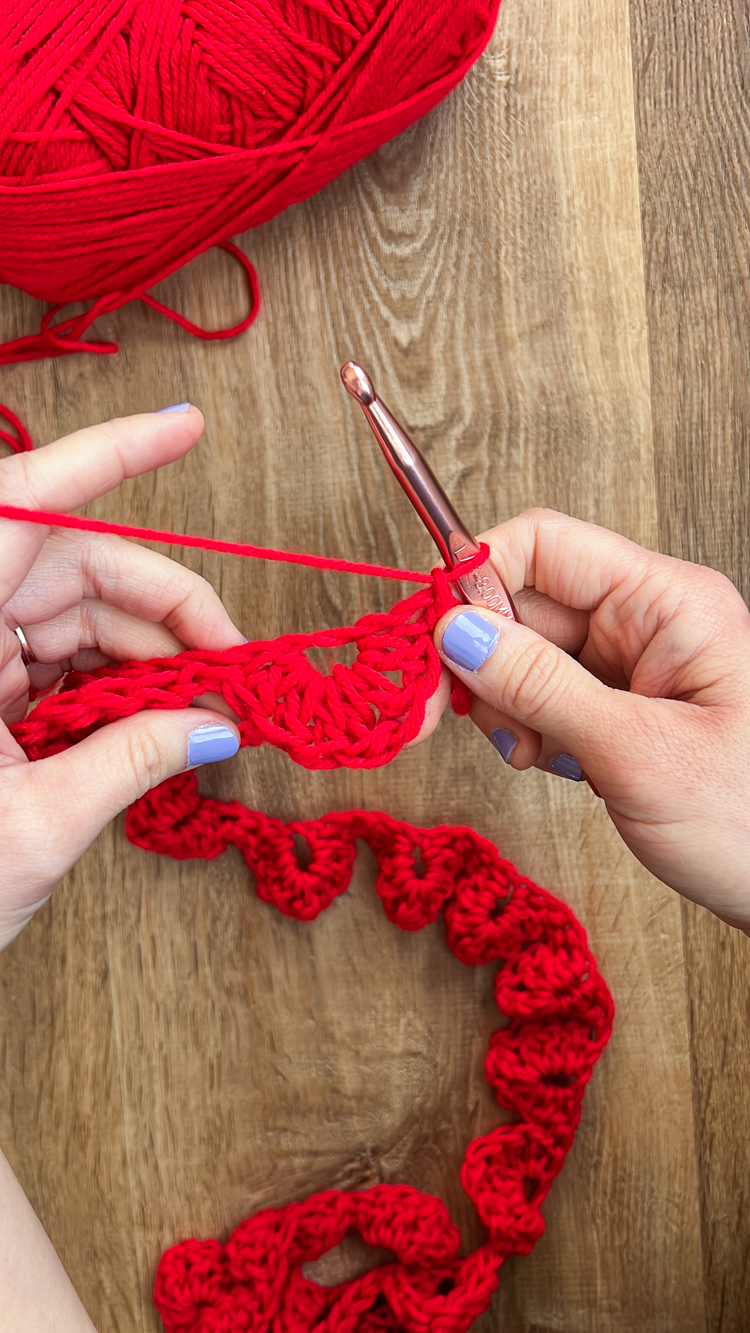
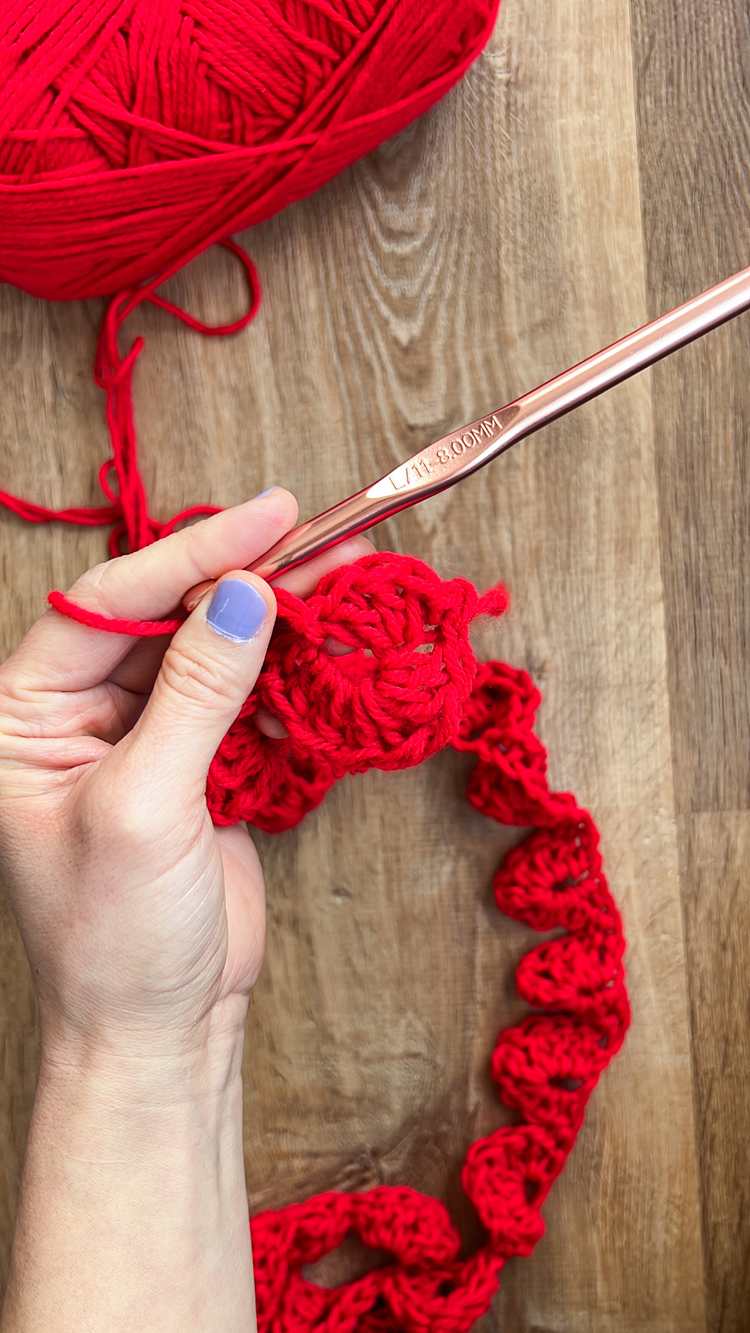
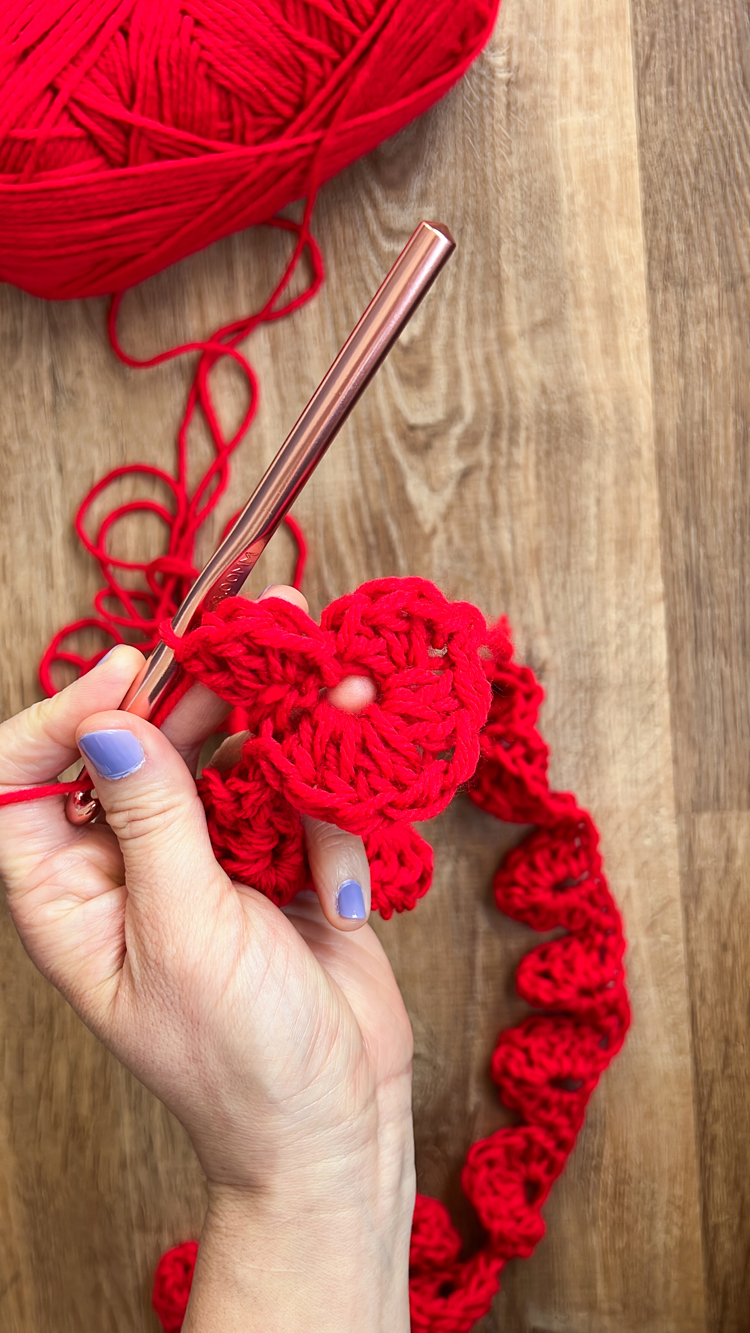
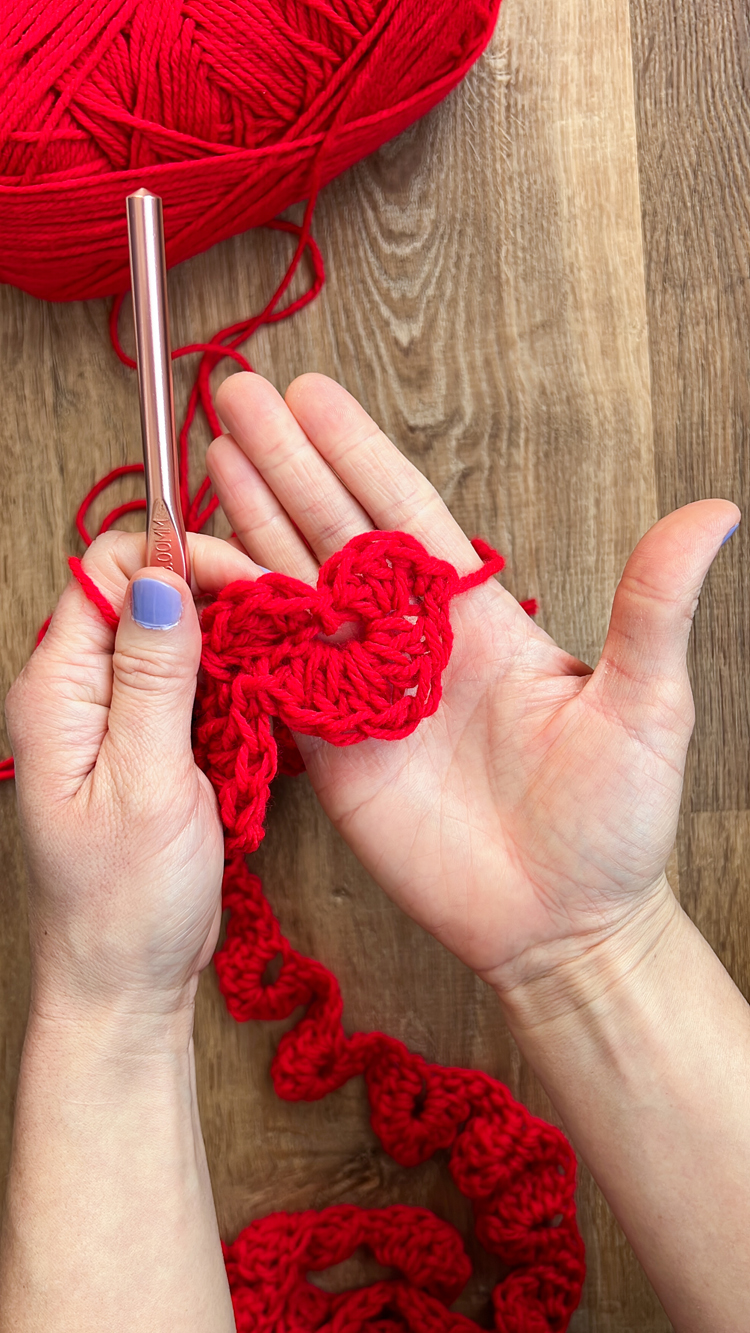
Turn, ch 1, sl st into the next ch/space – it can be confusing where to put your hook at this point because the other side of the chains look irregular. I highly recommend watching the video for this part.
*Work 3 dc into the next ch/space, sl st into the larger hole/ch that you crocheted the scallops into on the underside. Work 3 dc into the next ch/space. Sl st into the next ch/space.*
These stitches create the top bumps of your heart. The last slip stitch that completes your last heart, also counts as the slip stitch that starts your next one. You don’t need to sl st again, just jump right into 3 dc into the next for the next heart. Repeat from *to* until you finish the garland.
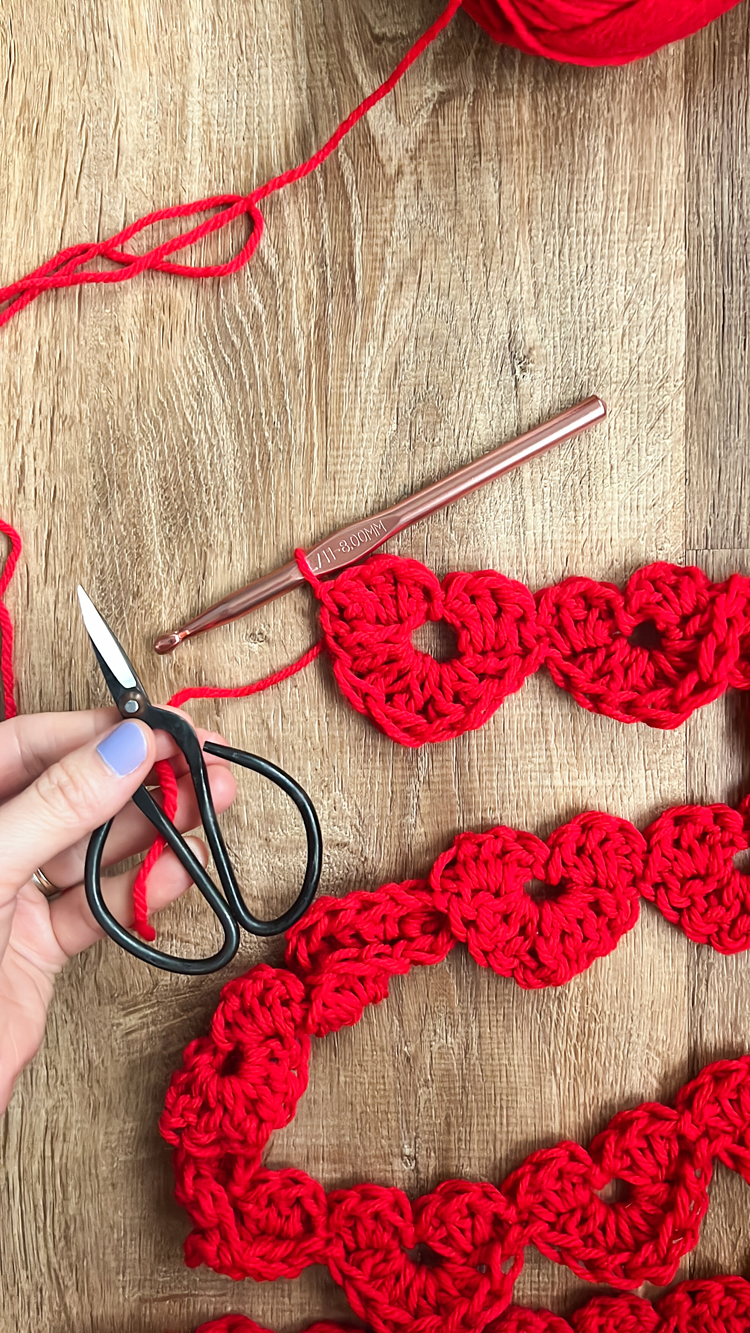
For the last heart, because there is not a space for a sl st, work one into the side of the heart.
Cut a short tail, pull it through to tie off the end. Weave in the ends or trim them further.
PRESS FLAT
This is optional, but I recommended. Pressing or ironing helps lock the hearts into shape and the garland will twist and tangle less. It does press the stitch definition flat, but the benefits outweigh that.
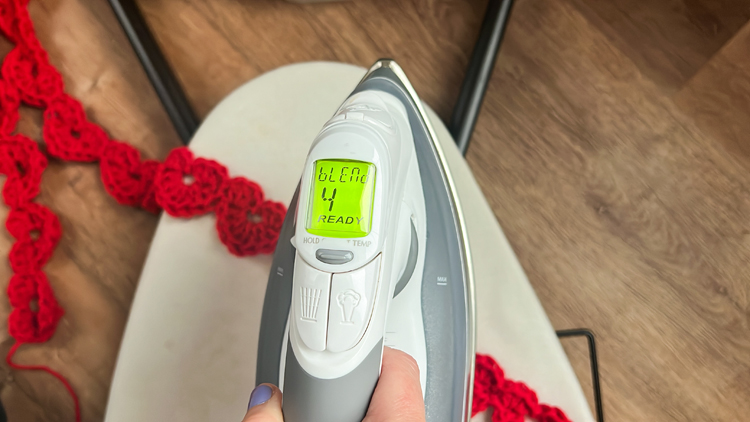
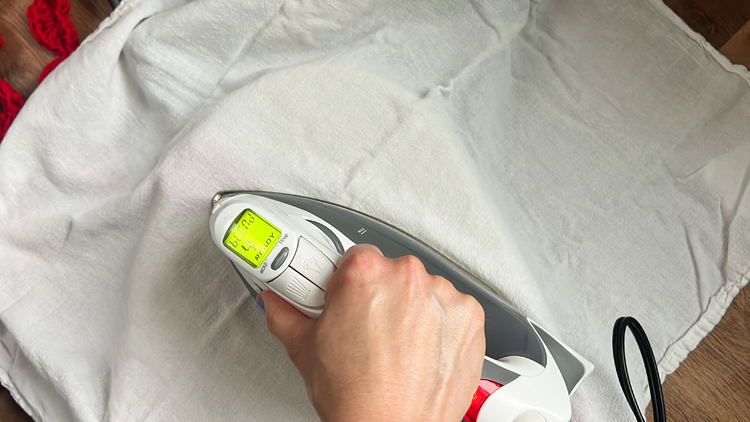
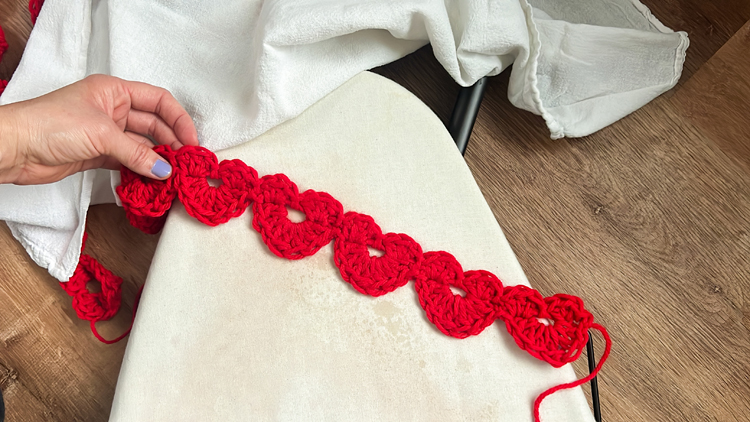
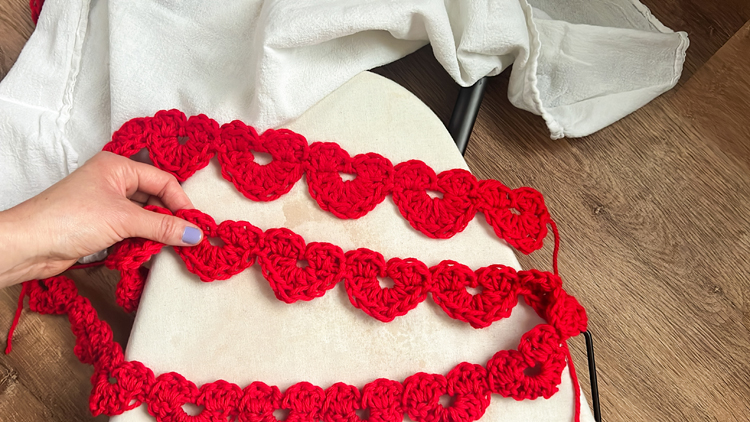
- 1. Set your iron to the highest heat your yarn can handle. You will be using a pressing cloth (thin cotton cloth or tea towel) so it will protect your garland from burning. I chose “blend” for mine which is a step above the “polyester” setting.
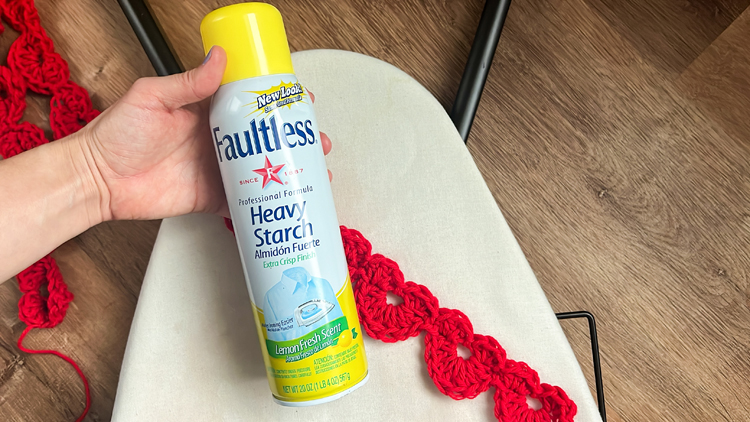
- 2. Spray small sections of the garland with spray starch on both sides.
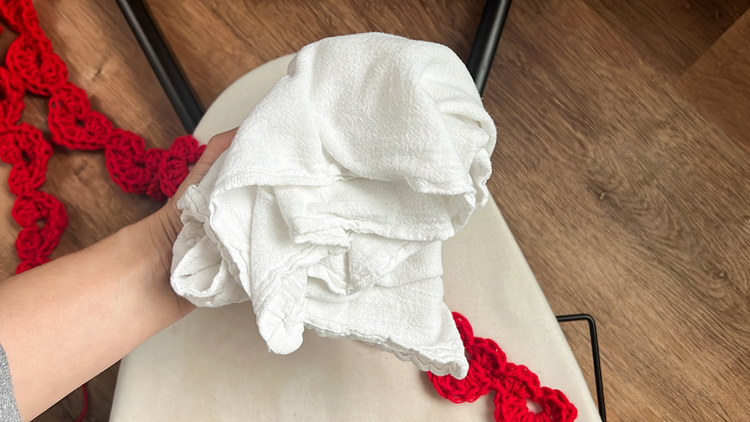
- 3. Lay the cloth on top and press for 10 or so seconds. Lift the cloth and repeat for the other side.
- 4. Repeat for the rest of the garland.
All done!


Thank you! These are so cute and beginner friendly. I made a string in wool and am going to try to felt them.
Ooh! I love that idea! Thanks Sarah.
Hi, I’m having a little trouble getting started with this because of the number of chains at the start.
It says five chains per heart +2 at the end. I’m trying to do a sample now of 10 hearts, so that would be 50 chains +2 at the end?
Or… does it mean five chains +2 chains for every heart thus seven chains per heart?
I know this sounds stupid simple but I’m having trouble with it. LOL
I’ve been crocheting for years, but mostly basic stuff.
Thank you for any help you can offer. C. Crawford
Not stupid at all. I am so sorry that my instructions weren’t clear. I’ll add some clarifying language to the post. It is 5 chains per heart, and then two more chains on top of the total count. So for 10 hearts, you would chain 52.
I apologize that I just saw your comment. If you have a question and need a more immediate response in the future, please email me: [email protected] or dm me on instagram (@deliacreates). I feel terrible that you have had to wait this long for an answer from me.
This is so cute!!! My kids lived it!! I made it last night while waiting for the new year. 🙂 If I wanted to add more spacing between the hearts, should I add a couple of extra chain stitches? I’m beginner level. Not sure if this is rude to ask so if it is, disregard my question.
I’m so glad you enjoyed the pattern! You could add a chain in between hearts. It’s been a while since I workshopped this pattern, so I can’t remember accurately, but it might alter the look of the hearts a little. Give it a try with a short chain and just a few hearts to see if you like it. (also…not rude at all!)
hi
here – i dont see the second * that is the repeat. im assuming it should be after the next.*
* Skip a ch, and then work 3 dc into the next, work tc into the same ch, then work 3 more dc into the same ch. Skip a ch, and sl st into the next.
Slip stitch again and then repeat from * to *. Slip stitch and repeat the process again and again until you reach the end of your chains.
Thank you for bringing this to my attention. The written pattern was not written as clearly as the video. I fixed it to hopefully be more clear. Here is the updated language for your convenience:
Ch amount you decide (see above).
Sl st in the 2nd ch from the hook.
Skip a ch, and then work 3 dc into the next, work tc into the same ch, then work 3 more dc into the same ch. Skip a ch, and sl st into the next.
*Slip stitch again. Skip a ch, and then work 3 dc into the next, work tc into the same ch, then work 3 more dc into the same ch. Skip a ch, and sl st into the next.*
Repeat from * to * again and again until you reach the end of your chains.
I hope this helps! Thank you again for your helpful feedback and question.
Hi! How many chains did you make for the garlands you show above?
Great question! I’m sorry I didn’t include that in the tutorial portion. For a 6 foot garland and category 4 or worsted weight yarn: Chain 147.For a 6 foot garland and category 5 or bulky weight yarn: Chain 127.
For how wide each heart measures, see the sizing section to help you determine how much to alter this, if you want it longer or shorter.
Thank you as a Heartfelt Ladies Ministry MOM I am always searching for Heart projects this is a doable one 💕
I just love this string of crochet hearts. My MIL is great at crochet so I will send her the link to this article and put in a special requests. I love a chain of pink and of red to contrast each other. So pretty!
Thank you Scarlet!
I love love LOVE your pattern! I had chenille yarn to use up, and time on my hands, so I worked out modifications and I sincerely hope you don’t mind. First, the yarn pkg said use an L, I would use a K, at least for the chain. Then, the bottom of the heart was worked, 2 DC, ch 1, extended DC, ch 1, 2 DC. The tops were hdc, DC, hdc. And that’s it! Thanks again for a fun and easy pattern!
Thank you for sharing these mods for chenille yarn so others can benefit. Of course I don’t mind. I appreciate it! I bet it’s so pretty in chenille yarn!
amy idea of how to adapt this to make a flower garland or something similar for spring?
I’ve tried a few other shapes and am toying around with a flower design but I haven’t (yet?) been able to make it work using the same technique as this heart garland. I do have a scalloped garland that you can use for any season: https://www.deliacreates.com/easy-crochet-scallop-garland-tutorial/