One of the first things I wanted to do when we finally bought our first home was to put in a garden.
I kept a garden in Utah for several years, but as a newcomer to the PNW, I feel a little lost in this new climate.
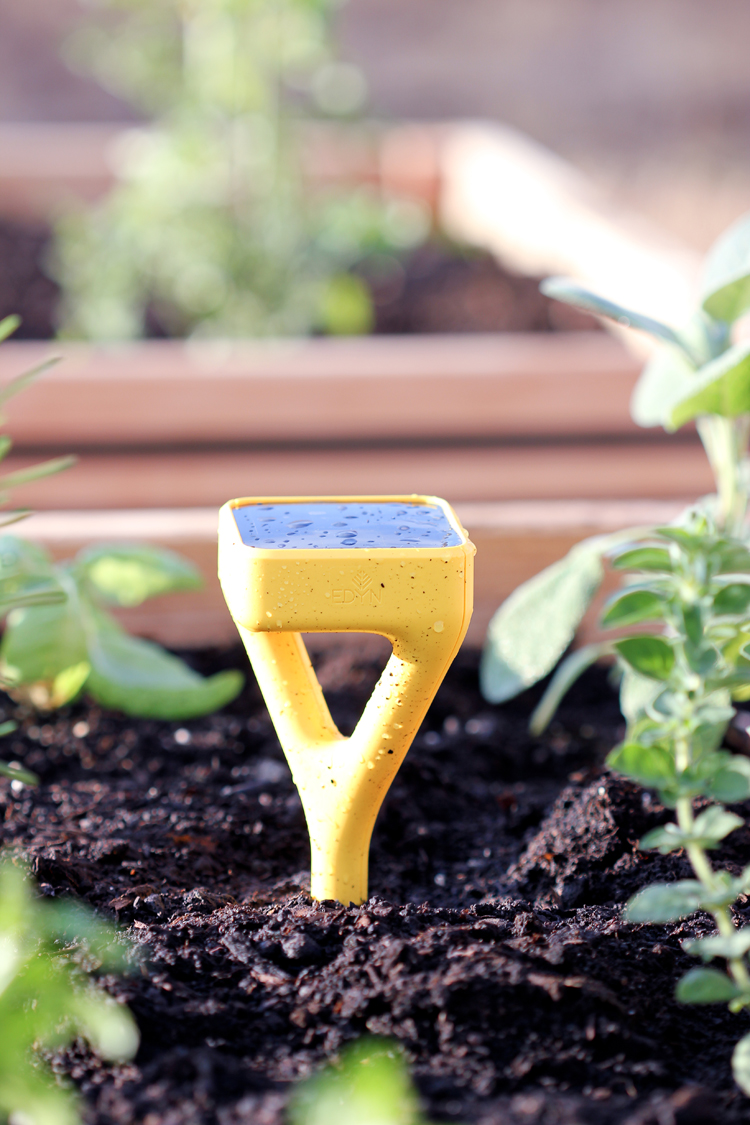
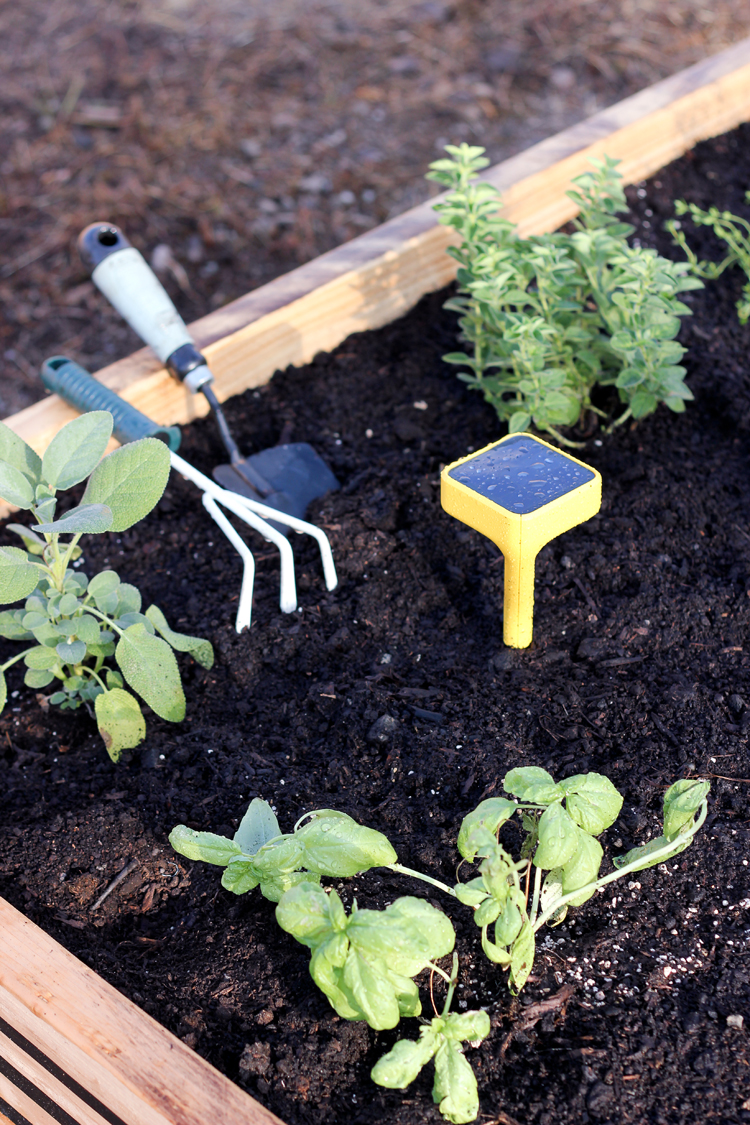
Getting to try out the Edyn Garden Sensor as we put in our first garden in our new home, couldn’t have come at a better time.
If you haven’t yet heard of Edyn…um…it’s amazing. Edyn is a brand new gardening tool that tracks your soil, light, weather, humidity, watering, and plant growth all from your iphone!
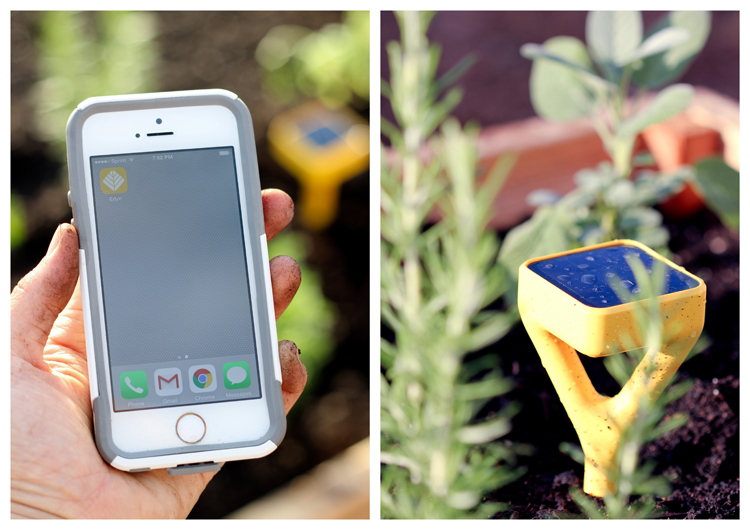 Black thumbs everywhere sing Hallelujah! It pretty much takes most of the guess work out of gardening.
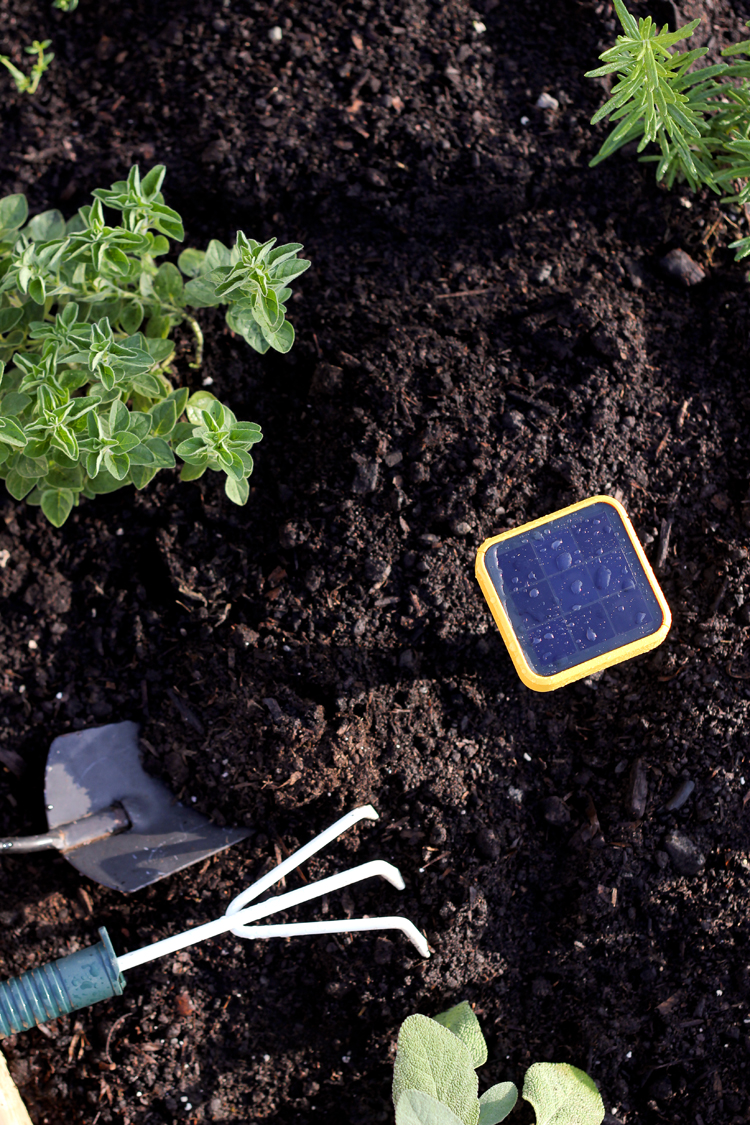
Everything is really simple to set up and use. You sync the sensor to your phone, download the free app, and then stick the sensor in your garden. Bada bing, bada boom!
It can tell you if you need to feed your plants, if your plants are getting enough light, if you’re over watering or under watering. I mean…come on! How cool is that?
We have some summer trips planned and I already have an arrangement with my neighbor to text her when my plants need watering. I don’t know if I’ll feel neurotic checking on my garden a few states away, or really cool… like the future has arrived. Maybe both. 😉
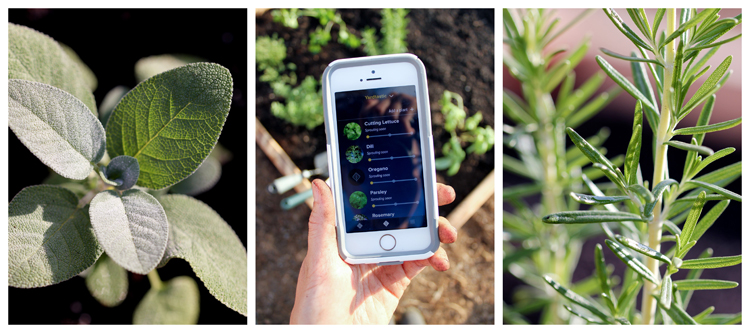
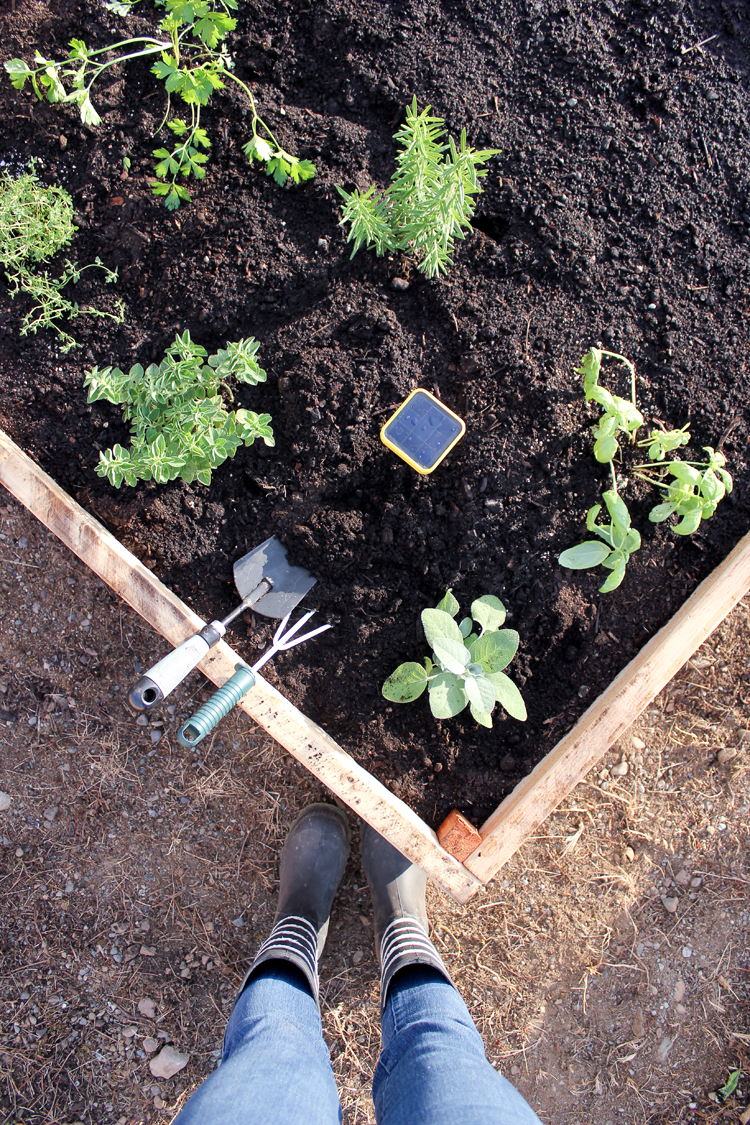
We started our garden late into the year because we were still unpacking boxes when growing season started. So we are sticking to herb starts, and spring/fall crops like snap peas, broccoli, lettuce, and chard. I stuck a few tomato plants in there, but I’m not expecting a whole lot at this point. That’s part of the fun though. 🙂
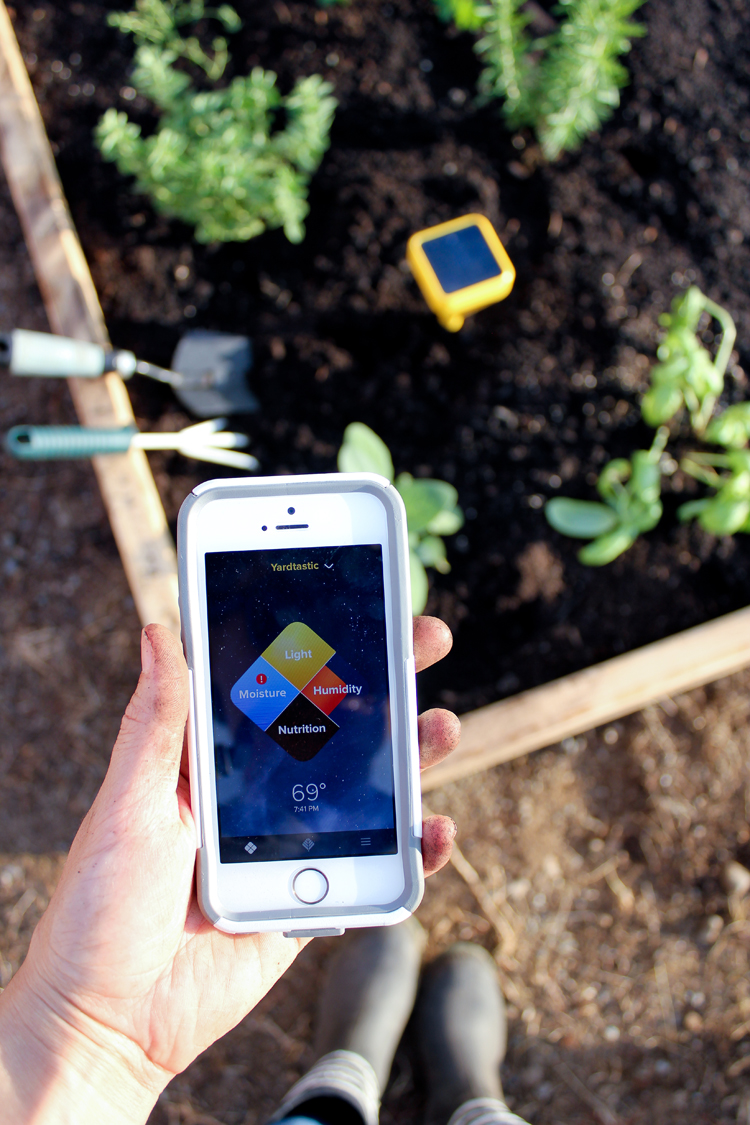
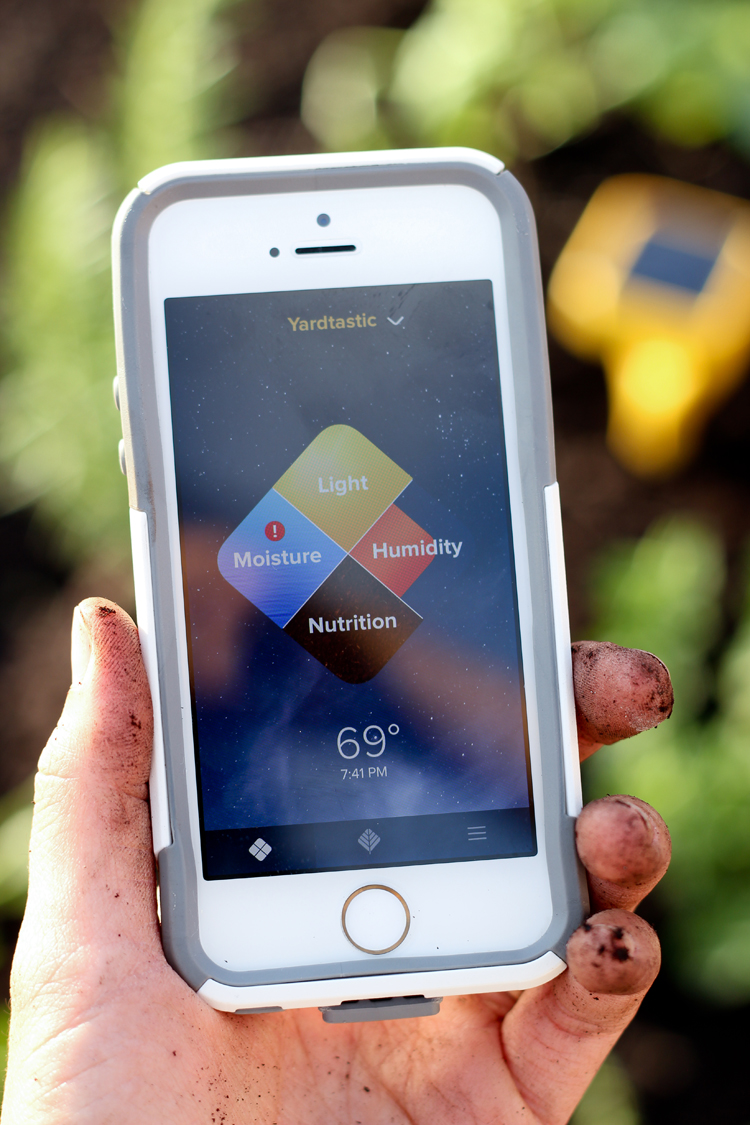
See that little exclamation point. It’s tell me that I’m under watering. Whoops! I have a tendency to do that. In fact, I already killed my poor basil plant. Listen to the sensor, Delia.
Oh..and you can see that I named my sensor Yardtastic. ha. What?…it’s..a word.
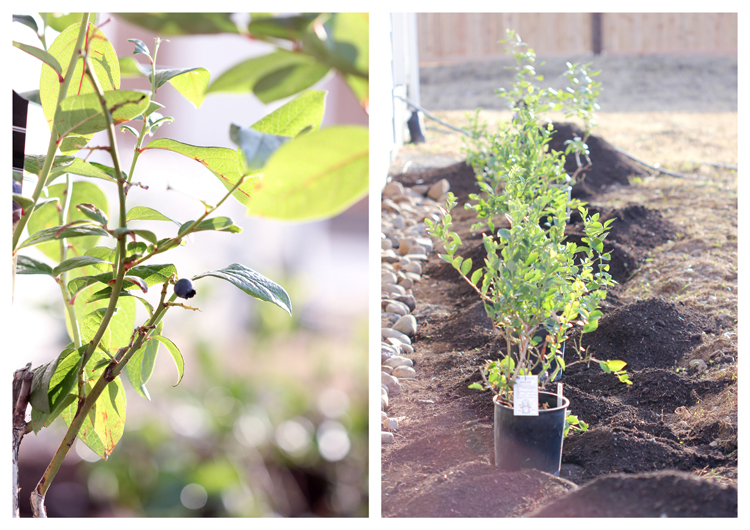
We are still working on landscaping our yard. We just put in a fence – hooray!!! – but the rest is coming a long slooowly. Our soil is really rocky and not ideal for gardening, so we decided to just put in a row of blueberry plants and then build a couple of raised garden beds for the rest; until we get some permanent raised beds built along our fence line.
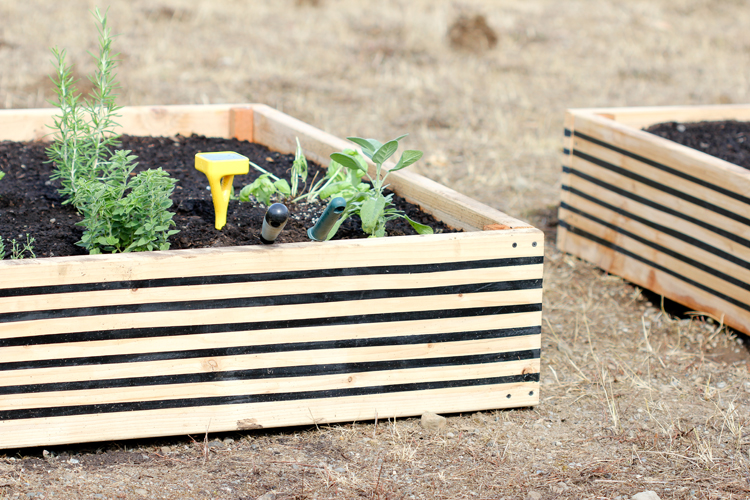
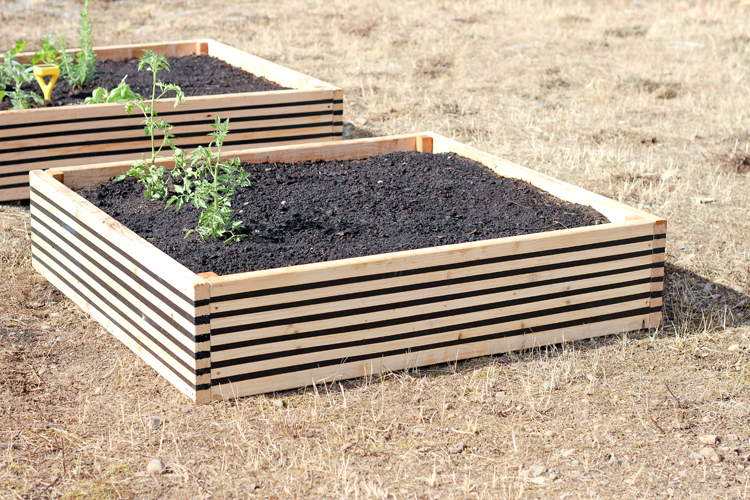
 I researched raised garden bed tutorials up the wazoo, thank you Pinterest, and found this one that I liked best. I built the 12 inch deep beds that cost about $18 each instead of $12, but I figure that’s probably due to a rise in the cost of lumber in the last six years.
It’s not the often recommended cedar, but pressure treated framing lumber is no longer manufactured with arsenic, doesn’t come stained with chemicals that can leach into soils and food, and it’s cheap, yet sturdy, and easy. I had the nice guys at Home Depot, cut the boards in half for me and I was on my way. Or my husband was…on his way. He totally built these beds, while I… held things. 🙂
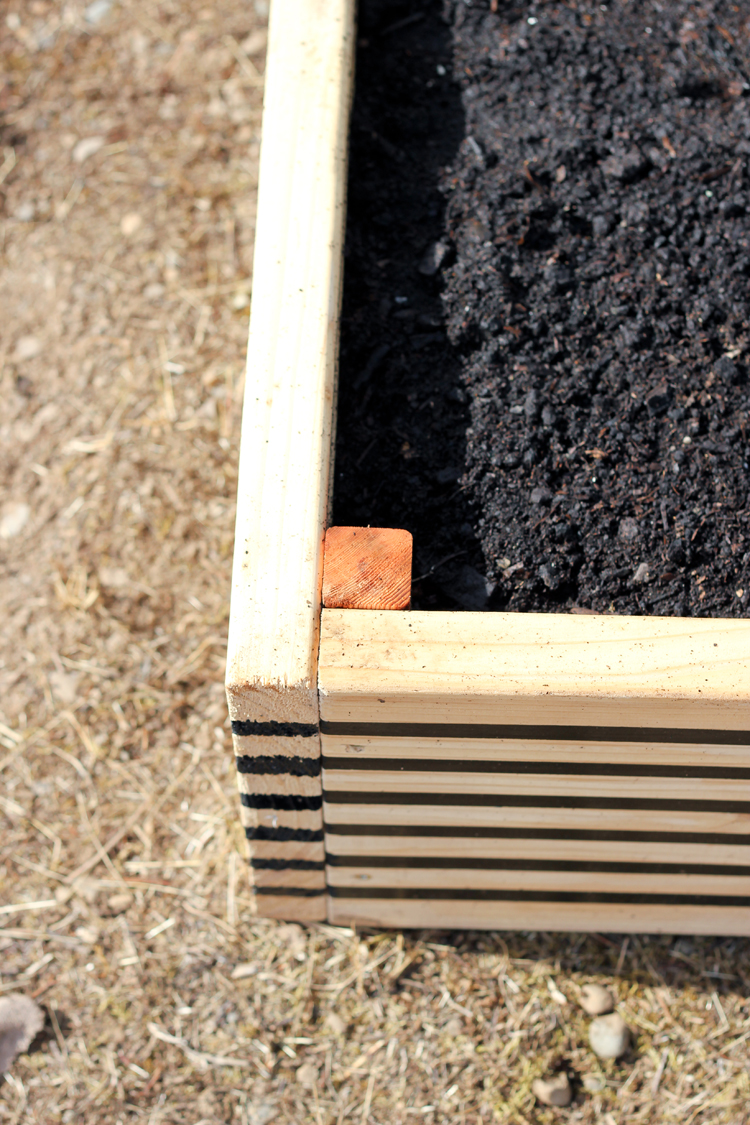
The only things we did differently were adding some cedar balusters in the corners for extra reinforcement, and adding some landscaping cloth stapled to the bottom and inside of the box. If you add in those costs, each box came in at about $25 with tax. Not bad if you consider the cost of the kits.
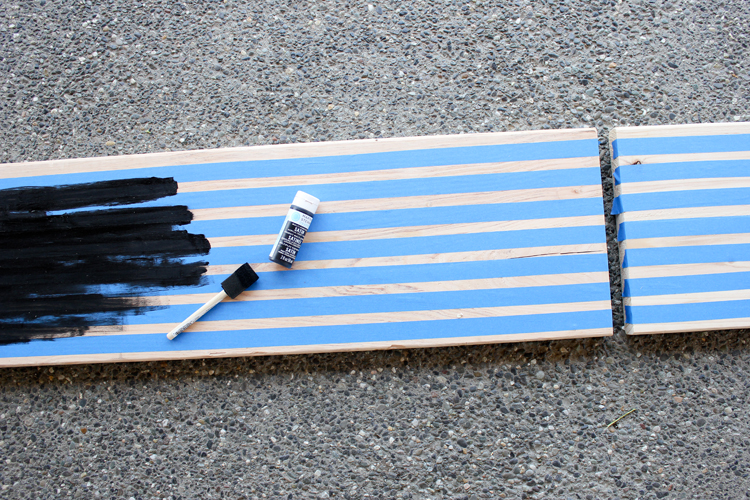
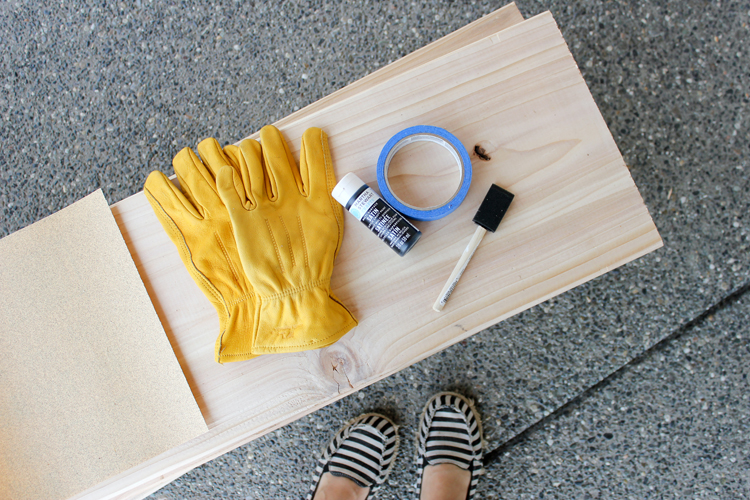
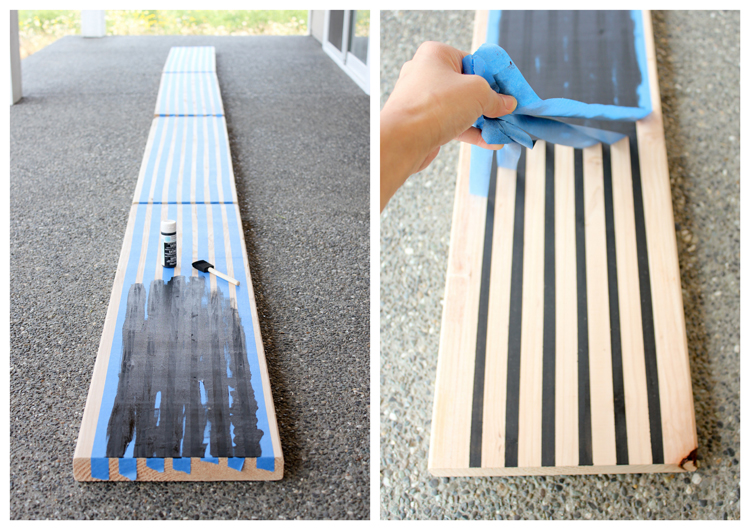
It also gave me a smooth, flat surface to paint stripes onto!
Never. enough. stripes. (As evidenced by my shoes. Ha!…I promise, I did not plan that).
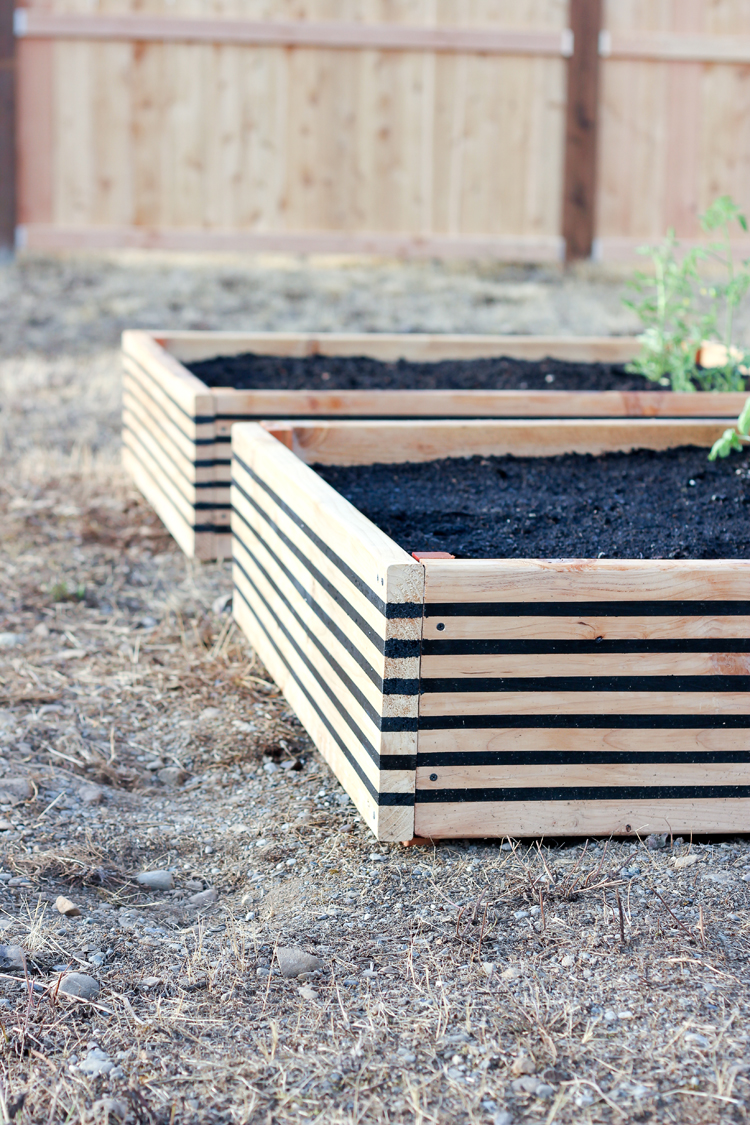
Call me crazy, they are just garden beds, but I figure, if they are going to be in my yard, why not look pretty? 🙂 Goodness knows it needs some help until we plant grass anyway. 😉
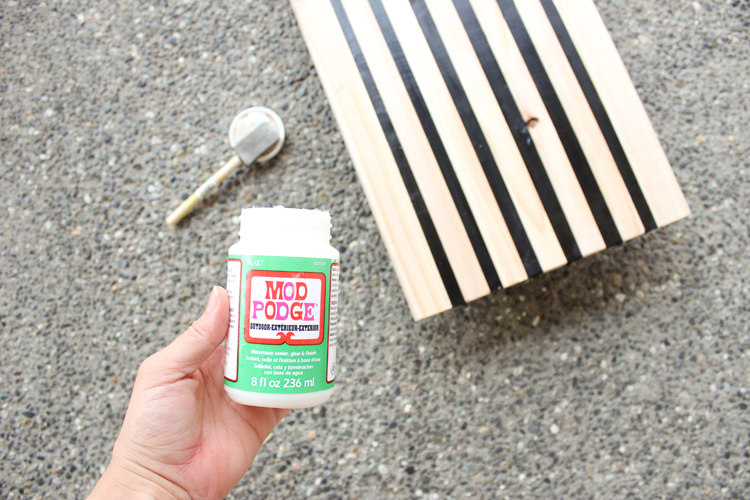
I used Martha Stewart’s multi surface paint because I didn’t want to use anything highly toxic or fume-y. We are growing food in it after all. For a craft paint, it’s really pretty nifty and actually cures water resistant in 21 days. I just didn’t have 21 days, so I also added a layer of outdoor mod podge on top. Even though it’s all non toxic, I was careful not to get any paint or mod podge on the inside of the box that would be touching the soil… to be on the safe side.
I alllmost got all the stripes to match up at all the corners. There’s just one funky corner, but we don’t talk about it. 😉
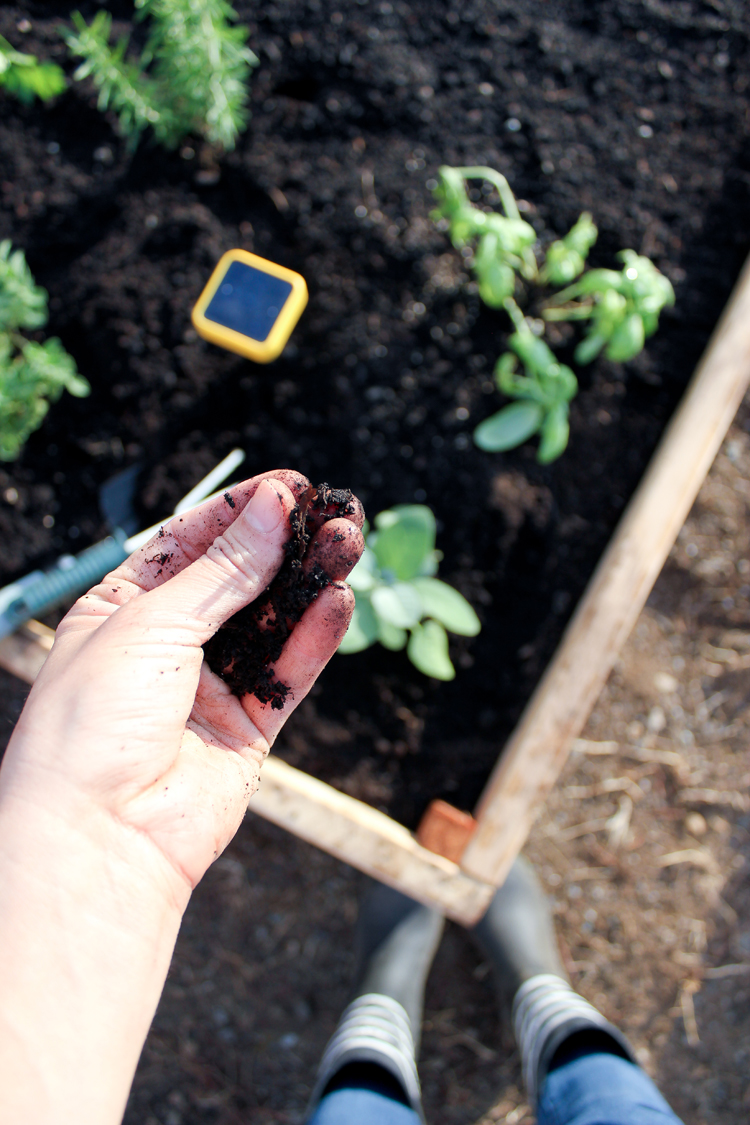
It feels SO good to be gardening again. To me, there’s not much that beats getting my hands dirty and growing stuff!
This post was created in partnership with Edyn Garden Sensor to help you “Keep a Good Thing Growing.” To read more about Edyn, check out their website!
Disclaimer: This post is sponsored. As always, all opinions and words are genuine, honest, and my own. Need I say more? Edyn is incredible and I sincerely feel excited to get to help spread the word about such a cool new product!


You have blueberry plants! I’ve been hoping to plant some of those here but with the hot, dry weather I don’t think they’ll do well. I love the striped planters- that’s a really fun addition! =)
Thanks Charity! I know! I’m so excited. We are going to add raspberries and other varieties of berries too…eventually.
Looks awesome for a late start! We started our’s in June, and it doesn’t look nearly that good! 😀 Must be Yardtastic…
Thanks Katie! haha…maybe. 😉 Our basil has since died 🙁 , but the rest seems to be doing well so far. Good luck with your garden. I bet it will take off soon!
I’m a giant pumpkin grower and was reading reviews of the Edyn device. I know the beta models of the device were buggy but I was wondering what you thought of the devices ability to monitor water levels. Watering adequately was a real issue for me this year because of irrigation problems and I was thinking an Edyn device might be a good way to monitor it next year.
Good question! I think it would work great for monitoring water levels. After using it for a little longer, I found that that Edyn’s recommendations for moisture level were a little off for raised beds. After about a month, I finally figured out a good moisture level I preferred for my raised beds, which happens to be slightly higher than Edyn recommends. (I could have also skewed things by not properly indicating my container/the ground when it first asked me to. I didn’t answer, and then came back to it already working.) My *guess* is that the recommendations would be more accurate in the ground? If you are growing giant pumpkins, I’m assuming you are gardening straight in the ground? Either way, once you decide yourself how moist you want your ground, it is great at helping you maintain that level. It gives you a real time percentage you can use to help you manage your garden however you need. I hope that answers you question? Let me know if have any more. 🙂
Instead of painting stripes, I am going to use 1″ x 1″ boards and let that create the stripes, I could also paint between the boards, but I am 76 and that seems like tooo much work for me. I do like the added support in the corners. Thanks for the idea, I live on a bluff and also have lots of rocks and clay.
That’s a great idea!