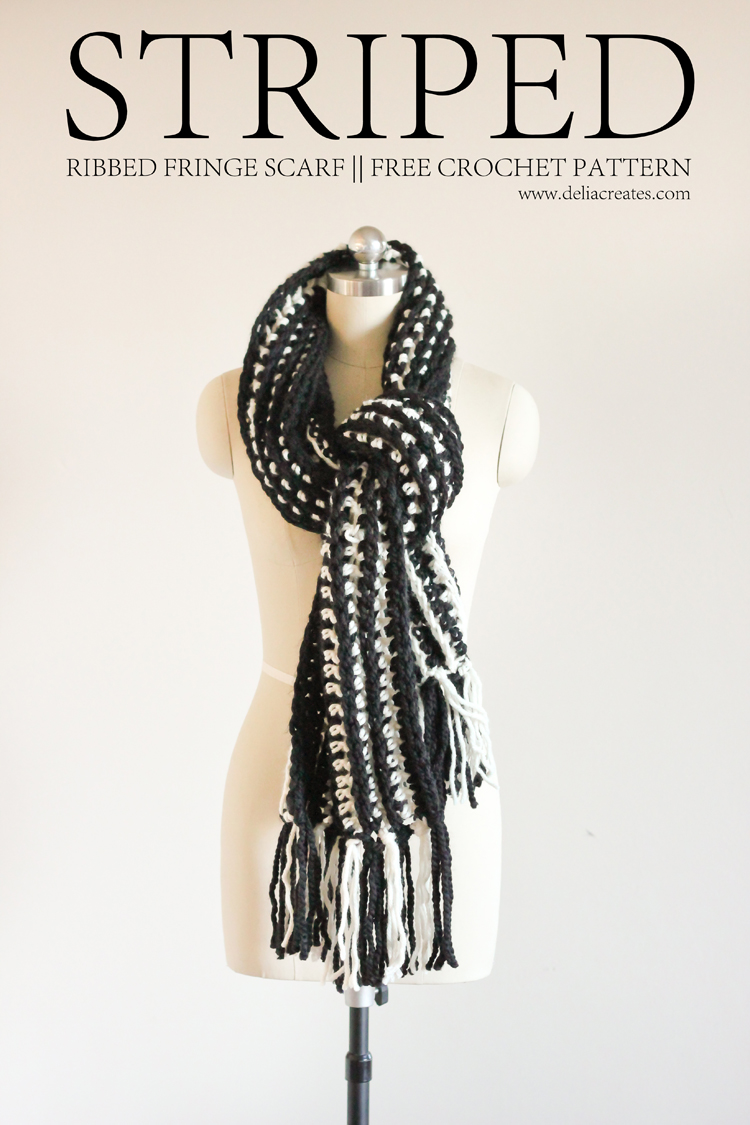
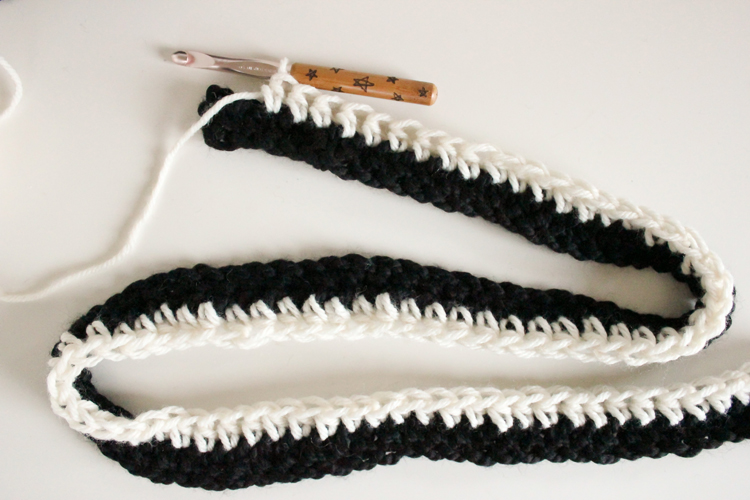
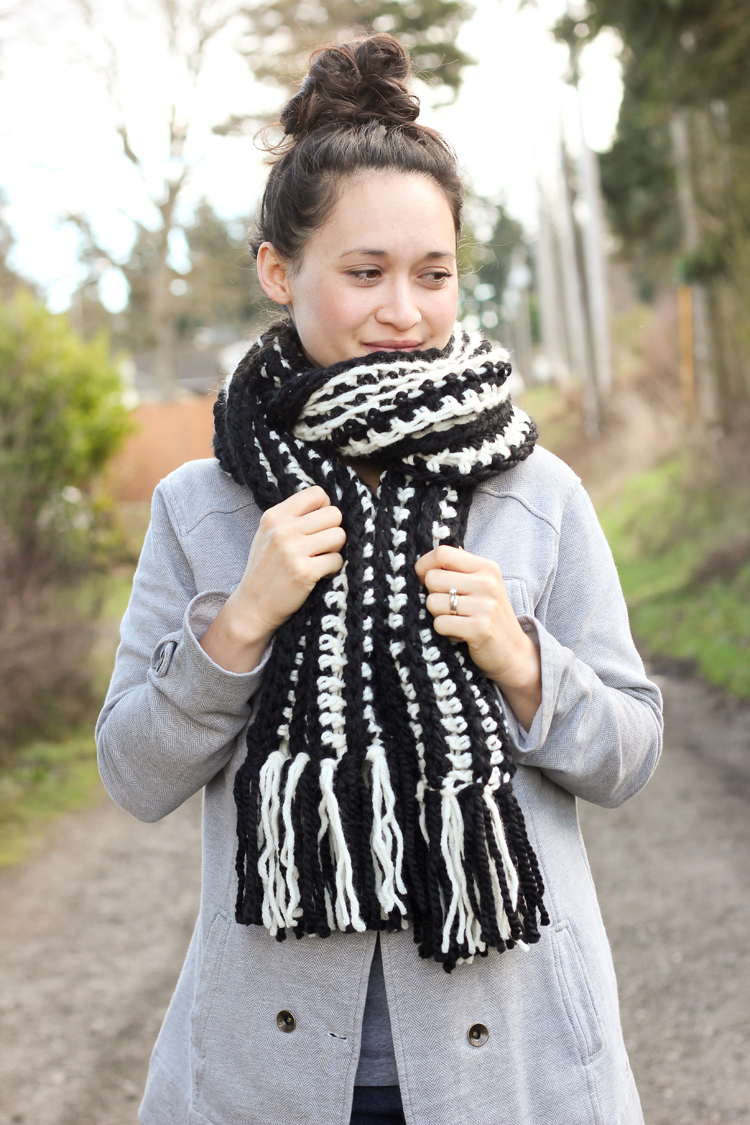
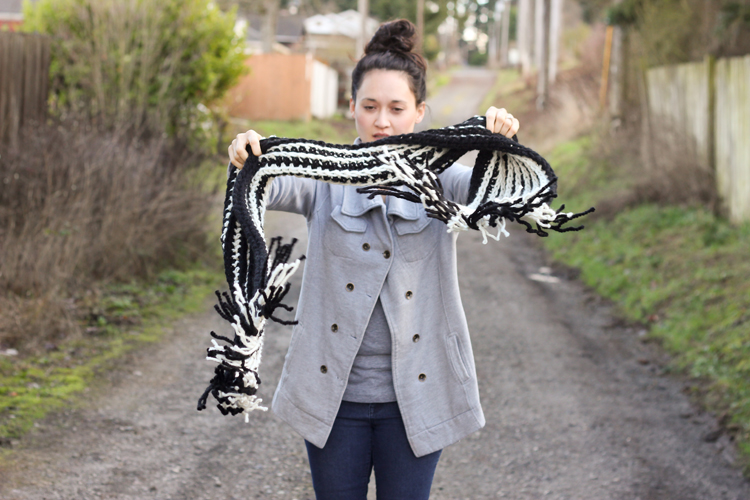
Stripes are my jam, so I knew I had to make a striped scarf for Scarf Week.
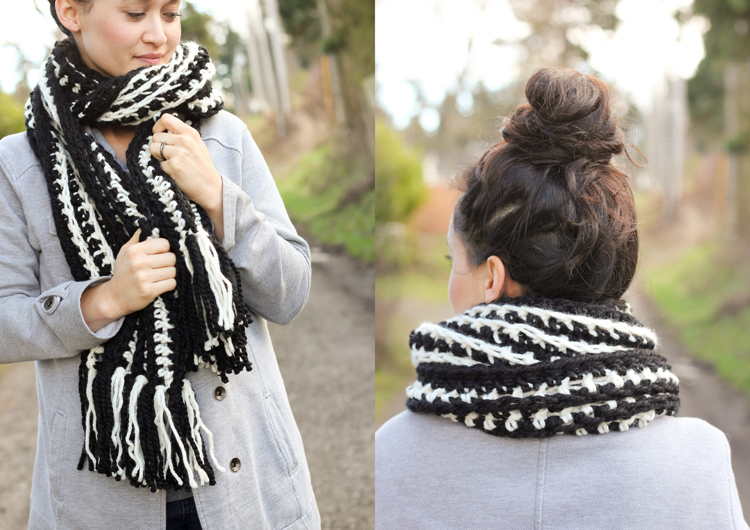 To give this scarf some added texture and dimension, I used a modified camel stitch or a ribbed half double crochet (hdc). Little Monkey’s Crochet has a great tutorial for it HERE.
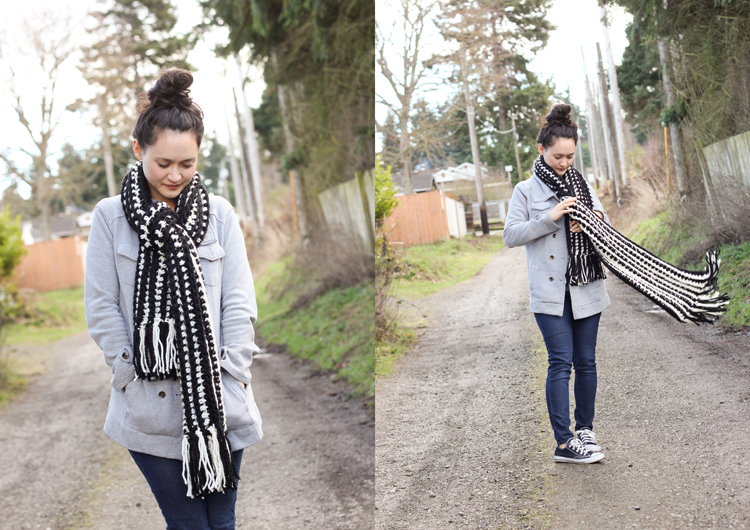
 It’s a super fantastic stitch, that I am pretty much obsessed with lately. You will see me use this stitch again. I can promise you!
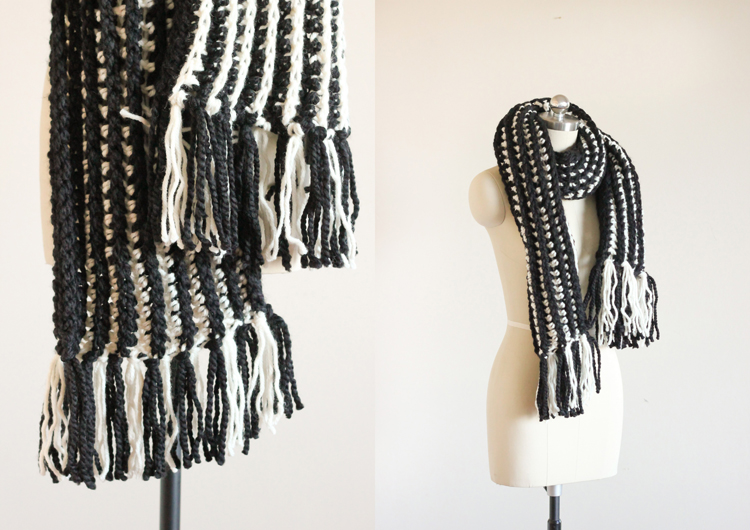
I really like how it helps each row of color to pop out on opposite sides, adding even more interest to the scarf.
 Okay…before you begin, there are a few things to cover.
First, the modified camel stitch or ribbed hdc.
If you remember the knit look cowl I made yesterday, it is essentially the same camel stitch, but the work is turned instead of crocheted in a looped row; thus creating the same ribbed, knit look texture on both sides of the scarf. You also have the choice to work in the third loop from the back or the front, since it’s reversible either way. Working the third loop from the front is much easier, so that is the way I recommend for this project. Little Monkey’s Crochet has a great tutorial on how to create the ribbed hdc or camel stitch worked in turned rows. Please note, that in this pattern I will still simply refer to it as a camel hdc.
 Next, let’s go over color changing. There are a few ways you can do it, but for this scarf, this method works best.
 When you get to the last stitch in your row, you are ready to change colors.
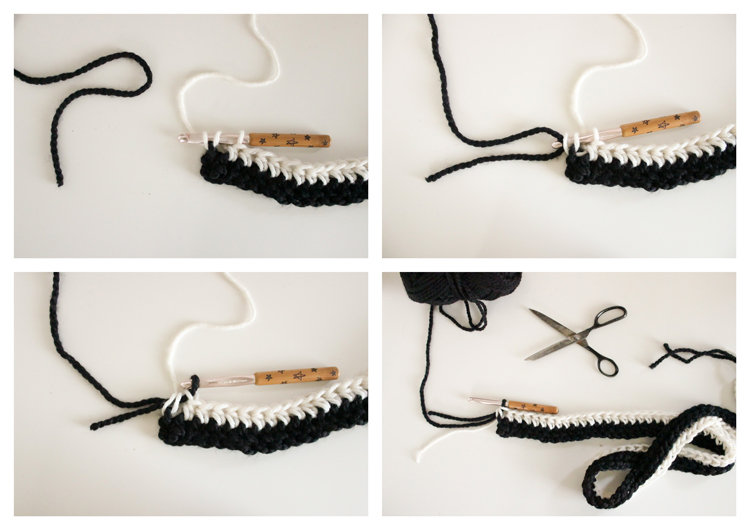 – Begin the stitch in the color you are already using.
– Yarn over, and start to work your half double crochet. Before yarning over and pulling it through all three loops, drop your current color and pick up your new color, leaving an 8 inch tail for the new color.
– Cut the color you just dropped from the skein, also leaving an 8 inch tail.
– Pull the stitch nice and tight. You may need to pull on the tail and the new yarn in alternating tugs to get it to cinch up. Now you are ready to work the next row.
Cool?
Okay. Enough of the shop talk, let’s get to the pattern!
Super Bulky Yarn (size 6) in two colors – 2 skeins or about 150 yards of each color* N15/10.00 mm hook scissors *I used Wool-Ease Thick & Quick in True Black, and Wool-Ease Chunky Yarn in Fisherman. Ideally you want both yarns to be the same weight, but I ordered my yarn online and forgot to check the weights to make sure they matched. To compensate I simply loosened my gauge for the lighter yarn to match the size 6 yarn. If you decide to do this on purpose ;), make sure your dominate color (in my case, black) is the heavier weight yarn.GAUGE
4 x4 inch square = 6 stitches x 7 rows
ABBREVIATIONS
ch = chain sc = single crochet hdc = half double crochetNOTES
Color A = black Color B = creamPATTERN
Foundation chain: Ch 87 with Color A. Row 1: Turn. Skip 2 ch, hdc in next, and hdc in each stitch across, change colors in last stitch. (85) Row 2: With Color B, ch 1, turn, camel hdc in next stitch, camel in next 82 stitches, regular hdc in last stitch and change colors. (85) Row 3: With Color A, ch 1, turn, camel hdc in next stitch, camel in next 82 stitches, regular hdc in last stitch and change colors. (85) (Repeat this pattern for the next several rows, changing color every row.) Rows 4, 6, 8, 10, 12, 14, 16: Repeat row 2 Rows 5, 7, 9, 11, 13, 15: Repeat row 3. Row 17: With Color A, ch 1, turn, camel hdc in next stitch, camel in next 82 stitches, regular hdc in last stitch. (85) Row 18: Ch 1, sc in next stitch, sc across each stitch to the end of the row. Tie off end, but leave tail. Now it’s time for fringe.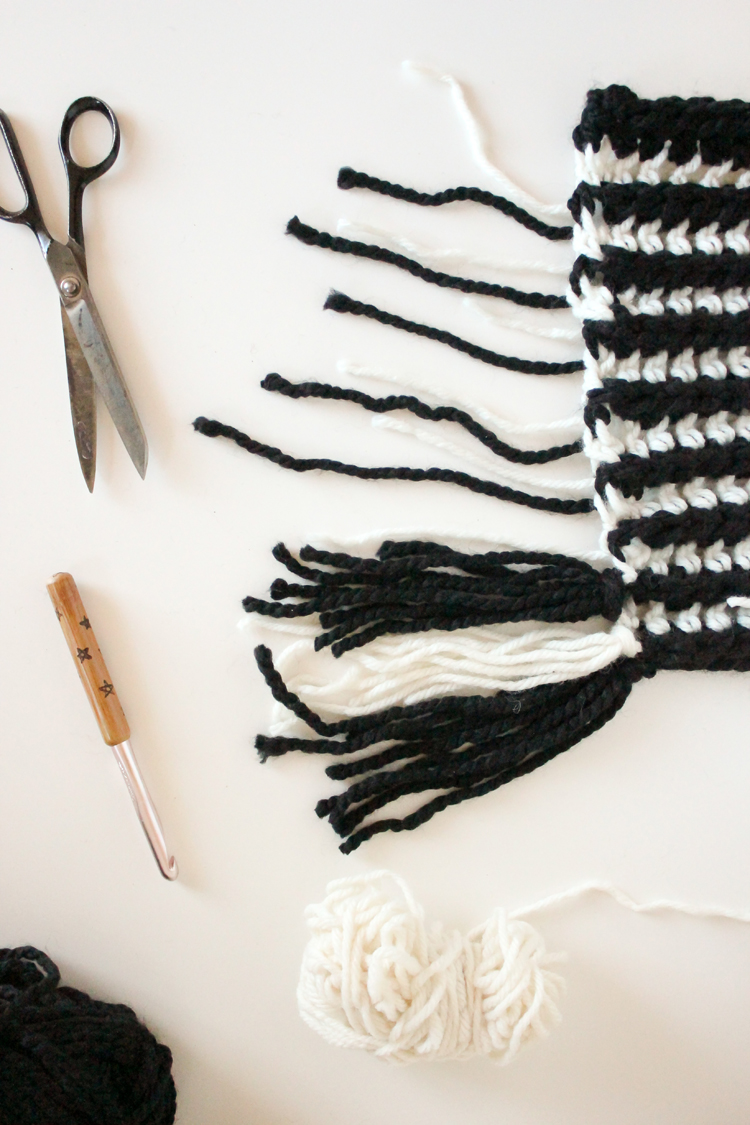 Cut two 16″ long pieces of yarn for each stripe of color.
16 pieces of cream
19 pieces of black**
**One of the Color A stripes (black) will need three fringe pieces instead of two. Which I will explain in a minute.
Please note: These pictures show me using three strands of yarn for the fringe. I found this to be too thick for this super bulky yarn, so I slimmed down the number of strands after I took these pictures.
The reason we did not weave the tails back into the scarf, is because we are going to include the tails in each of the fringe tails. This adds some extra volume to the fringe, except for one of the end Color A rows. This is where the extra strand of yarn comes into play. It makes the fullness of the fringe more consistent and balanced.
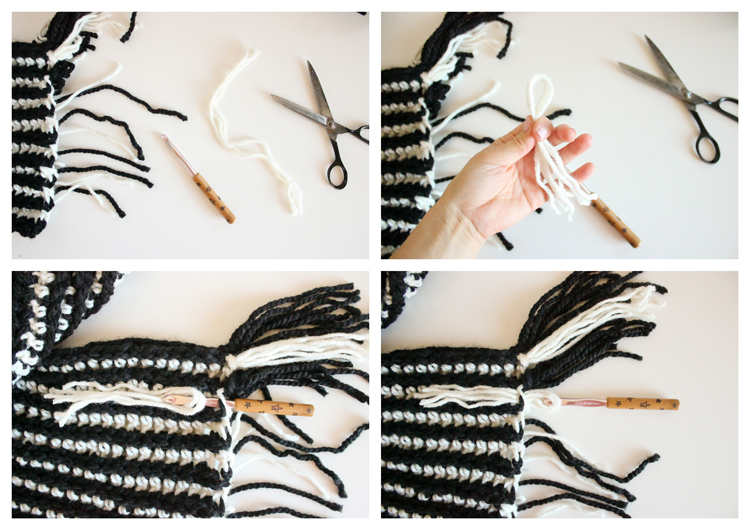 1. To add fringe, take two strands of yarn (even though the pictures show three). Even them up with each other and then fold them equally in half.
2. Pull the halved and folded yarn through the end loops with your crochet hook. Make sure to the pull the yarn through from the front to the back.
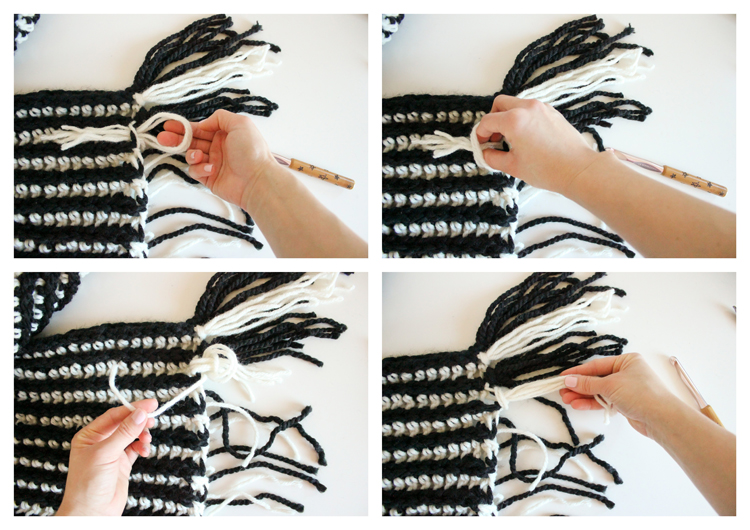 3. Then luggage tag tie the fringe loosely.
4. Pull any matching tail threads into the fringe, before tightening in place.
5. Repeat, until each stripe or row has a tail of fringe.
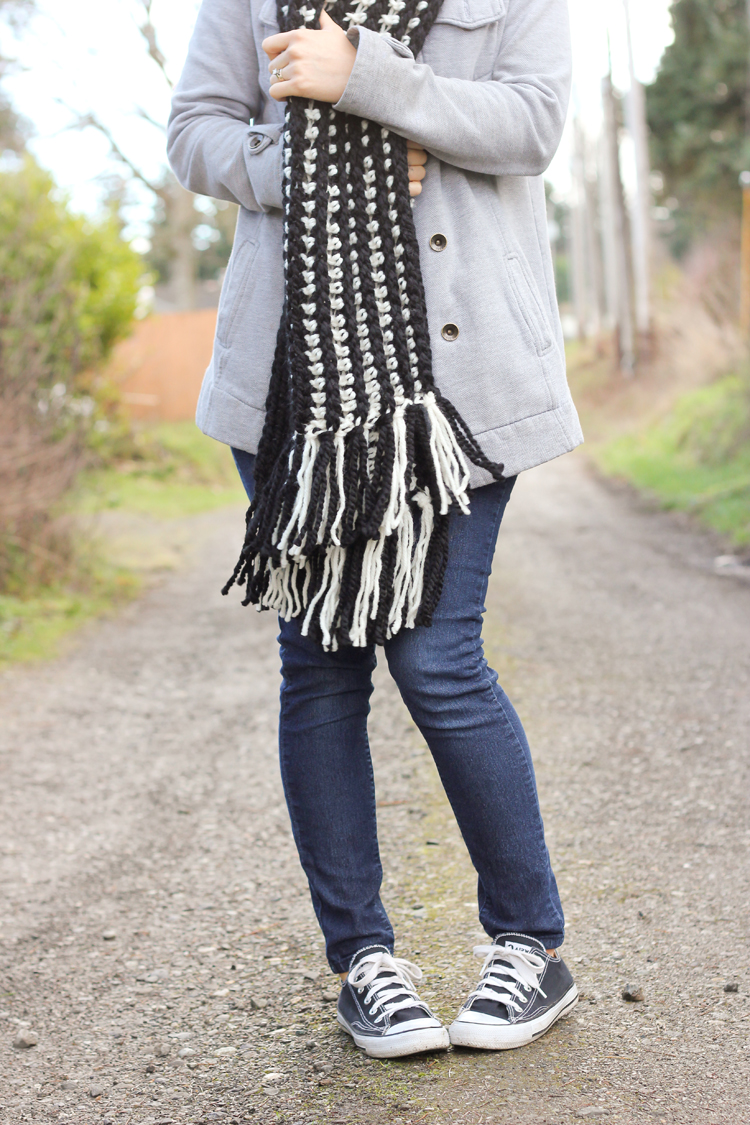
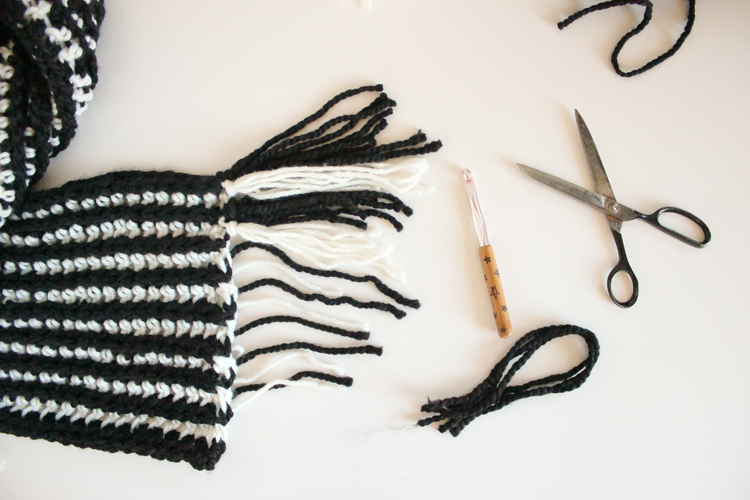 6. Trim fringe to even it out. The finished fringe tails should be about 6-7 inches long.
Wrap it around yourself and get your cozy on.
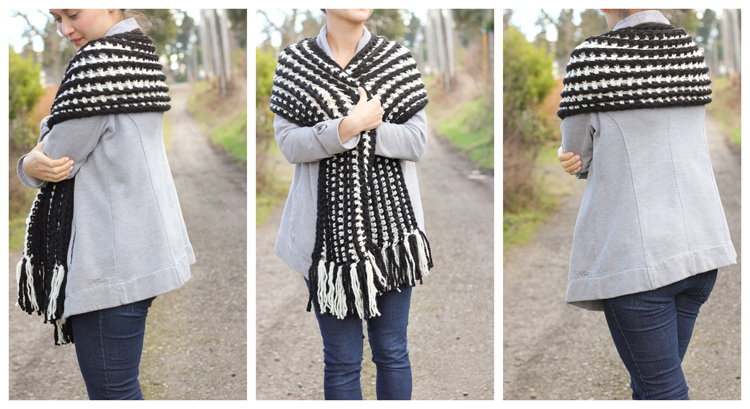
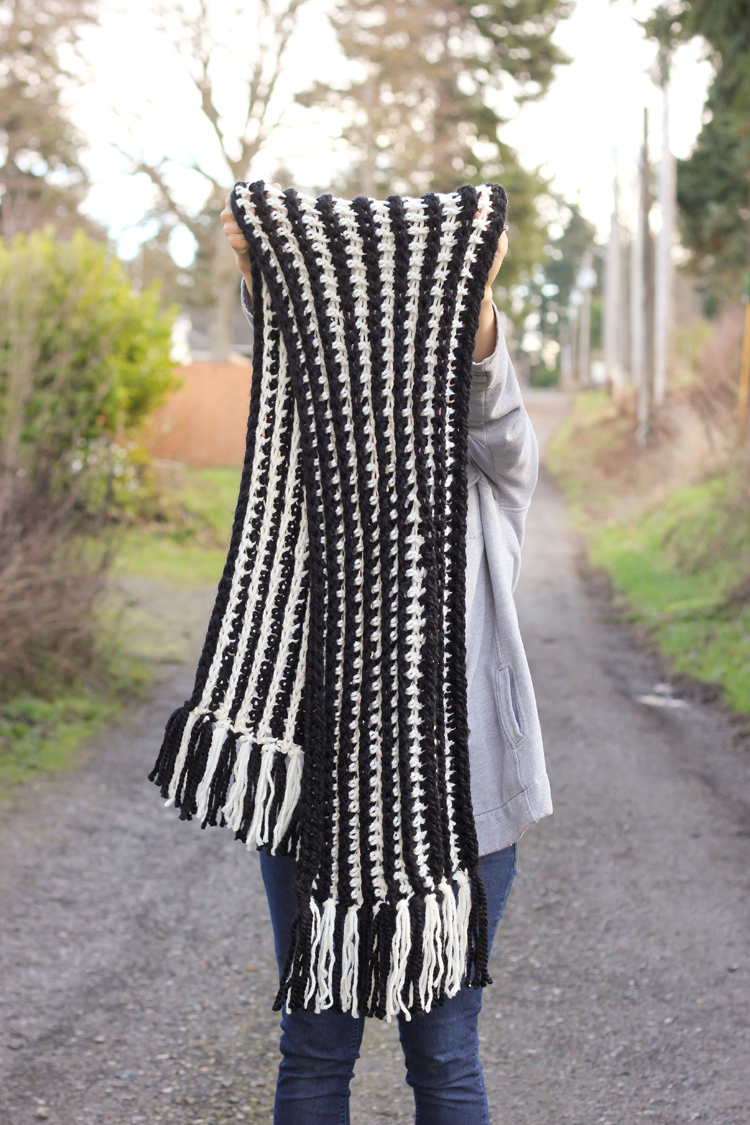 It’s a really fun, thick, stretchy scarf that feels as soft and cozy as it looks. It’s also great for guys or girls!
 I’m taking a break from Scarf Week for the weekend, but I’ll be back next week with a new free pattern that incorporates leather. (insert raise the roof emoji) I’m super stoked about it. See you then!


I really love your designs. But every time i see something new on your website here, i feel sad. It is not possible for me to crochet from an online pattern…and i fon’t have a printer. I’m stuck on a wheelchair and my bed. I wish i could download a pdf file with your patterns, to put them on my tablet to take with me to bed… that eould be great to be able to crochet something from you…
Anyway, i’ll keep suporting you and keep visiting your site too sneak around and smile!
You’re great!
Sorry for my english, i’m native dutch speaking.
I am so sorry about that. I could copy and paste the patterns in an email and email them to you if that is easier? Email me at delia dot randall at gmail dot com and let me know which free crochet patterns you would like. The turn around time probably won’t take too long, but just in case, my standard leeway is 10 days turn around time for free patterns by email.
Thank you for your kind compliments!
I absolutely adore the hook you’re using here! Precious little stars! 🙂
Thank you! 🙂 I burned those stars into the handle actually. Here’s the post: http://www.deliacreates.com/etched-knitting-needles-crochet-hooks/
Thanks for sharing this quick pattern! I will be making it for the upcoming fall and winter season! I also love the black and white combo, so many other color combinations, too! Thanks again!
Of course! I am so glad you like it. Have fun with it!
I made this scarf with a bunch of different colors of yarn-some with a sparkly thread. It looks very girly and hippy-ish. It was very fun to make. I made it pretty long so that I can wrap it around twice. Thanks for the cute idea!!!
beautiful! I cannot wait to make this in several different colors! And I love Kat’s idea too! <3 thank you for this pattern 🙂