This year, I decided to make an advent “calendar” for me!
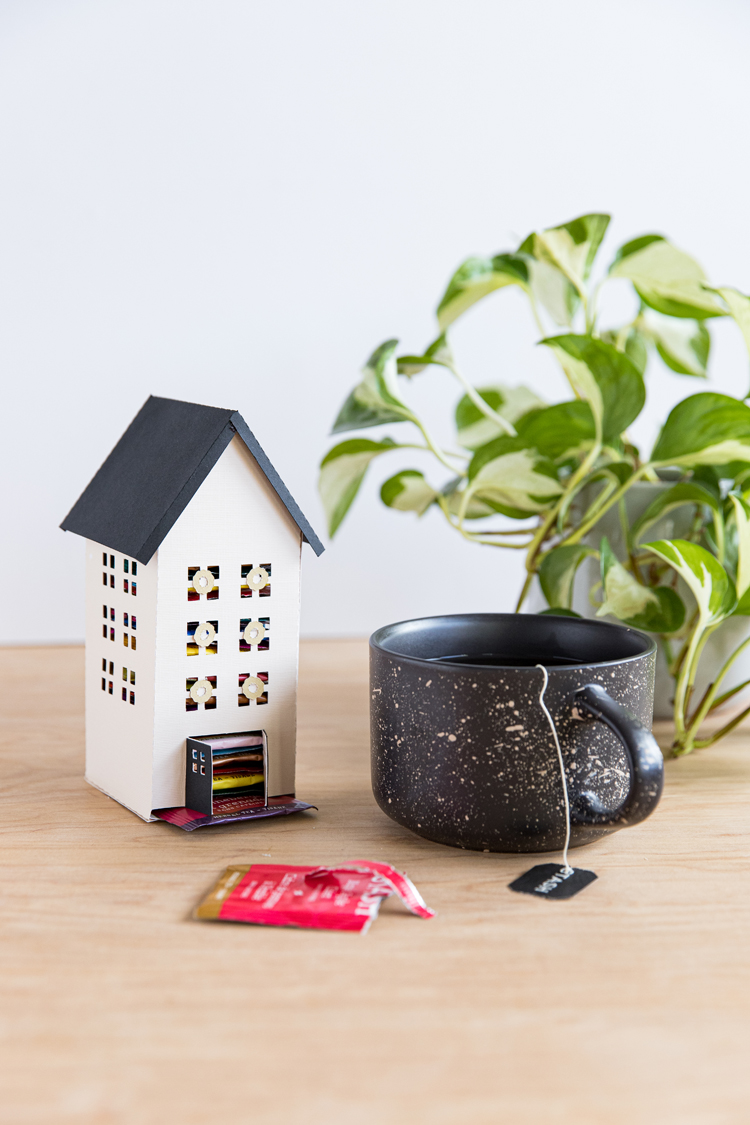
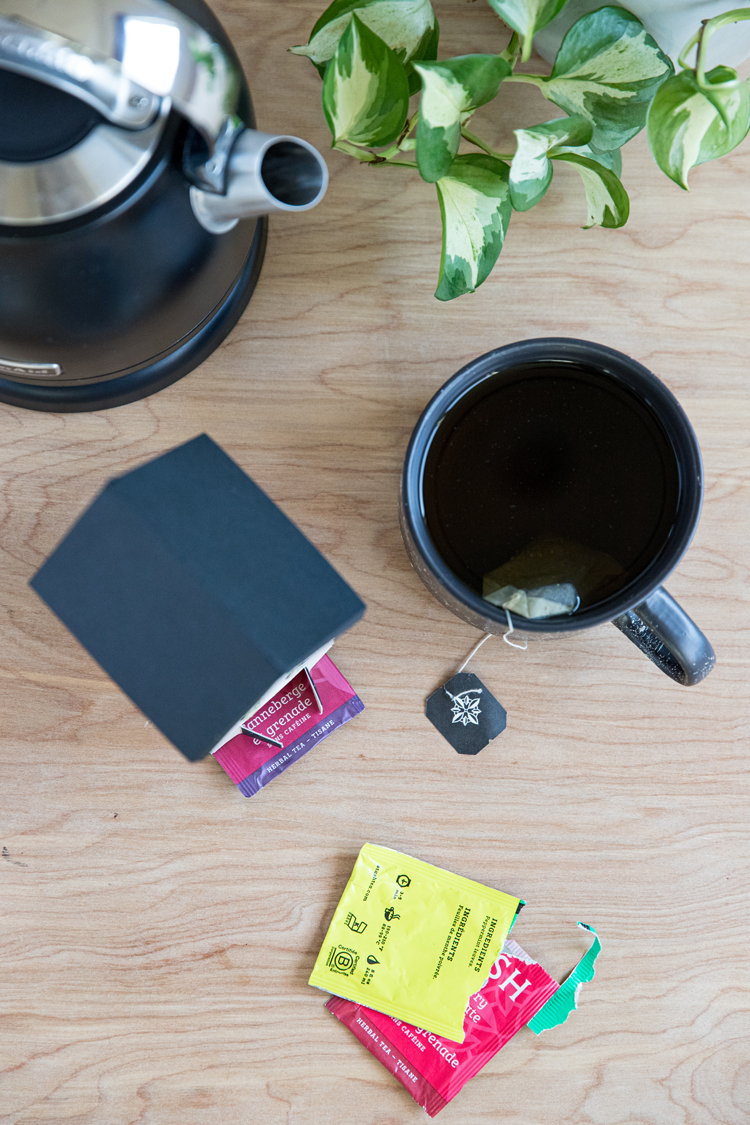
It’s a fun, simple way to add a little extra joy to my morning cup.
I bought a variety pack of new to me flavors and then stacked them into this mini house tea bag dispenser I designed.
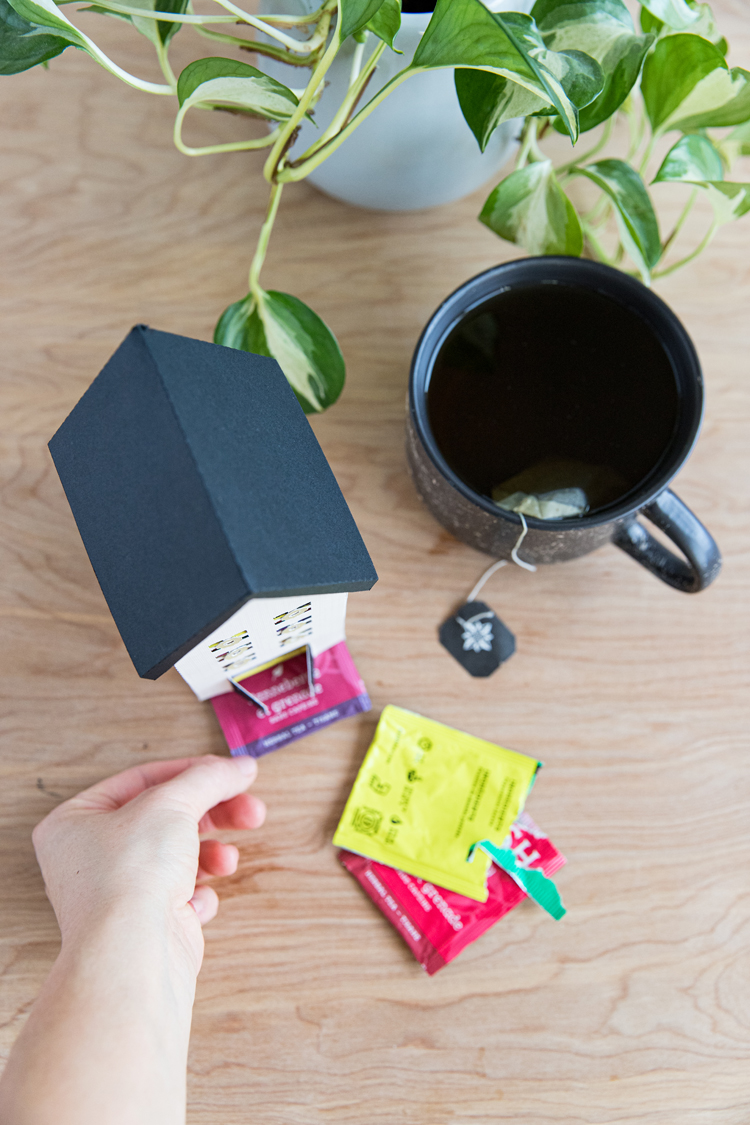
Just pull one out from the bottom, until the big day.
By the way… Have I mentioned how much I love itty bitty paper houses? I have a whole bunch of posts and free printables HERE.
I’ve provided free printables and cut files for this project too!
Let’s get started.
MATERIALS
- 3 pieces of 8.5×11 inch cardstock paper (plus some green paper scraps if you want wreaths)
- Cutting tools: either a cutting machine or scissors and exact-o knife with self healing cutting mat*
- Hot glue
- 24-25 wrapped tea bags**
MATERIALS NOTES:
*I find an exact-o knife is helpful even if you use a cutting machine too.
**The tea house box fits standard sized wrapped tea bags – 2.5 inches by 3 inches.
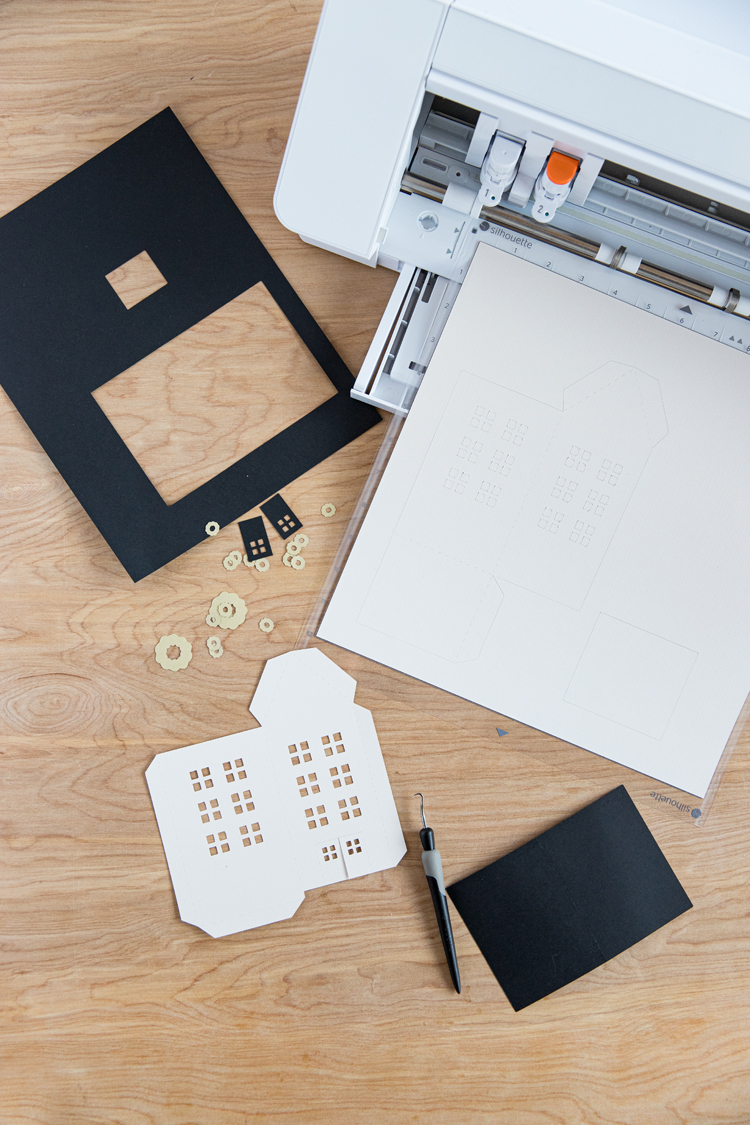
FREE TEA HOUSE BOX FILES
Download these free files in the format you wish to use.
CUTTING MACHINES
For cutting machines like a Silhouette or Cricut, you will want to use either .svg files or .dxf files. Click below to download the respective zip files.
PDF TEMPLATES
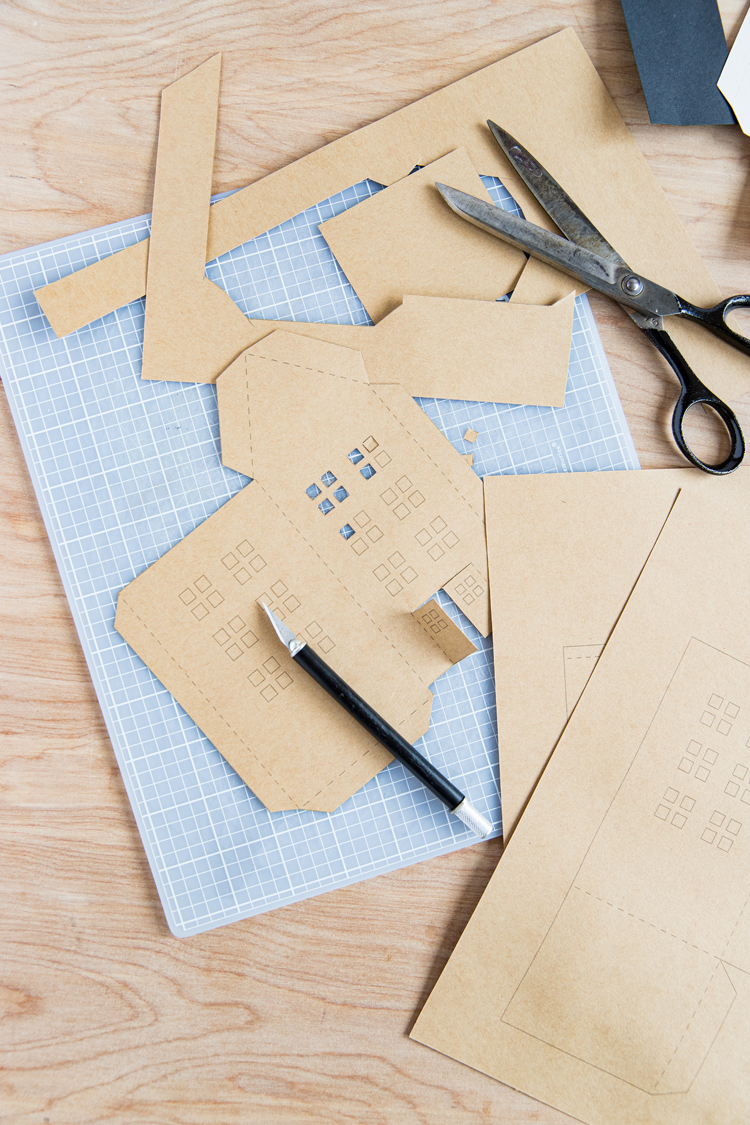
If you want to cut them out by hand, click below for the PDF files. You can either use them as templates, or cut them out directly from the print out.
*I also include a 1×1 inch test square in these files to ensure they print out at the correct size.
Use this file if you want the doors to be a different color that matches the roof.
VIDEO TUTORIAL
The video should have already popped to the side or top of your screen.
This is a quick video I posted to social media that I thought I would include here too. It shows the house being assembled.
TUTORIAL
STEP ONE
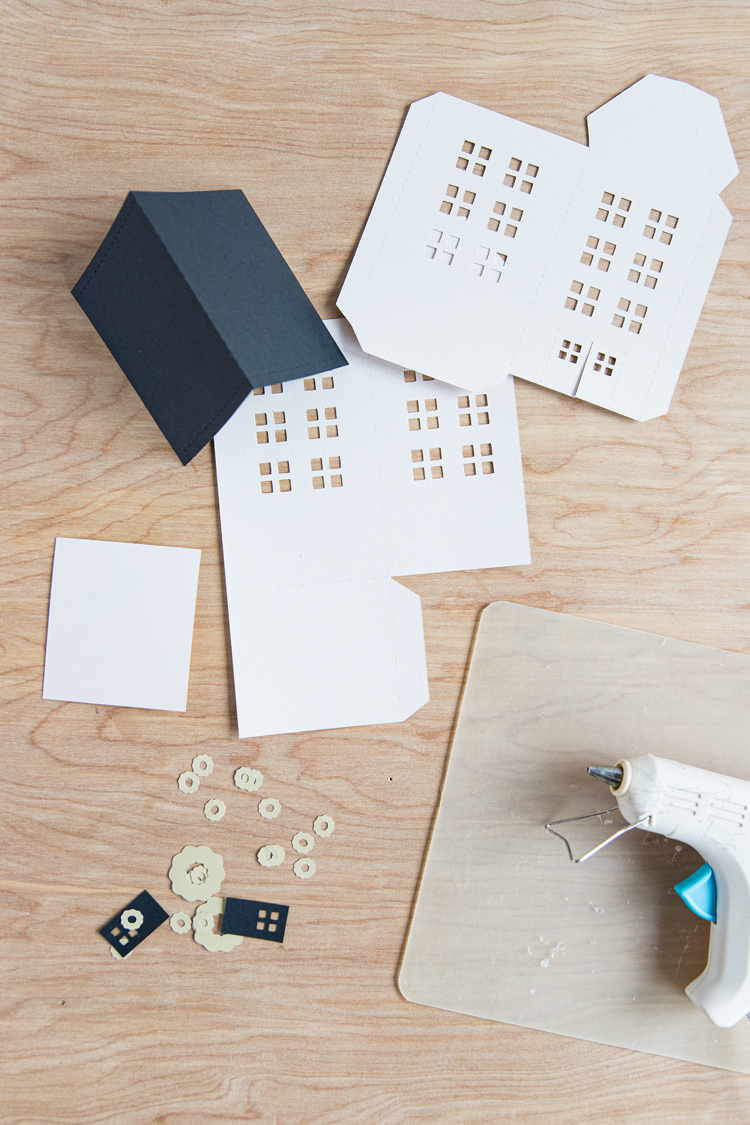
Cut all the house pieces. Make sure you have: Side one, side two, and a roof.
If you want your doors to match your roof, use the roof and door file. You can also cut some wreaths if you wish.
NOTE: If you are using a cutting machine, I find that the .dxf files works best. The only challenge is that that file type doesn’t maintain the size at which it was designed. I have included a 1×1 inch test square to help you resize the entire page of shapes to the correct dimensions. Select ALL images that pop up when you open the .dxf file in your cutting machine software. Enlarge or shrink the files until the 1×1 inch square is exactly 1×1 inches. Then you can delete it.
STEP TWO
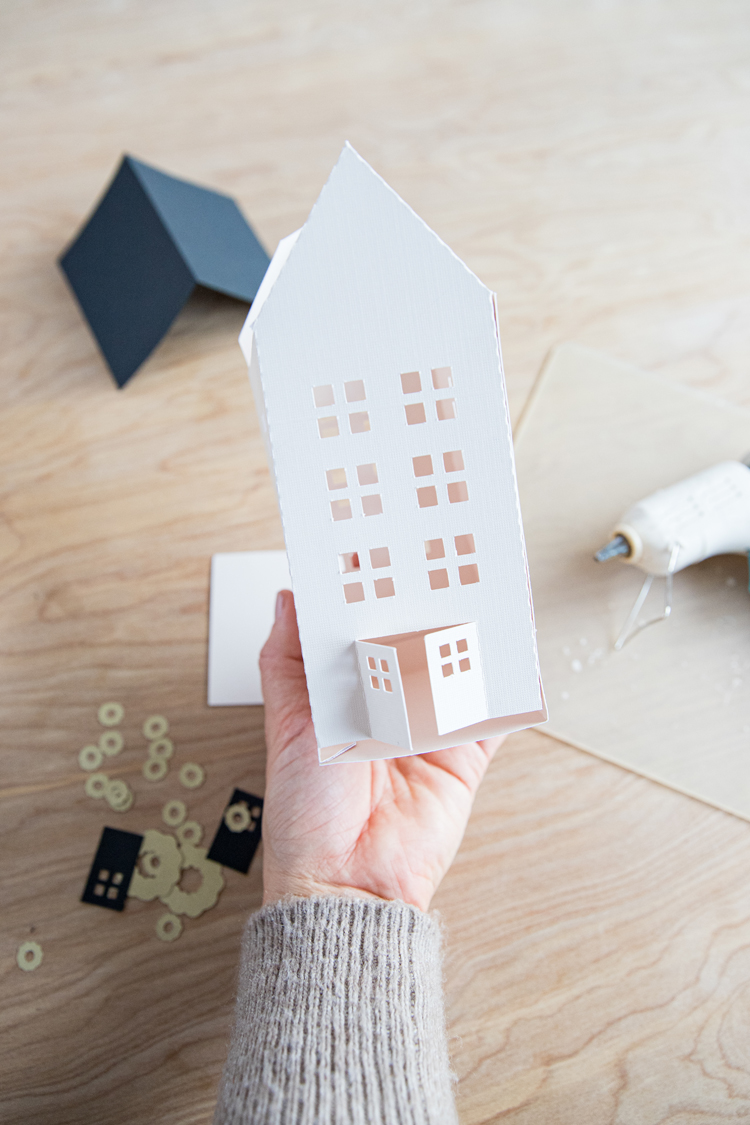
Fold another the dotted or perforated lines.
Hot glue the sides of the house together into a box shape. Then glue in the bottom of the box.
!! Don’t forget to slide in the extra box bottom for extra strength. Because there is an open slot at the bottom to pull out tea bags, the bottom really needs this extra reinforcement. It is a tight fit for this purpose. You may need to angle it to get it inside the box, then press it down in place at the bottom of the box. Glue it along opening side to prevent snags during use.
STEP THREE
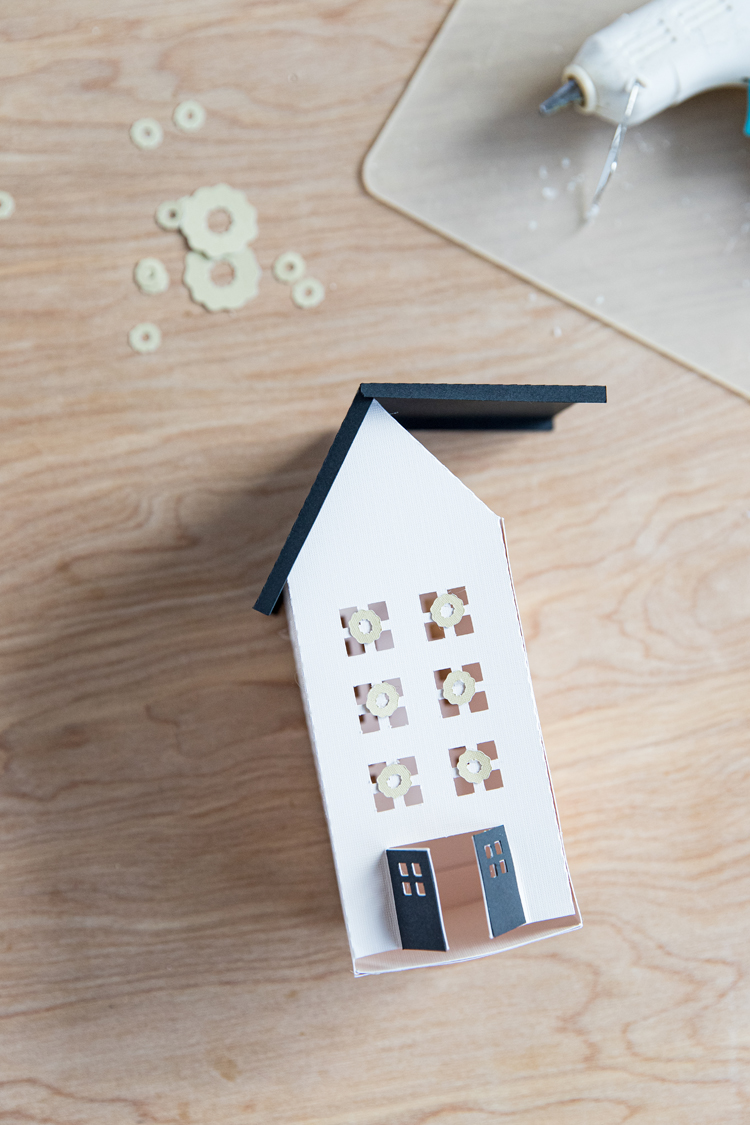
Add the roof on ONE SIDE ONLY. I find that gluing one tab of the roof at a time is easiest.
STEP FOUR
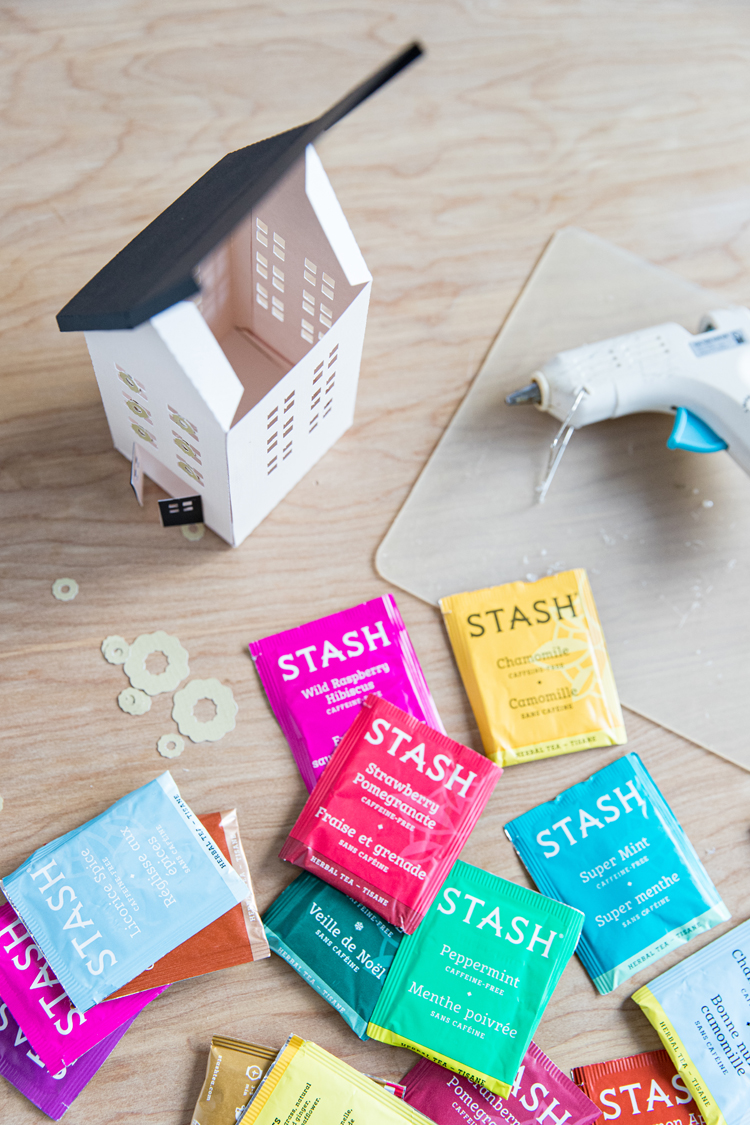
Fill up your tea house with tea bags.
Note: If you forget to do this before attaching the rest of the roof, that is OK! You can slide the bags in, one at a time through the bottom slot. It just takes longer. 😉
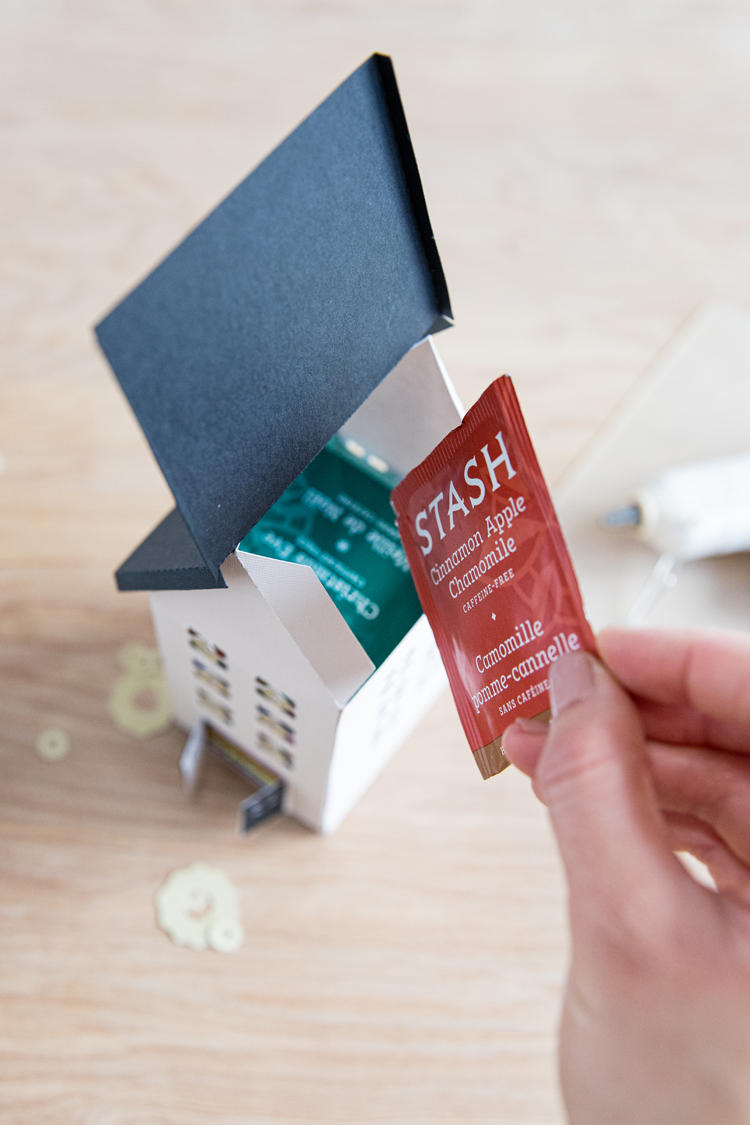
STEP FIVE
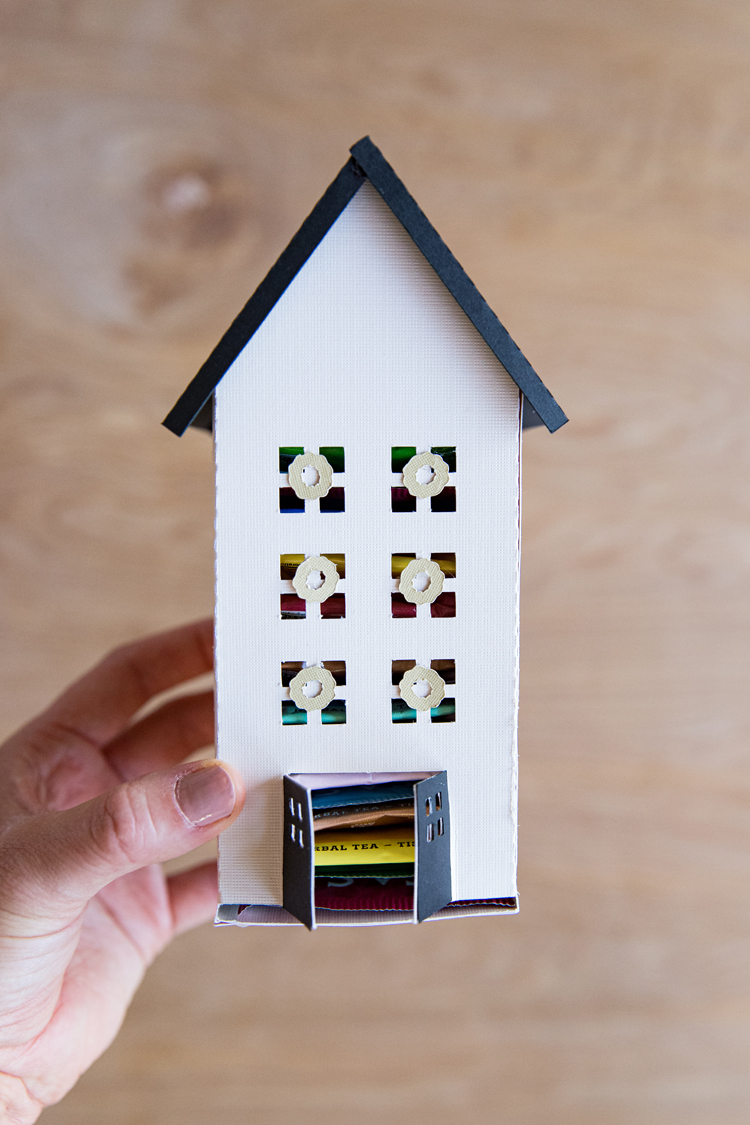
Close up the other side of the roof. Glue both tabs and press the roof in place.
OPTIONAL: Decorate your house. Add the second color of doors, wreaths, draw onto or paint the house. Have fun!
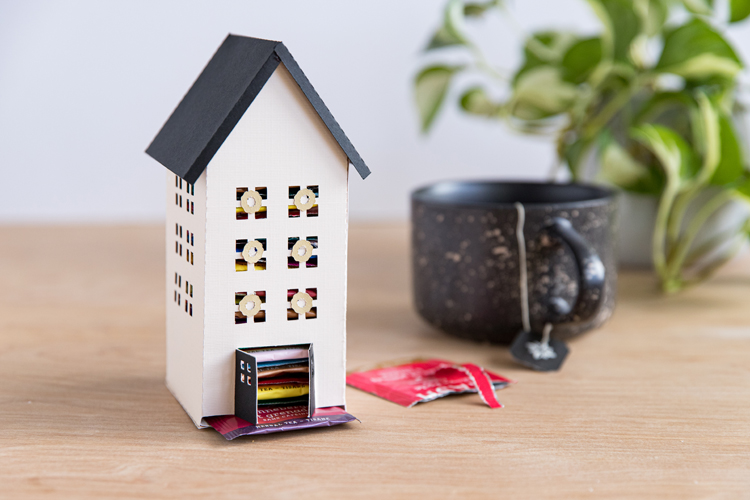
Now you’re ready for December 1!


Unable to get the svg for the house itself.
I’m so sorry I just saw this. If you still want the file, I can email it to you: [email protected].