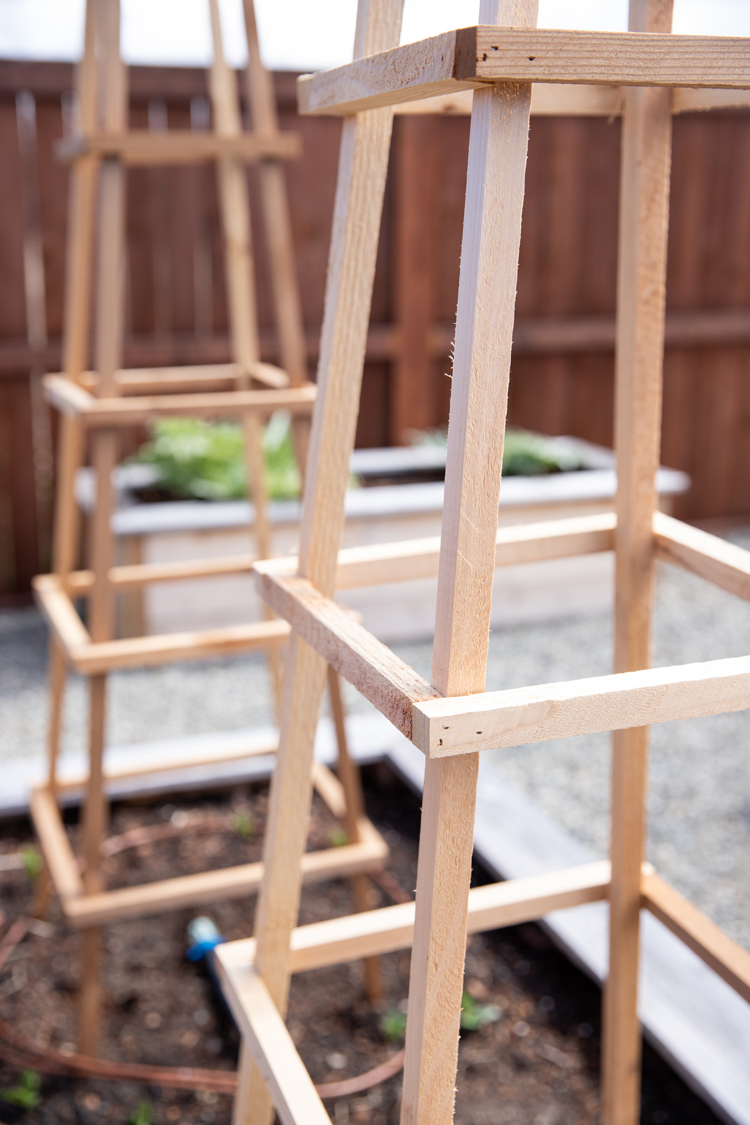
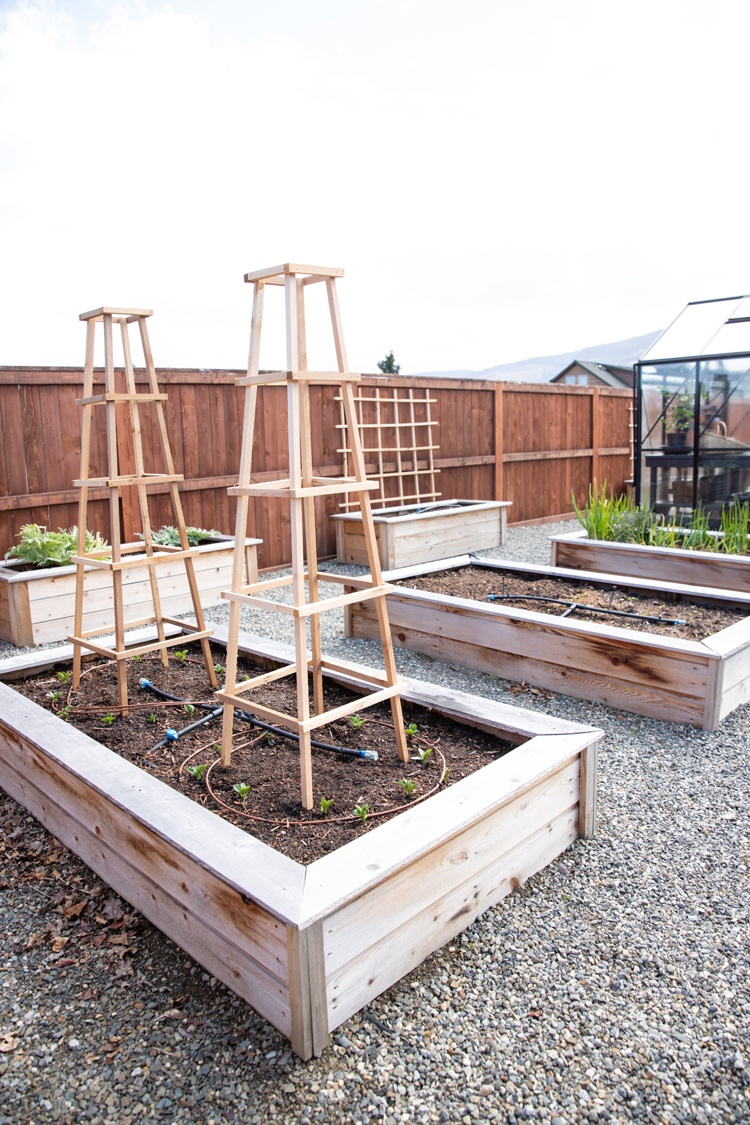
Tower, obelisk, four-sided ladder…whatever you want to call it, this trellis is sure to make a cute addition to your garden bed!
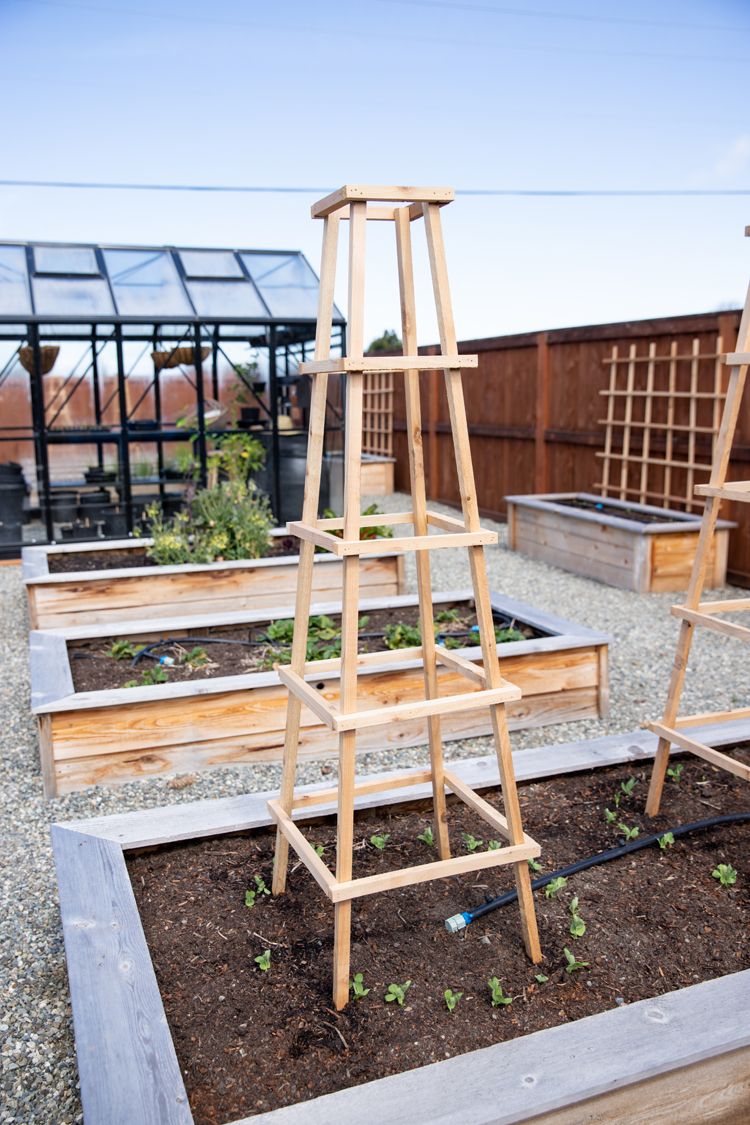
I made it with inexpensive 1 inch thick cedar fencing so it’s affordable as well. Each trellis costs under $10!
If you missed my other cedar trellis tutorial, I explain more about how I was able to save money on lumber HERE.
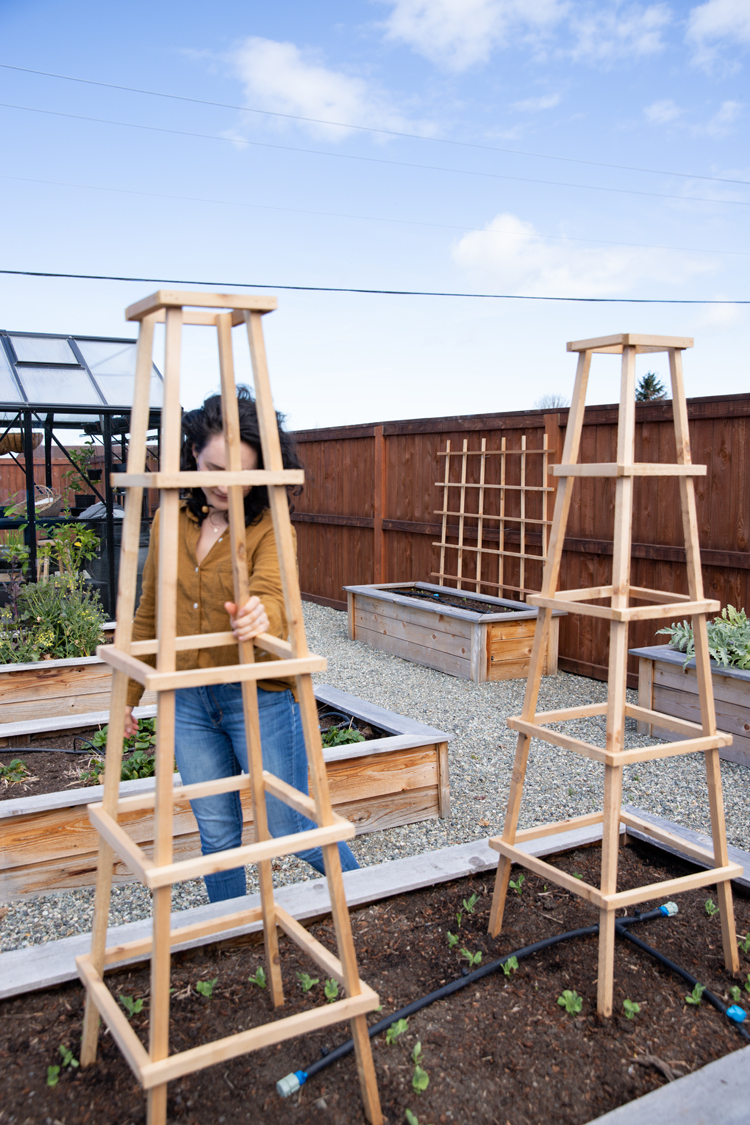
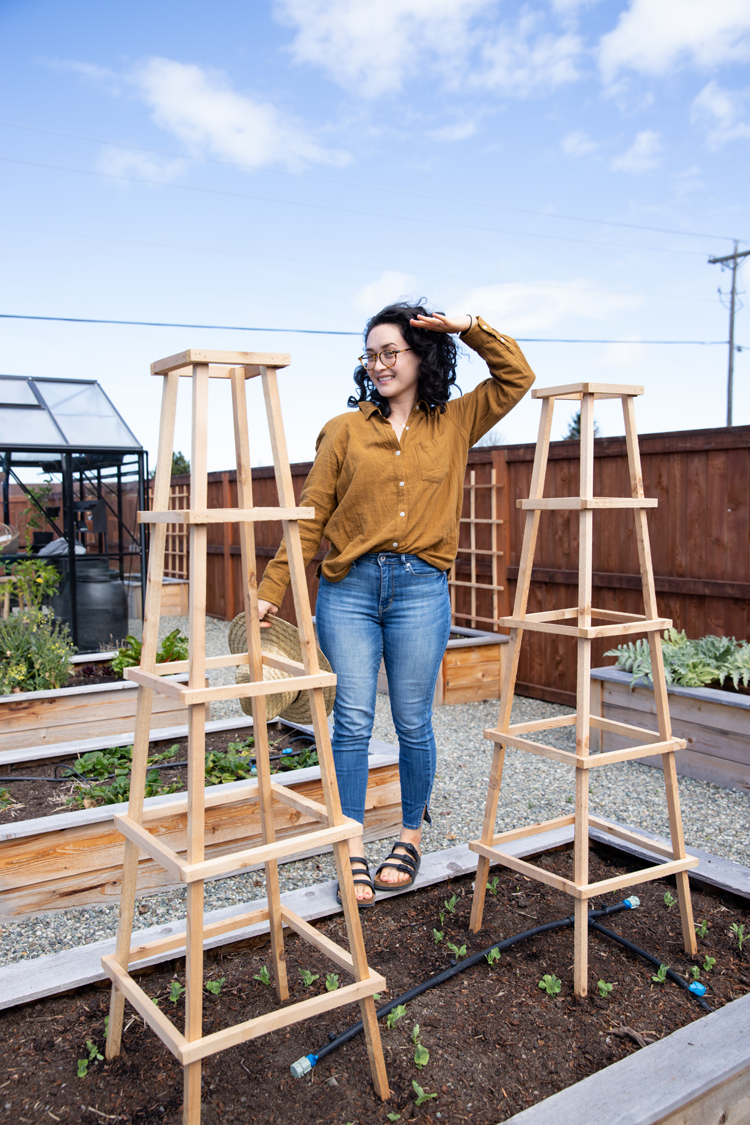
I made these trellises to tie my fava beans to and for my peas to climb. I used wire tomato trellises for my peas last year and they swallowed them up, so hopefully these taller cedar trellises will hold them up better.
MATERIALS
- 2 – 8 inch by 1 in by 6 foot cedar fence slats**
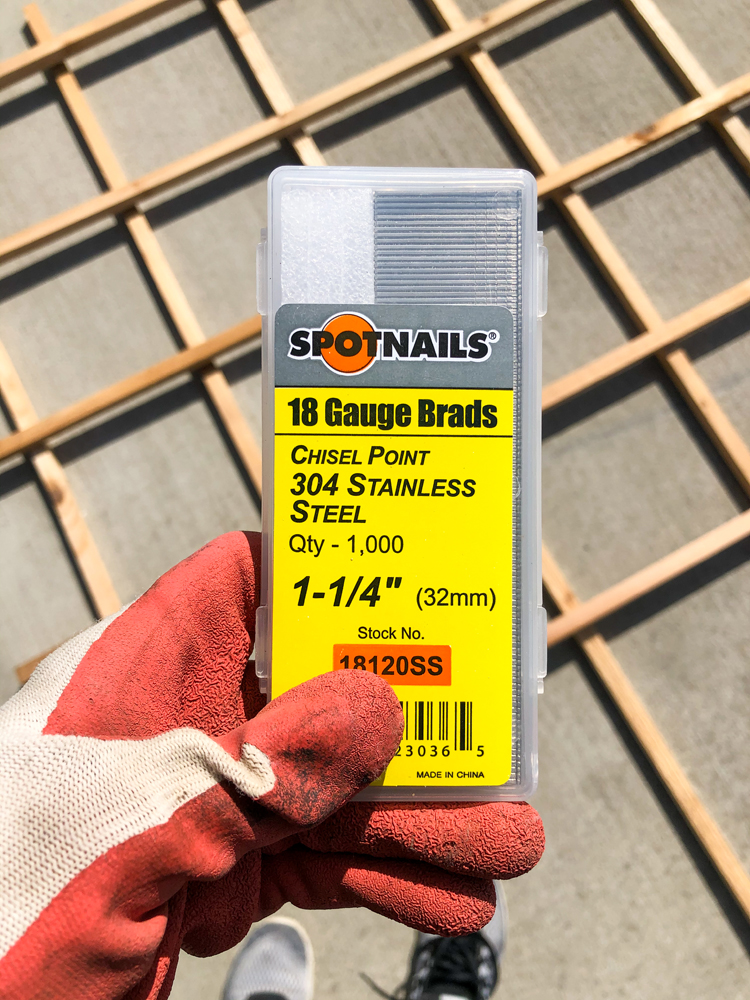
- 1.25 inch stainless steel or galvanized steel brad nails (rated for exterior use)*
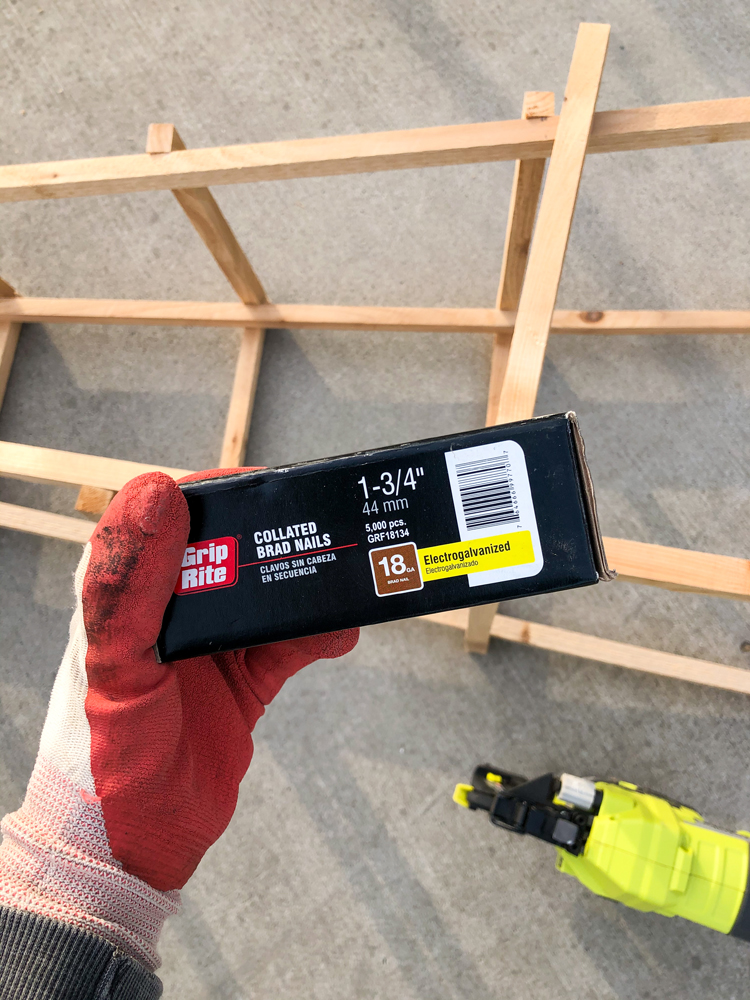
- 1.75 inch galvanized steel brad nails or flat head nails (rated for exterior use)*
- square (or a quilting ruler which is what I use ;))
- measuring tape
- pencil
Material Notes:
*You can use flat head nails and a hammer but I don’t recommend using any hardware that is too thick or it will split the wood. I used the 1.25 in brad nails (Amazon) for most of the connection points. I used the longer 1.75 inch nails (Home Depot) for the joints that create the horizontal squares that wrap around the obelisk. It really adds to the sturdiness of the tower but is too long for the other connection points.
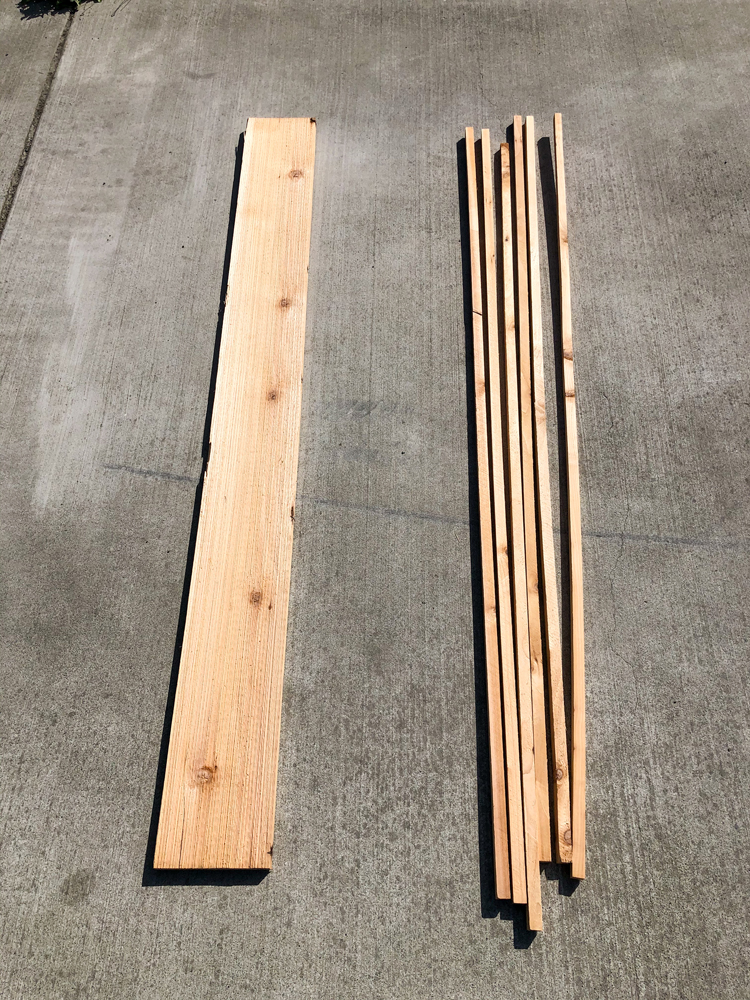
**I used rough cut cedar from a lumber yard. A lumber yard will almost always give you a better price and quality if you have one near you. The dimensions of the board are 8x 1x 6 BUT that actually translates to about 7.5 inches by .8 inches x 6 feet. Because of blade depth, I cut each board into 7 pieces just under an inch thick with 1 piece of waste that was too thin. You can also use decking lumber which is even more sturdy.
TOOLS
- Table saw
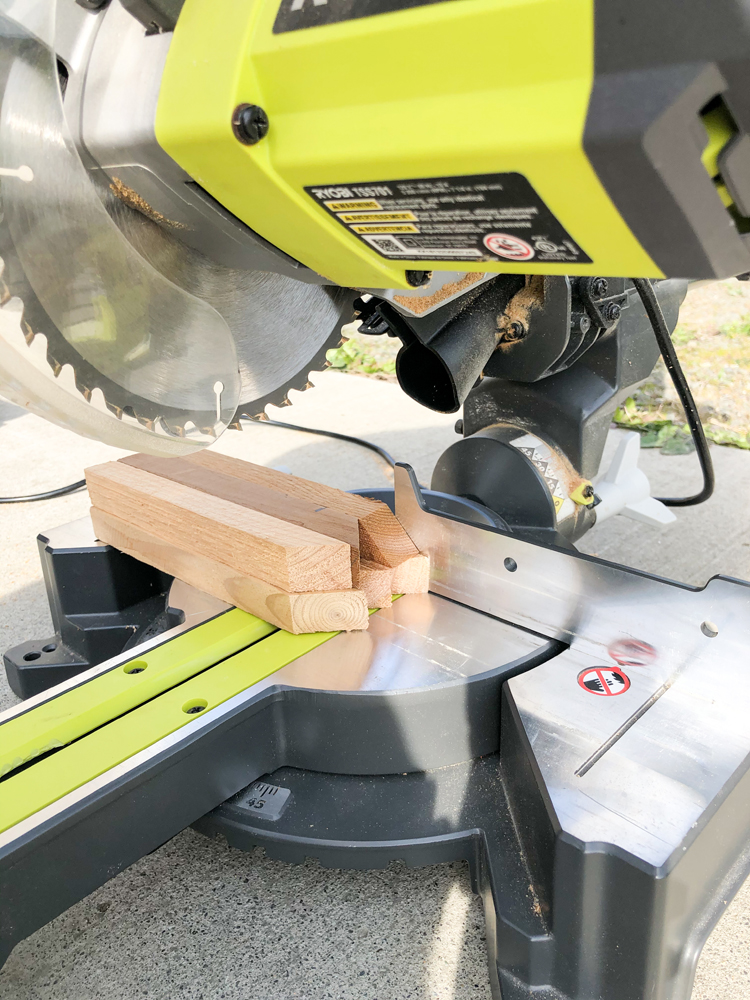
- Miter saw (or hand saw)
- 18 gauge brad nailer (or hammer)
Tool Notes:
- A miter saw or hand saw is helpful for cutting smaller pieces of the trellis. I also used the miter saw to cut angled cuts for the bottom of the trellis. This is optional and not really necessary though.
- I like to use a brad nailer for ease, but you can also use a hammer and stainless steel or galvanized steel nails and a hammer.
VIDEO TUTORIAL
I created a video for instagram and thought I’d share them here as well in case you prefer video. Scroll past this video and it will pop to the side of your screen, so you can read while you watch.
BEFORE WE BEGIN:
I recommend using your ripped lumber ASAP after cutting it. Make sure it stays dry too.
My lumber was dry in the sense that it wasn’t freshly cut, but it got wet in the lumber yard. Even though I had it protected in our garage, our weather was very humid and had difficulty drying out. So I cut it when it was still a bit damp. I then waited weeks after cutting them to make trellises and quite a bit of the pieces ended up warping. I ended up using some of them anyway and they bug me. I wish I had cut them right before assembly. I know they will warp over time because I want them to be untreated (for growing food) but at least they will stay mostly straight because they are nailed in place.
TUTORIAL
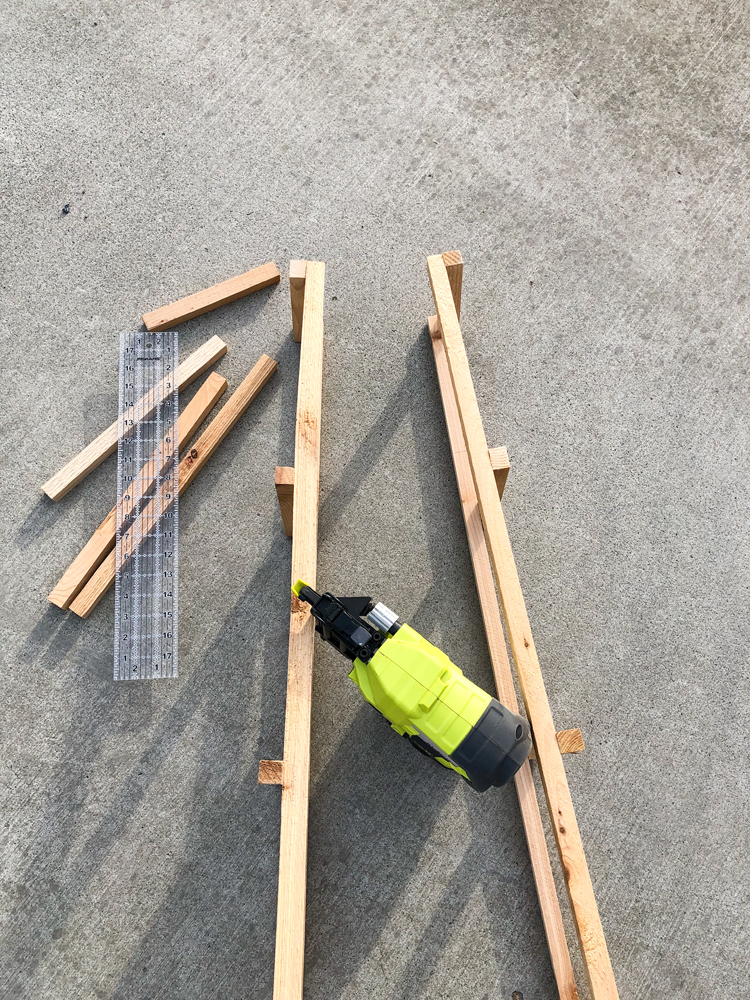
One: Cut your wood.
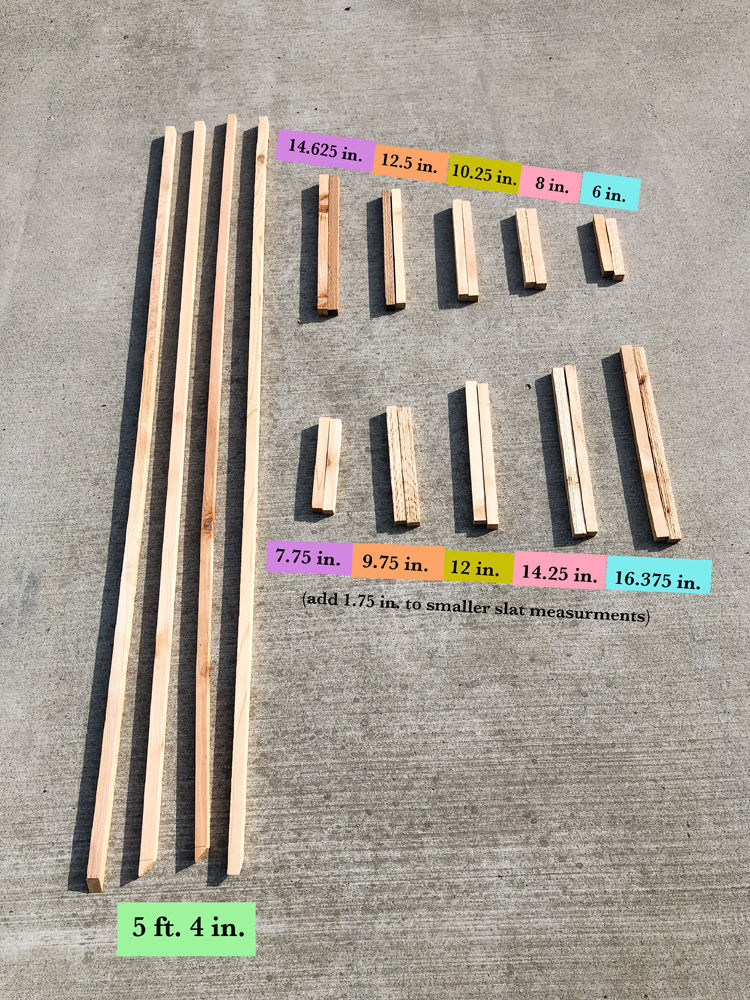
Cut pieces as listed in the picture above.
You will need four long pieces to form the corners of the tower. For the horizontal slats, two sides will have shorter pieces to create two ladders. You will then connect them with pieces that are 1.75 inches longer to create the tower or obelisk shape.
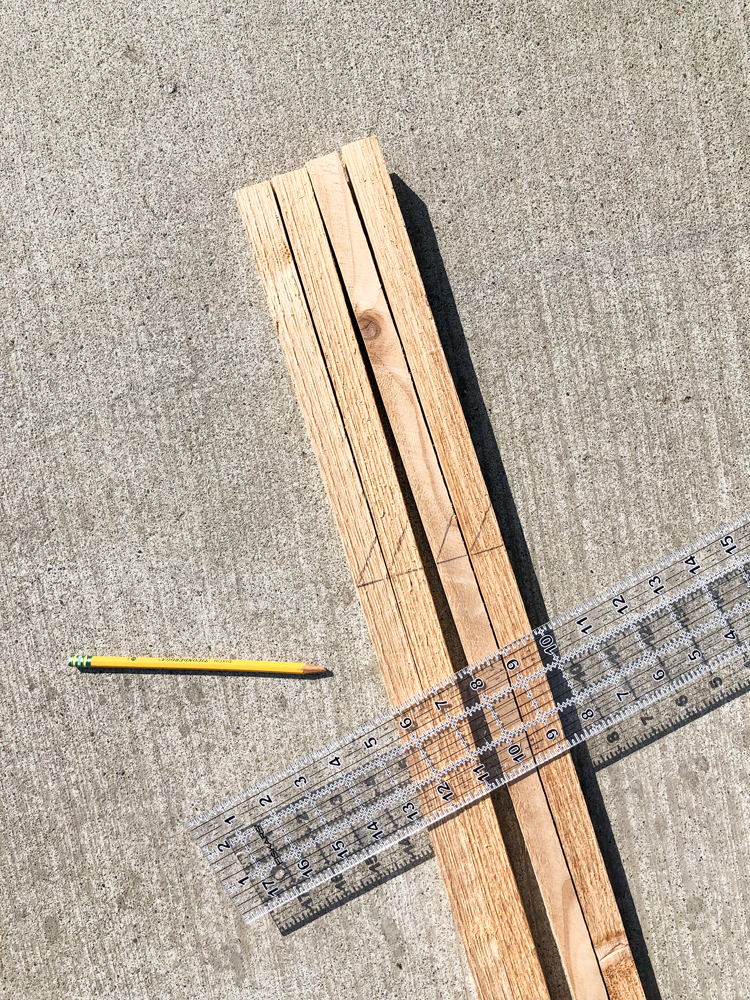
You can cut the bottom of the longest pieces at an angle. I thought it would maybe make it easier to stake into the garden bed soil but I honestly don’t know that it made a huge difference.
Two: Assemble one side.
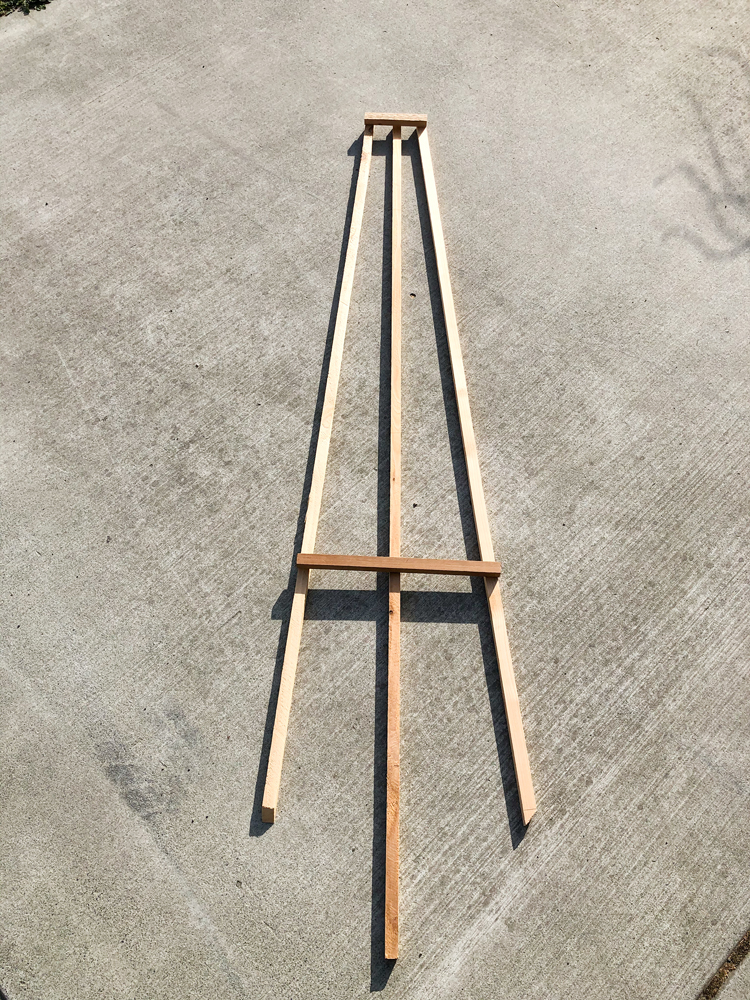
Lay out your pieces according to this diagram.
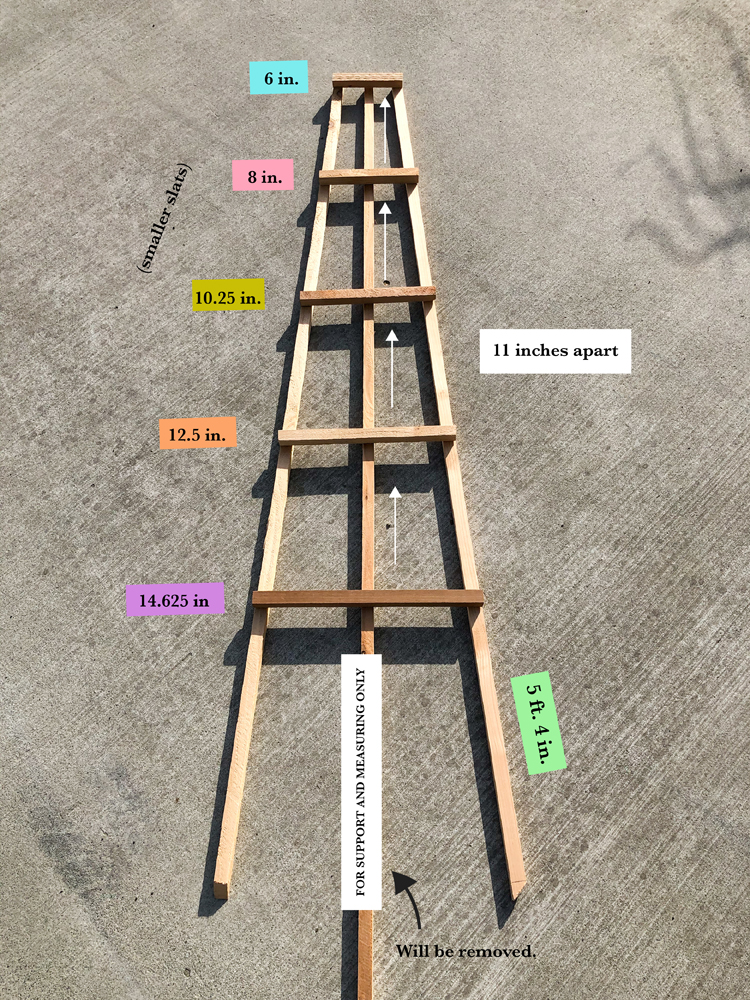
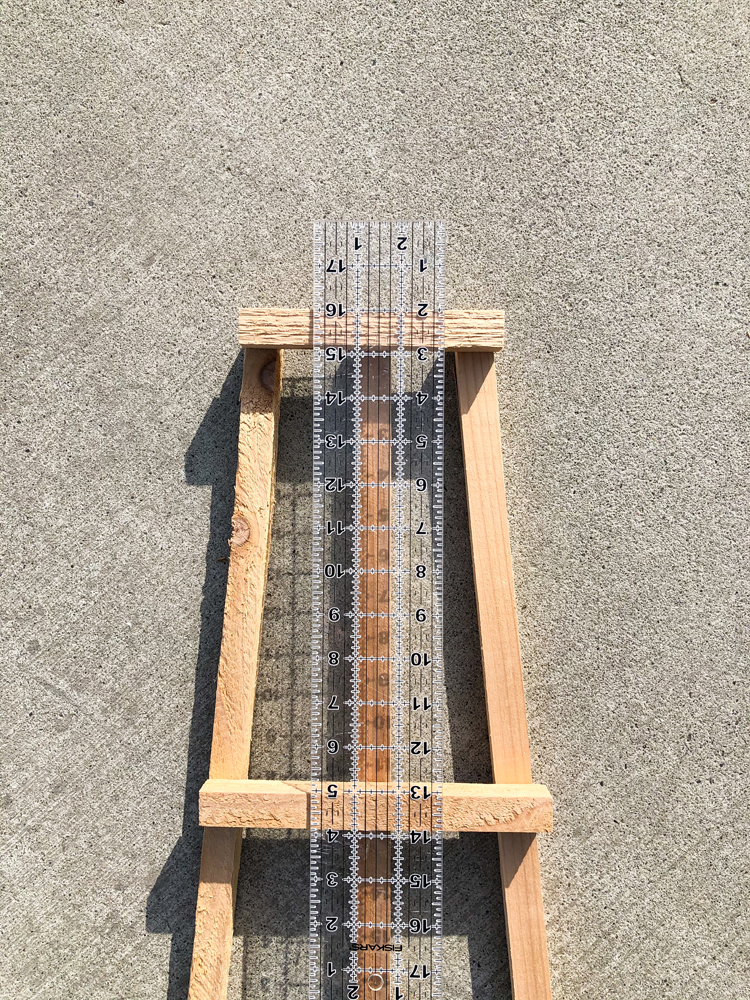
It helps to center a piece in between the side supports to keep things even and square. You can gauge if the horizontal slats are straight by seeing if it’s perpendicular to the center board, since the side supports are angled.
You can also measure to see if the side supports are the same distance away from the center support.
Three: Nail the first side together.
Nail the first side with the 1.25 inch long brad nails.
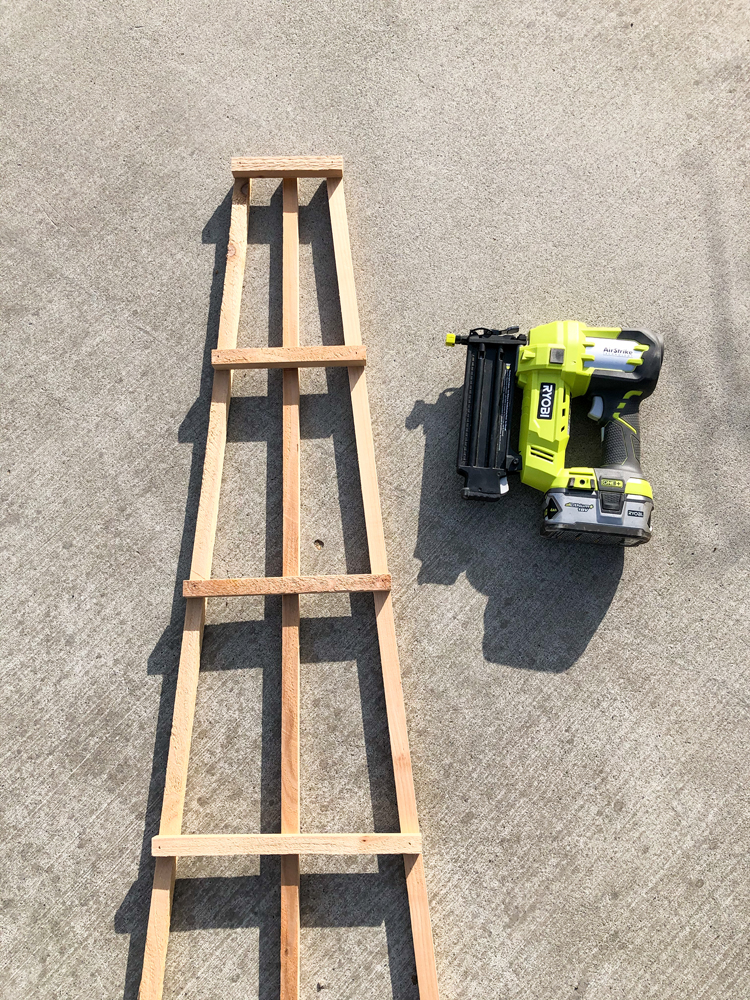
Four: Use the first side as a template for the second side.
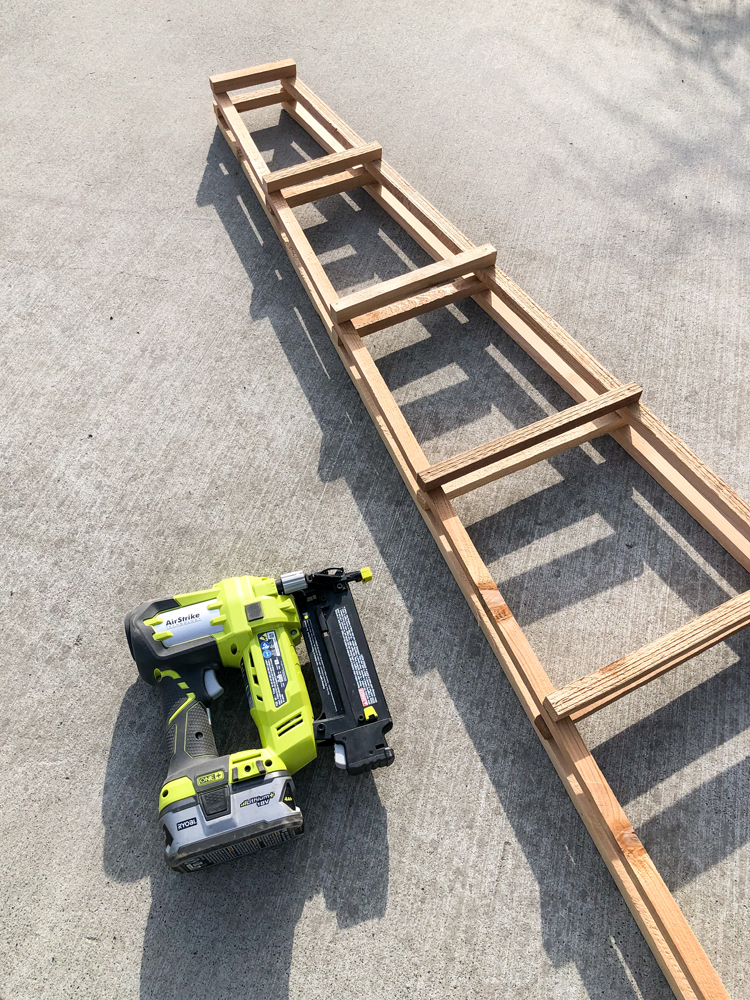
Make a second ladder or side by using the first ladder as a template. Place the boards on top of the first completed latter and nail it right on top of it. That way you don’t have to measure everything all over again.
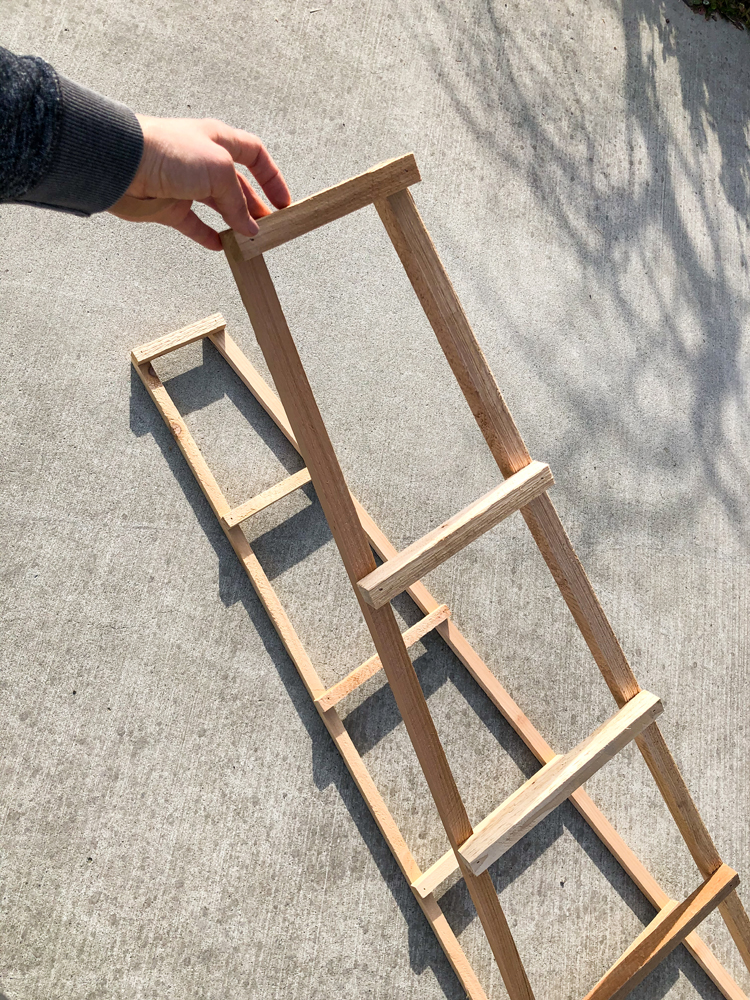
Since I made four obelisk trellises, I made a bunch of these at once to save even more time.
Five: Create the tower shape.
Prop the two sides you have completed up on their sides, with the horizontal slats facing away from the center.
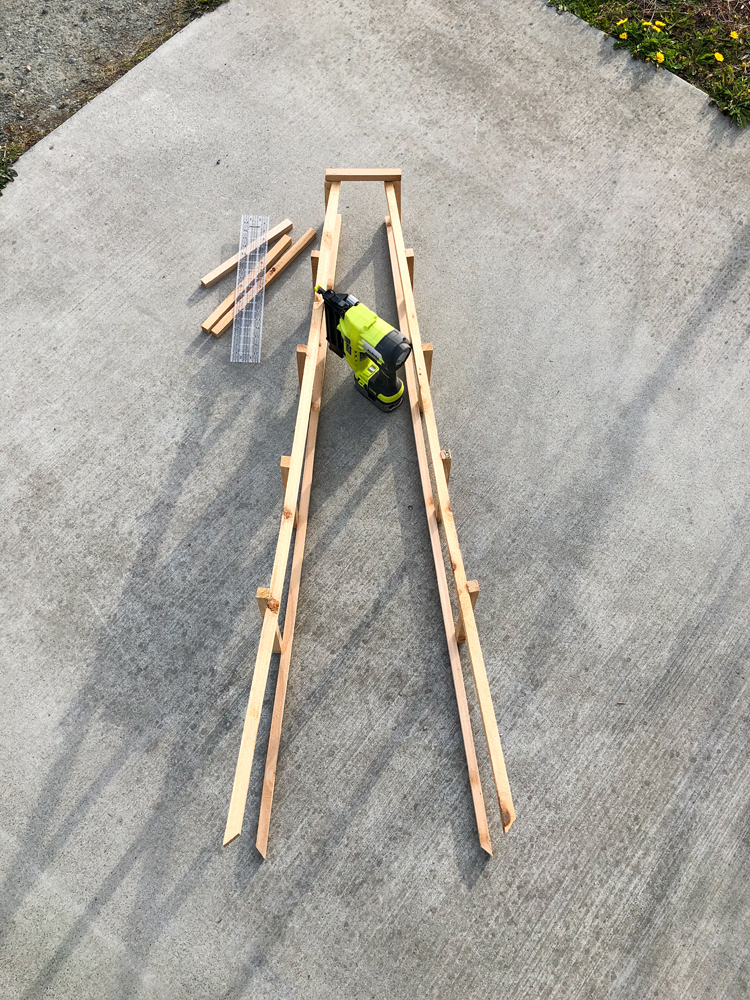
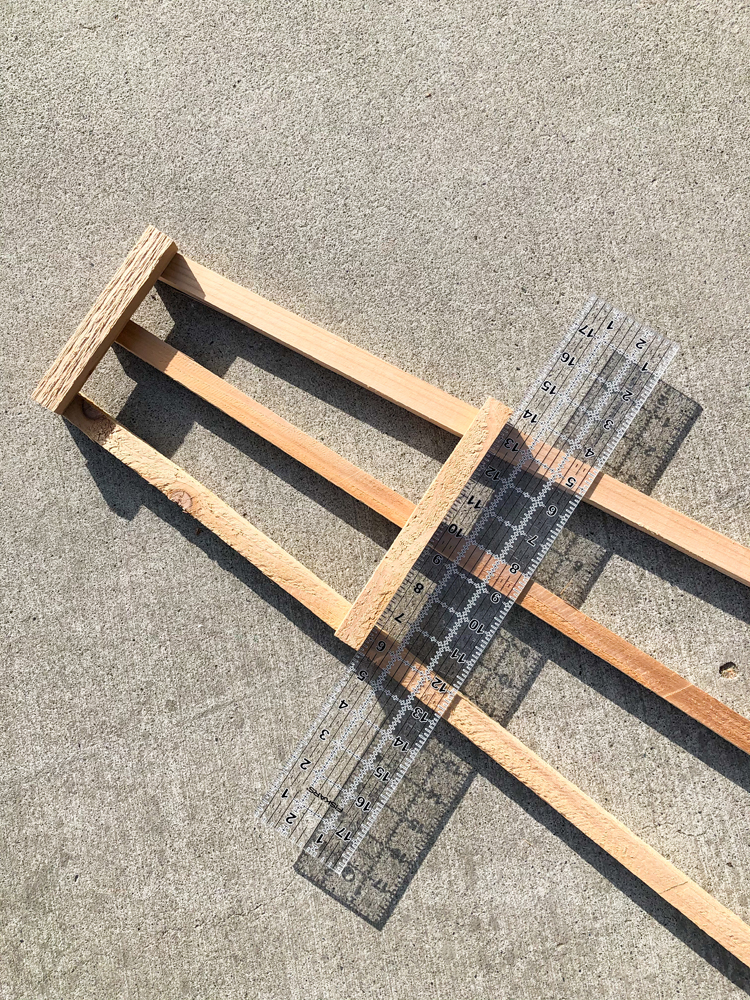
Starting from the top, nail the side horizontal slats that are proportionally 1.75 inches longer than the ladder sides, into those ladder sides. Try your best to keep angle the sides so that the horizontal slats are level and square with each other.
NOTE: It may take some force to hold it in this shape as you nail it.
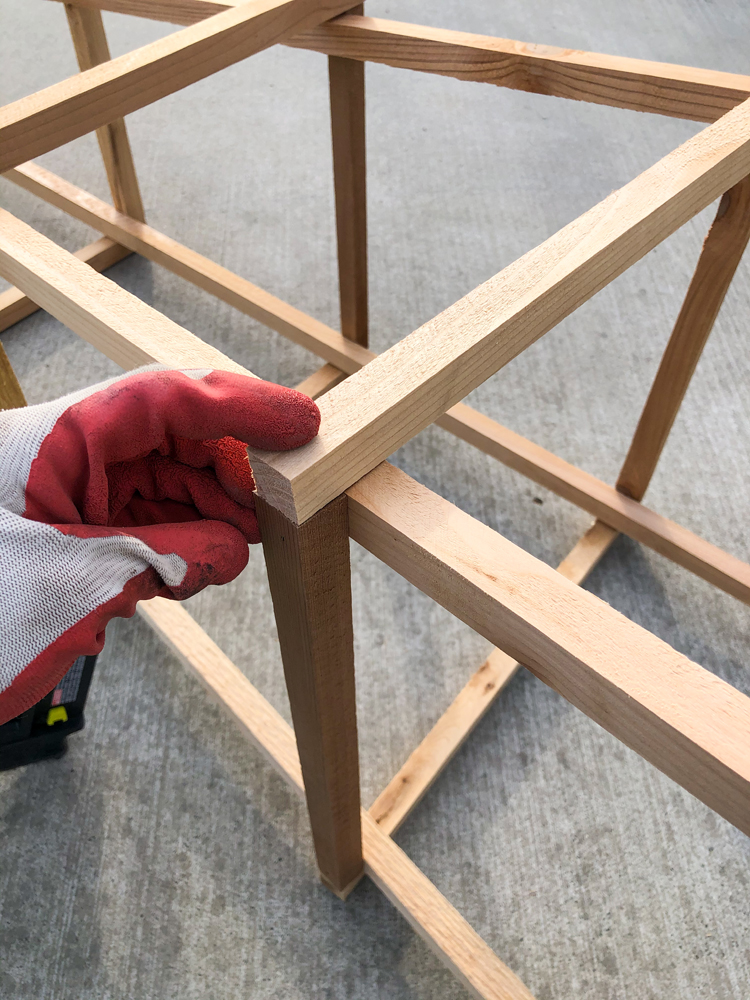
Use the 1.75 inch nails to connect the corners into the ends of the shorter horizontal pieces, and the 1.25 inch nails to connect the slats to the long sides of the ladders.
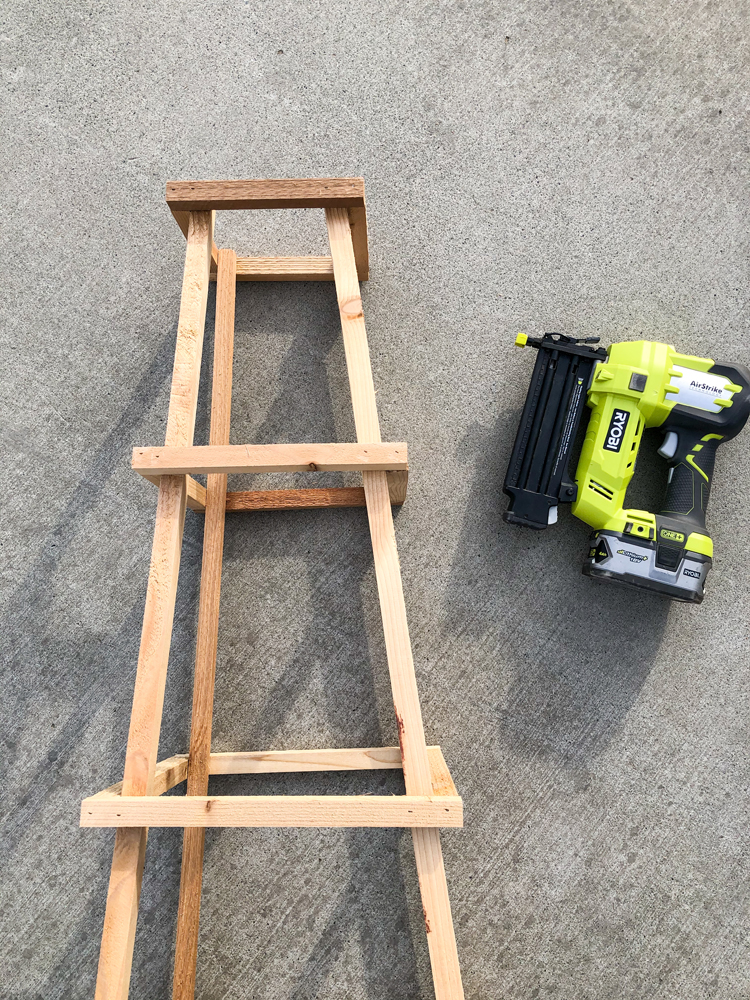
I couldn’t get mine exactly perfect because I was dealing with some warped pieces, so I just aimed for close enough.
Six: Installation.
Pre-dig holes for the legs of your tower trellises and bury them down at least 6 inches. Compact the soil around the legs to ensure stability.
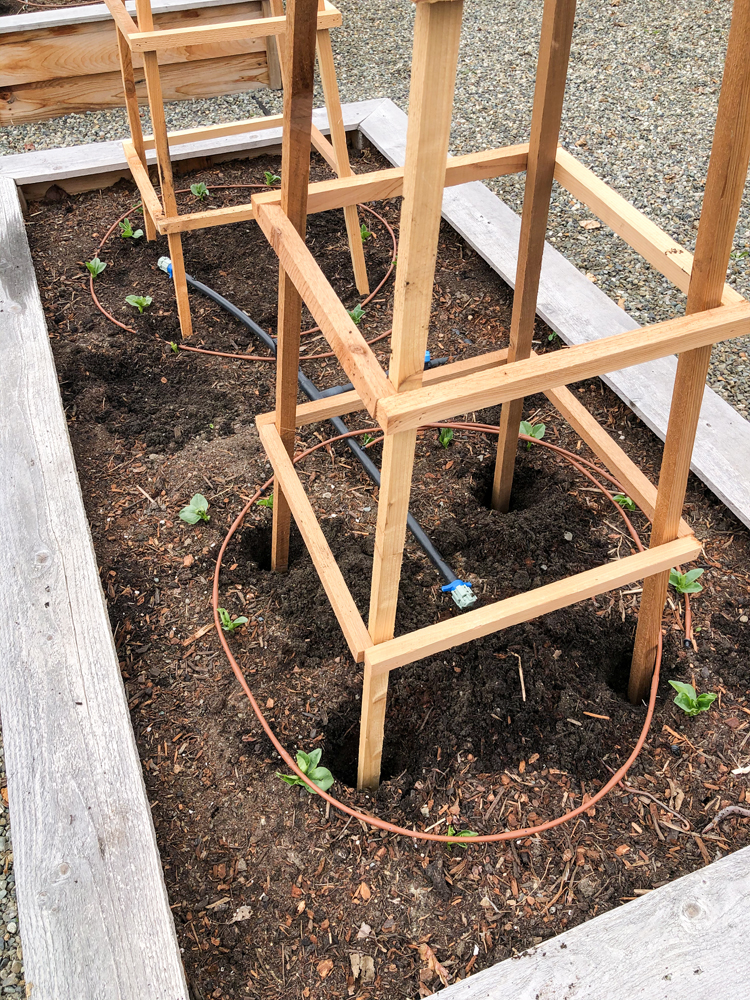
I had already planted my beans and peas so I had to carefully position my towers so as not to disrupt them. So far so good. I’ll update this post with a picture when they start climbing.
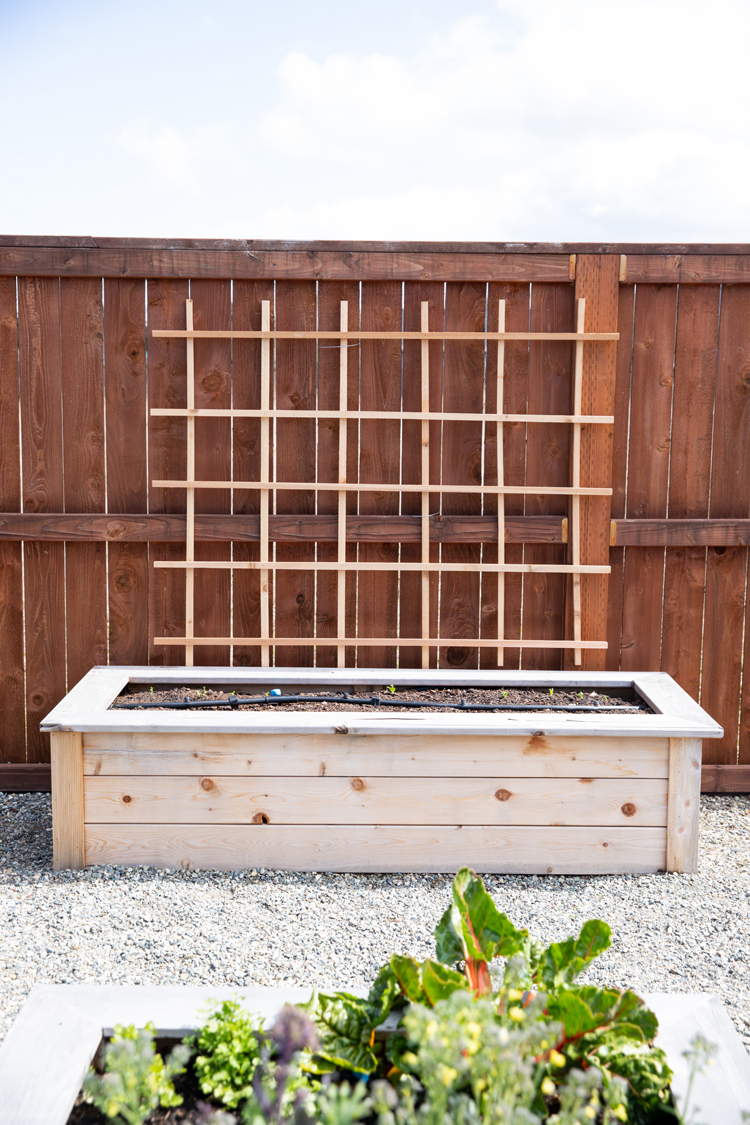
If you want more trellis ideas. I have two lattice trellis tutorials in this post:
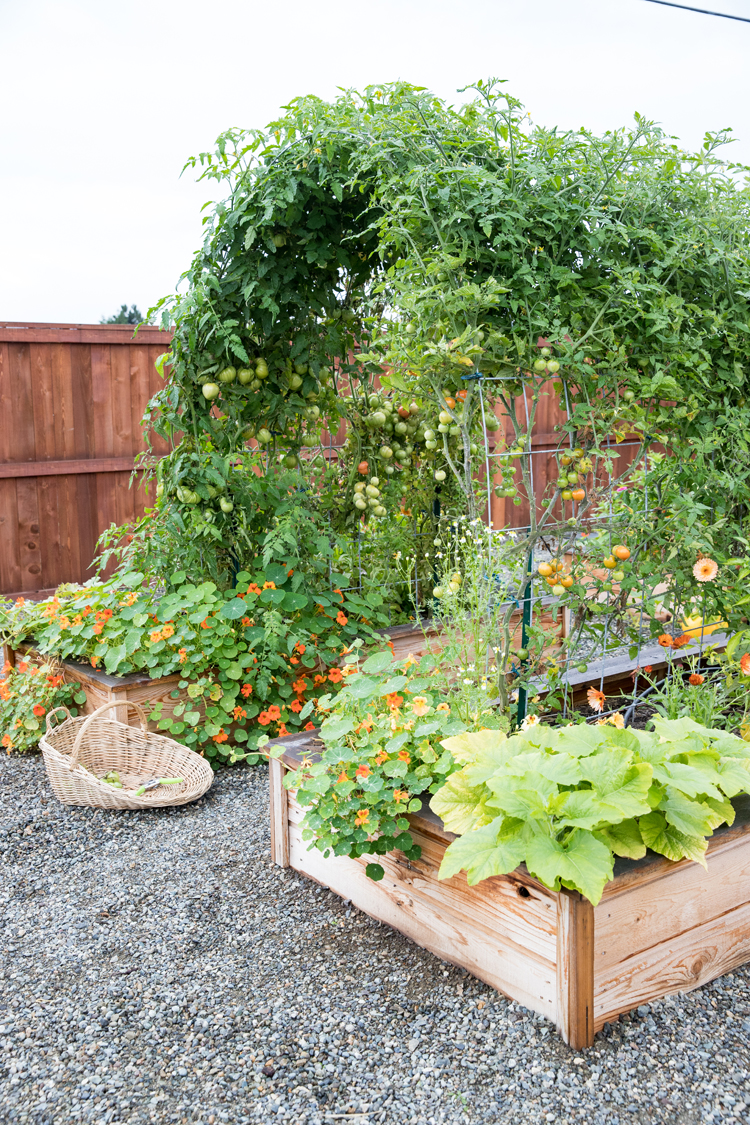
And an arched trellis in this post:


I love you garden ideas. I see that you have an irrigation system set-up in your garden. Can you please tell me how you did this? I desperately need to do this in our garden. Greatly appreciate all your wonderful ideas. Be well. Anna
Thanks Anna! I do. We used the DIG system from Home Depot for most of it. If you follow my gardening account on instagram I will be sharing in stories and will probably save it as a highlight.
It looks very nice for beginners like me. I would try your project in my terrace and balcony garden even in my kitchen garden surrounding my home in my native place. Thanks a lot.
Will be trying this today! Thanks for the clear info-
Fantastic. Thanks for posting.
If I use the 5/8 inch thick cedar fencing from Home Depot, will the lengths of my cross pieces need to be adjusted?
Most likely. The thickness of the boards factor into how wide the tower will be. Good catch!
Croyez-vous que cette tour est une bonne idée pour faire grimper les concombres ou courgettes?
I think it would work well for cucumbers. I only have experience growing courgettes with a bush like habit, so I wouldn’t use it for those, but if you have a variety with a vine or that climbs, then sure.