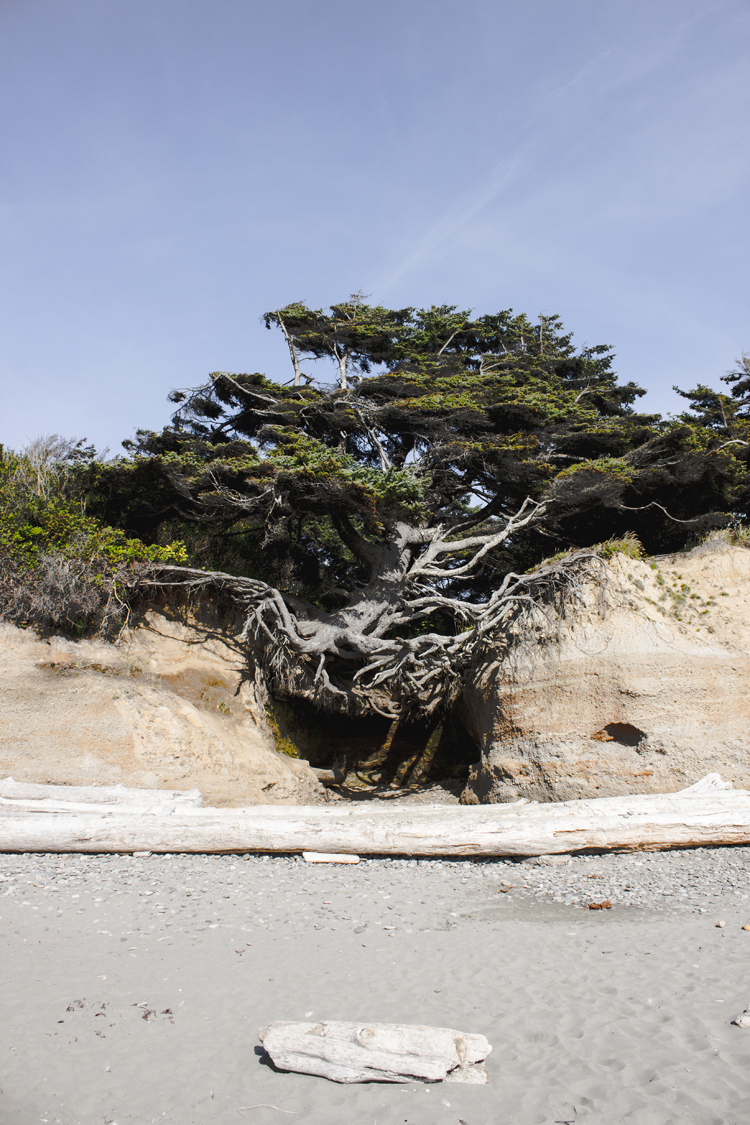
It’s nicknamed the “Tree of Life.”
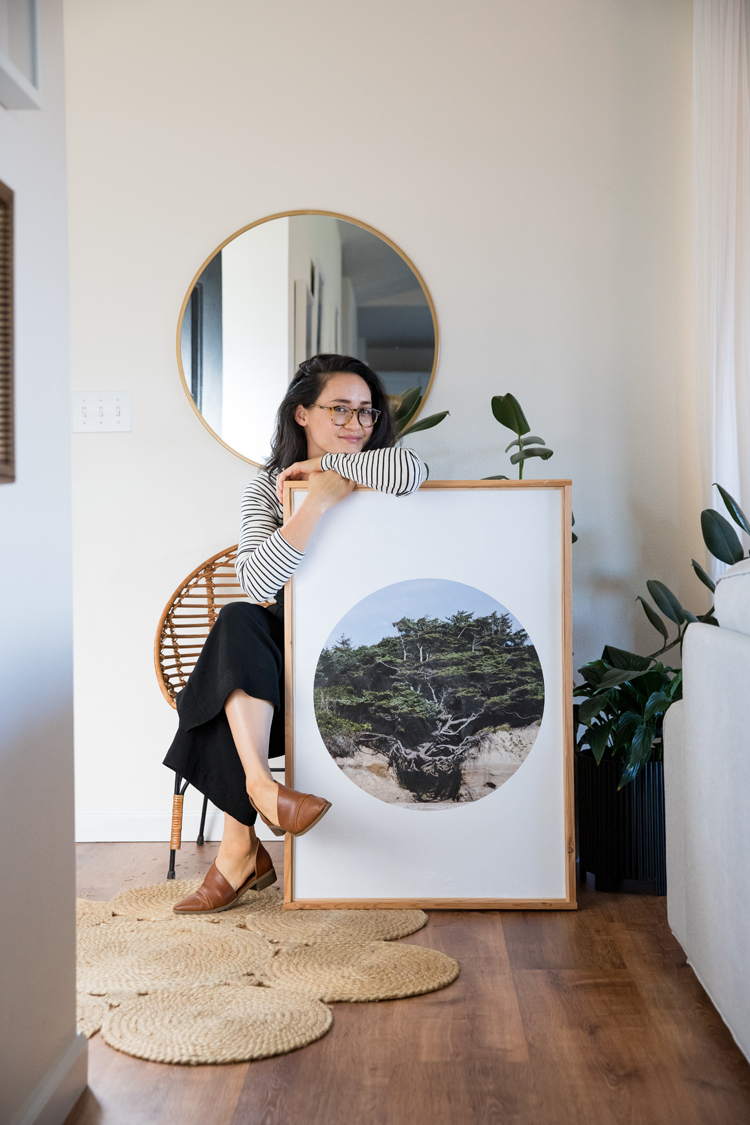
At first I thought it was because it’s rumored to be magical, but after a year like this one, it feels more like a commentary of what life feels like sometimes. (ha!) The tide comes in and continually washes away your roots and the stability you’ve been used to, and yet you hang on.
Hence, why I’ve called this print the “Tree of 2020.”
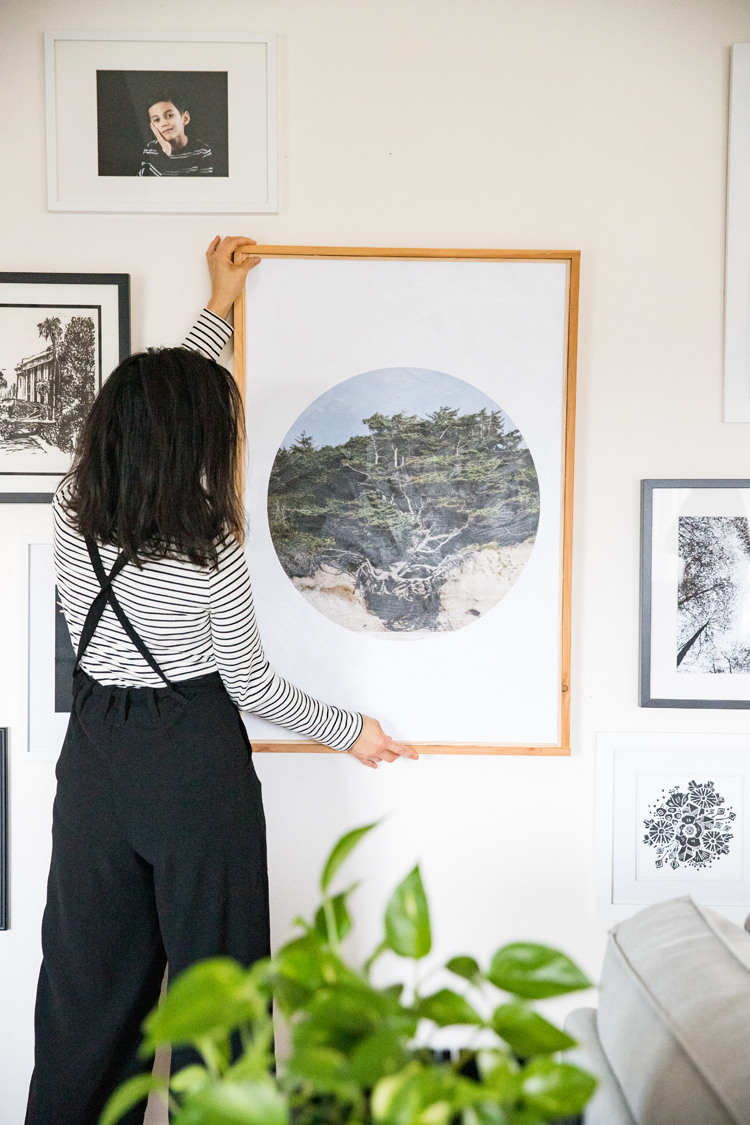
As a gift for making it through this year, I am offering it for free! Simply scroll down click, save, and print. I have tips on printing it and instructions for how I added mine to a stretched canvas below.
I actually didn’t take this picture this year…I took it three years ago on our last trip to the Washington state coast. This tree is at Kalaloch Beach…which is a good place to go camping and whale watching. It’s not marked off or officially recognized as a landmark. You just walk down the beach and bam, a gigantic Sitka Spruce with a cave of roots underneath. And when you walk under the exposed roots…it’s a tragic kind of beauty. The whole thing is poetry.
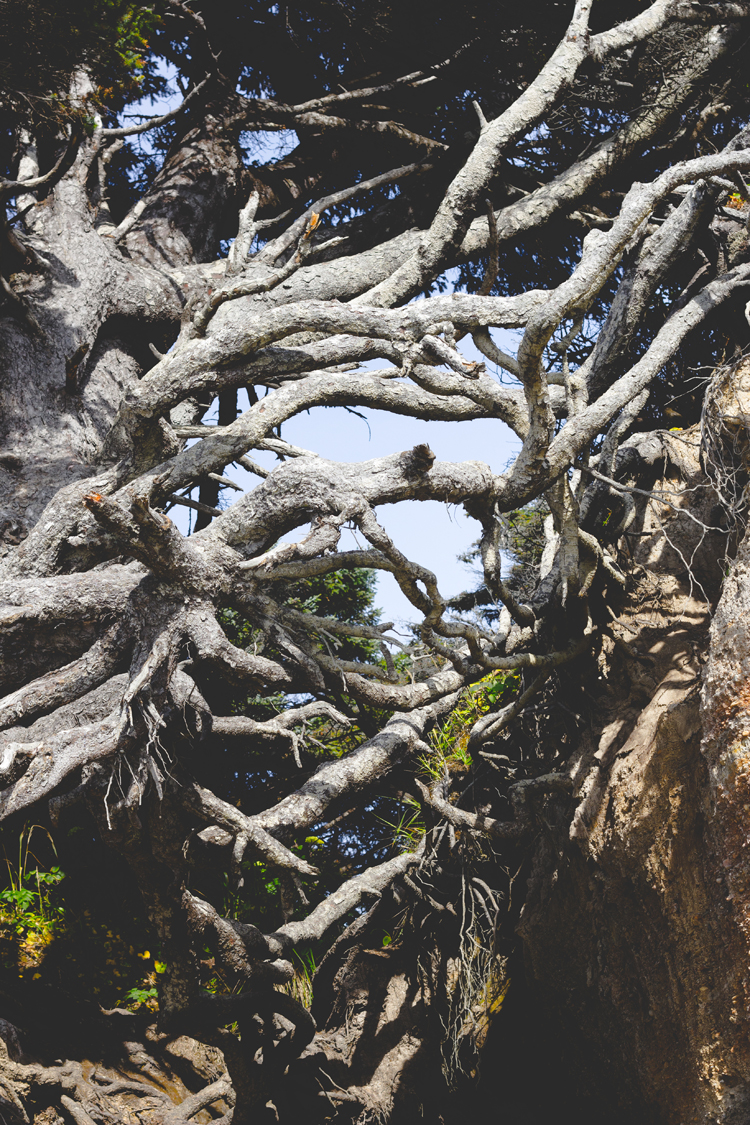
I tried to find out exactly how long the tree has been hanging on like this but I can only find anecdotes and rumor. The best documented rumor I could find claims this tree has been hanging on like this since the mid-80’s…so over 30 years!
PRINTABLES
These are for personal use only. Sharing the prints as your own is prohibited.
They come in 2 sizes and styles: cropped circle with a vintage edit and just a color image, both in 8×10 inches and 24×36 inches.
Copyright, Delia Creates, LLC 2020.
PRINTING TIPS
You can print them with regular photo printing services but I prefer to print them through a print shop. You can ask the print shop to print the picture on nicer paper with a white border, which I sometimes thinks looks better, even if you are matting it as well. Simply trim it to the size you need.
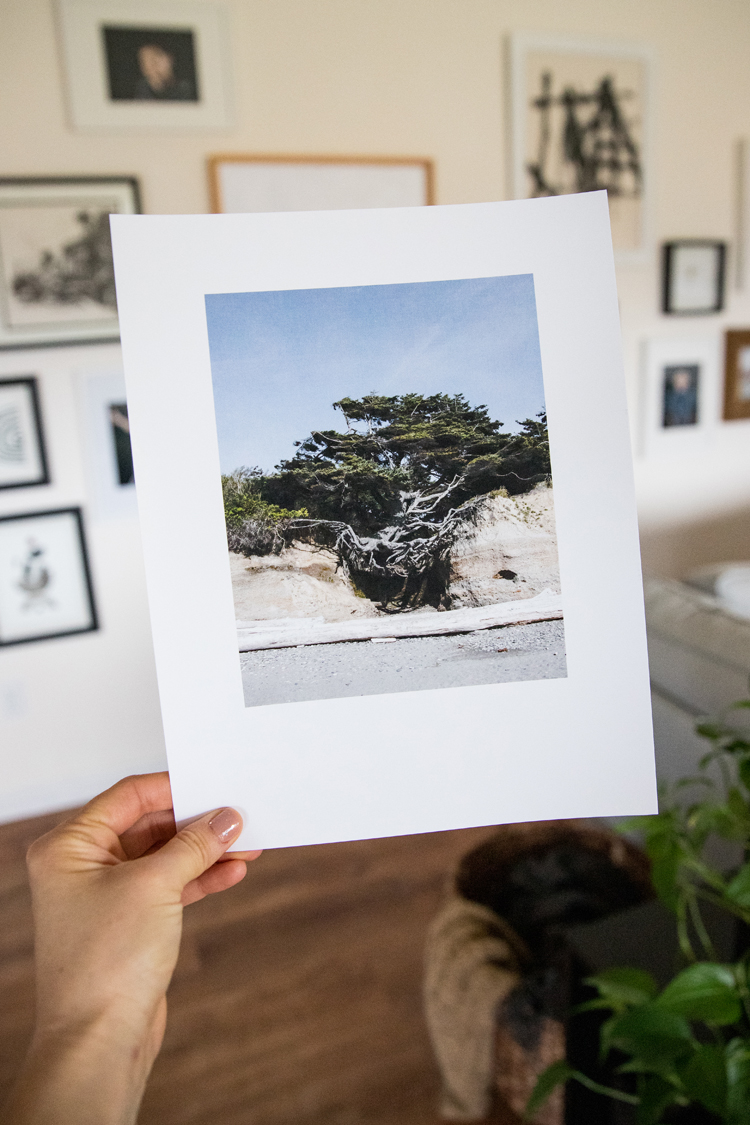
If you are printing it to apply it to a canvas (see below), I recommend printing it on regular 20 pound paper (or close to this), especially if you want it to crinkle a little bit on the canvas. This also makes printing it more affordable.
You can even print it as a black and white engineer print for around $5. Just expect there to be some depth and detail loss if you go that route…maybe add some contrast and sharpening before you do that.
PRINTING CARDS
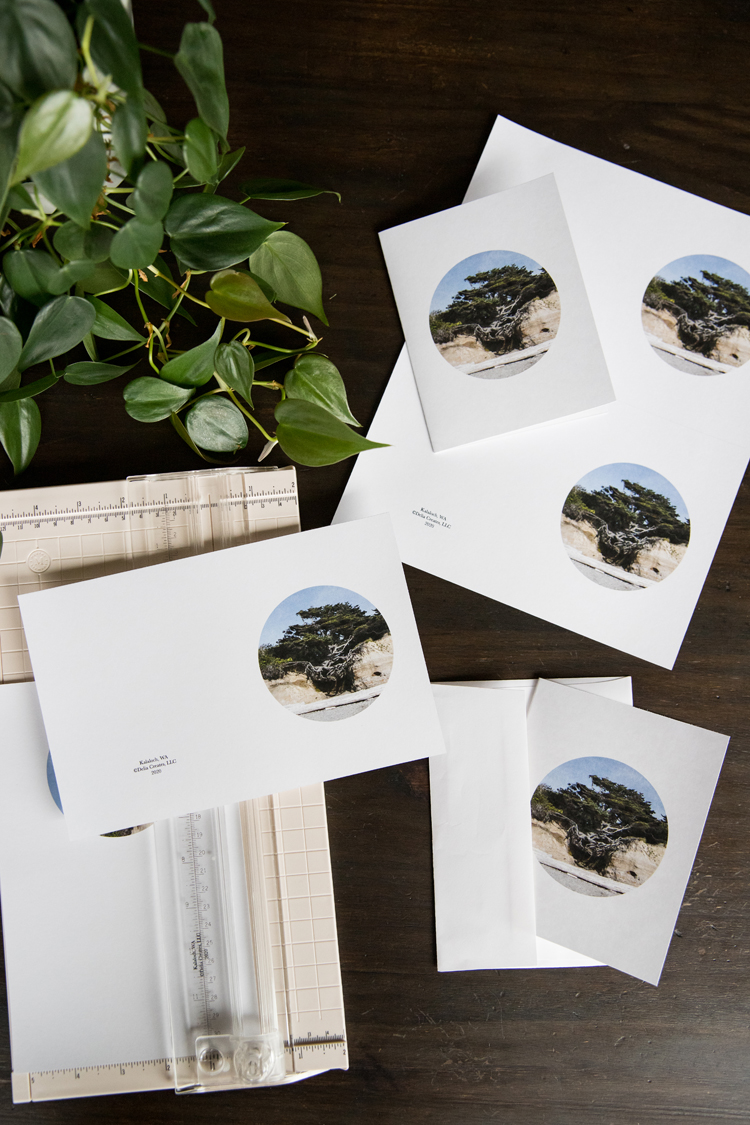
I included a card file as well, if you want to send some Tree of 2020 love to someone who needs it.
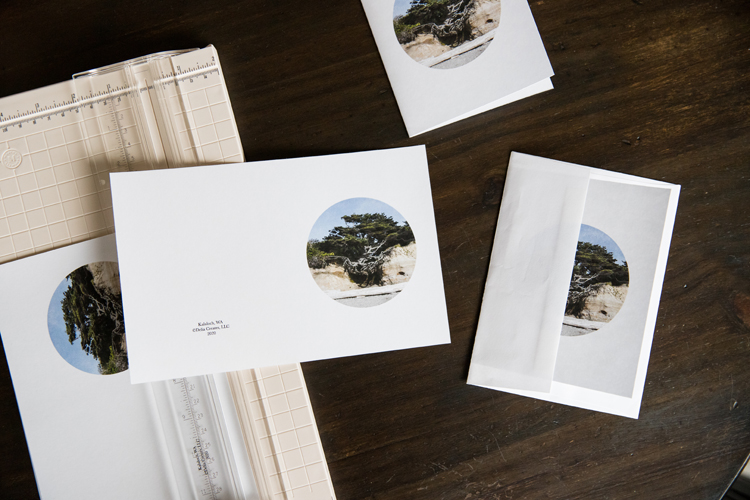
Simply print it at “actual size” on 8.5 x 11 inch card stock and it will be exact size you need to fit the small greeting card envelopes they sell in bulk at Walmart.
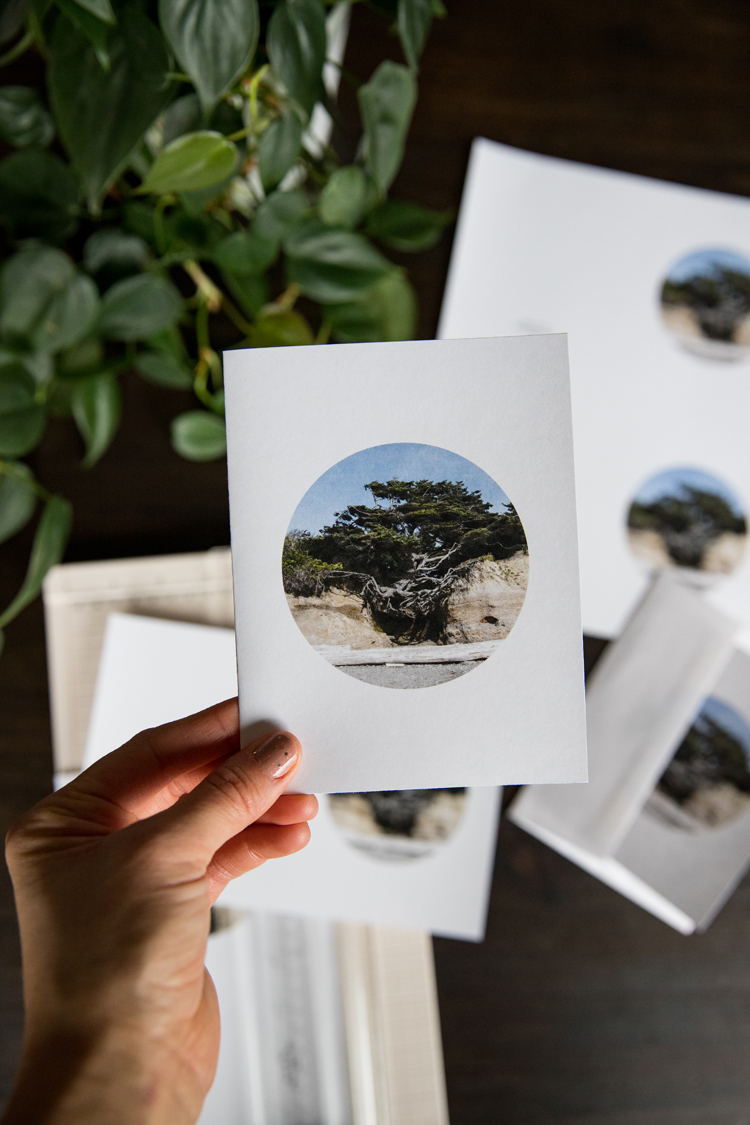
Cut along the gray line and fold in half. The finished cards will be 4.25 inches by 5.5 inches.
PRINT CANVAS TUTORIAL
MATERIALS
- Spray adhesive
- Canvas
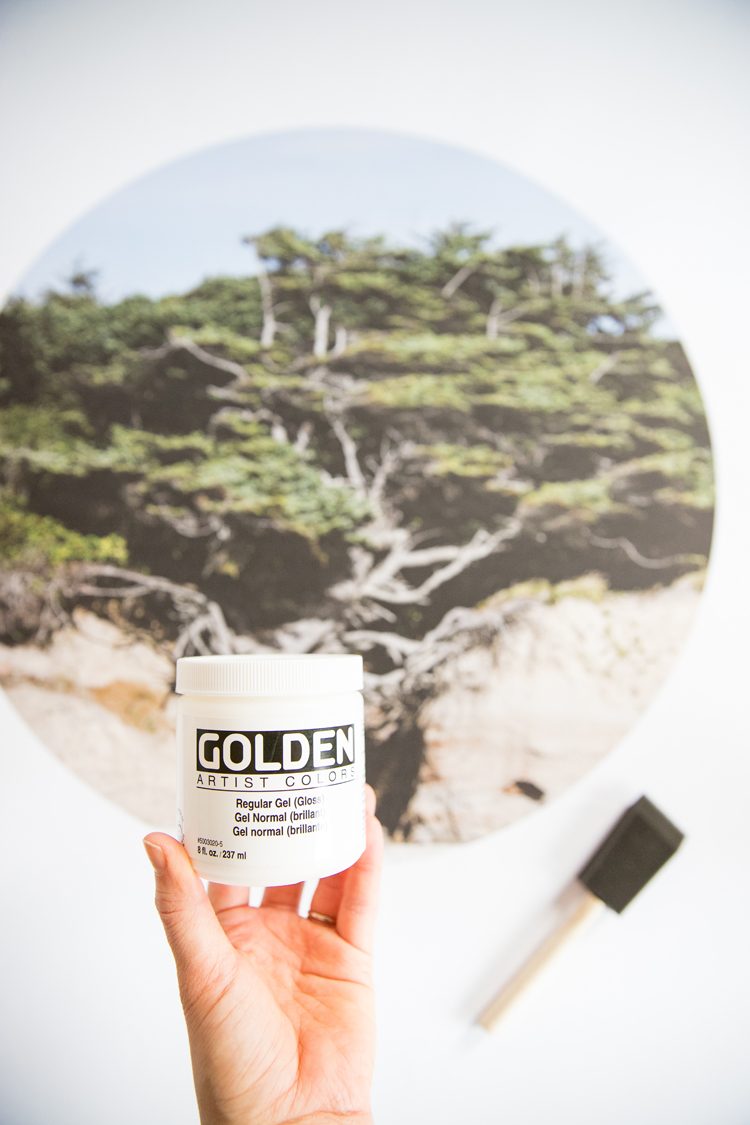
- Gel Medium
- Paint Brush
Materials Notes:
I get my canvases from Michael’s. Good coupons are hard to come by right now, but they seem to be having decent sales on fine art supplies.
I also get my gel medium from there. Any kind should work, but I prefer the regular Golden brand in glossy or matte. The glossy isn’t really terribly shiny because the way we brush it on for this project breaks up the sheen. Even in non-pandemic times I feel like I am at the mercy of what’s in stock. So, if you can only find a certain kind, it will most likely work just fine. Heck…even mod podge would work too. They are very similar to each other for the purposes of this project.
TUTORIAL
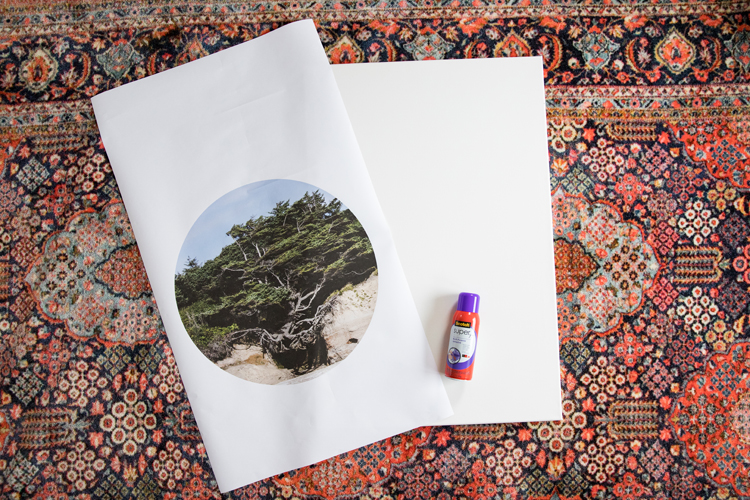
- Spray the canvas with adhesive and smooth the print into place. The print will most likely be printed on paper that is larger than your canvas. This is good! It looks better to wrap the paper to the sides of the canvas if you can…sort of like a present. Trim away any excess beyond that. If you don’t have enough to wrap it to the sides, be sure it’s securely adhered to the canvas at the edges and then sand down the edges of the paper so it blends into the canvas.
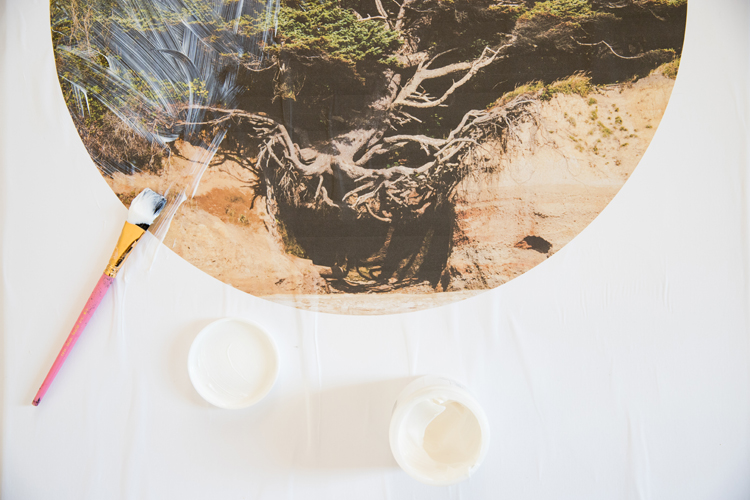
- Paint on the gel medium very thickly. Add obvious brush strokes to create good texture. The paper will wrinkle, but should smooth out as it dries. DON’T try to smooth the wrinkles out while it’s wet or it will tear.
- If it’s still very wrinkly in certain spots, you can add more gel medium and it often helps it flatten out some more. But also…be mindful that that the wrinkles are supposed to be a part of the final look and texture. The gel medium adds a protective layer and character to the piece. If you want it completely smooth, it’s better to just frame it.
TIP: If you want to add even more wrinkles and bumps, then skip the spray adhesive and apply gel medium to the canvas first, then the print, then more gel medium on top (no need to wait to let anything dry until after the last step).
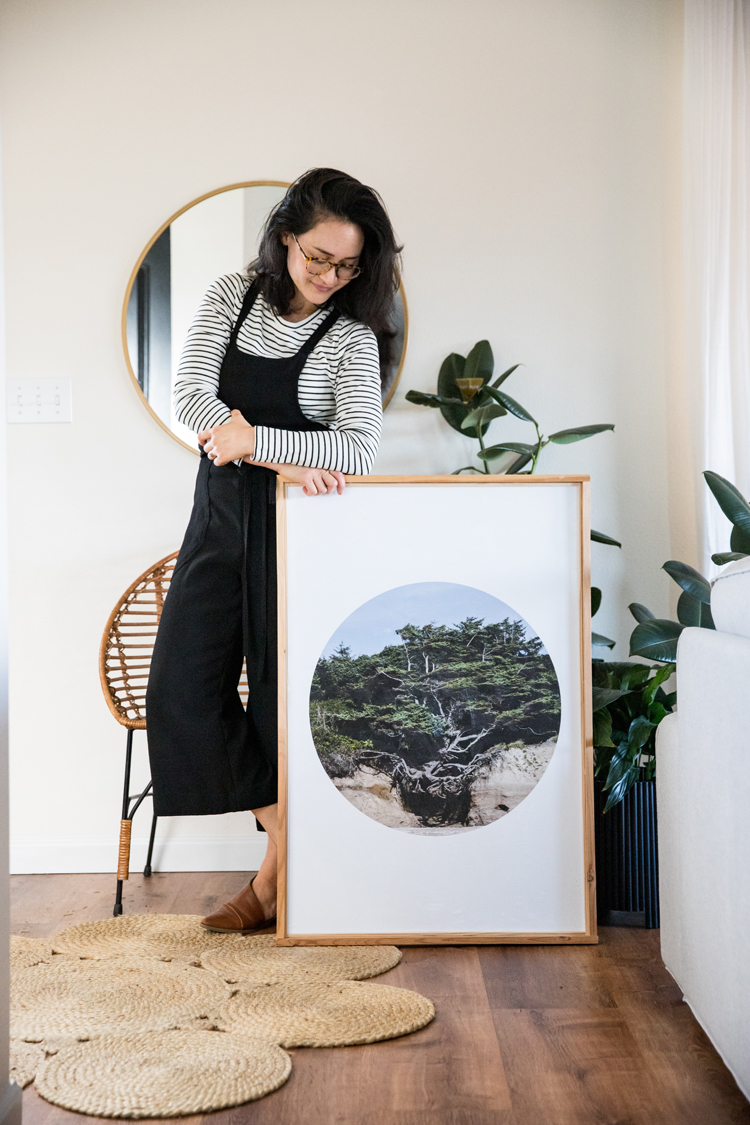
I added some pieces of pine board and square dowels to create a faux frame. The great thing about a pre-stretched canvas, is that its core structure is wood. I just nailed the pine pieces right into the sides and I glued the wooden dowels into the inside. It’s not my best work haha…I made this before I got a miter saw and had more wood working projects under by belt, but it helps the piece look more complete.


Leave a Reply