For those days when you’re on fourth or fifth day hair…
Braids, buns, beanies, and dry shampoo are where it’s at!
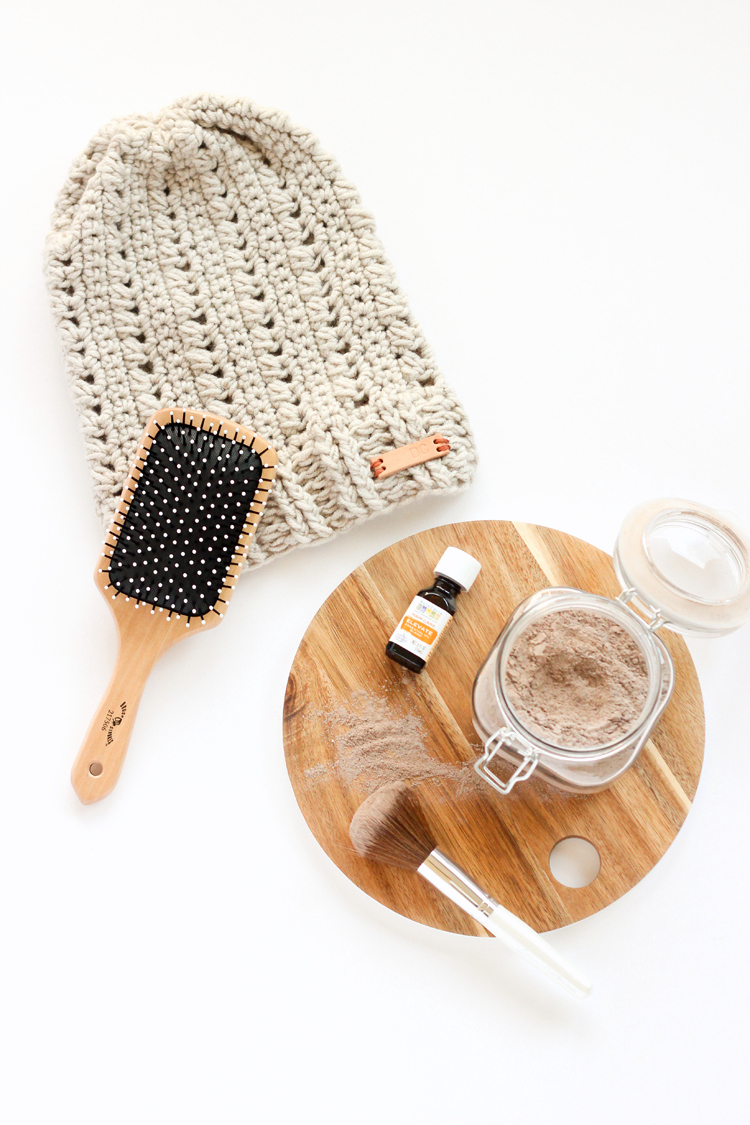
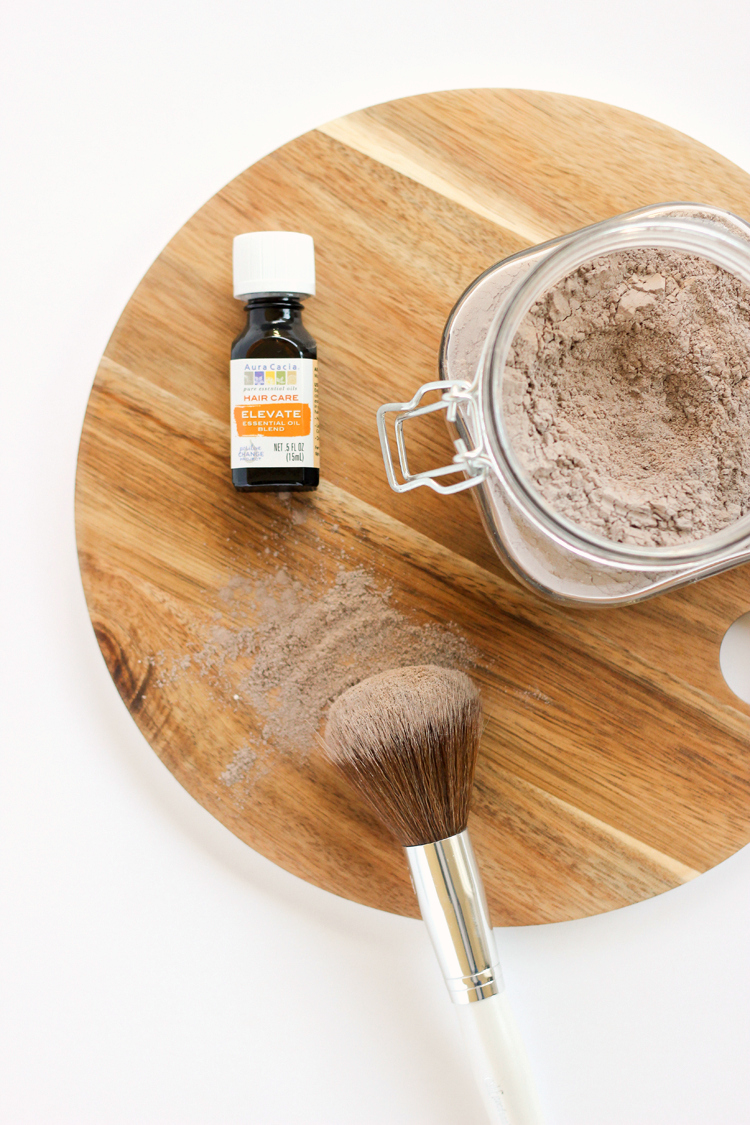
 The first two are pretty self explanatory, but I’ve got a free pattern (scroll down) and recipe for the last two. I had been using drug store dry shampoo, but I have dark hair and I always ended up looking like I got in a flour fight. Aura Cacia asked me if I wanted to try their dry shampoo recipe using their new elevate oil blend from their hair care line, which so happened to be great for dark hair too. I was a go!
It smells…amazing…fresh, a little chocolately (it uses some cocoa powder) and not chemical-like at all; which is a nice change from the aerosol, alcohol based dry shampoo I’ve been used to. Plus, it’s all natural and feels good going on. It does still look a bit powdery when I put it on, but because it’s darker, it blends in easier until it’s absorbed. I also like how it adds texture to clean hair without making it feel heavy.
You can get all the ingredients on Aura Cacia’s site, or you can sub a few of the ingredients from your own kitchen. It’s really simple to make!
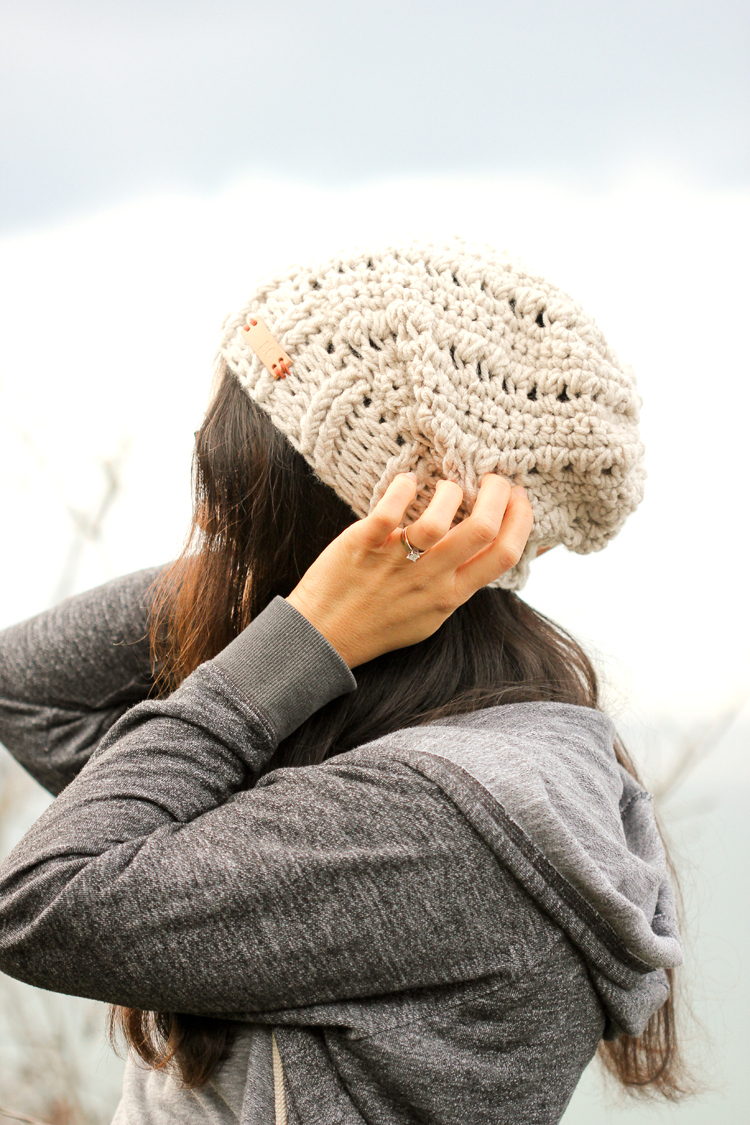
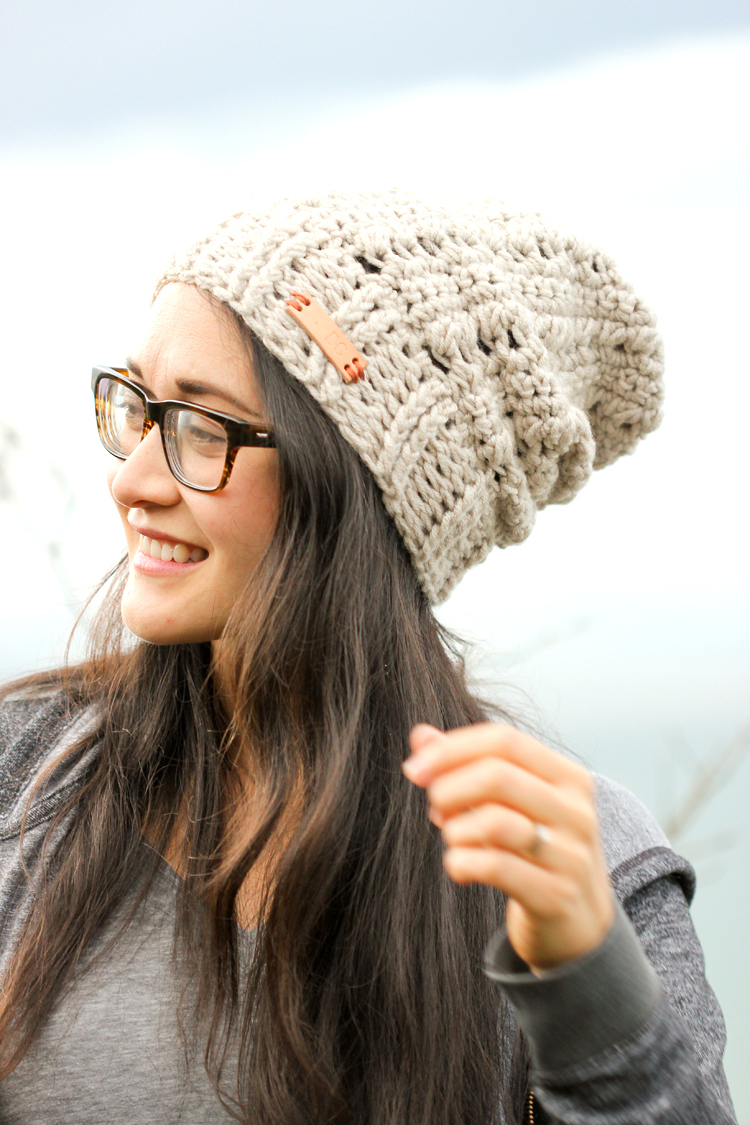
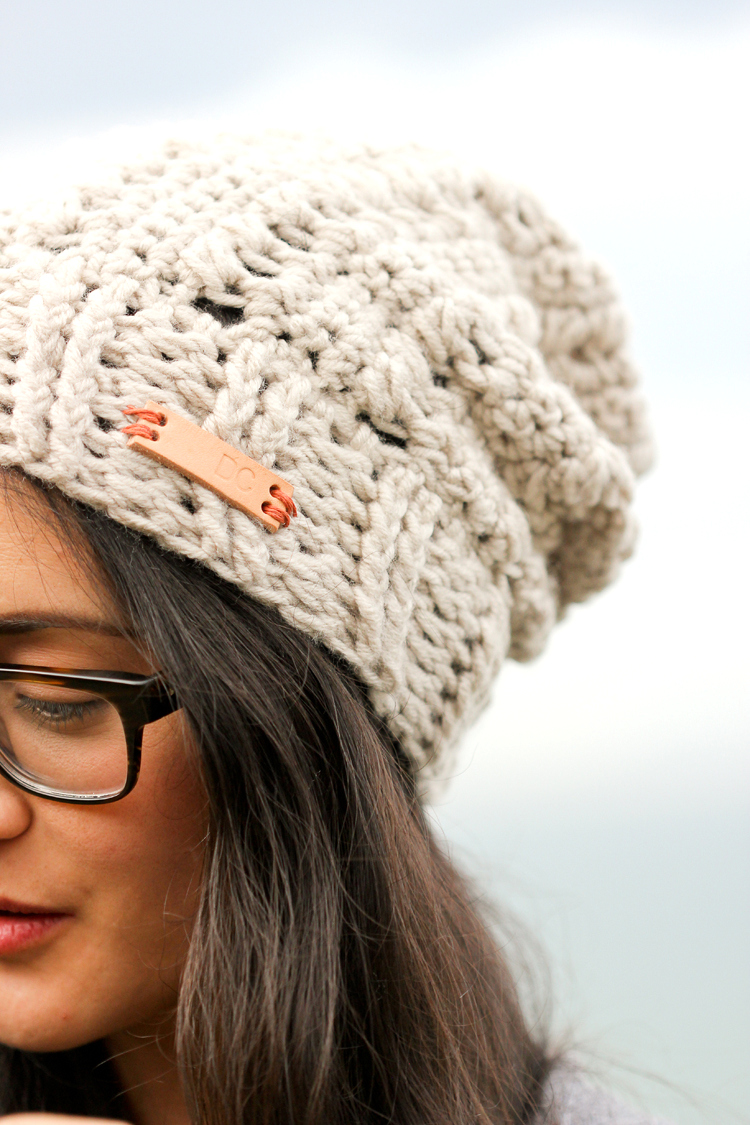
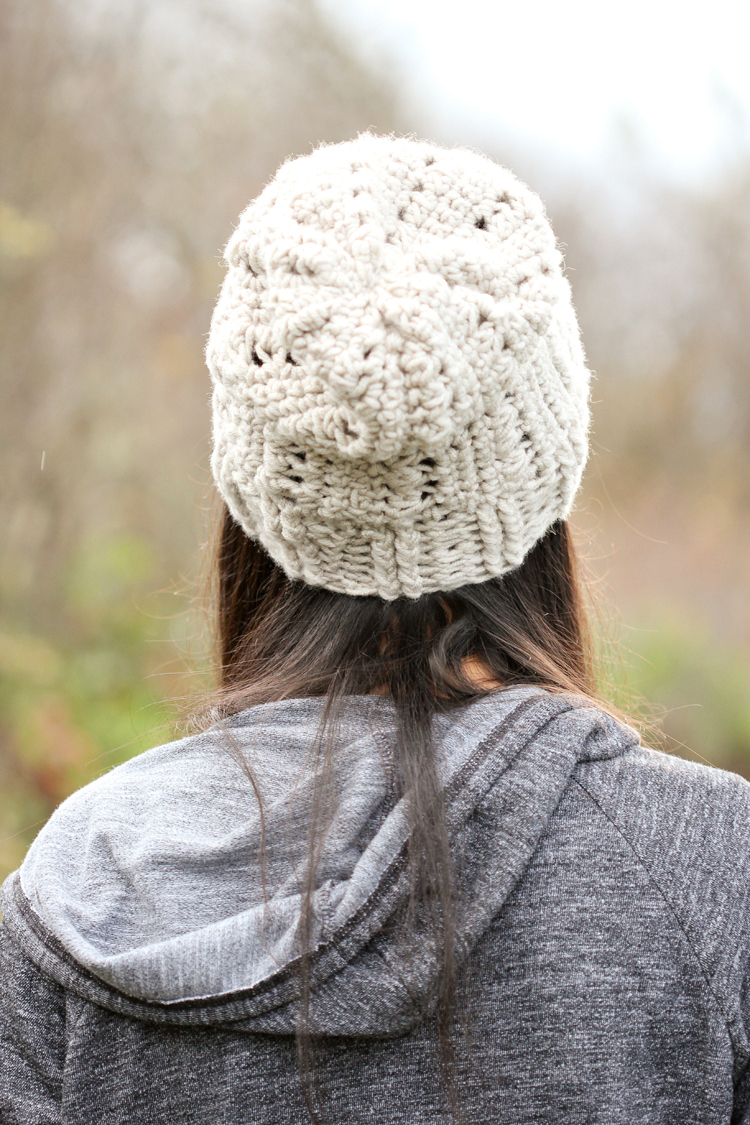
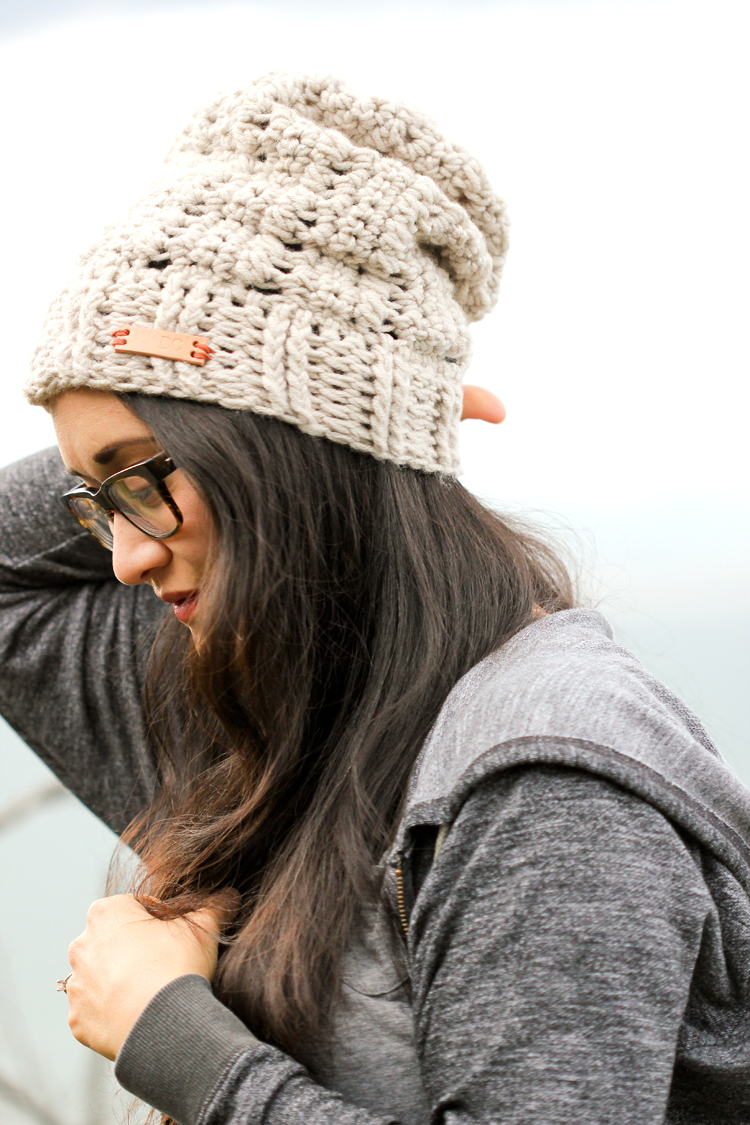
And when all else fails, there’s always the beanie. 🙂
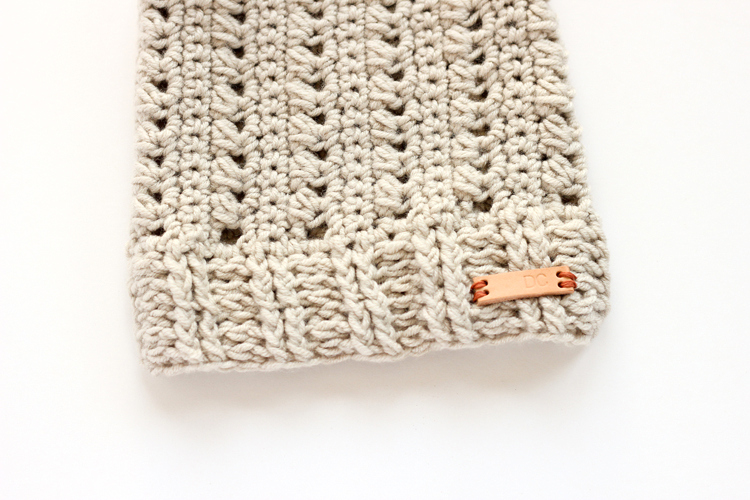
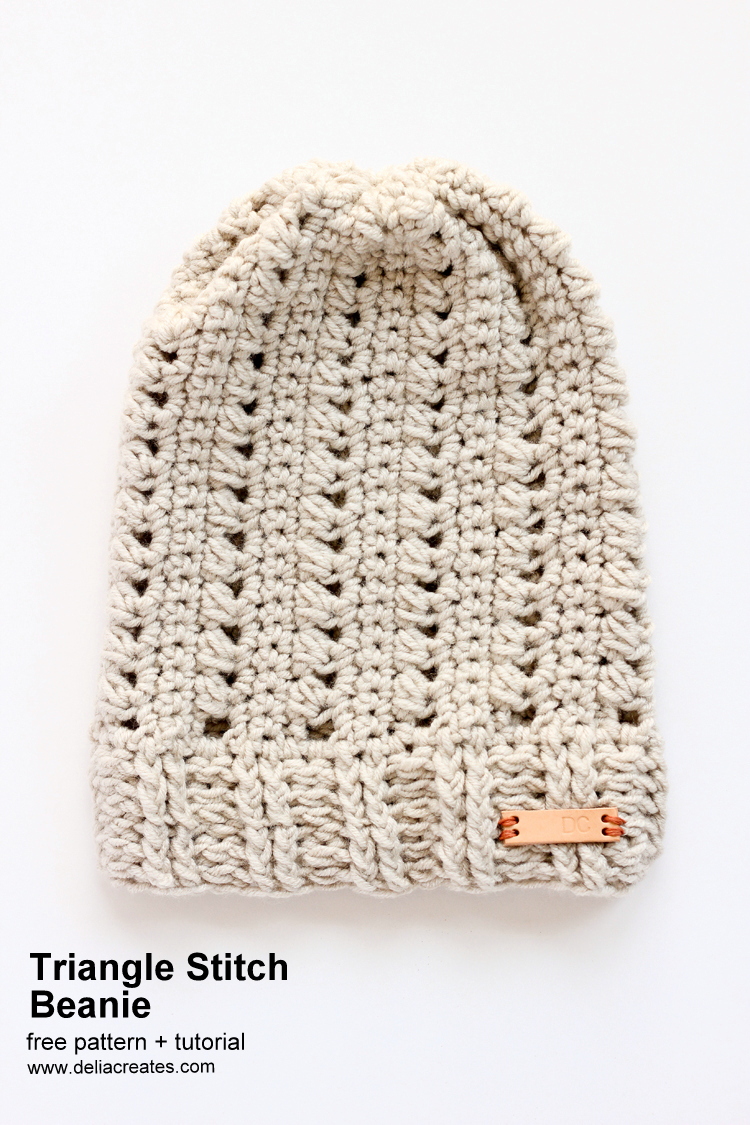
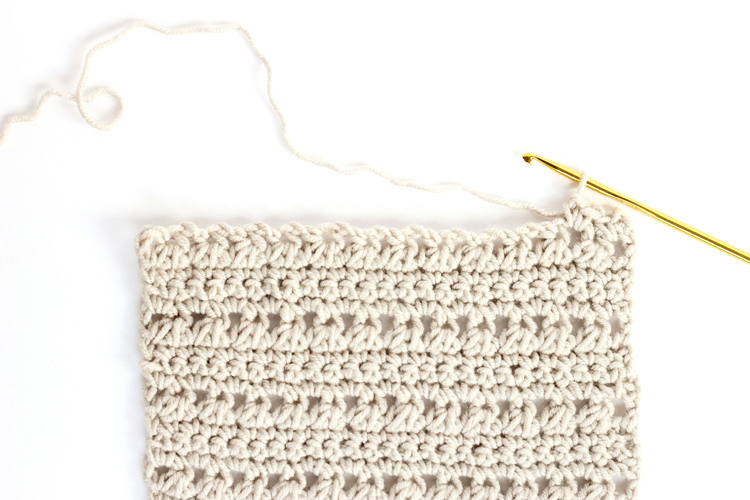
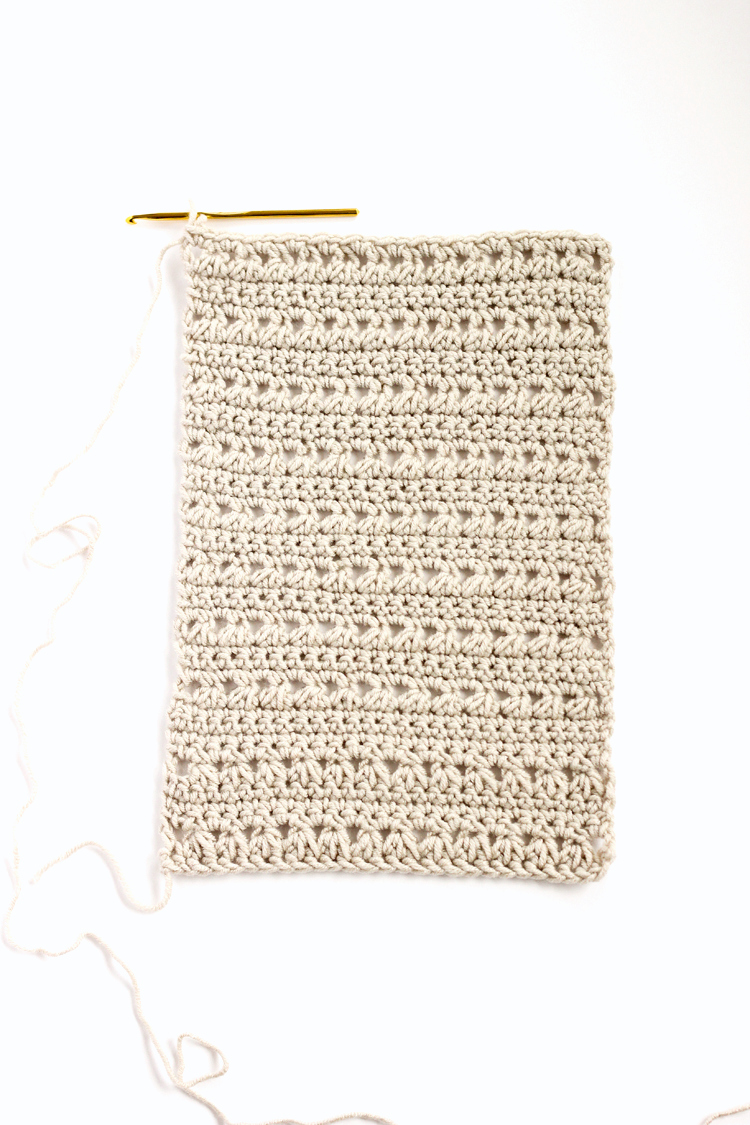
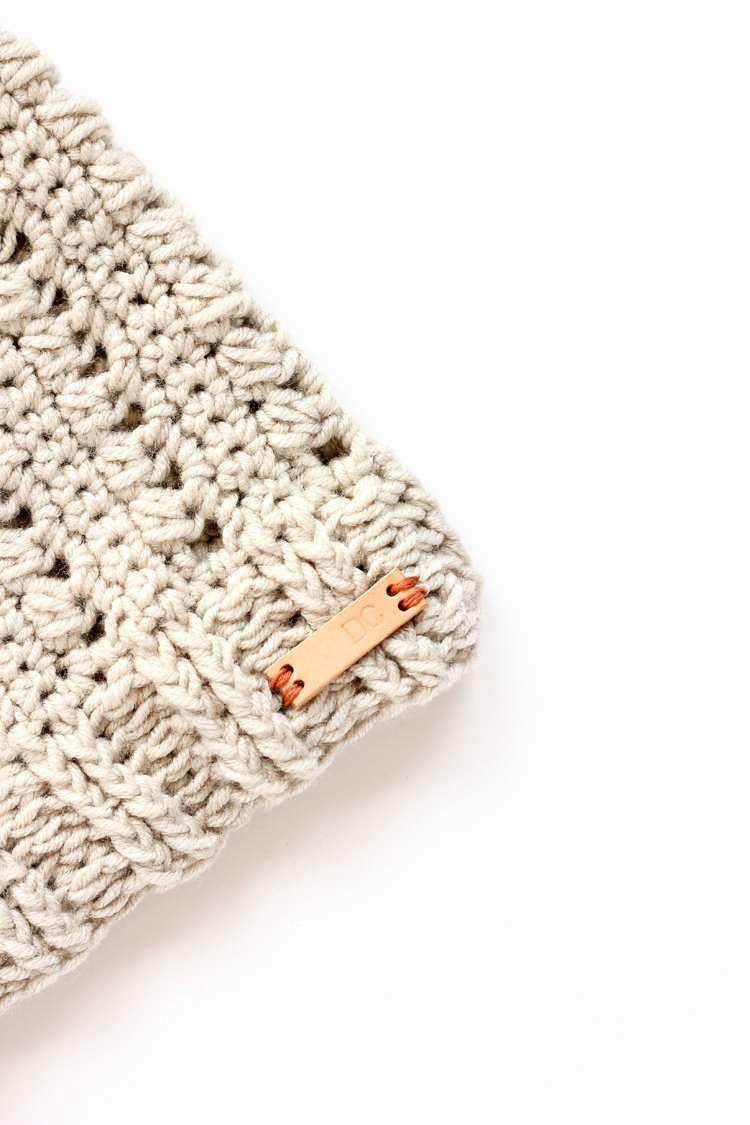
This beanie pattern is made from triangle stitches and a ribbed band. It’s an ideal pattern for an intermediate crocheter or an adventurous and patient beginner.
MATERIALS:
- 150 yards of worsted weight yarn (4)*
- 5.5 mm hook
- yarn needle
- scissors
- *I used Big Twist yarn in Premium Pigeon.
ABBREVIATIONS:
- ch = chain
- sl st = slip stitch
- sc = single crochet
- hdc = half double crochet
- yo = yarn over
- fphdc = front post half double crochet
- bphdc = back post half double crochet
GAUGE:
4 x 4 inch square = 6 triangle stitches x (1 row triangle stitches + 3 rows sc + 1 row triangle stitches + 3 rows sc)
NOTES:
I have shared projects using the triangle stitch and front and back post double crochet stitches if you need more instruction. You may also find it helpful to do a video search.
This makes an adult medium beanie. To enlarge it, add an extra 2-4 rows of sc at the end of the slouch hat portion (or space them out in between rows of triangle stitches).
PATTERN:
Slouch hat
Ch 29.
Row 1: Sc in 3rd ch from hook. Sc across (27)
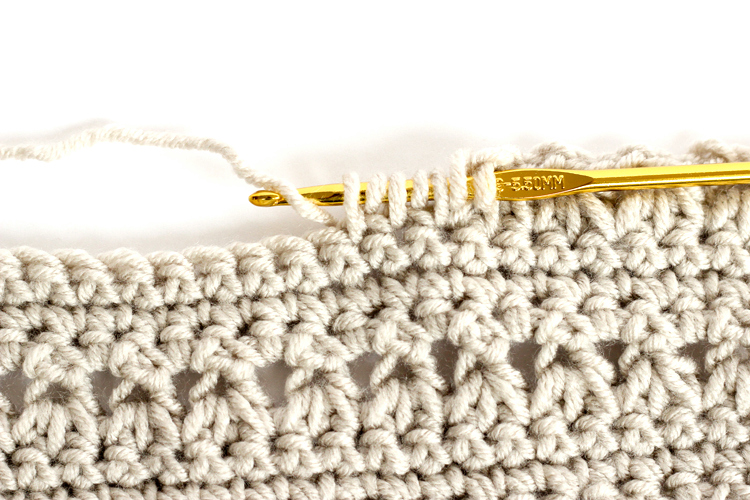
Row 2: Ch 3 and turn. Yo, insert in 2nd stitch from hook, pull through stitch, yo, insert into next stitch, yo pull through, yo insert into next stitch, yo, pull through, yo and pull through all seven loops on hook. Ch 1.
Yo, insert in same stitch you just worked, pull through stitch, yo, insert into next stitch, yo pull through, yo insert into next stitch, yo, pull through, yo and pull through all seven loops on hook. Ch 1. (This is one triangle stitch)
Complete 10 more triangle stitches for a total of 12 triangle stitches. 1 hdc.
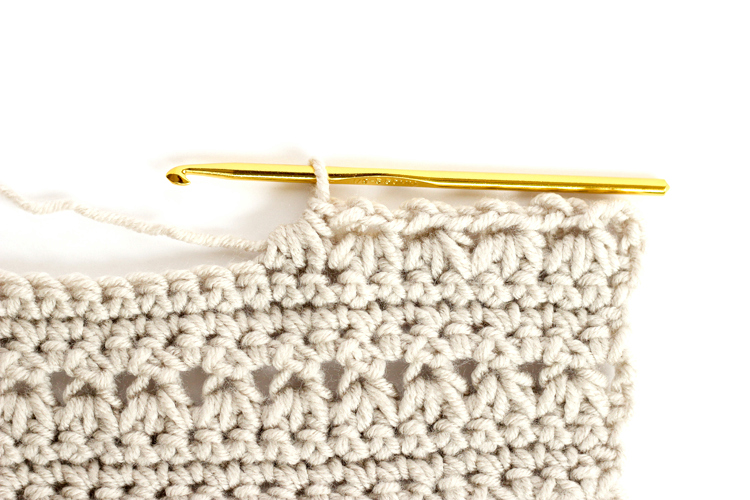
Row 3: Ch 2 and turn. 2 sc in each space (chained gap) across row. (27)
Row 4: Chain 2 and turn. Sc in each stitch across. (27)
Row 5: Repeat Row 4.
Row 6: Repeat Row 2.
Row 7: Repeat Row 3.
Row 8+9: Repeat Row 4.
Rows 10-41: Repeat in order: Row 2, Row 3, Row 4, Row 4.
Row 42: Repeat Row 2.
Row 43: Repeat Row 3.
Row 44: Repeat Row 4.
(not all rows pictured and if you have snake eyes, you’ll notice a few rogue sc rows…but I fixed everything for the pattern…not to worry! ;))
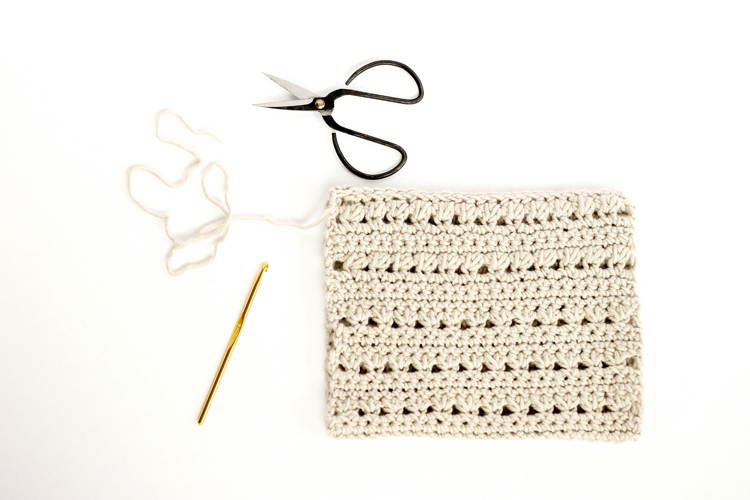
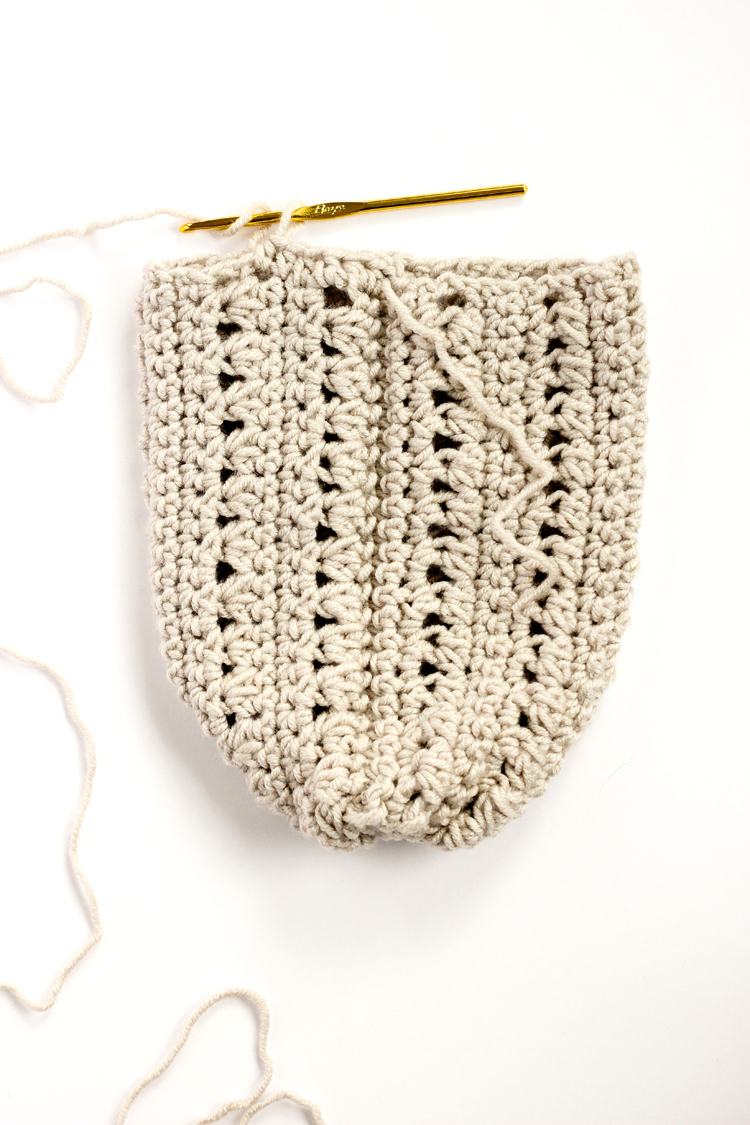
Fold work in half, width wise.
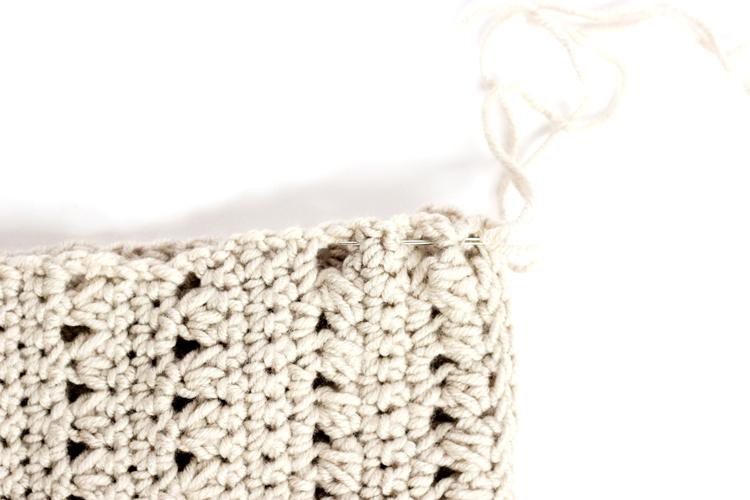
Seam together into a tube, by slip stitching edges together.
Tie off end, leaving a long 15 inch tail.
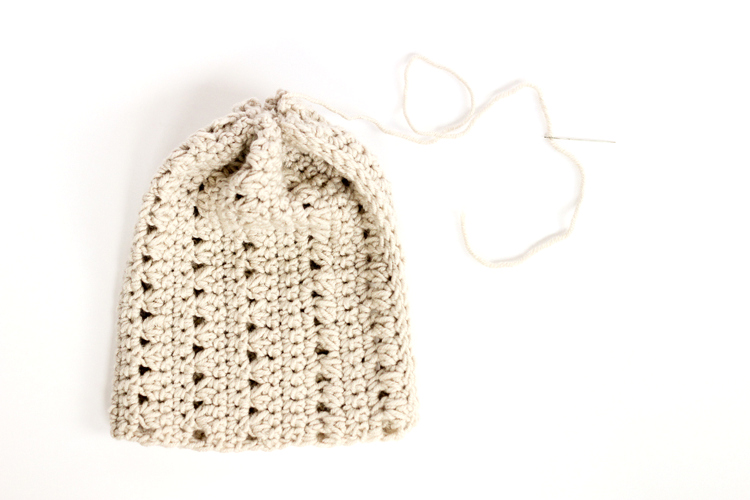
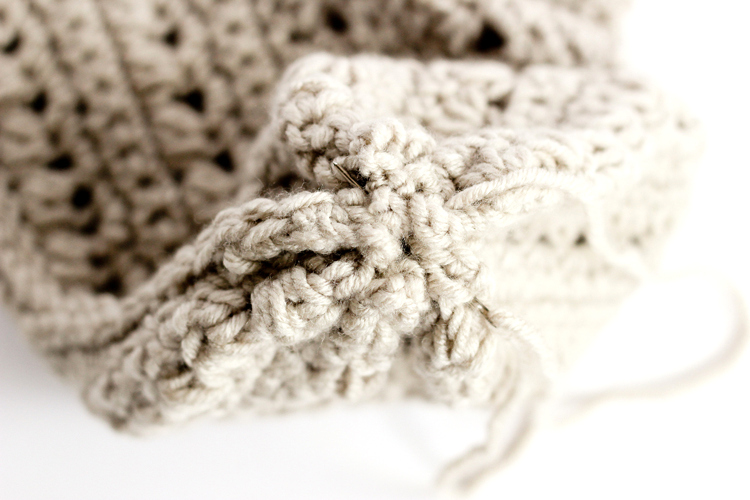
Using the yarn needle, weave the tail around the edge of the end of the tube and pull tight to cinch it closed into a hat shape. Sew through the gathers at the end to tighten and secure it even more. Weave the rest of the tail into the hat.
Ribbed band
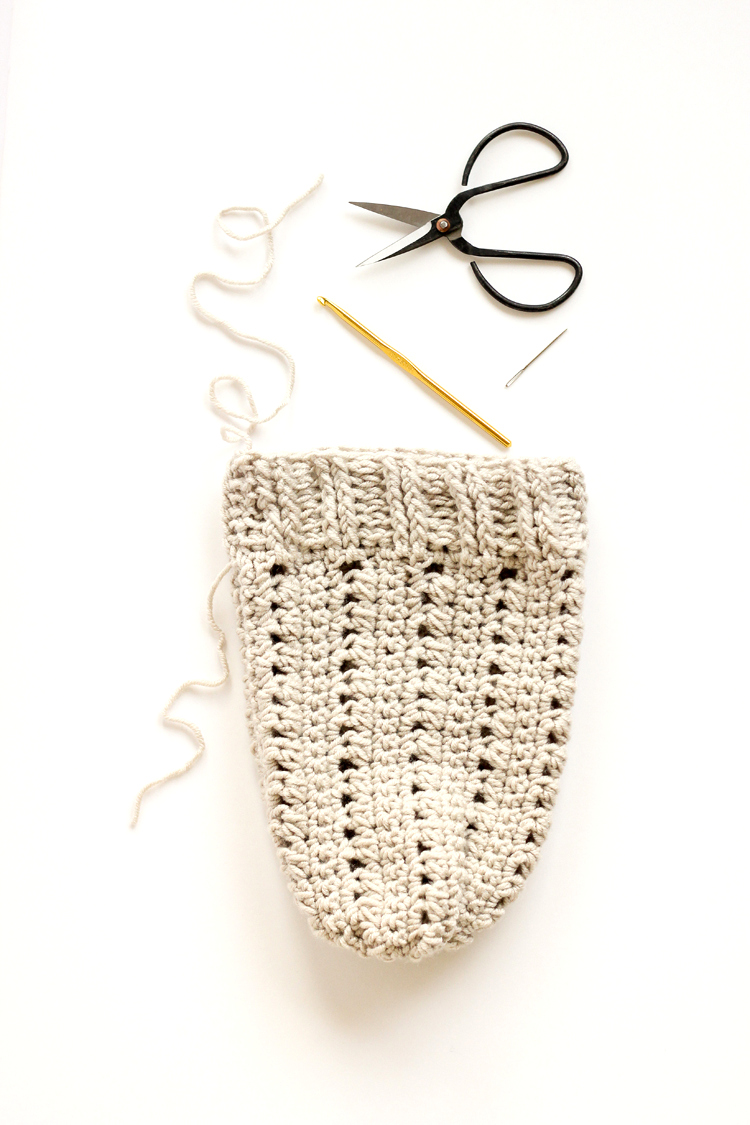
Sl St into the open end of the hat. Anywhere is fine, but I like to start at the hat seam.
Row 45: Ch 3. Hdc around hat (44)
Row 46: Ch 3. Hdc in next stitch. *2 fphdc, 2 bphdc*. Repeat from * to * 10 times. 2 fphdc, sl st into top of ch 3 to complete looped row.
Rows 47-52: Repeat Row 46.
Tie off, leaving an 8 inch tail. Weave in tail with yarn needle.
Add a leather tag if desired…I’ll be sharing a tutorial for this soon. I’ll add the link back here when I do.
Disclaimer: This post is sponsored by Aura Cacia. All content and opinions are enthusiastically and genuinely my own!



I really dislike the chemical smell of most hair products… this sounds like a really nice change! I love the leather tag against the texture of the beanie too.
Thank you Charity! <3 Me too! I also like that I can brush this dry shampoo on with a makeup brush. I feel like it gives me a little more control.
This hat is so awesome! I love the texture. And I can’t wait to hear how you made that tag!
Thanks Jess! I’m working on the tutorial today! Fingers crossed I can get it done sooner rather than later. 😉
loooooove!!! You’re so talented! I’ll have to try that dry shampoo. I have been looking for a good recipe.
Thanks Andrea! You’re so kind. I sincerely love it. I can actually go a couple days longer between washings than I could before, since I started using it. ha! Don’t know if I should admit that.
Hi Delia,
Thanks for sharing the pattern of this gorgeous beanie. I am having a bit of trouble with it though. I am stuck with row 3 as 2sc in each chained gap yields a total of 26 st, how did you get 27? I think I have acquired a white hair or two in my many re-attempts. Would you kindly help me out.
Row 3: Ch 2 and turn. 2 sc in each space (chained gap) across row. (27)
Hi Catt! So sorry for the confusion. I believe the 27th stitch is the chain 2 at the beginning. I hope that helps! <3
The concept of this hat Is super cute. But when working the pattern , the hat is wonky. For instance some rows the beginning chains count as stitches (row 3) , and sometimes the beginning chains don’t count ( row 2) . You have to compensate to make the rows even.
You may want to clarify this in the pattern. Beginners may really struggle with this if you don’t.
Thank you .
Hey Melinda!
So sorry that the pattern gave you trouble. I appreciate your feedback. I double checked the pattern because readers have caught my mistakes in the past and I want to make sure, like you said that I don’t mislead anyone. This time I wasn’t able to find the discrepancies you mentioned, but if I misunderstood you please let me know because I do sincerely appreciate feedback so I can get things right. The triangle stitch does lean and that can feel awkward, especially in the first few rows. I wouldn’t consider it a beginner stitch for that reason.
Let’s break it down. The stitch count is 27 in the single crochet rows. It is harder to count stitches like that in the triangle stitch rows because it is technically 1 ch.3 (counts as a stitch), 12 triangle stitches, and 1 hdc. Each triangle stitch takes up two stitches except for the first one which takes up three stitches because the stitches build off the previous stitch and “overlap” in a sense. So, the triangle stitches are 12 x 2 = 24 + 1 for the first triangle stitch = 25 + ch 3 + hdc = 27 stitches total. It all lines up, no compensating needed.
I hope that helps. Again, please let me know if I misunderstood your question.
Is there a video tutorial for this pattern?
I’m so sorry for the very late reply and to report that there is not a companion video tutorial. This is one of my older tutorials before I started including video tutorials.