Aside from gingham, one of my favorite design patterns is a grid or window pane pattern.

So when I discovered surface crochet, I knew I had to make a window pane beanie!

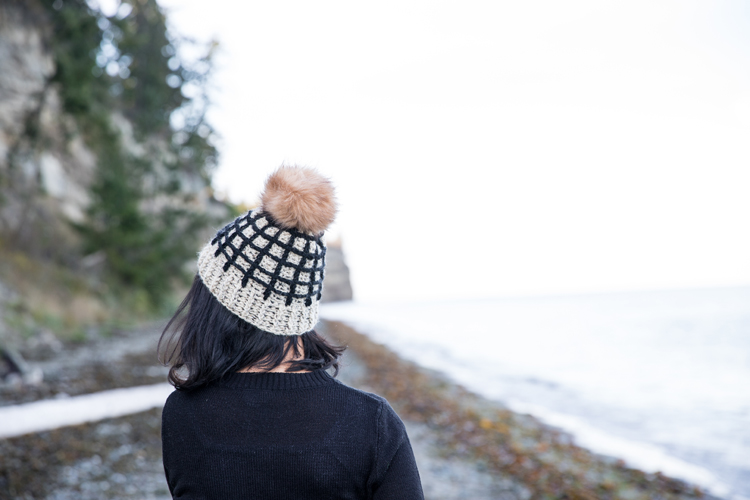
If you aren’t yet familiar with surface crochet, it’s just basic crochet but worked over the top or, on the surface of, existing stitches. So if you know basic crochet stitches, you can totally make this!
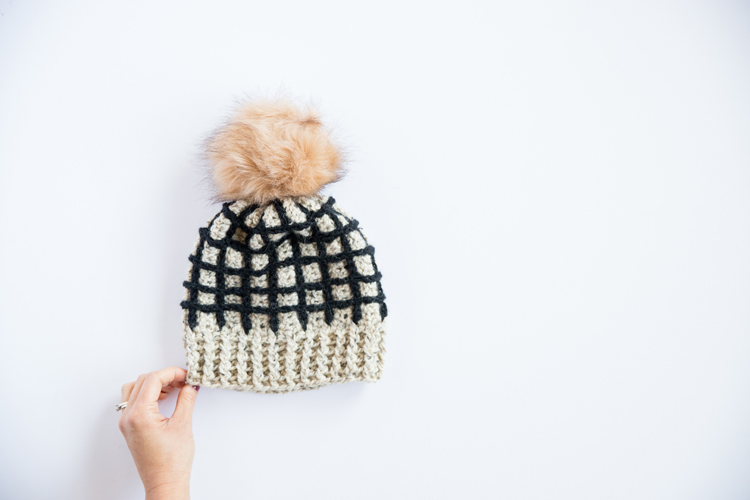
Even though the learning curve is small, surface crochet does take some getting used to. You can’t hold your work like you normally would, so you have to work through that initial awkwardness until you adjust. You also have to keep your tension LOOSE, especially with this beanie. Otherwise, the hat will lose all its stretch and shape.
It’s an easy challenge though and a fun way add design and texture to a basic crochet project.

If you are brand new to crochet, I recommend trying out my Crochet Basics Series (click HERE). I have detailed posts, video tutorials, and free patterns designed to teach you the most basic of stitches and give you a good crochet foundation.
VIDEO TUTORIAL
You can crochet along with me in this video if you like (below), or if you scroll past it, it should pop to the right of your screen so that you can scroll down and view the written pattern while you watch the video.
MATERIALS
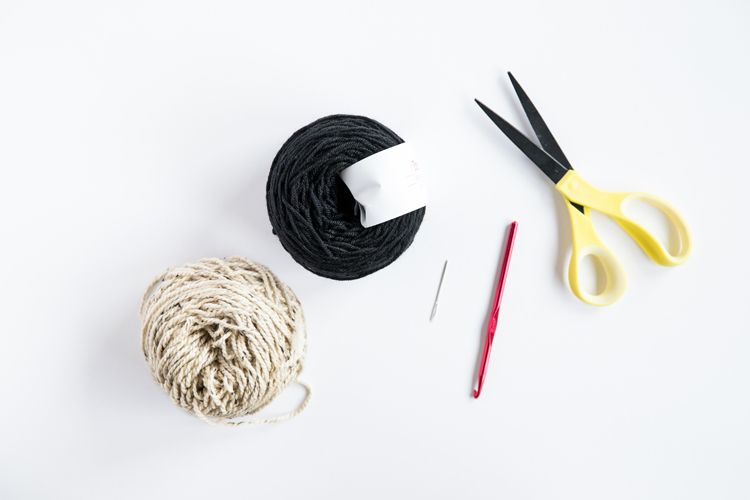
- J/10 or 6.00 mm hook
- Yarn or tapestry needle (you will use this a lot for this project!)
- Scissors
- 130 yards of main color yarn, worsted weight (category 4)*
- 70 yards of contrasting color yarn, worsted weight (category 4)*
*Materials Notes: I used Knit Picks City Tweed Aran in Snowshoe (heathered tan) for my main yarn color and Knit Picks Brava in black for the contrasting color.
TIP: I recommend using a softer yarn. Skip cheaper and stiffer yarns for this project. It will make the hat too bulky, less flexible, and possibly even affect sizing. Think of yarn like fabric. The substrate and the feel of the yarn, not just size and weight, can make a difference in the final result of your project.
SIZING
This is a free pattern for a small/medium adult beanie that fits a head circumference of 21.5-22.5 inches.
Sizing up notes: If you want to size up, increase the rows of the body of the beanie to 32 (or 34), , add an extra 1 (or 2) vertical line(s) of surface crochet, and increase the foundation hdc round of the brim to 54 (or 56) stitches.
ABBREVIATIONS
sc = single crochet
dc = double crochet
hdc = half double crochet
fpdc = front post double crochet
bpdc = back post double crochet
GAUGE
2 x 2 inch square = (1 row of hdc and five rows of alternating fpdc + bpdc) x (3 fpdc + 2 bpdc)
The gauge can change when surface crochet is worked into the hat, so the gauge I’m listing is for the brim. This will help you determine if your tension matches the pattern’s or if you need to make adjustments.
Sample swatch: Chain 12 and work a row of about 10 hdc. Then work 5 rows of alternating fpdc and bpdc. Measure the middle of the band to get an accurate gauge.
IMPORTANT: Please also note that when working your surface crochet stitches, keep them LOOSE. Surface crochet reduces the ability of the hat to stretch even when you have a relaxed tension, so if you crochet too tightly it will render the hat unusable.
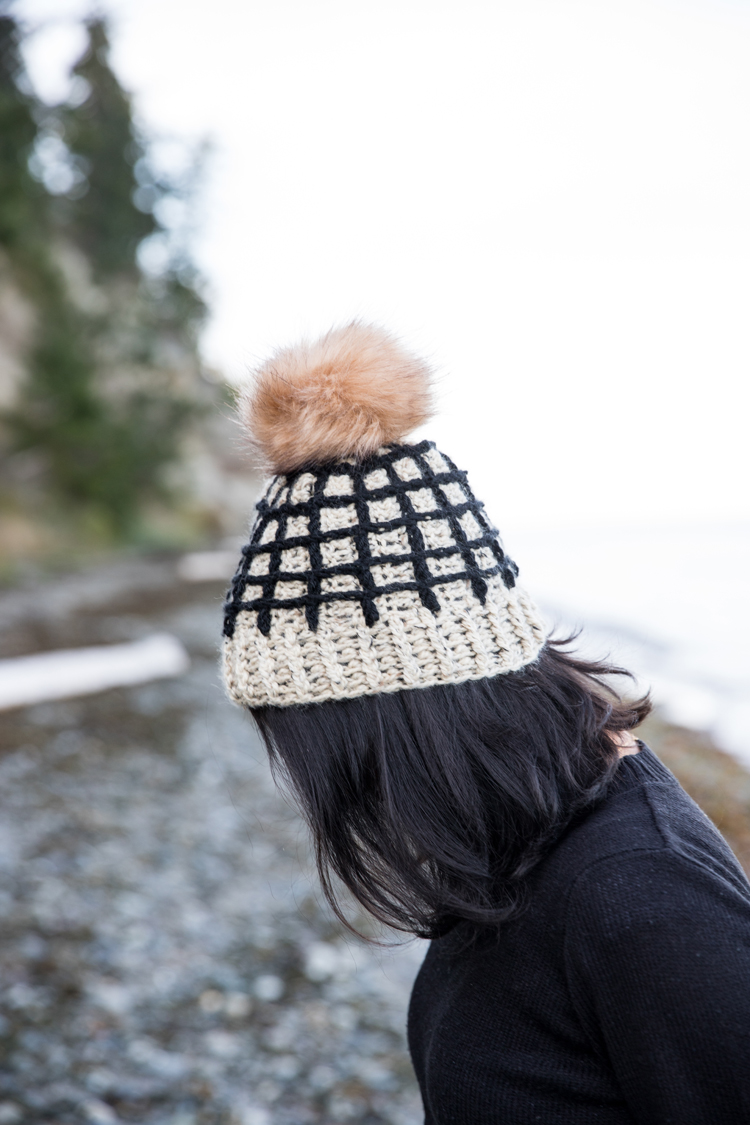
PATTERN + TUTORIAL
Step One: Create the body of the hat.
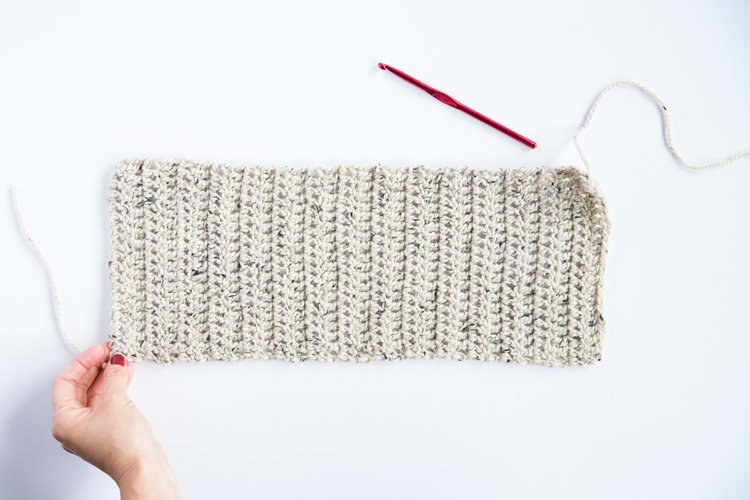
We are going to essentially be crocheting a long rectangle with the main color yarn.
Chain 21.
Row 1:Work dc in the third chain from the hook. Work dc in remaining chains. (Total 20 stitches, counting first two skipped chains as one stitch.)
Row 2: Chain 2, skip first stitch, and work dc in each stitch in row. (20)
Rows 3-30: Repeat Row 2.
Tie off end, cut tail, and weave in both tails. Weaving them in now, as opposed to later will make working surface crochet easier.
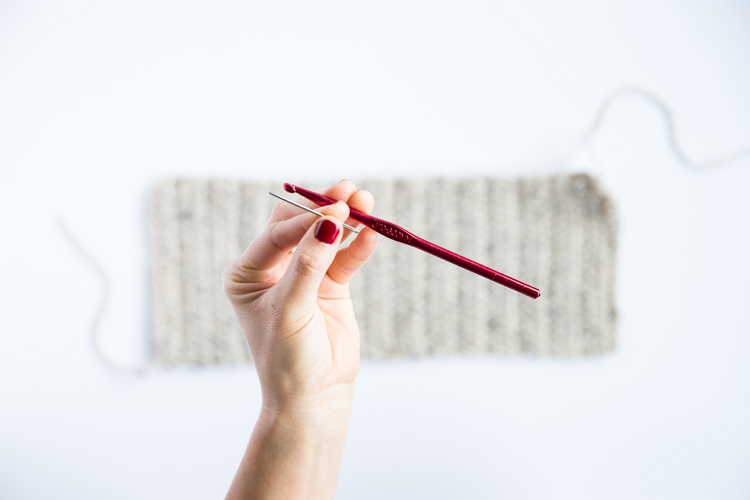
For tips on how to make sure the sides of your rectangle are square and even, watch step one in the video (above).
Step Two: Surface crochet vertical rows of sc into body of the beanie.
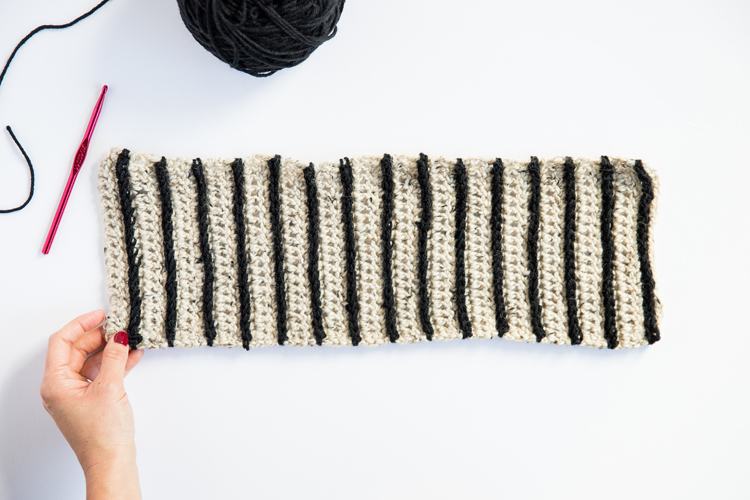
Slip knot contrasting yarn onto your hook, and insert your hook underneath the bar or “post” of the first dc stitch at the corner of your rectangle. Complete a sc to attach your new yarn to your rectangle.
Sc around each dc post in the row. (20)
Tie off and weave in tails.
—-Skip the next row of dc stitches and work another vertical lines of sc surface crochet stitches in the next row of dc stitches.
—-Alternate working a row of surface crochet sc in every other row of dc across the rectangle for a total of 15 rows of surface crochet sc.
Step Three: Sew the body of the beanie into a tube.
Fold the rectangle in half, right sides facing, and short end to short end.
Seam short ends together with slip stitches in matching main color yarn.
Turn tube right side out and weave in ends.
Step Four: Add horizontal rows of surface crochet.
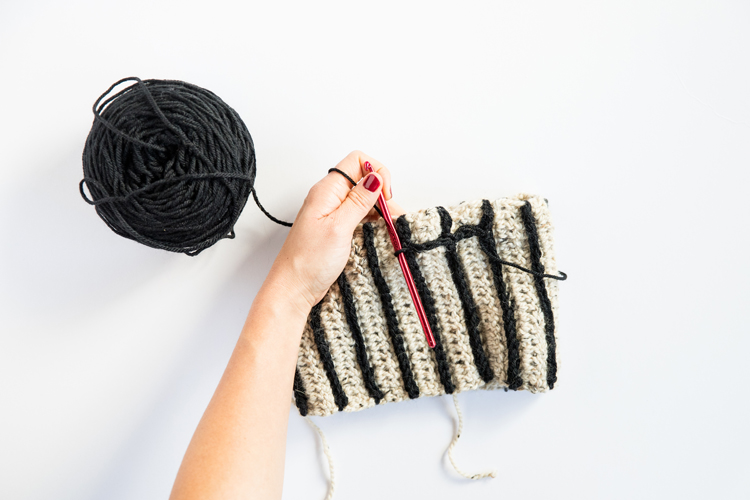
REMEMBER TO KEEP TENSION LOOSE, especially during this step.
Slip stitch contrasting yarn into the third stitch down from one edge of one of the vertical rows of surface crochet.
Sc three times across the gap between the next vertical row of surface crochet.
There’s no set rhyme or reason as to where to insert your hook across the gap, just try to stay in a straight line. It will turn out neater than you think once you connect o the next vertical row.
Slip stitch to the next vertical row, in the third stitch from the edge.
Work three sc in the next gap, slip stitch to the next vertical row, and continue until you come back around to where you started. Slip stitch into the first vertical row.
Tie off and weave in ends.
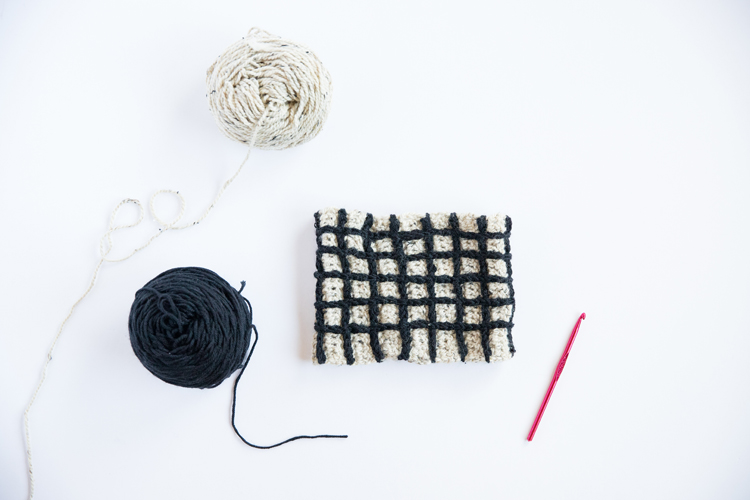
Work your remaining horizontal rows, three stitches down from the previous row until you have completed five horizontal rows.
Step Five: Add a brim.
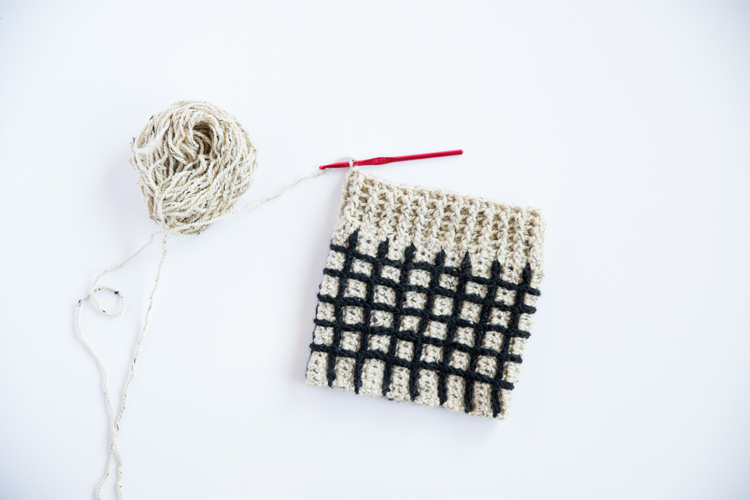
You will now have an edge of the tube with square grids and an edge with rectangular grids. We will be adding a brim to the edge with square grids.
ROUND 1: Slip knot the main color yarn to your hook and slip stitch it to the right side of one of the gaps or grid spaces.
Chain 2. Work 2 hdc into the grid space. Work 3 hdc into the next grid space. Work 4 hdc into the next grid space. *Work 3 hdc into the next grid space. Work 3 hdc into the next grid space. Work 4 hdc into the next grid space.*
Repeat from * to * three times. Slip stitch to top of chain 2. (Total: 50 stitches, including chain 2).
ROUND 2: Chain 2. *Fpdc, bpdc. * Work * to * 23 times. Fpdc, bpdc, fpdc, slip stitch into top of chain 2 (which counts as a bpdc). (50)
See the video for a tutorial on how to work fpdc and bpdc.
ROUNDS 3-5: Repeat Round 2.
Tie off and weave in ends.
Step Six: Cinch the top of the beanie.
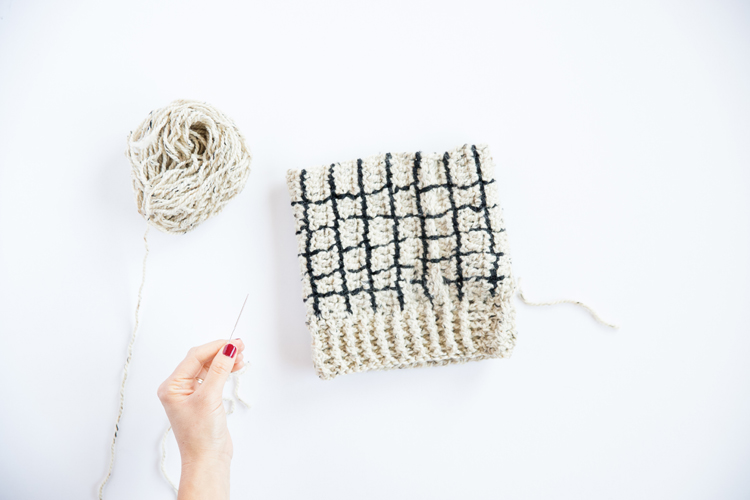
Turn the hat inside out. With the main color yarn, sew a running stitch around the top opening of the hat. When you get all the way around the hat, pull the opening closed and knot it to secure it.
Sew through the gathers and knot it again to secure the top even more.
Weave in ends.
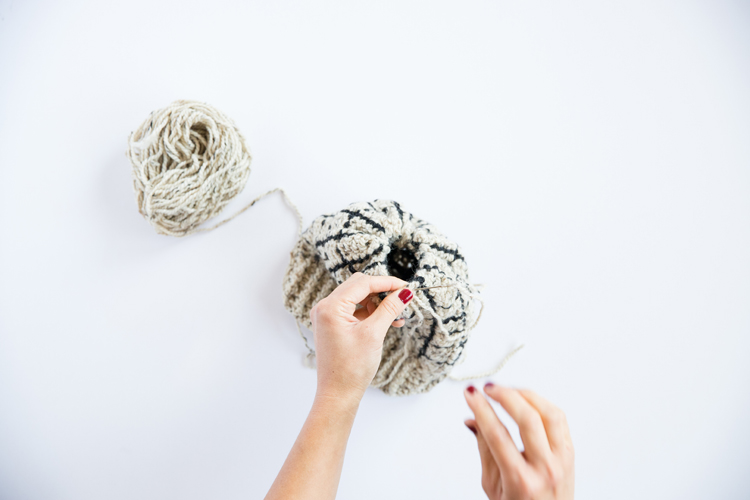
Turn right side out.
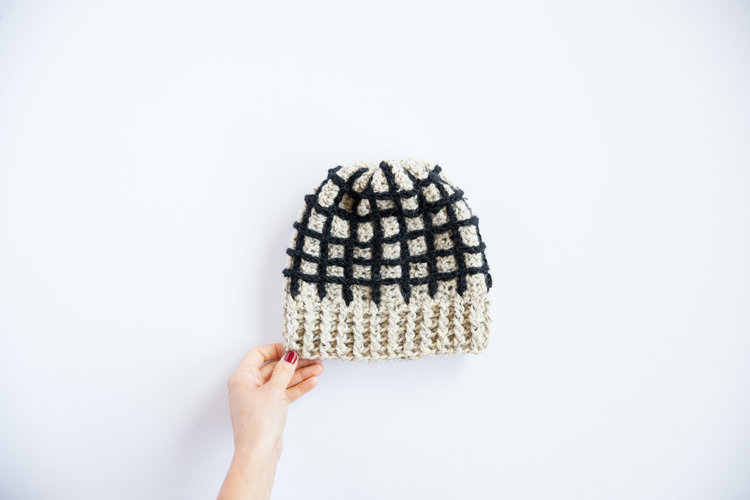
ALLLLLLL DONE!
WASHING TIP: Because there are SO many weaved in tails, I recommend hand washing and air drying this beanie, regardless of yarn type.

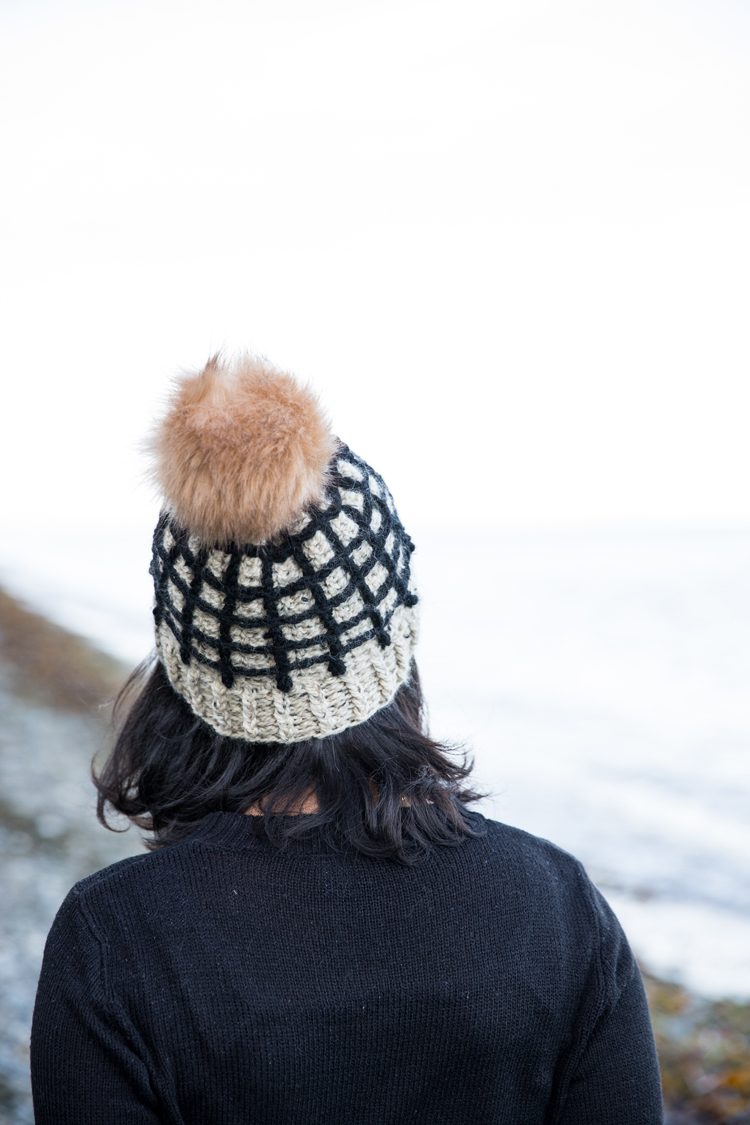
If you want to add a pom, I have a tutorial for adding a removable pom! Go HERE to check it out.

I also have a sewing tutorial for these wide leg pants. Go HERE. They have been my pajamas that don’t exactly look like pajamas lately. 😉


Leave a Reply