Today’s guest is quite perfect for this series.
In fact, she hosted a winter series of her own: Winter Wonder. See the round up here. It’s full of gorgeous photography, great guests (wink – I’m on the guest list), and adorable/beautiful/fun winter projects if you need more to get through these long cold days.
I also got to meet her in person a couple weeks ago when she went to Alt Summit. She is gorgeous in person, and so warm and personable.
I am so happy to have her here…here’s Amy Christie from This Heart of Mine!
__________________________________________
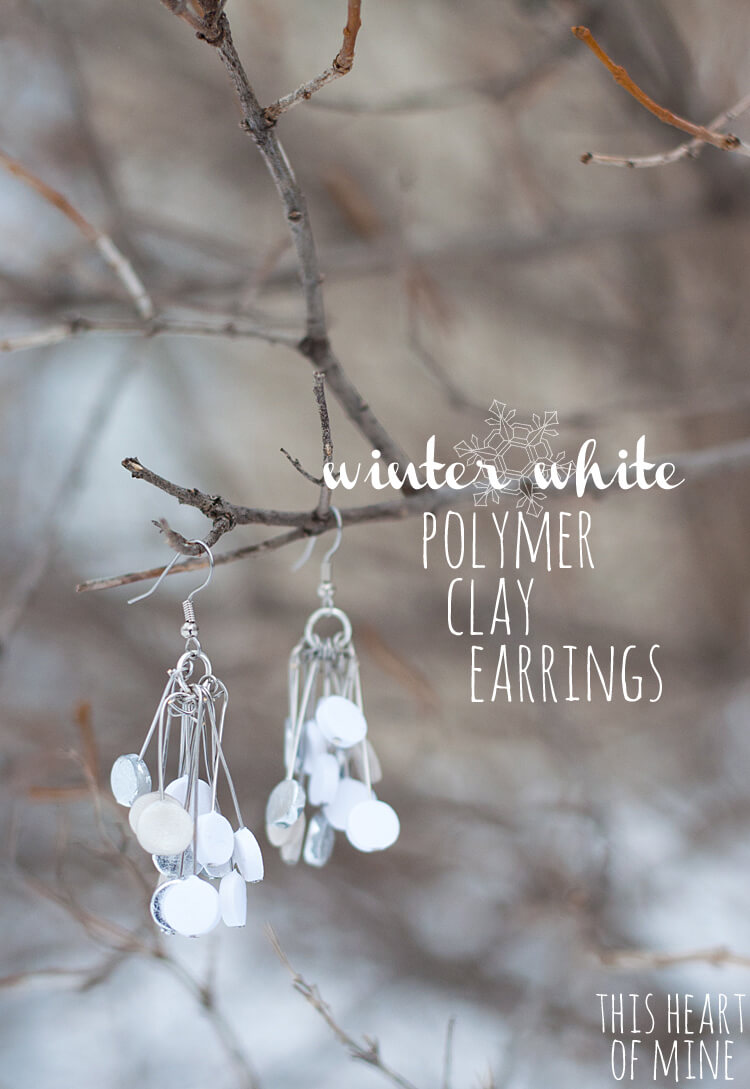
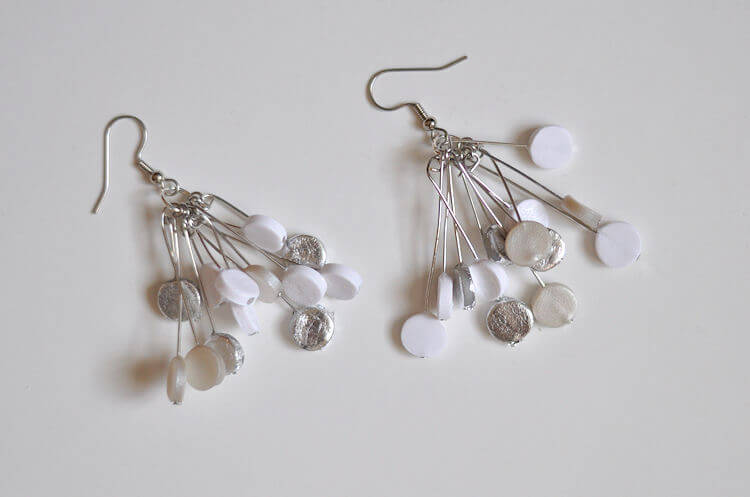
I decided to make a pair of spangly dangly earrings in a winter white color scheme – white, pearl, shimmery silver and sparkly glitter. All good things.
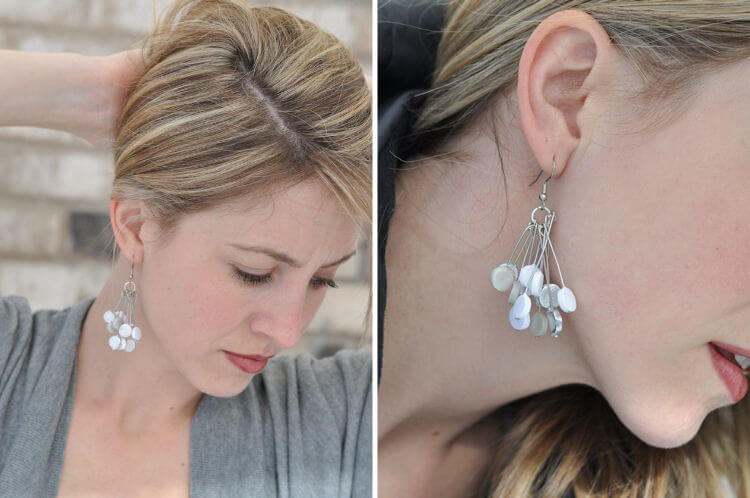
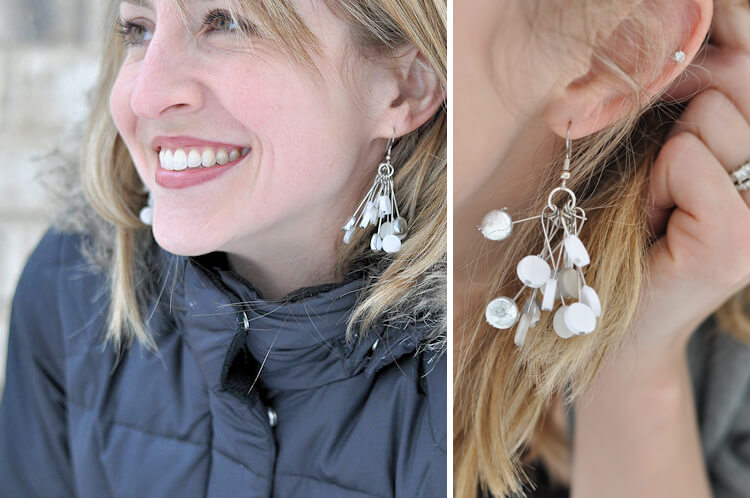
Since I am the only one my my house with pierced ears, I had to be the model. I was trying to channel Delia when I did these self portraits, she does them so well! Think I still need some work. The pics needed some color thus the lipstick. 🙂
A pro jewelry maker I am not but I do enjoy it. Polymer clay is one of my favorite mediums to work with and if you haven’t tried it yet, these simple earrings would make a great first project.
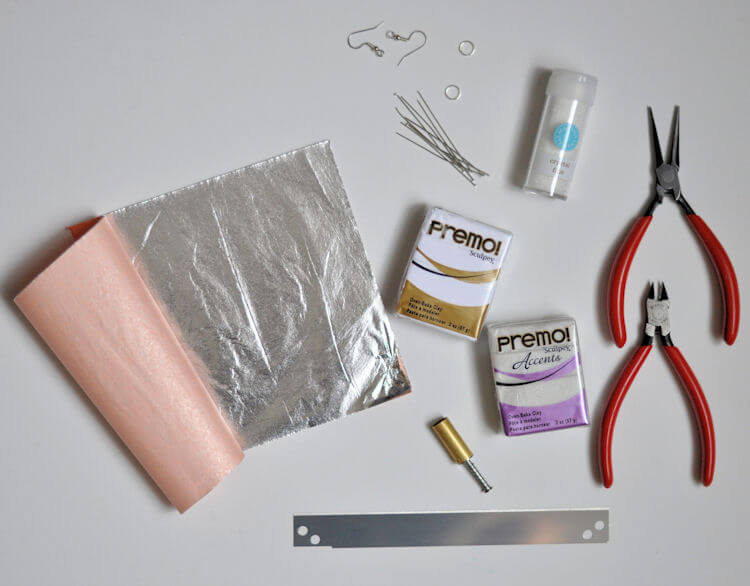
Here’s what you need to get going:
-polymer clay in white and pearl – I like the Premo line by Sculpey
-pasta machine (dedicated to polymer clay only) or a brayer, rolling pin, side of a glass
-cutting blade -circle punch, or other desired shape
-2 earring hooks
-2 jump rings
-jewelry pins – I used 13 for each earring
-silver leaf
-glitter
-needle-nose pliers
-wire cutters
First, prep your clay. I made a special tutorial just on clay conditioning that you can find here.
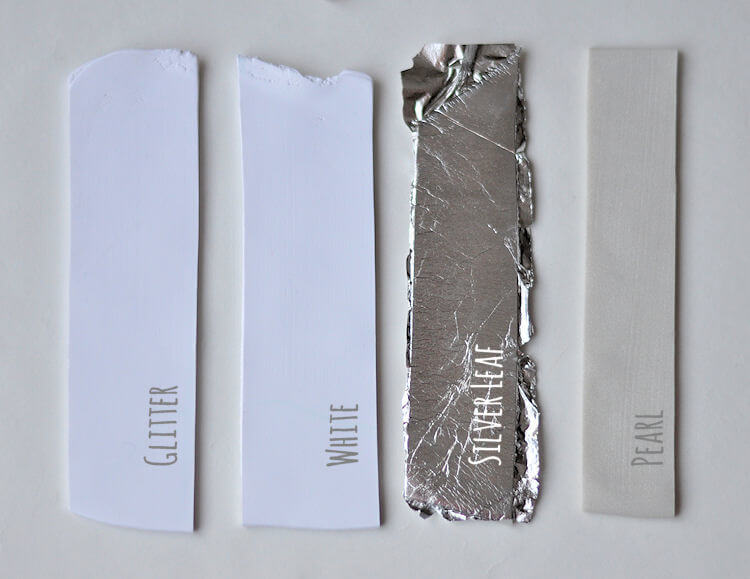
Roll out a sheet of white and a sheet of pearl.
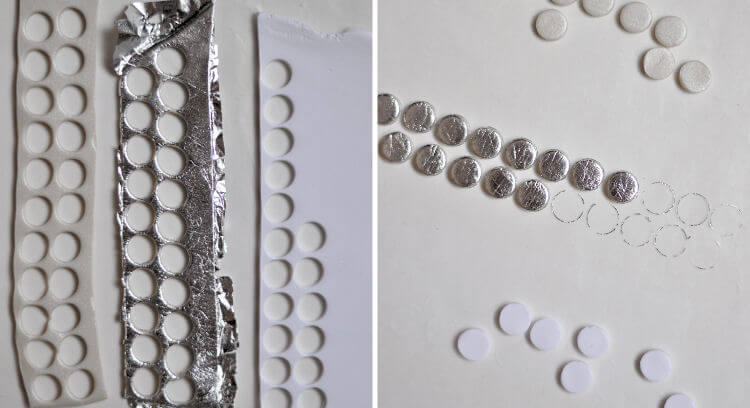
Cut two strips of white, two strips of pearl. Add silver leaf to one of the strips, white or pearl does not matter, gently pressing the leaf on the surface of the clay.
One will be designated for glitter but that happens later.
Use the circle punch to make as many circles as you’d like. I cut four silver leaf and three of each of the white, pearl and white-to-be-glittered, plus A LOT of extras. 🙂
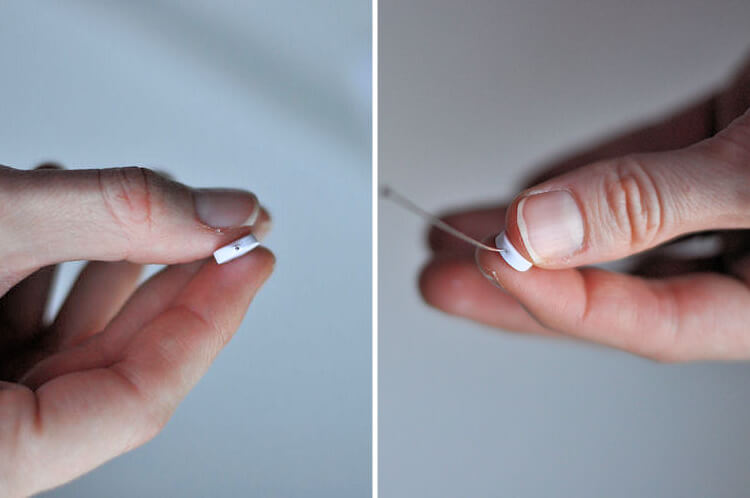
Skewer each circle with a pin. It takes a little patience and careful movement. Clay is very forgiving so if you don’t get it just right, pull it out and adjust. If it’s totally botched, just grab another circle. Those extras come in handy!
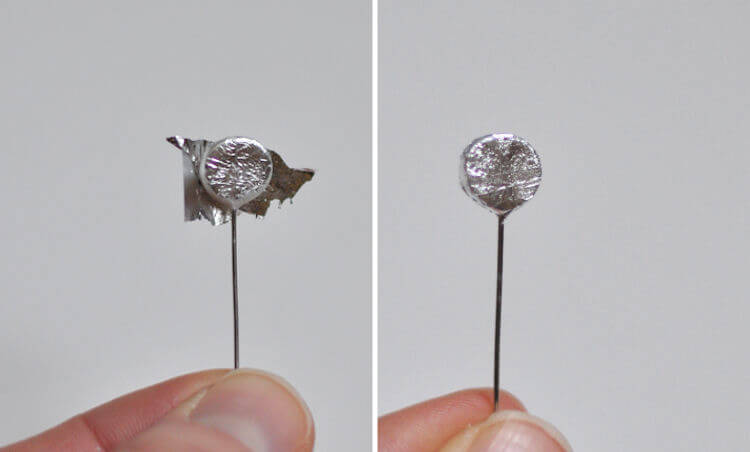
Once the plain white and pearl ones are skewered, lay them on a foil and wax paper covered cookie sheet ready for the oven. Take the silver leaf circles and add another small piece of leaf to the backside and gently press and fold to adhere to the back and sides.
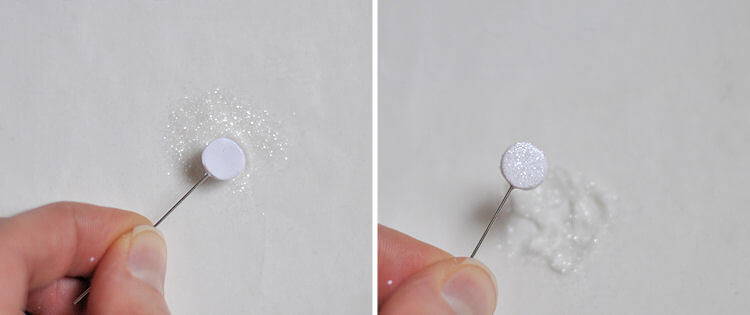
The white circles designated for glitter can now take their glitter bath. Gently press the raw clay into the glitter.
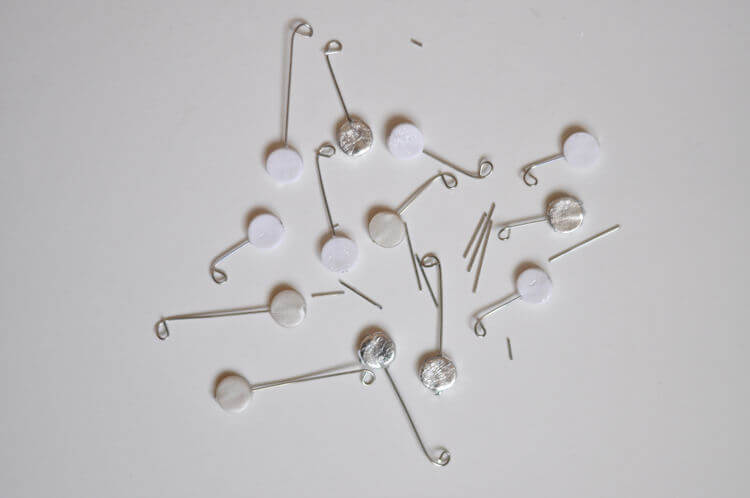
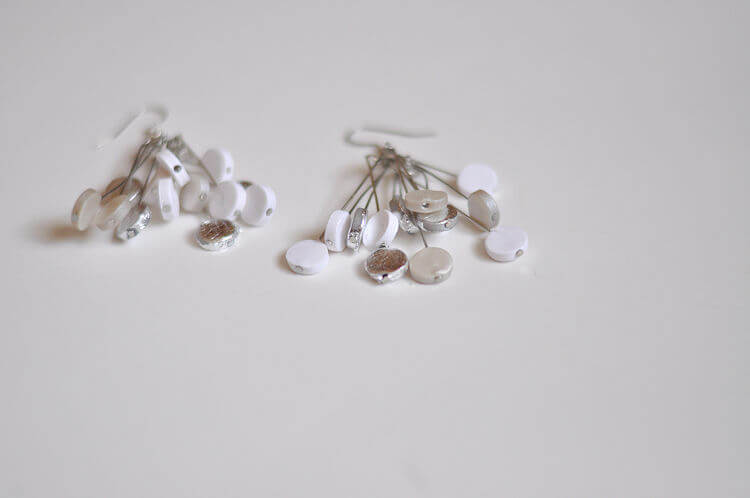
Add the glittered and silver leaf circles to the cookie sheet and bake them according to the manufacturer’s instructions. When the clay is cured, it’s time to connect everything. First, lay out the polymer clay ‘pins’ in the way you wanted them to hang.
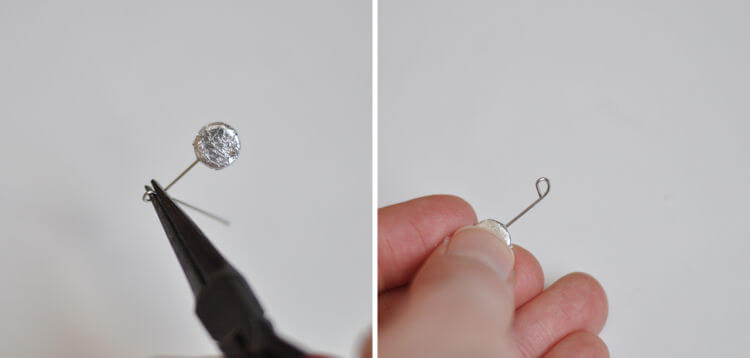
Using the needle nose pliers, curl the end of the pins, at various lengths, to make a loop. I know this isn’t the proper way to make a loop but this off-to-one-side loop worked better for this earring.
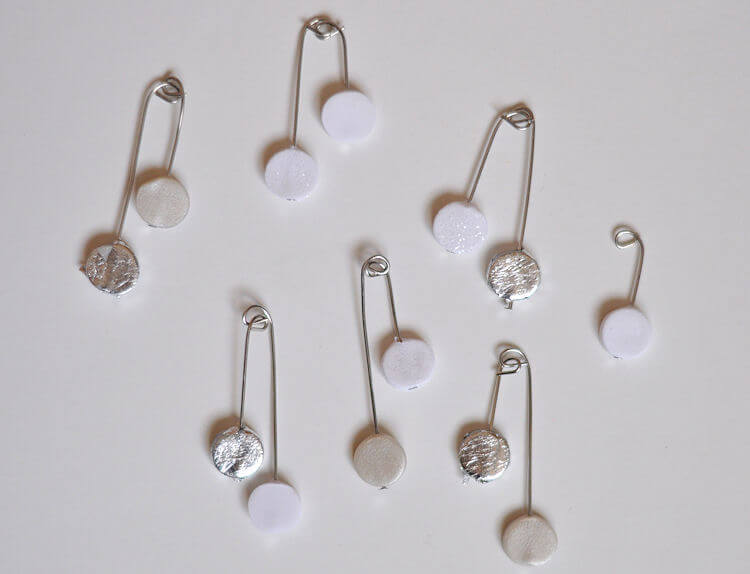
To avoid piling all the danglies onto the one jump ring, I connected a long and short pin together as seen below. Having them interconnected took up less space on the jump ring. I like odd numbers so one little guy didn’t have a friend. 🙂 If you would like to just loop them on the jump ring that works too, just make sure the jump ring it big enough.
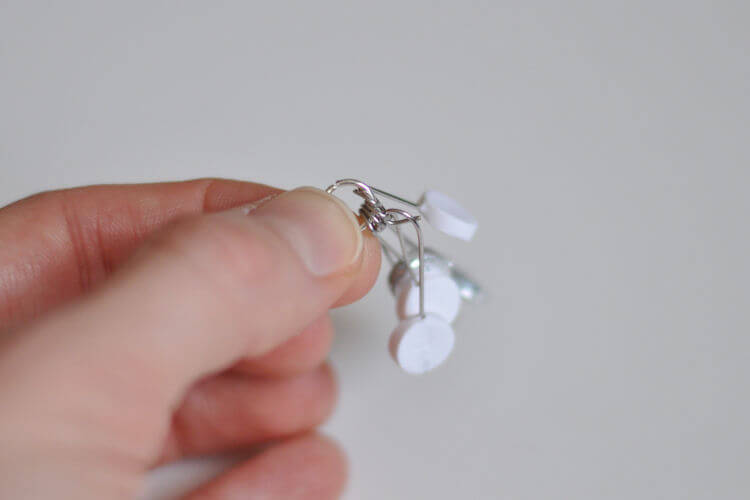
Then add each pair (and the one lonely guy) to the jump ring.
Right before closing the jump ring, add in the earring hook and it’s done!
Two shimmery, sparkly, spangly, dangly earrings.
So be sparkly, shimmery and celebrate winter whites.
Thanks for having me Delia! And may Spring be here before we know it. 🙂
Take care.
___________________________________
Goodness. Isn’t that pretty?
Amy made some polymer clay tags to go with her business cards. They are beautiful and almost leather like in texture. I definitely want to learn how to use this technique. Thanks for the thorough tutorial Amy!
Hungry for a sewing winter project? Amy has a pretty baby boot pattern and tutorial here…which she originally posted here for my nesting series.
Oh, and if you haven’t already, go say hi to Kojodesigns for another cute Winter White accessory DIY:






They're lovely!!! :Dxxx
Um, these are gorgeous.
Thanks for having me over Delia! I love working with you and I am so happy we were able to meet in person. Let's do it again some day. 🙂
I have been meaning to try some jewelry-making. Maybe this is my intro!
Amy, you have a beautiful smile… and teeth… I know that sounds weird but I'm a dental hygienist, so it's a compliment 🙂 pretty earrings too
These are so fun! I love them!
So pretty! I love how simple and glamorous they are.
These are so pretty! I can't believe you made the circles too!! Wow. I'm heading over now to read your clay conditioning tut now.
And the lipstick is the perfect splash of color. Love it. 🙂
Simple, and classy, Amy! Perfect.
Haha! Thanks @Lisa Burger! I have great orthodontic care to thank. 🙂