My favorite baby toys are the ones that come without buttons and sounds.
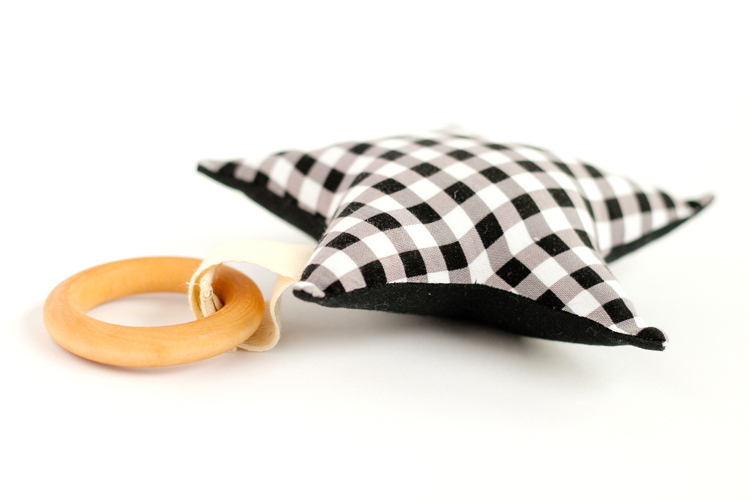
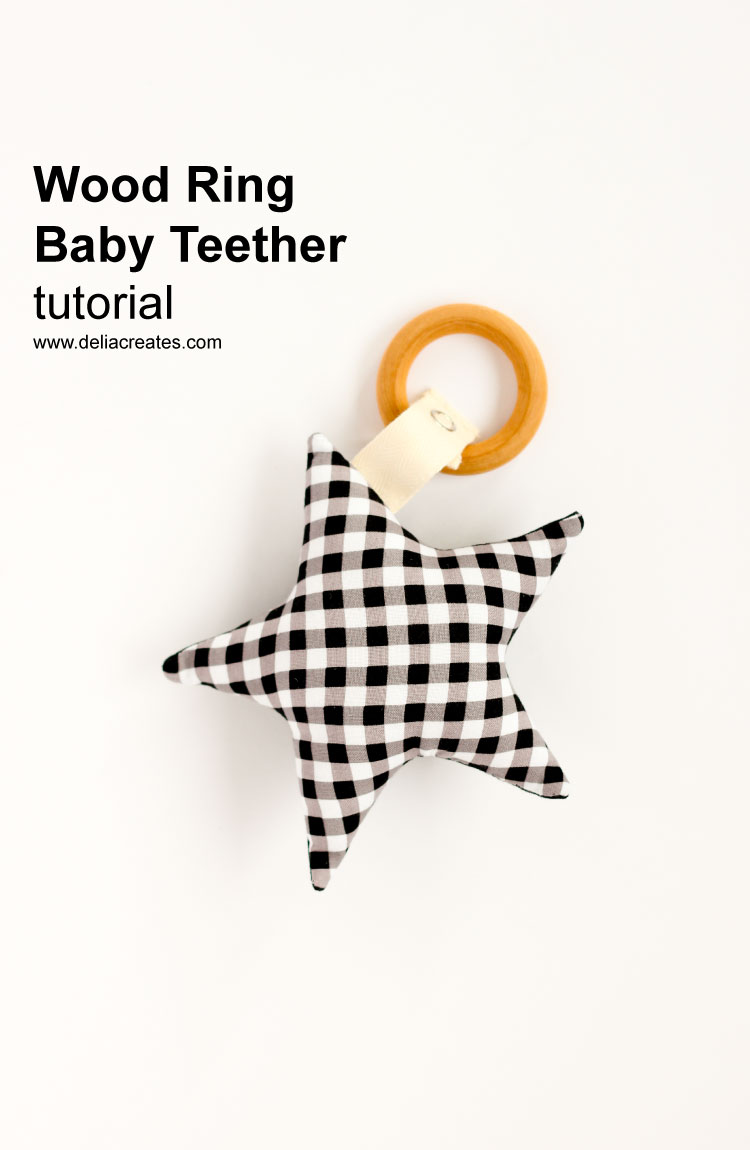
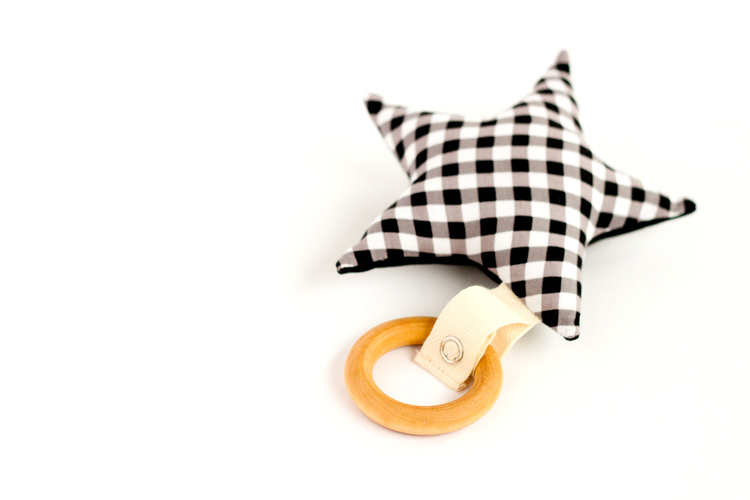
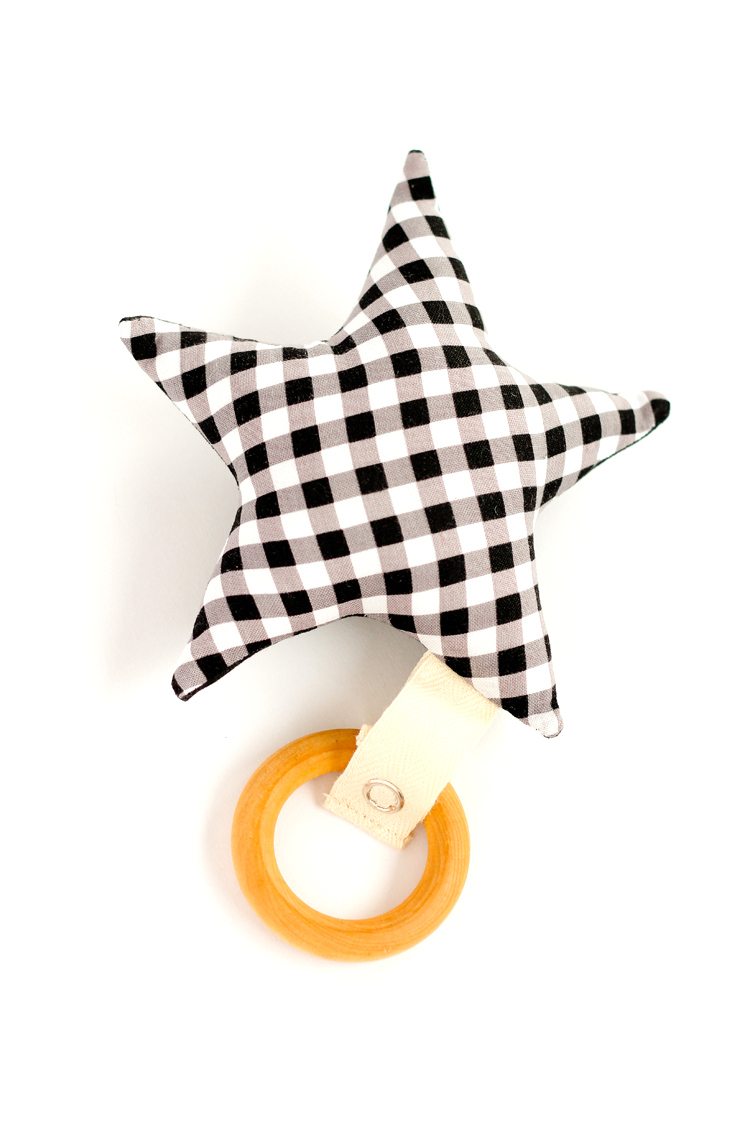
Like this wooden ring teether.
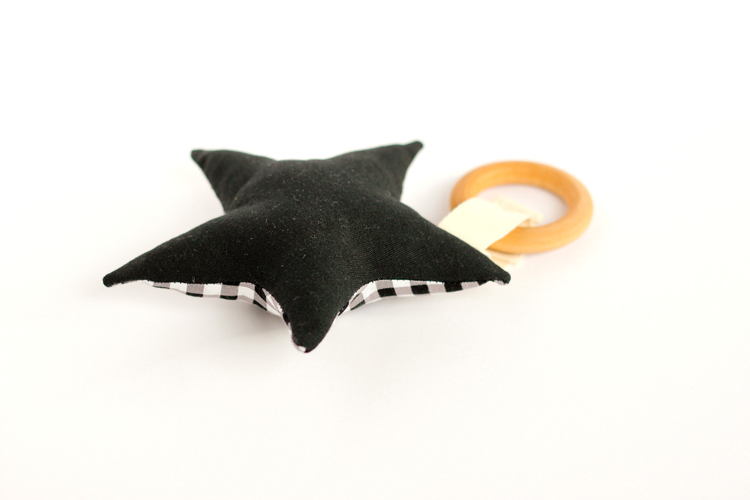
With it’s bold, black and white, brain stimulating design, and all natural wood ring, it makes mom and baby happy!
It’s a simple make, which is great for adding a quick handmade touch to a gift.
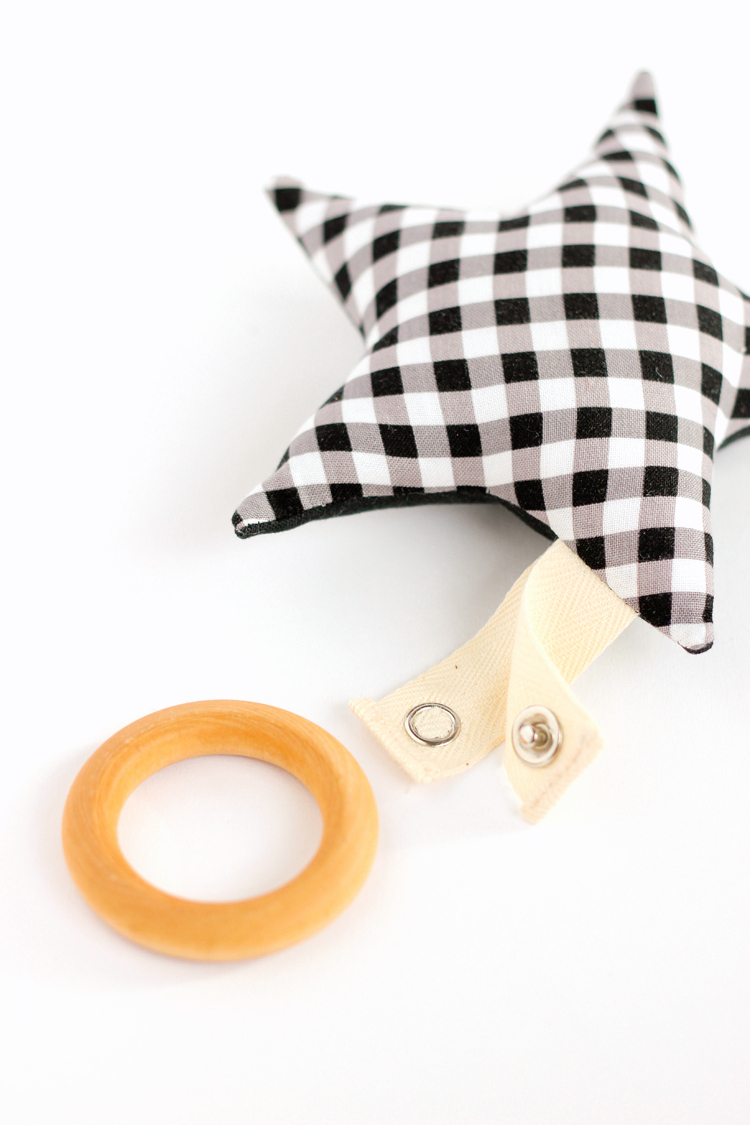
With a detachable soft star, this teether is also washing machine friendly!
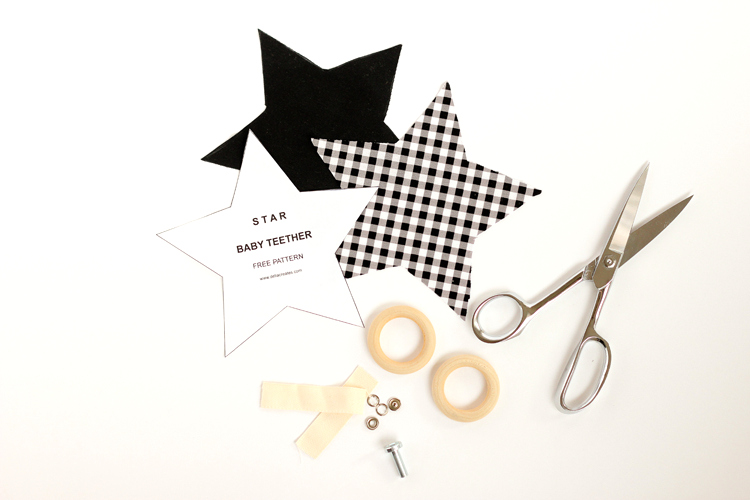
MATERIALS
- Wood ring*
- Mineral oil (food grade)
- clean cotton rag
- Fabric snap (and snap setter + hammer)
- Twill tape (about 6 inches)
- Fabric**
- Poly-fill
- Sewing machine, scissors, basic sewing supplies
- Matching thread
- Hand sewing needle
- FREE star baby teether pattern (pdf file)
*My wood ring is 2 1/4″ wide and I bought it in bulk off Amazon HERE (affiliate link) . You can also buy individual rings on Etsy.
**I used black and white fabric which is good for visual stimulation in young babies, but you could customize it with any color or kind of fabric you like!
TUTORIAL
1.Prepare wood rings.
Your rings are probably unfinished, so they will need some light sanding to remove any snags or rough spots. Once you get a smooth finish, clean it with a damp, hot, soapy, rag and let it dry. Then, using the clean cotton rag, rub food grade mineral oil into the wood until it looks saturated (and darkened). Add a second coat after a couple of hours if desired, or touch up missed spots. Let it cure for about 24 hours.
2. Prepare twill tape.
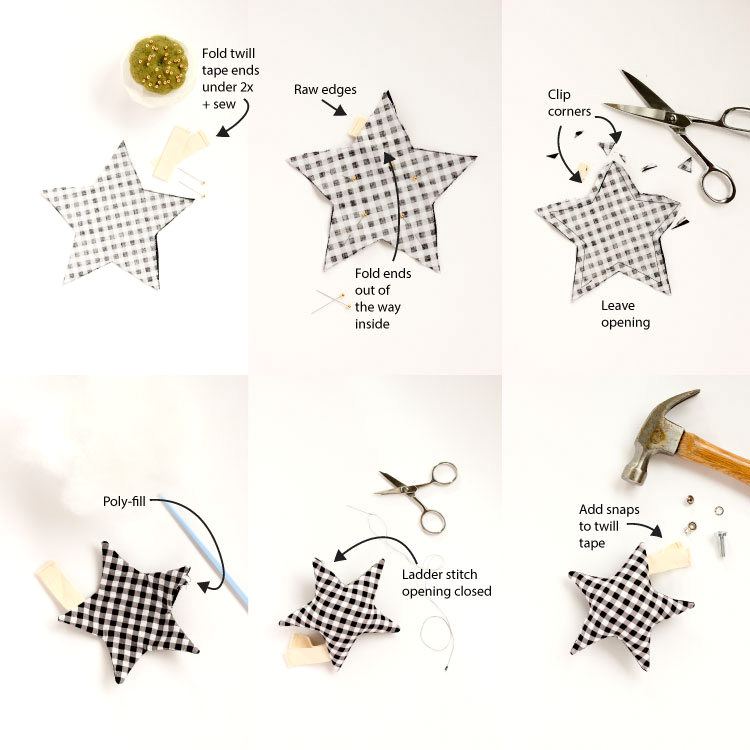
Cut twill tape into two, 3 inch pieces. Fold under one of the ends of each piece about 1/4″, twice. Top-stitch folded ends under.
3. Prepare star fabric.
Print off the free star pattern pdf: star baby teether pattern. Cut pattern out and use it as a template to trace and cut out two fabric stars.
4. Sew star together.
Pin star pieces together, right sides facing. Insert twill tape pieces together into the sides of one of the star spokes. Make sure the raw sides stick out and the finished twill tape ends are folded under and out of the way of where you will be sewing. Sew around the perimeter of the star with a 3/8″ inch seam allowance, leaving a small opening on the side of one of the star spokes (away from the spoke with the twill tape).
5. Clip and stuff star.
Trim down the pointed corners and clip into the concave joints of the star being careful not to cut through stitches. Turn right side out. Iron out any wrinkles if necessary. Stuff star firmly with poly-fill.
6. Sew star closed.
Using a hand sewing needle and matching thread, sew the opening closed with a ladder stitch.
7. Add a snap.
Install a snap into the twill tape ends (follow manufacturer instructions).
Snap onto the wood ring and it’s ready for playtime!


That is so cute! I like how the star snaps on to the ring!
lovely! just be really careful with the snap! it could come off and the baby could swallow it.
If you are unsure of the snap, you could certainly create ties and tie it on instead. 🙂