Fresh wreaths are where it’s at for me, but what if you don’t have a plethora of greens on hand? Skip the plastic wreaths, and make it with kraft wrapping paper!
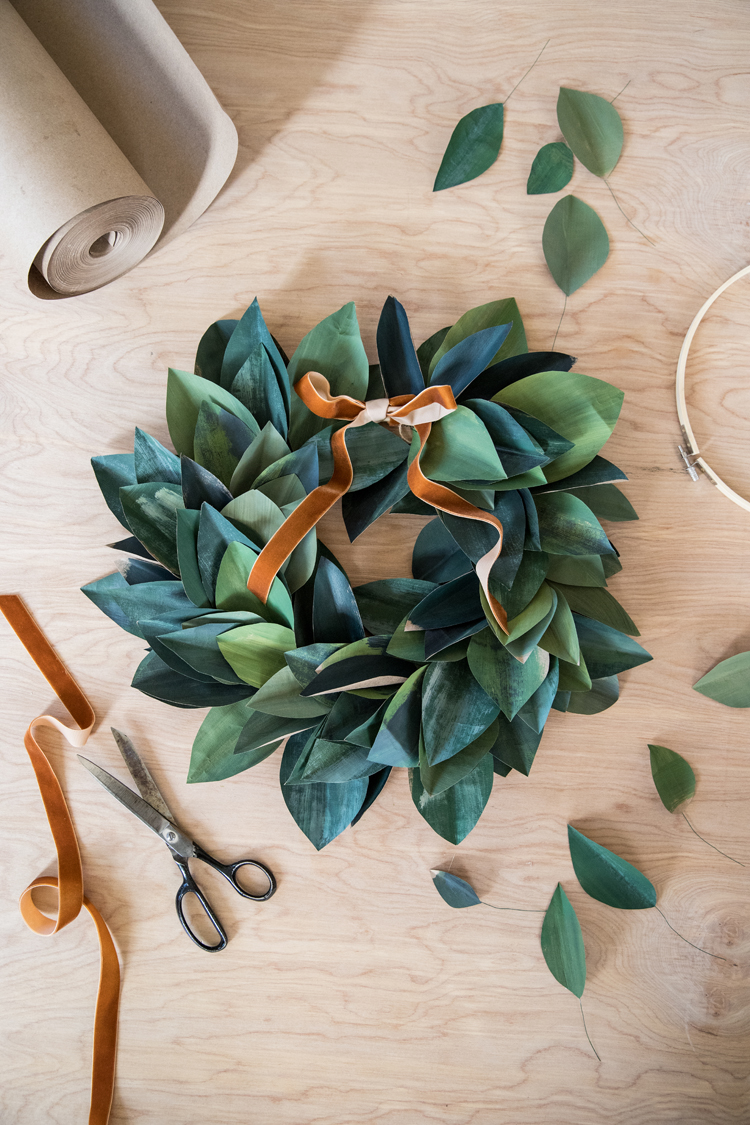
Paper allows you to customize the wreath to any color or leaf shape you like, and I feel like it lends itself to a more textured, artistic look. I also think it holds up well next to my real plants, which is the true test for good faux greenery.

The secret… is in the paint. I painted some kraft wrapping paper in a blend of greens, brown, black, and tan to get some variegation in the leaves. It was a great way to use up random colors in my paint stash and it the painting process more fun. This would be a great way to get kids involved too!
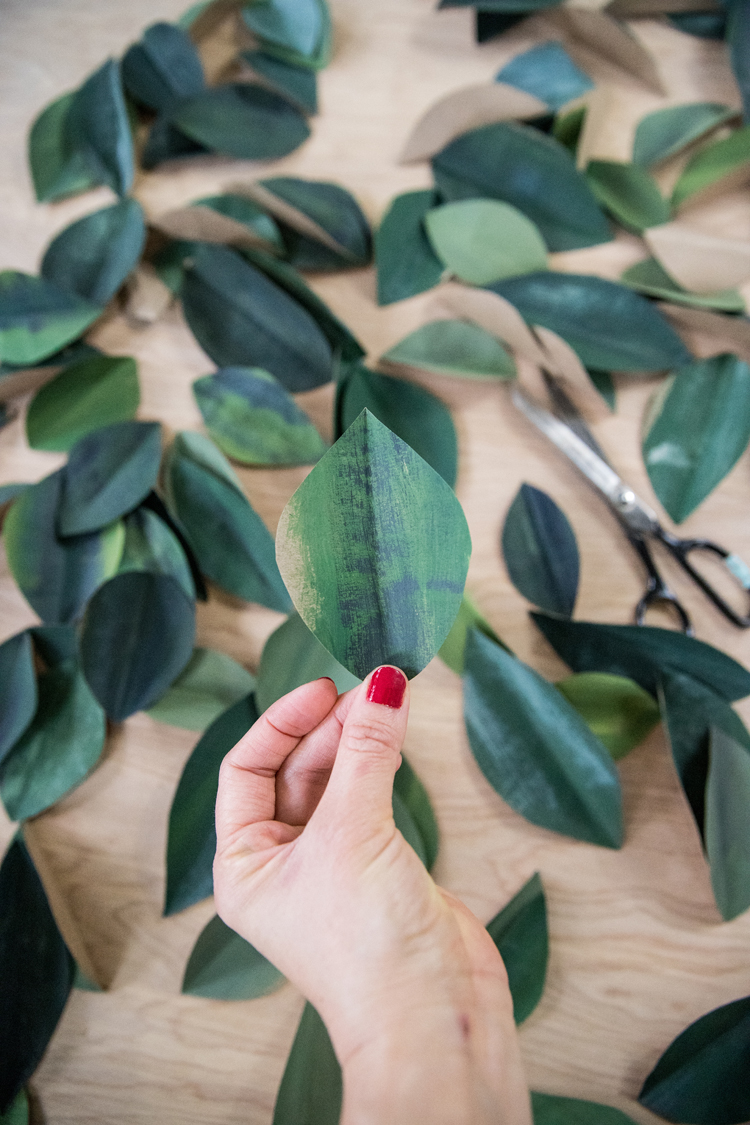

I stuck with traditional green, but I think this would be gorgeous in a bold blend of pinks, oranges, and reds too!
I have a quick video tutorial that shows you an overview of the process, but if you scroll down, I also included written instructions for clarification. If you keep scrolling past the video, it should pop to the side so you can view it as you read.
VIDEO TUTORIAL
MATERIALS
- Kraft wrapping paper*
- Scissors
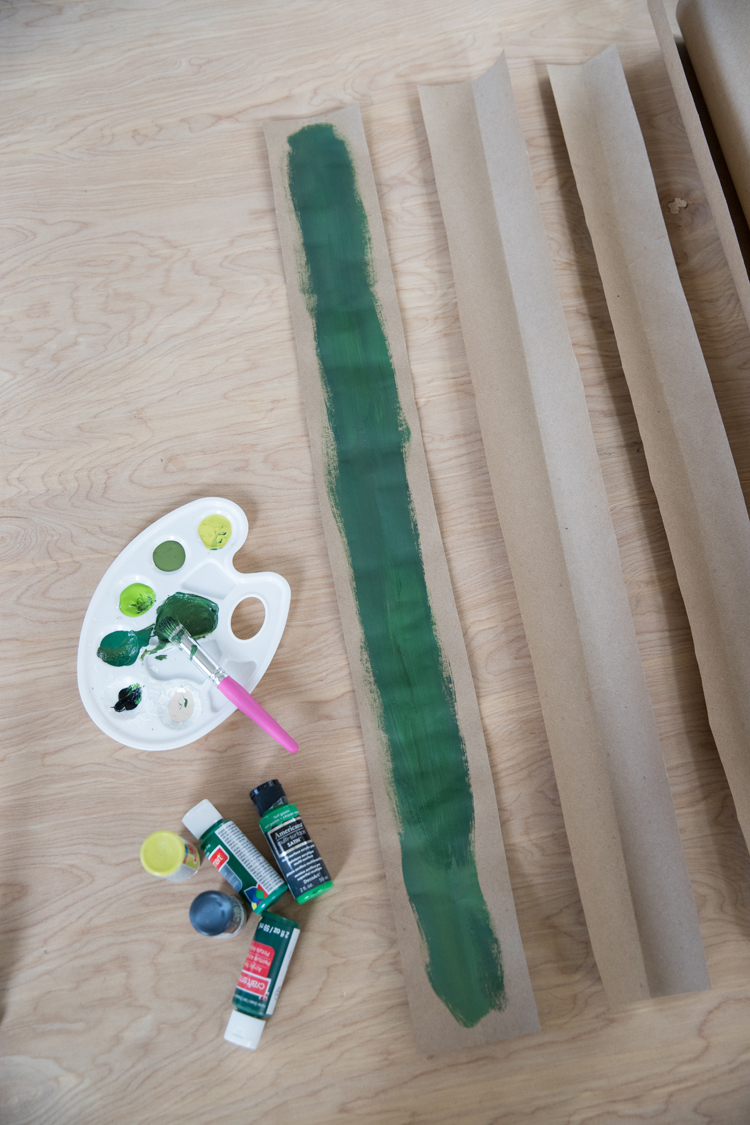
- Blend of craft paints
- Floral wire
- Wire snips
- Hot glue
- Embroidery hoop**
Material Notes:
*My favorite kraft wrapping paper is from Home Depot. I get it in the paint aisle and it’s 35 inches wide by 140 feet long. You get a TON of paper for around $12. It’s thicker and better quality than most kraft wrapping papers as well.
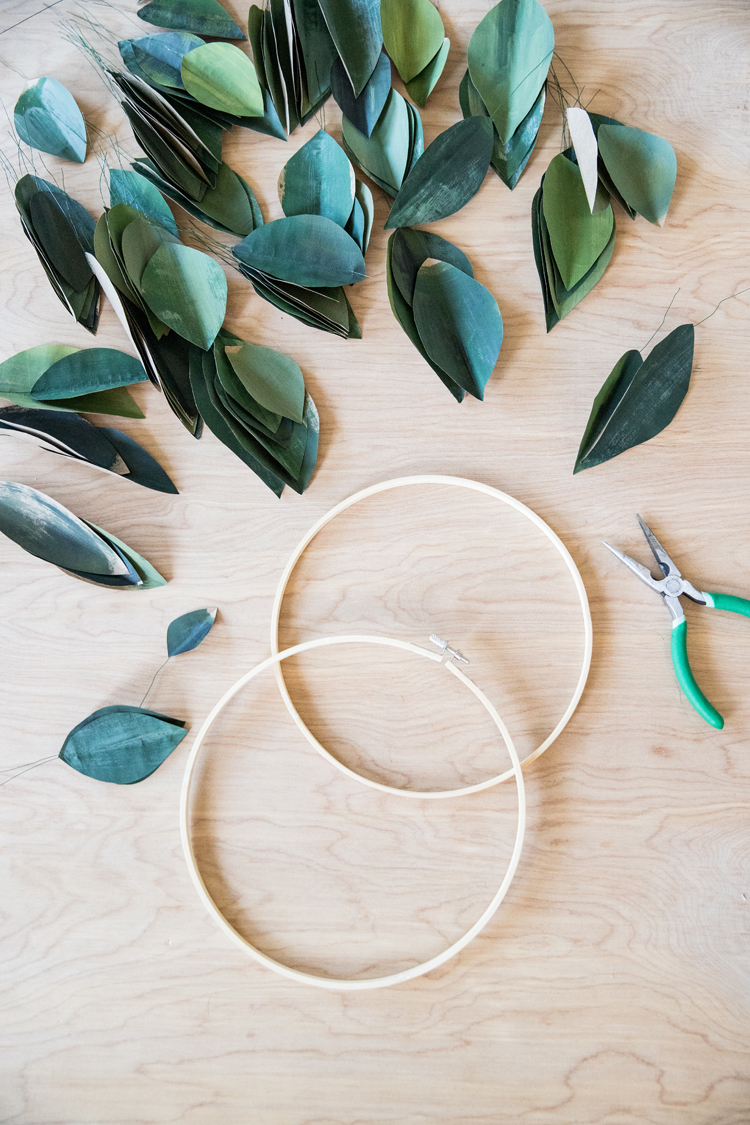
**I used a nine inch, $1.50 embroidery hoop from Michael’s and removed the outer ring. The inner ring will be used as a wreath form.
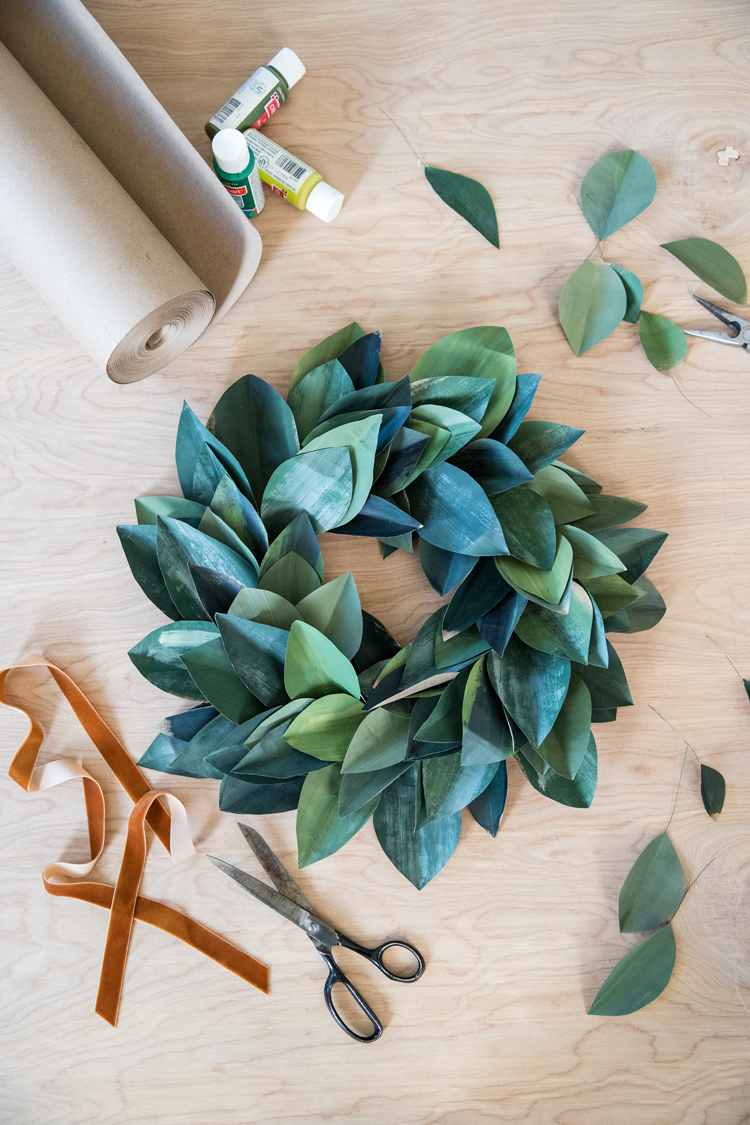
INSTRUCTIONS
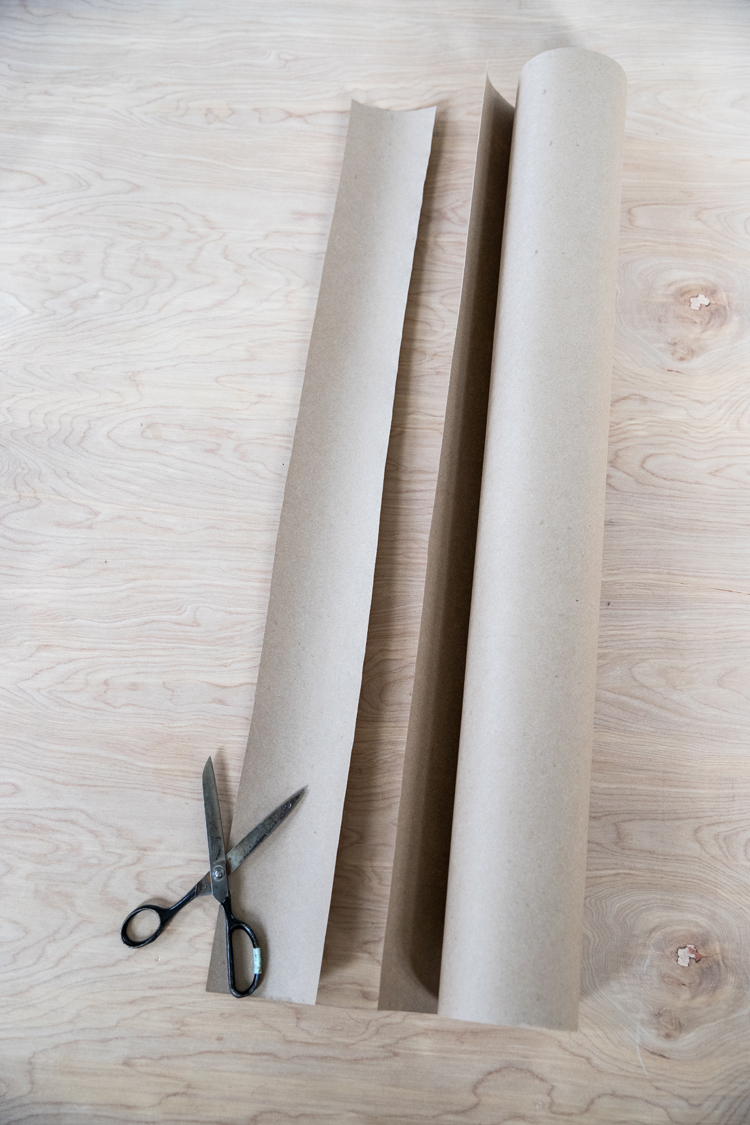
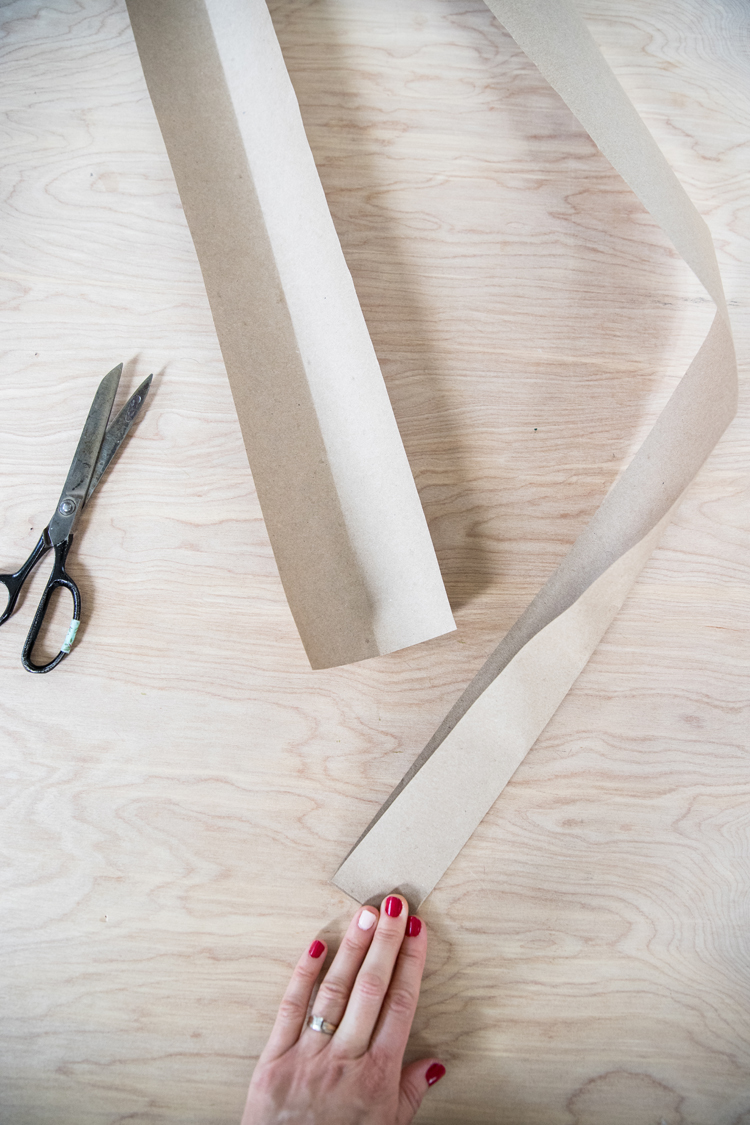
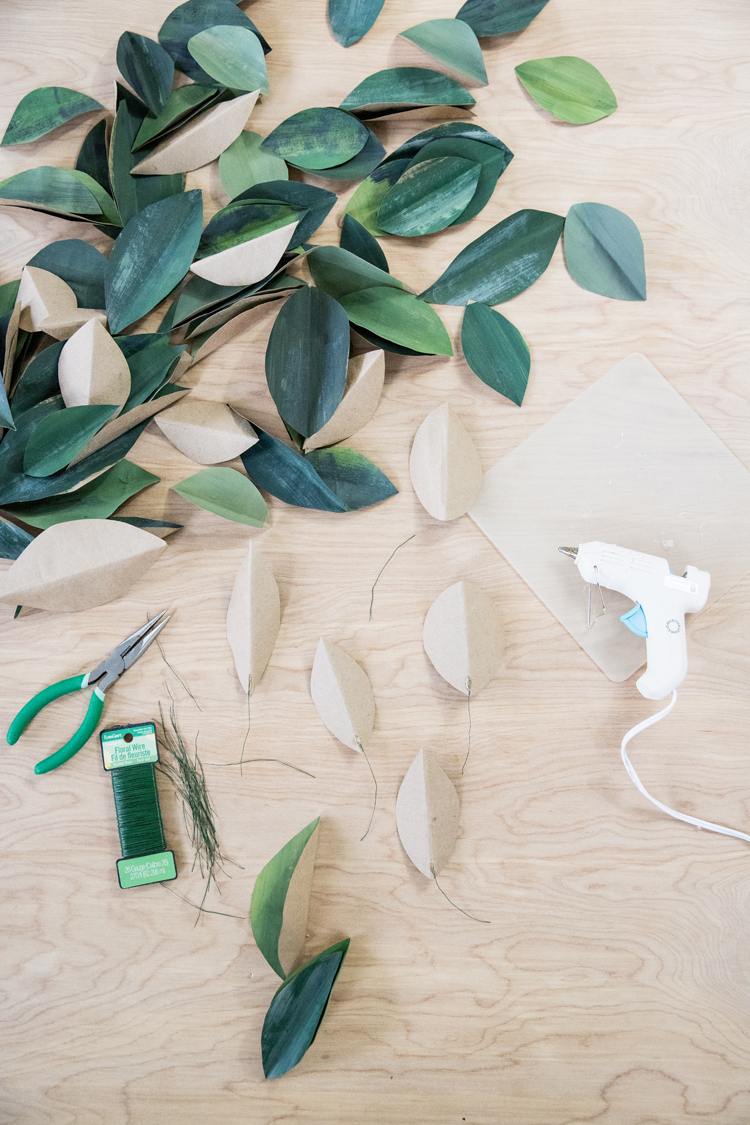
- Cut a dozen or so 4 inch wide strips of wrapping paper. Crease them in half lengthwise.
- Paint the strips of paper with a blend of craft paints. If you don’t get the edges completely covered, that’s okay. Leaves naturally have some brown edges. Let it dry.
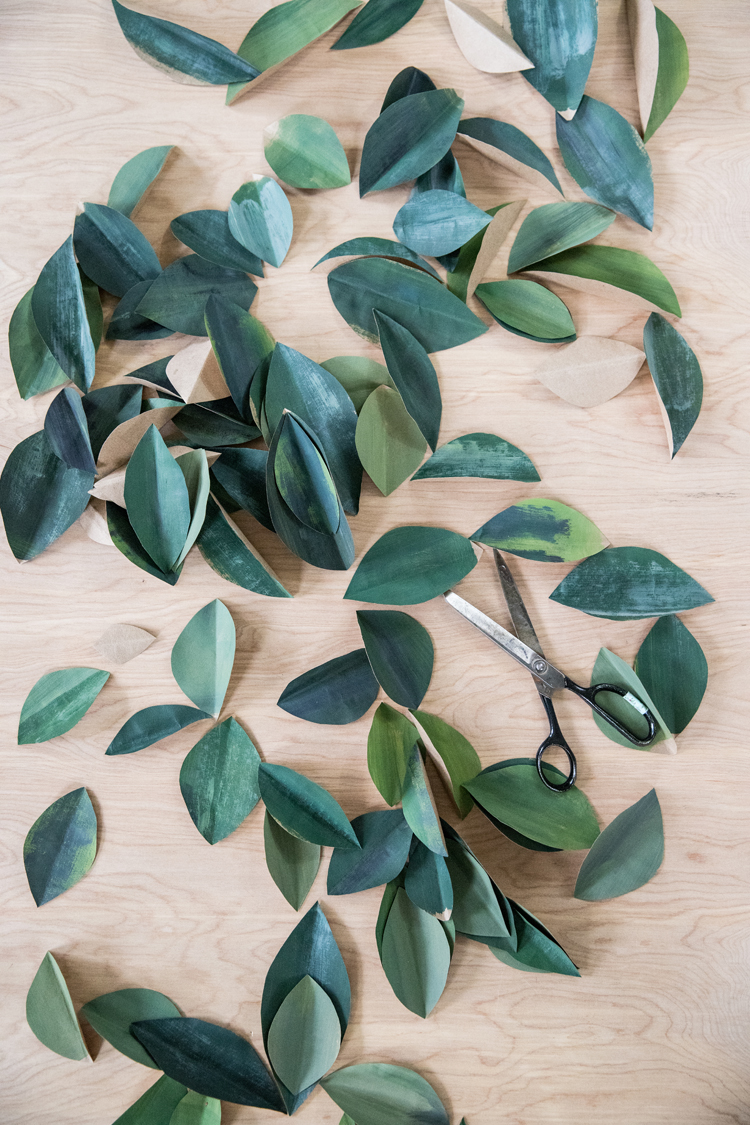
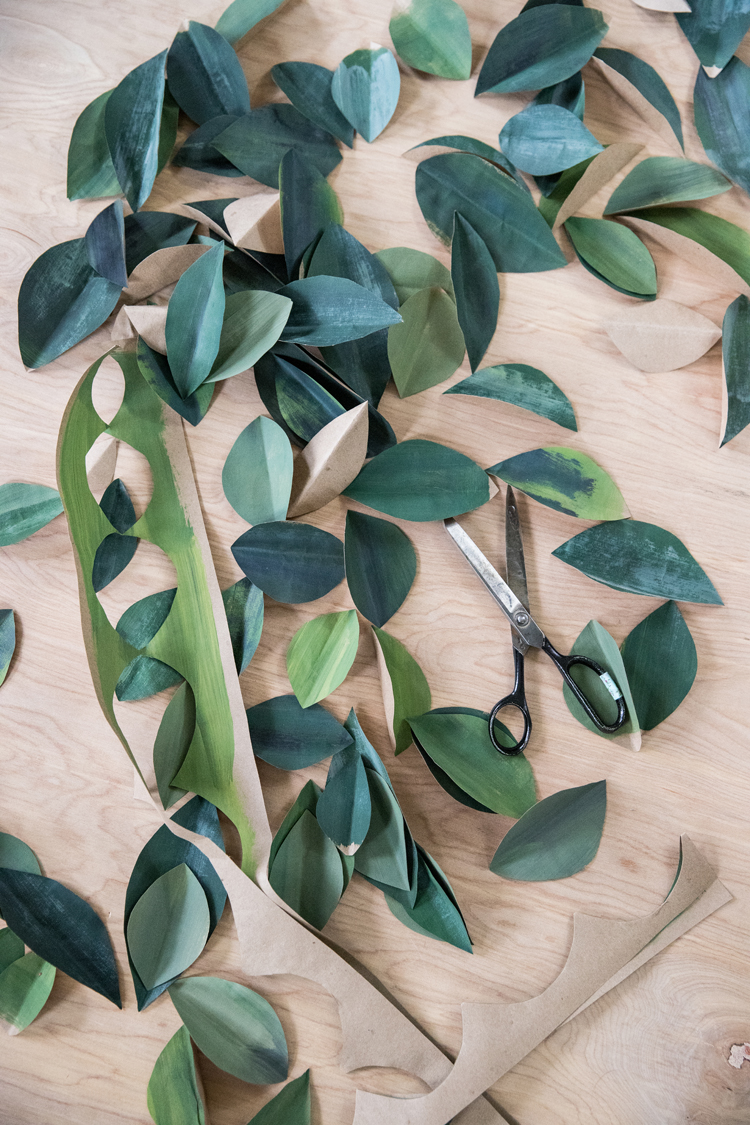
- Fold the strips in half again and cut leaf shapes along the fold. To make it go quicker, I stack two strips together at a time. Any more than two at a time, and you make more mistakes and bad cuts.
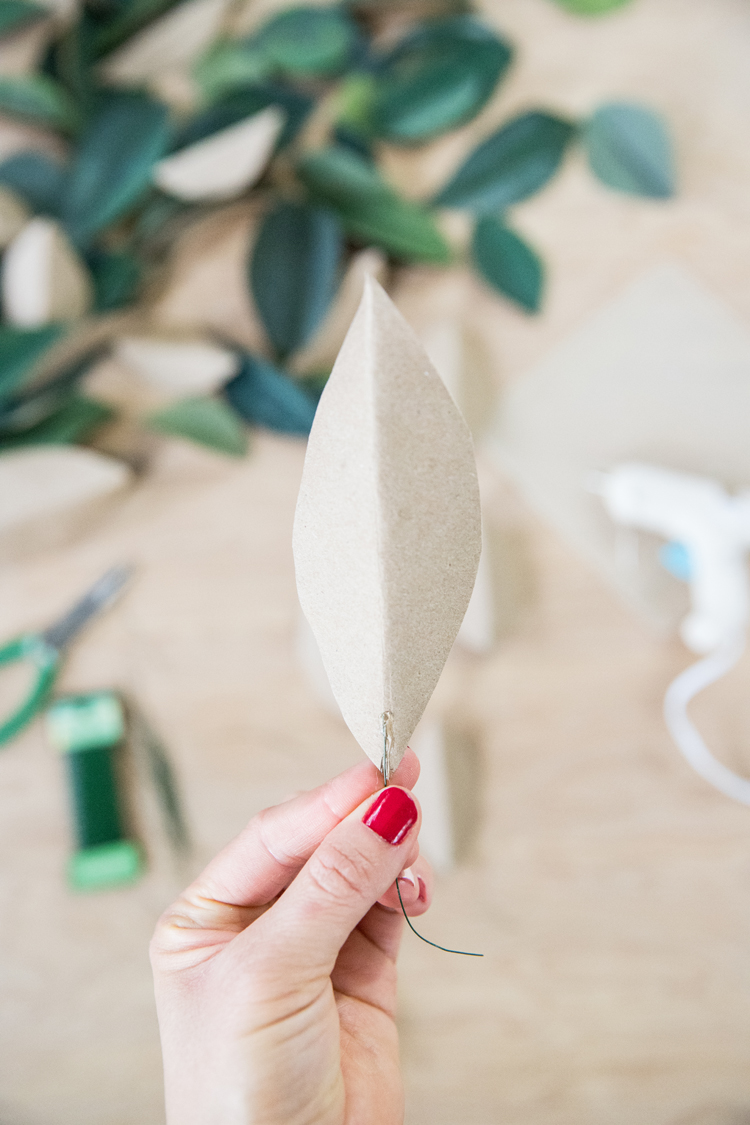
- Cut bits of floral wire about 2 inches long.
- Glue the ends of the floral wire to the bottom backs of the leaves. Just a little dab of hot glue will do.
- Remove the outer ring of the embroidery hoop and use the inner hoop as your wreath form.
- Bundle 3-4 leaves together at a time and twist their wire ends around the hoop.
- Continue to wrap bundles of leaves around the hoop until you come full circle. Tuck the last bundle under the tops of the leaves of the first bundle.
- Fan and twist the leaves outward to add fullness to the wreath.
All done! Add a bow and some string to the back to hang it if you like.
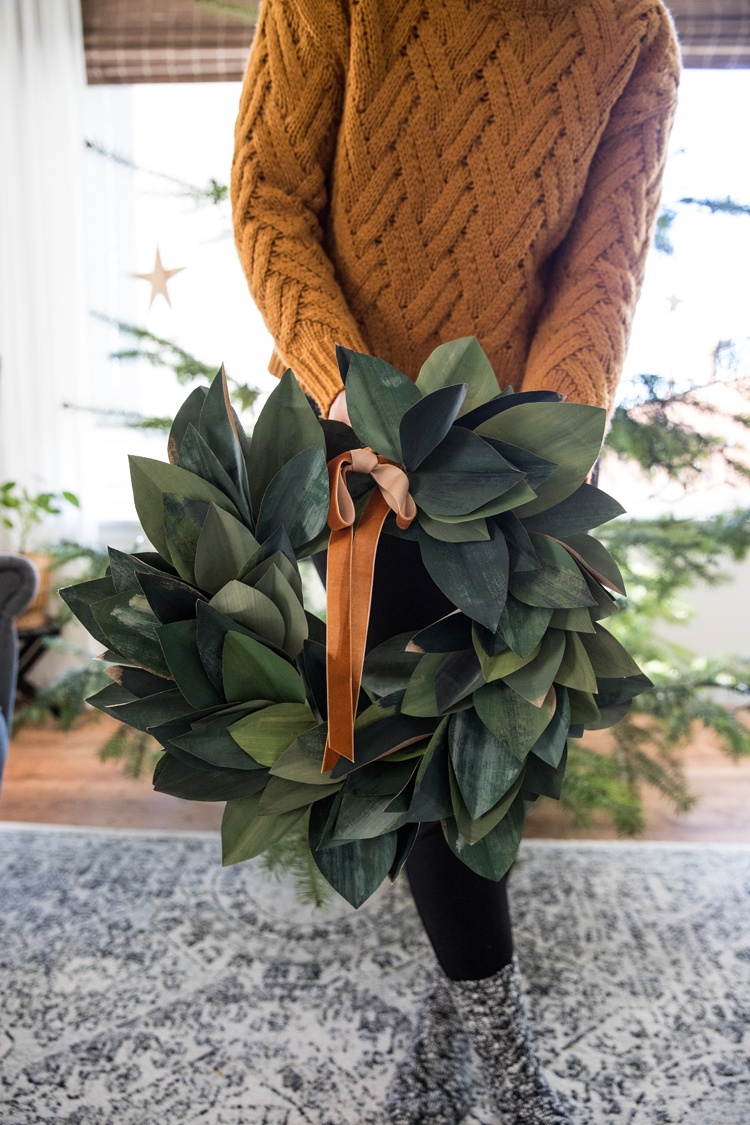
Now to figure out where I want it to go. It’s been doing a little tour of our house. ha!
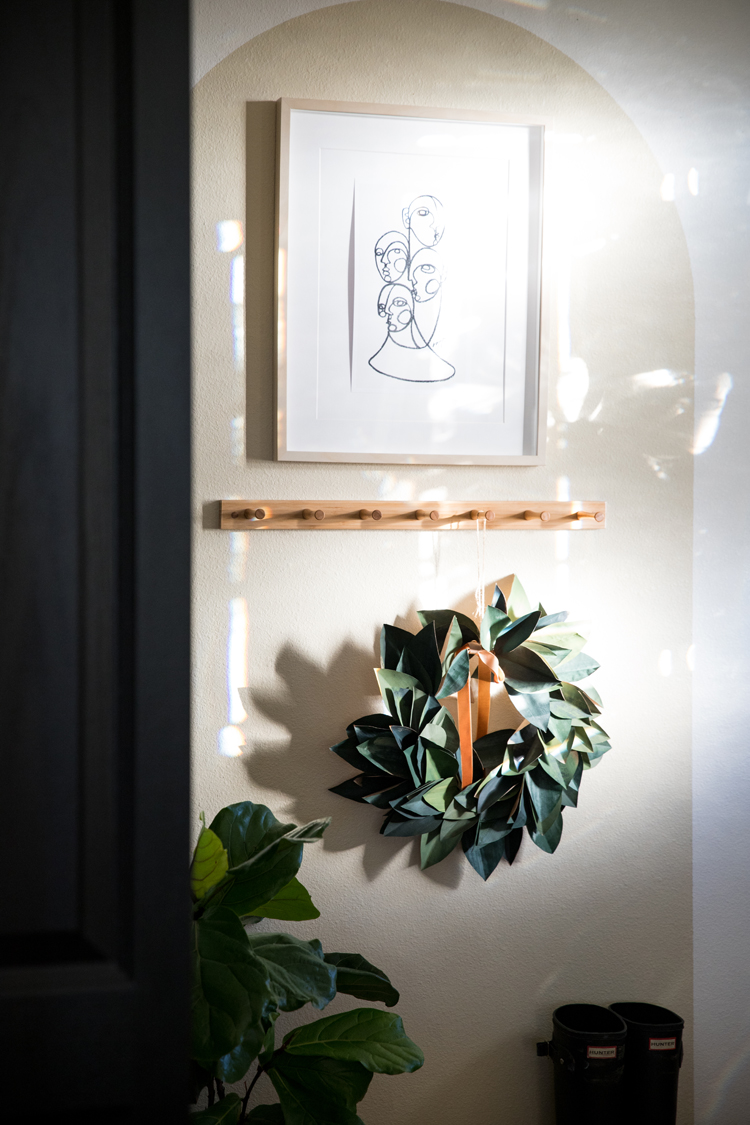
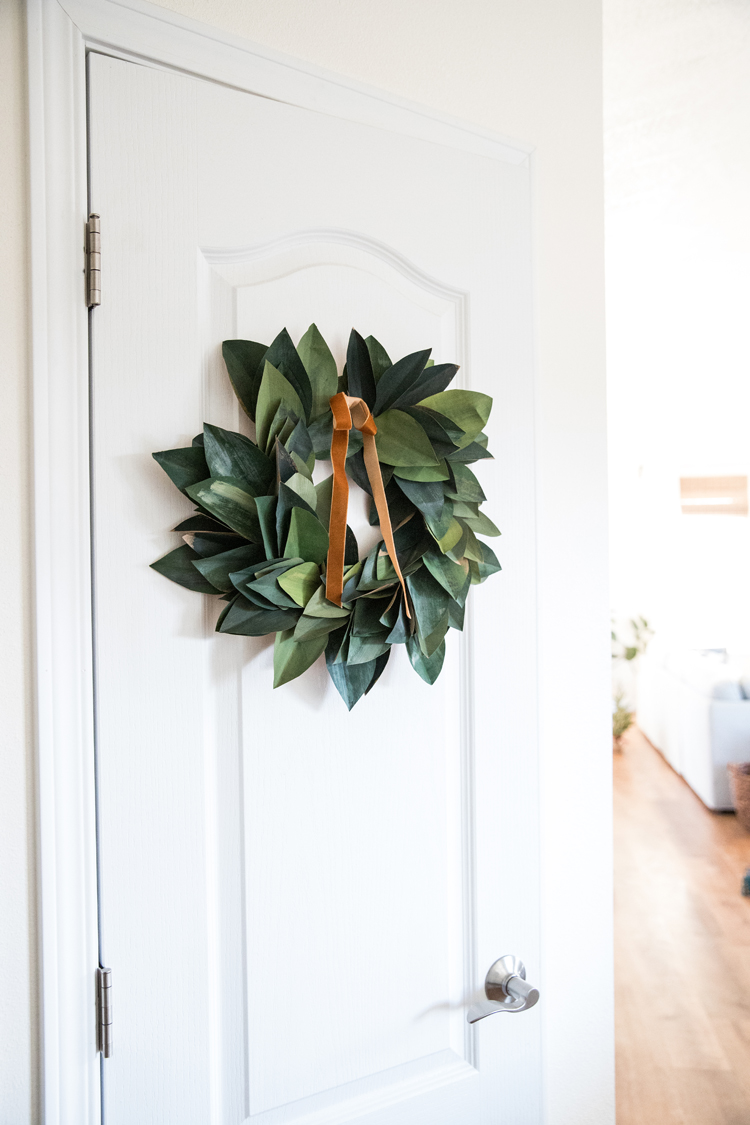


Wow this awesome!!! What a fantastic idea!
Thank you!
I can’t wait to try this! I’ll think I’ll save it for right after Christmas and taking my tree down 😉
This looks beautiful and easy to do. Thanks for the instructions.
Beautiful wreath! To save $, I always save the kraft paper lengths that are included with many of the rolls of various wrapping papers!
Thank you Chris! Using the leftover rolls is brilliant! Thank you for sharing that idea.
loved this wreath idea. was wondering how big the hoop is and the size of the leaves?
It is a 12 inch hoop (I believe. It’s been a few years and it’s packed away in my Christmas decor). The leaves are probably about 3 inches long. You can make them whatever size you prefer though.